3. Adding Personalization
Adding personalization to your site requires some setup in Commerce7 first.
The first thing you need to do is setup a personalization block under Developer/Personalization blocks in the Commerce7 Admin.
NOTE: You need to be a full admin to access the Developer menu
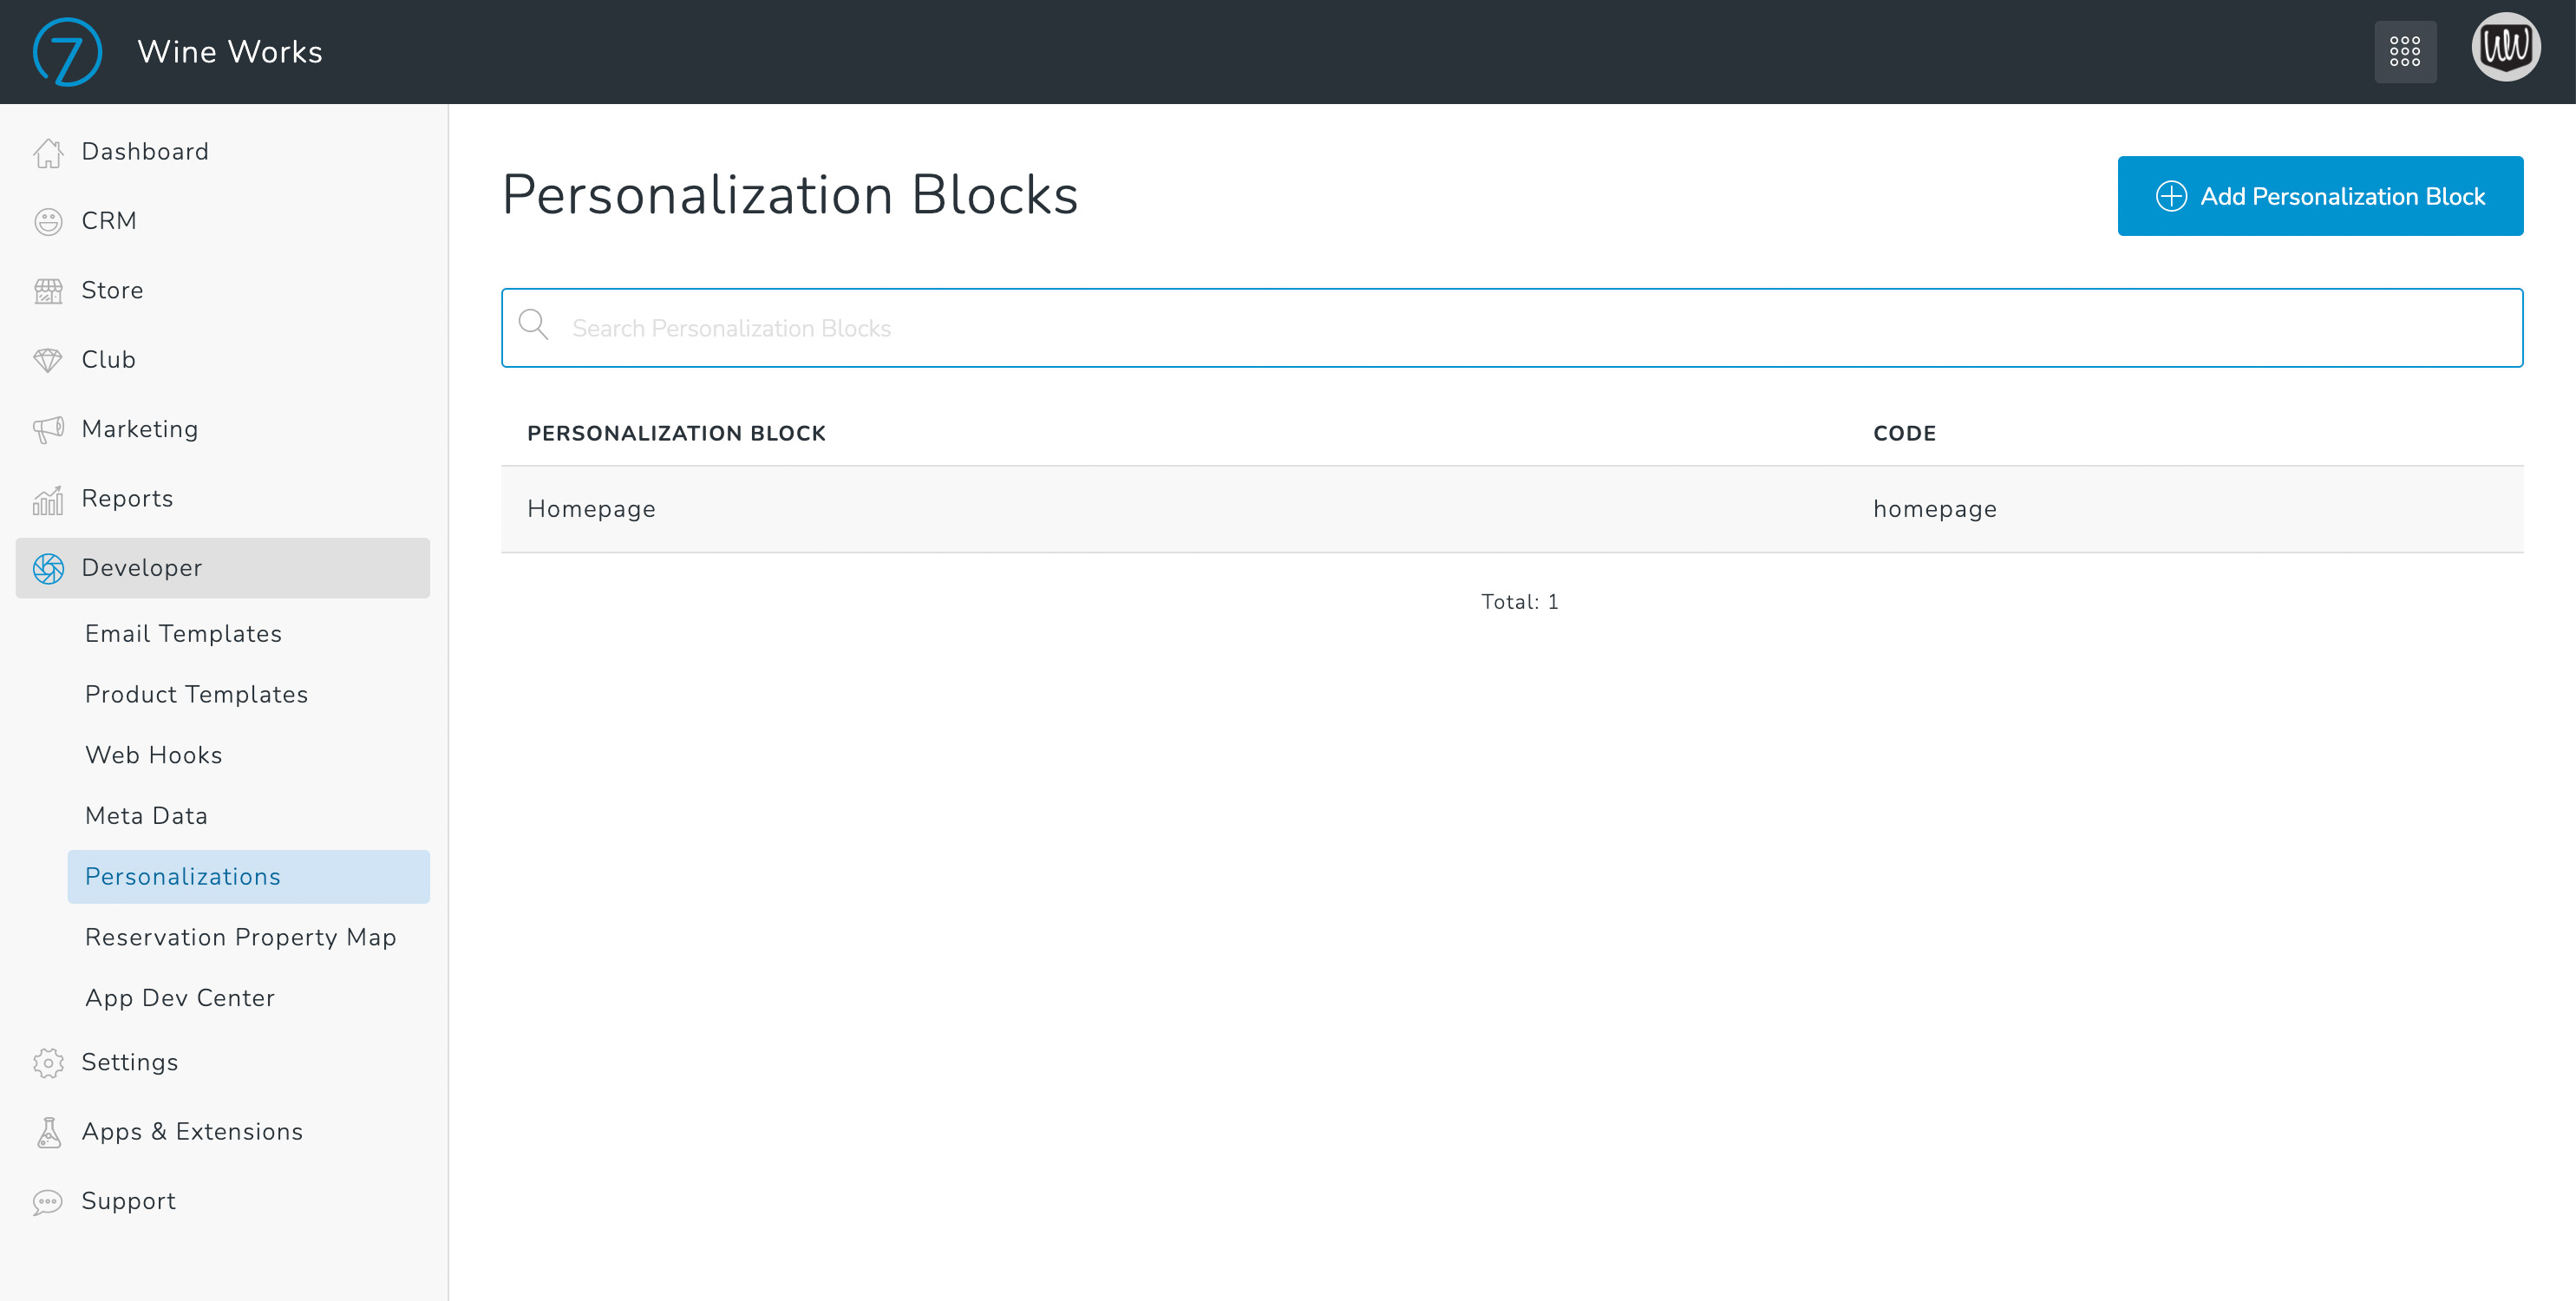
Click "Add Personalization Block"
This will then generate a Code which you need in Step 3 to add the block to your site.
Once your personalization block is setup you move to Marketing/Personalizations in the Commerce7 Admin to setup your content options.
assets/images/personalization/personalization-blocks-options.jpg

You will add in the different variations of content you want to show.
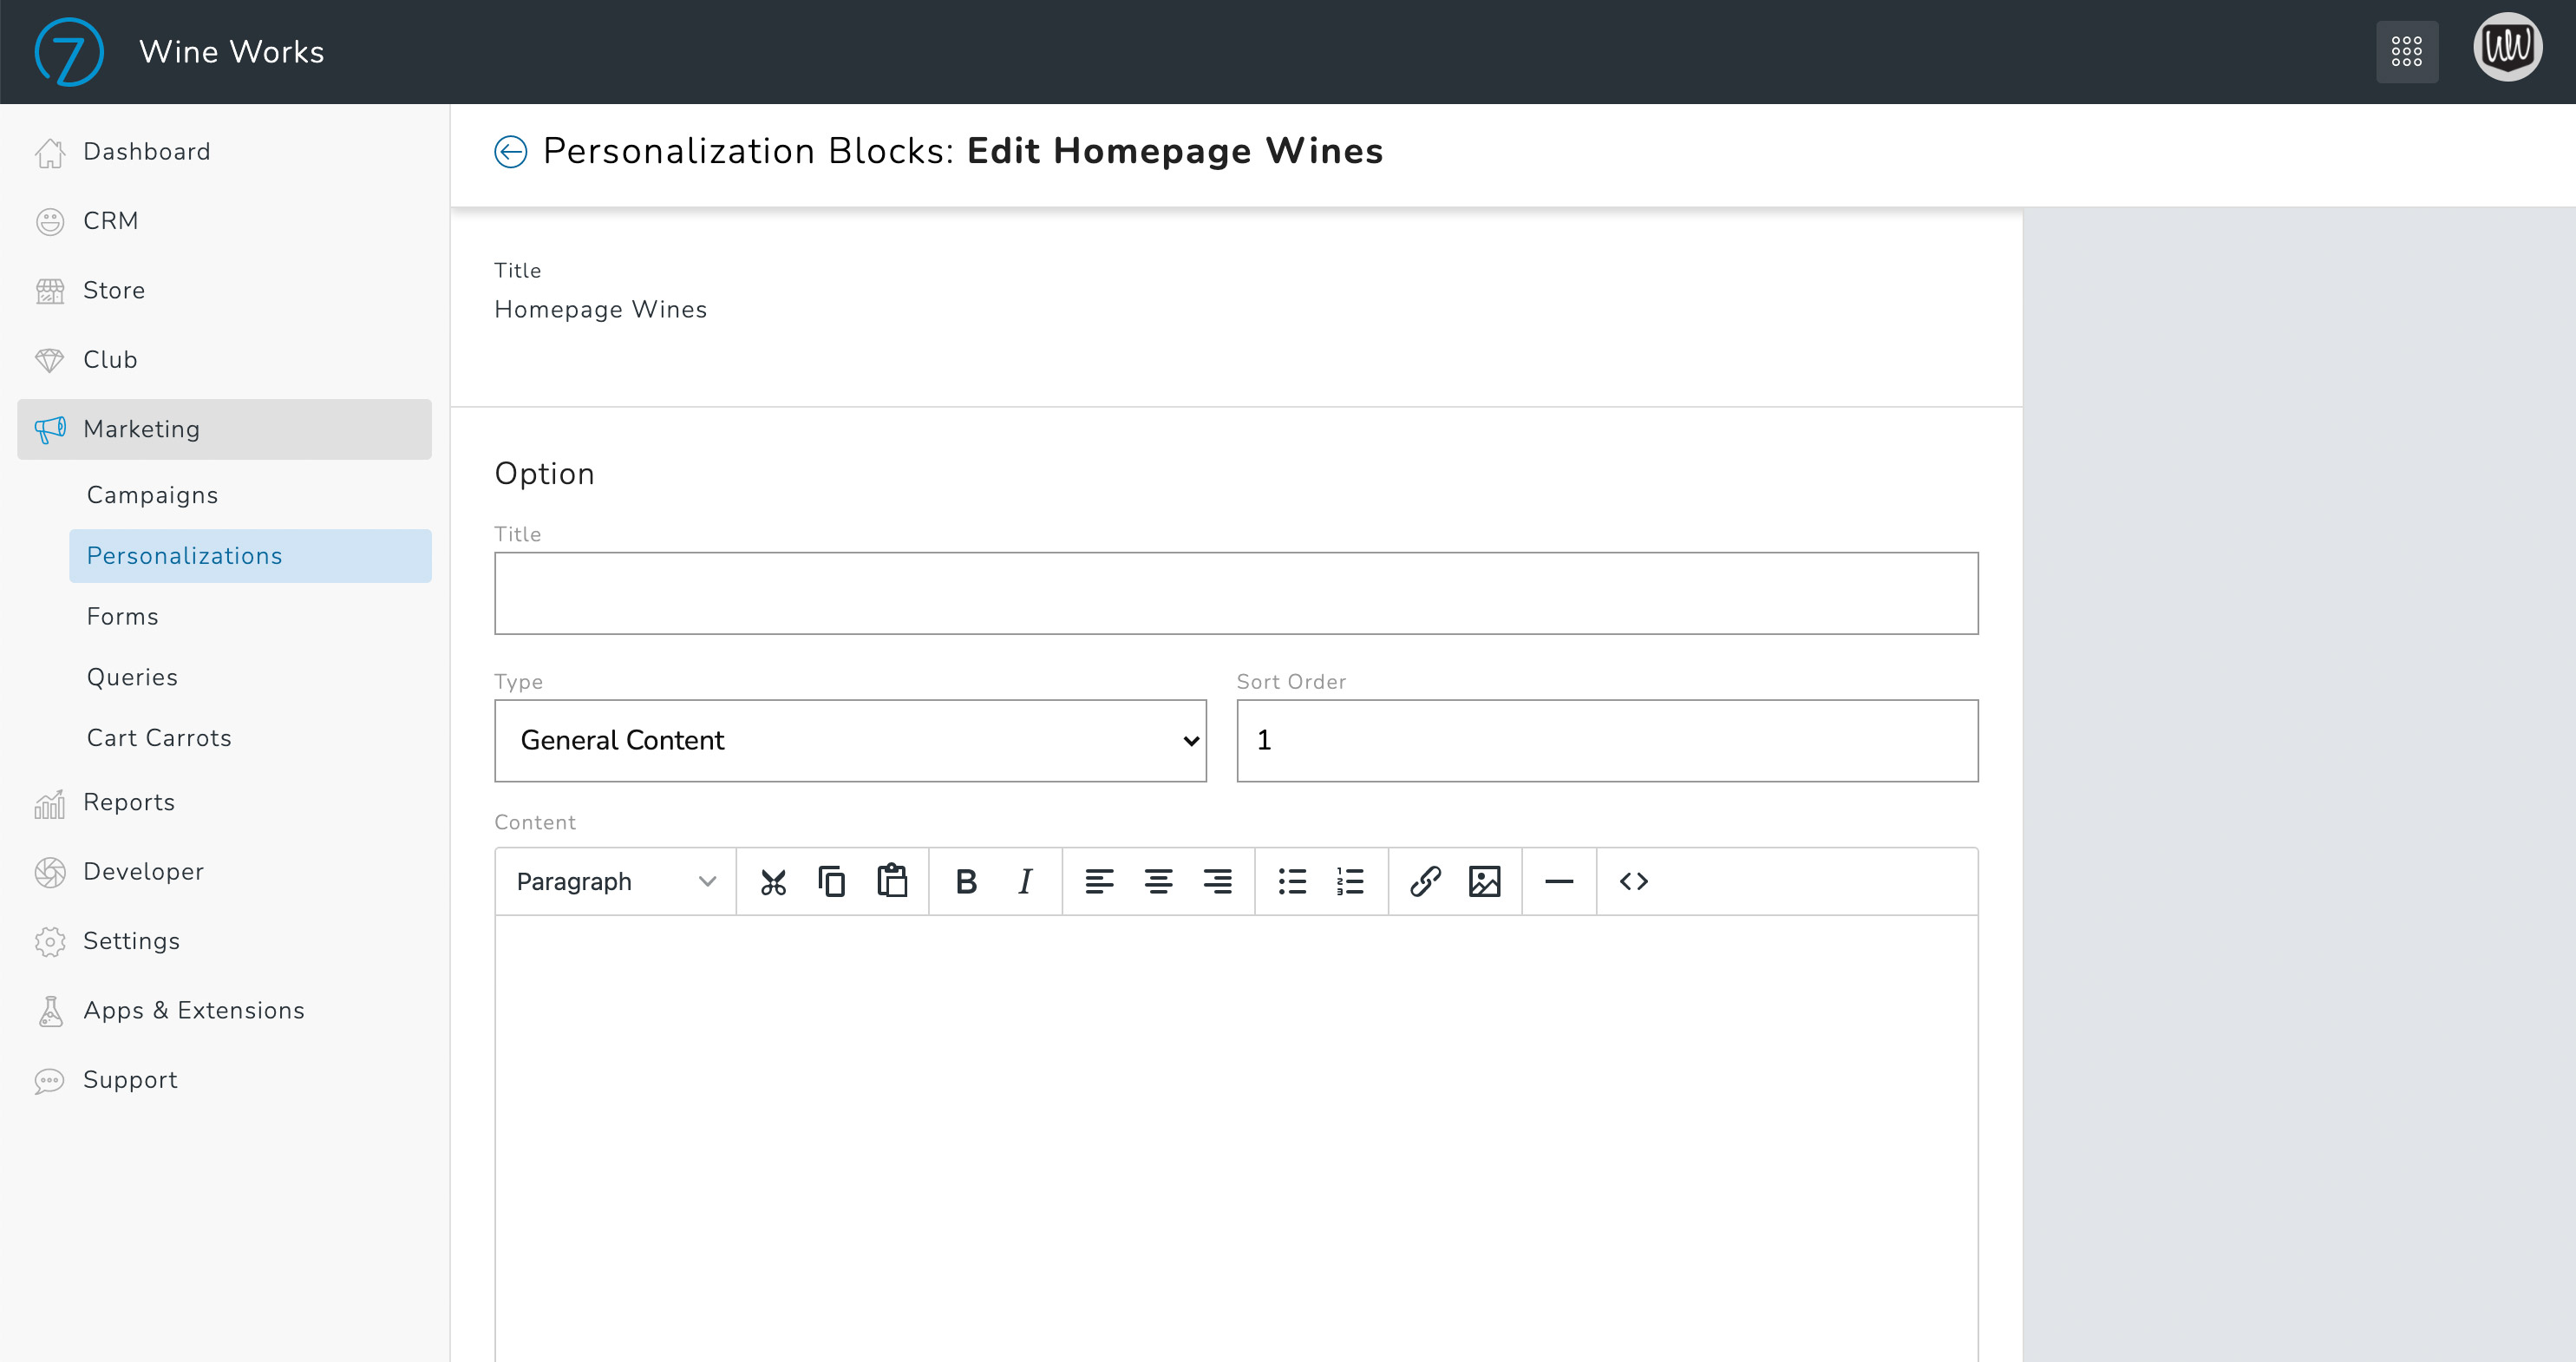
Documentation on how to add content to your personalization blocks can be found here: https://documentation.commerce7.com/personalization-tool-setup-for-wineries
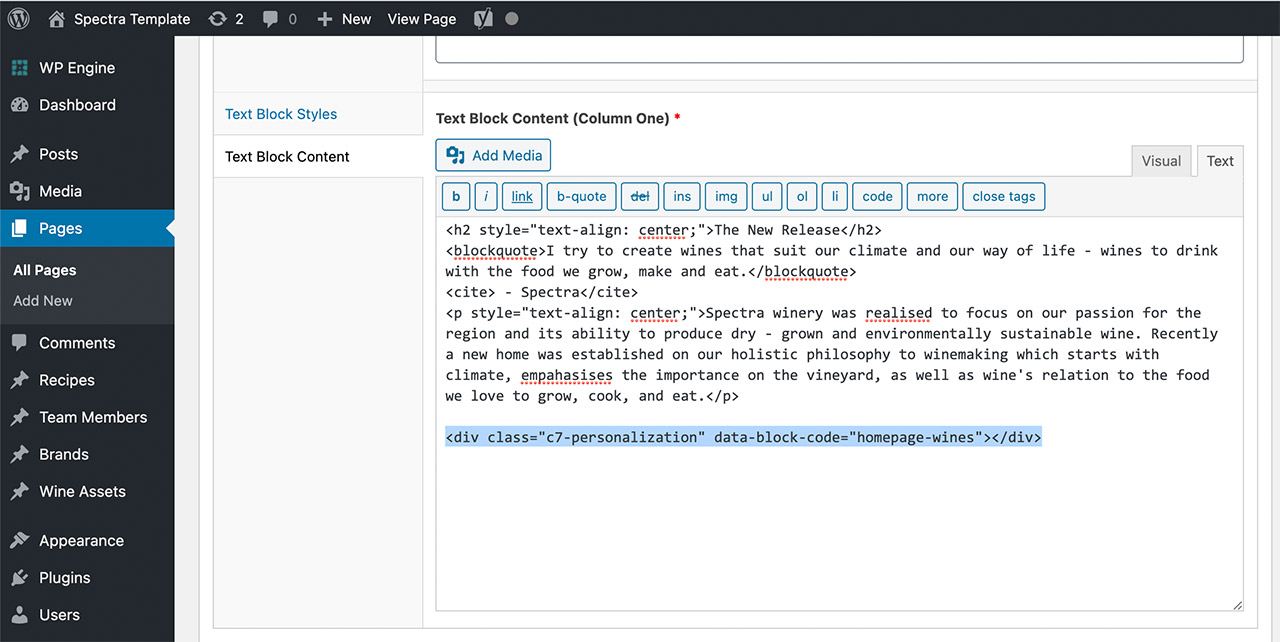
The final step is to add the personalization block to your WordPress site using a code snippet. Replace the value for data-block-code with the value from Step 1
Be sure to add the code snippet in Text view in WordPress
<div class="c7-personalization" data-block-code="homepage-wines"></div>
assets/images/personalization/personalization-blocks-code.jpg
