Home
Make your Minecraft server public — no port-forwarding required.
proxyforward is an ngrok-style reverse tunnel. The machine running Minecraft dials out to a machine that can accept inbound connections, and that machine relays player traffic back through the tunnel. Players connect to the public machine; your home network never has to accept an inbound connection.
Minecraft players                 Gateway (Server B)                  Agent (Server A)
      │                        public IP, can port-forward          behind NAT, dials OUT
      │                                   │                                  │
      └──── TCP :25565 ──────────▶  public listener                          │
                                          │                                  │
                                          ◀═══ one TLS 1.3 conn, yamux ═════ ┤
                                          │    (control + 1 stream/player)   │
                                          │                                  │
                                          │                                  └──▶ localhost:25565
                                          │                                       your Minecraft server
You need two machines, and you install the same proxyforward.exe on both. It runs in
one of two roles:
- Gateway — the publicly reachable machine (a VPS, a friend's connection, anything that can port-forward). It accepts players and holds the public port.
- Agent — the machine beside your Minecraft server. It makes one outbound TLS connection to the gateway and keeps it open. All player traffic rides that single connection, multiplexed with yamux: a control stream plus one stream per player.
The two are paired once, out of band, with a pairing code that carries both the auth token and the SHA-256 fingerprint of the gateway's certificate. There is no CA and no third party — see Security Model.
-
Windows only. The engine depends on named pipes, the Windows service manager and
netshfirewall integration. CI compiles Linux and macOS binaries so the code can't rot, but they cannot run — see Not Yet Implemented. - TCP only. UDP tunnels do not exist. Java Edition is TCP, so this is fine for Minecraft; Bedrock (which is UDP) is not supported.
- The binaries are not code-signed, so SmartScreen will warn on first run.
- Some options visible in the UI are stored but do nothing yet. They are all listed, honestly, on Not Yet Implemented — check there before filing a bug.
| If you want to… | Read |
|---|---|
| Get the exe | Installation |
| Get a server online, start to finish | Quick Start |
| Know which ports to open | Networking and Firewall |
| Add or edit a tunnel, get real player IPs | Tunnels |
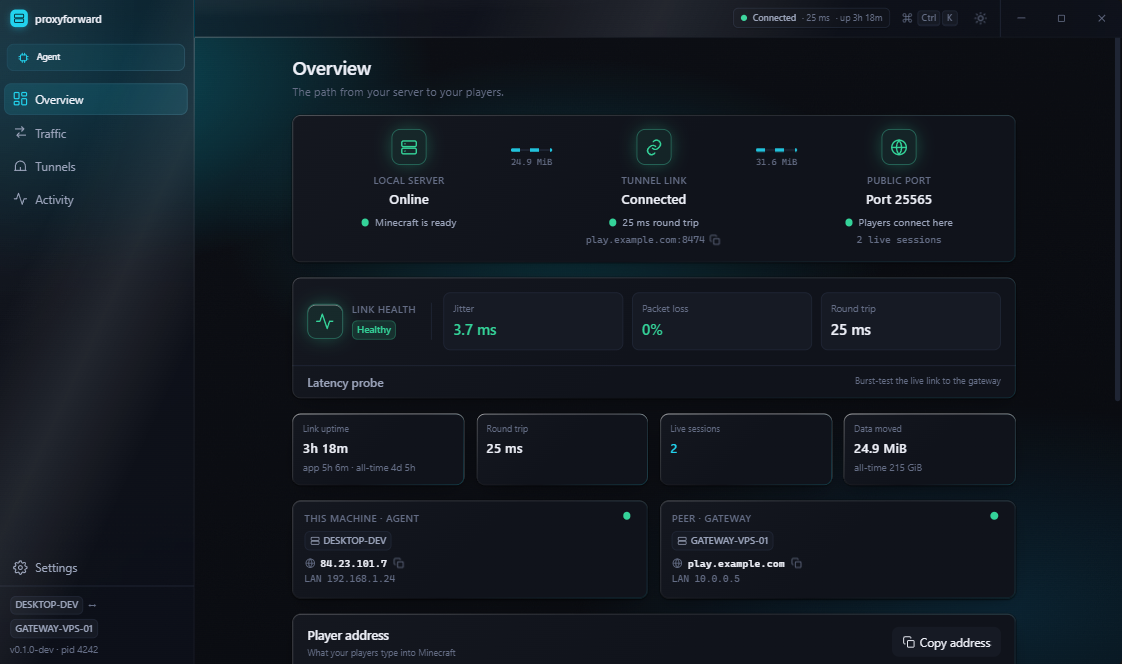
| Find your way around the app | The GUI |
| Run it unattended, without a logged-in user | Windows Service |
| Look up a config key | Configuration |
| Look up a command | CLI Reference |
| Understand what's encrypted and what's trusted | Security Model |
| Know what data is collected (spoiler: it stays local) | Analytics and Privacy |
| Fix something that's broken | Troubleshooting |
| Know what doesn't work yet | Not Yet Implemented |
| Understand how it works inside | Architecture |
| Hack on it | Contributing |