Publish files to the web instantly with a single command.

I use coding agents to create interactive HTML pages instead of static markdown docs. When you can just say "make me a visualization of this data" and get a working HTML page, you need a fast way to share it. This tool lets me go from local file to public URL in one command.
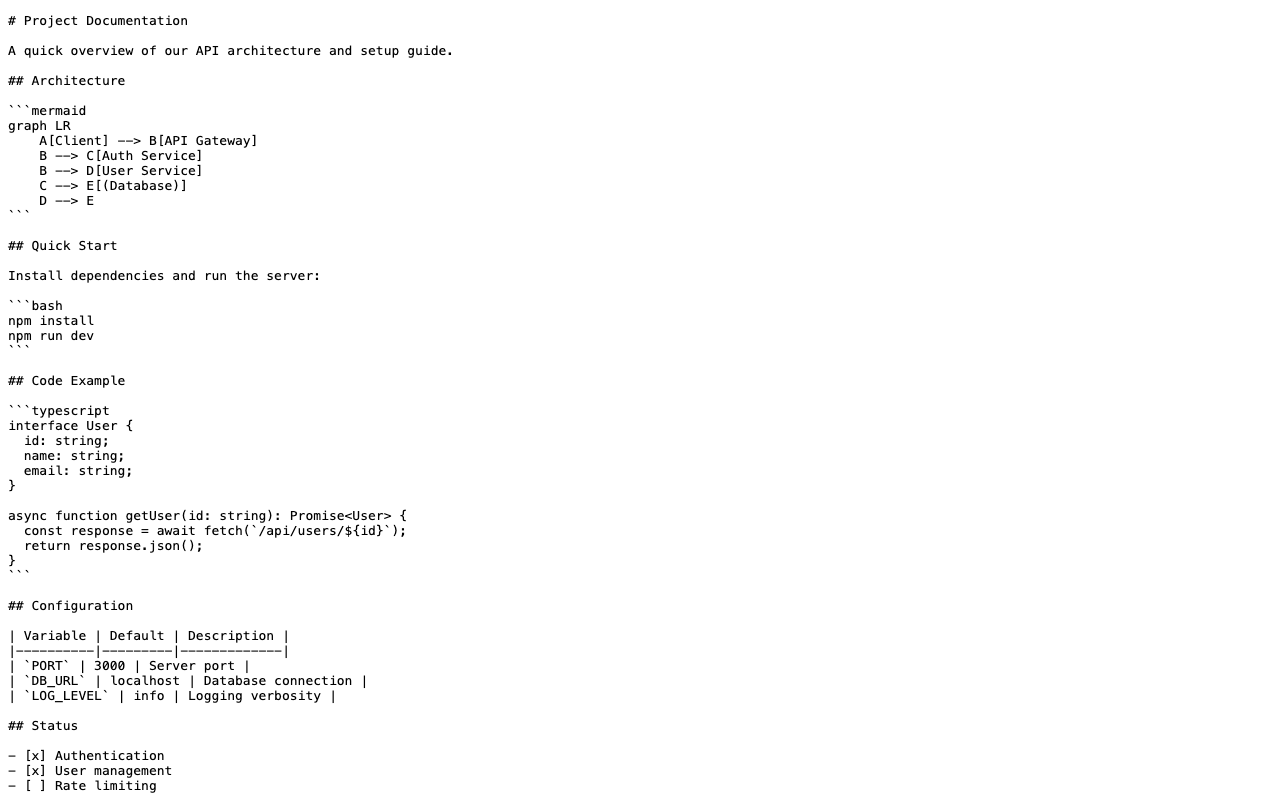
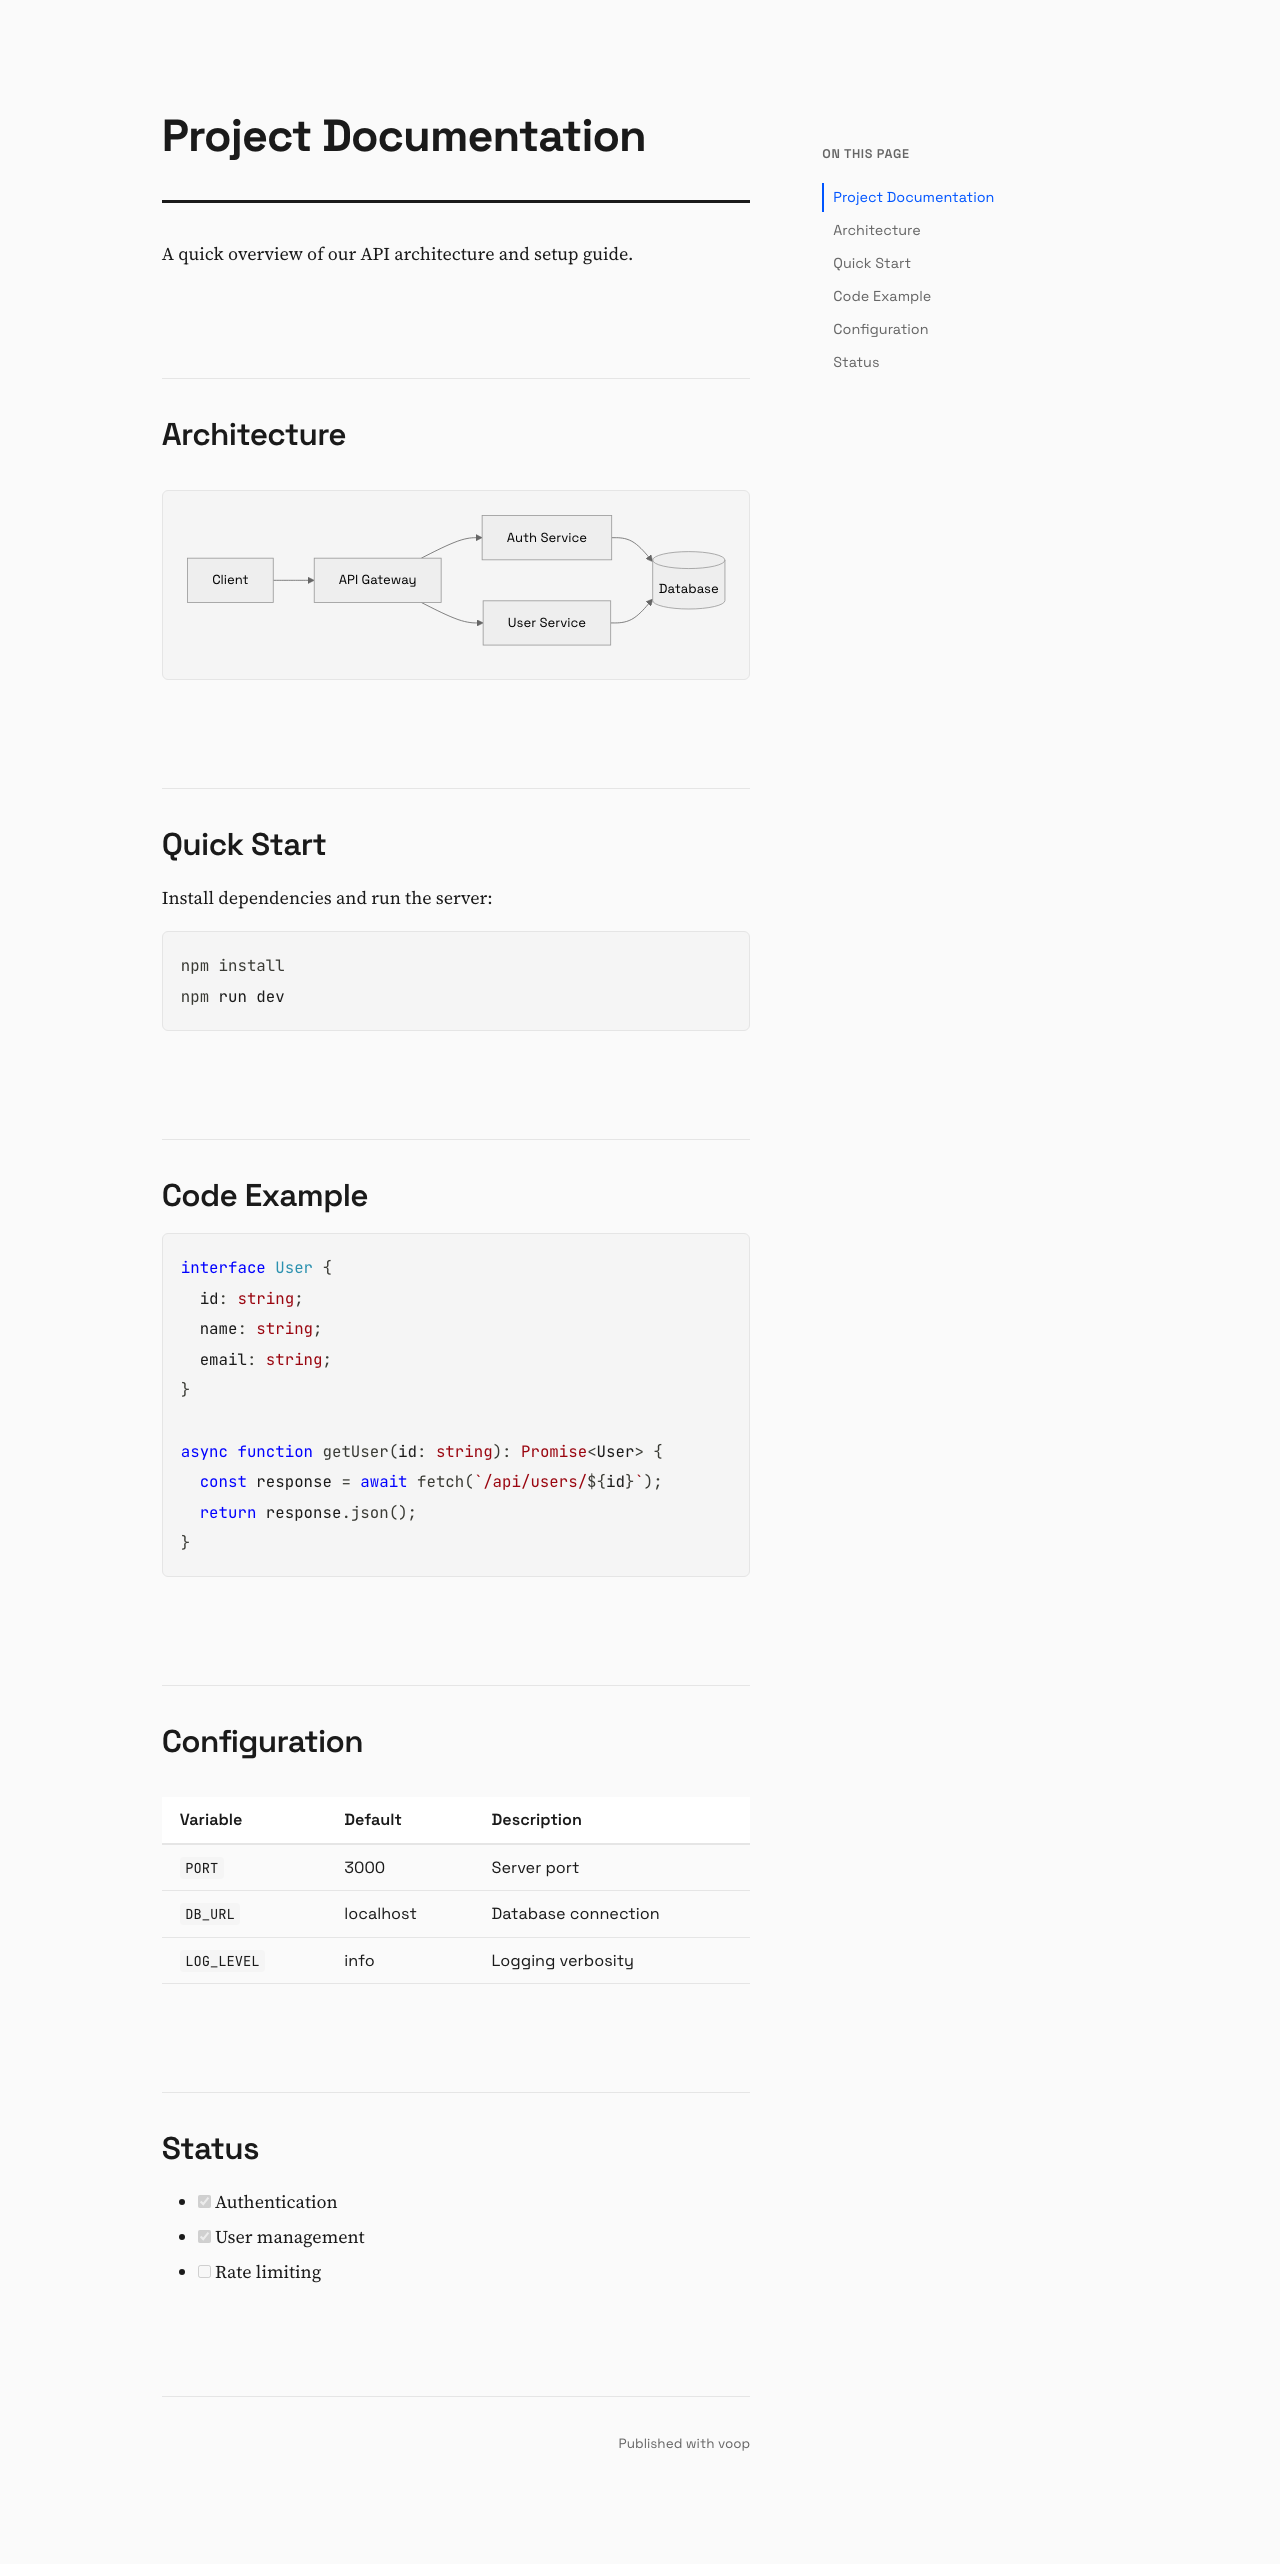
Markdown files get beautifully rendered too. Tired of sharing .md files that people have to open in a text editor? voop automatically converts markdown to styled HTML pages with:
- Syntax highlighting for code blocks
- Mermaid diagram rendering
- Table of contents sidebar
- Dark mode support
- Clean typography
Share docs with your team and they'll see properly formatted content, not raw markdown.
| Raw Markdown | Rendered HTML |
|---|---|
 |
 |
voop doc.md --raw |
voop doc.md |
| Tool | Pros | Cons |
|---|---|---|
| Surge.sh | Free, easy, custom domains | Don't own infra, account required |
| Vercel CLI | Great DX, preview URLs | Opinionated, expects frameworks |
| Netlify CLI | Feature-rich | Overkill for single files |
| Cloudflare Pages | Fast CDN | Requires git/project setup |
| GitHub Pages | Free | Requires repo + git push |
Why voop?
- You own the infrastructure (your R2 bucket, your rules)
- No account signup/login each time
- No git workflow or project structure required
- Files stay up forever (no expiring preview URLs)
- Single file → single URL, nothing else
npx voop index.html
# https://your-bucket.r2.dev/index-a1b2c3d4.html
# (copied)
Uses Cloudflare R2 for storage with free egress and global CDN.
Run directly without installing:
npx voop <file>
# or
bunx voop <file>
Or install globally:
npm install -g voop
# or
bun install -g voopInstall the voop skill so AI agents can use voop automatically when you ask to upload files:
npx add-skill yemyat/voopOn first run, you'll be guided through an interactive setup wizard:
npx voop myfile.html
# No configuration found. Let's set things up first.
# → Prompts for credentials...
# → Tests connection...
# → Proceeds to upload
Before running, you'll need:
- Create R2 Bucket: Cloudflare Dashboard → R2 → Create bucket → Enable public access
- Create API Token: R2 → Manage R2 API Tokens → Create with Object Read & Write permissions
The wizard will ask for:
- Cloudflare Account ID
- R2 Access Key ID
- R2 Secret Access Key
- Bucket name
- Public URL (e.g.,
https://pub-xxx.r2.dev)
Config is stored at ~/.config/voop/config.json.
voop mypage.html      # Upload a file
voop docs.md          # Markdown → styled HTML with ToC
voop docs.md --raw    # Upload raw markdown (no conversion)
voop --setup          # Reconfigure credentials
voop --test           # Test R2 connection
voop --help           # Show help
Each file gets a unique URL with a random suffix to avoid conflicts.
MIT