01. Deployment
After cloning into our GitHub project, you can proceed with Local Deployment (for development) or Heroku Deployment (for production). For both deployment approaches, we uses Docker and Docker Compose for easier set-up
Note: The required YOLOv3 pre-trained weights will be downloaded when building the Docker Images. As a result, the building of Docker Images can take up to 15 ~ 20 mins
## (Re-)Building the Docker Images
$ docker-compose build## Deploying Containers
$ docker-compose up
## Deploying Containers (In Detach Mode)
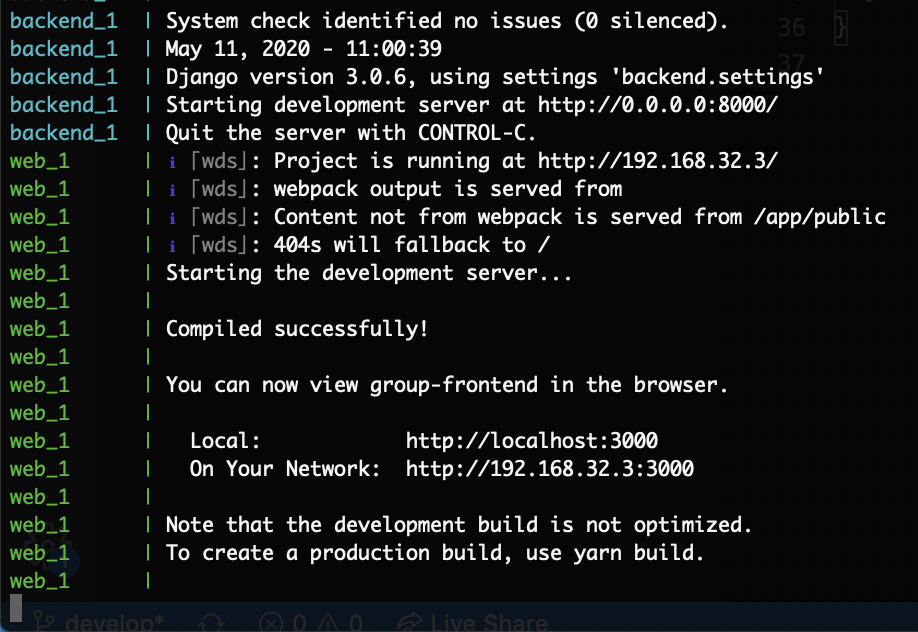
$ docker-compose up -dDo allow time for all the services to be set up. Everything will be good to go once the following appear:
These will download and convert the pre-trained weights into our backend container. This only needs to be done once.
## Find the Docker Container ID for the image pencil-interview-task_backend
$ docker container ls

## Download the weights
$ docker exec -it <container_id> \
  curl -o ./yolov3_tf2/data/yolov3.weights -O https://pjreddie.com/media/files/yolov3.weights

## Converting the weights
$ docker exec -it <container_id> \
  python convert.py --weights ./yolov3_tf2/data/yolov3.weights --output ./yolov3_tf2/checkpoints/yolov3.tf
Once completed, we can proceed with our web application.
## Taking down the Containers
$ docker-compose down
Read on to the next page for information on running the application