Home
VBAN-Key turns a handful of push buttons and a few euros of ESP32-C3 into a physical control surface for Voicemeeter, MT128 and Matrix — over Wi-Fi, with no driver, no plug-in, and no software running on the audio machine.
- VB-Audio ecosystem integration — what it replaces and how the configuration maps to Macro Buttons.
- Building a prototype — parts, wiring, and a working example on a breadboard.
- Firmware setup and usage — testing, configuration, Wi-Fi provisioning, and flashing.
VBAN-Key is a hardware companion to Voicemeeter, MT128, Matrix. It speaks the same VBAN TEXT protocol that VB Audio software already listens to, so it needs no driver, no plug-in, and no software running on the audio machine.
Voicemeeter Macro Buttons put a grid of scriptable buttons on screen: each one sends a request script to Voicemeeter when pressed and, optionally, another one when released.
Any on-screen Macro Button can be replicated on a VBAN-Key keyboard. A physical button, a few euros of ESP32-C3 and switches, sends the very same request over Wi-Fi — with no window to keep visible, no mouse to reach for, and no focus stolen from the game or the meeting.
The two mechanisms coexist. VBAN-Key does not replace or reconfigure the Macro Buttons application; it simply sends the same requests from the outside, so a button on the keyboard and a button on screen can drive the same action.
VBAN-Key sends the payload of a SendText() instruction to Voicemeeter
verbatim, as a VBAN TEXT packet. That payload is the Voicemeeter request script
language — exactly what a Macro Button request field contains.
Building a keyboard is therefore mostly copy and paste: take the script from a
Macro Button's request field, drop it inside SendText("vban1", ... ) in
config/device/config.toml.
| Macro Button | VBAN-Key [[button]]
|
|---|---|
| Request on button ON | on = '''...''' |
| Request on button OFF | off = '''...''' |
| 2 positions button | type = "latch" |
| Push button | type = "momentary" |
For example, a Macro Button whose ON request is:
Strip(0).mute = 1;
Strip(1).mute = 1;
becomes:
[[button]]
id      = 1
type    = "latch"
gpi_pin = 4
on = '''
SendText("vban1",
  Strip(0).mute = 1;
  Strip(1).mute = 1;
);
'''
off = '''SendText("vban1", Strip(0).mute = 0; Strip(1).mute = 0;);'''
Line breaks, indentation, and comments inside the payload are preserved and parsed by Voicemeeter, so long scripts can be pasted as they are.
A VBAN-Key button script is a small sequence, not a single request. It can
chain several SendText() calls to different Voicemeeter machines, insert a
Wait(500) between them, and emit MIDI with SendMidi() — useful to trigger
to drive any other MIDI listener on the network.
- Voicemeeter with VBAN switched On, an incoming TEXT stream enabled for the
commands, and an incoming MIDI stream if
SendMidi()is used. - A TEXT payload fits one VBAN packet: 1436 bytes maximum. Split very long
scripts across several
SendText()calls.
This guide shows how to assemble a simple VBAN-Key prototype on a breadboard. The README covers testing, configuration, Wi-Fi provisioning, and flashing.
- ESP32-C3 SuperMini board
- Two header strips
- One normally-open push button per input
- Breadboard and hookup wire
- Soldering iron
- Data-capable USB cable
The reference board is marked TENSTAR ROBOT, ESP32-C3, and Super Mini.
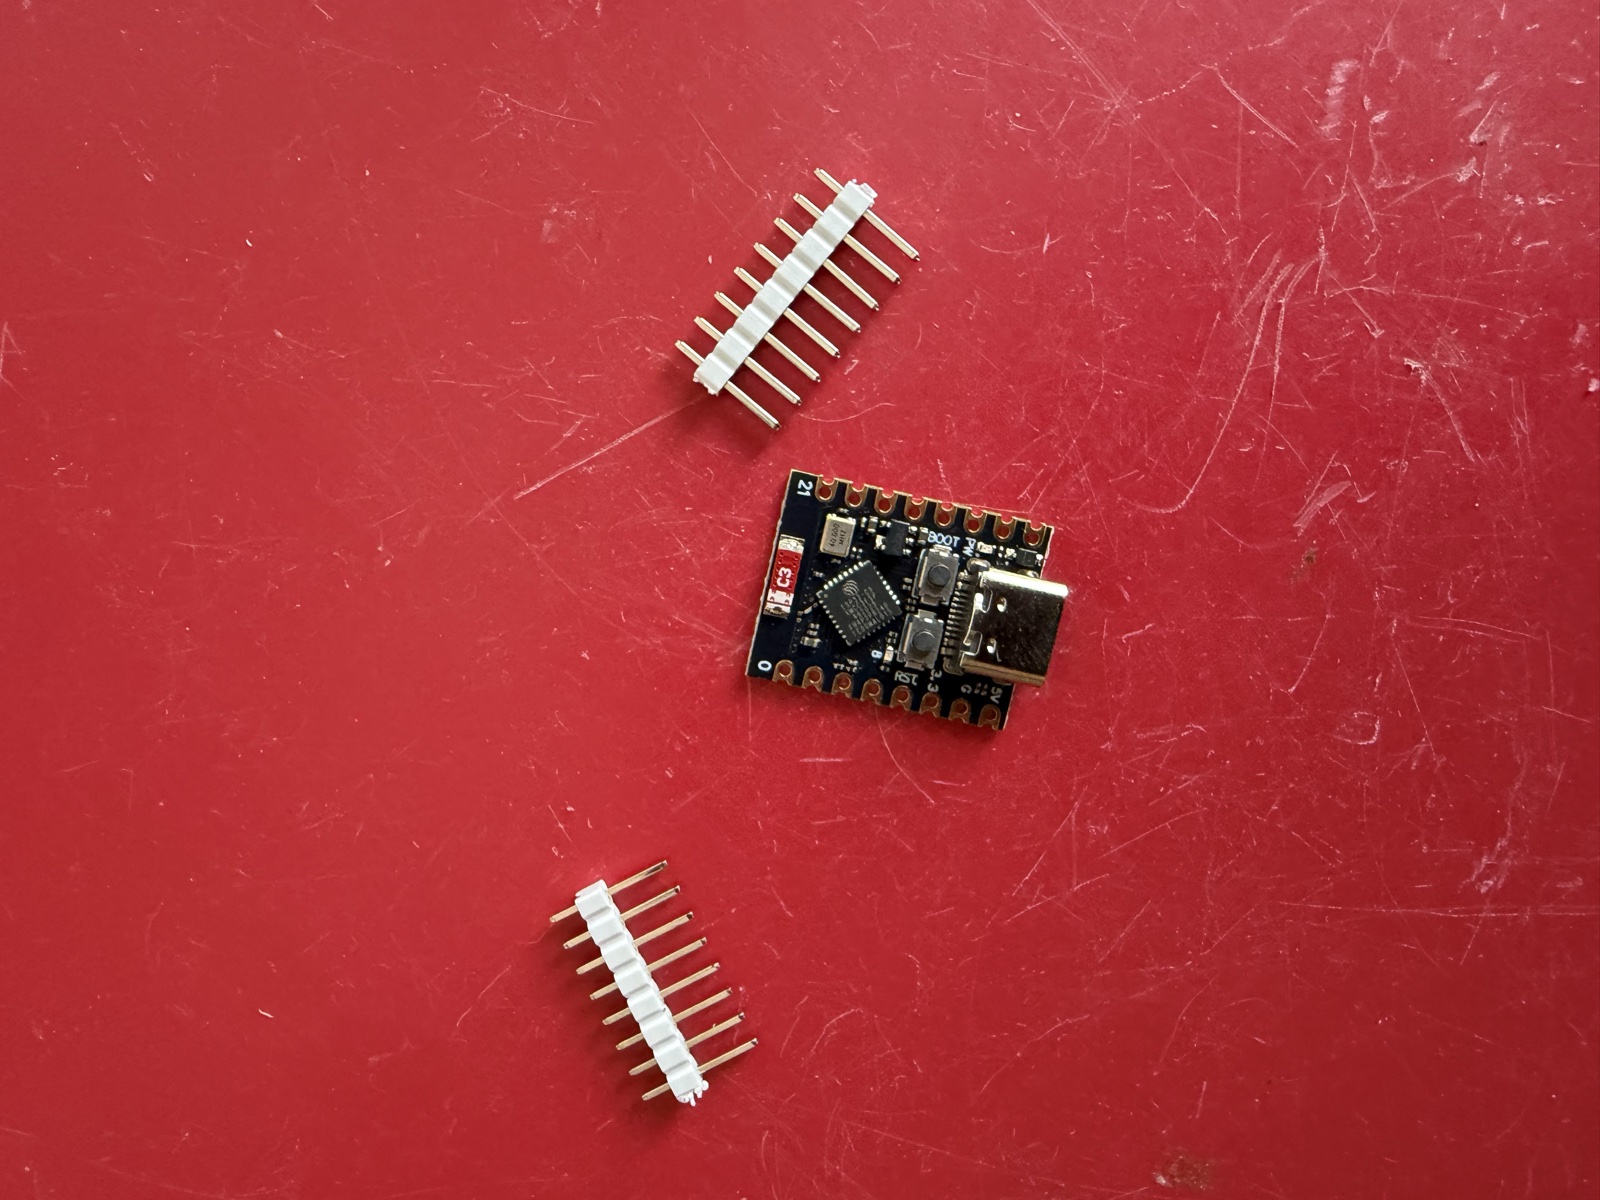
Disconnect USB power before soldering or changing the wiring.
Solder the two header strips to the board. Keep them perpendicular so the board fits cleanly into the breadboard.
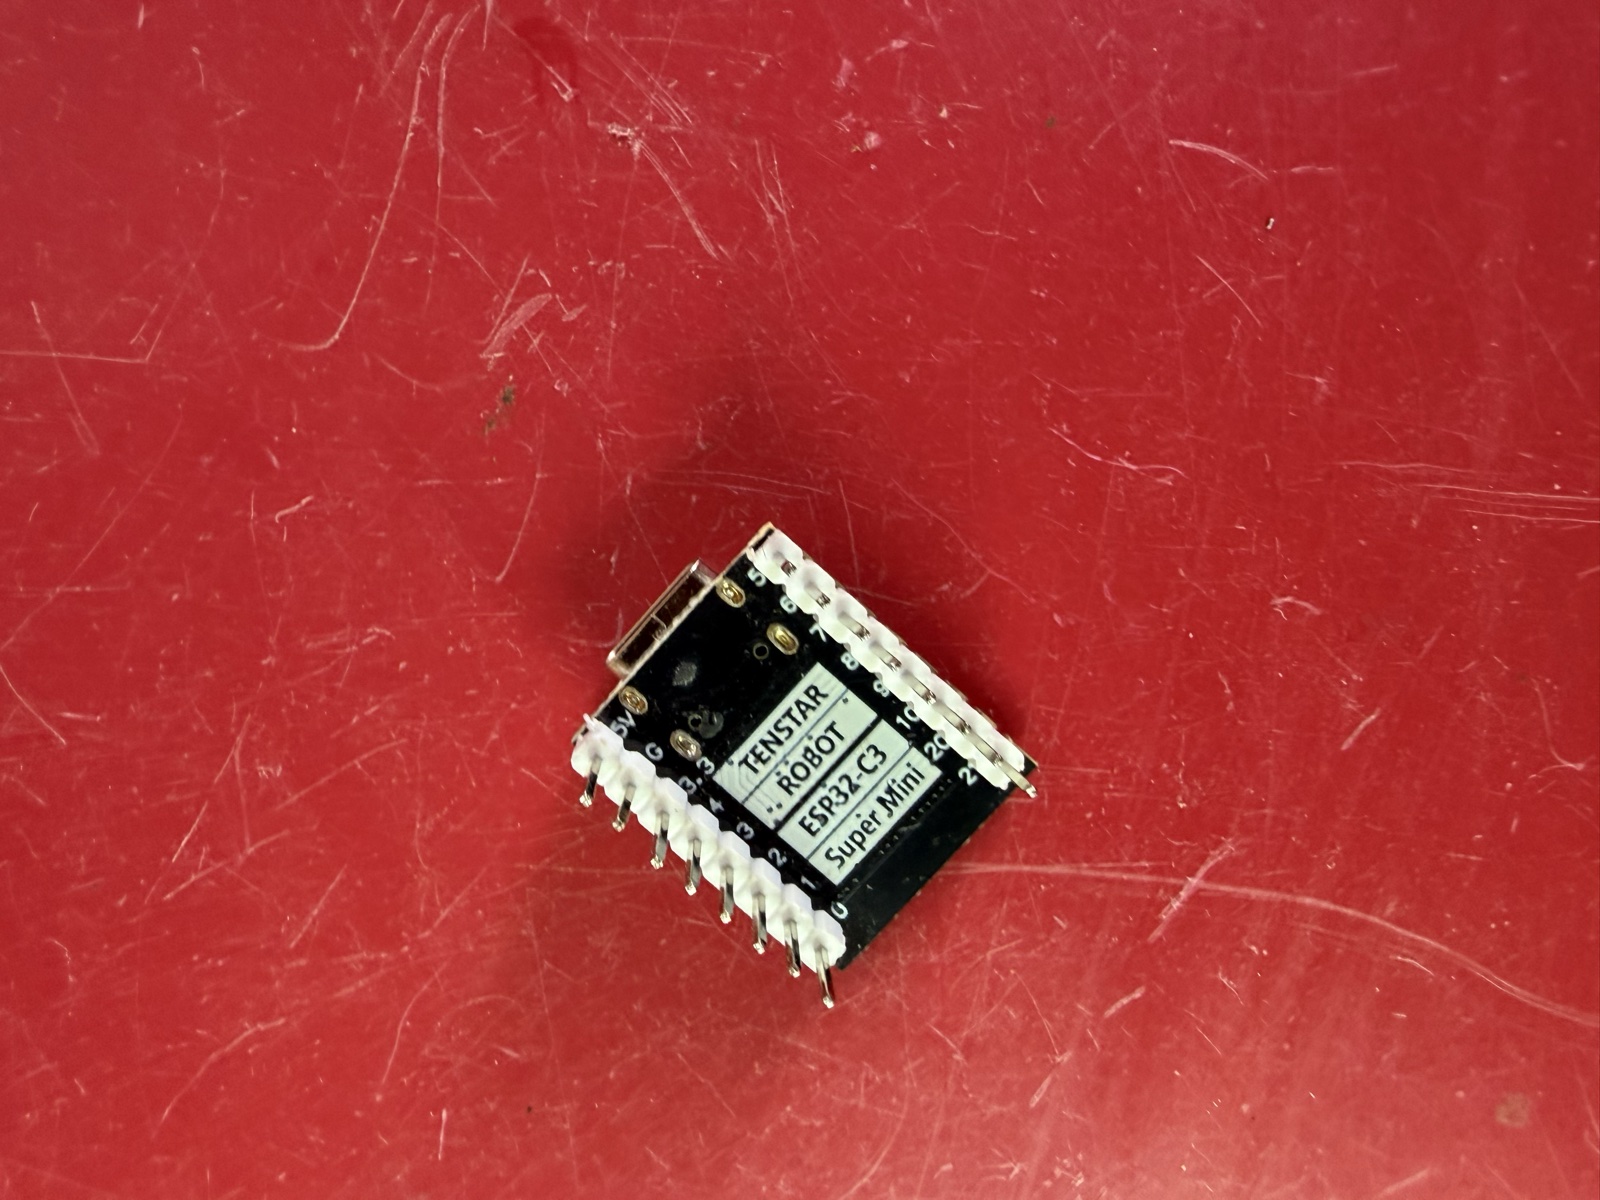
Recommended button inputs are:
GPIO0, GPIO1, GPIO3, GPIO4, GPIO5, GPIO6, GPIO7, and GPIO10.
GPIO20 and GPIO21 may also be used when UART0 is not needed.
Avoid:
-
GPIO2,GPIO8, andGPIO9: startup strapping pins -
GPIO8: also connected to the board LED -
GPIO9: also connected to the BOOT button -
GPIO12–GPIO17: used by flash -
GPIO18andGPIO19: used by native USB
See the ESP32-C3 GPIO documentation and hardware design guidelines for the electrical details.
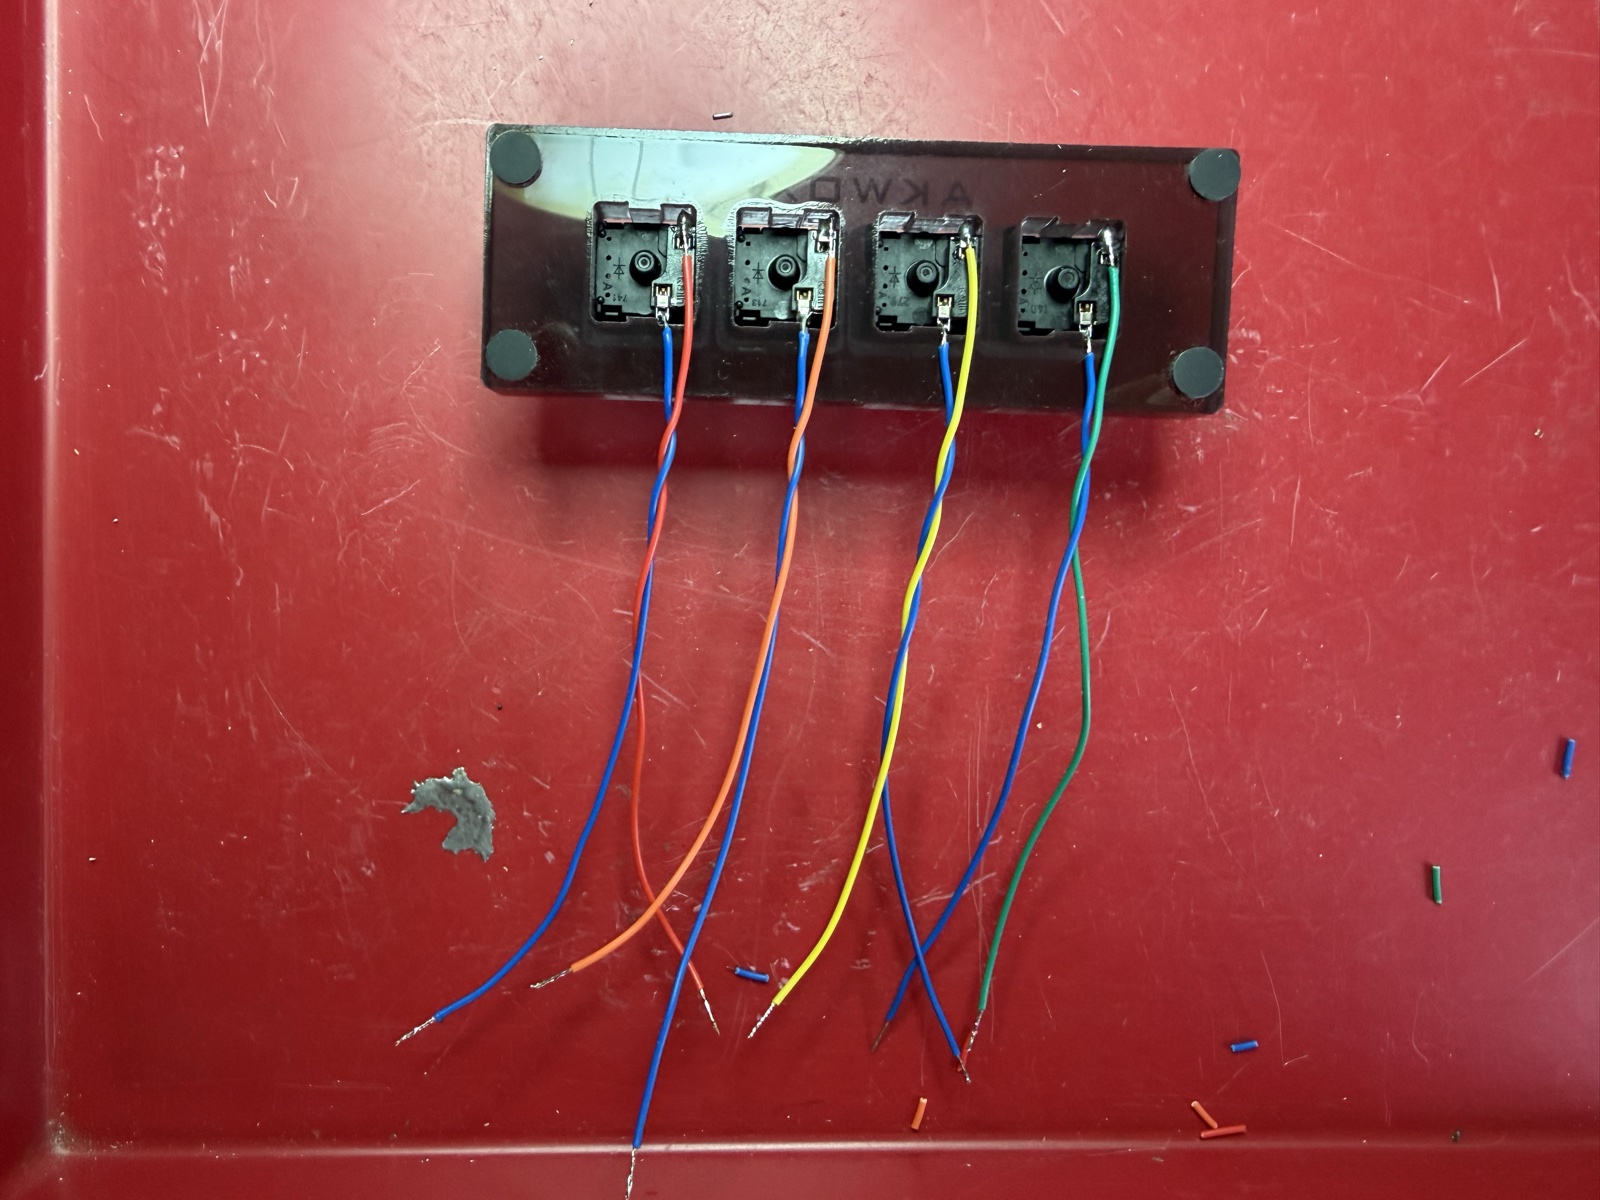
Connect one terminal of every button to G (ground). Connect the other terminal
of each button to its selected GPIO pin.
The firmware enables the ESP32-C3 internal pull-up resistors, so no external resistors are required. A released button reads high; pressing it connects the input to ground.
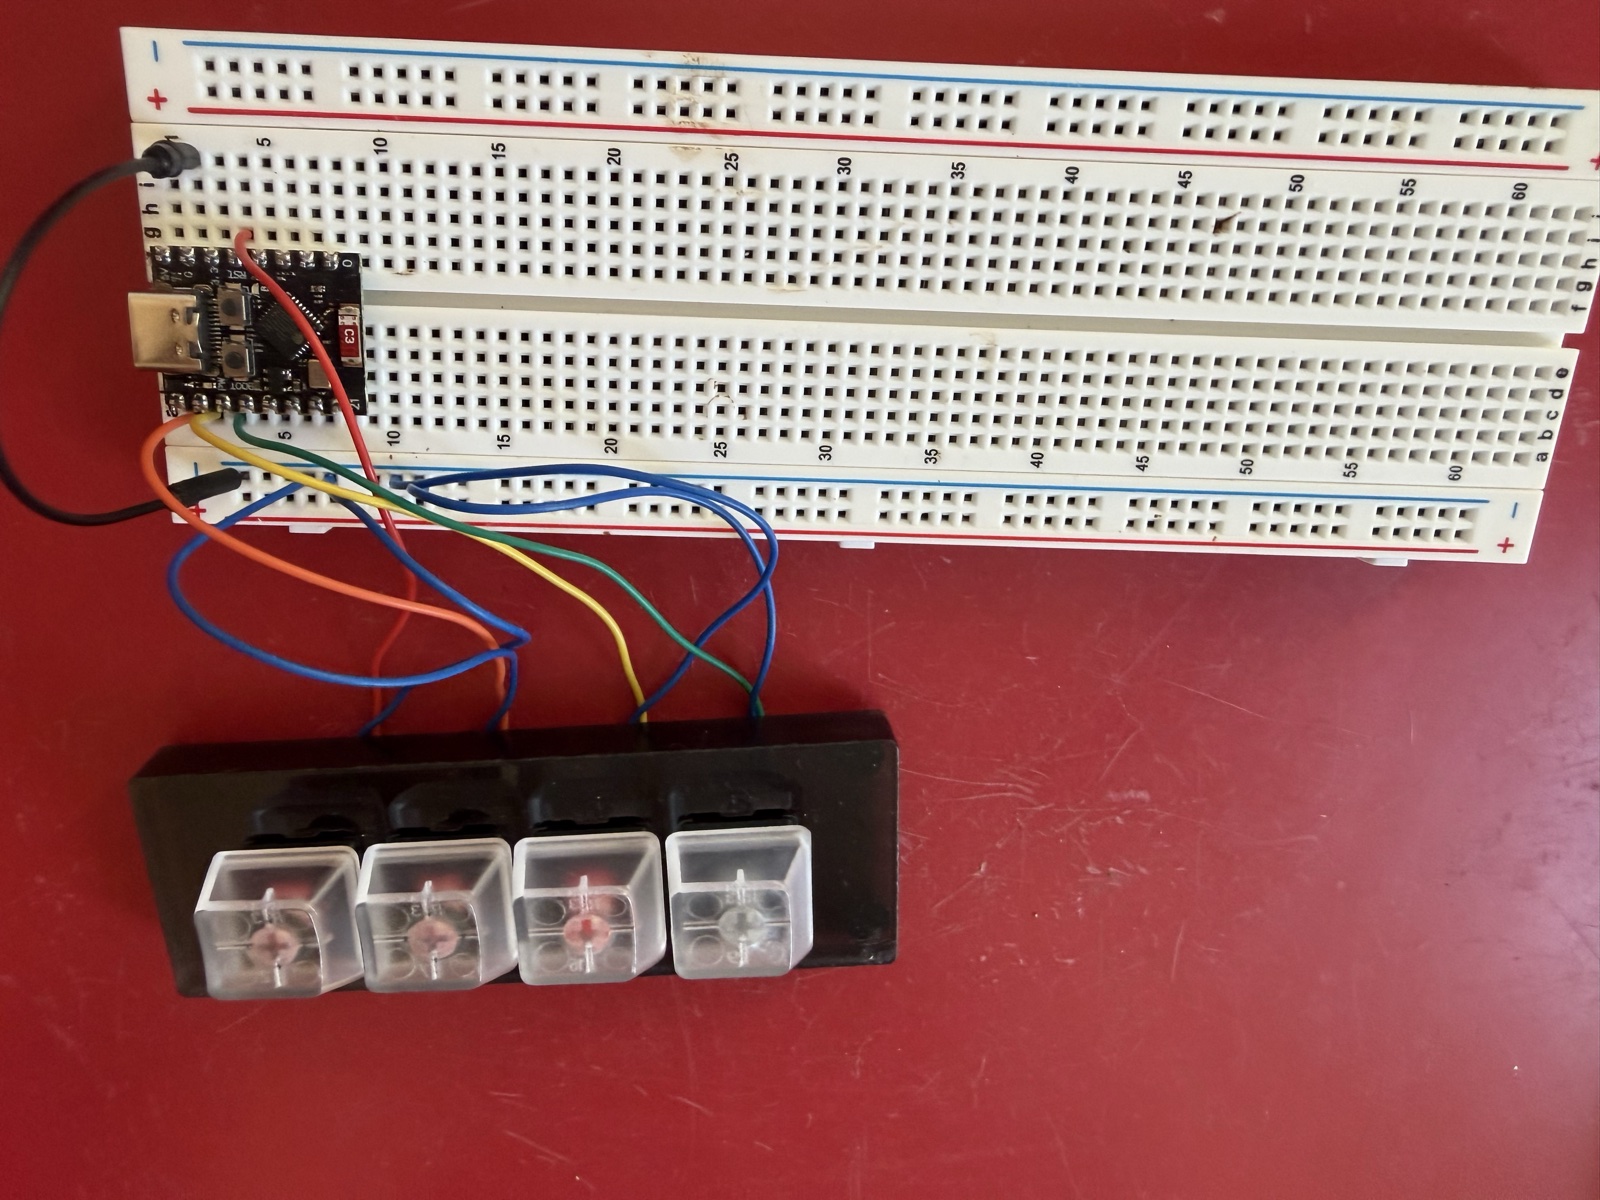
Install the controller on the breadboard and connect each button wire to its configured GPIO.
Follow the README’s Test the inputs step first.
The repository ships two tracked starting points in config/examples/:
-
voicemeter-4mutes.toml— four buttons onGPIO4–GPIO7driving Voicemeeter mute, including a two-second unmute burst. This guide uses it. -
voicemeter-2buttons.toml— a commented reference of every configuration key, with one latch button, one momentary button, and both a TEXT and a MIDI stream.
Copy one to the device configuration and edit it:
mkdir -p config/device
cp config/examples/voicemeter-4mutes.toml config/device/config.toml
Determine the IP address of the computer running Voicemeeter. In
config/device/config.toml:
- Set
[wifi].ssidto the Wi-Fi network used by the device. - Set
[global].default_ip_addressto the Voicemeeter computer’s IP address. It applies to every stream; a[[text]]or[[midi]]block may override it with its ownip_address. - Keep the example stream name
Command1and UDP port6980. - Set each button’s
gpi_pinto match the prototype wiring.
Do not copy the IP address shown in the screenshot; it is specific to that network.
In Voicemeeter:
- Open the VBAN configuration window.
- Switch global VBAN On.
- Enable the incoming TEXT stream named
Command1. - Keep UDP port
6980. The source address may remain unrestricted.
voicemeter-4mutes.toml sends no MIDI. If you start from
voicemeter-2buttons.toml instead, also enable the incoming MIDI stream named
MIDI1.

Complete the README’s Wi-Fi provisioning and firmware flashing steps.
With voicemeter-4mutes.toml:
- Button 1 (
GPIO4) unmutesStrip(0)on the first press and mutes it on the next one. - Button 2 (
GPIO5) does the same onStrip(1). - Button 3 (
GPIO6) is momentary:Bus(0)is unmuted while the button is held and muted again on release. - Button 4 (
GPIO7) unmutesBus(1), waits two seconds, then mutes it. A latch emits no event on release, so the wait always runs to completion and every press produces the same two-second burst.