User manual
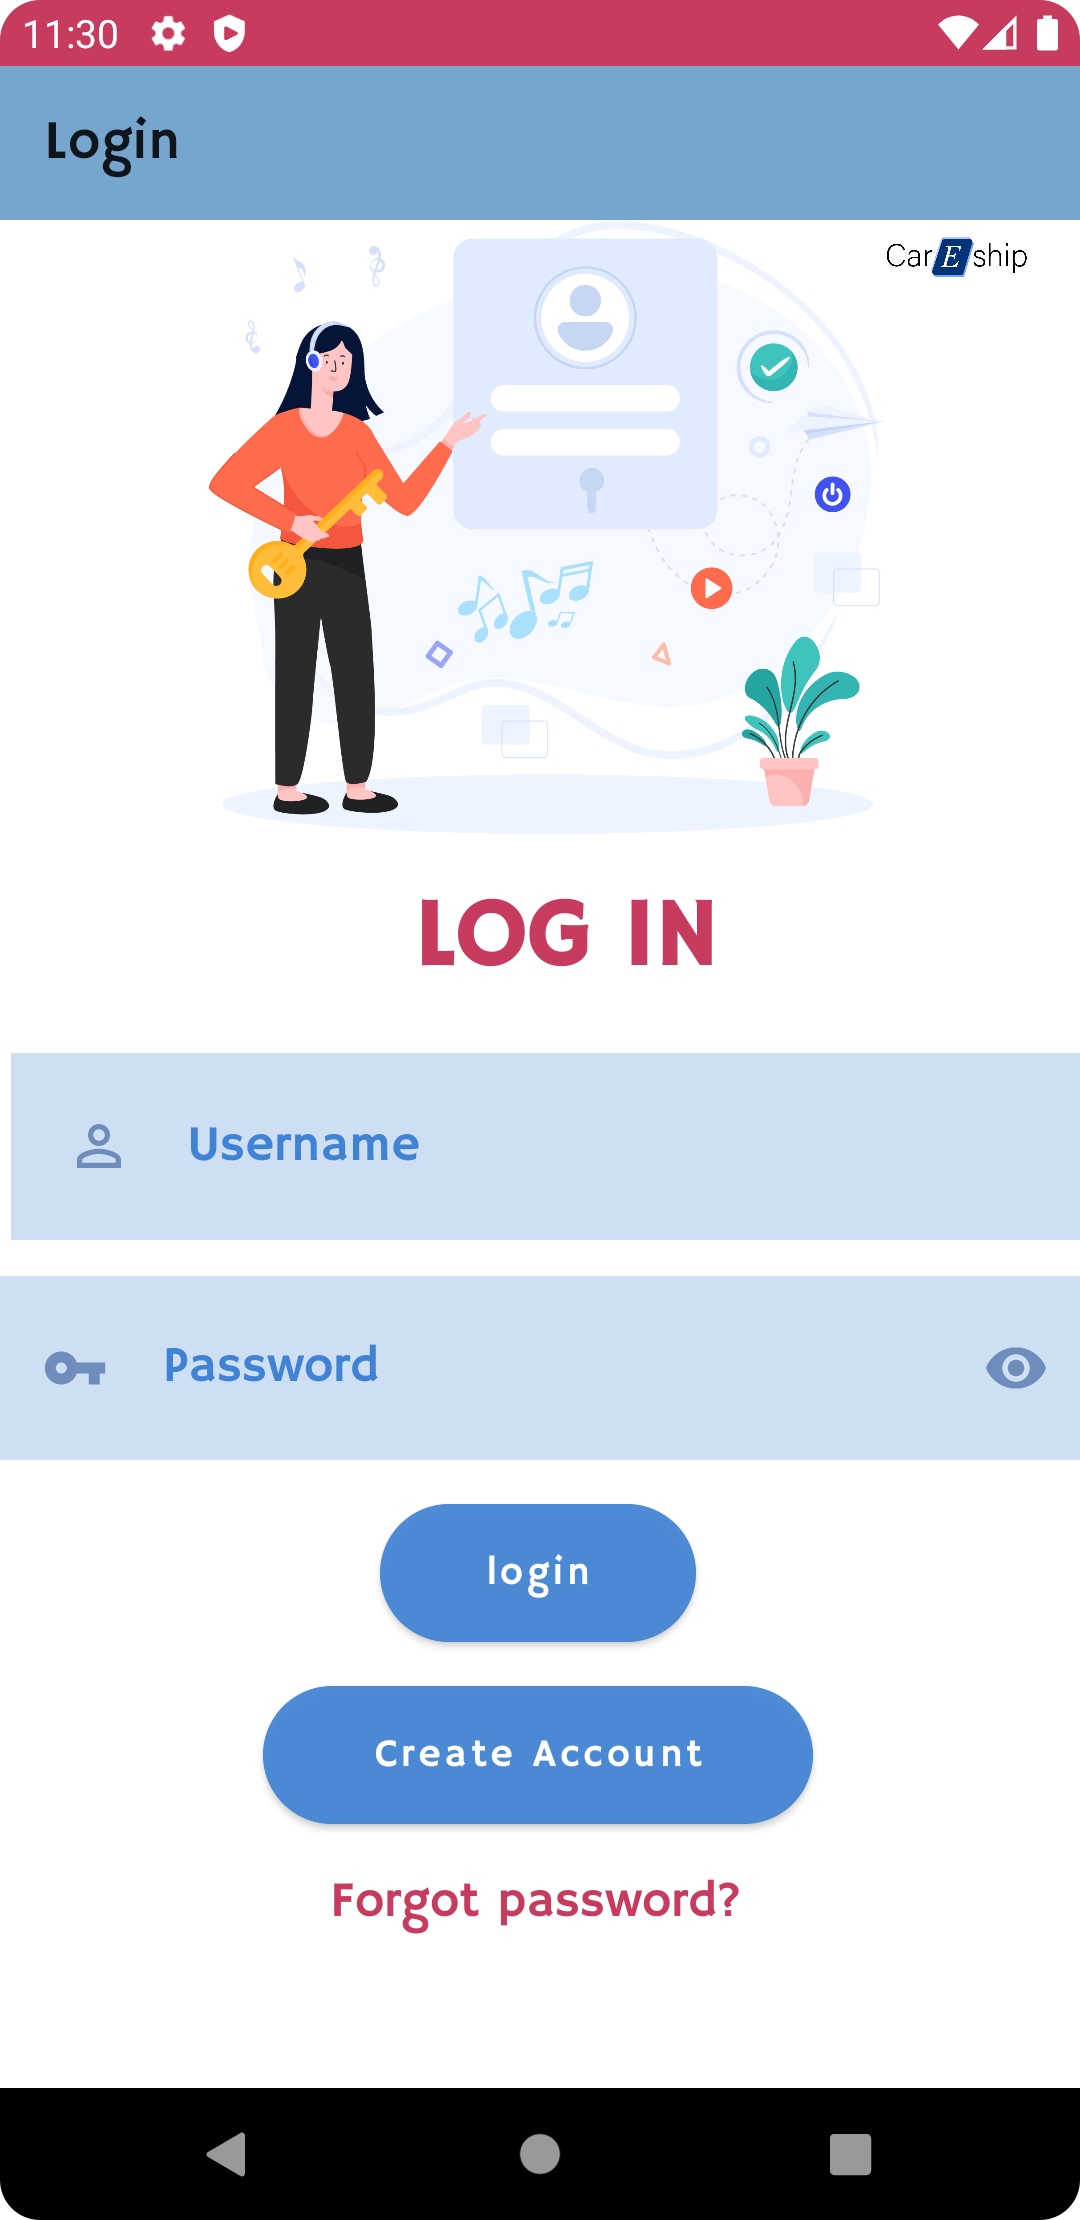
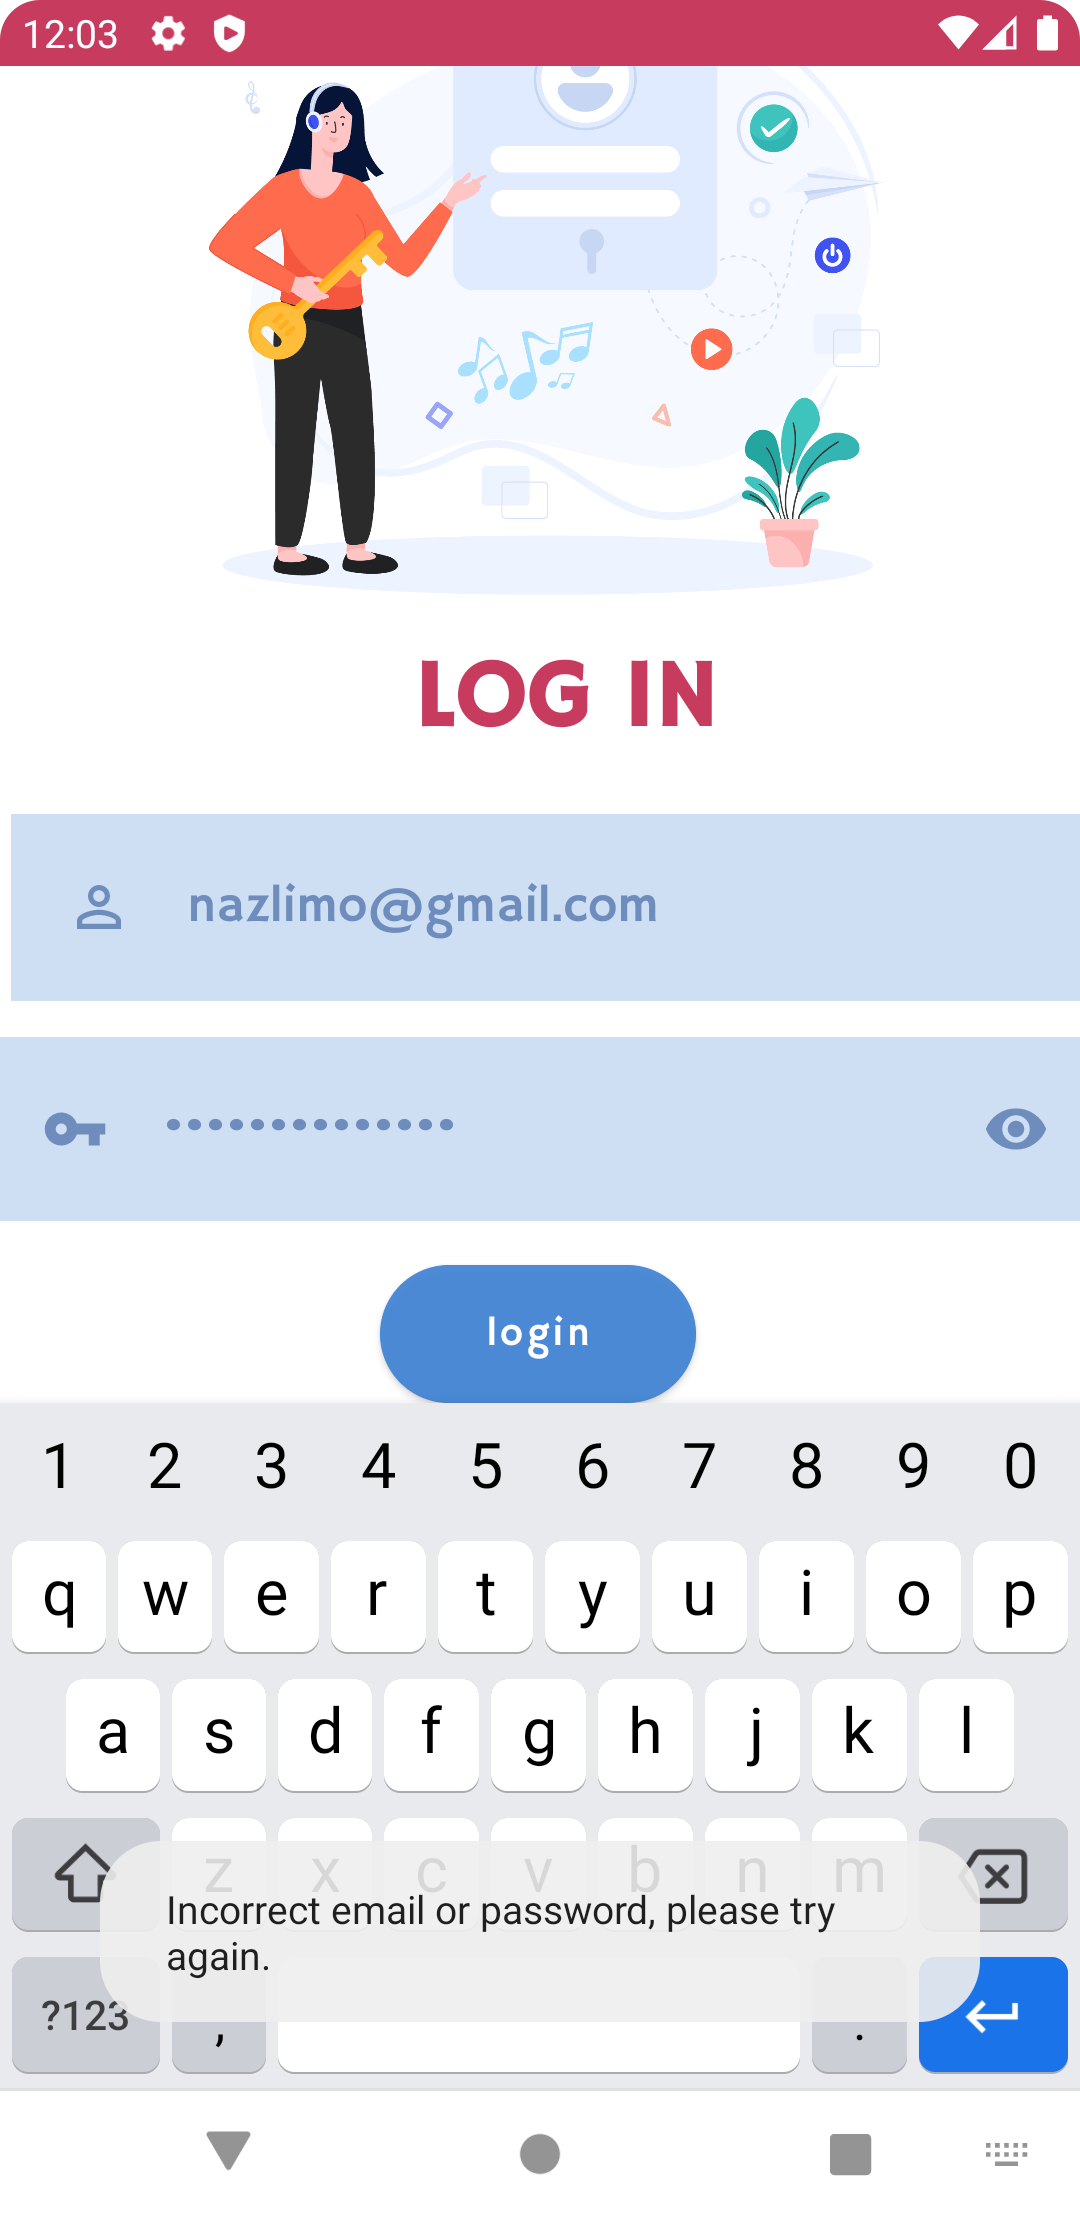
1.1 Customer login: If you want to login as a customer, you should fill in your username and password in the text field that is provided, and click the login button.If your login credentials are correct you will be directed to the products page.If you fill in incorrect information,the message “Incorrect email or password, please try again” will be displayed on the screen.
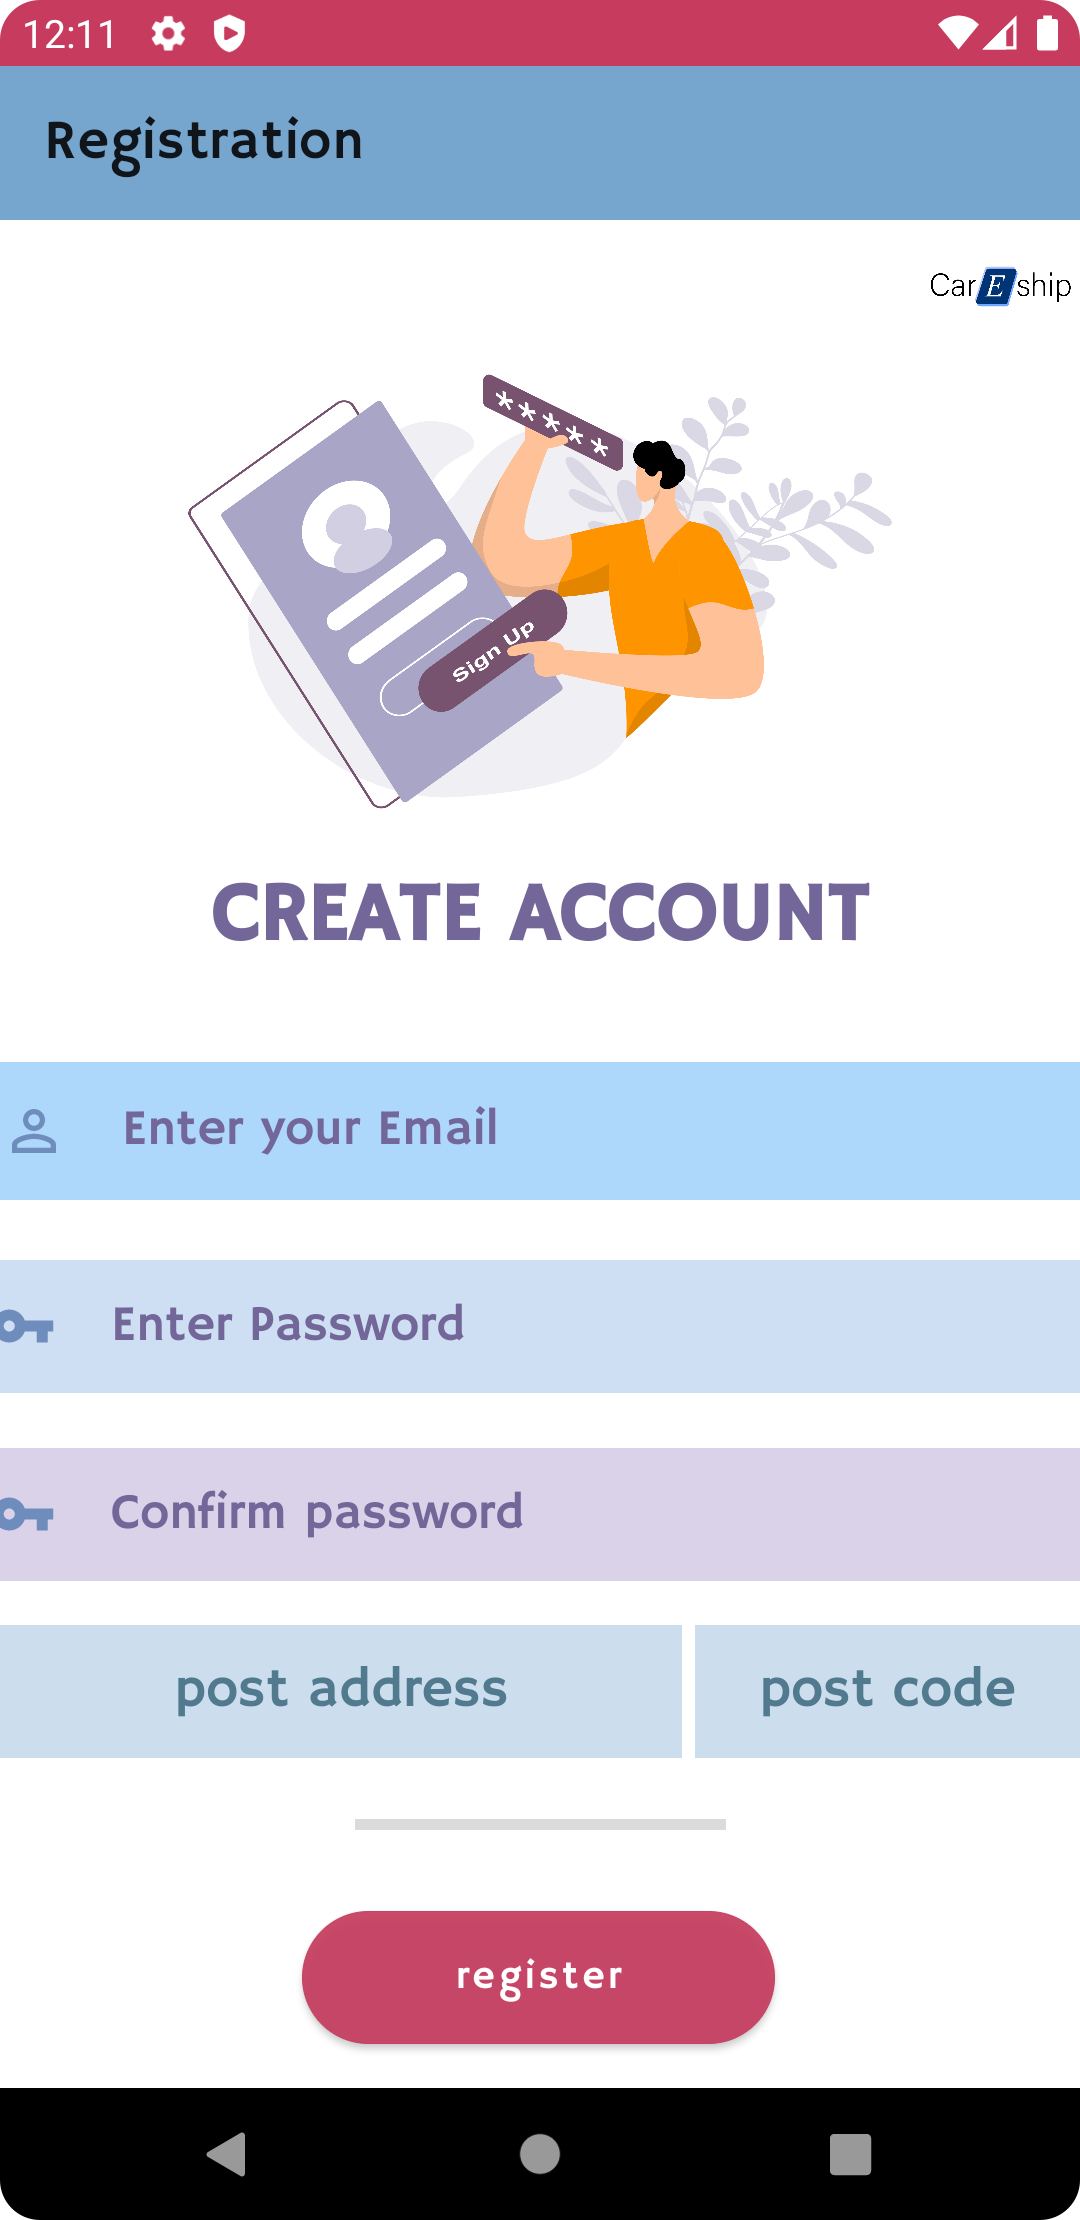
1.2 Create account: If you don’t have an account in the careship application, you can create one by clicking the Create Account button in customer login page.You will be directed to Create Account page and you can fill in the information. You should click register button in order to be registered in the system.After being registered to the system the message "Account has been created successfully" will be displayed in the screen.
Notes:
If one of the fields has been missed, a notifying label will be shown on the screen and asking you to enter non-empty values. Your password has to be at least 8 characters. You should follow the correct format of email (e.g :careship1@gmail.com)

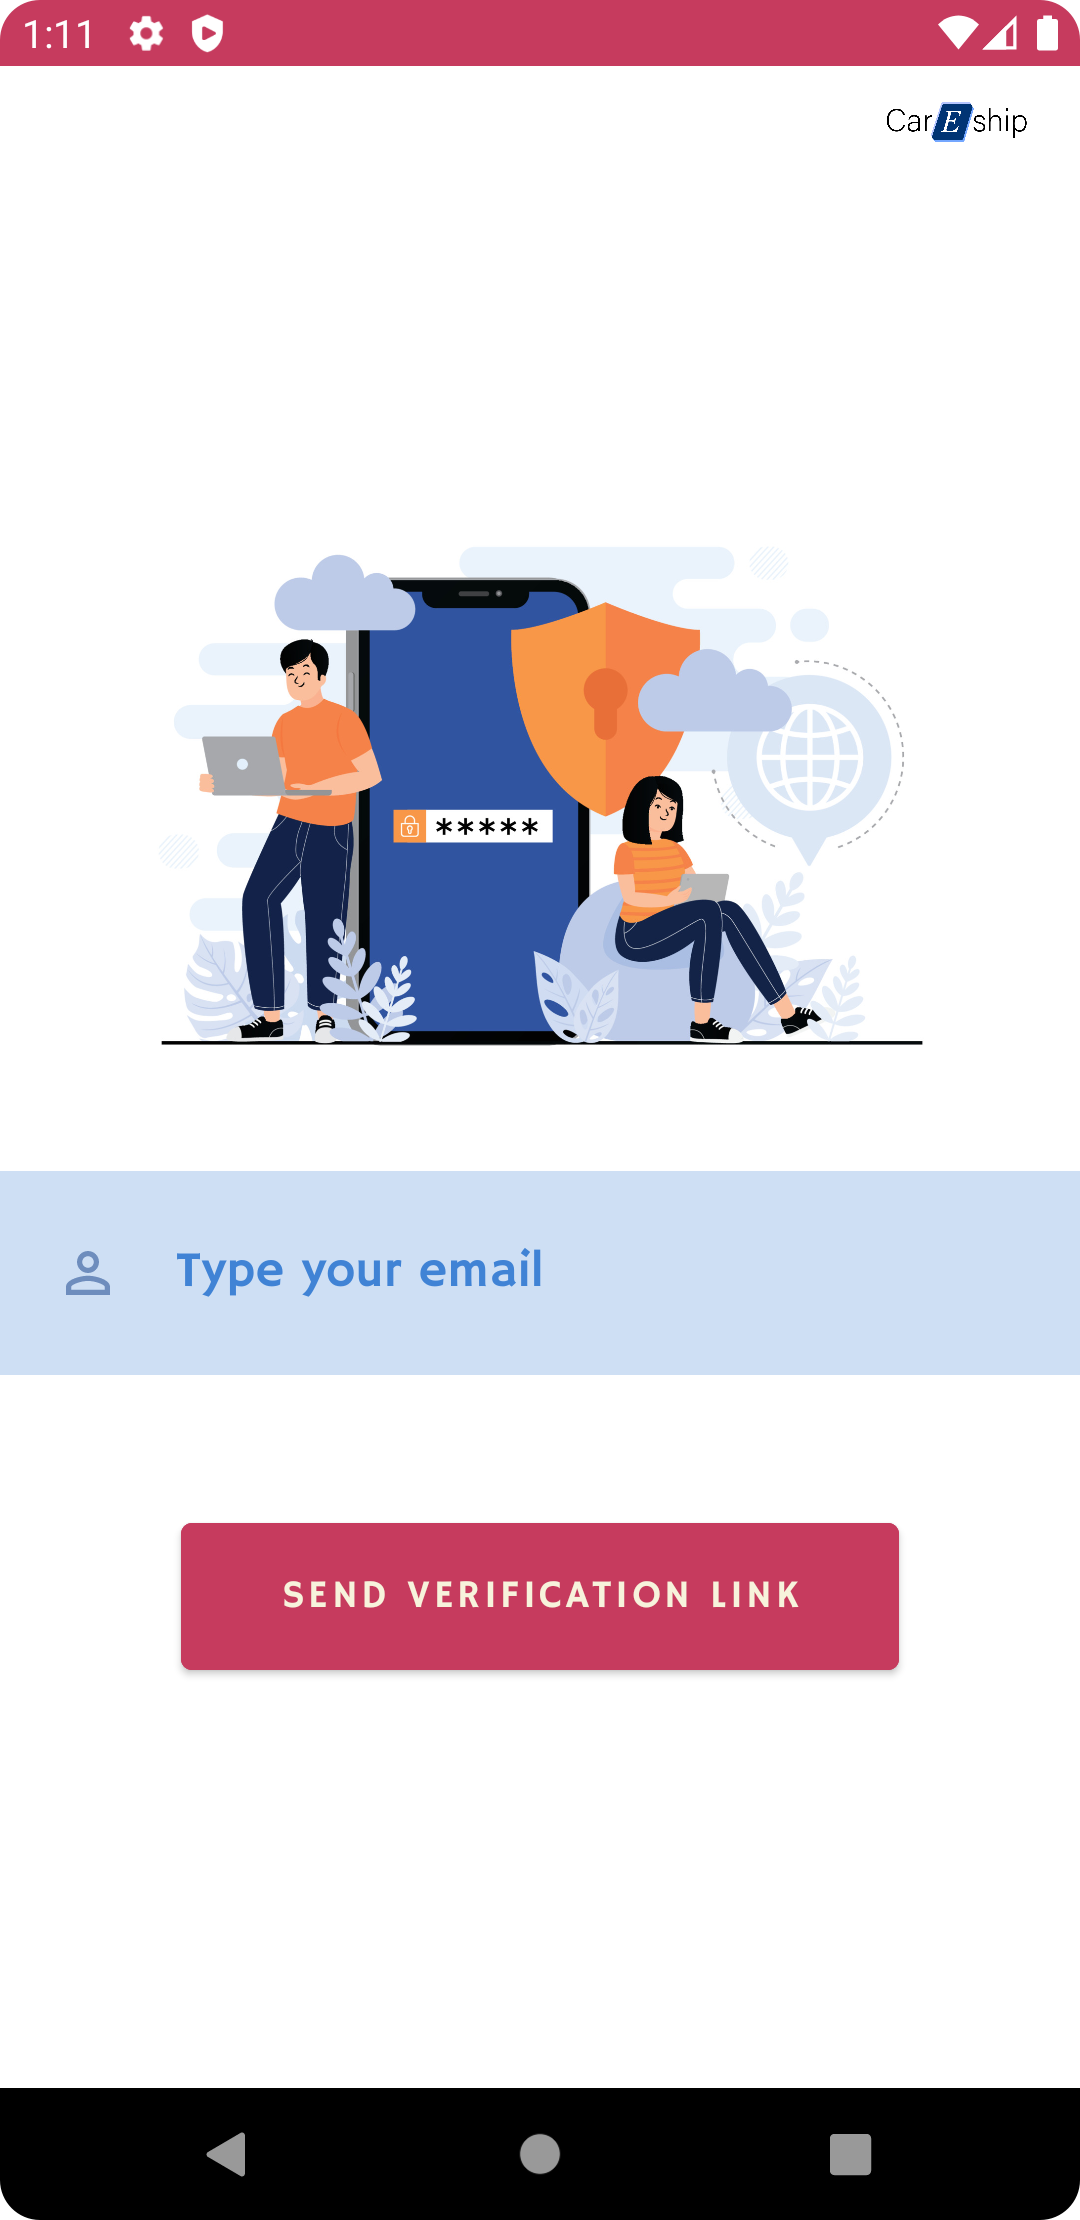
1.3 Forgot password: In case you forgot your password you can click on the “Forgot password” button on the customer login page, Then you will be directed to the page that you should provide your email.There would be a message "Email has been sent successfully! please check your email".Then a verification link would be sent to your email.After receiving the link you can use it to provide your new password.


1.4 Products home screen: After logging in, you will be directed to the page where you can see the list of all available products categorized based on the symptoms, and you can click the specific symptom and buy the medicine you are looking for. For example, you will be directed to the page below after clicking anxiety.


Note: You can search for the medicine by clicking on the space above the line at the top of the page and enter the first alphabets of the medicine you are looking for to optimise your search.

1.5 Buy a product: After clicking on the medicine you want to purchase, you will be directed to the page where you can see the description of the medicine, its rating number, and its price. There are two icons in the shape of positive and negative below the price, and they are for adding or removing the number of medicine you want. You can have as many as the specified products by clicking on these icons. Then you can finalize your purchase by clicking the "Add order" button.

1.6 Delivery information: After buying the medicine, you will be directed to the page where you can enter the delivery information. Fill out the blank spaces regarding the postal address, postcode, and contact number. Then press the “Done” button. You will be directed to the confirmation page, which would say your payment was successful. You can see the estimated delivery time and order date on the page.

1.7 Card information: To finalize your payment, you have to enter your credit card information. Fill out the blank spaces for account number, expiration date, CVV, and cardholder. Then press the complete payment button to finish the purchase process.
Note: If you don't fill in all the boxes, the message "please fill-in all boxes" will pop up.


Note: The account number should consist at least 10 digits, otherwise it will give you the error regarding invalid account number.

Note: You should fill-in the card holder box with only alphabets, otherwise it will give you the error regarding Entering alphabetical characters only.

Note: The CCV should be 3 digits, otherwise it will give you the error regarding invalid CCV.

1.8 Order confirmation: After finalising the payment and entering the information regarding the delivery, you will be directed to the page where you can see the confirmation of your order.

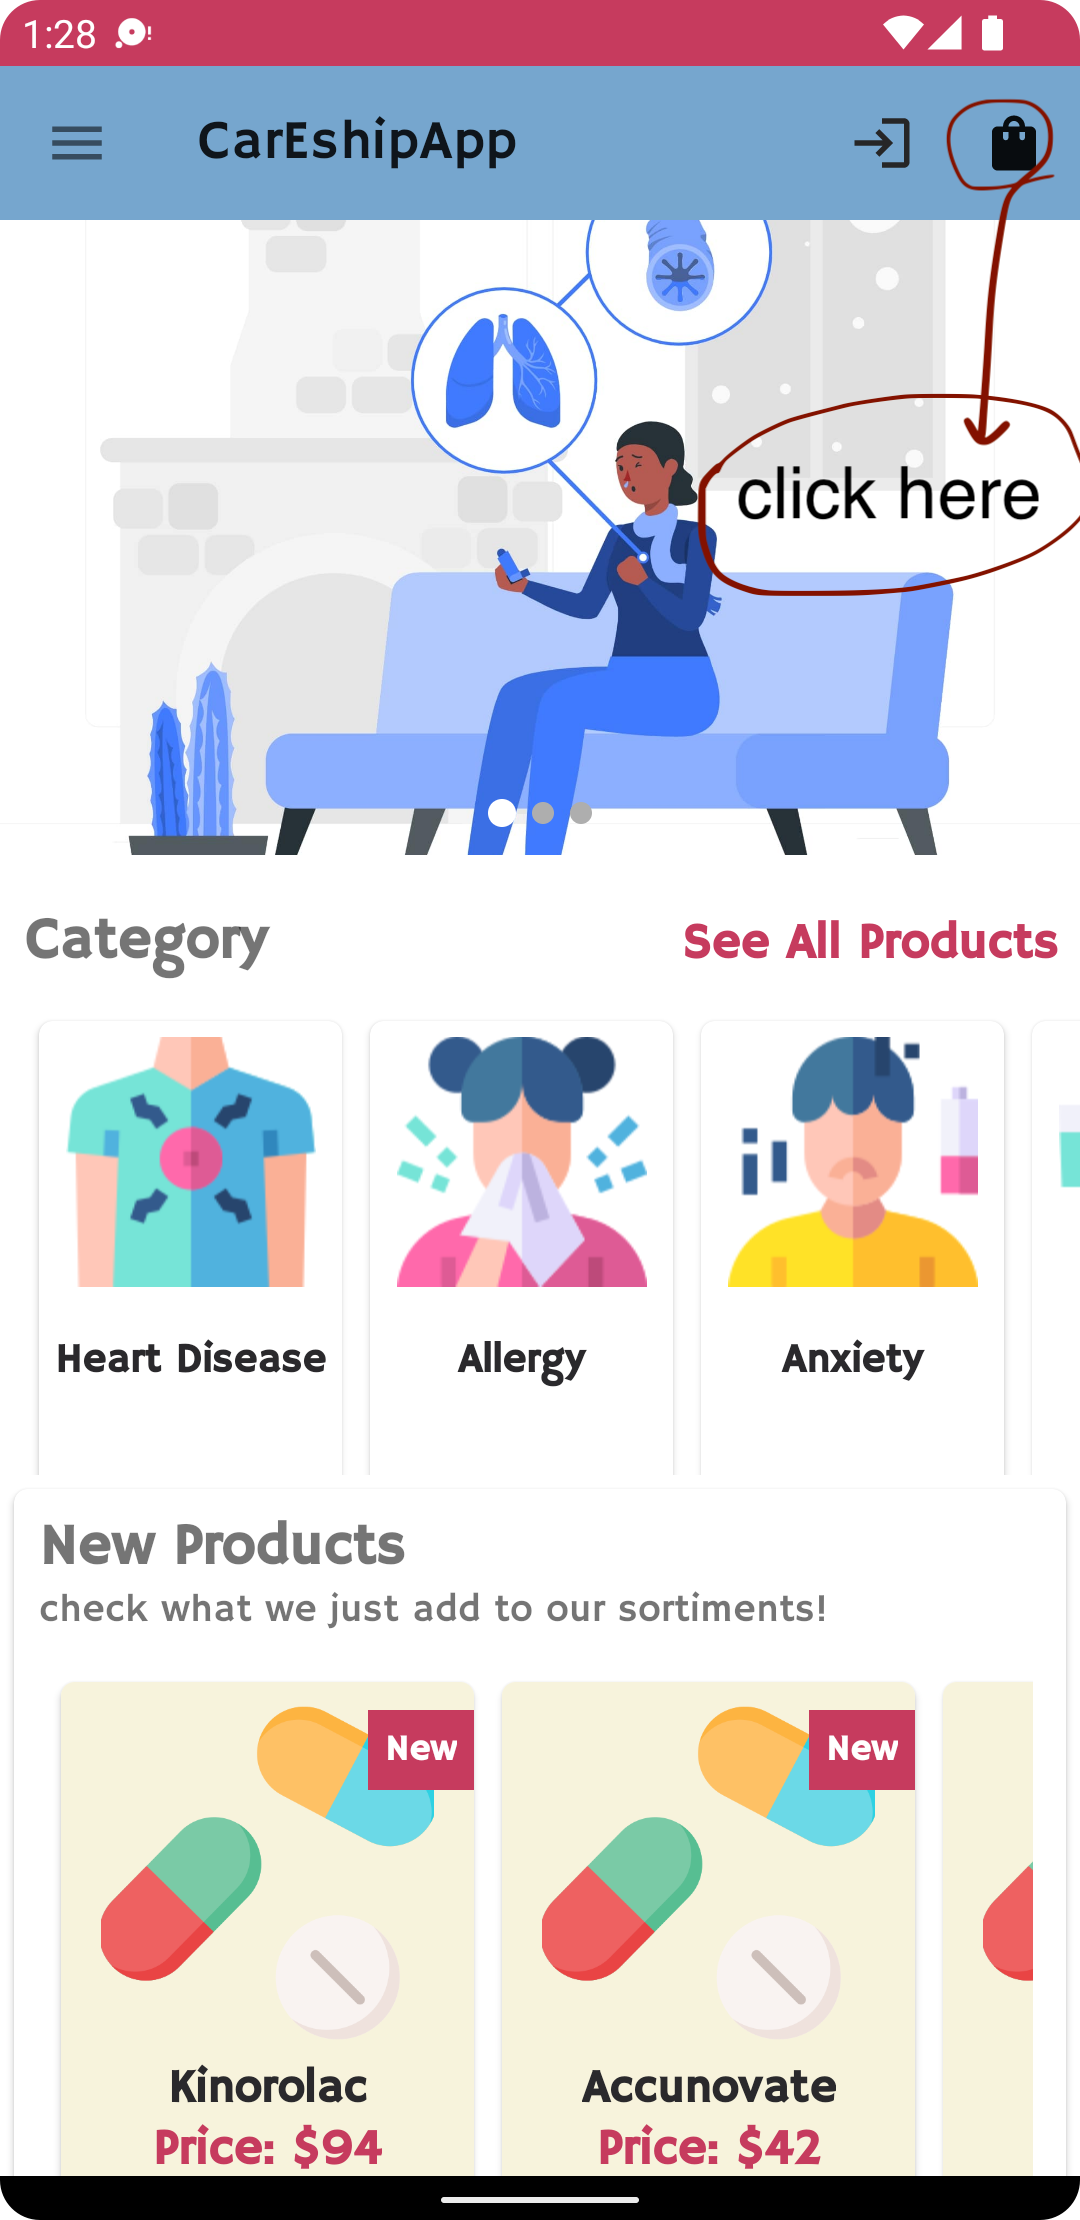
1.9 Order history: You can see the new order that you made on the product's home screen. You can see a small bag icon at the top of the page. You can click on that, and you will see the information about your order.

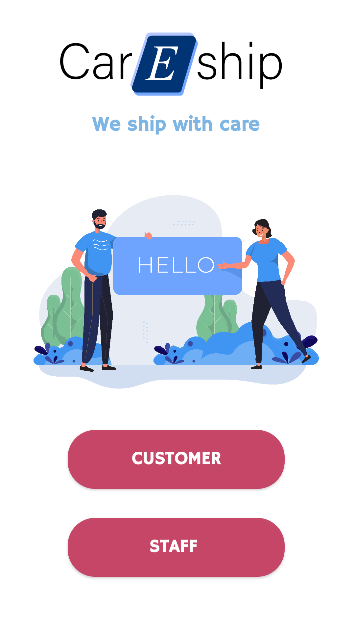
2.1 Choose user type screen: Staff member must click on the "Staff" button in order to enter the staff-side user interface.
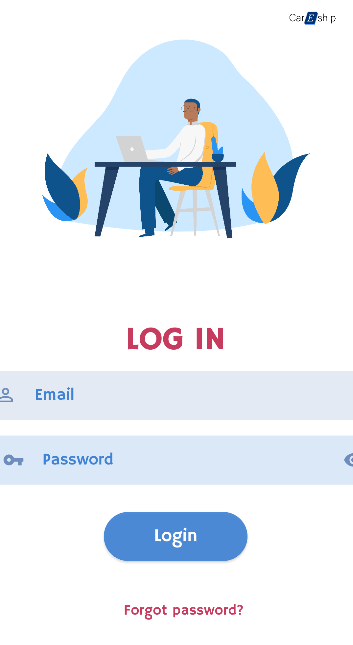
2.2 Log in screen: In order to log in, the staff member must enter credentials provided to them by their employer, such as email and password. After entering email and password, the staff member must click on the "Login" button to proceed onto the next screen. If the staff member forgot their password, they should follow the step 1.3 in the user manual.
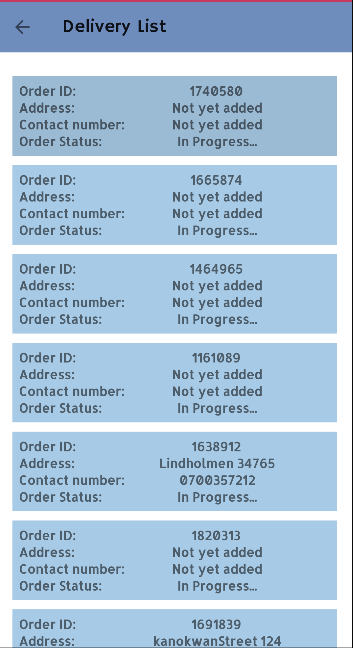
2.3 Orders screen: After the successful login, the staff member is redirected to the orders screen, where orders from customers are displayed. The staff member can select an order by clicking on a rectangular box with order information.
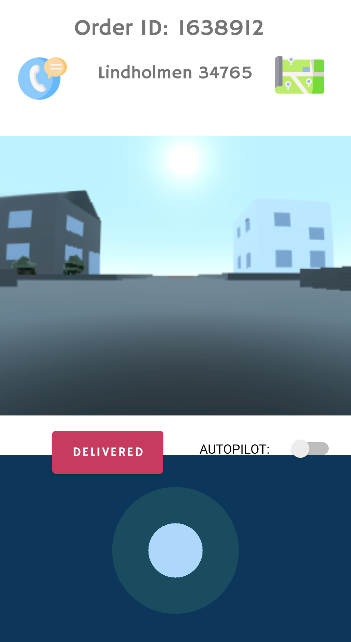
2.4 Car control screen: After order selection, the app redirects the staff member to the car control screen. On this screen, the staff member is presented with:
- phone button in top-left corner.
- customer order information in the top-center, which displays order id and address of the customer.
- map button in top-right corner.
- camera window in the center, which displays current environment in front of the smartcar.
- "delivered" button in the center-left, that upon clicking shows message "the order has been delivered" and updates the order status from "in progress" to "delivered".
- "autopilot" toggle switch, which on pressing slides to the right and activates autopilot mode in the smartcar, and the car starts to drive autonomously. To turn it off and drive manually - press on the toggle switch again, and wait until it slides back to the left.
- the joystick panel at the bottom, which gives the staff member the ability to control the smartcar manually, by clicking on the joystick and dragging it across the y and x axes. In order to drive straight - drag the joystick up, to drive right - drag it to the right, to drive left - drag it to the left, to drive back - drag it down.
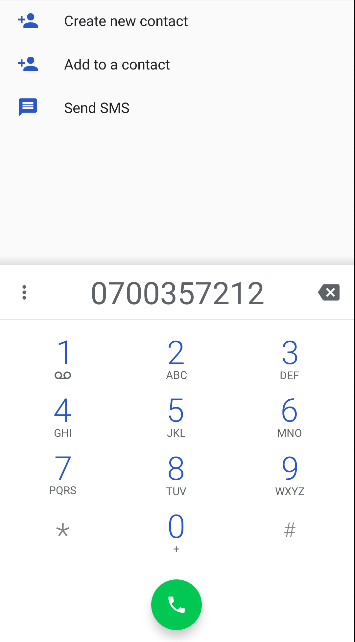
2.4.1 Phone button: When the phone button is pressed, the staff member is redirected to the phone dial screen, where upon pressing on the green phone button it will dial the customer.
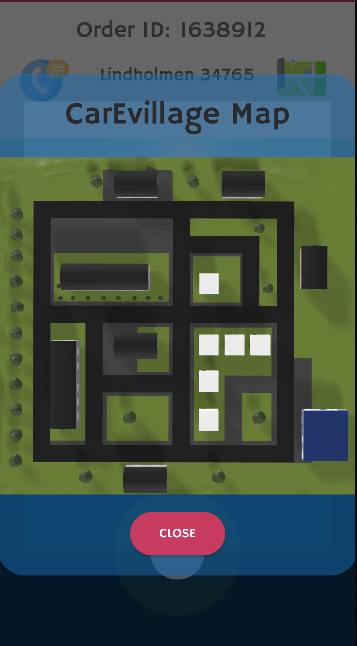
2.4.2 Map button: If map button is pressed, a window with the map of the town will pop up. To close it, the staff member must press "close" button.