Display Light Overlay
VTube Studio can take the average color from your screen (Windows/MacOS) or any window (Windows only) and overlay it over your model, including attached items. This makes it seem like your model is "in the game/video" in your OBS/Streamlabs scene. Inspired by this post by @Virtual_Graves. On iOS and Android, you can only overlay a static color over your model.
There may be a small delay (~100 ms) for the lighting to be calculated. You can add a source render delay to your other capture in OBS to make up for that.
IMPORTANT: If this does not work, try starting VTube Studio as admin. On macOS, you need a recent OS version for this feature to work, most likely "Big Sur" or newer.
There are the following options:
-
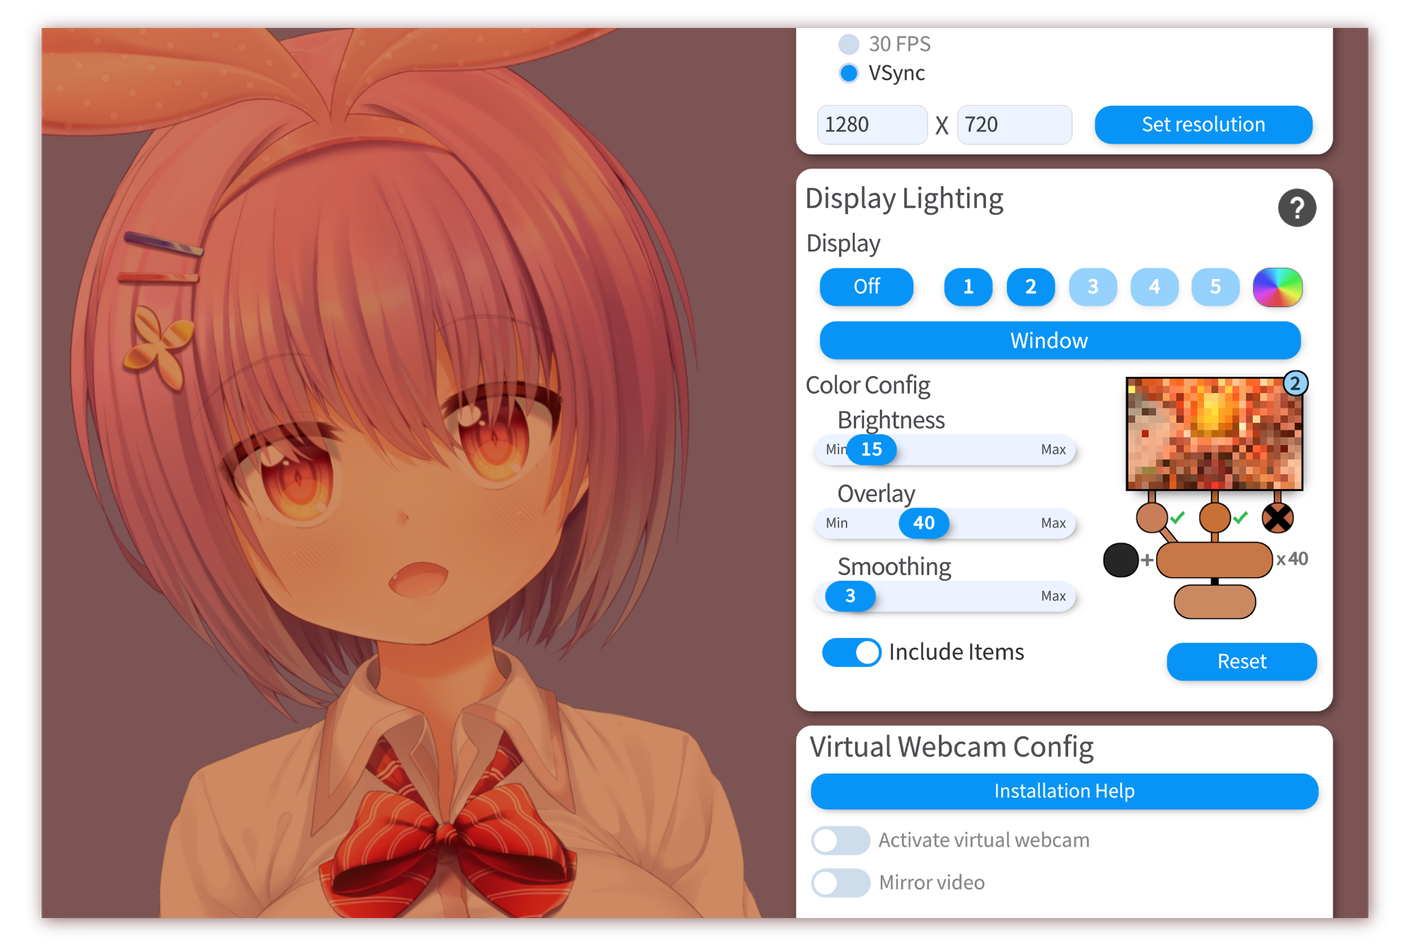
Display
- The activated display. On Windows, you can also select a specific window here using the "Window" button. The rainbow-colored button lets you choose a static color overlay. On mobile, only this button is available.
-
Brightness
- Base brightness level. It's best to keep this low.
-
Overlay
- Color overlay multiplier. The higher you set this, the more the color overlay will be shown. If it's too high, your model might be very bright when there are bright colors on screen.
-
Smoothing
- Smoothing for the color values. 3-4 is a good value.
-
Include Items
- Whether or not items should also be tinted.
The colored circles below the screen preview show the respective average color calculated for the left, middle and right screen part. You can click them to include/exclude them from the average color calculation. That way, you could tint your model only using the color of a part of your screen.
Using one specific window as color overlay source is only available on Windows (no macOS). When you click the "Window" button, it will show you a list of windows and displays that you can select from. Anything you select here will be captured (if it's not minimized) but, unlike the full display capture, will have a yellow border around it that currently cannot be removed (restriction of Windows WinRT capture).
You can also select "current window" from that list. If you select this and then create a hotkey based on that setting, activating the hotkey will switch the capture to the window you have currently focused.
You can also control this via hotkeys. Just create a hotkey with the type "Screen Overlay" and click "Record Settings" to record the current display color overlay settings into a hotkey.
For window captures, it will look for the exact window name of the window that was captured when the hotkey was recorded (unless it was set to "current window").
You can exclude ArtMeshes from being affected by scene lighting or modify how much they're affected. Fore more information on that, check out the page "Add Special ArtMesh Functionality".
![]() If you have any questions that this manual doesn't answer, please ask in the VTube Studio Discord
If you have any questions that this manual doesn't answer, please ask in the VTube Studio Discord![]() !!
!!
![]()
- Introduction & Requirements
- Known Issues
- Where to get models?
- Android vs. iPhone vs. Webcam
- Getting Started
- Loading your own Models
- Loading your own Backgrounds
- VTube Studio Settings
- Display Light Overlay
- Visual Effects
- Spout2 Background
- VTS Model Settings
- Expressions ("Stickers"/"Emotes")
- Animations
- Interaction between Animations, Tracking, Physics, etc.
- Streaming to Mac/PC
- Recording/Streaming with OBS
- Starting without Steam
- Starting as Admin
- Restore old VTS Versions
- NVIDIA Broadcast Face Tracker
- Google Mediapipe Face Tracker
- Tobii Eye-Tracker
- Hand-Tracking
- Lipsync
- Controlling multiple models with one Webcam or iPhone/Android device
- Connection Issues & Troubleshooting
- Taking/Sharing Screenshots
- Item System
- Live2D-Items
- Recoloring Models and Items
- Record Animations
- Multiplayer
- VNet Security
- Twitch Interaction
- Add Special ArtMesh Functionality
- Item Scenes & Item Hotkeys
- Plugins (YouTube, Twitch, etc.)
- VTube Studio Model File
- Copy config between models
- Sending data to VSeeFace
- Steam Workshop
- How to fix lag issues
- How to fix webcam issues
- Live2D Cubism Editor Communication
- FAQ
- Privacy Policy, Licensing and Further Terms