Getting Started
Feel free to play around a bit by yourself inside the app! It comes with a few Live2D models, but of course you can also load your own ones (more on that later).
VTube Studio consists of the smartphone app (iOS/Android) and the PC app (Windows/macOS). They are very similar. Let's look at the interface of the smartphone app first.
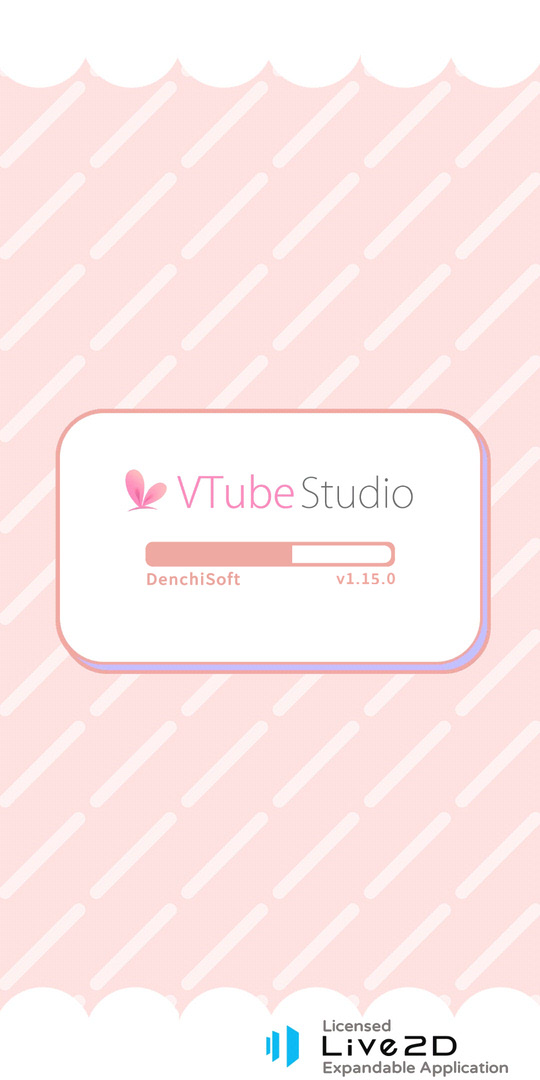
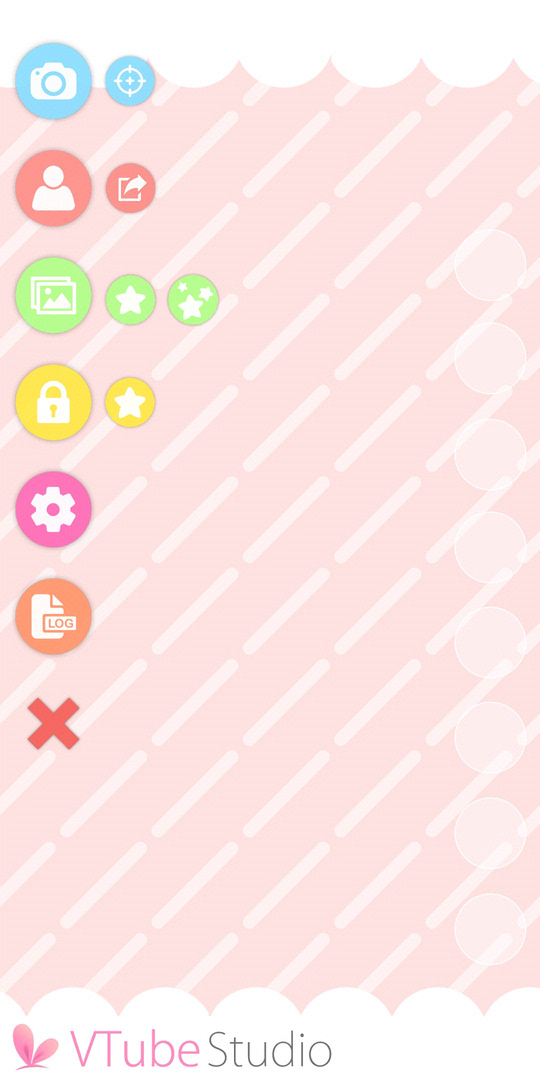
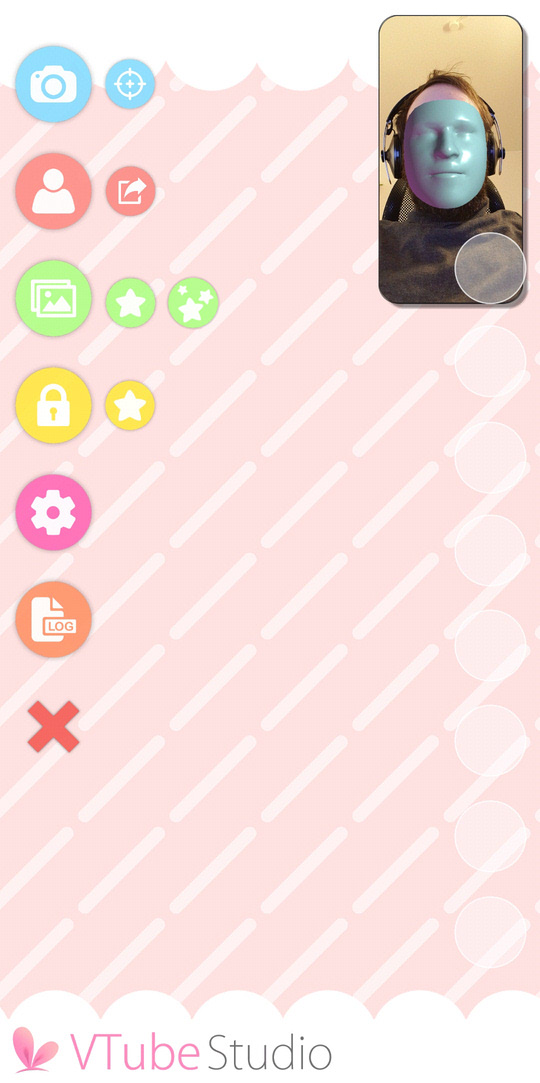
In the first image, you can see the VTube Studio loading screen. If you want to find out the version of the app you're using, it'll be shown right there. The second image shows the main menu of the app. From there, you can access the main app functionality. From top to bottom:
- Show camera preview image (see also third image).
- The icon next to it starts the camera calibration without showing the camera preview. You can also calibrate by clicking on the camera preview image when it's shown.
- When using the webcam version, there is no way to show your webcam image in VTube Studio for privacy/security reasons.
- Show model selection bar.
- The icon next to it opens the screenshot config. Using this, you can take screenshots directly from within the app, save them and share them on social media. Also supports PNG screenshots with transparent background.
- Change background (shows background selection list).
- The icon next to it (the one with the star) opens the item/prop system config to import items into the scene. See the chapter Item System for more info.
- The icon next to that one (the one with three stars) opens the Item Scene config window to set up collections of items that can be turned on/off via Hotkeys. See the chapter Item Scenes for more info.
- Lock model position (will make sure you can't accidentally move the model around when touching the screen, face tracking will still move/animate the model).
- The icon next to it locks/unlocks all items in the scene. See the chapter "Item System" for more info.
- Show settings, including VTube Studio model and hotkey setup.
- Show logs (if you run into any issues/errors, check the log).
- Hide main menu icons. Double-clicking anywhere on the screen will show the menu icons again.
Now let's see what happens when you click the "Show model selection bar" icon.
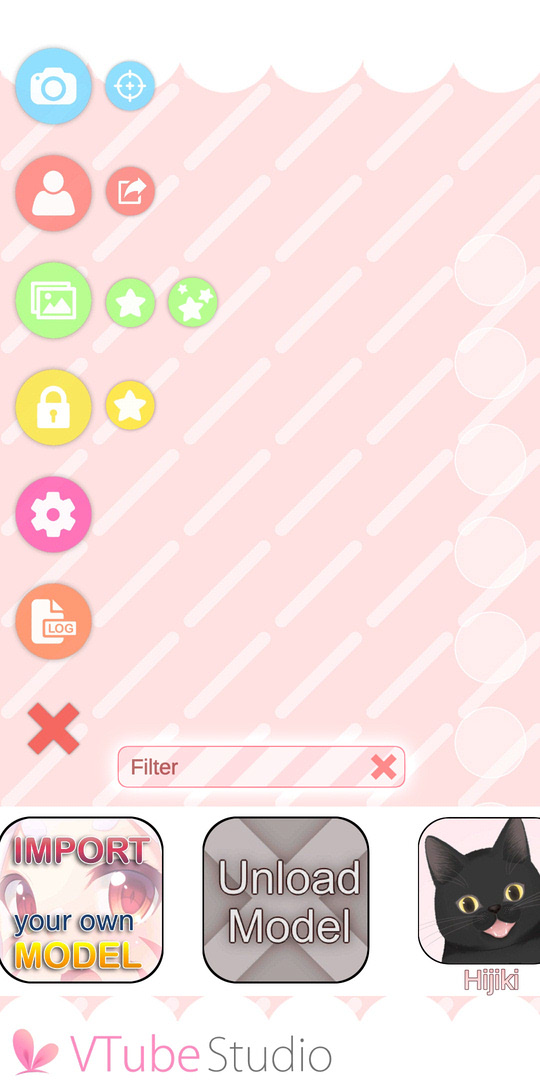
The first item will open a guide on how to load your own models into the app (this document). In the Steam-version, it'll open the folder that you have to put the models into in order to import them. The second button will unload the model if a model is currently loaded.
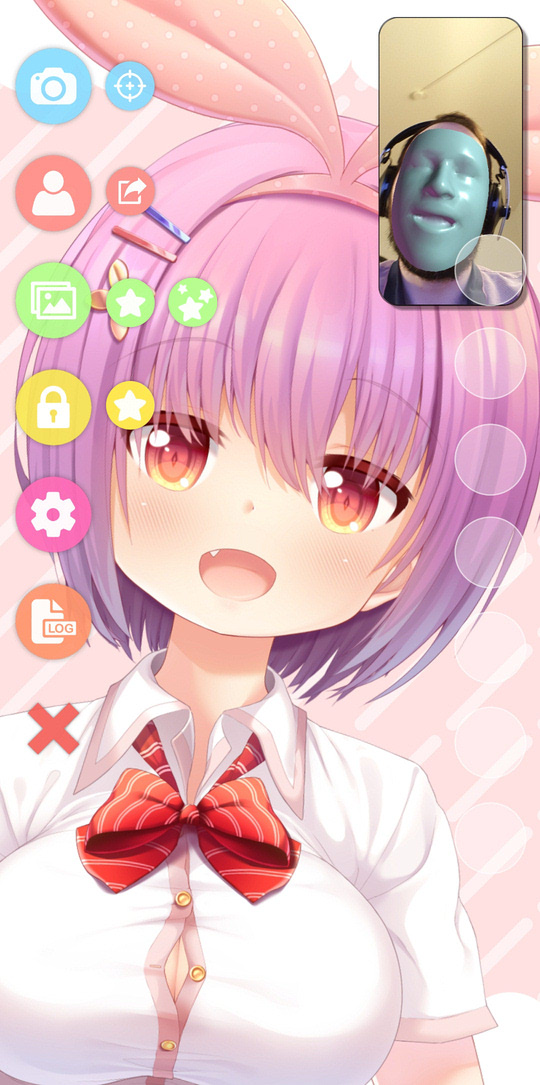
The items after that are the models currently available in the app. VTube Studio comes with a couple example models for you to play around with. After clicking a model, it'll be loaded into the scene. If the model is not yet configured, you'll be asked to run the "Auto-Setup" for iOS/Webcam or Android which will set the model up based on default Live2D parameter names and value ranges. This will be covered later.
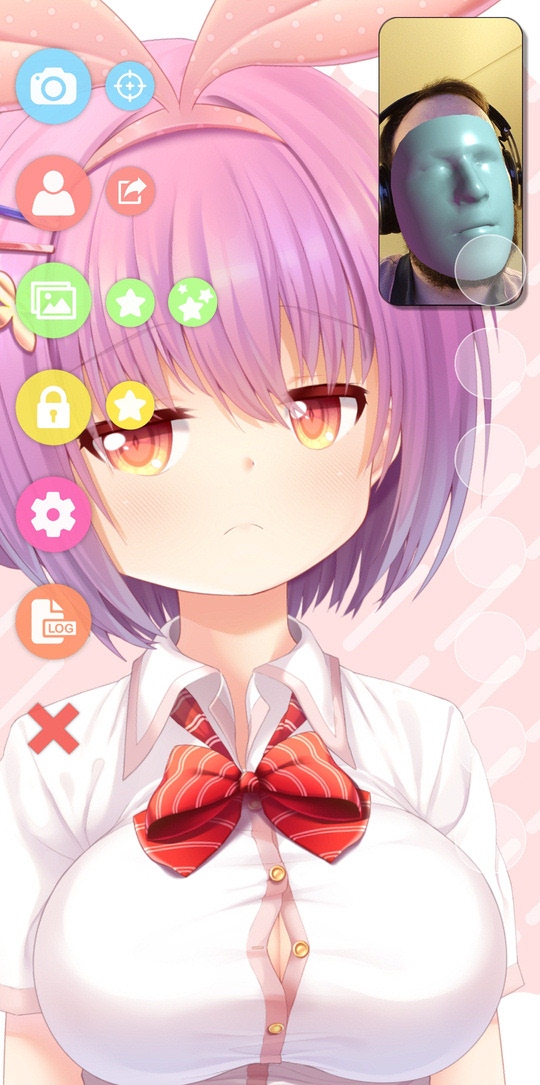
Once the model is properly configured, the model will imitate your movement and facial expressions. You can move, rotate and scale the model with the usual touch gestures. When opening a model in the PC app, the controls for moving/rotating/scaling will be shown on the screen.
You can close the camera preview at any time. There is no reason to keep it open. You can click the camera preview window to calibrate the face tracking. While doing this, keep your face at a normal distance from the camera with a neutral expression on your face. This is especially important on Android/Webcam, iOS only needs calibration to reset the face direction.
![]() If you have any questions that this manual doesn't answer, please ask in the VTube Studio Discord
If you have any questions that this manual doesn't answer, please ask in the VTube Studio Discord![]() !!
!!
![]()
- Introduction & Requirements
- Known Issues
- Where to get models?
- Android vs. iPhone vs. Webcam
- Getting Started
- Loading your own Models
- Loading your own Backgrounds
- VTube Studio Settings
- Display Light Overlay
- Visual Effects
- Spout2 Background
- VTS Model Settings
- Expressions ("Stickers"/"Emotes")
- Animations
- Interaction between Animations, Tracking, Physics, etc.
- Streaming to Mac/PC
- Recording/Streaming with OBS
- Starting without Steam
- Starting as Admin
- Restore old VTS Versions
- NVIDIA Broadcast Face Tracker
- Google Mediapipe Face Tracker
- Tobii Eye-Tracker
- Hand-Tracking
- Lipsync
- Controlling multiple models with one Webcam or iPhone/Android device
- Connection Issues & Troubleshooting
- Taking/Sharing Screenshots
- Item System
- Live2D-Items
- Recoloring Models and Items
- Record Animations
- Multiplayer
- VNet Security
- Twitch Interaction
- Add Special ArtMesh Functionality
- Item Scenes & Item Hotkeys
- Plugins (YouTube, Twitch, etc.)
- VTube Studio Model File
- Copy config between models
- Sending data to VSeeFace
- Steam Workshop
- How to fix lag issues
- How to fix webcam issues
- Live2D Cubism Editor Communication
- FAQ
- Privacy Policy, Licensing and Further Terms