

A simple yet complete FPS weapon system asset made in Godot 4.
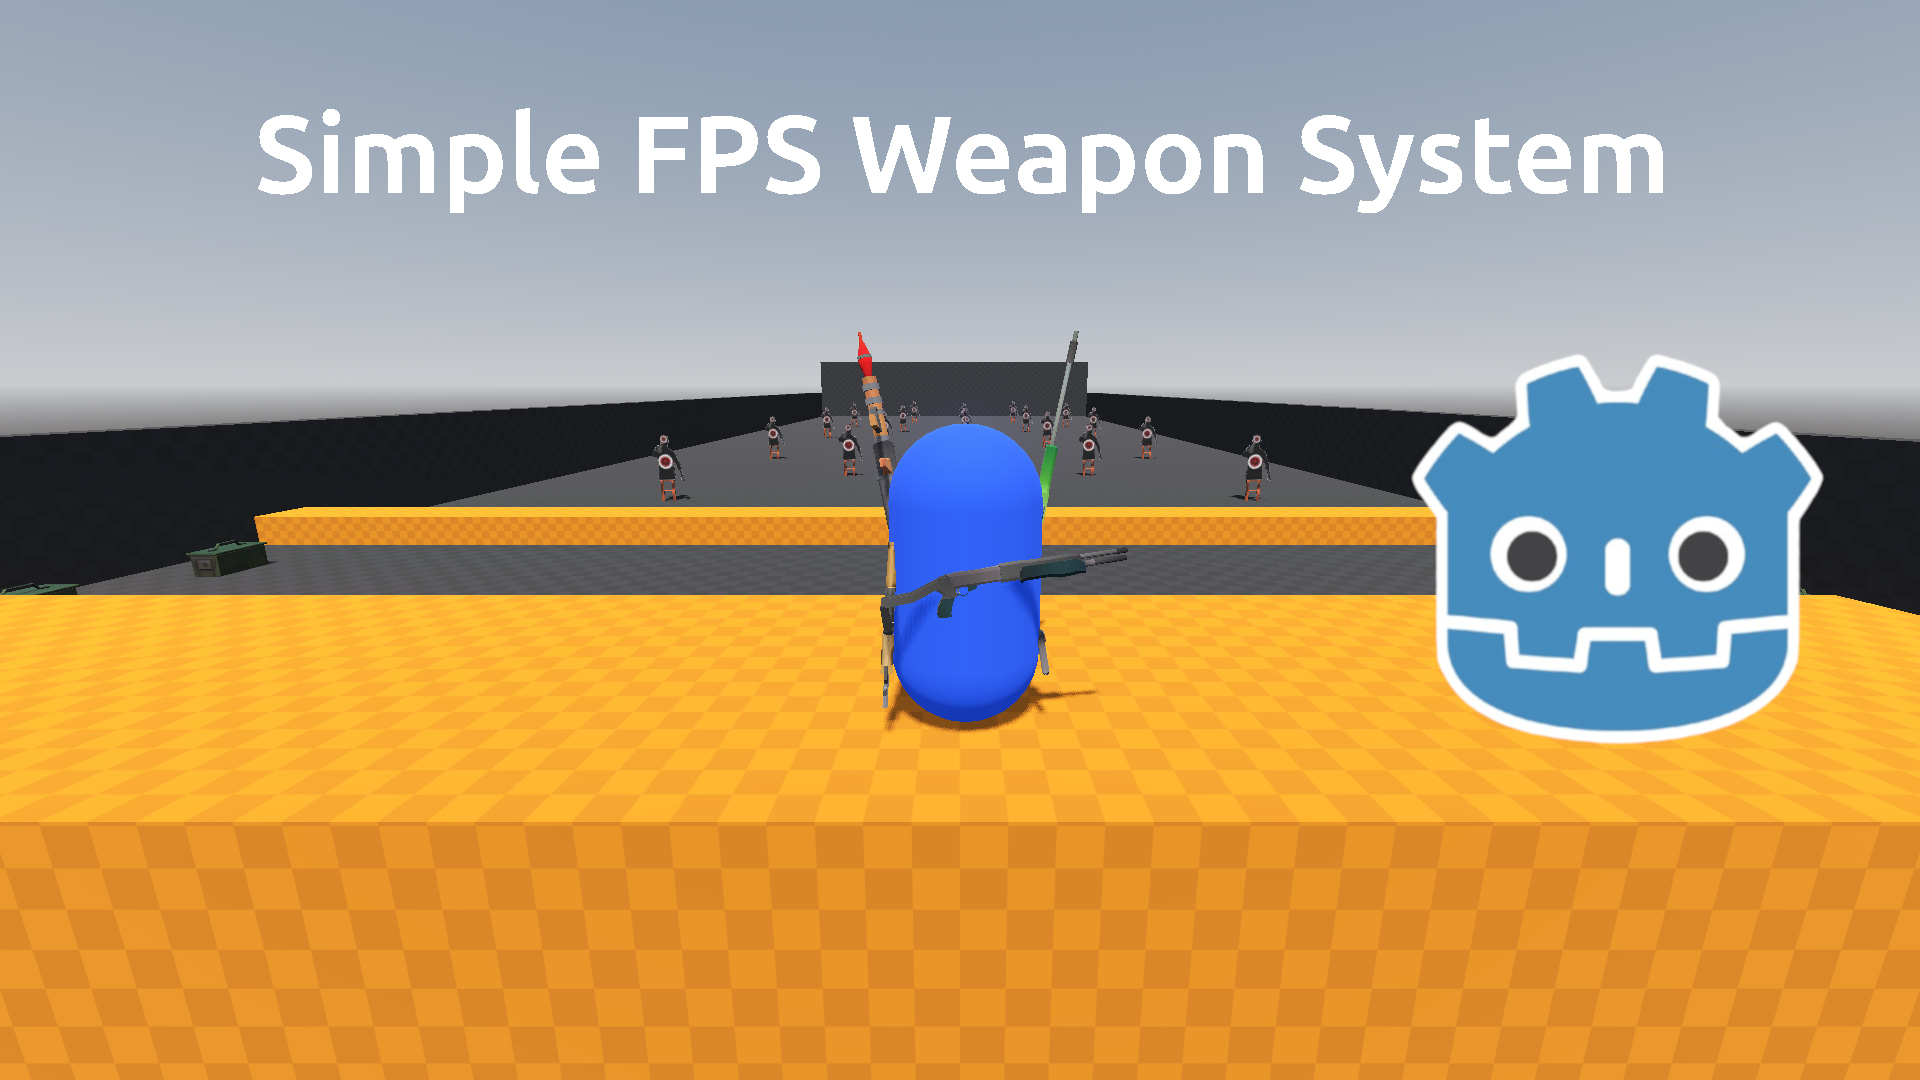
This asset provides a simple, fully commented, weapon system for FPS games.
A test map with a shooting range, as well as a character controller are provided (the character controller is another asset i made some mounths ago : https://github.com/Jeh3no/Godot-Simple-State-Machine-First-Person-Controller)
The weapon system is resource based, designed to easely customize weapons.
The weapons are monitored by a weapon manager, designed to easely add/remove weapons to the game.
Each component of the weapon (shoot, reload, animation, ammunition) has his own script, neatly arranged in separate compartments.
The asset is 100% written in GDScript.
The code has been written in a way to be easely understandable and modifiable/editable, and he's as well fully commented.
The video showcasing the asset features : https://youtu.be/B4cASUFbamU
! A precision about the showcase video : the doom-like sprites, and all the weapon sounds you heard in the video are not in the asset files, because they are under proprietary license.
You can see this asset as some sort of demo, for a possible, much bigger (and better) asset, which will be may more advanced, and will have a ton of new features
- Godot 4.4 - 4.7: Fully supported.
- Godot 4.0 - 4.3: Should work, but you will need to delete the
.uidfiles.
Weapon system
- Resource based weapons
- Weapon switching
- Weapon shooting
- Weapon reloading
- Weapon bobbing
- Weapon tilting
- Weapon swaying
- Hitscan and projectile types
- Physics behaviour for both hitscan and projectile
- Shared ammo between weapons
- Ammo refilling
World
- Test map, with shooting range, and hitable boxes (physics behaviour)
- Shooting range with immobile and moving targets
Player character
- State machine based character controller (https://github.com/Jeh3no/Godot-Simple-State-Machine-First-Person-Controller)
- Input action checker
Camera
- Viewport camera to render weapons
- Camera procedural recoil
- Camera bobbing
- Camera tilting
Visuel effects
- Muzzle flash
- Bullet hole/decal
- Explosion effect
UI
- Properties HUD for both player character and weapon system
Download or clone this repository and copy the addons/ folder into your Godot project's root directory.
The controller requires 14 input actions to be defined in your project's Input Map. If they are not binded, the default keybindings will be used. Go to Project > Project Settings > Input Map and create each of the following actions, then bind them to your preferred keys/buttons.
By default, the key actions are defined as "play_char_{action_name}_action". Do not change this name unless you have configured your own key bindings.
To change the keybinds in the scripts, i have set up one that center all the inputs needed, so you won't have to go in differents files each time you want to modify something. The script is called "input_management_component_script", it is located in the player character scene.
! Important : the play_char_restart_shooting_range_action has to be obligatory added in your project's Input Map, otherwise it will trigger an assert at the start of the game
| Input Action Name | Purpose | Default key |
|---|---|---|
play_char_move_forward_action |
Move forward | W, Up |
play_char_move_backward_action |
Move backward | S, Down |
play_char_move_left_action |
Strafe left | A, Left |
play_char_move_right_action |
Strafe right | D, Right |
play_char_run_action |
Run / sprint | Shift |
play_char_crouch_action |
Crouch | C |
play_char_jump_action |
Jump | Space |
play_char_zoom_action |
Camera Zoom | Z |
play_char_mouse_mode_action |
Toggle mouse capture | CTRL |
play_char_shoot_action |
Weapon shoot | Left Mouse Button |
play_char_reload_action |
Weapon reload | R |
play_char_weapon_wheel_up_action |
Change to next weapon | Up Wheel Mouse |
play_char_weapon_wheel_down_action |
Change to previous weapon | Down Wheel Mouse |
play_char_restart_shooting_range_action |
Restart shooting range | K |
! There is already 5 differents weapon examples in the asset, each of them representing a different type of weapon (pistol, assault rifle, shotgun, sniper rifle, rocket launcher), you can use them as examples, and/or to speed up the creation process.
-
Create a new Node3D node, and add it to the "weapon container" node.
-
Place your weapon model as a child of the Node3D node.
-
Add a Marker3D node as a child of the weapon model, it will be the weapon attack point.
-
Create a new resource for your weapon, using the "WeaponResource" class reference.
-
Add a "WeaponSlotScript" script to the Node3D node, and assign the weapon resources (WeaponResource), the model (Node3D node) and attack point (Marker3D node) variables
-
Fill the resource the way you want (the only mandatory variables are ("WeaponName", "WeaponId", a type (Hitscan or projectile), "Position"))
-
In the "WeaponManager" node, from the editor, add the weapons you want the player character to have at the start of the game, in the "Start weapons" variable.
! The order in which you place the start weapons determine the order the play char can select them in game
! You need to be sure that the each weapon has a unique id !
! You need to have at least one start weapon saved in the "Start weapons" variable, it can be a empty node with only the mandatory resource variables assigned, but you need at least one !
-
If you have done everything correctly, your weapon should be usable and work in game !
The physics layers are already set up in the project, but if you want more clarity, you can name them in the "3D Physics" section of your project settings.
For this, go to Project > Project Settings > 3D Physics and name layer 1 to layer 6. For my tests, i named them up like this :
-
layer 1 : world
-
layer 2 : player_character
-
layer 3 : enemies
-
layer 4 : play_char_projectiles
-
layer 5 : enemies_projectiles
-
layer 6 : ammo_refillers
-
layer 7 : hitable_boxes
! No element in the asset have the collision layer 4, i just add it for when you will want to add enemies projectiles.
- Bug reports: Open an issue in the Issues section.
- Feature requests: Post in the Discussions section.
- Pull requests: Submit improvements in the Pull Requests section.
Kenney Prototype Textures by Kenney, uploaded on the Godot asset library by Calinou : https://godotengine.org/asset-library/asset/781
Weapons models and textures (except for the RPG weapon) by amaraha : https://amaraha.itch.io/free-low-poly-weapons-pack
Ammo Canister model and texture by Stephen Yoshimura (CC-BY) via Poly Pizza : https://poly.pizza/m/b2_n3tmq02h
RPG model and texture by : https://sketchfab.com/3d-models/low-poly-rpg-7-de967b52c9794d2995d4606749fcdff7