Control Application
- Introduction
- Packages
- Use of the Application
- Limitations
- Dependencies
- Additional information
This application is the counterpart of Pulga for mobile devices running Android. An MQTT [1][2] client can act as a publisher, a subscriber or both. Due to the small resources needed by the MQTT protocol, an MQTT client may run in any device from a micro controller up to a server. Basically any device that has a TCP/IP stack can use MQTT over it through:
- A plain TCP socket
- A secure SSL/TLS socket
The MQTT application only requires an MQTT library that connects the client with the broker through a network connection in order to send and receive small messages. There are many open-source MQTT client libraries available for a variety of programming languages such as Java, JavaScript, C, C++, C#, Go, iOS, .NET, Android, or Arduino.
The EoT Android MQTT client has been developed in Java using the Paho Java Client library. The desktop and Android apps are both written in Java and share the same code basis.
The EoT MQTT application is divided into two packages:
- de.dfki.av.eotcontrolapp. Contains classes that define the graphical user interface and user interaction.
- de.dfki.av.eotcontrolapp.ui. Contains classes that define the application logic.
The “MQTT_Client” class manages the Paho client and provides all the functionalities needed.
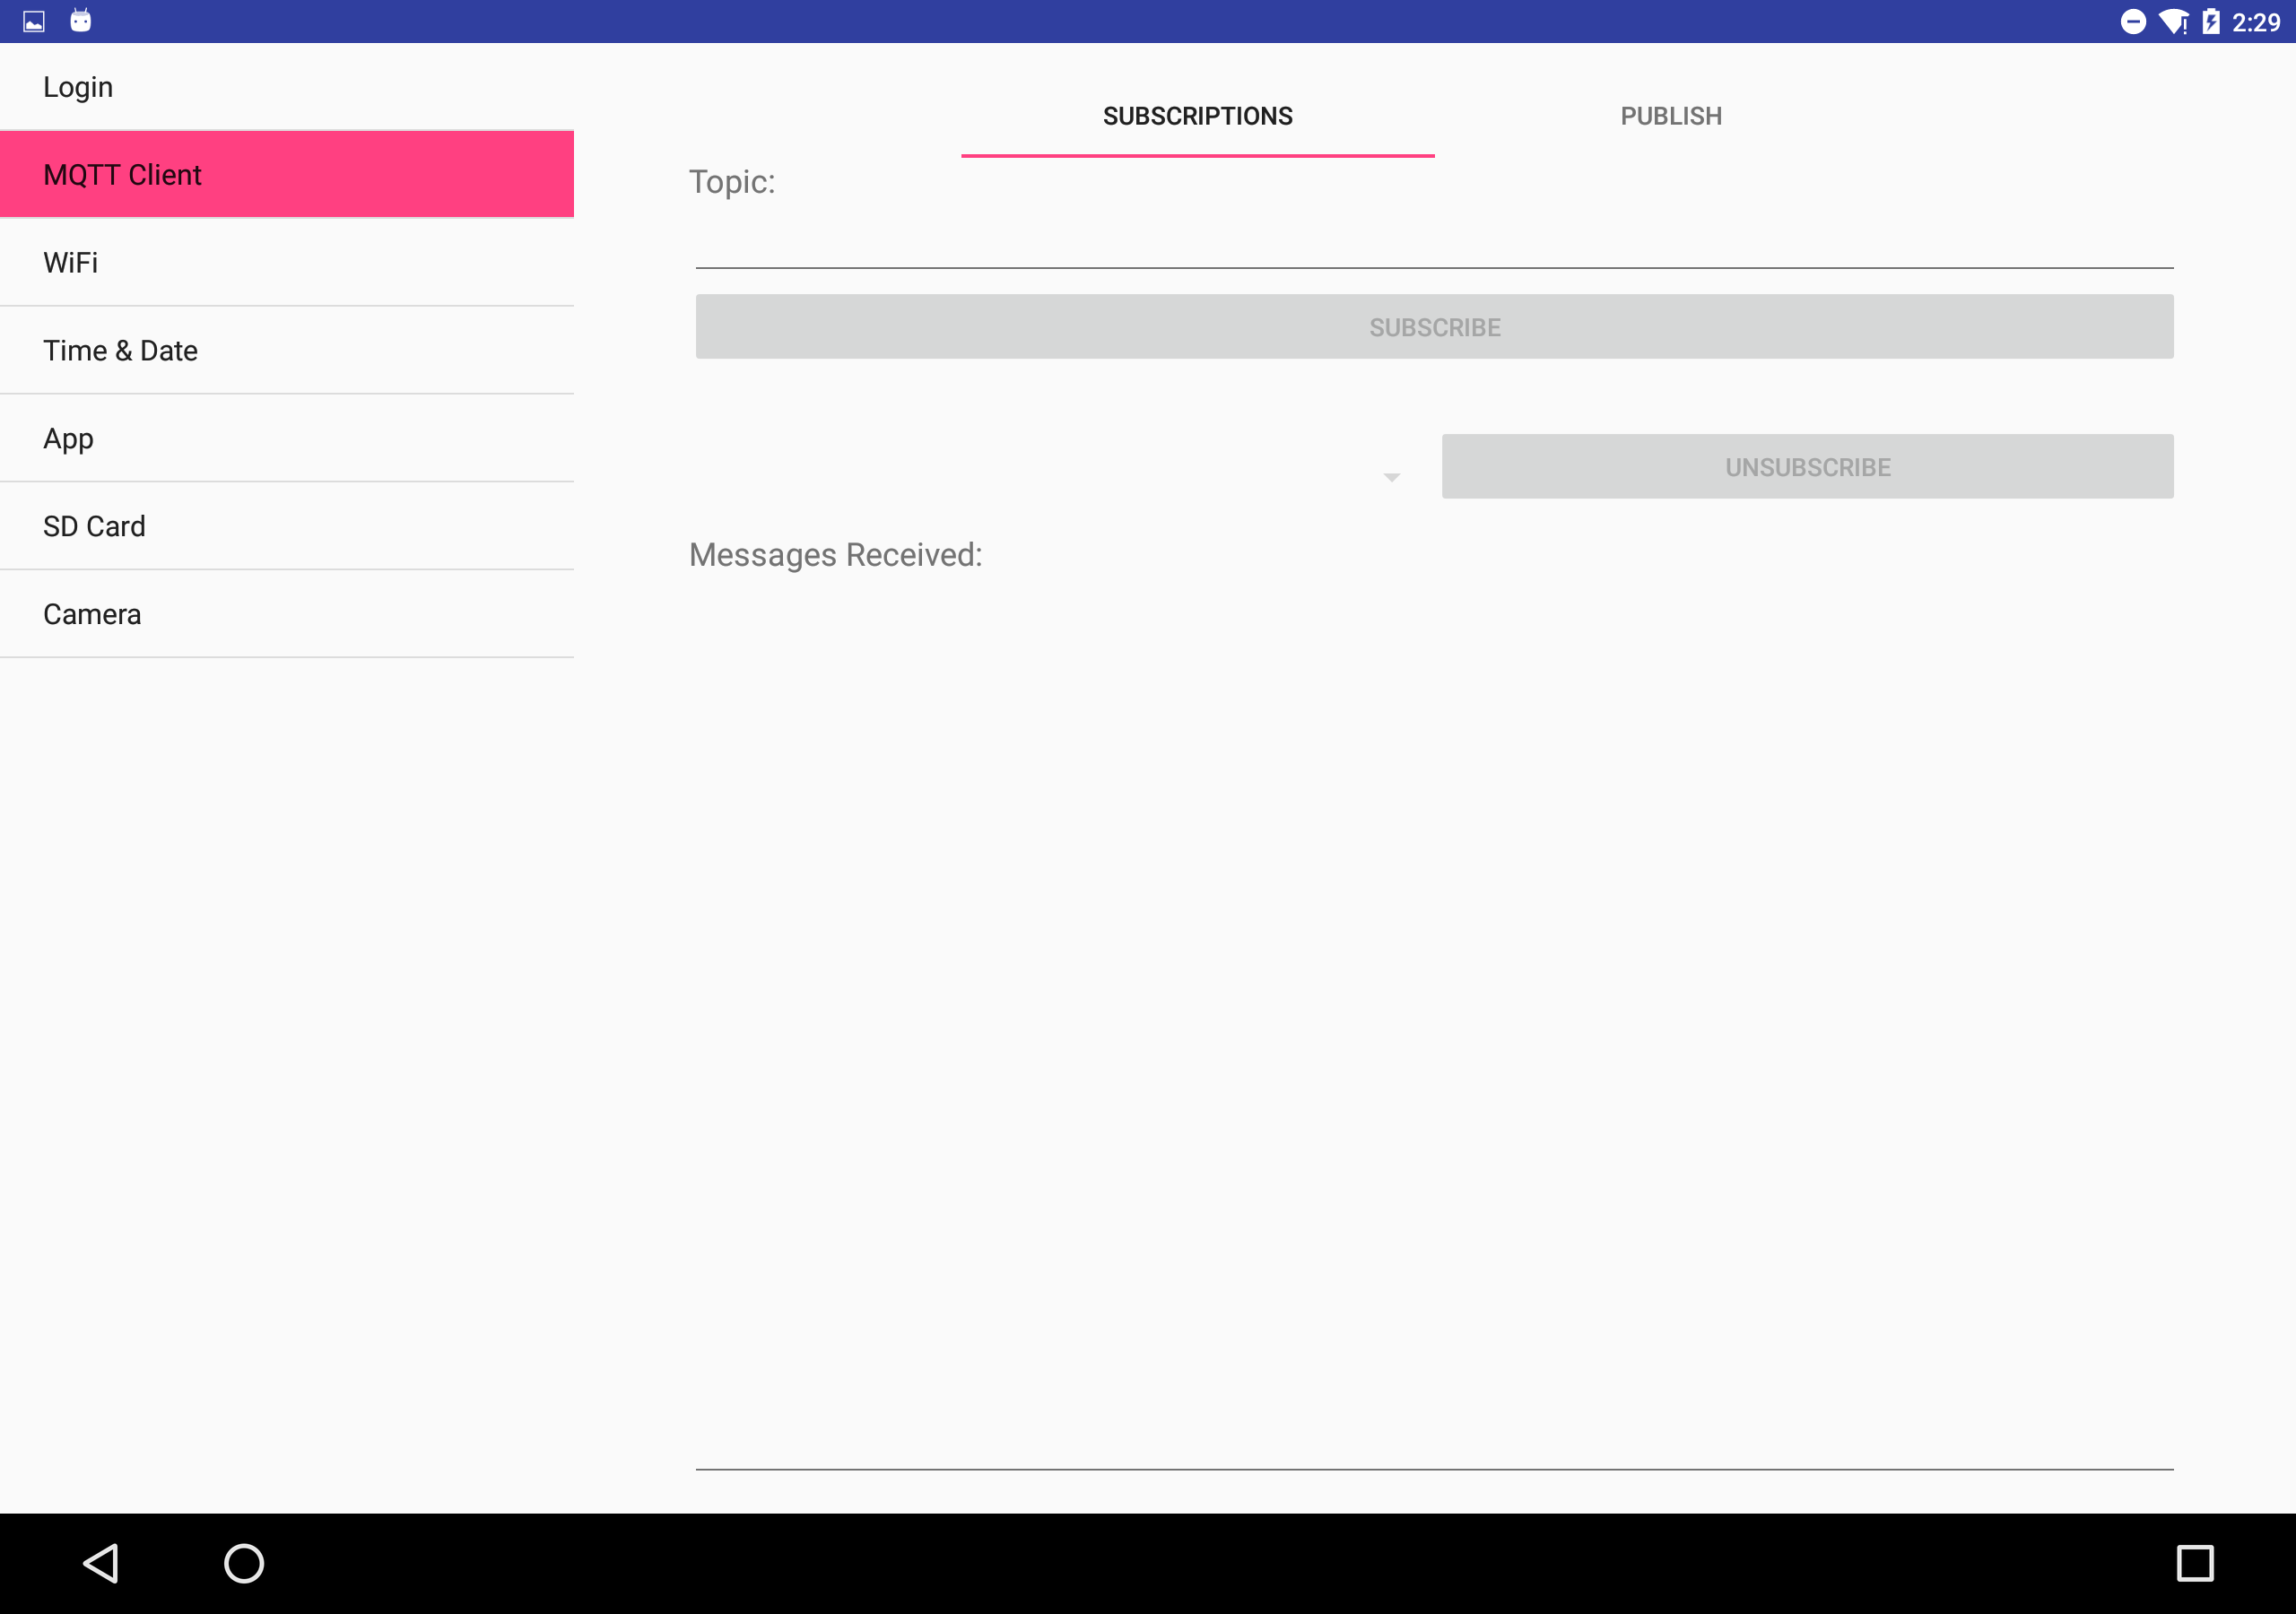
The application is divided into seven panels: Login, MQTT Client, WiFi, Time & Date, App, SD Card and Camera.
Before connecting the EoT Control Mode Android application to the EoT device the mobile device should be connected to the EoT device AP. Once the mobile device is connected to the EoT device AP, the MQTT client can be connected to the Pulga broker using the correct IP address and port. After that, it is possible to use the application as a common MQTT client, performing topic subscriptions and publishing messages to topics.
In the WiFi panel there are options that allow the user to configure WiFi. The EoT device WiFi configuration includes options to:
- Create an AP with new parameters.
- Connect the device with an existing AP.
- Reset the device AP settings to the default profile.
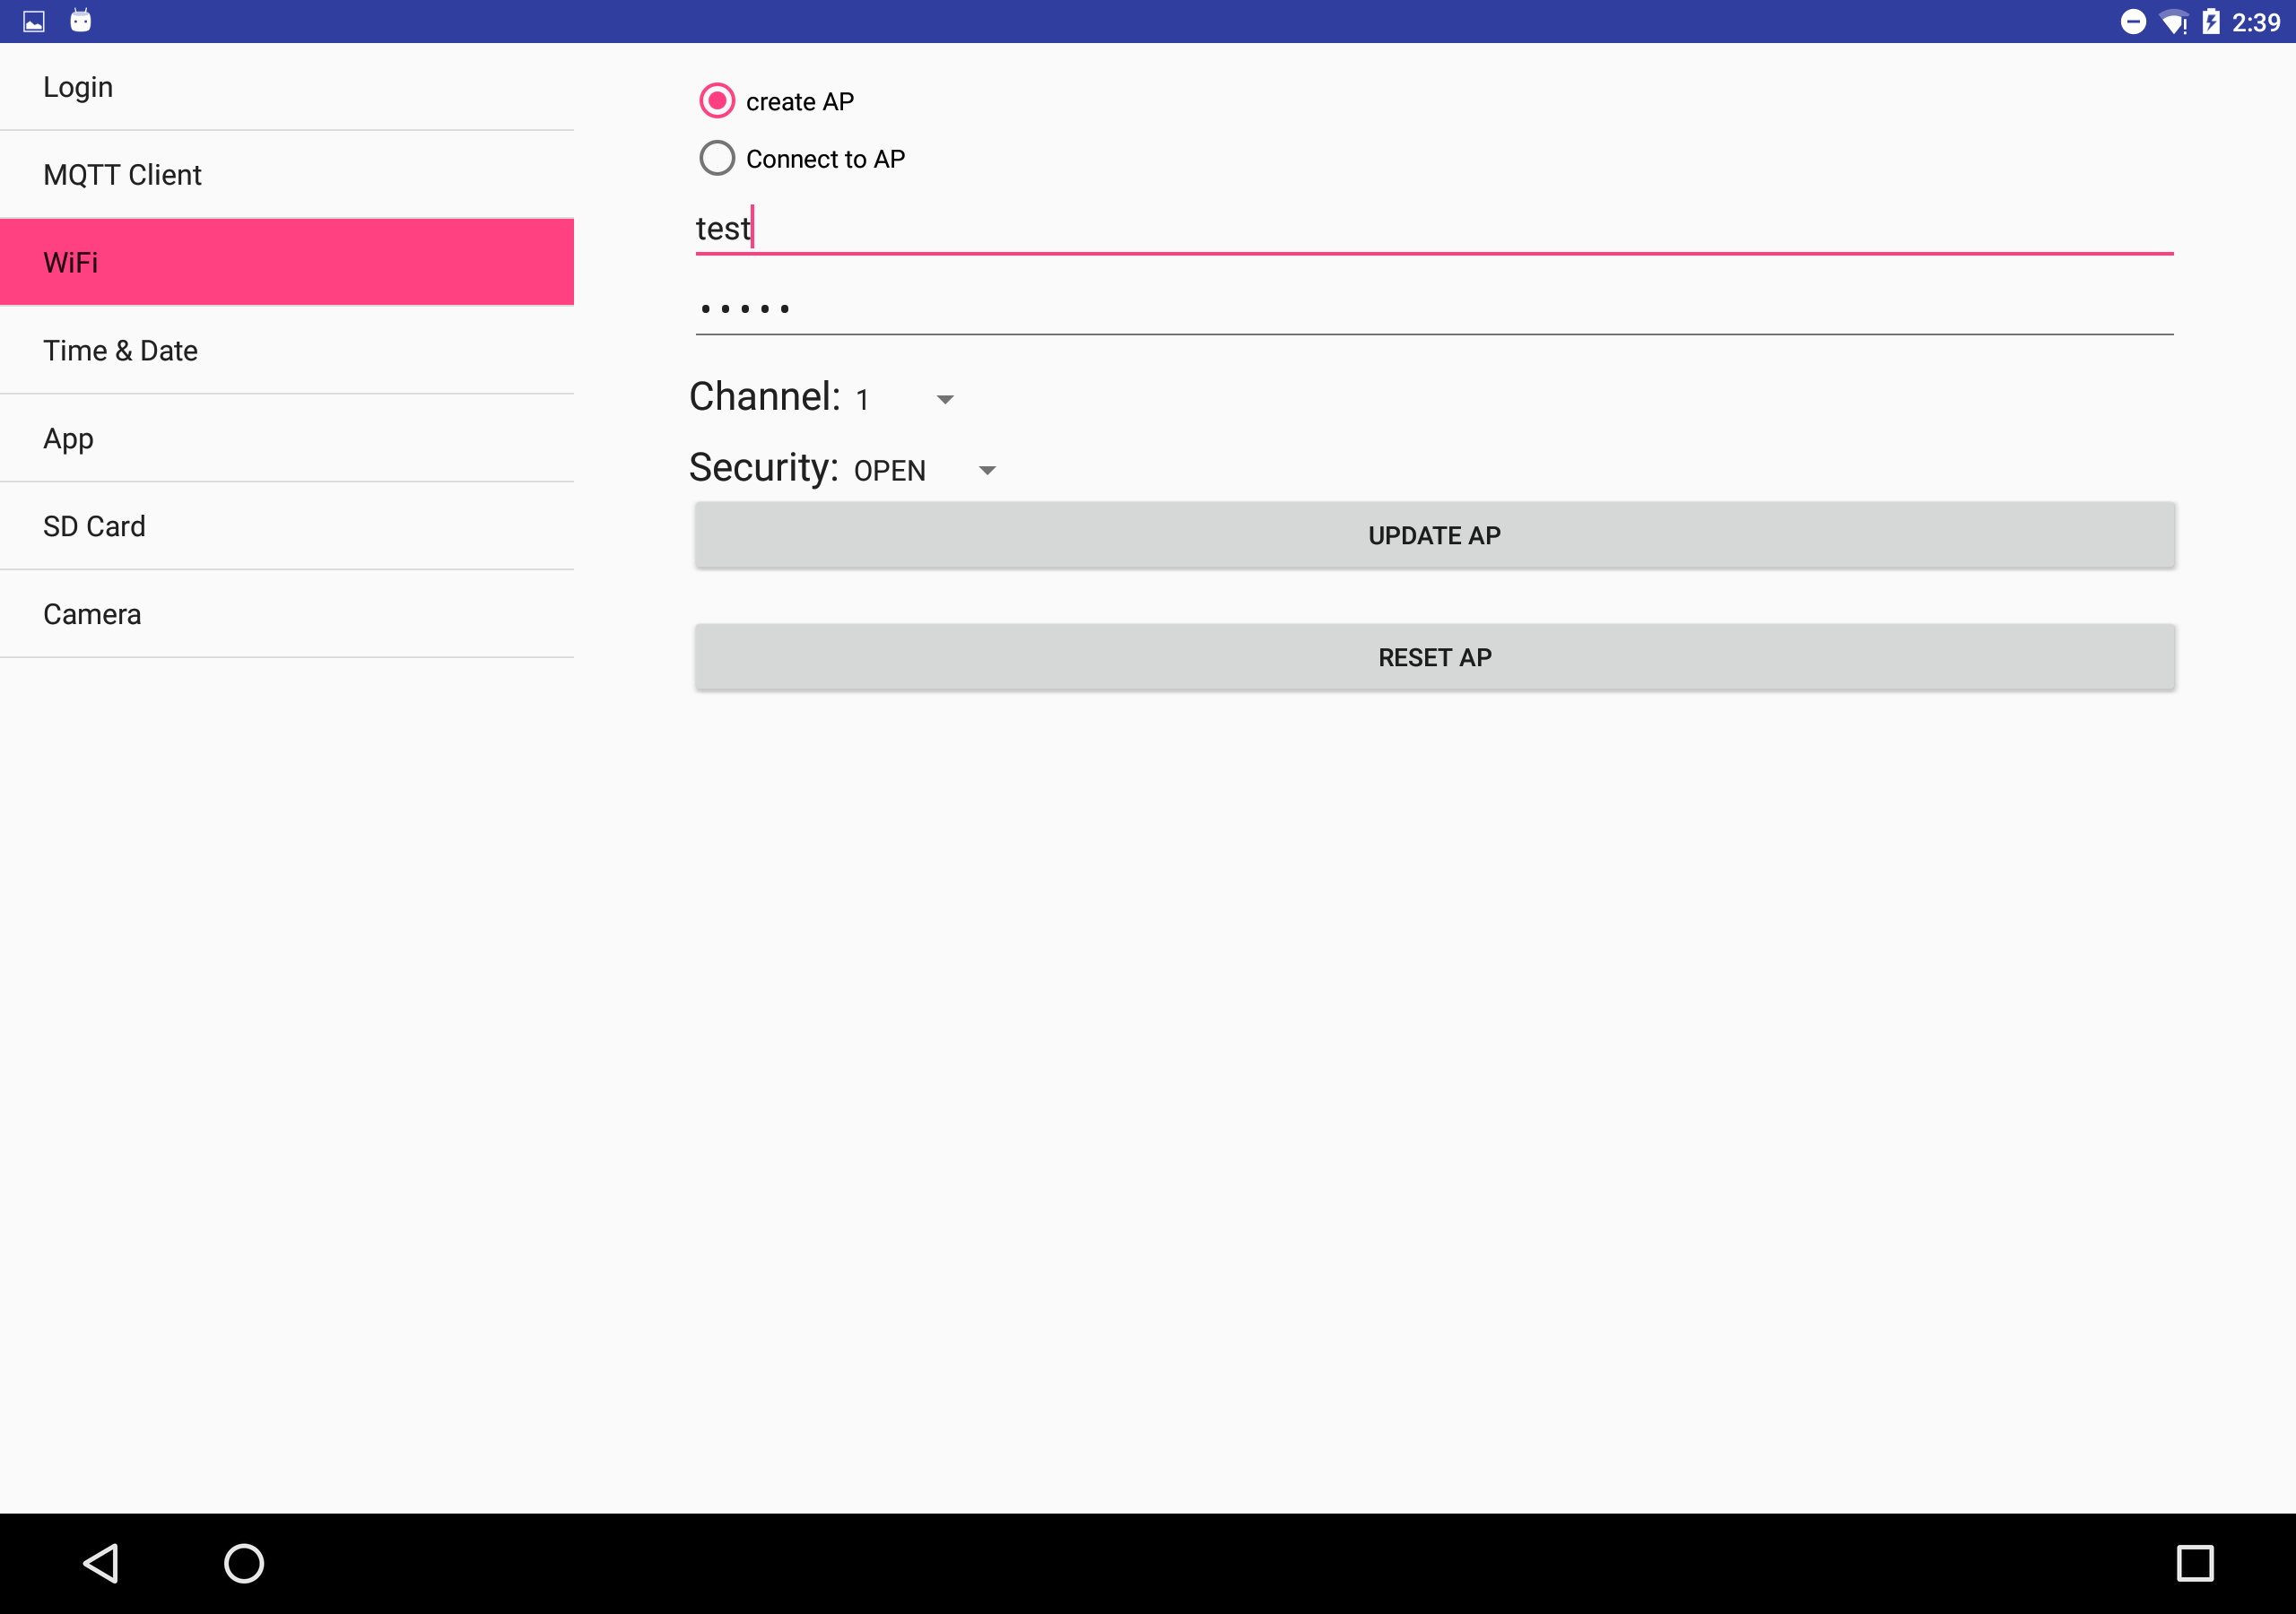
If the device's WiFi configuration is changed, the user needs to connect the mobile device to the new AP or the same wireless network the EoT device is connected to. Then, the client-broker connection is re-established.
In order to set the current time values in the EoT device it is possible to use the Date & Time settings provided in the Android application. This allows the user to get the current time and date of the mobile device and set them in the EoT device. In addition, it is possible to check the current time of the EoT device.
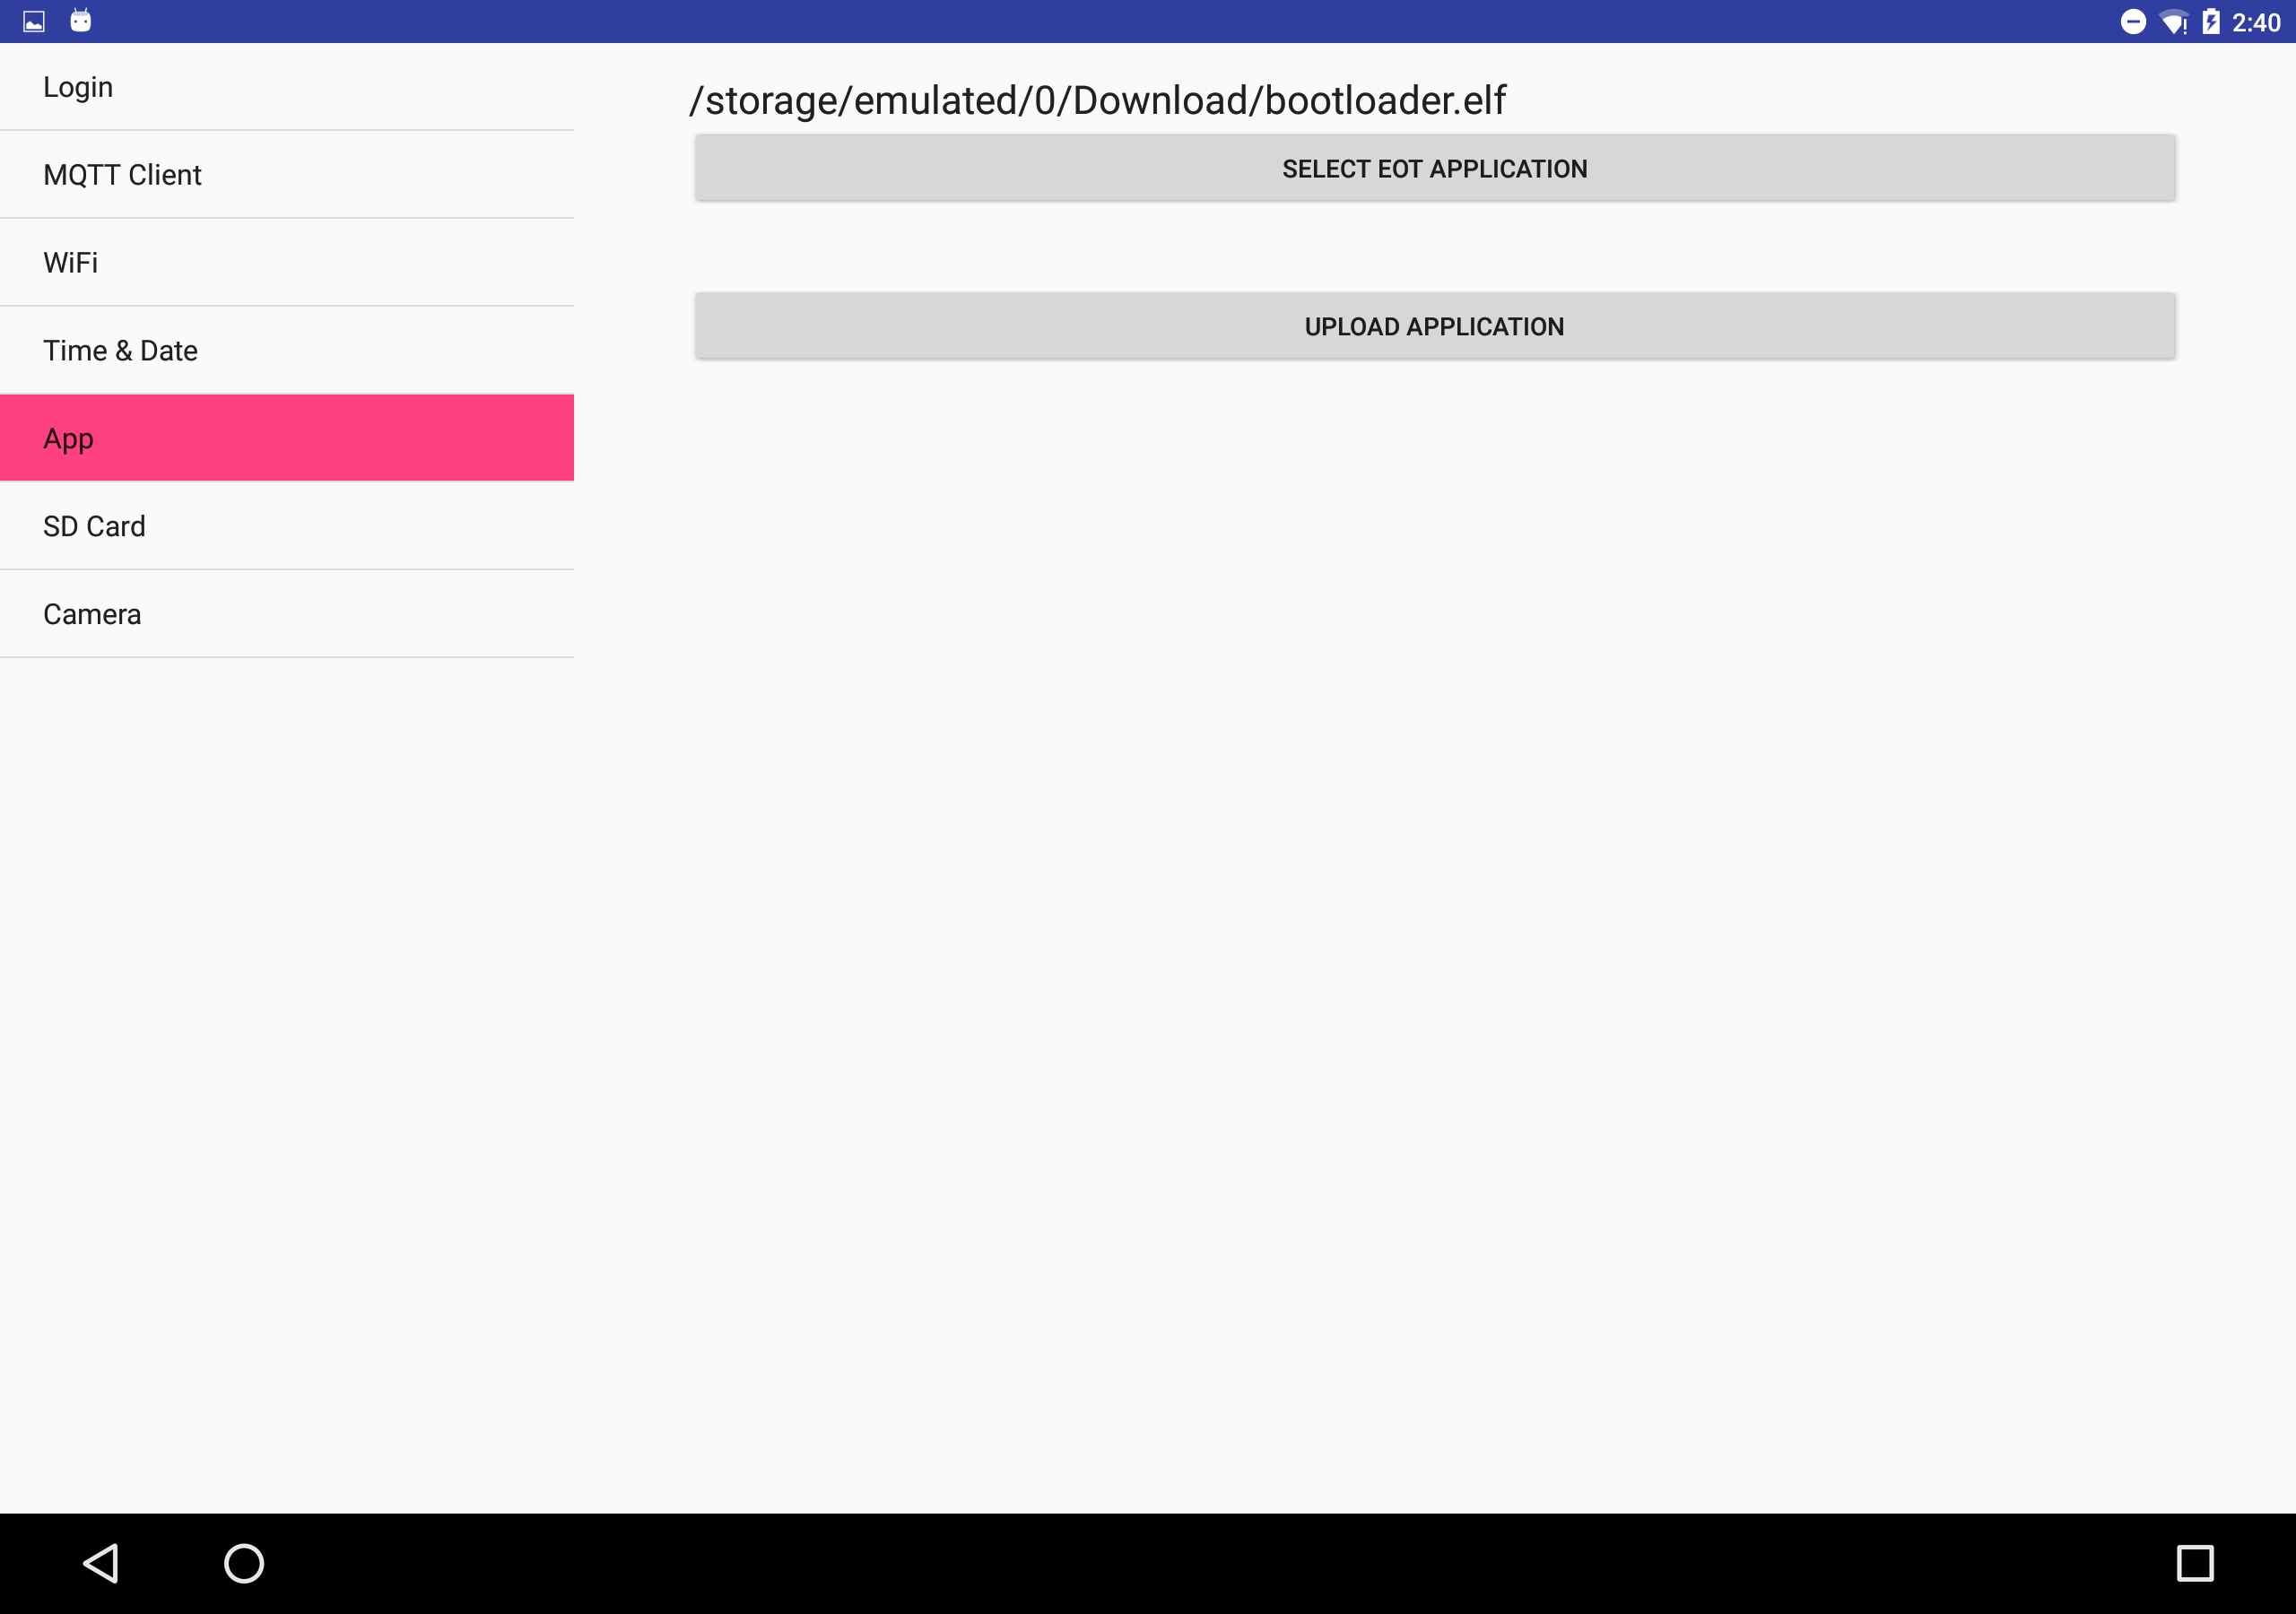
In the App panel the user can upload an EoT application to the EoT device. The process consists of two steps:
- User selects an EoT application.
- User hits the “upload application” button to initiate the upload process.
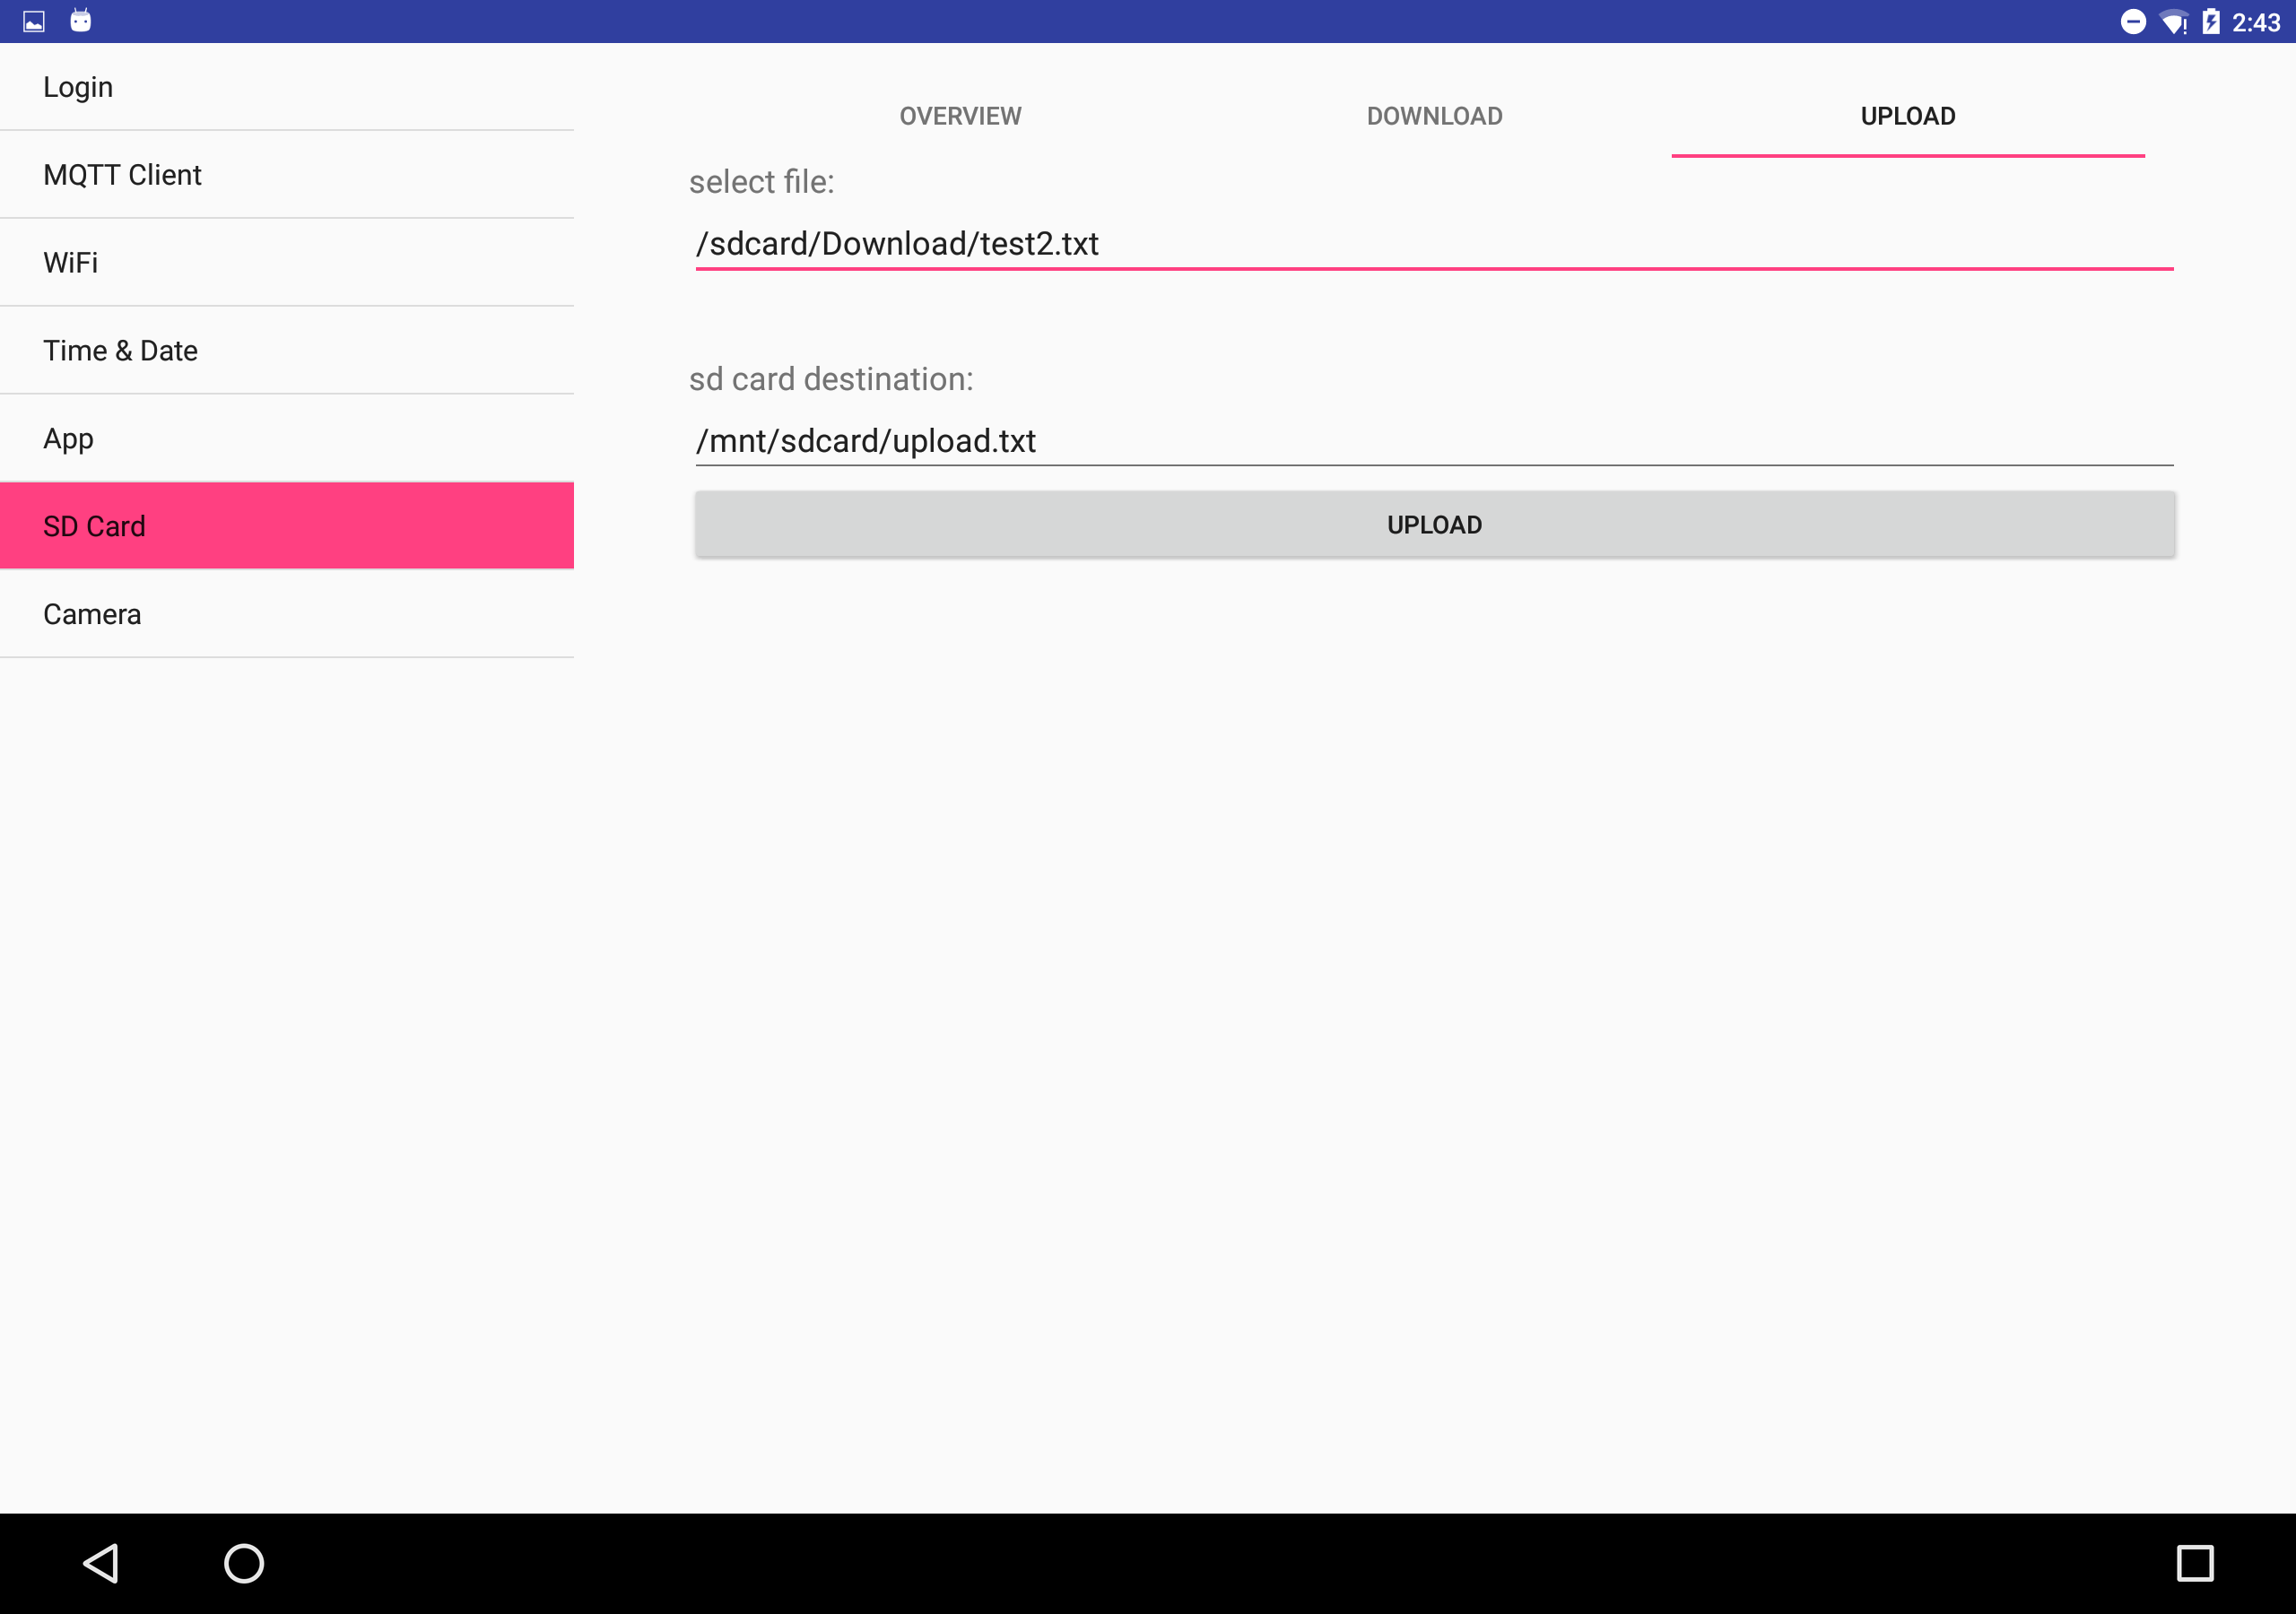
Finally, the SD card management options are divided into three parts:
- The first part shows the directory tree of the SD card.
- Files can be downloaded from SD card to the mobile device in the second tab.
- In the third tab the user can upload files to the SD card of the EoT device.
Note that when the EoT device is in AP mode (by default) only one client can be connected to it. This is considered a desirable feature in terms of security.
In the camera panel the user can request a snapshot from the EoT device’s camera.