3 Data Preparation
Below are the tools associated with data preparation in GRIME AI:
Most tools referenced on this page can be found in the Data Exploration window  , which can be accessed through the navigation bar. The Data Exploration window can be seen below.

Fetch Image List grabs a chosen folder to be used for several processes within GRIME AI.
After selecting a folder and hitting Fetch Image List, a progress bar should appear. When the progress bar is completed, the following window should appear:

Image Index corresponds to the current image within the folder. To preview the image of the selected index, go to the Image Analysis tab  , located on the navigation bar.
The Image Navigation tool can also be accessed from the navigation bar: 
The Reset Index button sets the Image Index back to 1.
Play increases the index incrementally until it reaches the max value, or is stopped by the STOP button. (Feature not working as of 0.0.5.11d)
Images Retrieved displays the number of images retrieved from the selected folder.
Close exits the current window.
The Create GIF button makes a GIF using images from the selected folder.
The GIF will be in a Videos folder that is created the first time the Create GIF or Create Videos button is used.
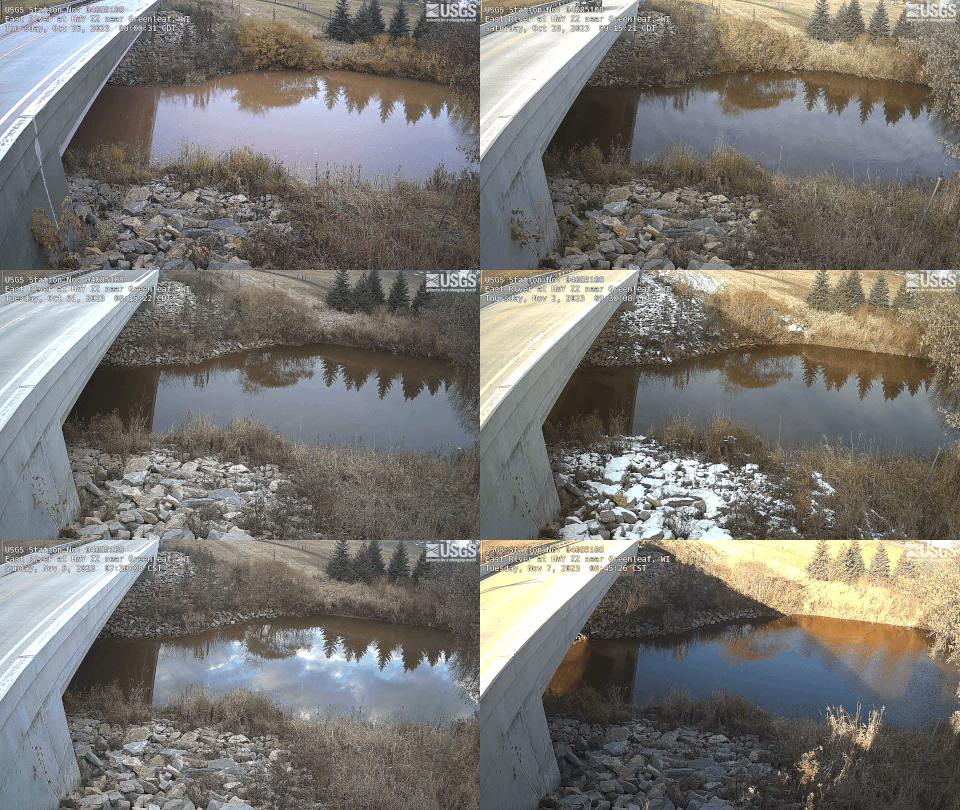
The below GIF was created from a folder of 104 images using this feature.
The Create Video button automatically creates a timelapse video using the images in the Images Folder path.
The video will be in a Videos folder that is created the first time the Create GIF or Create Videos button is used.
The Composite Slice tool allows a user to slice a folder full of site images into thin columns. This can be helpful in many ways, like as a first approach to analyzing a site over time, or for extracting color data from different time periods.
After clicking the Composite Slice button on the Data Exploration window, a window similar to the following will appear.

After choosing the position to create columns from, and the width of the slices, click Generate and the composite image will be exported.
Below is an example of an image created using the Composite Slice feature, with the column in the center of the image.

Image Triage allows a user to selectively filter a folder of images, leaving only useful images for analysis.
Image Triage can be found using its associated button on the navigation bar  , in the Data Exploration window, or under the Tools option on the top of the GRIME AI window (see below image).

The below window should be seen when opening Image Triage.

Triage Options gives a handful of options for the output of filtered images.

- Generate Report creates a CSV file with information on the visual characteristics of the images within the selected folder.
- Move Bad Images moves filtered images to a separate folder, rather than deleting them. If no 'bad' images are detected, a window will appear to inform the user.
- Save Polylines saves the lines used in the processing of skewed images, for visual reference.
- Correct Alignment automatically un-skews images by rotating them. The default folder name for the images' location is warp.


Image Transformation gives several options for parameters that Image Triage will follow.

Using Select Reference Image, an image from the selected folder must be used for calibration for all other images within that folder.
- Rotation Threshold sets the limits on how much rotation flags an image as 'bad'.
Blur takes out blurry, obstructed images.
- Threshold refers to the acceptable amount of blur in an image. When trying to filter out images with moderate blur, water spots, or flare, the default parameters may not suffice. It may be valuable to opt for a value of 30-40 or higher.
- Shift Size refers to the area of the blur. A higher value may help with filtering out images with only certain areas affected by blur, without having to boost Threshold.
Brightness takes out over or under exposed images.
- min is the minimum acceptable brightness.
- MAX is the maximum acceptable brightness.