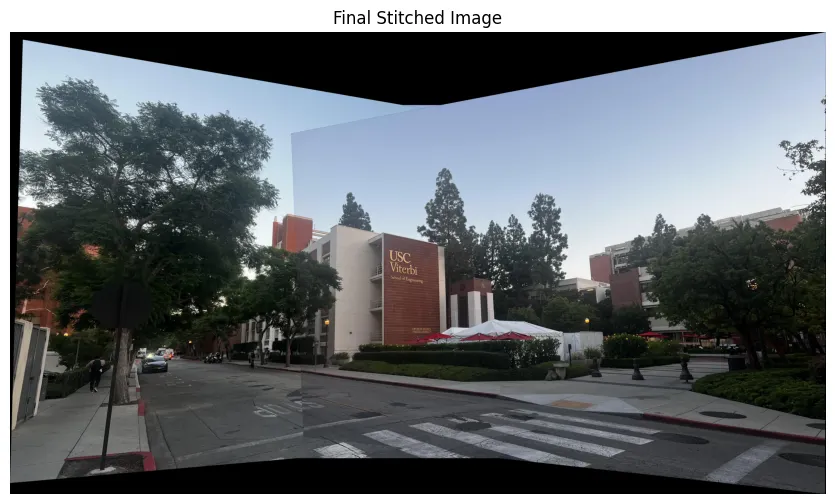
What is a Panorama? A panorama is a feature available on most smartphones that stitches together consecutive images to form a single, wider image that captures a broader field of view. By stitching two or more images, we can obtain a wider perspective that cannot be captured in a single shot with a standard camera.
What is OpenCV? OpenCV (Open Source Computer Vision Library) is a library that provides a collection of open-source computer vision and machine learning algorithms. It contains functions that can be used as building blocks in larger projects related to object detection, image recognition, image processing, and much more.
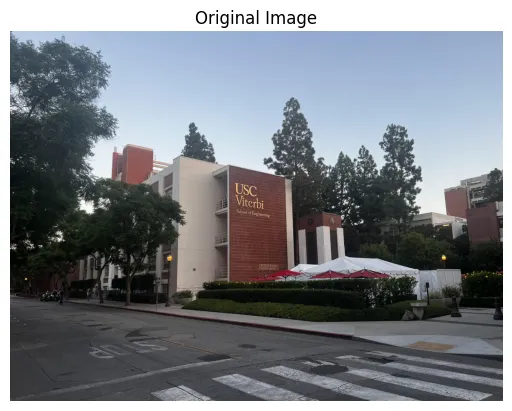
In this project, I am stitching three images together to create a final panorama. All the images shown below are representative and not exhaustive. Kindly refer to the GitHub repository to see the full output.
1. Preprocessing
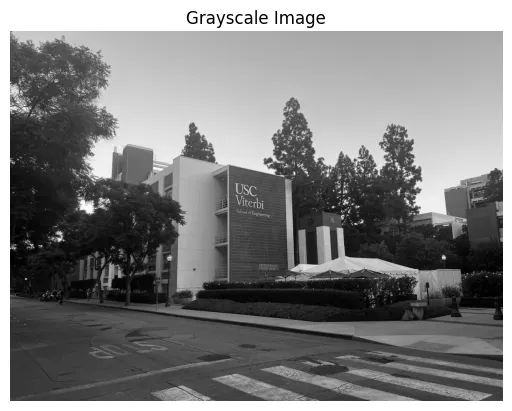
Preprocessing is an essential step before applying any algorithm to obtain optimal results. The quality of features detected can significantly affect the final output, so good preprocessing is crucial. In this project, I converted the images to grayscale before applying SIFT to reduce computational complexity and avoid inconsistencies caused by differences between color channels. Working with grayscale images simplifies feature extraction because there is only one channel, instead of the three (RGB) that are found in a color image.
2. SIFT Features
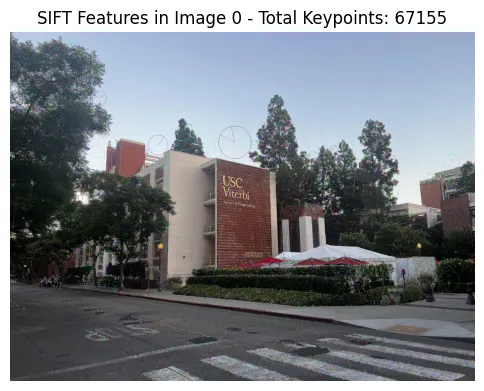
Scale-Invariant Feature Transform (SIFT) is a widely used algorithm in computer vision that helps in detecting and describing local features in an image. It is designed to be scale- and rotation-invariant, meaning it can detect features regardless of changes in image size or orientation.
- Keypoint Detection: Keypoints are distinctive locations in an image, such as edges, corners, or blobs, that SIFT identifies as potentially useful for matching images.
- Descriptor Calculation: Each keypoint is represented by a descriptor — a 128-dimensional vector that captures information about the neighborhood of the keypoint. This descriptor allows the keypoint to be uniquely identified and compared across different images. The key feature of these descriptors is that they remain consistent even when the image is scaled, rotated, or subjected to changes in illumination.
These descriptors are used to match corresponding keypoints between different images, forming the basis for aligning them correctly.
3. Brute Force Matcher
The Brute Force Matcher (BFMatcher) is used to find corresponding points between images by comparing the SIFT descriptors.
- The matcher takes each descriptor from Image 1 and compares it to all the descriptors from Image 2 to find the closest match. Since there can be multiple matches, knnMatch() is used with k=2 to get the two closest matches for each descriptor.
- Ambiguity can arise if multiple descriptors from Image 2 match closely to a descriptor from Image 1, making it unclear which match is correct.
4. Lowe’s Ratio Test
To handle ambiguity in matching, Lowe’s ratio test is applied. This technique, introduced by David Lowe in his original SIFT paper, is used to filter out ambiguous matches.
- For each descriptor in Image 1, two nearest neighbors are chosen from Image 2, with distances d1 and d2 to the descriptor.
- If the ratio d1 / d2 is less than 0.75, the match is considered good. This means that the closest match must be significantly closer than the second closest match to be considered valid. This threshold helps reduce the chances of false matches and ensures that the matched points are reliable.
5. RANSAC for Homography Calculation
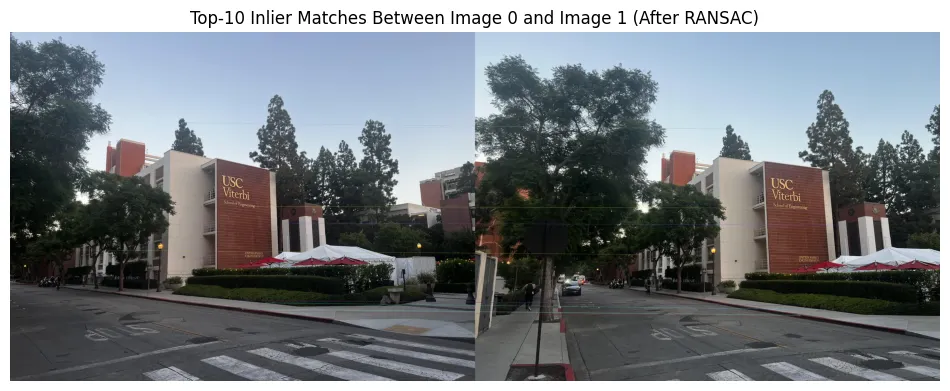
Once the good matches are obtained, the next step is to compute a homography to align the images.
- RANSAC (Random Sample Consensus) is used to find the homography matrix while minimizing the influence of outliers (incorrect matches).
- Homography is a transformation that allows one image to be warped into the plane of another, ensuring that points that should correspond to each other are properly aligned.
- The homography matrix is calculated for each consecutive image pair, allowing the transformation from one image’s coordinate system to another.
6. Homography and Transformation
Homography is the key to aligning the images. It involves computing a transformation matrix that maps points from one image to another, ensuring that all the images are aligned in the same coordinate system.
- The homography matrices for each image pair are used to bring all the images into the coordinate system of a base image (usually the first image).
- By multiplying the homographies, we obtain a cumulative homography that defines the transformation for each image relative to the base image.
Homography Matrix Between Image 0 and Image 1 [H0]:
[[ 1.44923736e+00 -4.48150751e-02 -1.30339397e+03]
[ 2.13320827e-01 1.27458894e+00 -5.60061798e+02]
[ 1.08729372e-04 5.91905454e-06 1.00000000e+00]]
where ‘@’ denotes matrix multiplication. Using the above equation we can transform the image 1 in terms of coordinates of image 0.
7. Determining Canvas Size
The final output canvas size must be determined to accommodate all the warped images. To do this:
- The corners of each image are transformed using their respective homography matrices.
- The transformed coordinates are used to find the minimum and maximum values for both x and y, which helps in defining the width and height of the final output image.
- This ensures that the entire panorama, including all warped images, will fit within the canvas.
8. Warping and Stitching
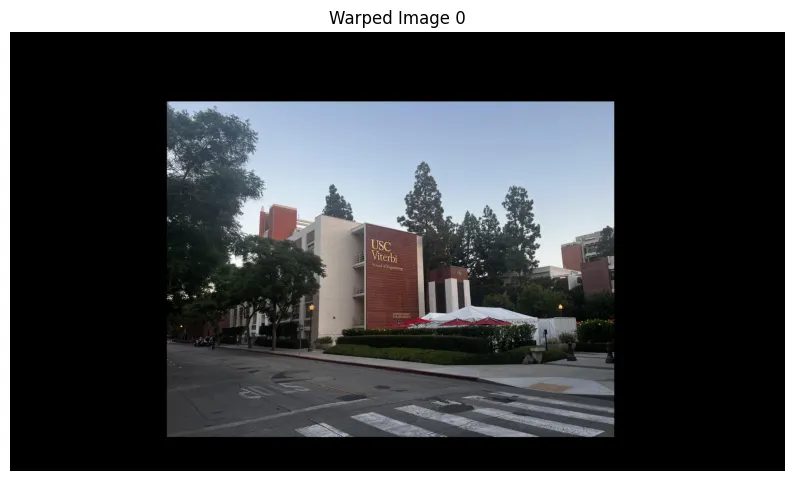
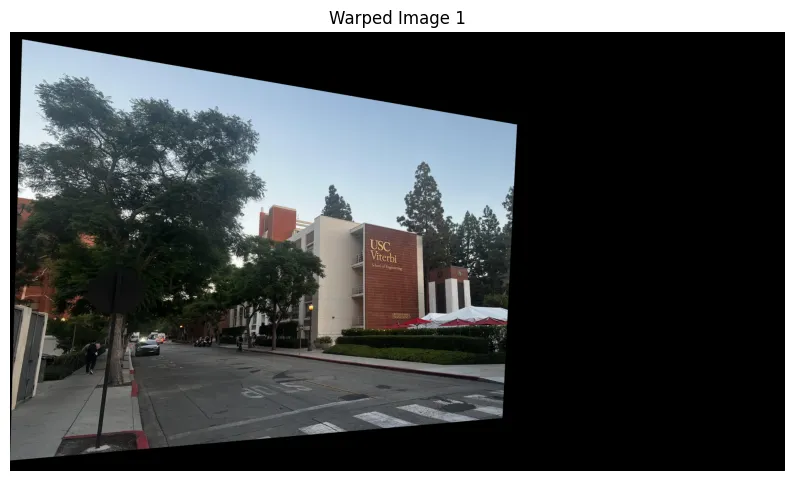
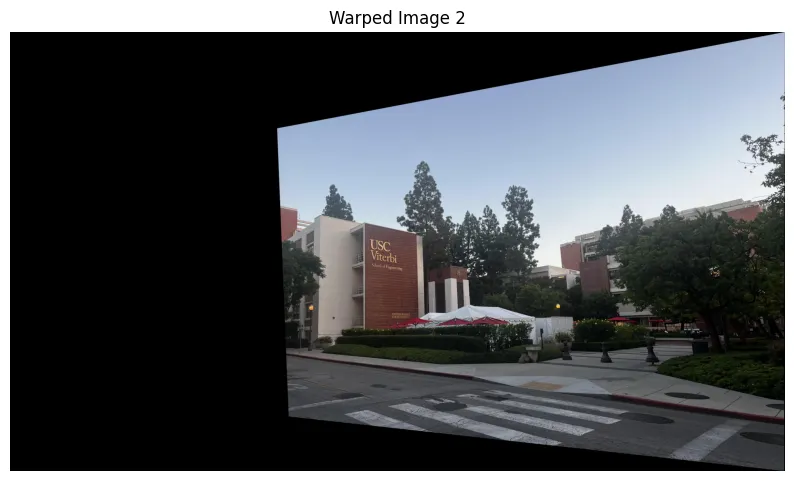
With the help of cv2.warpPerspective(), each image is warped into the output canvas using its cumulative homography matrix:
- cv2.warpPerspective(image, Homography_matrix) applies the calculated homography transformation to warp each image so that it aligns correctly in the final panorama.
- After each image is warped, they are combined into a single output canvas.
The Panorama
Finally, all the warped images are stitched together into a single panorama. The process ensures that all images are aligned based on their respective homographies. I have not implemented any blending techniques to handle the borders of the images, which is a scope for future improvement.