A modern GUI for Steam Content Deployment
Simplify your Steam game deployment process with an intuitive interface for managing SteamPipe builds and VDF configurations.
Now available for macOS (Swift) and Windows/macOS/Linux (Electron)!
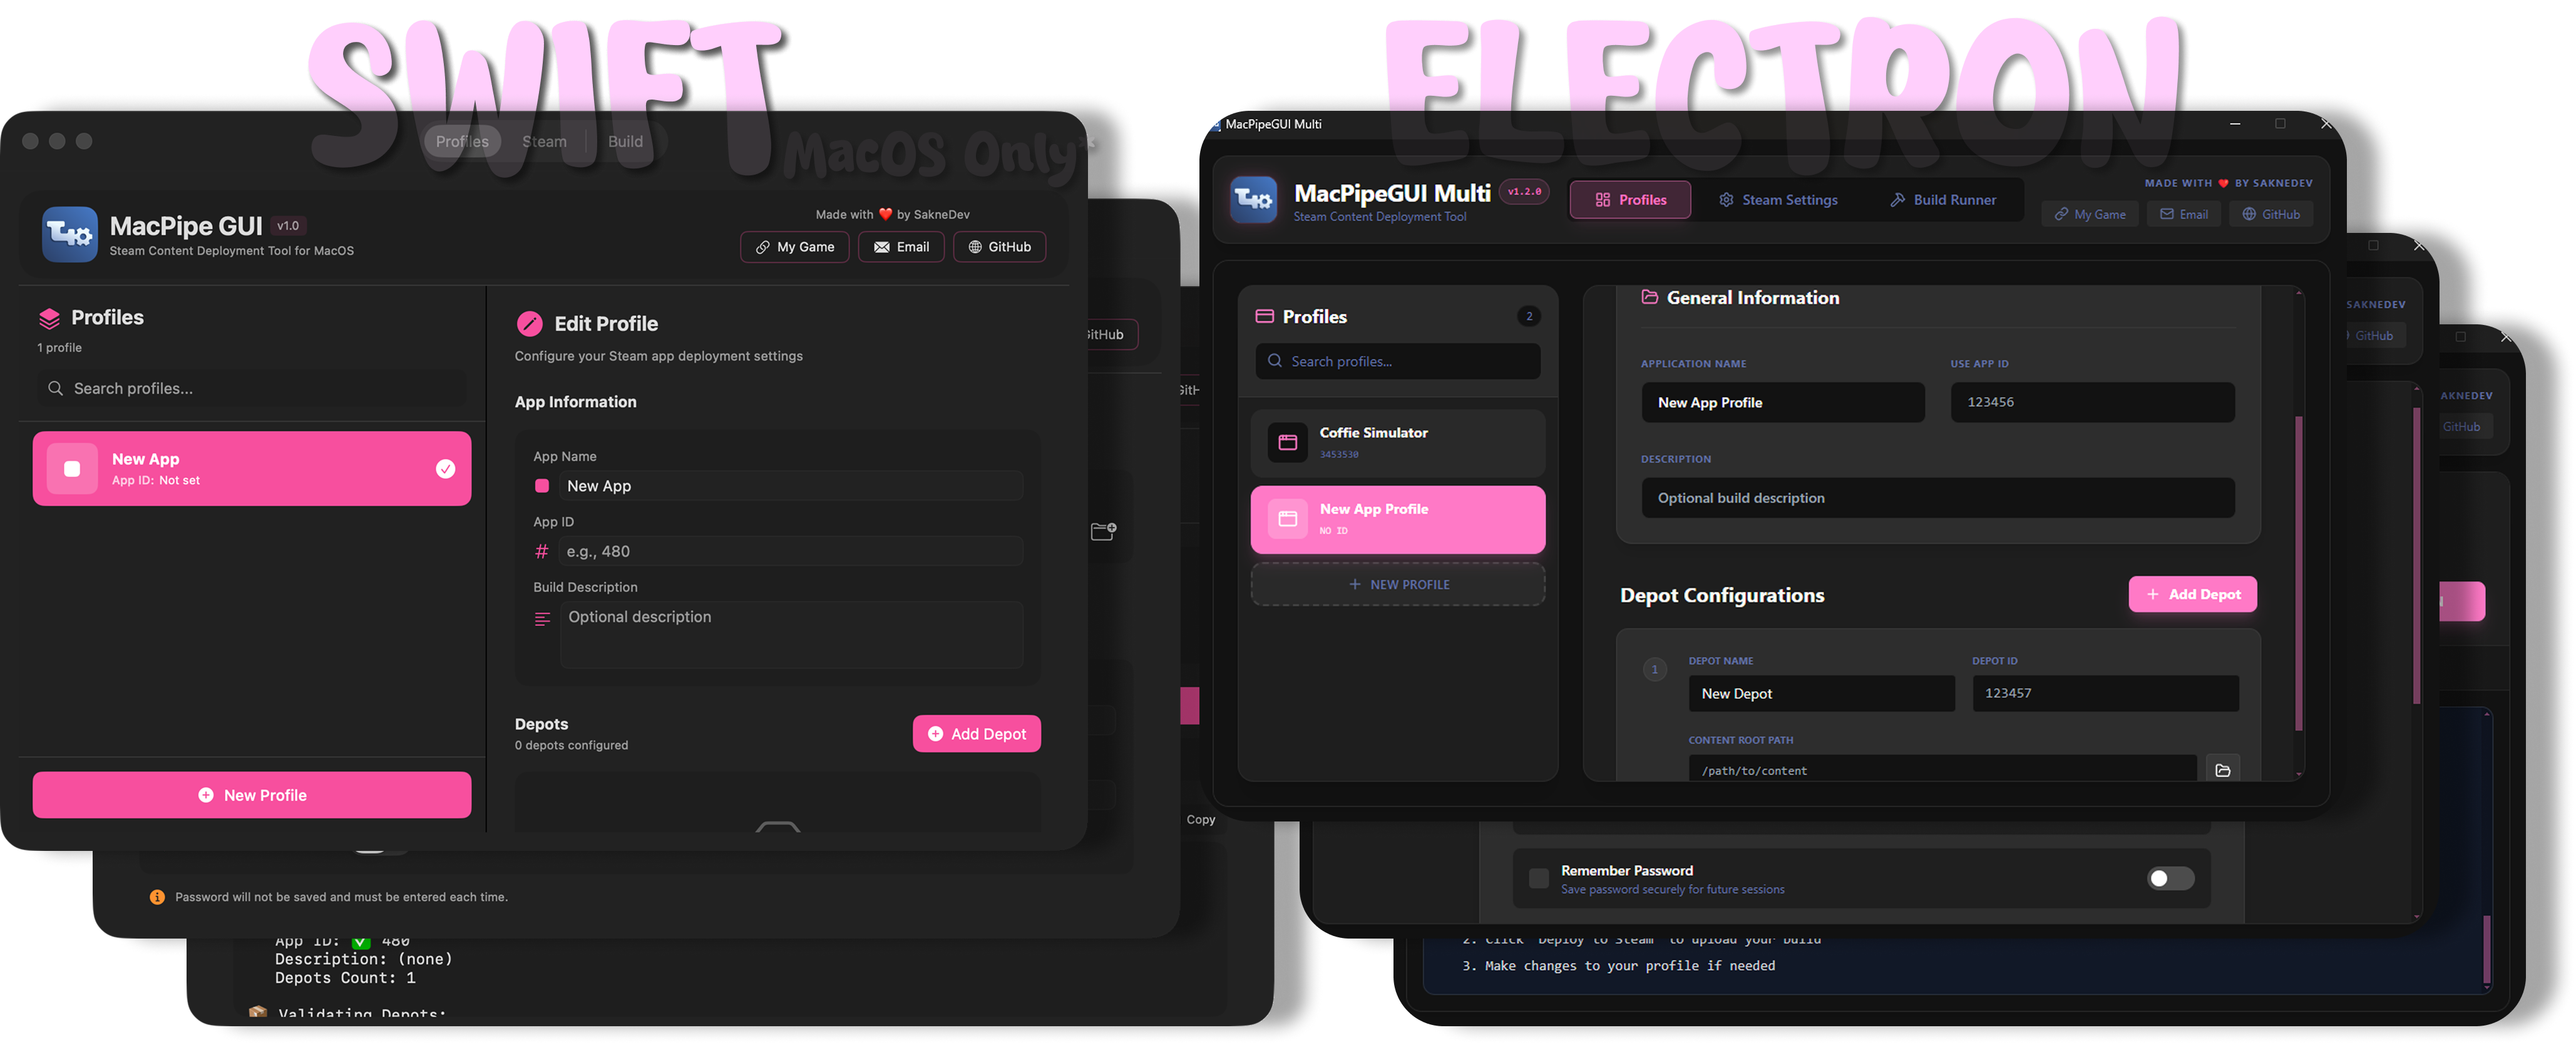
| Version | Platform | Technology | Status |
|---|---|---|---|
| MacPipeGUI | macOS | Swift/SwiftUI | ✅ Stable |
| MacPipeGUI Multi | Windows, macOS, Linux | Electron/React | ✅ Stable |
- Profile Management: Create and manage multiple app deployment profiles
- VDF Generation: Automatically generate app build and depot VDF files
- Steam Integration: Seamless integration with SteamCMD and ContentBuilder
- Secure Credentials: OS keychain storage for Steam login credentials
- Build Runner: Execute builds directly from the GUI with real-time console output
- Auto-Updates: Automatic update checks and installation (Electron version)
- Steam Guard Support: Desktop notifications for mobile authenticator prompts
- Modern UI: Clean interface built with SwiftUI (macOS) or React (Cross-platform)
Before using MacPipe GUI, you need:
- Steamworks SDK: Download from Steamworks Partner Site
- SteamCMD: The Steam command-line client
- ContentBuilder: Located in the Steamworks SDK (
sdk/tools/ContentBuilder)
- Xcode 15.0+ (for compilation)
- macOS 13.0+ (Ventura or later)
- Node.js 18+
- npm or pnpm
- Download the latest release from the Releases page
- Windows: Download
.exeinstaller - macOS: Download
.dmgfile - Linux: Download
.AppImagefile
- Windows: Download
- Run the installer or application
- The app will auto-update when new versions are available
cd "MacPipeGUI Electron"
npm install
npm run build
Built files will be in the release/ folder.
cd "MacPipeGUI Electron"
npm install
npm run dev- Download the latest release from the Releases page
- Open the DMG file and drag MacPipe GUI to your Applications folder
- Launch the app
See the Building Swift Version section below.
Note
Ensure you have your Steamworks SDK and ContentBuilder set up before proceeding.
First, set up your Steam tools and credentials:
- Open MacPipe GUI
- Go to the Steam / Settings tab
- Configure the following:
- Content Builder Path: Browse to your Steamworks SDK ContentBuilder folder
- Example:
C:\SteamSDK\tools\ContentBuilderor/Users/yourname/steamworks_sdk/tools/ContentBuilder
- Example:
- Steam Username: Your Steam account username
- Steam Password: Your Steam account password (stored securely in OS keychain)
- Toggle Remember Password if you want to save credentials
- Content Builder Path: Browse to your Steamworks SDK ContentBuilder folder
Create a profile for your game or app:
-
Go to the Profiles tab
-
Click the + button to create a new profile
-
Fill in the required information:
- App Name: Your game/app name
- App ID: Your Steam App ID (from Steamworks)
- Description: Build description
For each depot, add:
- Depot Name: Name of the depot
- Depot ID: Your depot ID(s)
- Content Root: Path to your build files
Deploy your content to Steam:
- Select a profile from the list
- Go to the Build tab
- Review the build configuration
- Click Run to start the build process
- Monitor the build progress in the console output
- Approve Steam Guard prompts on your mobile device if required
- Edit: Select a profile and click the edit icon to modify details
- Delete: Select a profile and click the trash icon to remove it
- Search: Use the search bar to filter profiles by name or App ID
- macOS 13.0 (Ventura) or later
- Xcode 15.0 or later
- Swift 5.9 or later
-
Clone the repository
git clone https://github.com/sakne/MacPipeGUI.git cd MacPipeGUI -
Open the project in Xcode
open MacPipeGUI.xcodeproj
-
Configure signing (if needed)
- Select the project in the navigator
- Go to Signing & Capabilities
- Select your development team or use "Sign to Run Locally"
-
Build the project
- Select Product > Build (⌘B)
- Or select Product > Run (⌘R) to build and launch
-
Create a release build (optional)
- Select Product > Archive
- In the Organizer window, click Distribute App
- Choose Copy App for a standalone .app file
- Or choose Developer ID to notarize for distribution
The project uses the following configuration:
- Minimum Deployment Target: macOS 13.0
- Architecture: Universal (Apple Silicon + Intel)
- Framework: SwiftUI
- Build System: Xcode New Build System
- Node.js 18 or later
- npm or pnpm
-
Navigate to Electron folder
cd "MacPipeGUI Electron"
-
Install dependencies
npm install
-
Build for your platform
# Windows
npm run build:win

# macOS
npm run build:mac

# Linux
npm run build:linux

# All platforms
npm run build
-
Built files will be in the
release/folder
- Profiles:
~/Library/Application Support/com.saknedev.MacPipeGUI/profiles.json - Settings:
~/Library/Application Support/com.saknedev.MacPipeGUI/config.json - Credentials: macOS Keychain (if "Remember Password" is enabled)
- Settings & Profiles: Stored in OS-specific app data folder
- Windows:
%APPDATA%/macpipegui-multi/ - macOS:
~/Library/Application Support/macpipegui-multi/ - Linux:
~/.config/macpipegui-multi/
- Windows:
- Credentials: OS Keychain (Windows Credential Manager, macOS Keychain, Linux Secret Service)
- Ensure the ContentBuilder path is correctly set in Settings
- Verify that
steamcmd.exe(Windows) orsteamcmd.sh(macOS/Linux) exists in the builder directory
- Check that your Steam username and password are correct
- If using Steam Guard, approve the login on your mobile device
- Check for desktop notifications prompting for authentication
- Try disabling "Remember Password" and entering credentials manually
- Ensure all required fields in the profile are filled out
- Check that Content Root path exists and contains your build files
- Verify Depot ID matches your Steamworks configuration
- The app reads from SteamCMD log files for real-time output
- Console updates every 200ms while a build is running
- Check that you're running macOS 13.0 or later
- If you built from source, ensure proper code signing
- Try right-clicking and selecting "Open" if Gatekeeper blocks the app
Contributions are welcome! Here's how you can help:
- Fork the repository
- Create a feature branch (
git checkout -b feature/amazing-feature) - Commit your changes (
git commit -m 'Add amazing feature') - Push to the branch (
git push origin feature/amazing-feature) - Open a Pull Request
- Follow Swift/TypeScript naming conventions
- Write descriptive commit messages
- Test your changes thoroughly
- Update documentation for new features
If you find this tool helpful, please consider:
- Giving it a star ⭐ on GitHub
- Checking out my game Coffie Simulator on Steam
- Sharing it with other developers
This project is licensed under the GPL-3.0 - see the LICENSE file for details.
Made with ❤️ by SakneDev