Hello, world!
Doing an "Hello, world!" program is something pretty simple but it'll allow us to understand how to create a project and an object here so let's focus !
A workspace is a "project", it can be a library, a game or whatever else.
To create a project you must start the engine toolkit with ObEngine -mode toolkit.
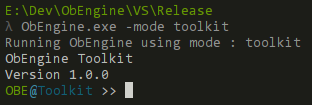
When the toolkit prompt appear, you can type : workspace create helloworld.
If everything is alright, the toolkit should print : Workspace <helloworld> has been successfully created.

After creating the workspace, you also need to tell to the engine that you want to "use" the workspace (working on it).
To do so, just type workspace use helloworld in the toolkit.

To understand what happen during these two commands you can check the [Workspace]/LNK/ page !
So here you go, now you have your new a cool project but it's empty, let's fill it a bit !
To understand better what is an ObEngine object you can check this link [Object]/LNK/.
With the toolkit again, type the following command : object create hello S.
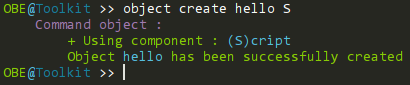
Here S stands for Script, there are 4 attributes an object can contain :
- C for Collider
- L for LevelSprite
- A for Animator
- S for Script
"CLAS" is quite easy to remember.
As we only want to object that displays "Hello, World!" in the console, we just need the script component.
Now if you check in Workspace/helloworld/Data/GameObjects/hello/ you'll have two files :
- hello.obj.vili : File which defines the components of the objects (CLAS)
- hello.lua : Main script of "hello" object

Edit the "hello.lua" file with your favorite text editor and check what is inside :
function Local.Init()
    print("Hello, world!");
end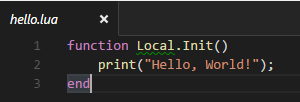
This is the default code for any object you create, that also means your mission is done !
Now your object is created we need to add it to a map.
To create a map this time we'll need the map editor that you can start by doing : ObEngine -mode edit
On the bottom on the window, enter the map name and click on the big ➕ button.
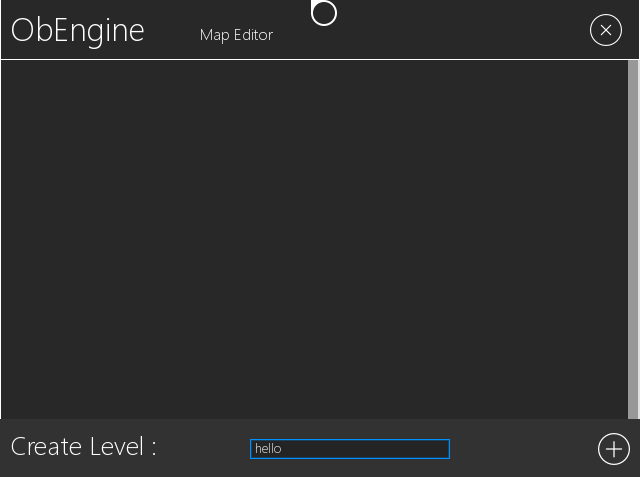
The map will now appear in the map list, click on it to edit this newly created map.

You'll have a black screen, this is basically an empty map, you just want to add your "hello" object to it.
Open the "Editor" menu, go to "Object" tab and click on "hello" object.
Now your object has been added to the map, save your map with CTRL+S.
Now the best part, testing.
Just launch ObEngine and check in console, you should have "Hello, world!" written in the console, congratulations !