Building ObEngine
Let's begin with that : Why should I compile the engine myself rather than downloading the existing executables ?
Here are some reasons :
- You want to contribute to the engine
- You want to see how is it made
- You want to tweak the engine or add your own C++ code in it
- You like to build everything yourself
- You want some extended debug possibilities
There is two ways to get ObEngine, choose one !
- Direct Download Quick and easy to get but painful to update
- Git Clone A little harder but really easy to update later
To get the engine source on Windows there's multiple possibilities, the simplest one is to download the source directly from Github with the "Download Zip" button
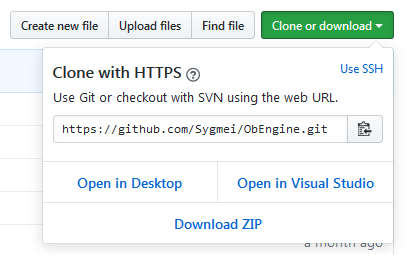
If you're too lazy to go back to the home page you can also simply download it from here : ObEngine Source that's the same !
Unzip it somewhere and that's it !
You're now ready to build ObEngine
This method is maybe a bit more difficult but it will be way better to get the engine updates later ! (As you will only need to do a git pull command to get the latest updates !
First of all you need a Git Client (If you don't already have one of course).
Here are some cool git clients for Windows :
Once downloaded / installed, open the git client.
You can install git through your favorite package manager.
For example on Debian / Ubuntu you can do a sudo apt-get install git
Once you have your Git Client, navigate to the folder you want the engine to be downloaded to (Using cd commands).
Then, type the following command in the console : git clone https://github.com/Sygmei/ObEngine
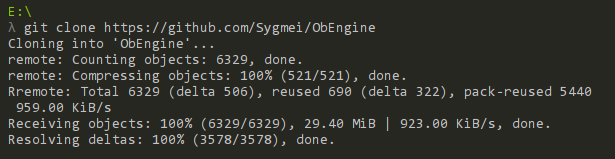
It will take some time to download everything so be patient :)
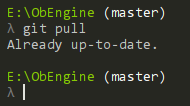
To get the latest updates, go to the folder created by the clone command (ObEngine by default) with your Git Client and issue a git pull command (You should already have the latest updates if you just cloned the repository though).
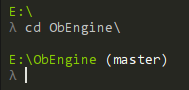
To navigate to this folder, just issue the
cd ObEnginecommand in the git client.
When you do a
git clone https://github.com/Sygmei/ObEngineit creates a new folder named ObEngine, you have to go in this folder in order to issue thegit pullcommand, not in the folder you issued thegit clonecommand !
You can now build ObEngine
ObEngine uses a powerful tool named CMake to generate ProjectFiles / Makefiles.
That way, ObEngine compilation is independent from the platform or the compiler.
If you don't already have CMake installed on your computer, get it here : CMake
For Windows just use the installer : cmake-3.9.0-win64-x64.msi
On Linux you can also install cmake through your package manager.
Now we have all the dependencies and the source code, we need a compiler to build everything.
Here are some IDE / Compilers that have been tested :
- Visual Studio 2015
- Visual Studio 2017
- g++ 6.2.0 or more recent (Linux and MinGW)
You can either get :
- Get the latest version of Visual Studio (Choose Community)
- Get MinGW-w64
You can install g++ through your favorite package manager (Make sure to have at least version 6.2.0).
SFML is a great multimedia lib that ObEngine uses for various tasks (Creating a window, displaying Sprites etc...).
That's why SFML is required to build the engine, you can download it from here : SFML.
On Windows you have to download the SFML corresponding to the compiler you downloaded earlier !
If you downloaded VS 2015 or VS 2017 download this one : 
If you downloaded MinGW you have to choose between those two depending on your MinGW version.

The version I use is the 32-bit version, it's easier to setup and works on more computers, so except if you have good reasons (like using MinGW-SEH), you should take the 32-bit version.
Once downloaded, extract it somewhere on your computer.
On Linux you can also download SFML through your package manager.
Now we gathered all the requirements, let's create the ProjectFile / Makefile.
Start the cmake-gui program then click on the "Browse Source..." button.
You should now indicate the ObEngine source is (The folder with CMakeLists.txt file inside that you unzipped / cloned earlier).
Now you have to choose where to build the program, create a "build" folder on your computer and select it using the "Browse Build..." button.
It's better not to create the "build" folder directly in the ObEngine source folder.

For example here :
-
E:\Dev\ObEngine\ObEngineis the folder where theCMakeLists.txtis -
E:\Dev\ObEngine\buildis the folder where I wan't CMake to build the ProjectFile / Makefile
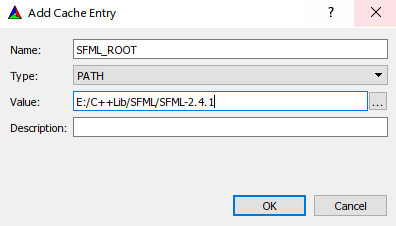
The next step is to tell CMake where your SFML folder is.
To do that, click on the "Add Entry" button and fill the following parameters :
- Name : SFML_ROOT
- Type : PATH
- Value : Path to the SFML Folder you downloaded and unzipped earlier
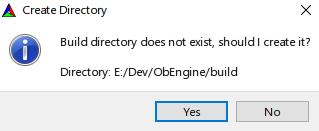
Now click on the "Configure" button and select the correct compiler.
(If it asks to create the build folder because it doesn't already exists, just accept)
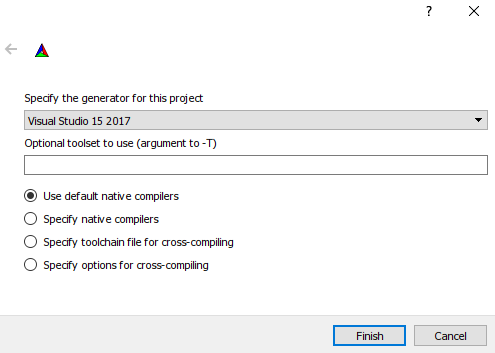
(On the screenshot I selected Visual Studio 2017 because that's the compiler I use)
When the Configuration is done (The console on the botton should prints : "Configuring done") you can click on the "Generate" button.
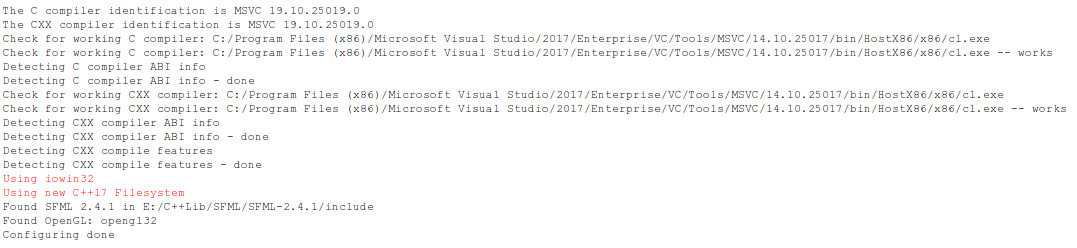
When "Generating done" appears on the console, it means you did it !
Just to be sure, click again on Configure and Generate as CMake sometimes omit to include SFML the first time.
If your compiler doesn't support <experimental/filesystem> you can untick the _USE_CPP_NEW_FS to get the old version.

Navigate to the ObEngine source folder (where the CMakeLists.txt file is) and simply type :
cmake .
That's it !
Now it's time to compile the engine !
If you created a Visual Studio (2015/2017) ProjectFile with CMake, you should be able to find a ObEngine.sln file in the build folder.
Open the ObEngine.sln file with Visual Studio, you should get something like this :
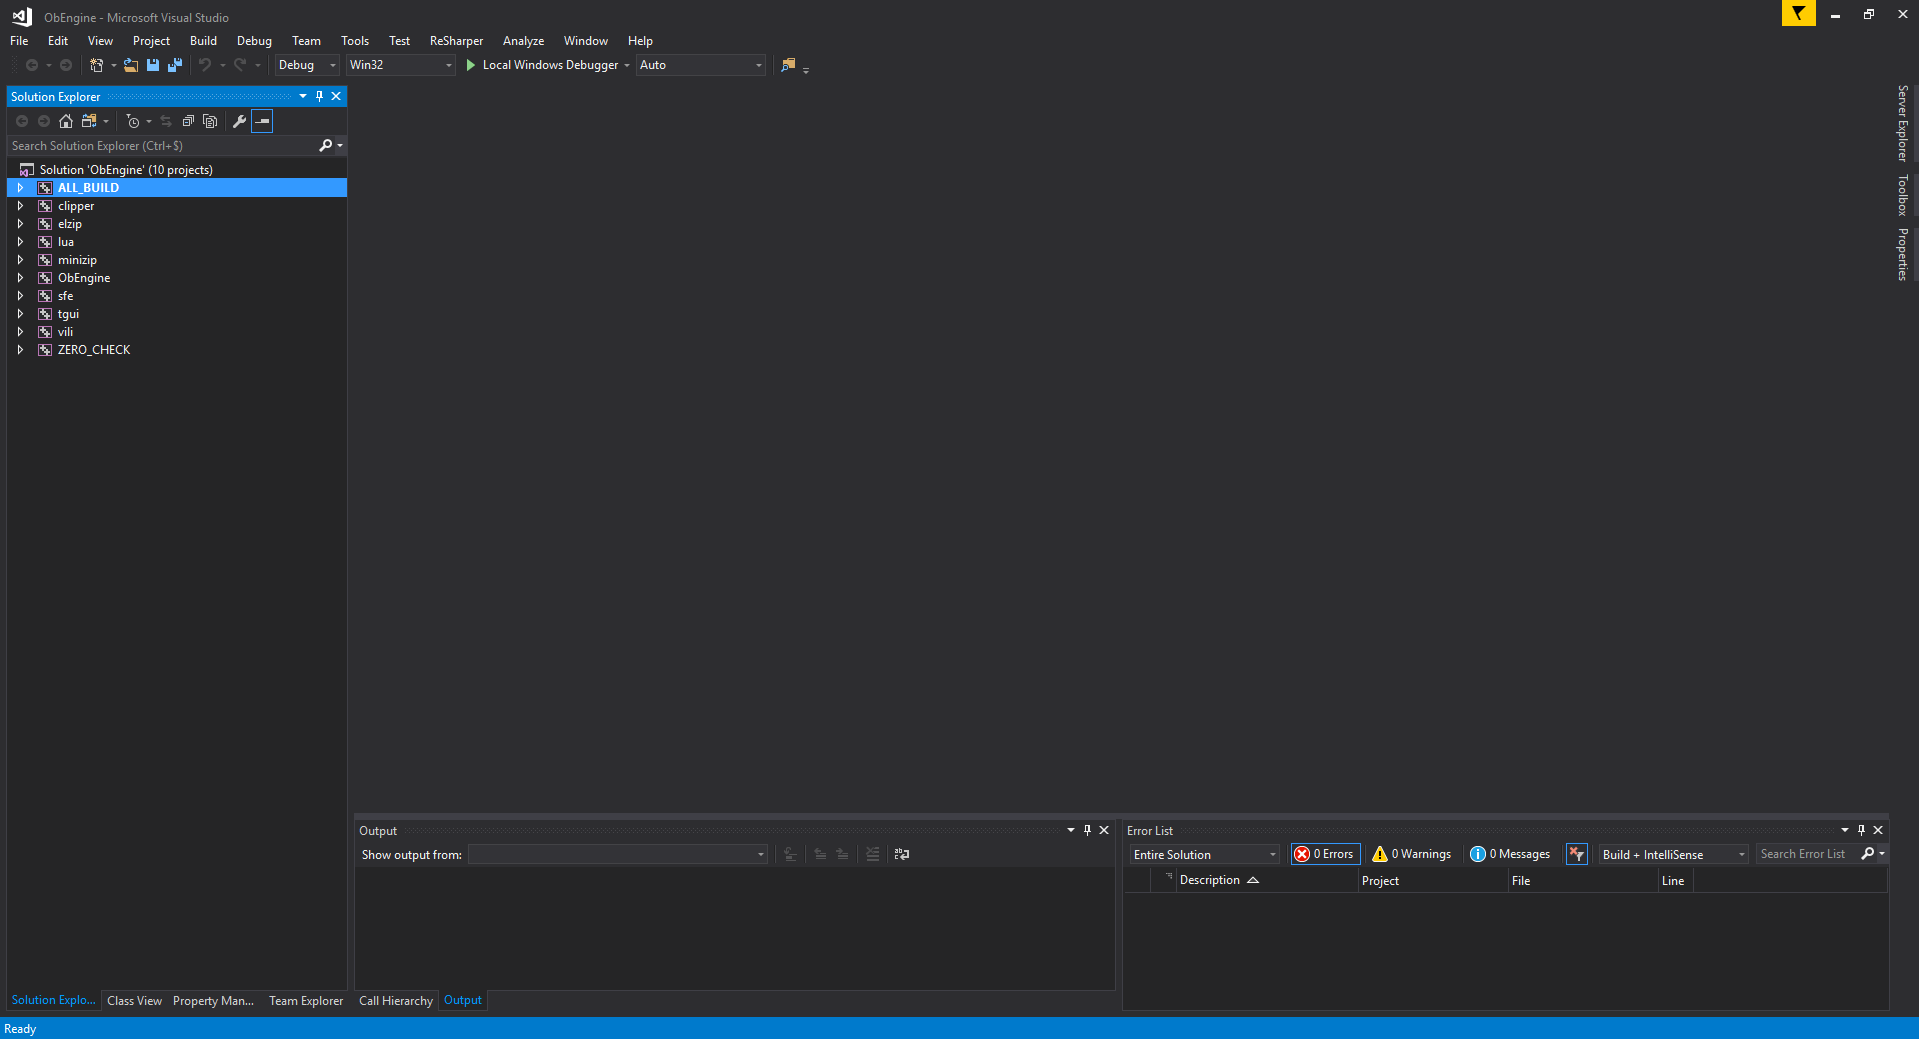
(The interface might be a bit different on your computer)
⚠️ If you work on Visual Studio you have to indicate to the engine that the engine files are located on the "Current Working Directory" instead of the "Executable Directory". Edit themount.vilifile and add thisobeentry (used to locate engine files) to themountsobject (or create it if does not exists).mounts: obe: "cwd://."
Just click on "Local Windows Debugger" and it should start compiling everything (It might take a lot of time so go make yourself a ☕️).
If you get a lot of "Cannot open include file : 'SFML...." : Click on Build (on top) > Cancel.
Then just go back to CMake, click on Configure then Generate once again, go back to Visual Studio and click on "Reload Solution" if needed and restart the compilation (by clicking the "Local Windows Debugger" button).
After the compilation if you get a message saying : "Unable to start program '....ALL_BUILD'" then don't worry, it's fine !
Just go to /yourbuildfolder/Debug/, you should be able to find ObEngine.exe.
Well done ! You compiled ObEngine !
(To use the executable, copy it into /yourbuildfolder/engine/)
(This part is currently being written)
(This part is currently being written)
Well done ! You compiled ObEngine yourself !
Now you can go ahead and create your first project :)