🥡 Modify ADSBee Enclosure
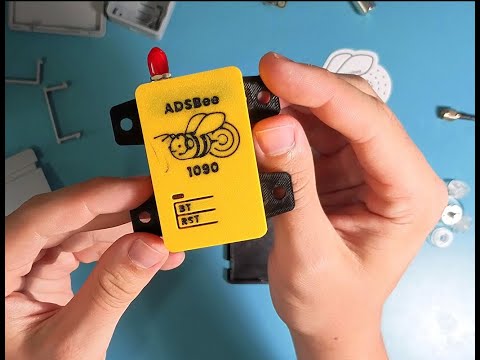
The ADSBee 1090 ships in a 3D printed PETG enclosure secured with four plastic latches. The enclosure can be easily disassembled using a standard USB-C cable to pop the latches out of their holds, allowing the back plate of the enclosure to be swapped out for different designs (e.g. the window feeder mounting bracket).
The ADSBee 1090 can be completely removed from its enclosure by using a 2.0mm hex bit to remove the 4x M2.5 mounting screws that are used to secure the PCBA onto the bosses in the 3D printed case. Use care to not strip the plastic when reinstalling the screws!
Warning
The MHF4 connector on the ESP32 is extremely fragile! Use caution when removing it, as it’s rather easy to rip off of the ESP32. Preferably, use a push / pull tool like this to remove the connector safely.
For a detailed overview of the enclosure design, as well as a demonstration of disassembling and assembling the enclosure, please watch the YouTube video below.
3D print files for all of the enclosure components are open source and available for free from this OnShape link. The enclosure design can be changed and saved by creating a free OnShape account. Note that the “Back Cover” part has multiple configurations, one for a window mount configuration (labelled “Bracket”), and one for the handheld case variant (labelled “Default”).