002 Setup Guide
- Already have installed VS Code
- Installed Python 3.12
- Already have a RomFS Dump of TOTK
- Launch VS Code
- Per the labels in the below screenshot:
- Select the Extensions tab
- Select the hamburger icon (the three lines)
- Select
Install from VSIX...
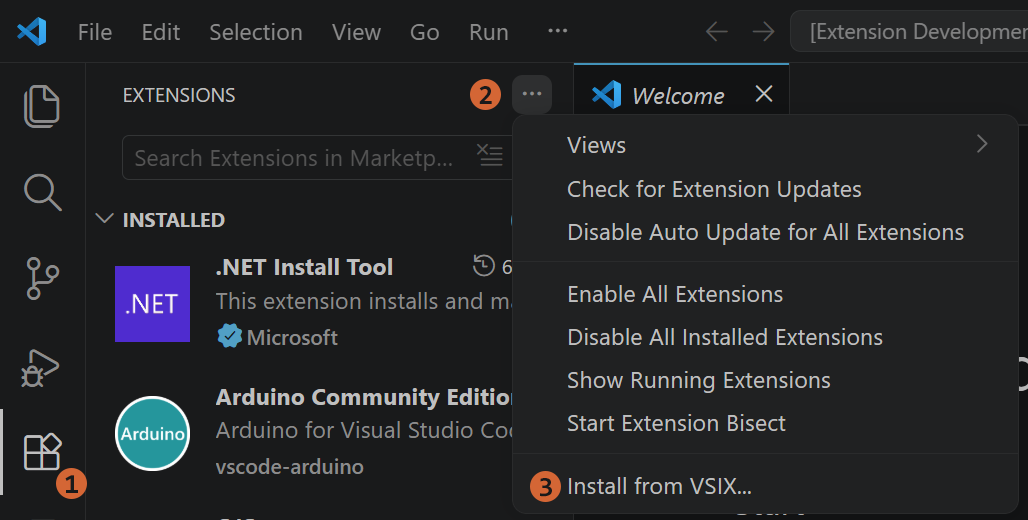
- Locate and select the
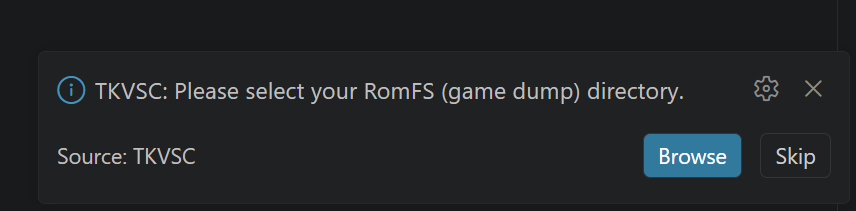
totk-vscode-<version>.vsix, where<version>will vary depending on the version of the extension you downloaded - After the plugin installs, you should see A prompt in the bottom-right corner of the window asking you to select your TOTK RomFS Dump path. Select the folder that contains the folders shown below:
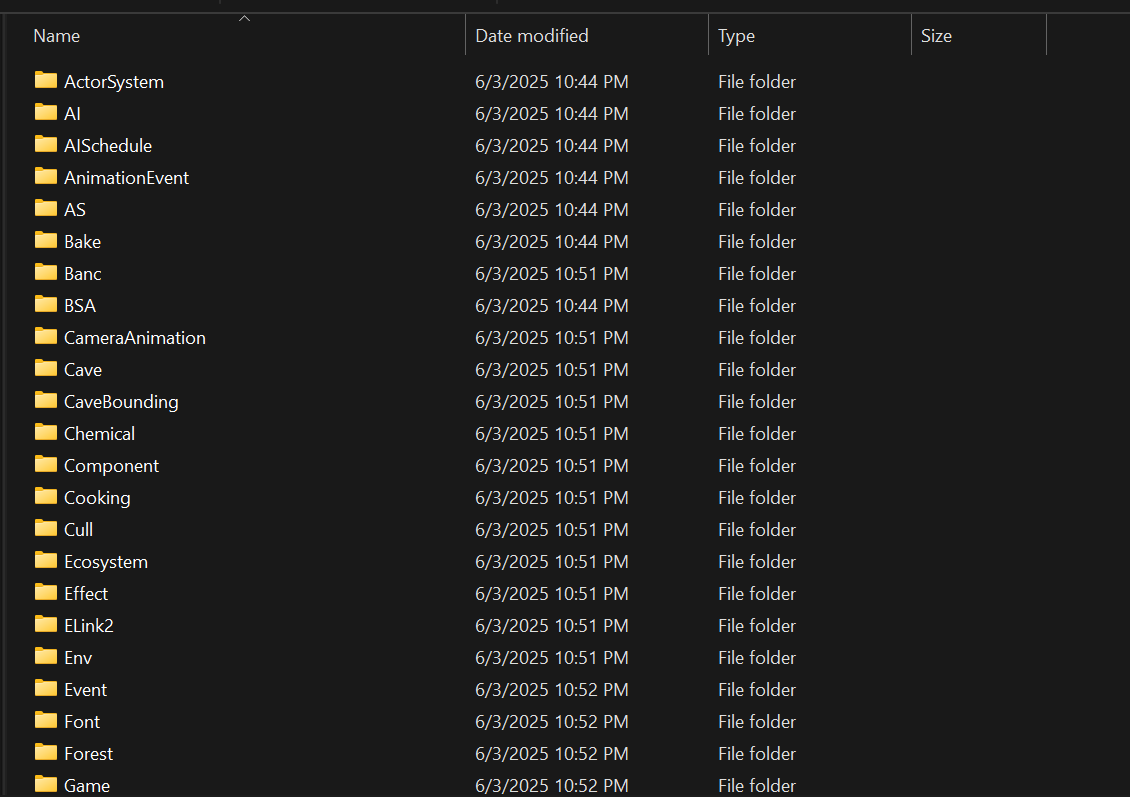
- Next, you will be prompted to select a folder for new Project Folders to be created in. While you can import existing folders manually, you will also be able to create new Project root folders from within TKVSC. For organizational purposes, it is recommended to choose a folder that will only be used for TOTK Mod Projects:
- Lastly, you will be asked if you'd like to import existing Mod Projects from TKMM. This will cause all folders located in the
Recent Projectslist within TKMM to appear in theYour Projectstab of TKVSC. It's your choice, and you can always manually import these folders later if you choose not to at the moment. If you haven't used TKMM before, select no
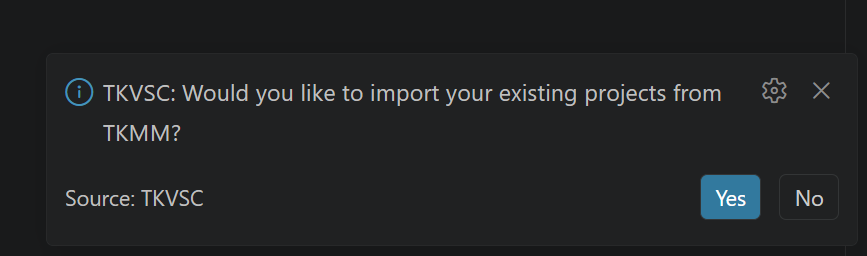
You've now completed setup for TKVSC. At this point, the tool will take a brief moment to build internal databases based on your RomFS Dump and any Project folders you've imported.
Explore on your own, or continue reading for information about the two new tabs TKVSC adds to the Activity Bar:
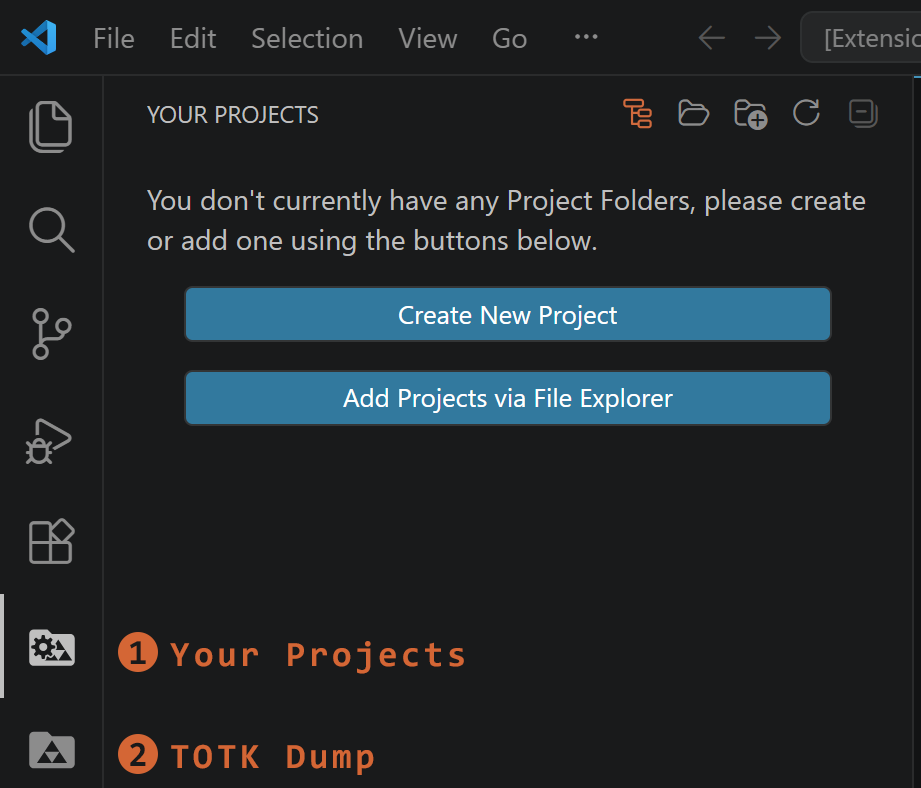
This is the first tab that you will interact with. If you already have a folder containing a romfs folder, you can navigate to that folder using the Add Projects via File Explorer prompt. You can select multiple Project Folders at a time if you'd like to quickly import your existing Projects in one go. Even if the romfs folder is within a subfolder of the selected folder and not directly in the selected folder, TKVSC will be able to properly identify it. As an alternative, you can click the icon of a folder with a + on it to create a new Project Folder in the directory you configured during setup. For your convenience, this will automatically create a .tkproj for use with TKMM.
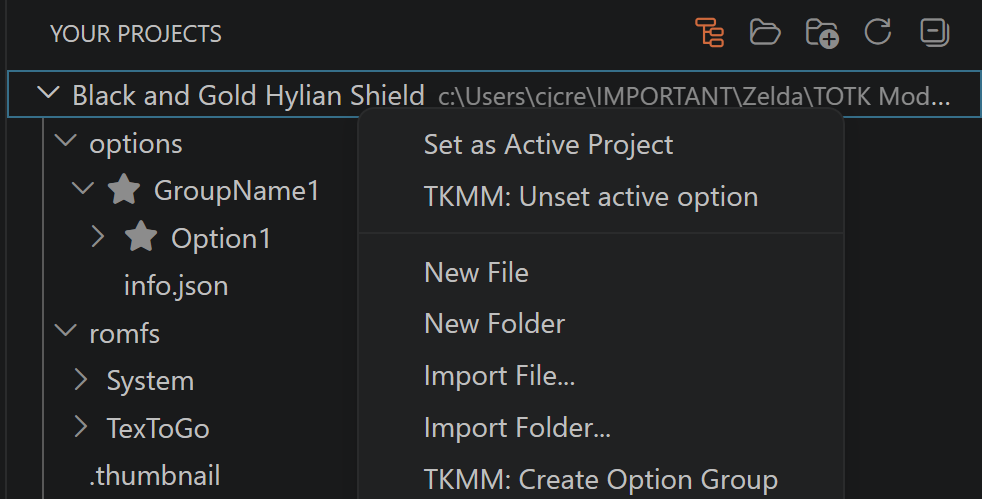
If there are multiple Project Folders, you can right-click on one of them and choose Set as Active Project. Additionally, if your Project Folder includes mod Options for TKMM, you can right-click on the name of an Option and choose TKMM: Set as Active Option. Selecting the active Project/Option is important because it enables TKVSC to add one or more files from the TOTK Dump to the selected Project/Option without needing to navigate to the Project Folder each time. To change back to using the primary romfs folder as the active folder, right click the Project Folder or Option and choose TKMM: Unset active option.
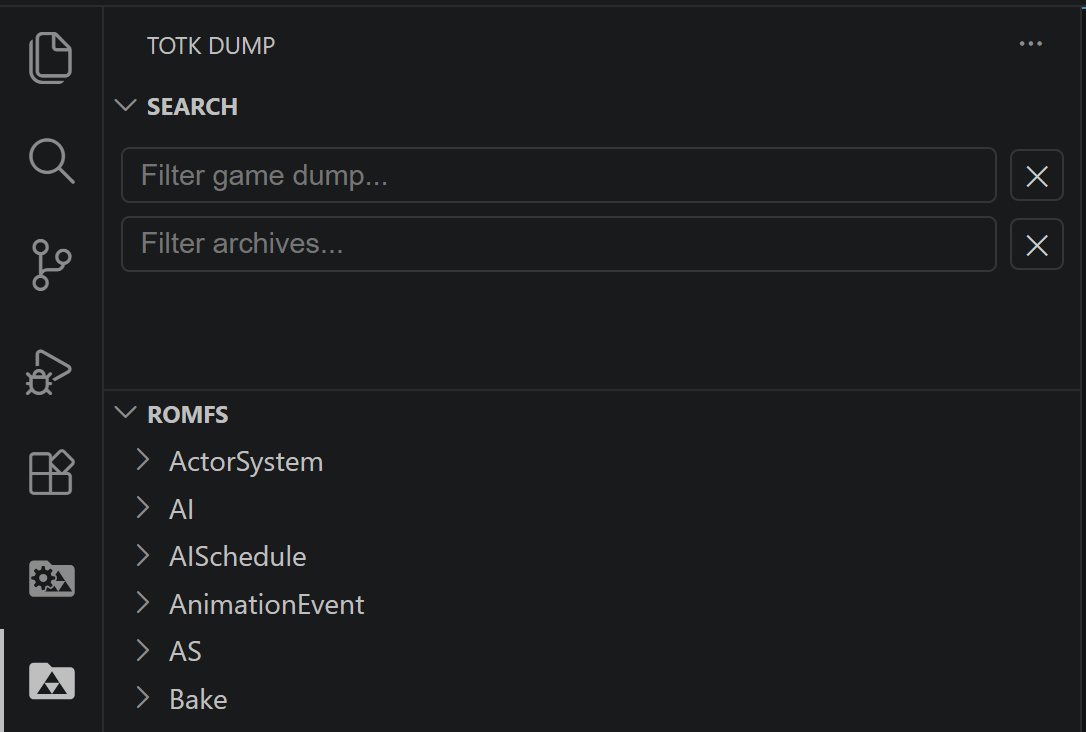
The TOTK Dump folder is exactly what it sounds like. You can browse the full RomFS Dump path that you provided during the setup process. You can use the two search bars to search for exposed files and/oor files contained within archives (such as .sarc or .pack files).
When you find a file that you'd like your mod to have, you can right-click it and choose either Add to Project or Add to Active Project. If you choose Add to Project, you will be prompted to choose which Project Folder to add the file to, and which Option it should be added to (if Options exist for that Project). When browsing archives, you can preview the archive's subfiles and right-click on one of them to add the parent archive to a project. Using Ctrl or Shift, multiple files can be added at once.
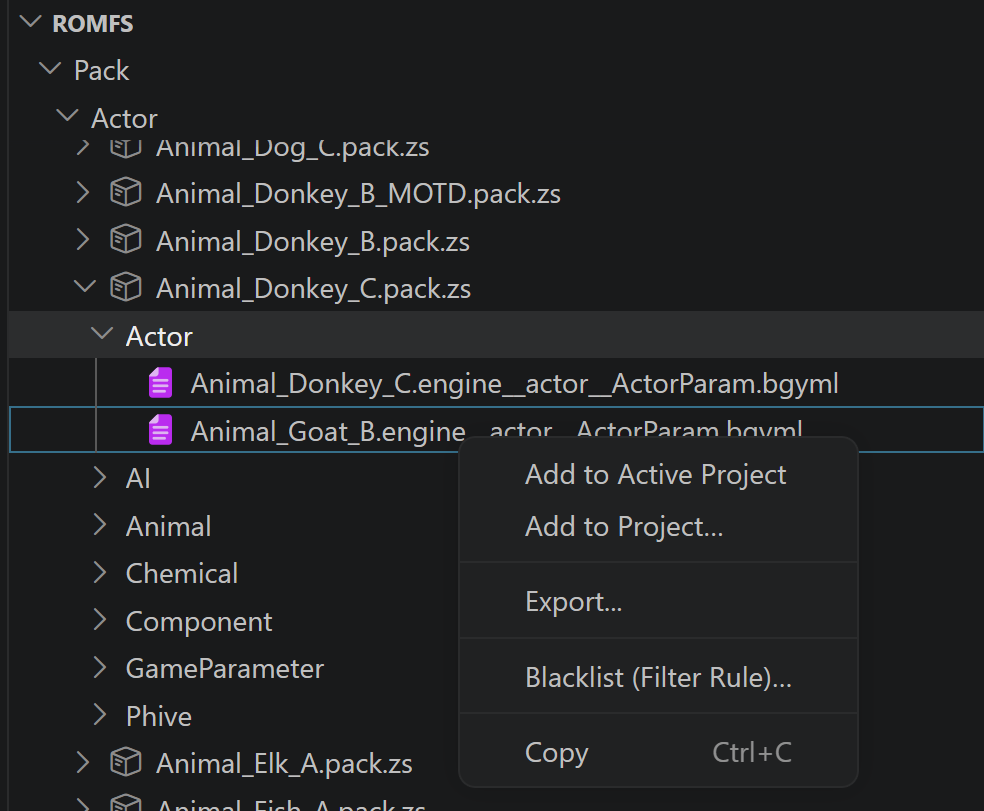
If you choose Add to Active Project, it will automatically be added to the Active Project as configured within the Your Projects tab. If there is an Active Option, it will be added to that Option. TKVSC will automatically put the file in the correct location within the Project Folder, creating directories as needed to match the correct RomFS layout.
Tutorials for the two commonly recommended mod types for new creators to make will be available in the near future, with TKVSC as the only tool needed.