1. Hardware Setup
First print the STL files in the Harware folder.
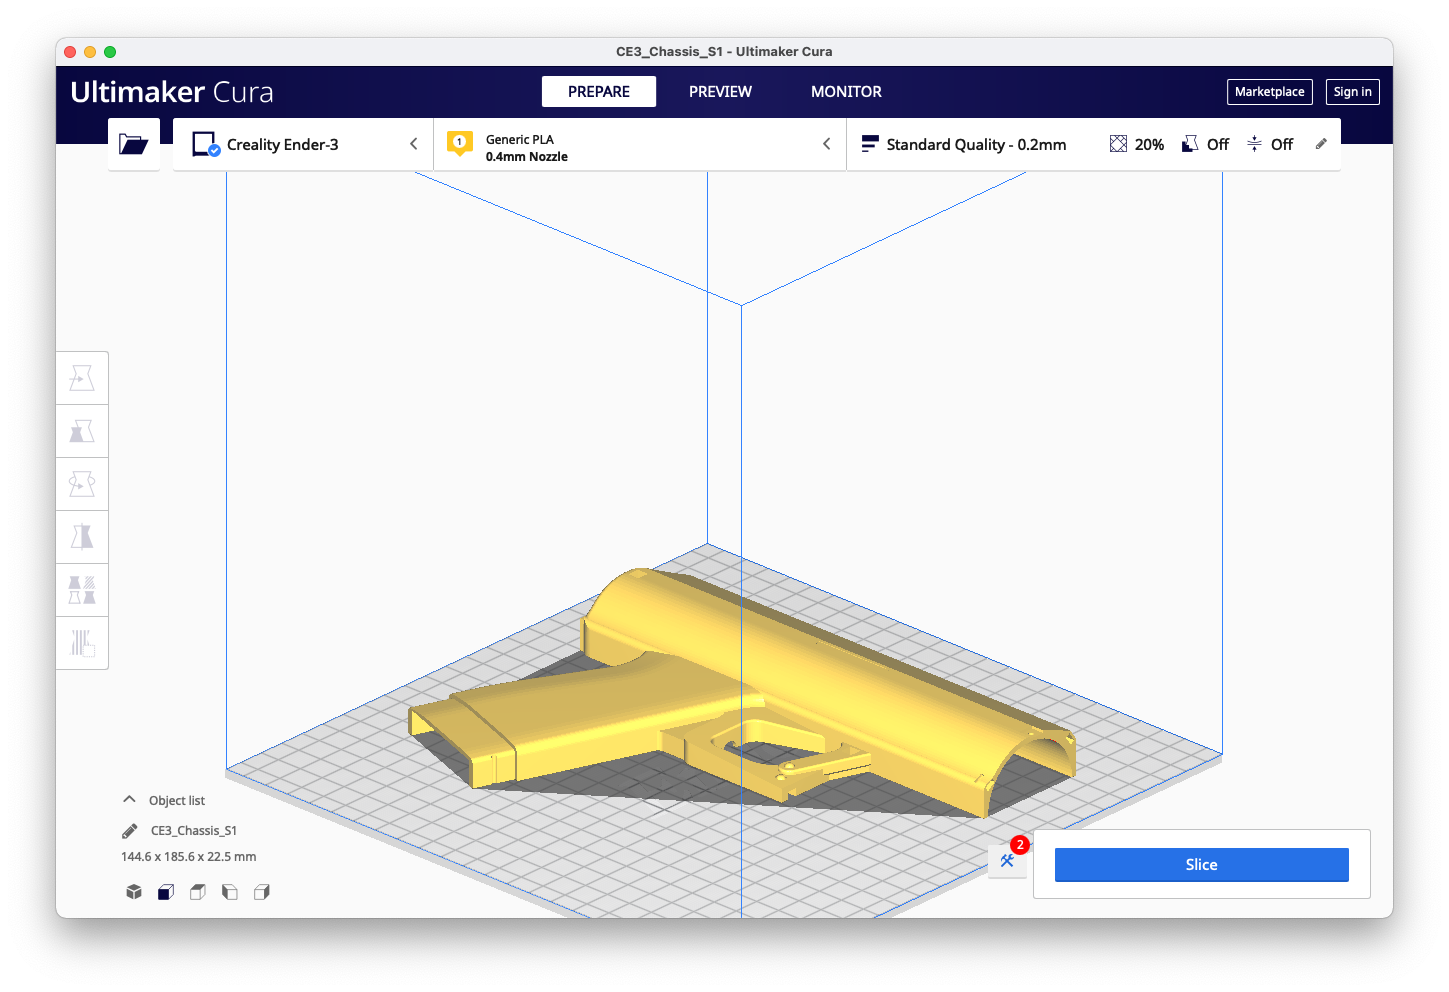
- Chassis S1
- Chassis S2
- Nozzle
- Igniter Box
- Igniter Cage
- Bottom
- N20 Arm/Horn
- Top Cover
- Butane Disc
All of the parts can be [rinted without supports in PLA at 0.2mm resolution. You may want to. add supports depending on your printer's overhang capability. All parts fit on an ender 3 printbed. Mine is 235x235 but all the parts should fit on a 220mm printbed.
Note the orientation of the following parts. You may print multiple parts t once depending on your printer's volume. Mind your retraction settings and beware of stringing if you choose to do so.
| Chassis S1 | Chassis S2 |
|---|---|
 |
 |
| Nozzle | Bottom |
|---|---|
 |
 |
| Box | Cage |
|---|---|
 |
 |
| Disc | Horn |
|---|---|
 |
 |
| Top | Bottom |
|---|---|
 |
|
Prepare your electronic components and refer to this Wiring Diagram as you lay the motor, battery, LEDs, switch, and button in the chassis.
