Repository navigation
Home
HydraFlasher is a desktop app for reading, erasing, writing and verifying SPI flash chips. It drives flashprog (or flashrom) with a Raspberry Pi Pico running the HydraFlasher firmware. One Pico serves four sockets at once (up to ten, see Socket count), so you can work through several chips without re-plugging the programmer.
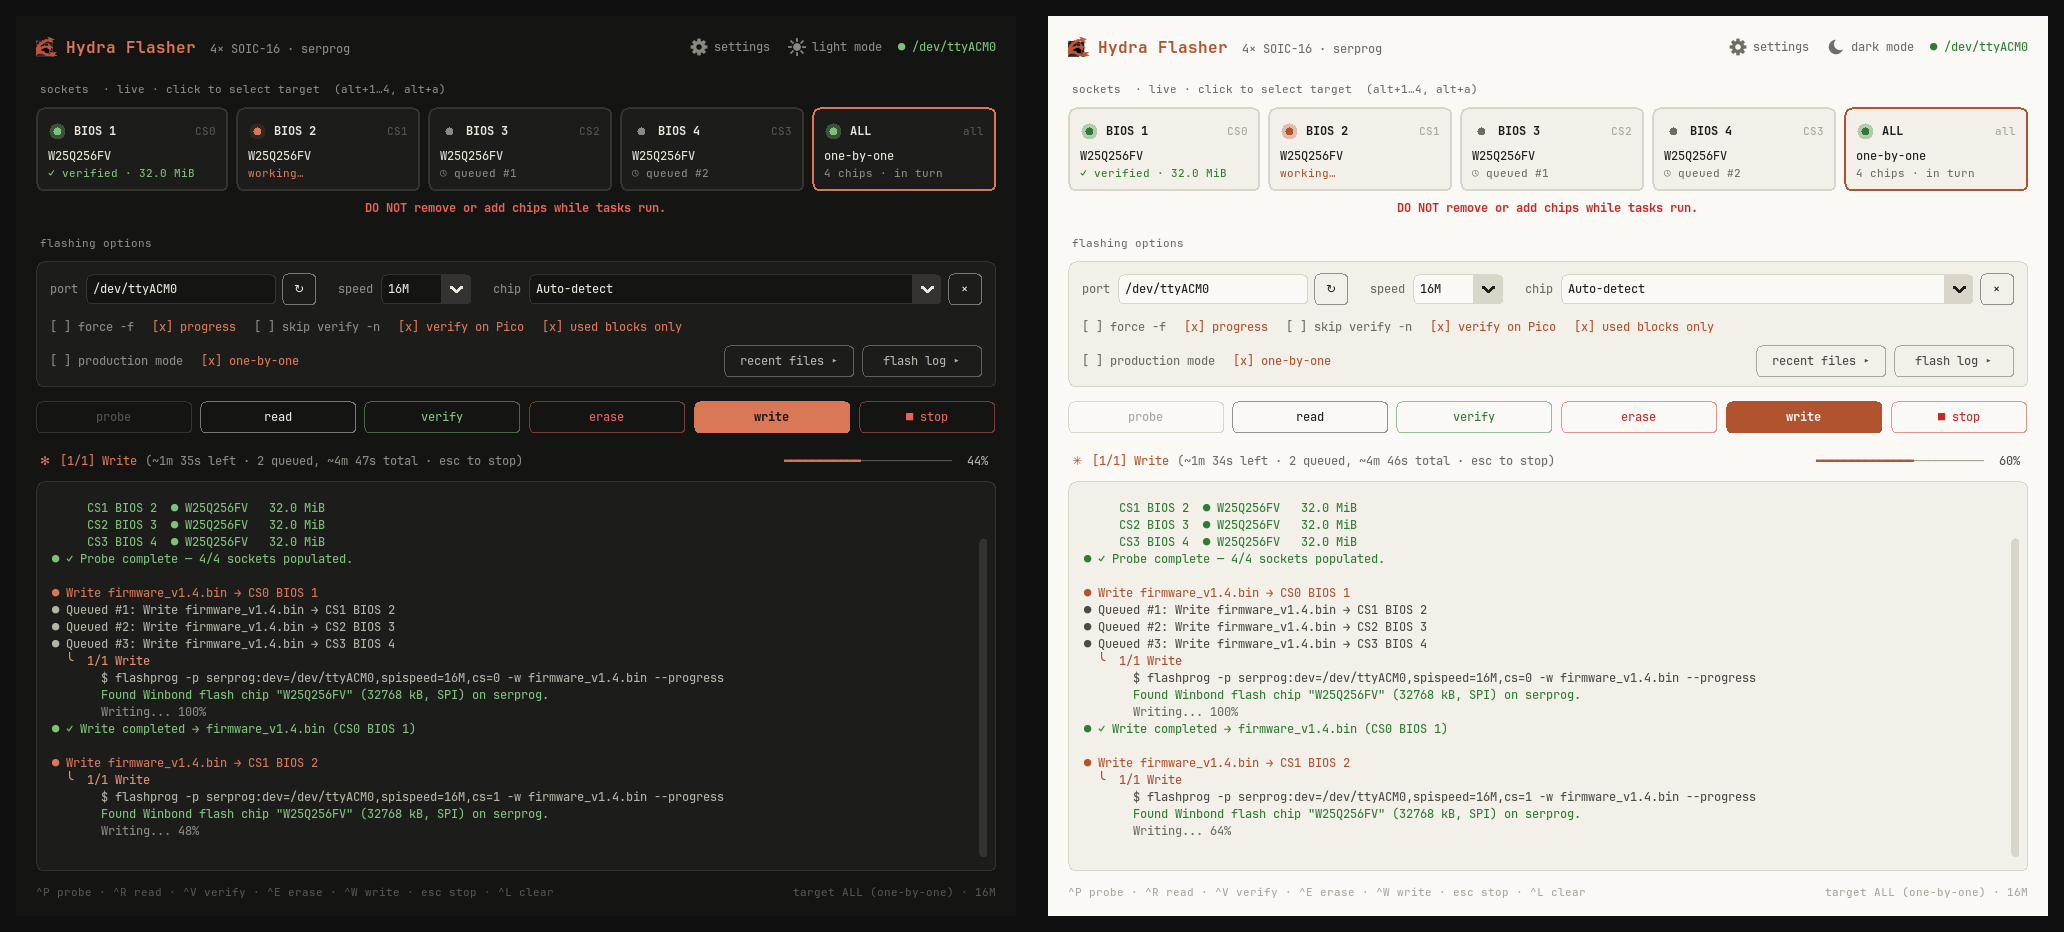
- Automatic socket count. With a pull-up resistor per socket, the Pico tells the app how many sockets the board has.
- Live socket detection. Every socket is scanned once a second, so inserting or removing a chip shows up immediately, with its type and unique ID.
- All the usual operations (probe, read, verify, erase, write) on one socket or on all of them.
- Broadcast writes. Identical chips are erased and written all at once, then verified one by one.
- One-by-one. With ALL, the same image can also go to each socket in turn, for chips that differ.
- Job queue. Start jobs on other sockets while one is running; they run in turn.
- Time left. Jobs you've run before show how long they still need, and the queue shows its total.
- Drag and drop. Drop an image on a socket to write it, or on the log to verify it.
- Fast checks on the Pico. Verifies and blank checks run as a CRC32 on the Pico itself, instead of reading the whole chip back over USB.
- Partial writes. Only the 64 KiB blocks your image actually uses (plus any that aren't blank) are erased and written.
- Production mode. Flash batch after batch with one key press.
- Traceability. Every write and verify is logged to a CSV file with the chip's unique ID and the image CRC.
-
Firmware updates from the app. The settings page installs the newest firmware from GitHub, or any
.uf2, on the Pico. - Light and dark mode. Switch with the sun/moon in the top right corner; dark is the default.
-
Safeguards. Some examples:
- unsupported chips are refused;
- a chip override that doesn't fit the inserted chip is reset;
- duplicate jobs are ignored;
- only one instance can run at a time.
| Page | What's in it |
|---|---|
| Installation | Requirements, serial port access, building and flashing the firmware, pinout |
| Getting Started | First launch and a tour of the window |
| Operations | Probe, read, verify, erase, write, and what each one does step by step |
| Job Queue | Working on several sockets while a job runs |
| Chip Detection | Live scan, chip definitions, chip override, unknown and unsupported chips |
| Production Mode | Batch flashing and the flash log |
| Use Cases | Step-by-step recipes for common jobs |
| Settings | Socket count, flashprog binary, firmware updates, notifications, resetting learned data |
| Troubleshooting | Error messages and what to do about them |
| Reference | Keyboard shortcuts, settings, files, LEDs, pinout |