Warmup
| 😅 (difficulty) | ⌛ (time-Box) | 🔗 (related to) |
|---|---|---|
| 1️⃣ / 5️⃣ | 15 - 45 mn | QtQuick |
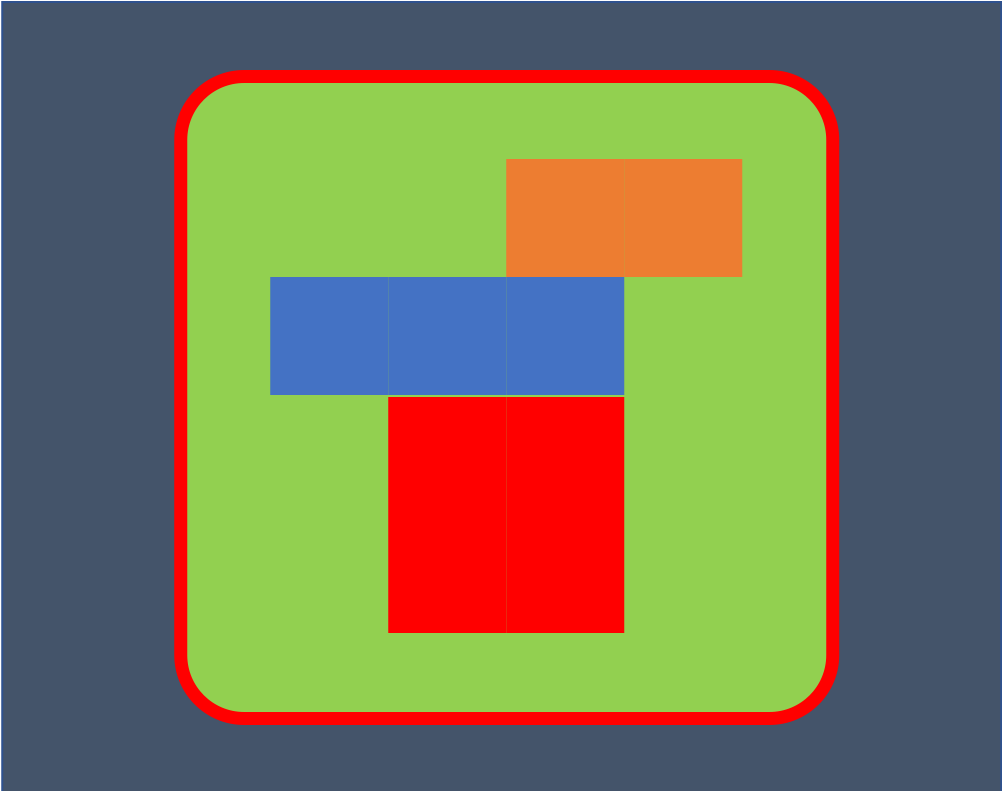
For every steps, reproduce the image
Notions covered :
- use basic QML items
- position and size items
- use model-view-delegate
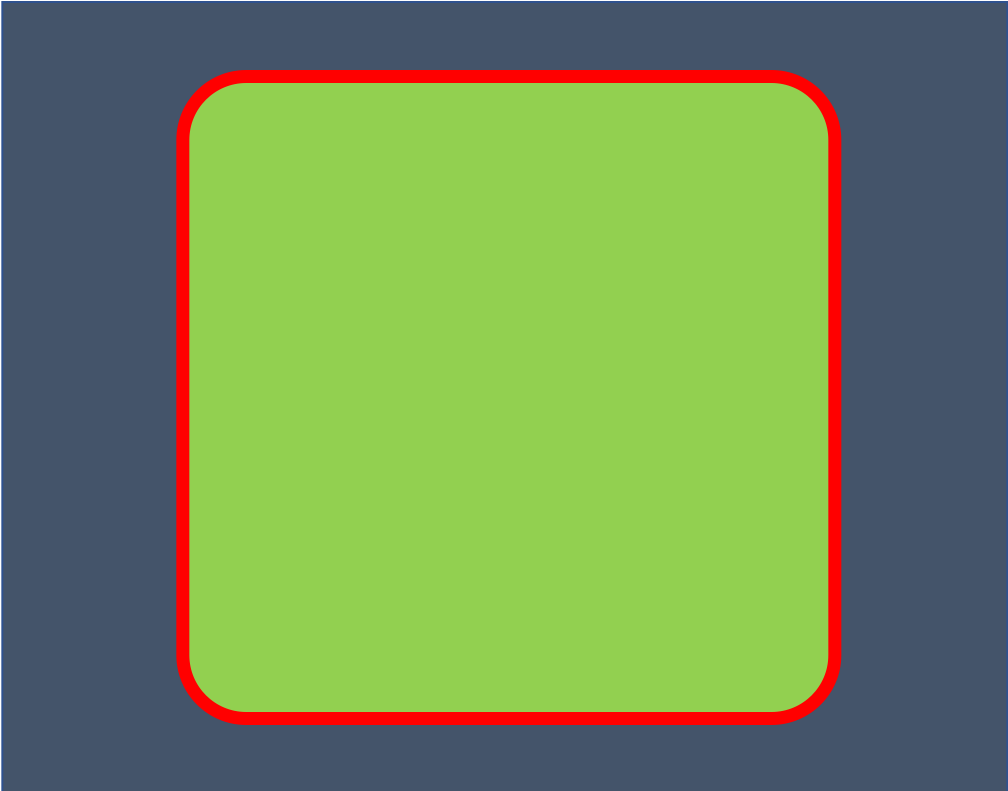
- center the rectangle
- fill the rectangle with a gradient
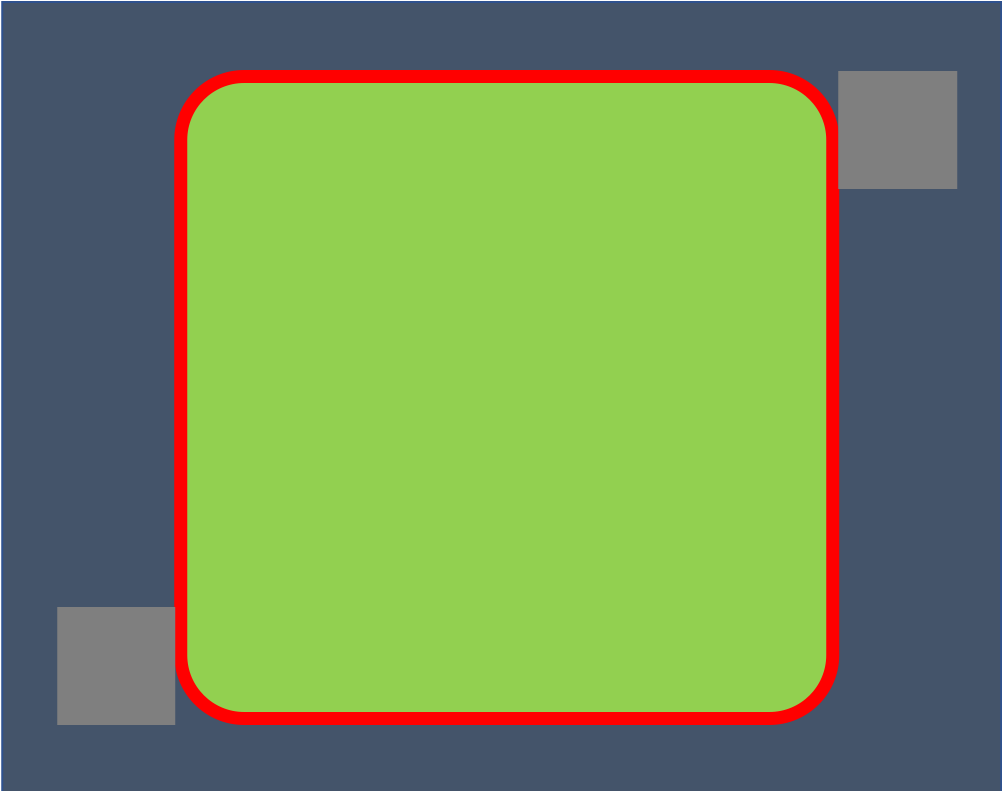
- using binding on x,y properties
- using anchors
- using a positionner
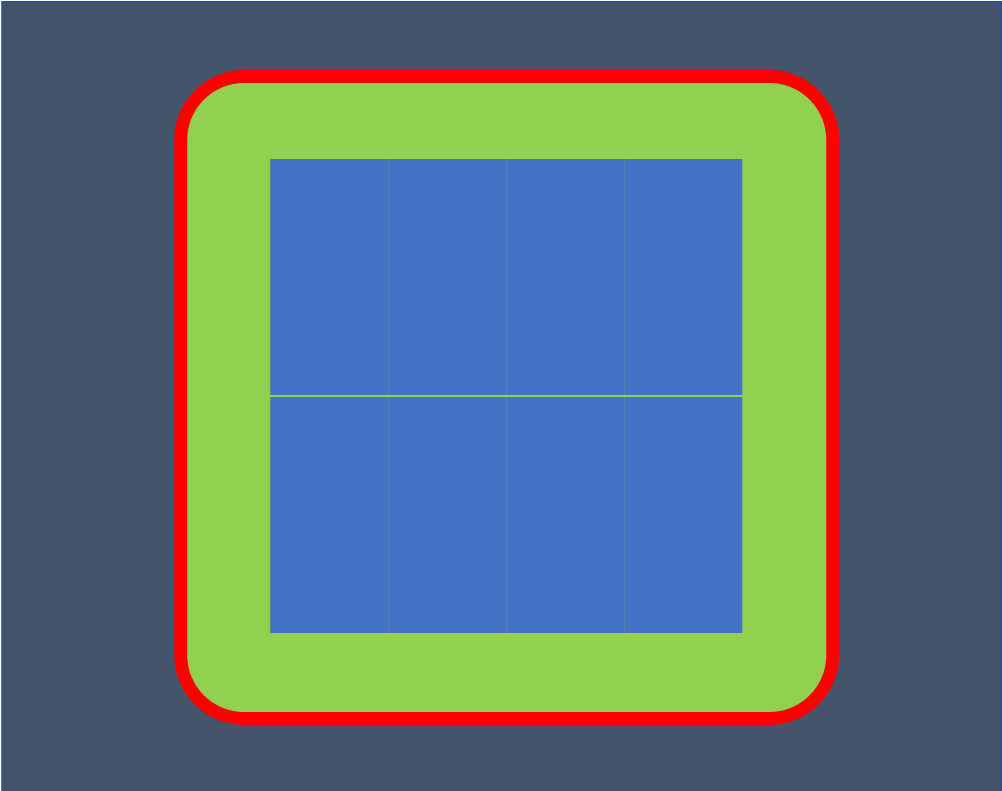
- using a layout
- using a grid and a repeater
- using a view
Warning : Spoilers !!!
| QML types | Module | Description | useful properties |
|---|---|---|---|
| QtObject | QtQuick | most basic | id |
| Item | QtQuick | basic visual element | x, y, z, width, height, anchors, visible, opacity, rotation... |
| Rectangle | QtQuick | an Item that can be seen... | color, border, radius... |
| Row, Column | QtQuick | to position children in row or column | spacing |
| RowLayout, ColumLayout | QtQuick.Layout | to position and dimension children in row or column | |
| MouseArea | QtQuick | provide mouse interaction | onClicked |
- drawing order follows document
- x, y are relative to parent
- children are not limited to parent bounding rectangle (unless parent has clip activated)
- several ways for placing item :
- static value for x, y...
- bindings on x, y properties
- anchors binding
- positionner
- layout