

A Home Assistant custom integration for GeekMagic displays (SmallTV Pro, Ultra, and similar ESP8266/ESP32-based devices).
How it works: This integration renders dashboard images directly in Home Assistant using Python/Pillow and pushes them to your GeekMagic device over HTTP. It supports the known stock firmware profiles and the newer SD_PRO-style firmware used by some Ultra units.
Early Software: This project is in active development. Expect bugs, breaking changes, and incomplete features. The API and configuration format may change between versions.
Vibe Coded: This integration was largely vibe-coded with AI assistance. While functional, it may contain unconventional patterns or rough edges. Contributions and feedback welcome!
I have a GeekMagic Ultra with ESP8266, which has limited possibilities for flashing with ESPHome. Instead of fighting the hardware, this integration takes a different approach: render everything server-side and push images to the device.
Special thanks to:
- The Home Assistant Community thread for documenting GeekMagic device capabilities
- Aydar (@aydarik) for sharing the bash script that demonstrated how to push images to these devices - the core inspiration for this integration
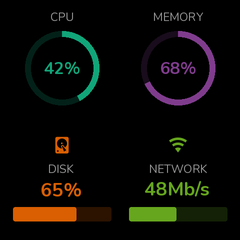
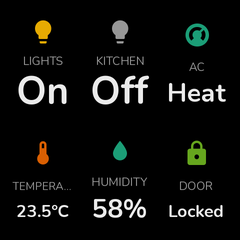
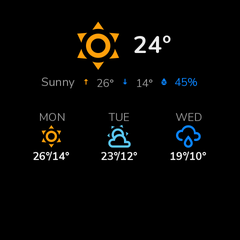
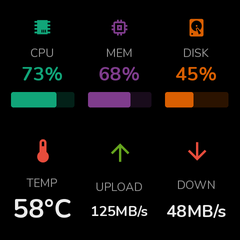
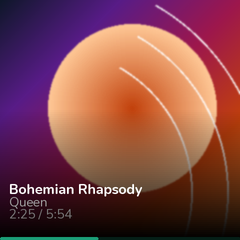
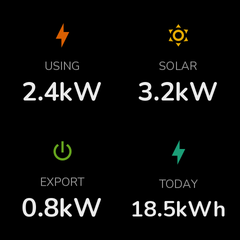
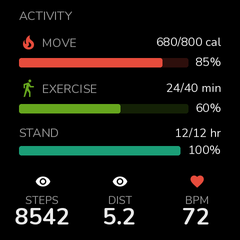
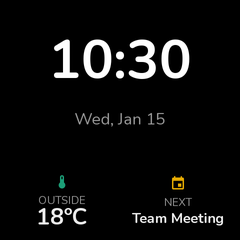
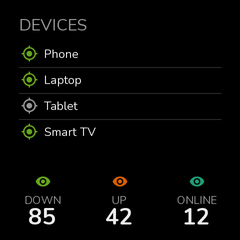
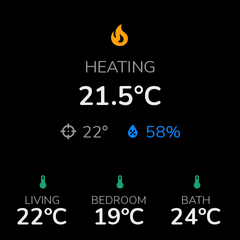
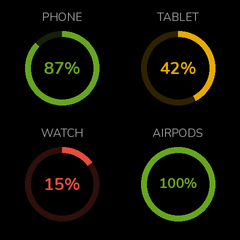
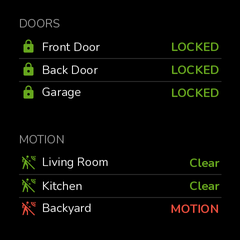
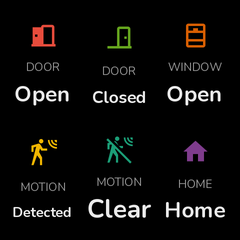
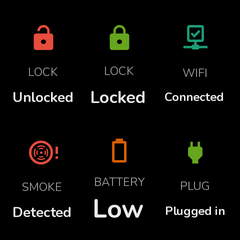
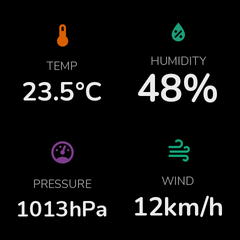
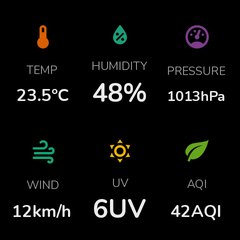
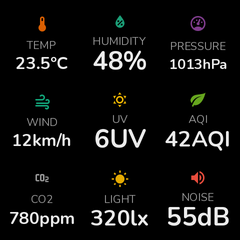
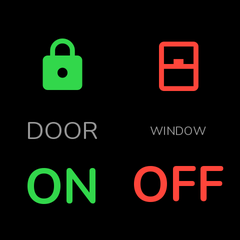
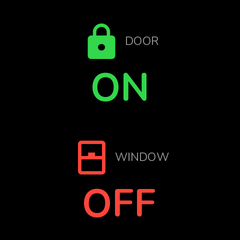
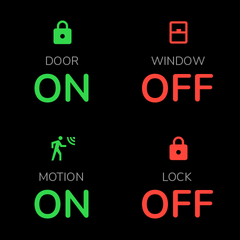
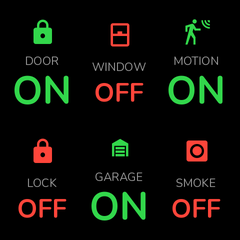
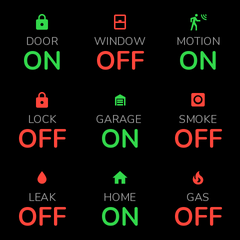
Binary sensors display human-readable states and state-specific icons based on their device_class. Icons are sourced from Home Assistant's official icon definitions.
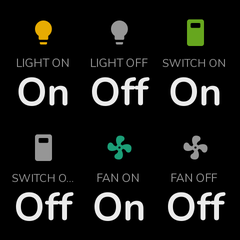
Entities like lights, switches, and fans show different icons based on their state (on/off).
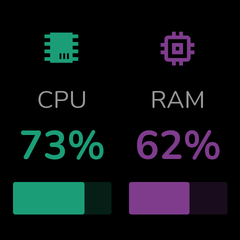
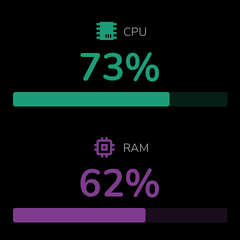
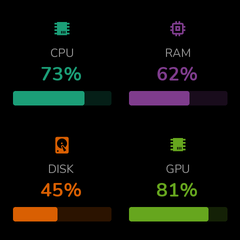
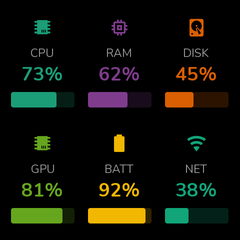
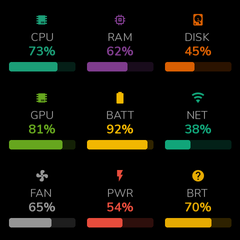
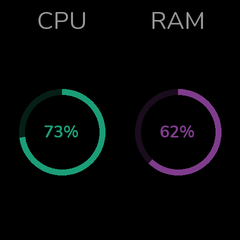
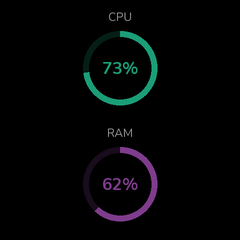
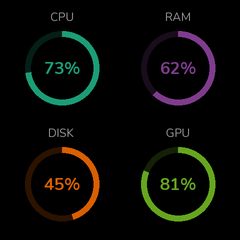
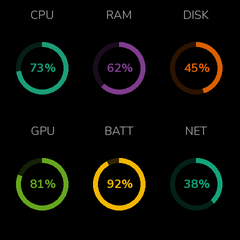
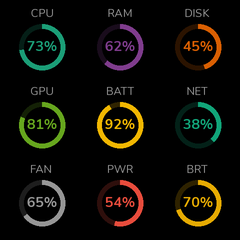
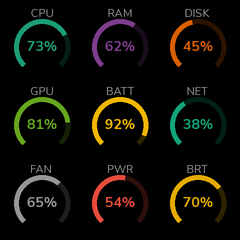
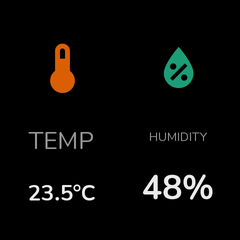
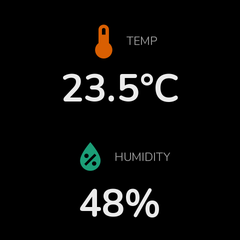
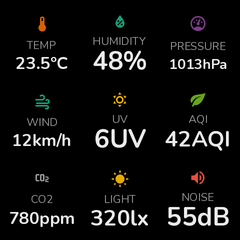
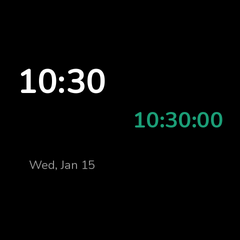
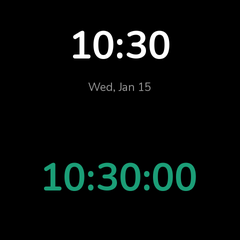
| Widget | 1x1 | 1x2 | 2x1 | 2x2 | 2x3 | 3x3 |
|---|---|---|---|---|---|---|
| Gauge (Bar) |  |
 |
 |
 |
 |
 |
| Gauge (Ring) | 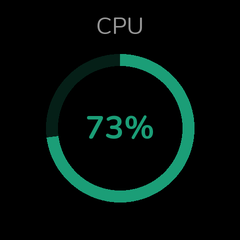 |
 |
 |
 |
 |
 |
| Gauge (Arc) | 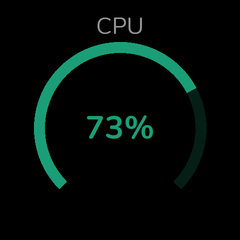 |
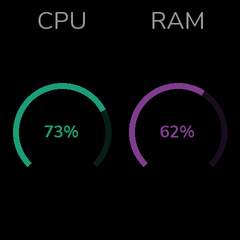 |
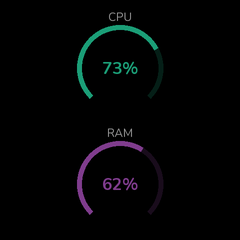 |
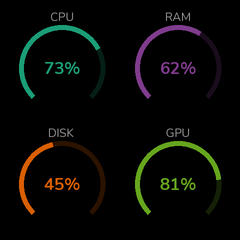 |
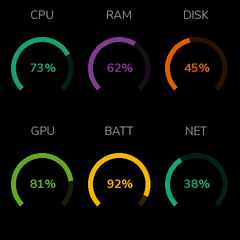 |
 |
| Entity (Icon) | 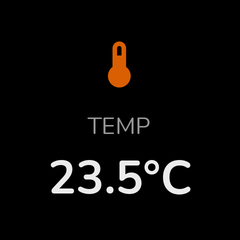 |
 |
 |
 |
 |
 |
| Entity (Plain) |  |
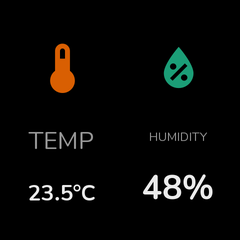 |
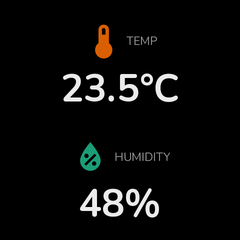 |
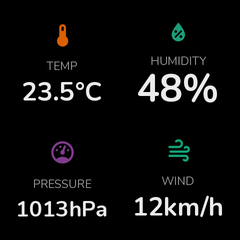 |
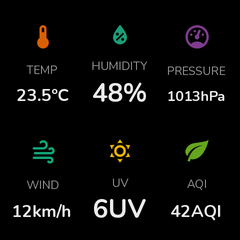 |
 |
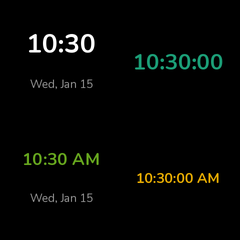
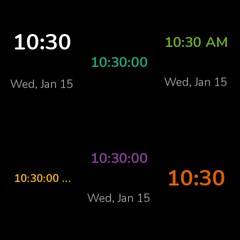
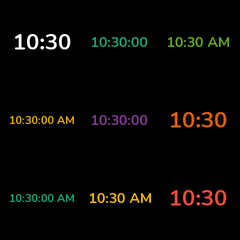
| Clock | 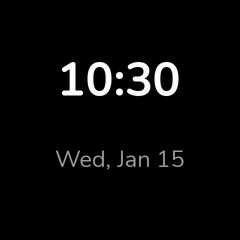 |
 |
 |
 |
 |
 |
| Text | 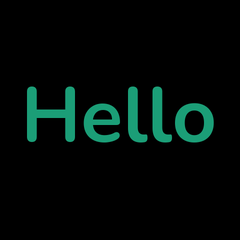 |
 |
 |
 |
 |
 |
| Progress |  |
 |
 |
 |
 |
 |
| Weather | 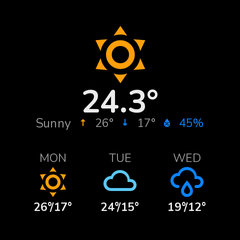 |
 |
 |
 |
 |
 |
| Status | 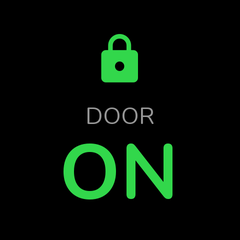 |
 |
 |
 |
 |
 |
| Chart | 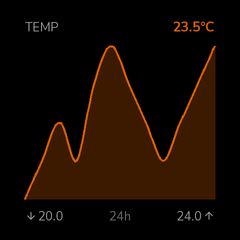 |
 |
 |
 |
 |
 |
| Candlestick | 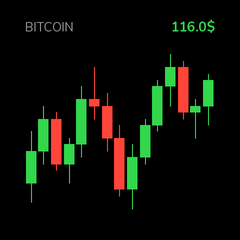 |
 |
 |
 |
 |
 |
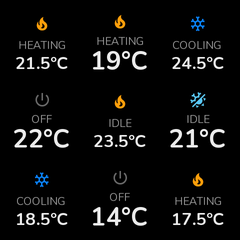
| Climate | 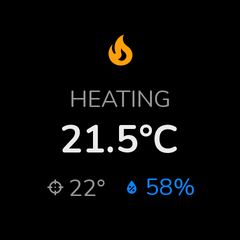 |
 |
 |
 |
 |
 |
| Attribute List | 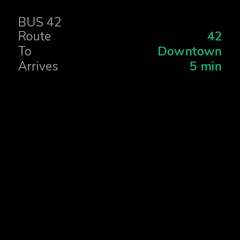 |
 |
 |
 |
 |
 |
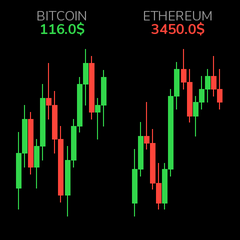
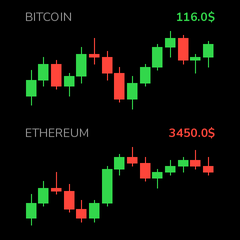
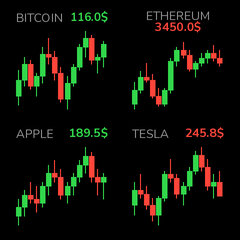
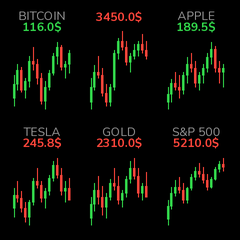
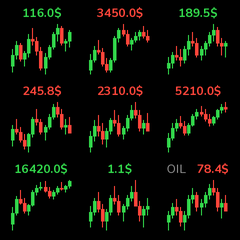
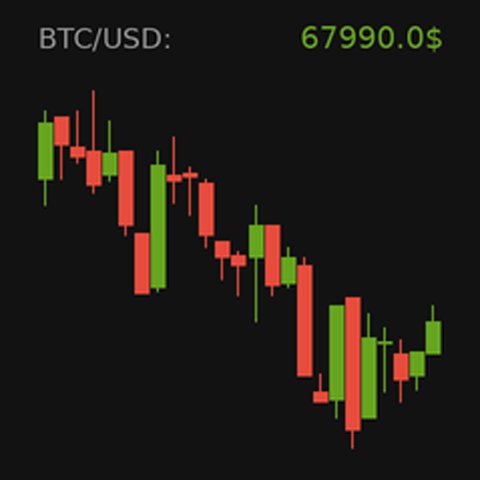
Display OHLC (Open/High/Low/Close) candlestick charts from any numeric entity's history. Configurable candle intervals (1 hour, 4 hours, 1 day) and count.
All rendering is powered by the Blitz HTML/CSS engine via blitz-py (Stylo + Taffy + Parley + Vello — no browser). Every widget is an HTML fragment rasterized per-cell, so real CSS drives the design: flexbox, gradients, glows, border-radius, media queries, SVG charts, embedded fonts. Each cell is its own CSS viewport — one widget template adapts fluidly from a 76px 3×3 cell to 240px fullscreen, shedding detail bands as space runs out. Themes are full stylesheets (fonts, chrome, backdrops, overlay effects like CRT scanlines), not just palettes.
blitz-py ships prebuilt wheels on PyPI (Linux glibc/musl x86_64 +
aarch64, macOS, Windows) and installs automatically with the
integration.
Design your own cells with HTML/CSS + Jinja. A 240×240 cell renders in ~20-40ms.
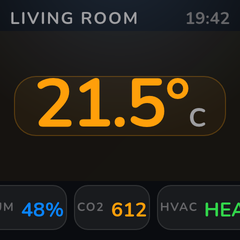
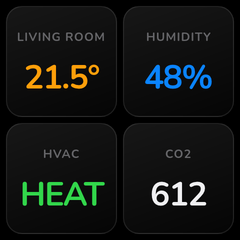
Modern CSS works: gradients (linear/radial/conic), border-radius,
box-shadow glows, translucent rgba() fills and borders, flexbox,
CSS grid, media queries, and viewport units.
Each cell is its own CSS viewport, so one template adapts to every cell
size — vmin/vw scale the type with the cell, and media queries shed
detail when space runs out. A built-in fluid kit is injected into every
document:
| Class | Purpose |
|---|---|
.cell |
Flex-column scaffold filling the cell (space-evenly); add .row for horizontal |
.t-hero |
Primary value — scales with cell size, capped by width |
.t-value |
Secondary emphasized value |
.t-unit |
Unit suffix, secondary color |
.t-label |
Caps caption, tertiary color |
.hide-short |
Hidden when the cell is under 100px tall |
.hide-narrow |
Hidden when the cell is under 100px wide |
.hide-small |
Hidden when either dimension is under 130px |
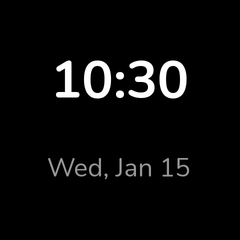
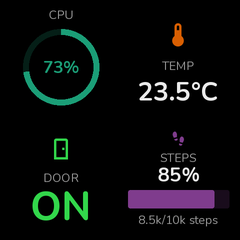
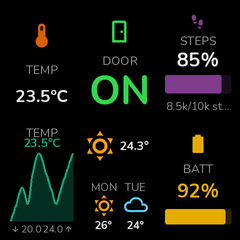
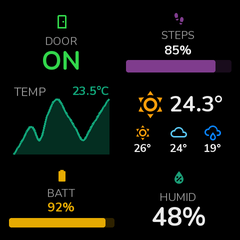
The same template at fullscreen, 2×2, and 3×3 — hero scales, captions and detail bands drop out automatically:
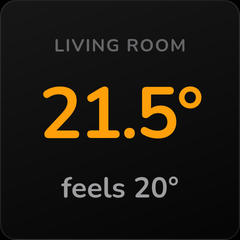
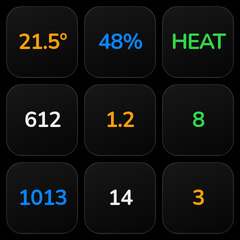
<div class="cell">
<div class="t-label hide-short">{{ name | upper }}</div>
<div class="t-hero">{{ state }}°</div>
<div class="t-unit hide-small">feels 20°</div>
</div>Samples are generated by scripts/generate_html_samples.py.
The HTML option is a Jinja template with access to entity data:
<style>
.screen { height: 100%; display: flex; flex-direction: column;
          align-items: center; justify-content: space-evenly; }
.hero { font-size: 64px; font-weight: 700; color: var(--warning); }
.label { color: var(--text-secondary); }
</style>
<div class="screen">
  <div class="label">{{ name | upper }}</div>
  <div class="hero">{{ state }}{{ unit }}</div>
  <div class="label">HVAC {{ states('climate.living_room') | upper }}</div>
</div>state,name,unit,attributes— the widget's configured entitystates('sensor.x'),state_attr('sensor.x', 'attr'),is_state('sensor.x', 'on')— any referenced entity is tracked and pre-fetched automaticallynow— timezone-aware current datetime- Theme colors as CSS variables:
var(--text-primary),var(--text-secondary),var(--text-tertiary),var(--primary),var(--success),var(--warning),var(--error),var(--info),var(--muted),var(--bg)
Limitations: no JavaScript, no network fetches (use data: URIs for
images), no background-clip: text, no text-shadow.
Turn on the device's Animations switch entity and any HTML widget
with its Animate option enabled renders its CSS animations
(@keyframes, transitions) to a looping animated GIF which the display
plays natively. Views without animated widgets keep the smaller/faster
JPEG path, and static cells in an animated view are rendered once and
shared across frames. The Animation Loop option sets the loop
length (0.8–4s; the view uses the longest loop among its widgets, at
10fps up to 2s and 7fps beyond).
Favor ambient motion over movement — glows that breathe, gradients
that drift, colors that shift. Opacity, background-color, text
color, box-shadow, and background-position all interpolate:
<!-- Breathing glow (presence lamp) -->
<style>
@keyframes breathe { 0%,100% { box-shadow: 0 0 10px 1px rgba(48,209,88,0.18); }
                     50% { box-shadow: 0 0 30px 7px rgba(48,209,88,0.45); } }
.lamp { width: 34vmin; height: 34vmin; border-radius: 50%;
        animation: breathe 3.2s ease-in-out infinite; }
</style>

<!-- Aurora drift behind a value -->
<style>
@keyframes drift { 0% { background-position: 0% 0%; } 100% { background-position: -300% 0%; } }
.sky { background: linear-gradient(90deg, rgba(10,132,255,0.24) 0%,
         rgba(191,90,242,0.20) 33%, rgba(90,200,245,0.16) 66%,
         rgba(10,132,255,0.24) 100%);
       background-size: 300% 100%; animation: drift 3.2s linear infinite; }
</style>

<!-- Color-breathing value -->
<style>
@keyframes warm { 0%,100% { color: #ff9f0a; } 50% { color: #ff453a; } }
.v { animation: warm 3.2s ease-in-out infinite; }
</style>
Seamless-loop rules: animation durations should equal (or evenly divide) the loop length, and drifting gradients must tile — use a 90° gradient whose first and last color stops match (diagonal gradients show a seam when the tile repeats).
Animations are off by default: a GIF costs upload size (~100KB vs ~30KB JPEG) and device decode time.
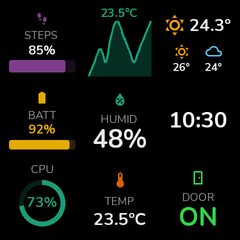
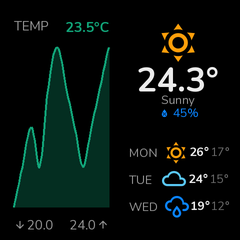
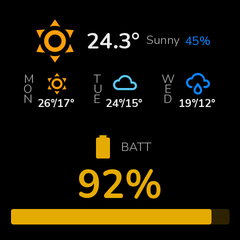
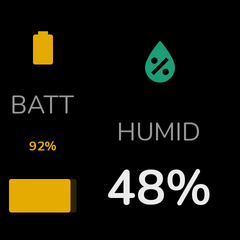
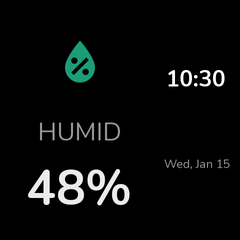
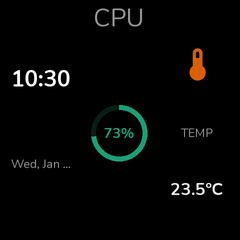
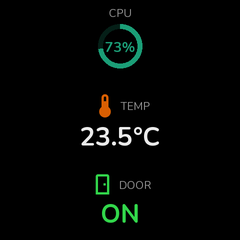
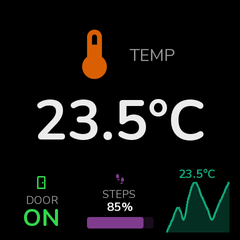
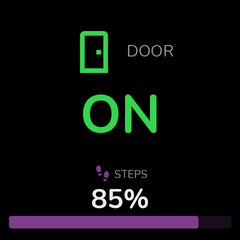
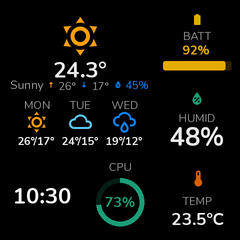
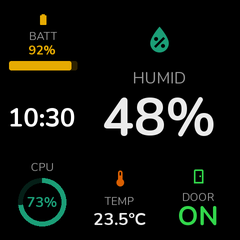
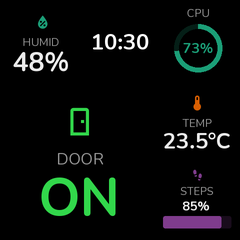
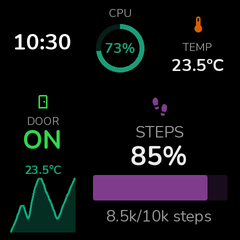
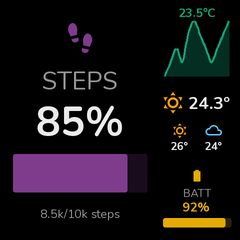
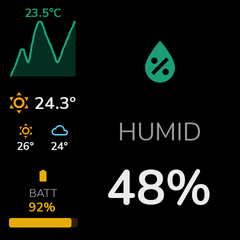
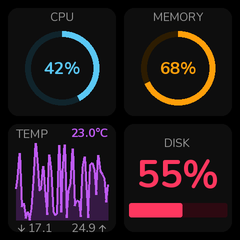
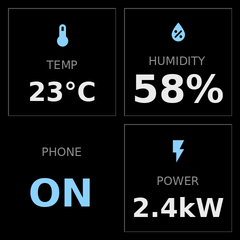
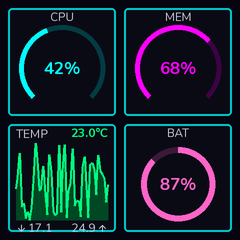
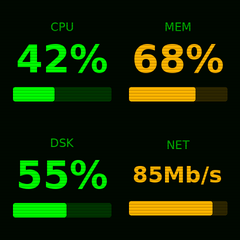
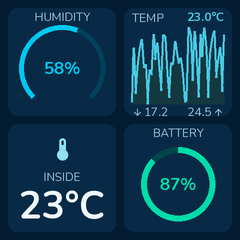
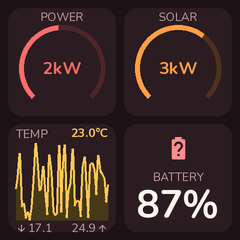
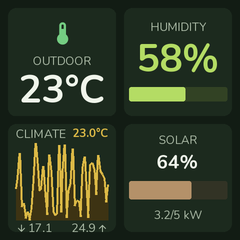
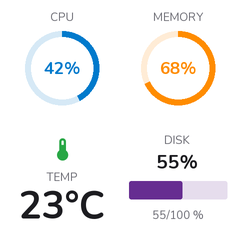
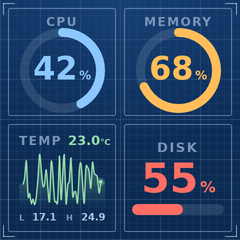
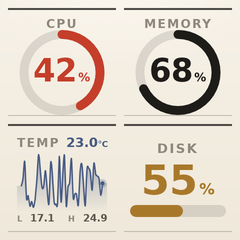
Choose from 15 built-in themes that go beyond just colors — they apply a complete design system: typography (rounded Nunito font on most themes), spacing, shapes, tinted gauge tracks, and visual effects.
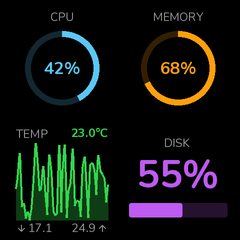
The default watchOS theme is inspired by Apple's watchOS Human Interface Guidelines: true-black background, Apple system colors (red/orange/yellow/green/mint/teal/cyan/blue/indigo/purple/pink), opacity-based text hierarchy, tinted Activity-ring style gauges, and no card chrome — widgets float on the background for maximum information density.
| watchOS | Classic | Minimal | Neon | Retro | Soft |
|---|---|---|---|---|---|
 |
 |
 |
 |
 |
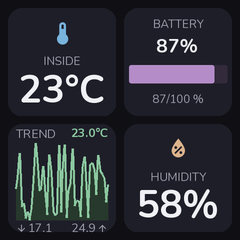 |
| Default — Apple watchOS HIG-inspired | Subtle card chrome, system colors | Sharp, monochrome | Cyberpunk with glow | Terminal scanlines | Cozy, very rounded |
| Ocean | Sunset | Forest | Light | Candy |
|---|---|---|---|---|
 |
 |
 |
 |
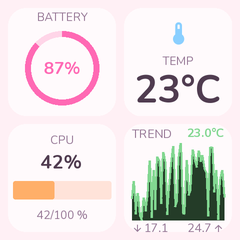 |
| Deep blue, nautical | Warm coral/orange | Natural earth tones | Clean white background | Playful pastels |
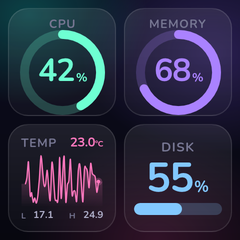
| Blueprint | Ink | Aurora | Brutal |
|---|---|---|---|
 |
 |
 |
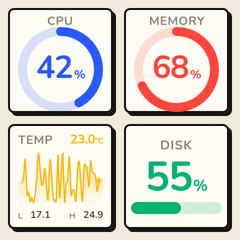 |
| Engineering drawing on drafting-grid paper | Warm newsprint with one pot of red ink | Luminous mesh-gradient poster, frosted glass | Neo-brutalism: hard borders, harder shadows |
- 15 widget types: Clock, entity, attribute list, media, chart, candlestick, text, gauge, progress, weather, status, climate, camera, and more
- 19 layout options: Fullscreen, grids, splits, hero variants, sidebars, and more
- 15 visual themes: watchOS (default), Classic, Minimal, Neon, Retro, Soft, Light, Ocean, Sunset, Forest, Candy, Blueprint, Ink, Aurora, Brutal
- Visual configuration: Custom sidebar panel with live preview
- Global views: Create views once, assign to multiple devices
- Multi-screen support: Assign multiple views per device with auto-cycling
- Notification service: Show temporary alerts with text, icons, or camera images
- Pure Python rendering: Uses Pillow for image generation (no browser required)
- Configurable refresh: Updates every 5-300 seconds
- Open HACS in Home Assistant
- Click "Custom repositories"
- Add this repository URL
- Install "GeekMagic Display"
- Restart Home Assistant
- Copy
custom_components/geekmagicto your Home Assistant'scustom_componentsfolder - Restart Home Assistant
- Go to Settings → Devices & Services
- Click Add Integration
- Search for "GeekMagic"
- Enter your device's IP address
After installation, a GeekMagic item appears in your sidebar.
Create and manage display views:
- Create views with the "+ Add View" button
- Edit views by clicking on them
- Delete views via the menu on each card
The editor provides a live preview and widget configuration:

- Preview: See real-time rendering as you configure
- Layout: Choose grid size (2x2, 2x3, 3x2, hero, split, etc.)
- Theme: Select from 10 visual themes
- Widgets: Each slot shows a position grid - click cells to swap widget positions
- Entity picker: Native Home Assistant entity selector with filtering
Assign views to your GeekMagic devices:
- Check which views each device should display
- Devices automatically cycle through assigned views
- Drag to reorder the rotation sequence
Each device exposes entities for brightness, refresh interval, mode selection, and status:

Each GeekMagic device creates the following entities for control and monitoring:
| Entity | Type | Description |
|---|---|---|
number.geekmagic_brightness |
Number | Display brightness (0-100%) |
number.geekmagic_refresh_interval |
Number | Update interval (5-300 seconds) |
number.geekmagic_cycle_interval |
Number | View cycle interval (0 = manual only) |
select.geekmagic_mode |
Select | Device mode (Custom Views, Clock, Weather, System Info) |
select.geekmagic_current_view |
Select | Currently displayed view (when in Custom mode) |
switch.geekmagic_active |
Switch | Enable/disable the display (sleep/wake) |
switch.geekmagic_view_cycling |
Switch | Enable/disable automatic view cycling |
| Entity | Type | Description |
|---|---|---|
sensor.geekmagic_status |
Sensor | Connection status with device attributes |
sensor.geekmagic_storage_used |
Sensor | Device storage usage percentage |
sensor.geekmagic_storage_free |
Sensor | Free storage in KB |
| Entity | Type | Description |
|---|---|---|
button.geekmagic_refresh |
Button | Force immediate display refresh |
button.geekmagic_next_screen |
Button | Switch to next view in rotation |
button.geekmagic_previous_screen |
Button | Switch to previous view in rotation |
The Active switch (switch.geekmagic_active) lets you pause the display when no one is in the room. When turned off, the screen dims to zero and all rendering stops (saving CPU cycles and flash memory writes). When turned on, brightness is restored and the display refreshes immediately.
Wire it to any HA presence sensor, motion sensor, or media player via an automation:
automation:
  - alias: "GeekMagic: sleep when room is empty"
    trigger:
      - platform: state
        entity_id: binary_sensor.office_presence
        to: "off"
        for: "00:05:00"   # optional: wait 5 min before sleeping
    action:
      - action: switch.turn_off
        target:
          entity_id: switch.geekmagic_smalltv_active

  - alias: "GeekMagic: wake when room is occupied"
    trigger:
      - platform: state
        entity_id: binary_sensor.office_presence
        to: "on"
    action:
      - action: switch.turn_on
        target:
          entity_id: switch.geekmagic_smalltv_active
Any HA entity works as a trigger — presence sensors, media players, motion sensors, person trackers, etc.
Shows a temporary notification on the display, interrupting the normal view rotation.
| Parameter | Required | Default | Description |
|---|---|---|---|
device_id |
Yes | - | GeekMagic device(s) to show the notification on |
message |
No | - | Notification text. If omitted, the image/icon displays fullscreen |
icon |
No | - | MDI icon to display (e.g., mdi:bell, mdi:alert) |
image |
No | - | Entity for image source (camera.*, image.*, or media_player.*) |
duration |
No | 10 | How long to show the notification (1-300 seconds) |
theme |
No | watchos | Visual theme for the notification |
Simple text notification:
service: geekmagic.notify
data:
  device_id: "abc123"
  message: "Motion detected!"
  icon: mdi:motion-sensor
Doorbell with camera snapshot:
service: geekmagic.notify
data:
  device_id: "abc123"
  message: "Someone at the door"
  image: camera.front_door
  duration: 30
Fullscreen camera (no message):
service: geekmagic.notify
data:
  device_id: "abc123"
  image: camera.front_door
  duration: 15
Now playing notification:
service: geekmagic.notify
data:
  device_id: "abc123"
  message: "Now Playing"
  image: media_player.spotify
theme: neon| Type | Description |
|---|---|
gauge |
Bar, ring, or arc gauge (style: bar/ring/arc) |
entity |
Any HA entity value (with optional icon, attribute) |
html |
Custom HTML/CSS cell rendered by Blitz, Jinja-templated |
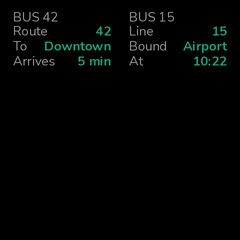
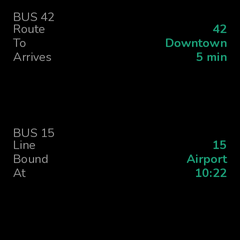
attribute_list |
Display multiple entity attributes as key-value pairs |
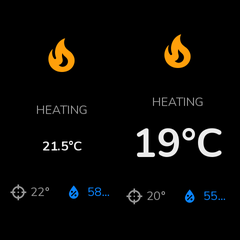
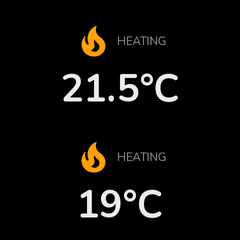
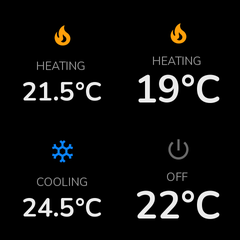
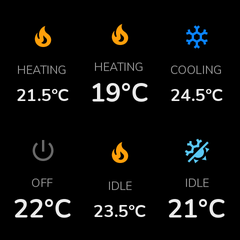
climate |
Thermostat/HVAC (show_target, show_humidity, show_mode) |
clock |
Time and date |
text |
Static or dynamic text |
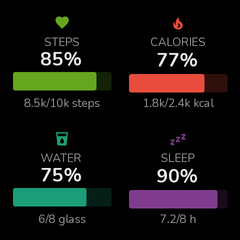
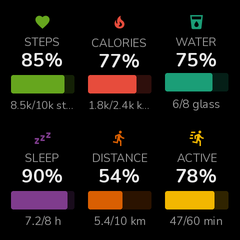
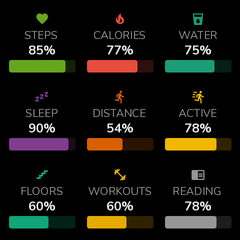
progress |
Goal tracking with progress bar |
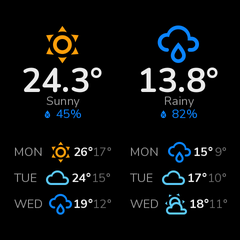
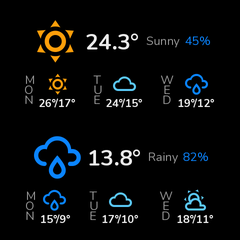
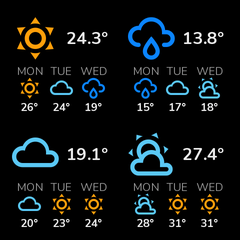
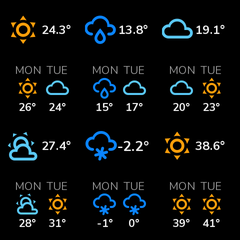
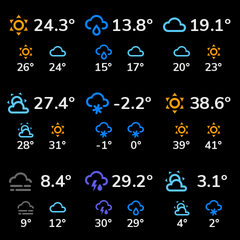
weather |
Weather with forecast |
status |
Binary sensor indicator |
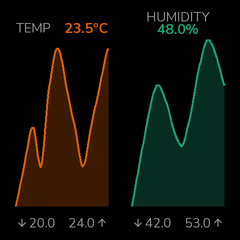
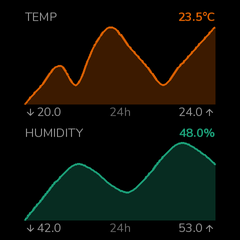
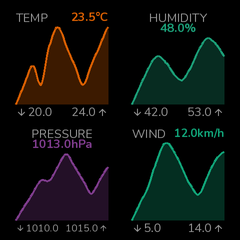
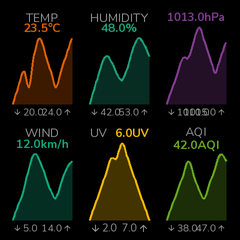
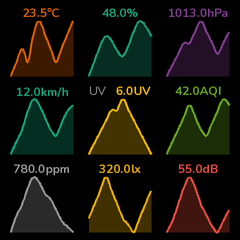
chart |
Sparkline from entity history |
candlestick |
OHLC candlestick chart from entity history (candle_interval, candle_count, show_value) |
camera |
Camera snapshot display |
media |
Now playing from media player |
multi_progress |
Multiple progress items |
status_list |
Multiple status indicators |
| Layout | Slots | Description |
|---|---|---|
fullscreen |
1 | Single widget fills entire display (no padding) |
grid_2x2 |
4 | 2x2 grid of equal widgets |
grid_2x3 |
6 | 2 rows, 3 columns |
grid_3x2 |
6 | 3 rows, 2 columns |
grid_3x3 |
9 | 3x3 grid of equal widgets |
split_horizontal |
2 | Left/right side by side |
split_vertical |
2 | Top/bottom stacked |
split_h_1_2 |
2 | Narrow left (1/3), wide right (2/3) |
split_h_2_1 |
2 | Wide left (2/3), narrow right (1/3) |
three_column |
3 | 3 vertical columns |
three_row |
3 | 3 horizontal rows |
hero |
4 | Large hero + 3 footer widgets |
hero_simple |
2 | Large hero + 1 footer widget |
hero_corner_tl |
6 | 2x2 hero top-left + 4 small widgets |
hero_corner_tr |
6 | 2x2 hero top-right + 4 small widgets |
hero_corner_bl |
6 | 2x2 hero bottom-left + 4 small widgets |
hero_corner_br |
6 | 2x2 hero bottom-right + 4 small widgets |
sidebar_left |
4 | Wide left panel + 3 right rows |
sidebar_right |
4 | 3 left rows + wide right panel |
GeekMagic devices with the same case/name can ship with very different firmware. The integration detects the firmware/API profile first, then uses the matching upload and display flow.
| Device / firmware profile | Detection | Render support | Notes |
|---|---|---|---|
| SmallTV Ultra stock firmware | /app.json or /v.json with Ultra model |
Full | Uses /doUpload?dir=/image/, /set?theme=3, and /set?img=/image/{filename}. |
| SmallTV-PRO stock firmware | /v.json with GeekMagic SmallTV-PRO, or /.sys/app.json |
Full, with managed album | Uses /doUpload?dir=/image/ and /set?theme=4. Picture mode is an album slideshow, so the integration can manage the album and keep only dashboard.jpg. |
| Ultra / SD_PRO community-style firmware | /theme/list and /photo/list |
Supported through Photo slideshow | This firmware is very different from stock Ultra firmware. It uses /config, /api/set?key=..., /photo/upload, /photo/toggle, and /theme/list; it does not support direct /set?img= image selection. |
Other GeekMagic devices may work if they expose one of those API profiles. If a device has the same product name but a different web UI or endpoint set, run the repo-local probe command from the development section below and attach the output to an issue.
SmallTV-PRO note: Pro Picture mode is an album slideshow. During Pro setup,
Home Assistant asks for confirmation to manage that album. When enabled, the
integration removes other pictures from the Pro album and keeps one managed
dashboard.jpg image updated so the display cannot rotate away from the HA
dashboard. After setup, manually select the Picture app on the device; the
integration does not press the Pro menu buttons automatically because the
firmware does not expose enough menu state to do that reliably.
For users interested in open-source firmware, @bvweerd has created an ESP8266 firmware that implements the same API:
- geekmagic-tv-esp8266 - Open-source firmware for GeekMagic devices
If the integration doesn't work with your device or firmware version, you can generate a per-device reference report yourself and either attach it to a bug report or open a PR to add the device to docs/devices/. The repo ships with a Claude Code skill (.claude/skills/geekmagic-reverse-engineer/) that crawls your device, watches it run in a headless browser, and produces a redacted Markdown report describing every page, endpoint, parameter, and payload — purely from what the device tells us about itself.
To run it from a clone of this repo, point Claude Code at your device and ask:
"Use the geekmagic-reverse-engineer skill against
<DEVICE-IP>and produce a PR-ready report."
The skill handles privacy by default (credentials, SSIDs, IP addresses, MAC addresses are auto-redacted; review the output and scrub anything else before sharing). Existing captures live under docs/devices/ and are good examples of the format.
uv sync                              # Install dependencies
uv run pytest                        # Run tests
uv run ruff check .                  # Lint
uv run pre-commit run --all-files    # Run all checks
uv run python scripts/generate_samples.py # Generate samplesYou can smoke-test the device client from a repo checkout before installing into Home Assistant:
uv run python scripts/device_cli.py probe <DEVICE-IP>
uv run python scripts/device_cli.py render-test <DEVICE-IP> --dashboard clock
uv run python scripts/device_cli.py upload-file <DEVICE-IP> path/to/image.jpg
uv run python scripts/device_cli.py brightness <DEVICE-IP> get
uv run python scripts/device_cli.py brightness <DEVICE-IP> set 80
probe only reads from the device. render-test, upload-file, and brightness set change the display.
The render/upload smoke tests back up readable device settings first, hold the
test image on screen for 15 seconds, then restore the original settings. Use
--hold-seconds N to change the viewing window. --takeover-album can make Pro
Picture mode deterministic by backing up the existing album, clearing it for the
test, and restoring it afterward. If a Pro test image uploads but is not visible,
manually select the Picture app on the device, or add --try-enter-picture to
let the CLI press the Pro menu buttons during a live smoke test. Home Assistant
does not press those buttons automatically. If your workstation has multiple
routes to the device subnet, add --bind-address LOCAL-IP to the CLI command to
force the source interface used for both aiohttp and raw firmware fallback
requests.
MIT