Appium is an open source test automation framework for use with native, hybrid and mobile web apps.It drives iOS, Android, and Windows apps using the WebDriver protocol
- Appium version needs to be above 1.22.3 for iOS
- Appium server
- Appium client
- selenium java libraries, since it appium is built around selenium
- TestNG
The following are the system requirements for Appium on Android:
- Java (version 7 or later)
- Android SDK API (version 17 or later)
- Android Virtual Device (AVD) or real device
These are the system requirements for iOS devices to start with Appium:
- Mac OS X 10.7 or later
- Xcode (greater than or equal to 13) with the command-line build tool
- Java (version 7 or later)
Get started with the required tools from this site
- Java for JAVA_HOME
- Android Studio for ANDROID_HOME
- Homebrew if not yet on your system
- Node.js and npm
- Install the required tools from this site
- Note: The local set up may vary depending on the shell type you are using. The most used shells are Bash, Zsh and Fish (Friendly interactive shell).
- Appium version needs to be above 1.22.3 for iOS
- Install it via command
npm install appium -gon terminal (Mac/Linux) appium --allow-insecure chromedriver_autodownloadrun this in the CMD where you were running appium server.- Install Appium inspector Donload Link
-
Pre-condition:
- Create a file named ConstantUtil.java under the src/test/java/com/kfz24/util path
- Ask any QA Automation Engineer for the content of this file, this file contains sensitive data hence it's not on GitHub.
- Upload .apk (Android) or .app (iOS) file under src/apps
- Update the
androidAppName&iosAppNameonLocalEnvSetup.java, it has to be the same name as the one under src/apps - Configure simulators & emulators
- Android: Configure the devices type to
kfz24_emulatorvia Intellij from Tools > Android > AVD Manager - iOS: Download iphone 13 with iOS 15 How to
- Android: Configure the devices type to
- Create a file named ConstantUtil.java under the src/test/java/com/kfz24/util path
-
Steps:
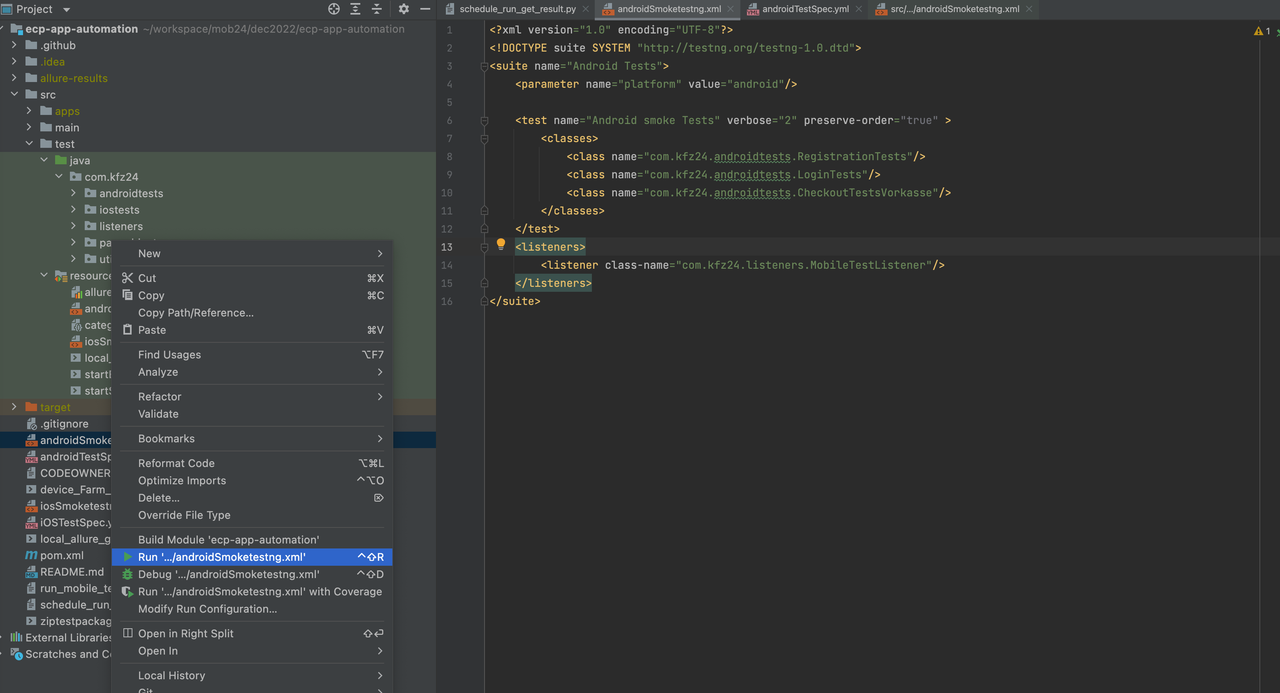
- Right click on mouse on the
iosSmoketestng.xmlorandroidSmoketestng.xmlwhich is at the root of the project package and then clicking on run
- Right click on mouse on the
-
Reports: After testing is completed, run
sh ./local_allure_generate.sh
-
Pre-condition:
- Make sure you have permission for this project If not, Please reach out to Cloud infrastructure team
- Install python3 (version 3.9.10 or later)
- Install python library for boto3 & requests,
Using commands:
pip3 install boto3pip3 install requests
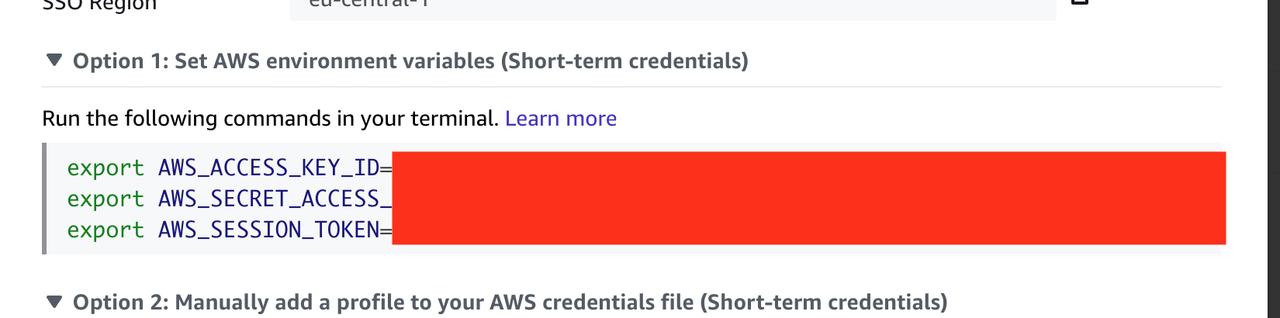
- Export your
AWS_ACCESS_KEY_ID&AWS_SECRET_ACCESS_KEY&AWS_SESSION_TOKENin terminal
Warning: You need to export your credential every 24 hours since after 24 hours the key will expire
- Update the
appFilePathfromschedule_run_get_result.py - Update
.xmlfile per your requirement fromsrc/test/resources
-
Steps:
- Create a .zip package using script. Run
sh ./ziptestpackage.shfrom the root of this repo - Run
python3 run_mobile_test_device_farm.py androidfor Android testspython3 run_mobile_test_device_farm.py iosfor iOS tests
- Create a .zip package using script. Run
-
Report: After testing is completed, run
sh ./device_Farm_allure_results.sh
- More Documentation about Mobile Automation
- Interested in building app from source code, then follow the ReadMe of iOS repo
- Interested in using the fish shell? Then go for it! Bringing the terminal to modern age,it is recommended to replace the default terminal with iTerm2