writing user modules macos
#setup #macos #xcode #tutorial
Based on the original document by Benoit Bouchez (iModularSynth)
Version 2.0 — November 2023
This tutorial explains how to create a user module for Usine Hollyhock "from scratch" using Xcode on macOS. It covers project setup and build configuration — for understanding how modules work internally, refer to the Module Architecture and UserModuleBase pages.
This tutorial was written using Usine Hollyhock SDK 6+ and Xcode 14.
- Xcode (free from the Mac App Store)
- Usine Hollyhock installed on your system
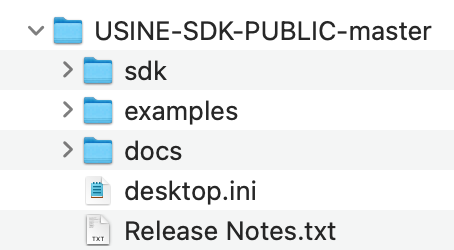
- The Usine SDK downloaded and extracted
After extracting the SDK:
Note: Usine user modules on macOS are dynamic libraries (dylib) with a custom file extension.
- Open Xcode and click Create a new Xcode project
- Select the macOS tab, then under Framework & Library, select Library

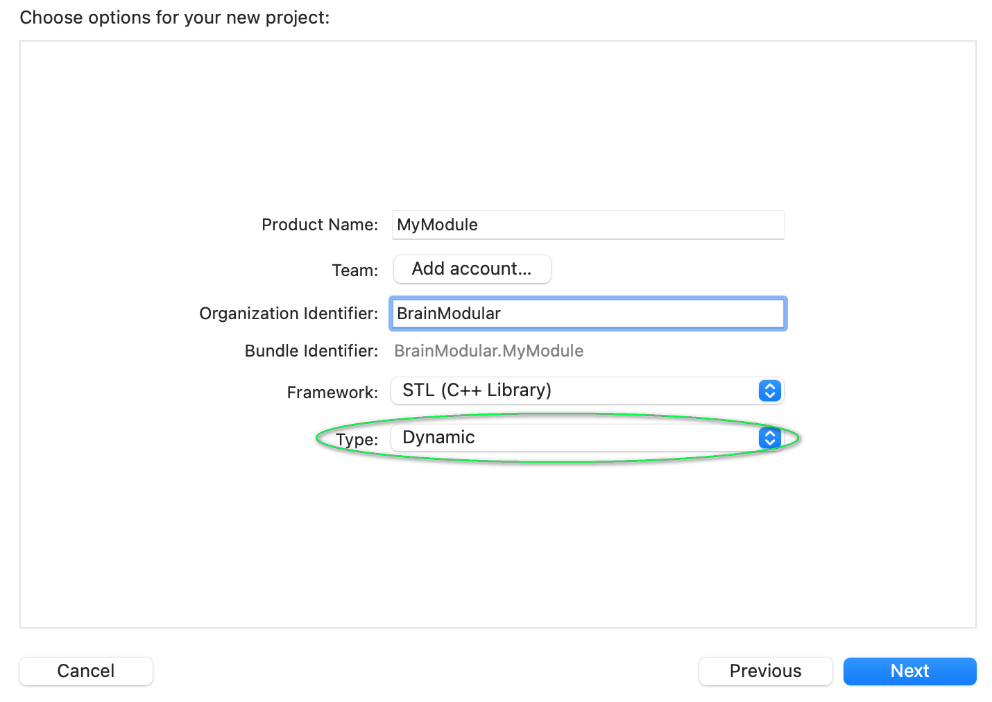
- Configure your project:
-
Product Name:
MyModule -
Framework:
STL (C++ Library) - Type: Dynamic
-
Product Name:
- In the Project Navigator, right-click your project and select New Group, name it
SDK

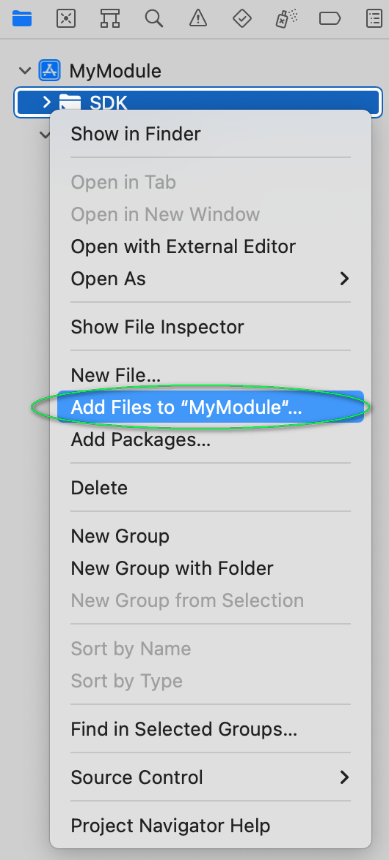
- Right-click the
SDKgroup and select Add Files to 'MyModule'...
- Navigate to the SDK's
sdk/subfolder, select all files (Shift+click) and click Add
Your project structure should look like:
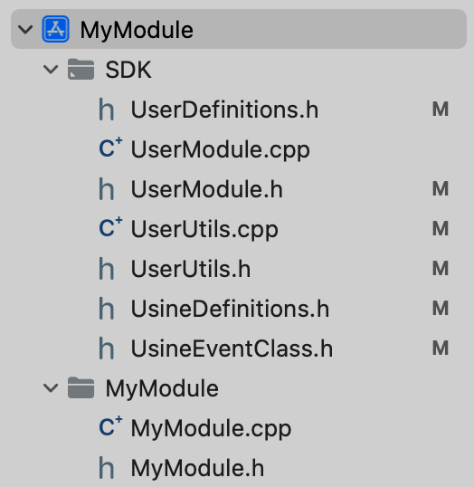
MyModule
├── SDK
│   ├── UserDefinitions.h
│   ├── UserModule.cpp
│   ├── UserModule.h
│   ├── UsineDefinitions.h
│   ├── UsineEventClass.h
│   ├── UsineFunctions.h
│   └── UserUtils.h
└── MyModule
    ├── MyModule.cpp
    └── MyModule.h
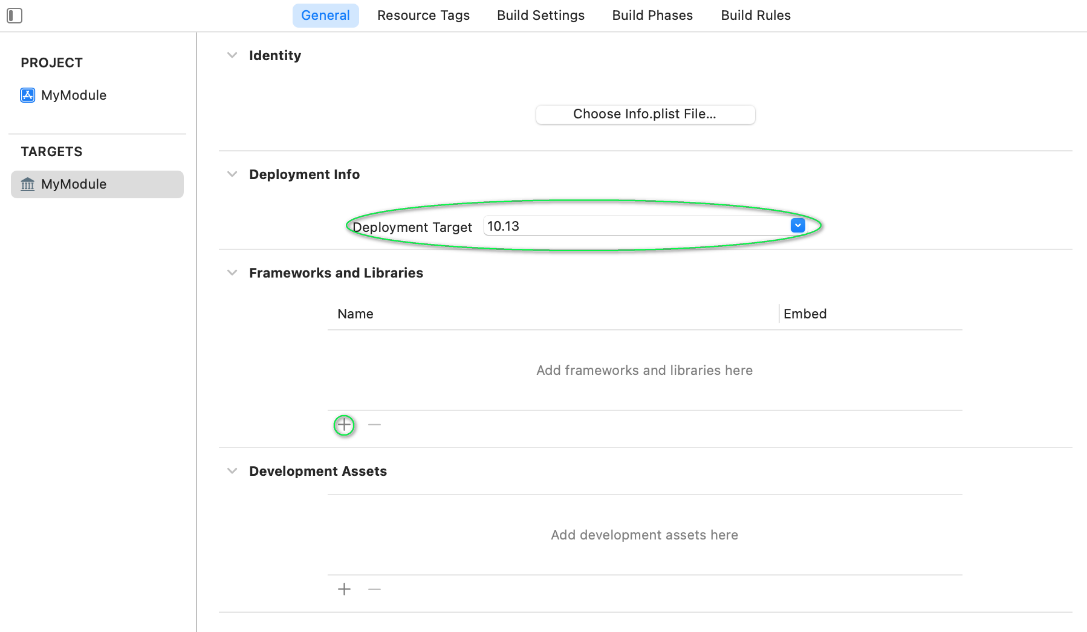
Click your project in the Navigator, then select your target under TARGETS. In the General tab, set Deployment Target to 10.13:
Select All at the top to show all settings, then configure:
Build Active Architecture Only — set to No:

Executable Extension — set based on your target architecture (see table below):

Executable Prefix — clear the line to remove the default lib:

| Target | Extension |
|---|---|
| Universal (recommended) | usr-macos64uni |
| Intel only | usr-osx64 |
| Apple Silicon only | usr-osxarm64 |
- Click the + button at the top of Build Settings
- Select Add User-Defined Setting
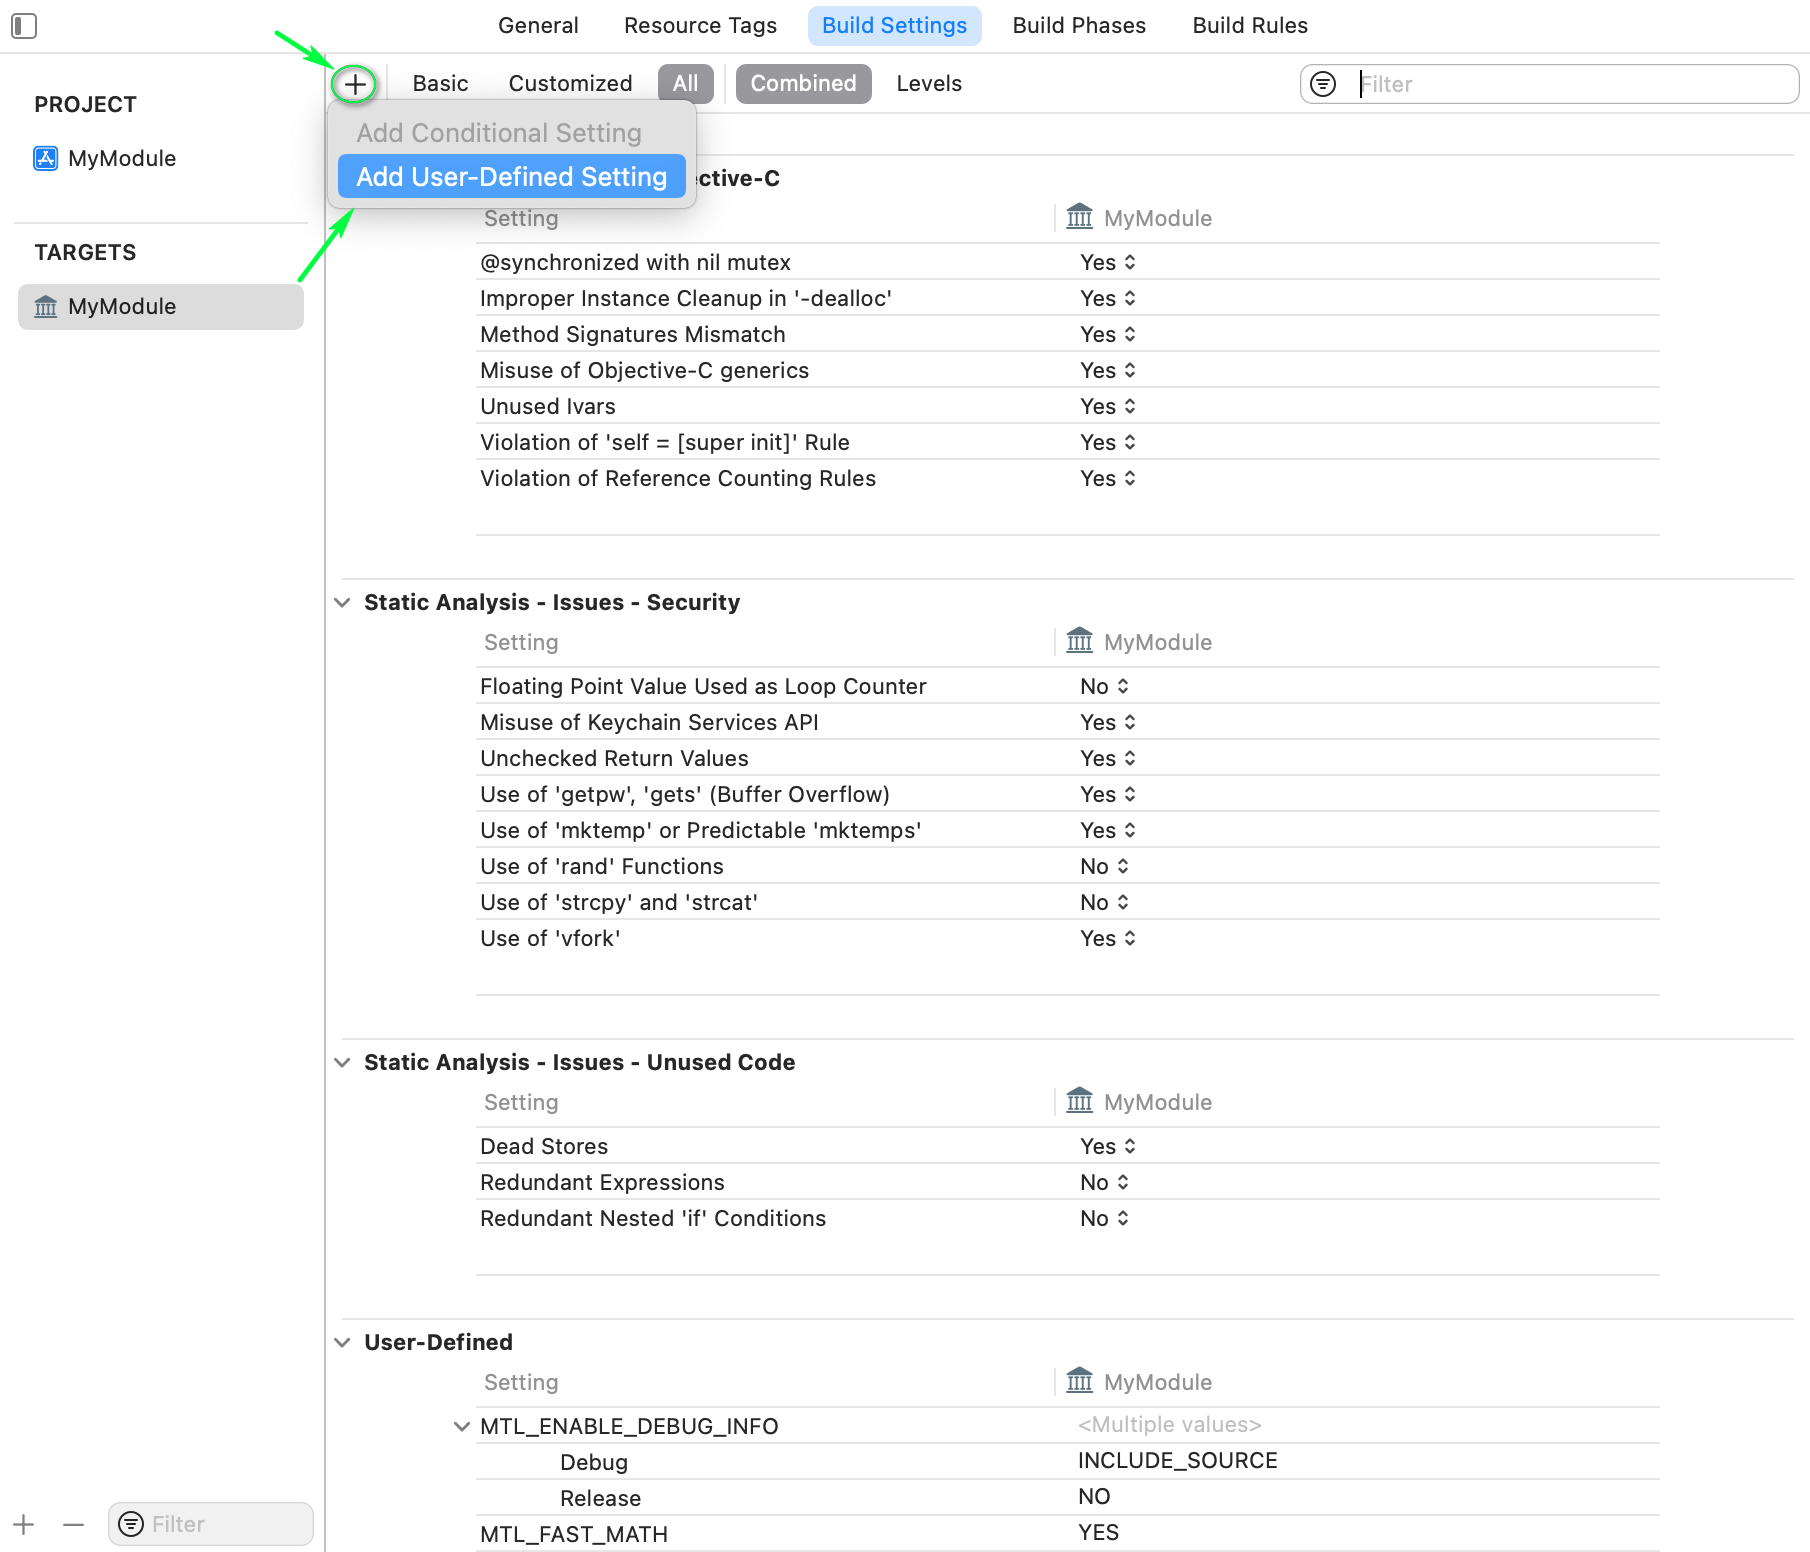
- Set name to
VALID_ARCHSand value based on target:

| Target | VALID_ARCHS |
|---|---|
| Universal | x86_64 arm64 |
| Intel only | x86_64 |
| Apple Silicon only | arm64 |
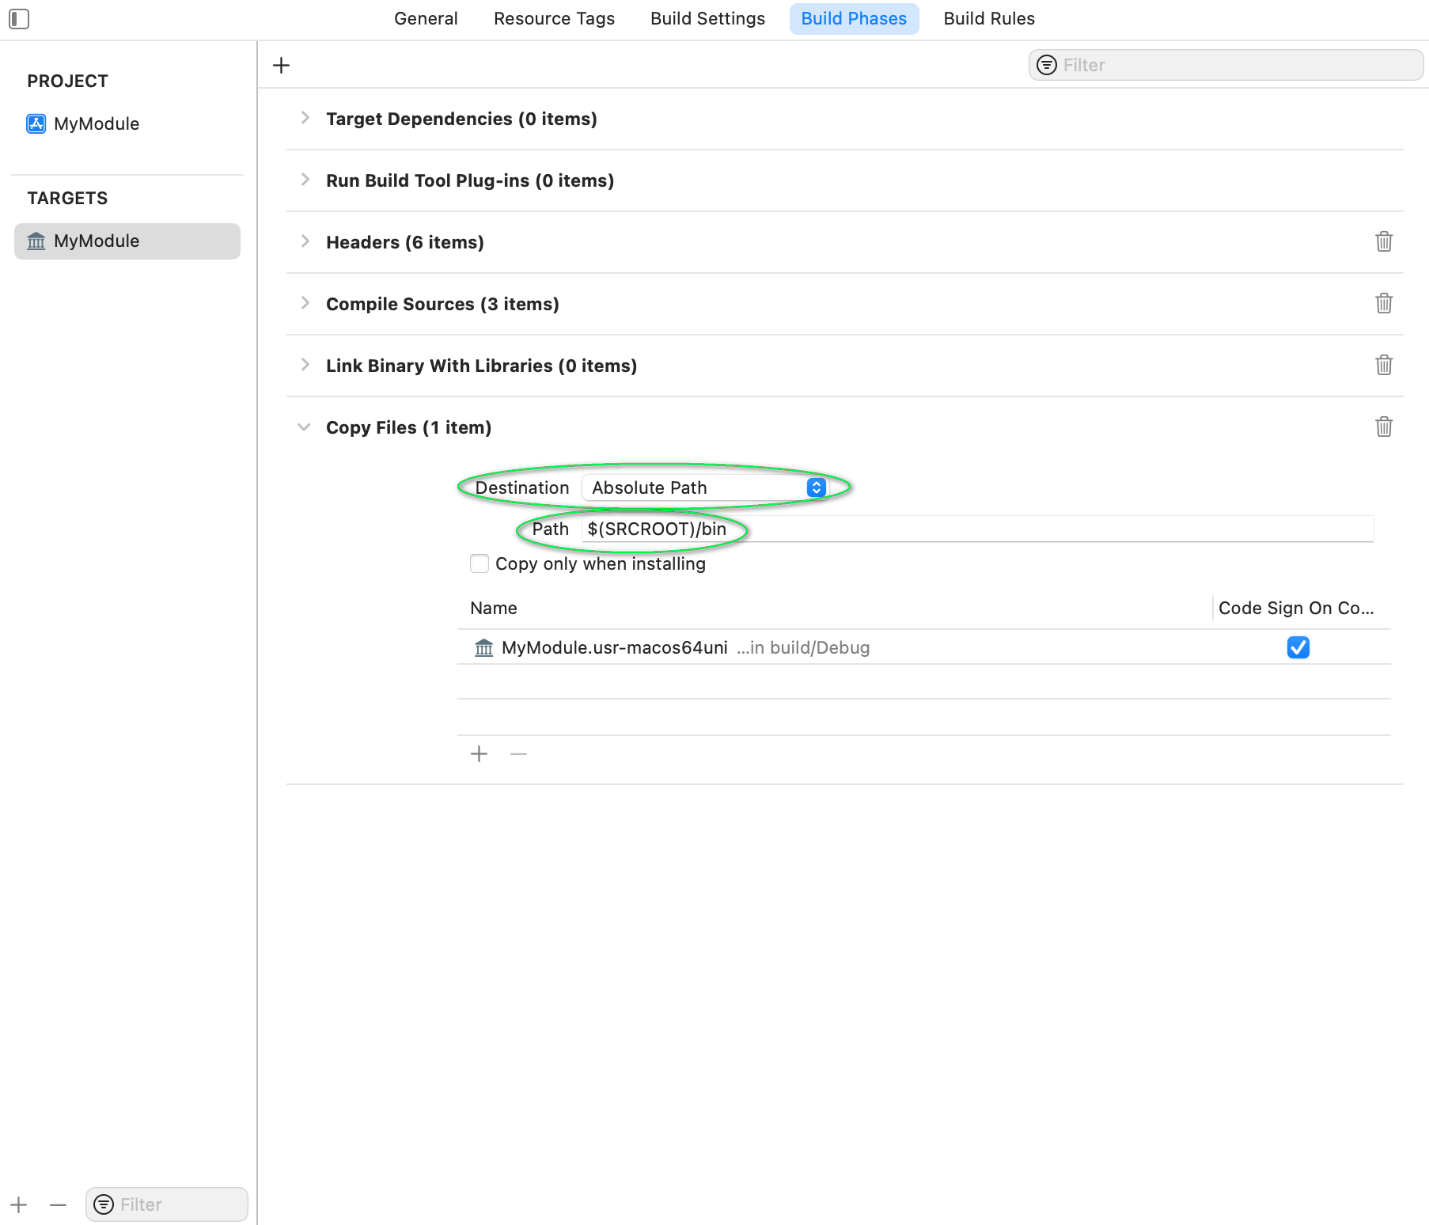
To automatically copy the built binary to an accessible location:
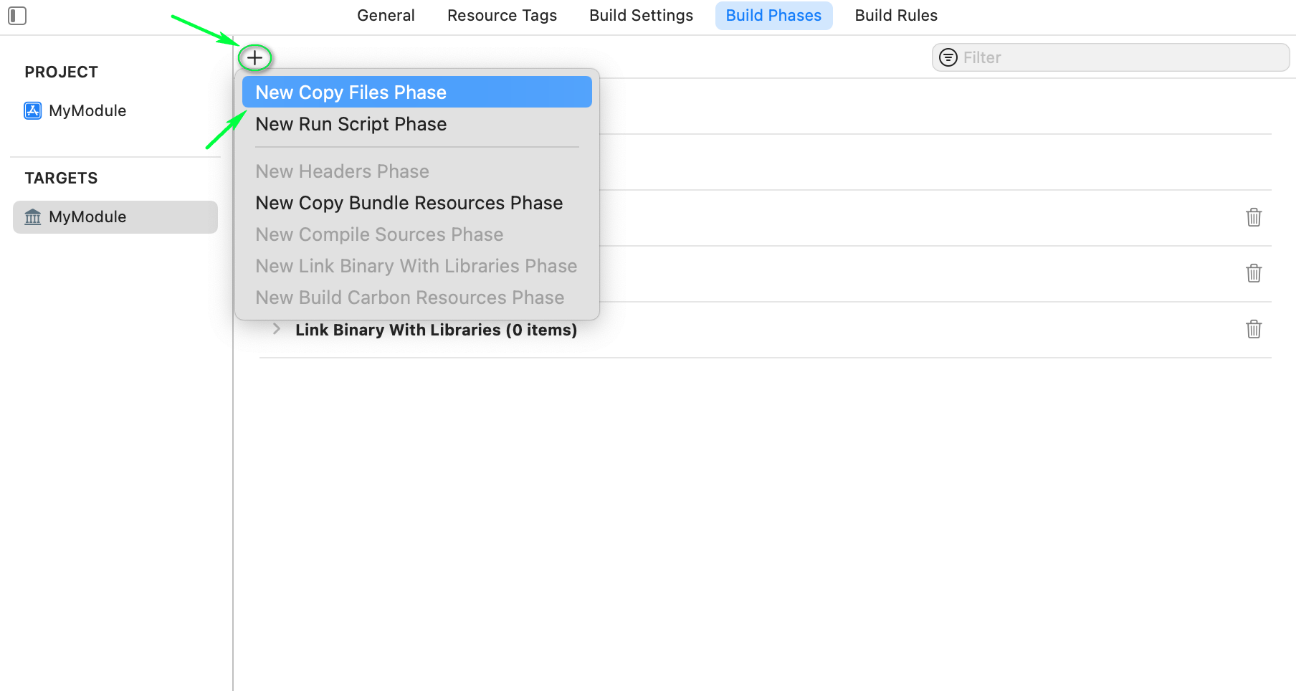
- Go to the Build Phases tab
- Click + at the top and select New Copy Files Phase
- Click + at the bottom of the new section and select your product
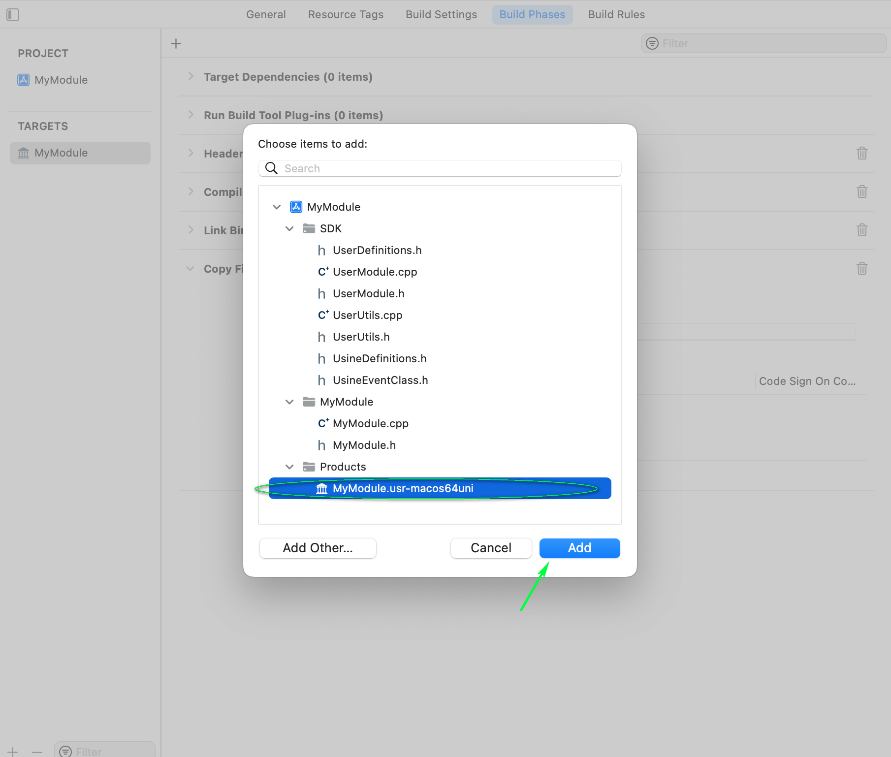
- Set Destination to Absolute Path and enter the output path (e.g.,
$(SRCROOT)/bin)
To debug your module in Xcode:
- Go to Product > Scheme > Edit Scheme...
- Click the Run tab, then set the Executable to the Usine application
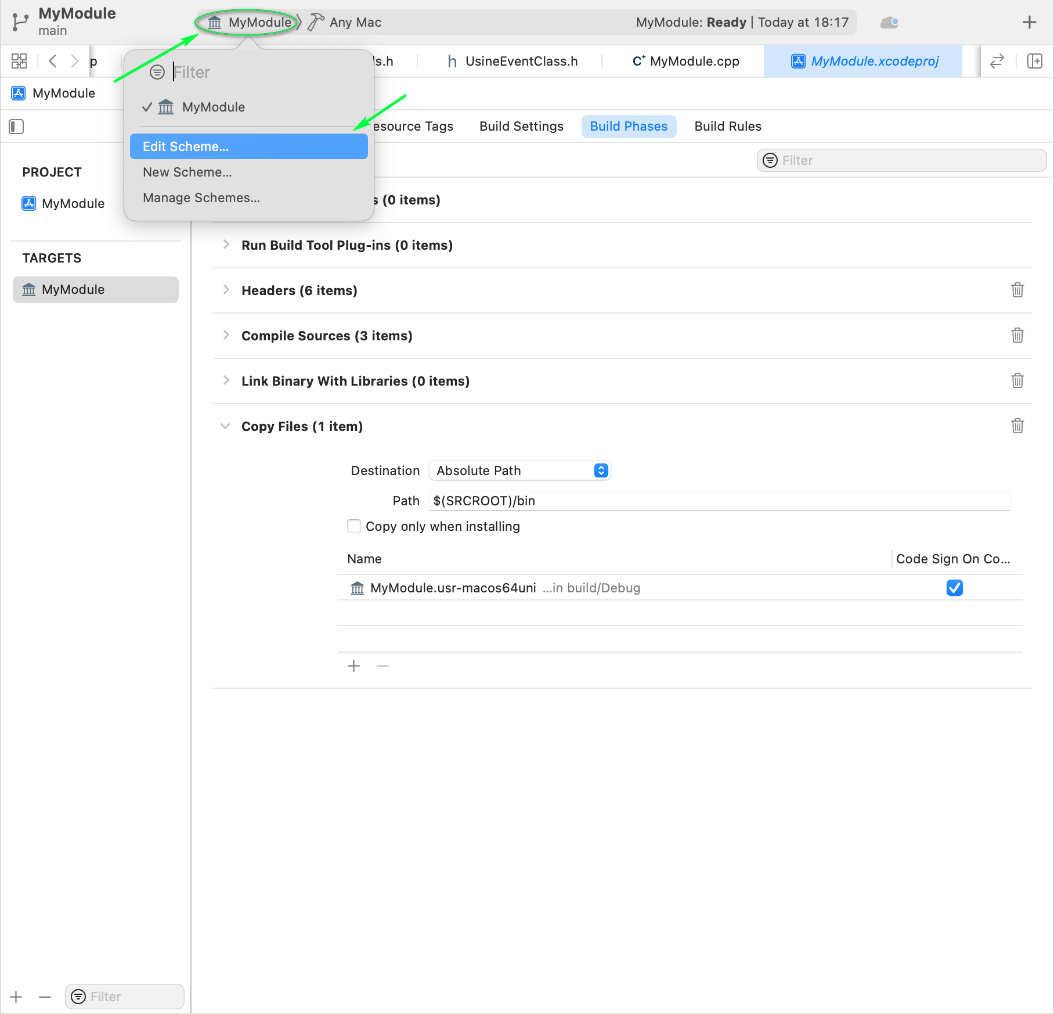
Now when you click Run (Cmd+R), Xcode will launch Usine with your debugger attached. You can use breakpoints, step-by-step execution, and all standard debugging features.
Universal binaries are recommended, but if your project uses external libraries that don't support universal builds, you may need architecture-specific targets.
Set the extension to usr-osx64:

Set VALID_ARCHS to x86_64:

Set the extension to usr-osxarm64:

Set VALID_ARCHS to arm64:

| Setting | Universal | Intel | Apple Silicon |
|---|---|---|---|
| Extension | usr-macos64uni |
usr-osx64 |
usr-osxarm64 |
| VALID_ARCHS | x86_64 arm64 |
x86_64 |
arm64 |
| Build Active Arch Only | No | No | No |
| Executable Prefix | (empty) | (empty) | (empty) |
| Deployment Target | 10.13 | 10.13 | 10.13 |
| Library Type | Dynamic | Dynamic | Dynamic |
- Write your module code — see Getting Started for a minimal example
- Study the Examples for working demonstrations
- Read Module Architecture for the full lifecycle
- Check UserModuleBase for all available callbacks