writing user modules windows
#setup #windows #visual-studio #tutorial
Based on the original document by Benoit Bouchez (iModularSynth)
Version 2.0 — February 2024
This tutorial explains how to create a user module for Usine Hollyhock "from scratch" using Visual C++ on Windows. It covers project setup and build configuration — for understanding how modules work internally, refer to the Module Architecture and UserModuleBase pages.
This guide was written for Usine Hollyhock 6+ and Visual Studio Community 2022. Other Visual Studio versions may look slightly different but the steps remain the same.
- Visual Studio 2022 (Community, Professional, or Enterprise) with C++ workload installed
- Usine Hollyhock installed on your system
- The Usine SDK downloaded and extracted to your hard disk
After extracting the SDK, you should see the following structure:
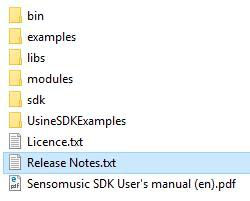
Note: Technically, Usine user modules are standard DLLs with specific properties and a custom file extension.
- Open Visual Studio
- Select File > Create a new project
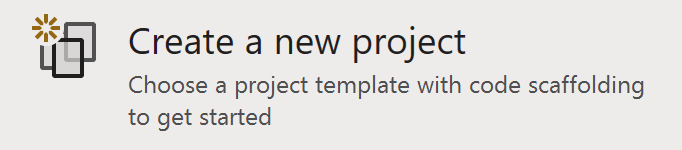
- Choose Empty Project with the C++ tag and enter your project name (e.g.,
MyModule)

First, add the SDK files to your project:
- In the Solution Explorer, right-click your solution name and navigate to Add > New Filter
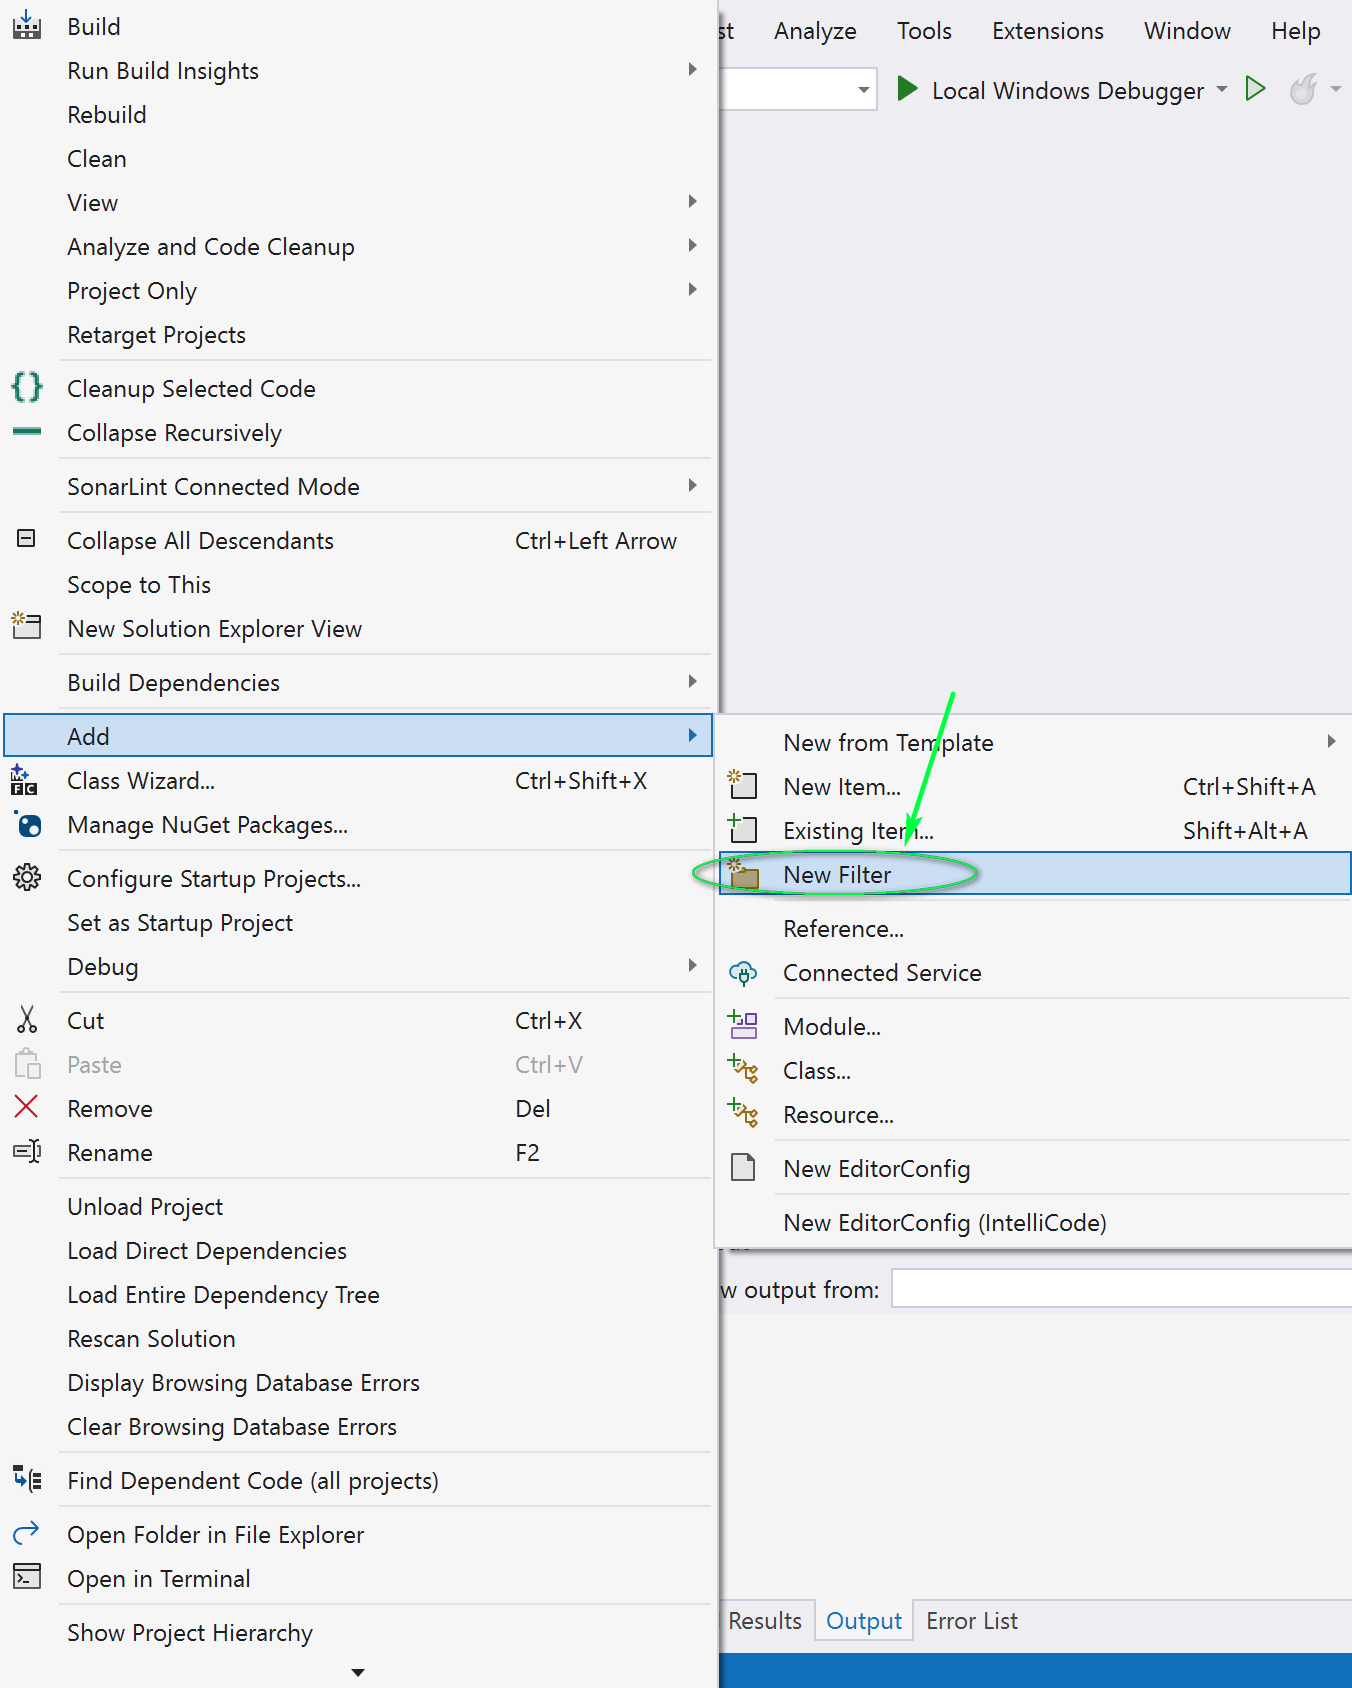
- Rename the filter to
SDK, then right-click it and select Add > Existing Item...
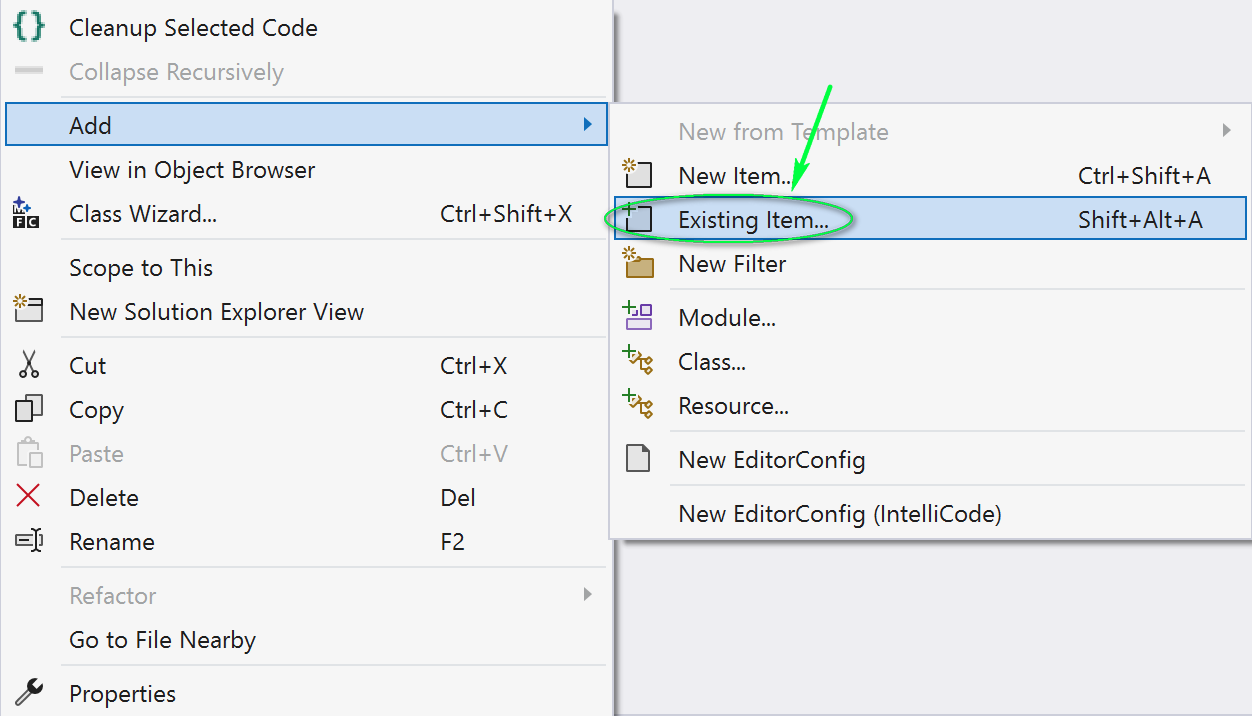
- Navigate to the SDK's
sdk/subfolder, select all files and click Add

The SDK files to include are:
UserDefinitions.hUserModule.cppUserModule.hUsineDefinitions.hUsineEventClass.hUsineFunctions.hUserUtils.h
- Right-click your project in the Solution Explorer and navigate to Add > Class...

- Enter the class name (e.g.,
MyModule) and click OK
Your project structure should now look like this:
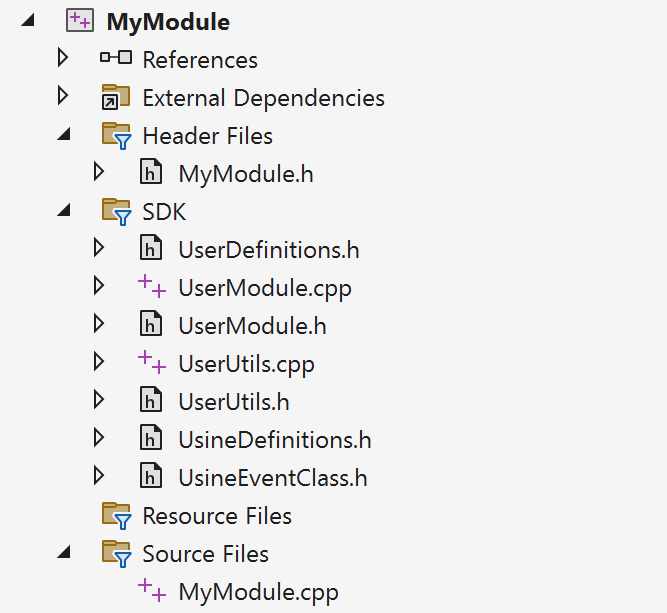
MyModule (Solution)
├── Header Files
│   └── MyModule.h
├── SDK
│   ├── UserDefinitions.h
│   ├── UserModule.cpp
│   ├── UserModule.h
│   ├── UsineDefinitions.h
│   ├── UsineEventClass.h
│   ├── UsineFunctions.h
│   └── UserUtils.h
└── Source Files
    └── MyModule.cpp
Open Project > Properties (or press Alt+F7).

The following settings must be configured for each build configuration (Debug/Release).
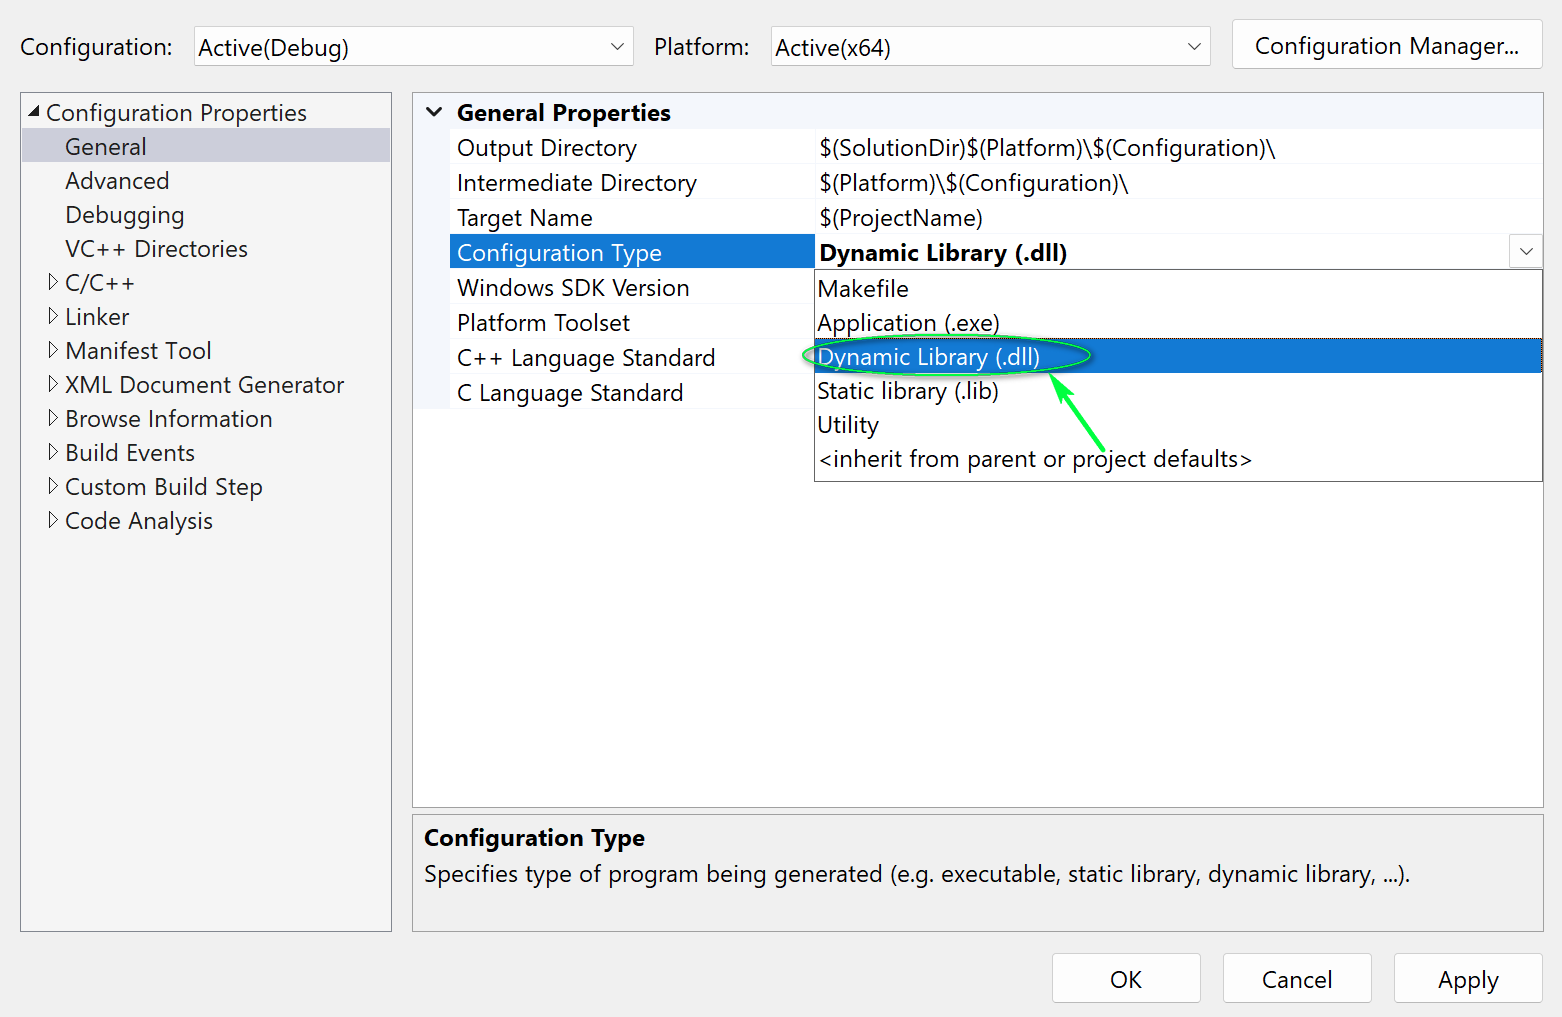
Set the Configuration Type to Dynamic Library (.dll):
| Setting | Value |
|---|---|
| Configuration Type | Dynamic Library (.dll) |
| C++ Language Standard | C++17 or later (recommended) |
Set the Target File Extension and Character Set:


| Setting | Value |
|---|---|
| Target File Extension | .usr-win64 |
| Character Set | Use Multi-Byte Character Set |
Add the path to the SDK folder:

| Setting | Value |
|---|---|
| Additional Include Directories | Path to the SDK sdk/ folder (e.g., ..\..\sdk) |
Important: The path can be absolute or relative to your solution file. Relative paths are recommended for portability.
To automatically copy the built module to Usine's user modules folder, add a post-build event:
- Go to Build Events > Post-Build Event
- Set the Command Line to:
copy "$(TargetPath)" "C:\path\to\Usine\User Modules\"
To debug your module directly in Visual Studio:
- Go to Project > Properties > Debugging
- Set Command to the Usine executable path
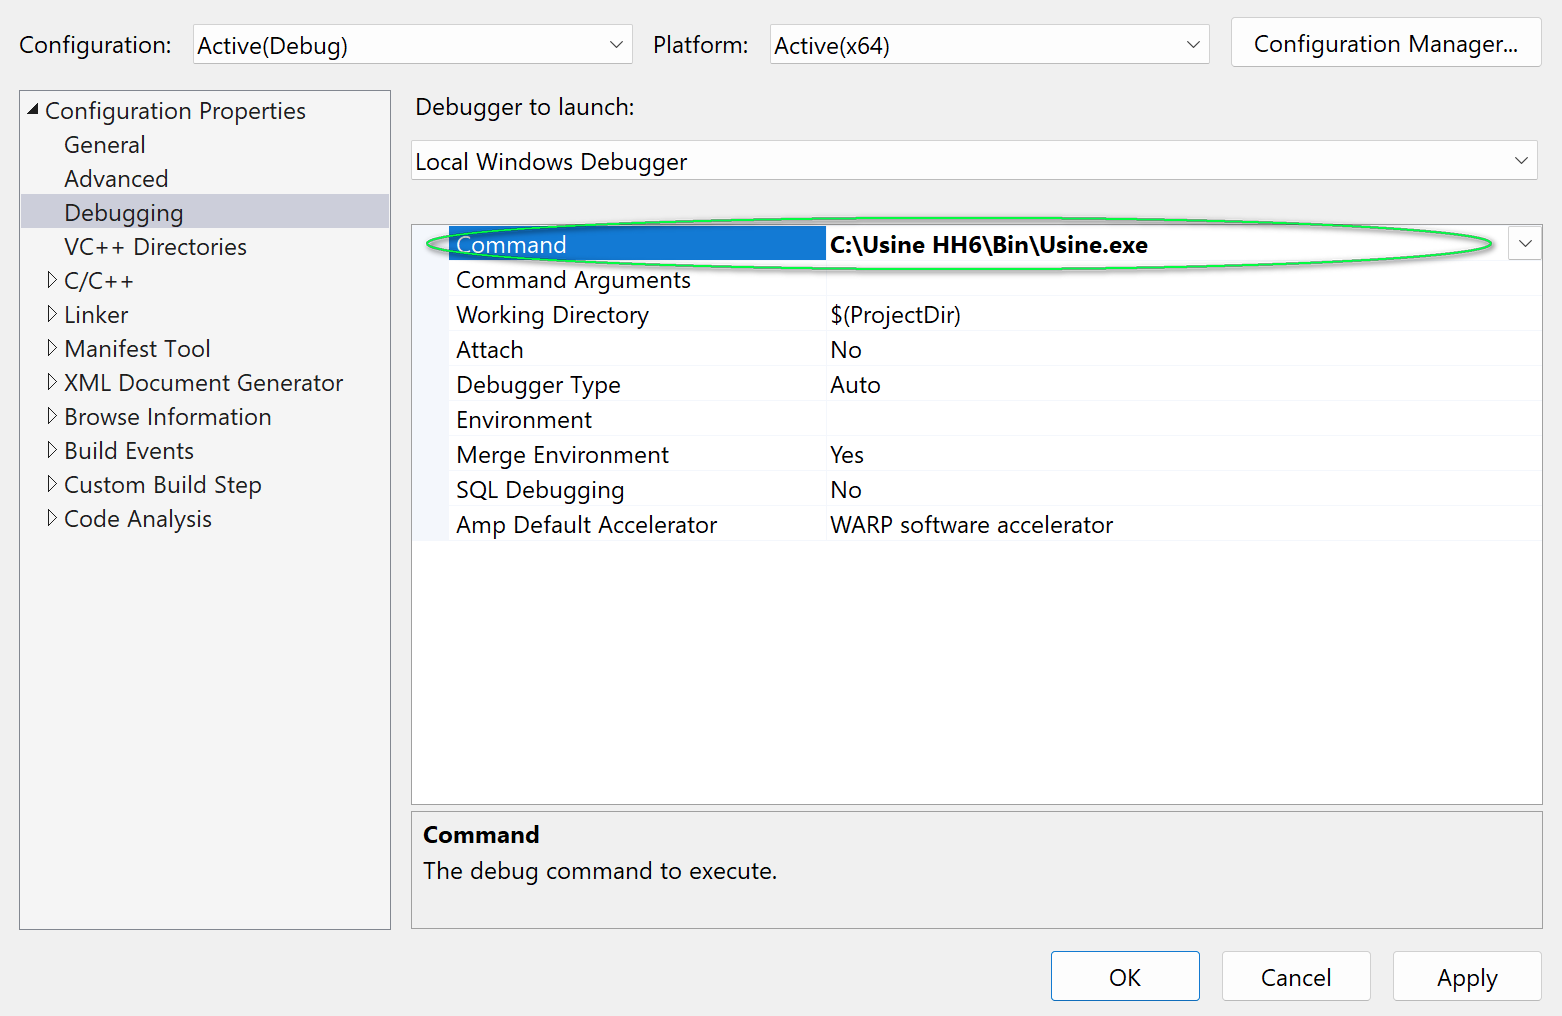
Important: Use the executable in the
Binfolder, not the one at the root of Usine's installation (the root exe is a launcher).
- Click Run (F5) — Visual Studio will launch Usine with your debugger attached
- You can set breakpoints, step through code, inspect variables, etc.
| Setting | Value |
|---|---|
| Configuration Type | Dynamic Library (.dll) |
| Target File Extension | .usr-win64 |
| Character Set | Multi-Byte Character Set |
| Additional Include Directories |
..\..\sdk (relative) |
| C++ Standard | C++17 |
| Debug Command | C:\Usine HH7\Bin\Usine.exe |
- Write your module code — see Getting Started for a minimal example
- Study the Examples for working demonstrations
- Read Module Architecture for the full lifecycle
- Check UserModuleBase for all available callbacks