Screenshots
A visual tour of Kanfei's dashboard, features, and integrations. Click any image to view it at full resolution.
Screenshots are organized by area. Each image is captioned with a brief description. To update a screenshot, replace the corresponding file in images/ using the naming convention below and push to the wiki repo.
Naming convention: images/<section>-<description>.png (lowercase, hyphens, PNG preferred)
The main dashboard features SVG gauges on a drag-and-resize 12-column grid with weather-driven background imagery.
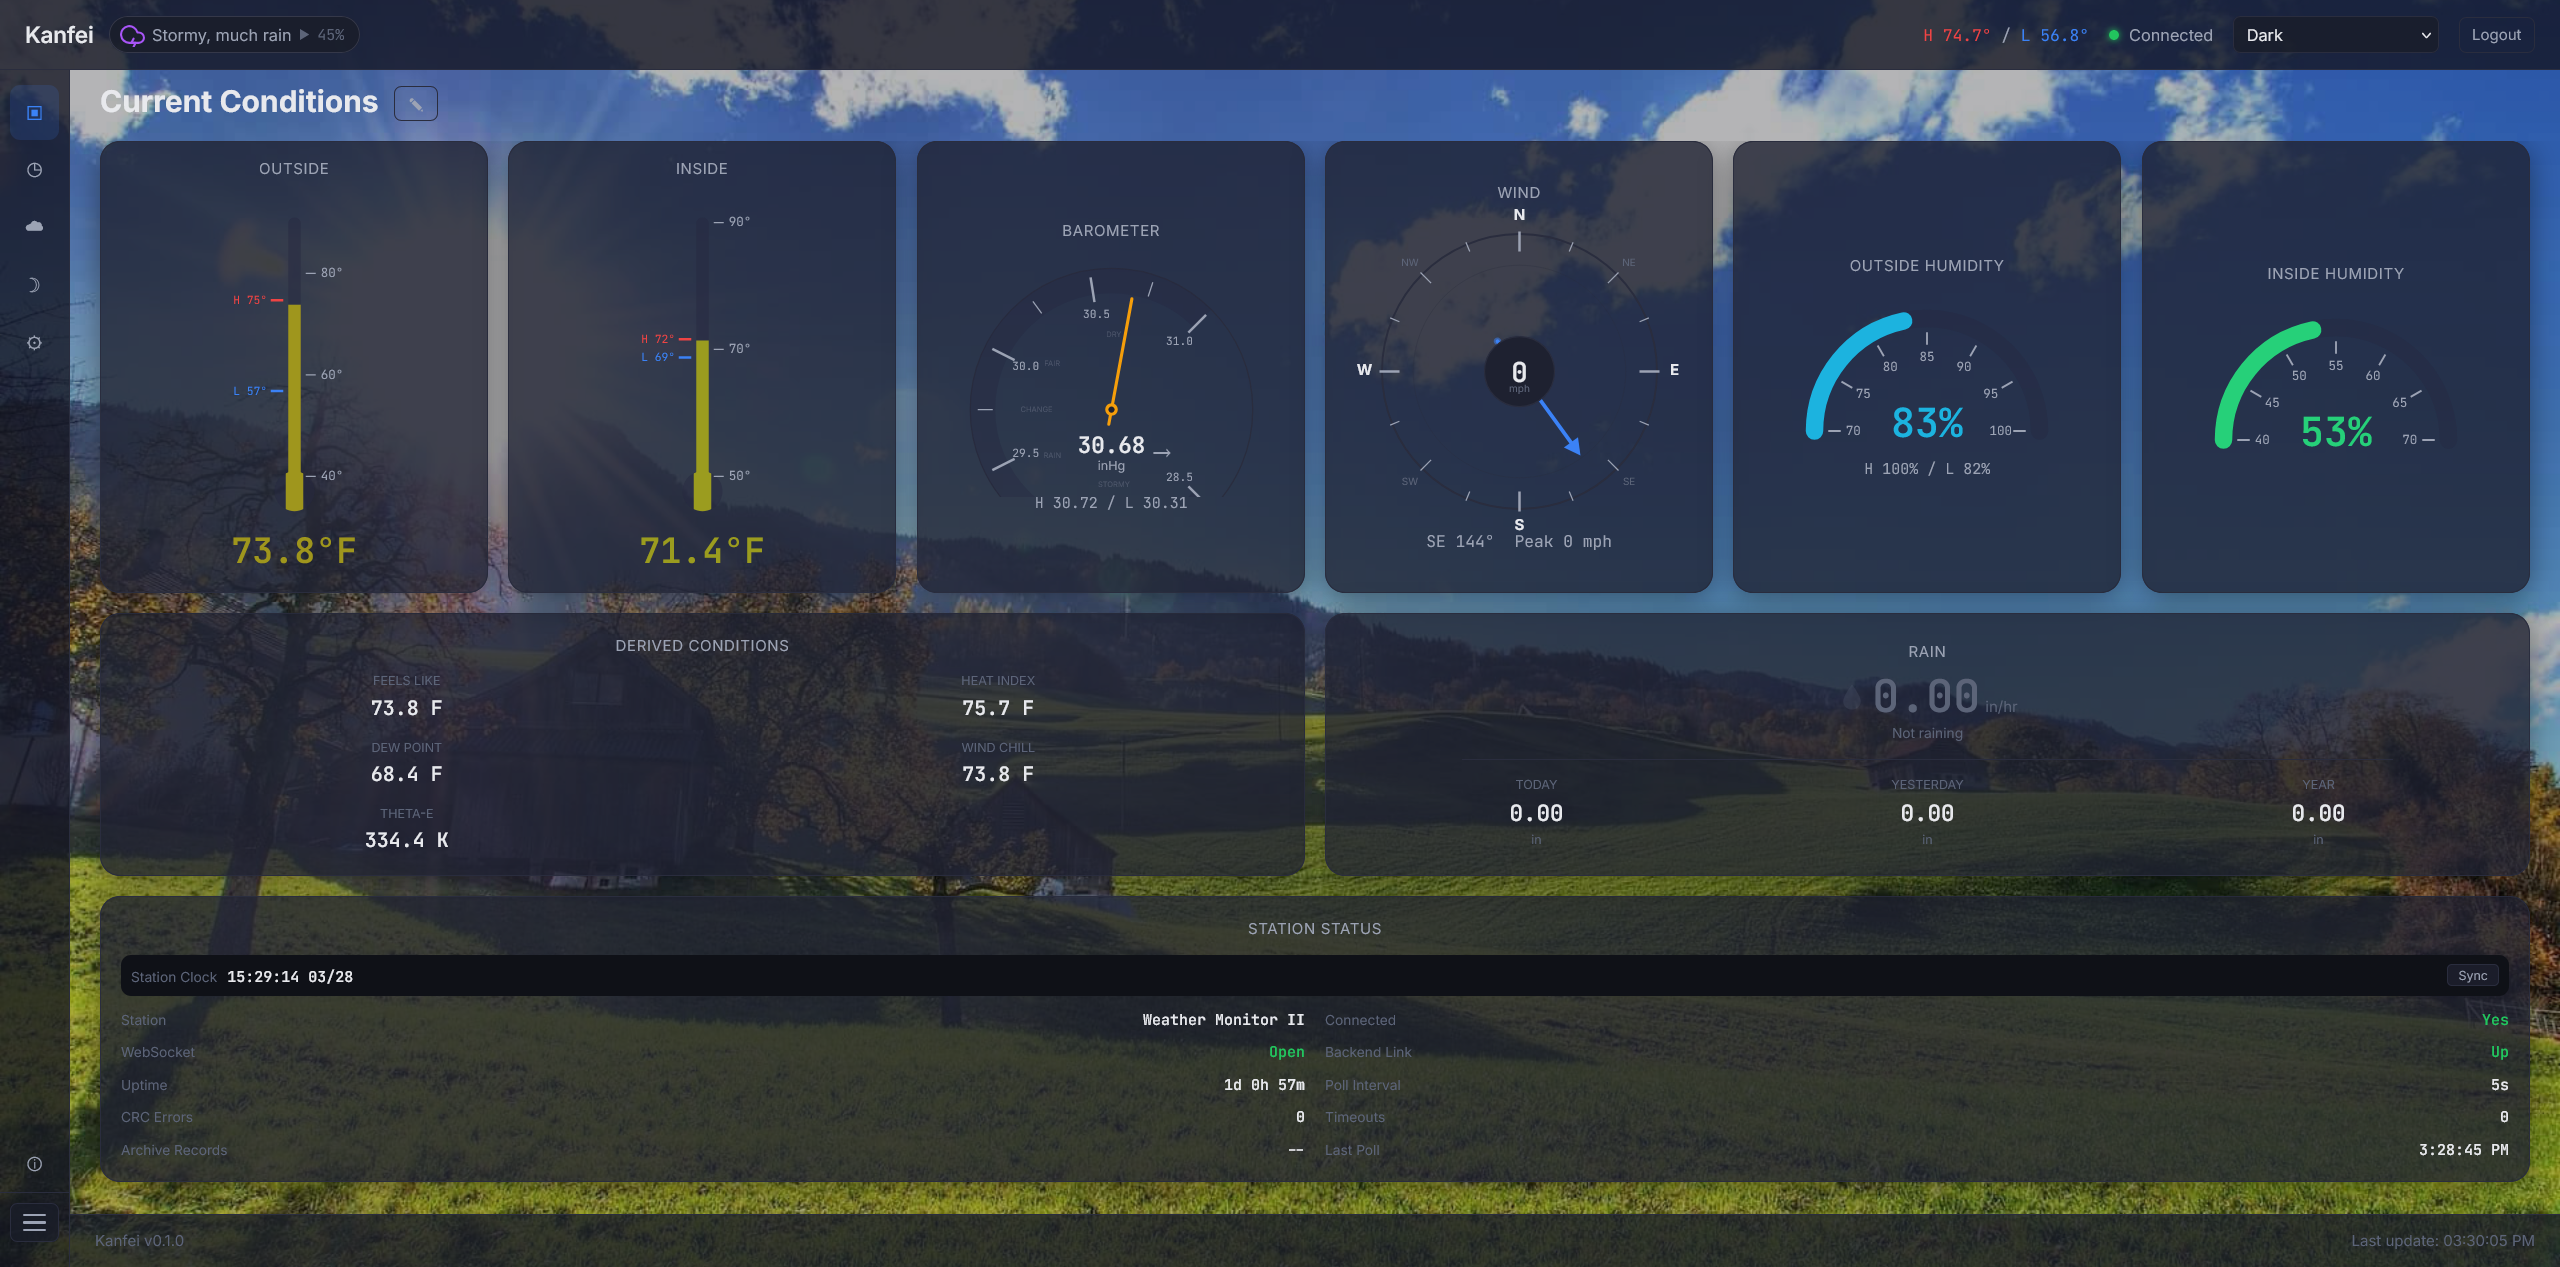
Tiles can expand to show sparkline trend charts for recent readings.
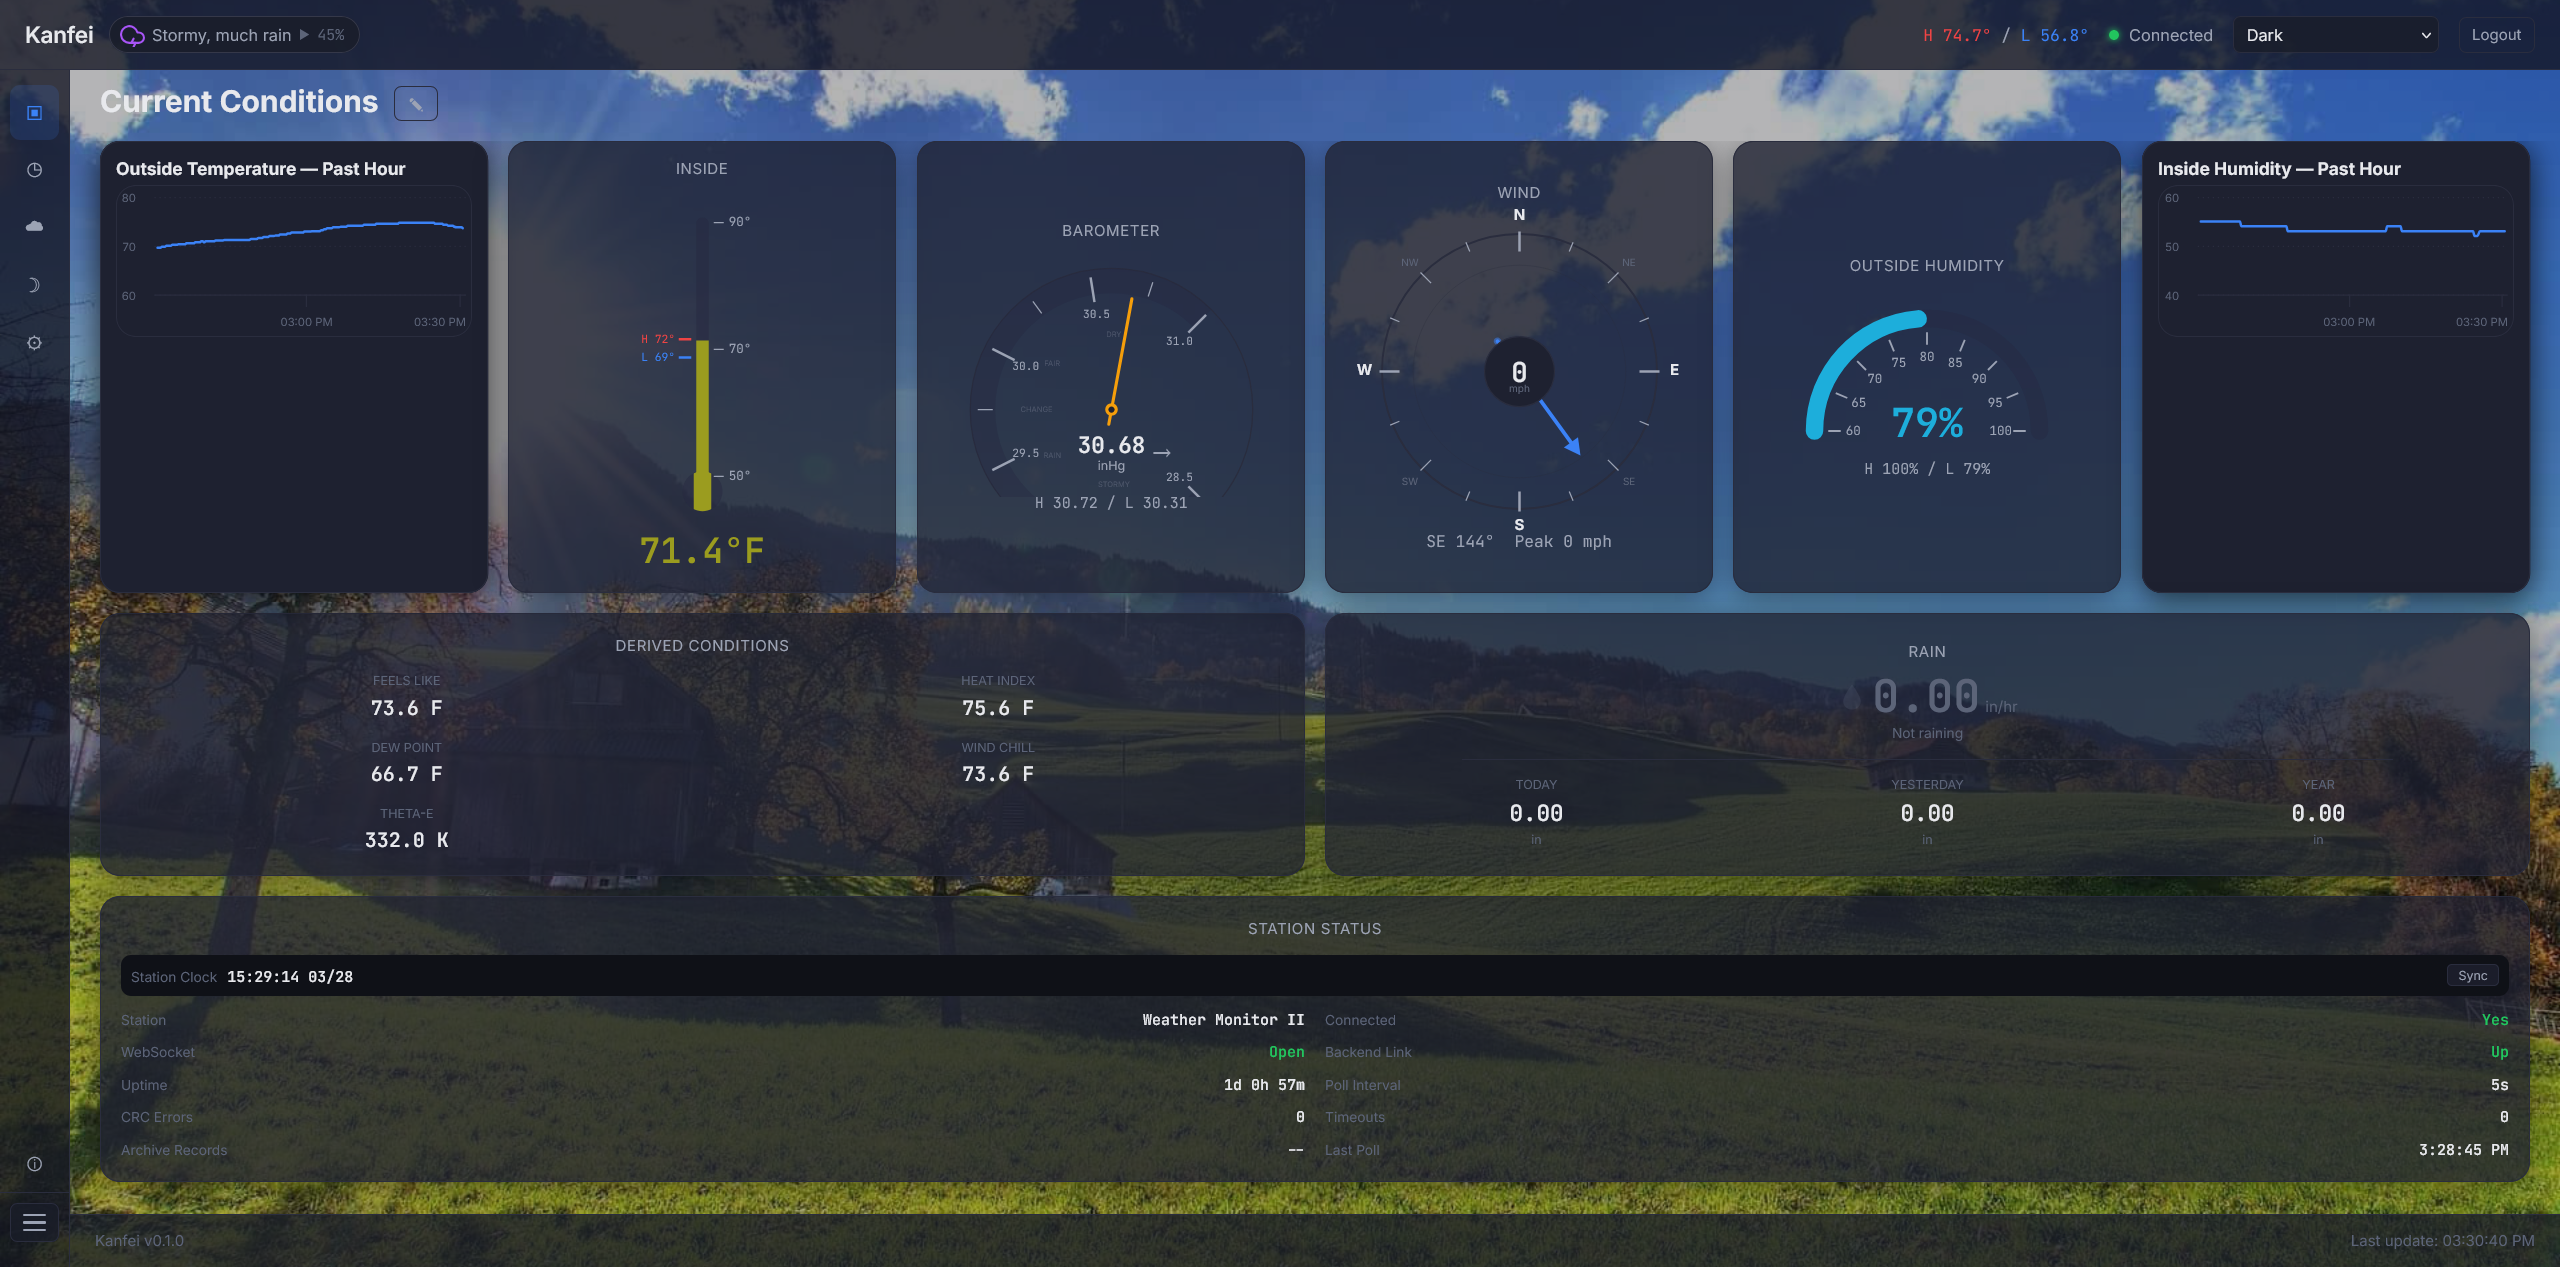
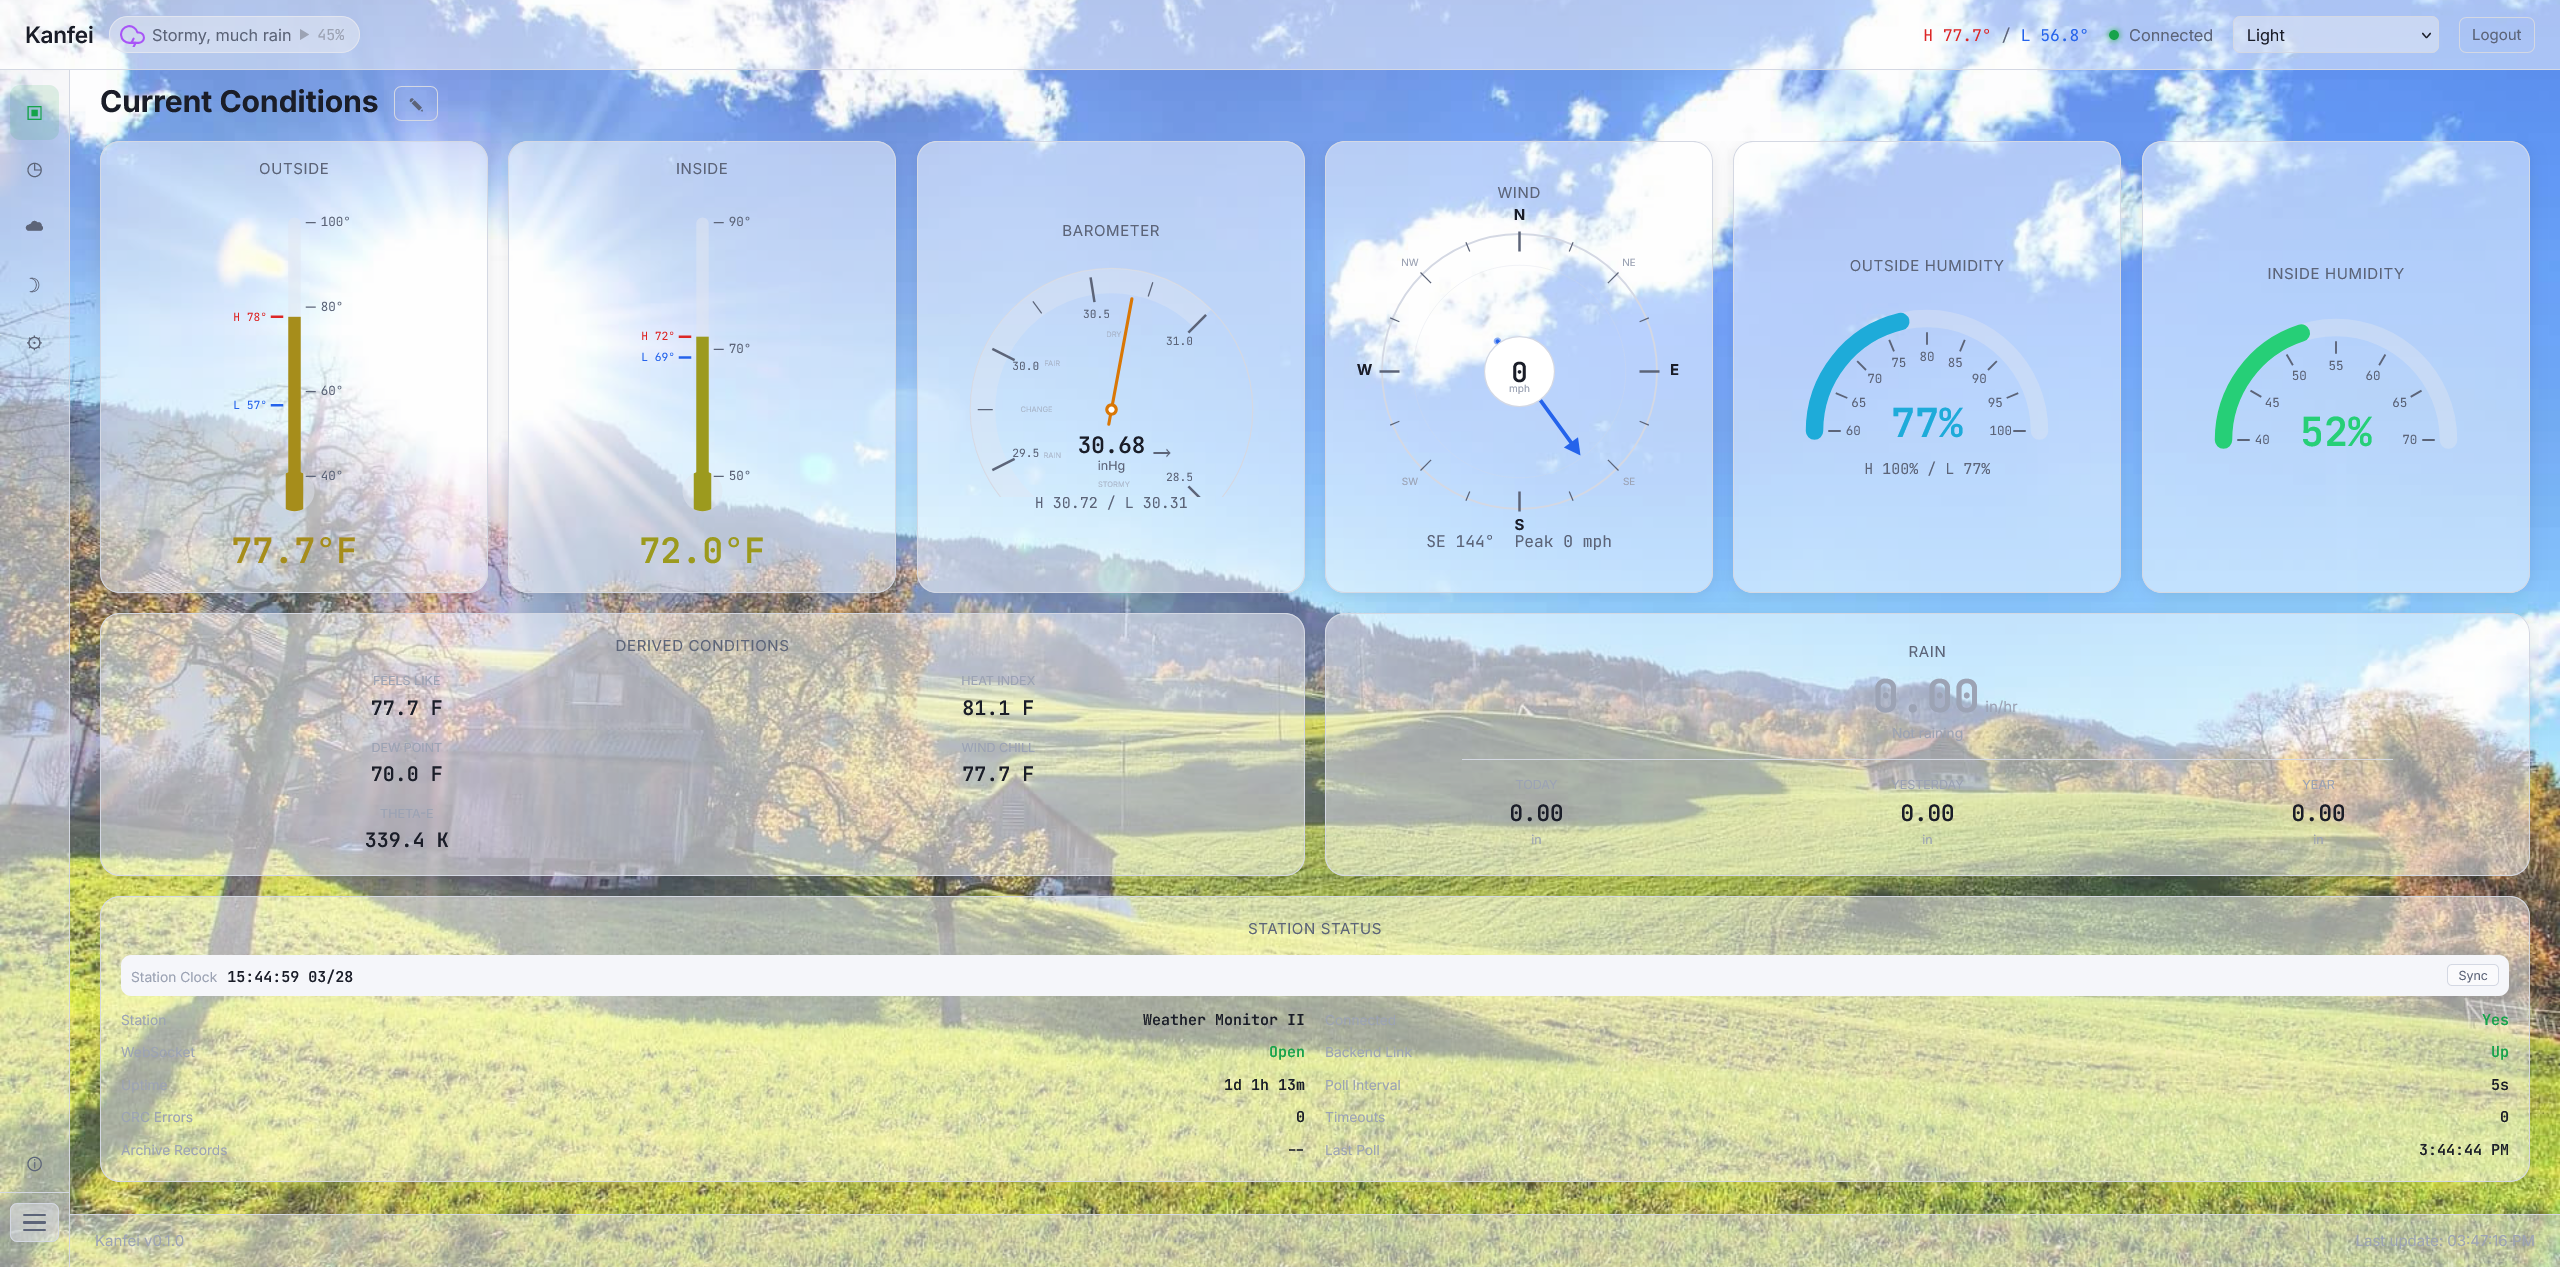
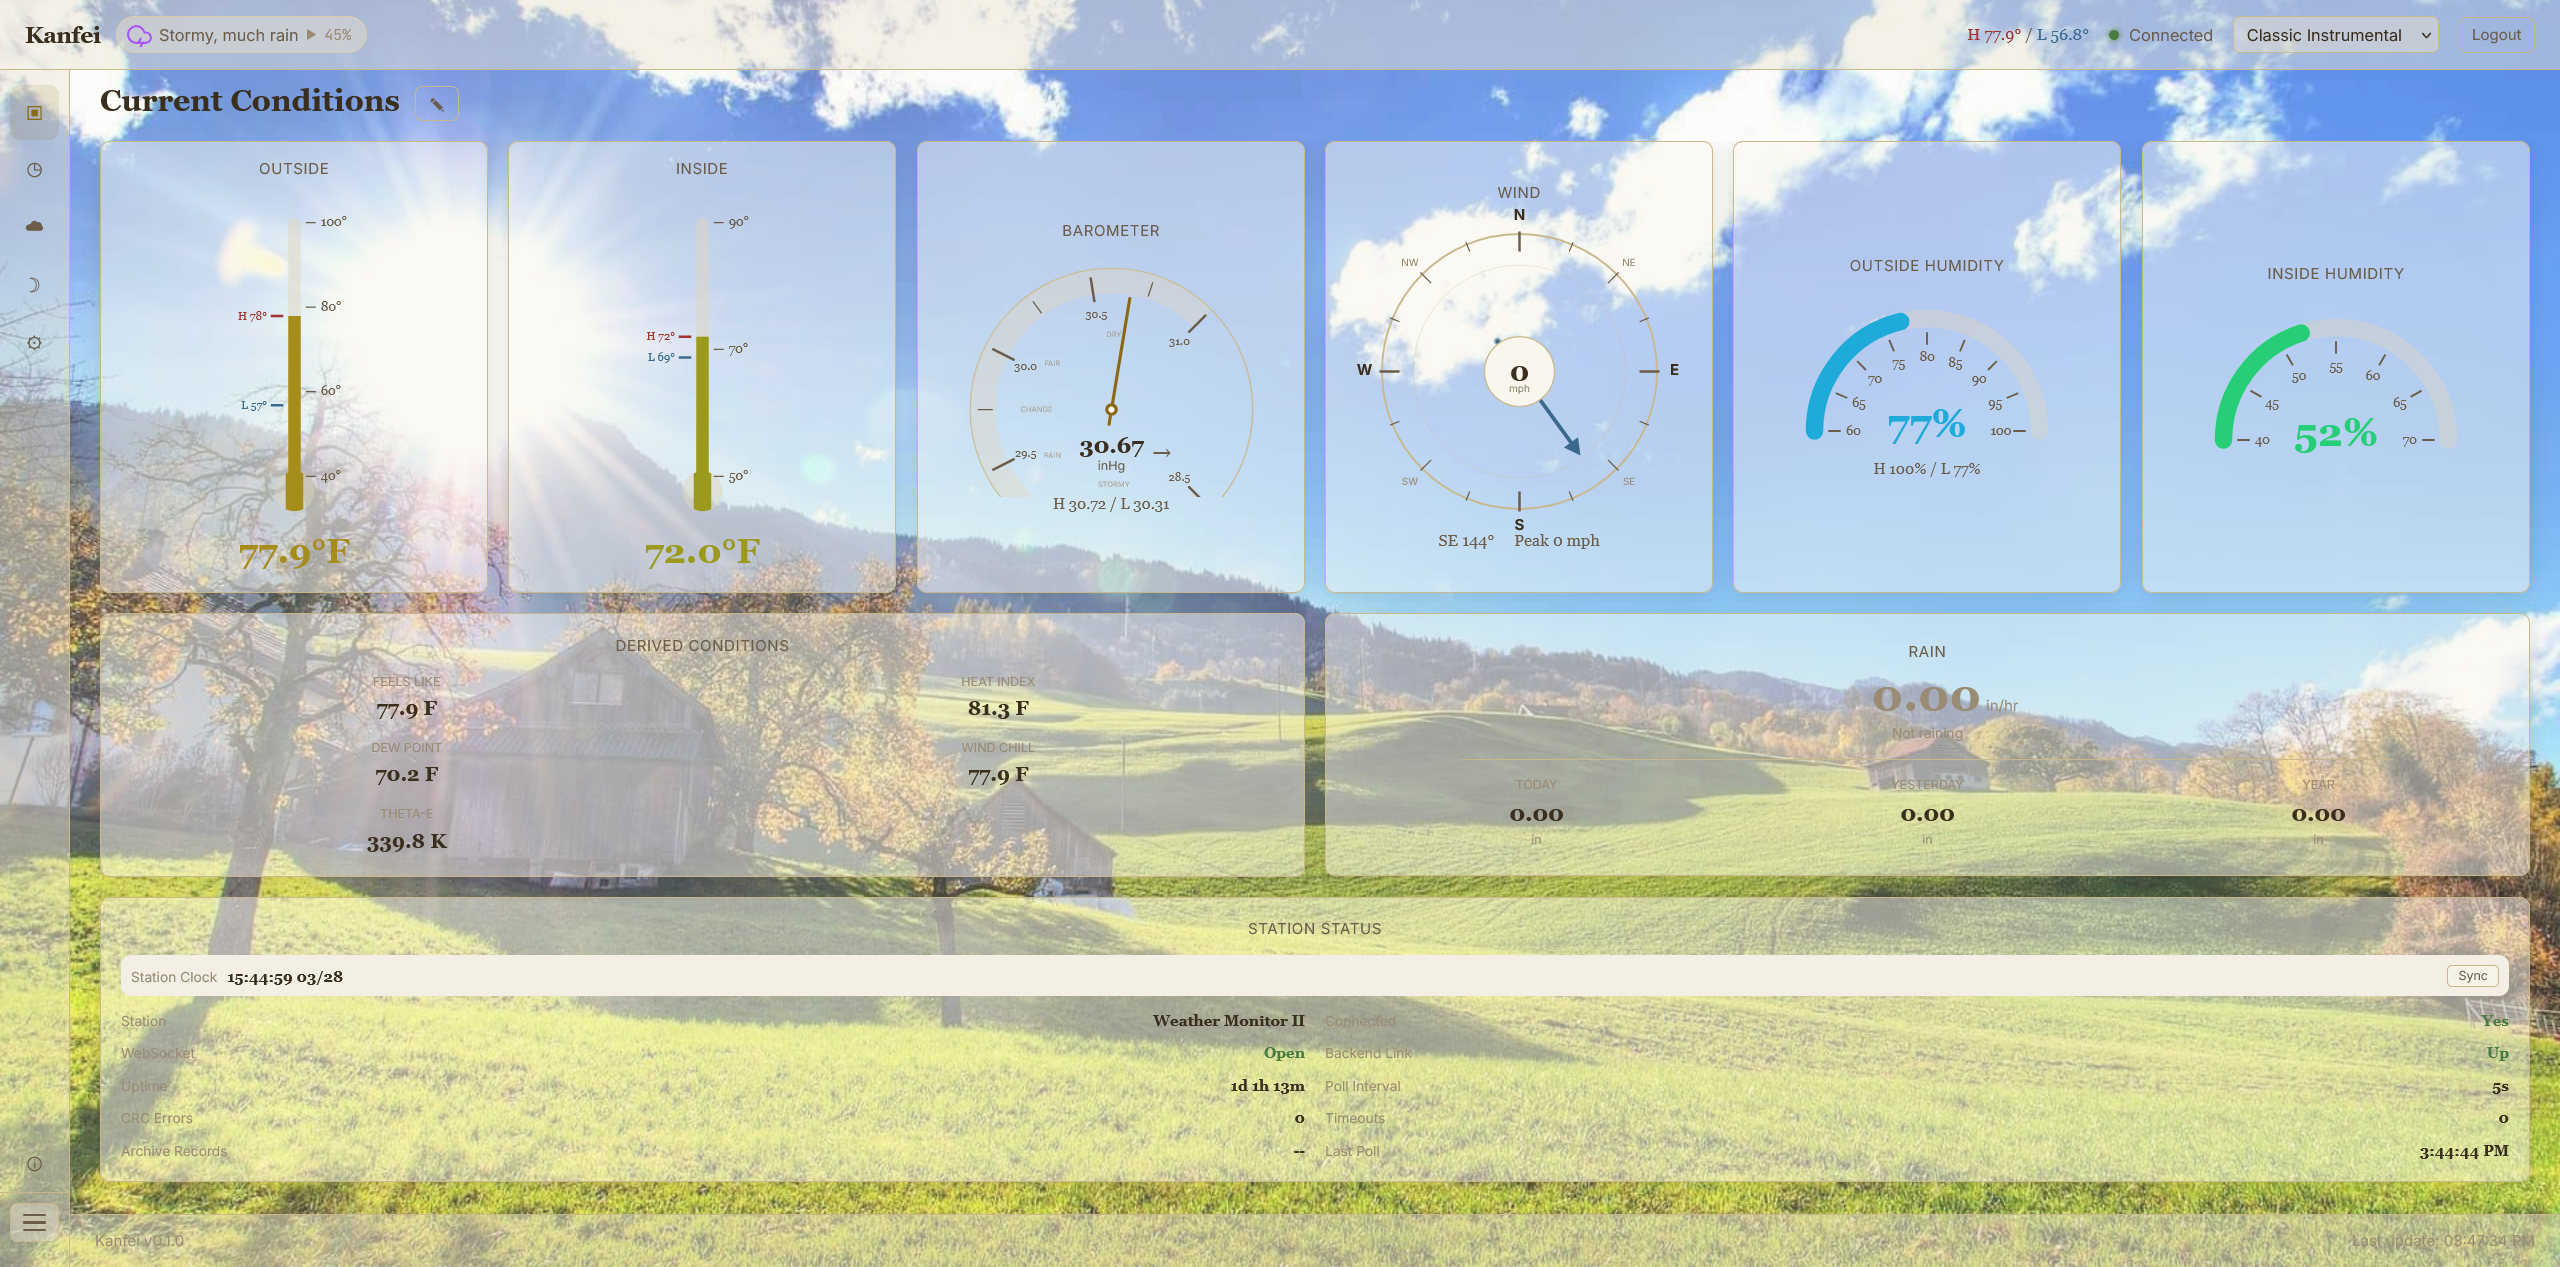
The brass-and-cream analog aesthetic.
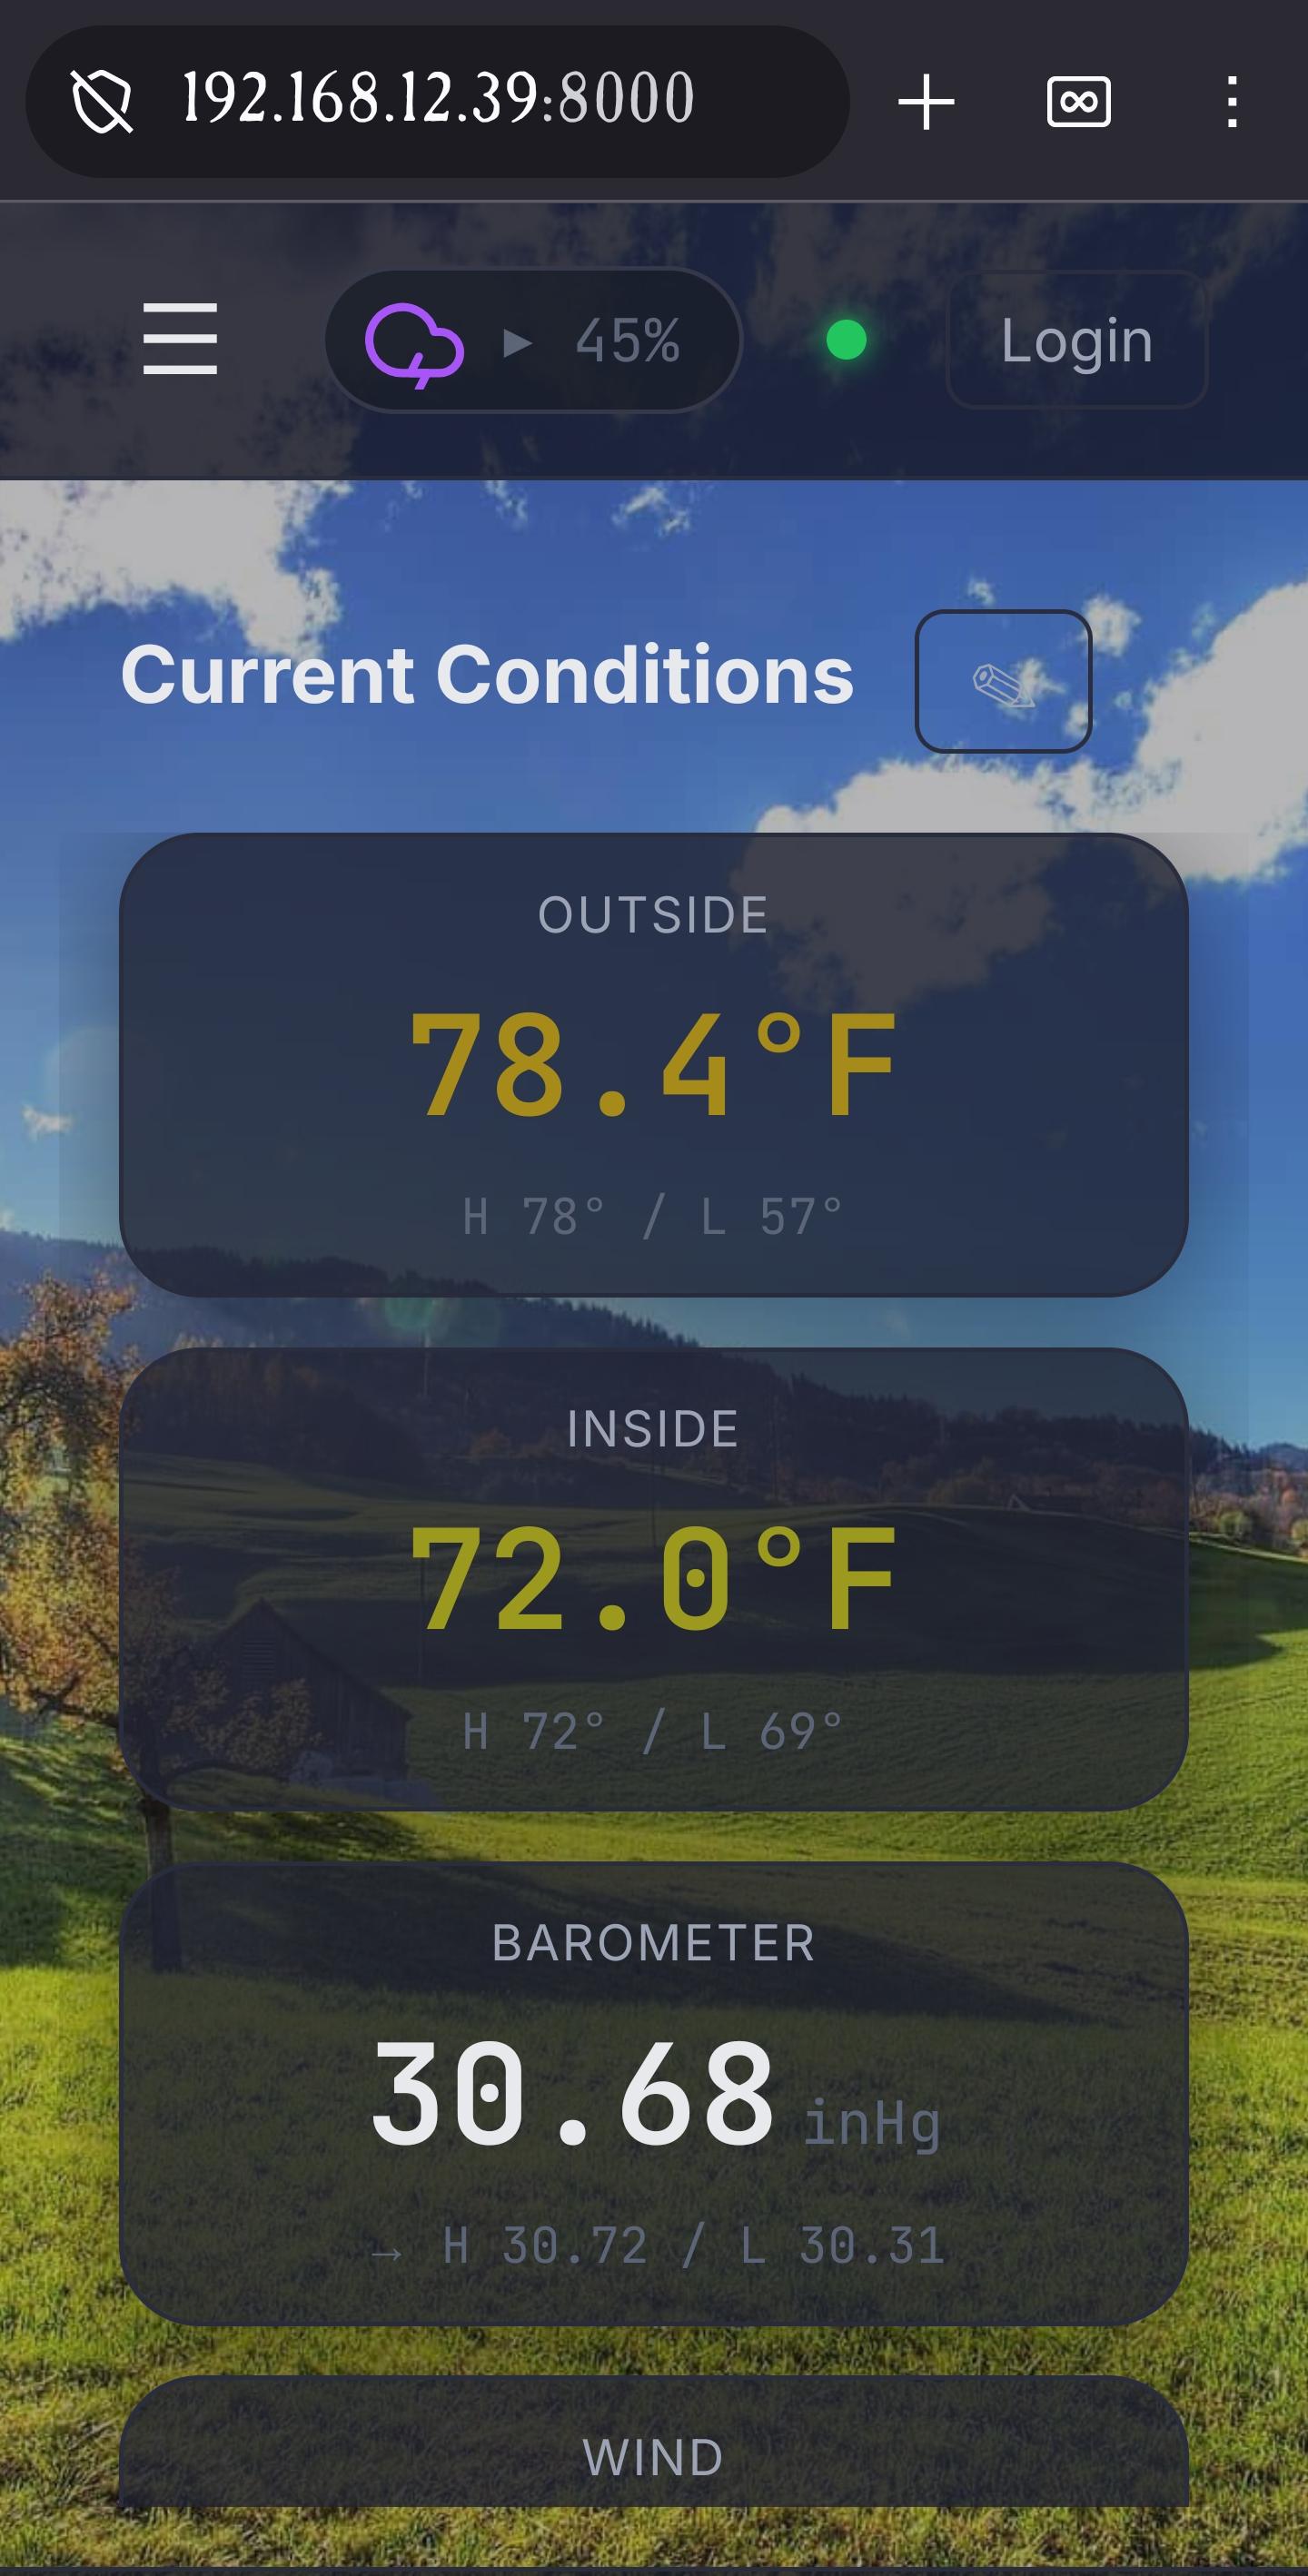
Responsive layout on phone-width screens with stacked gauge tiles.
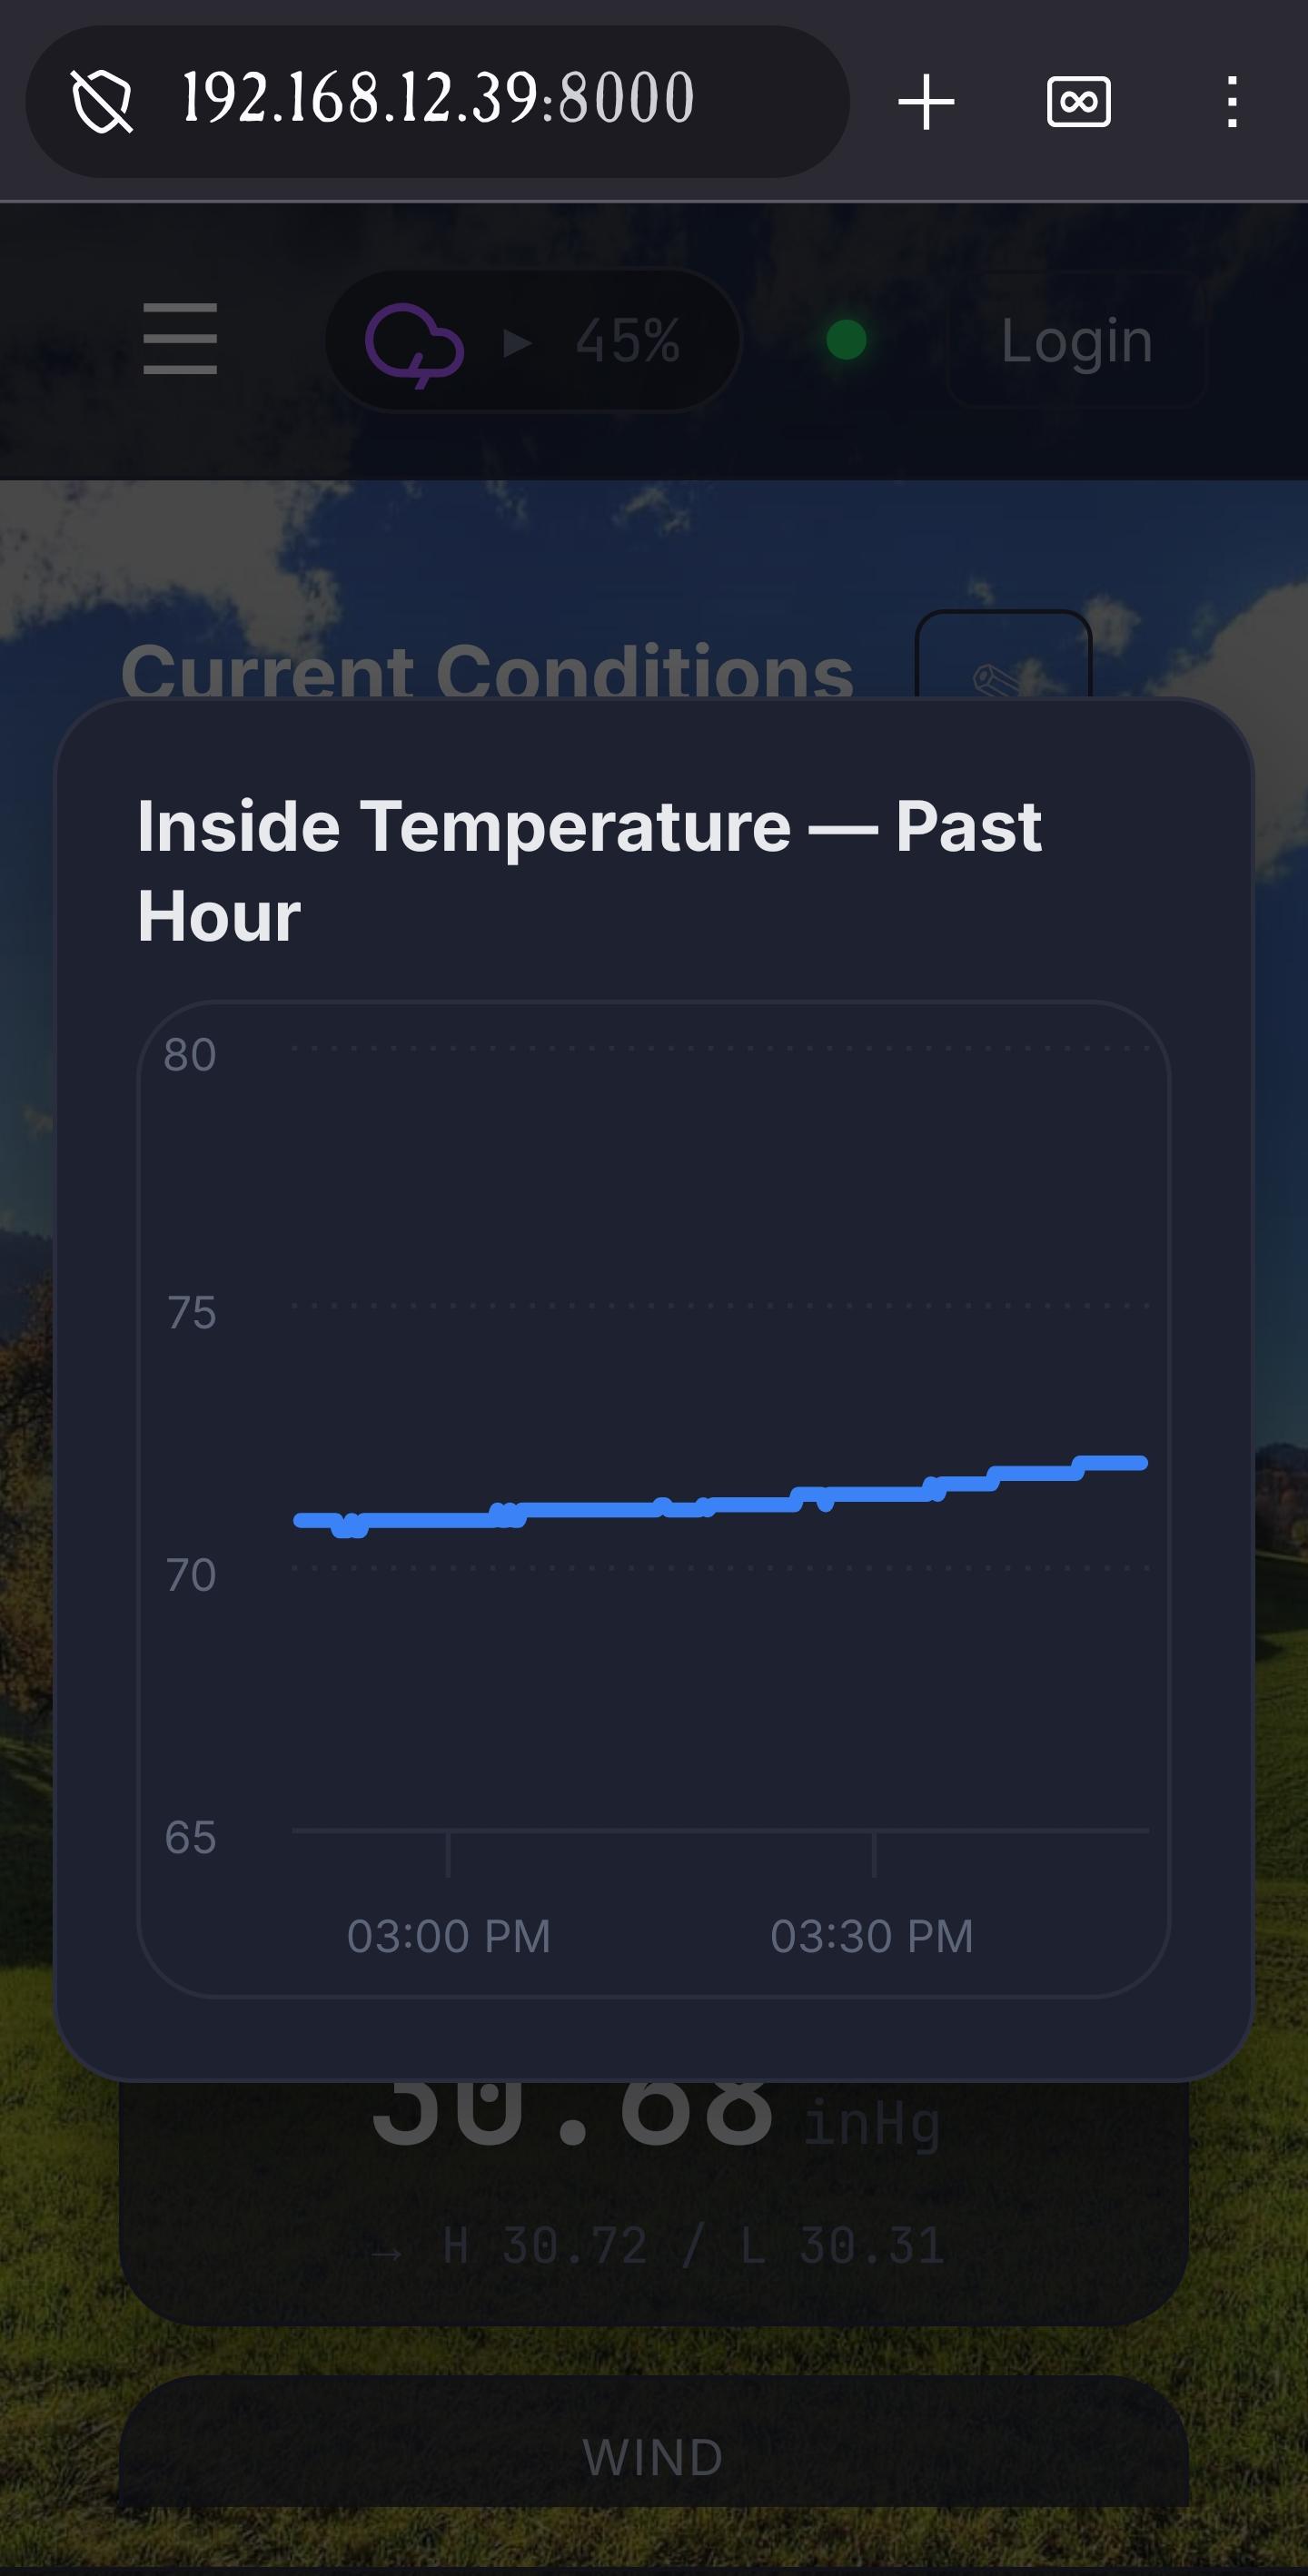
Highcharts time-series with selectable sensor, date range, and resolution.

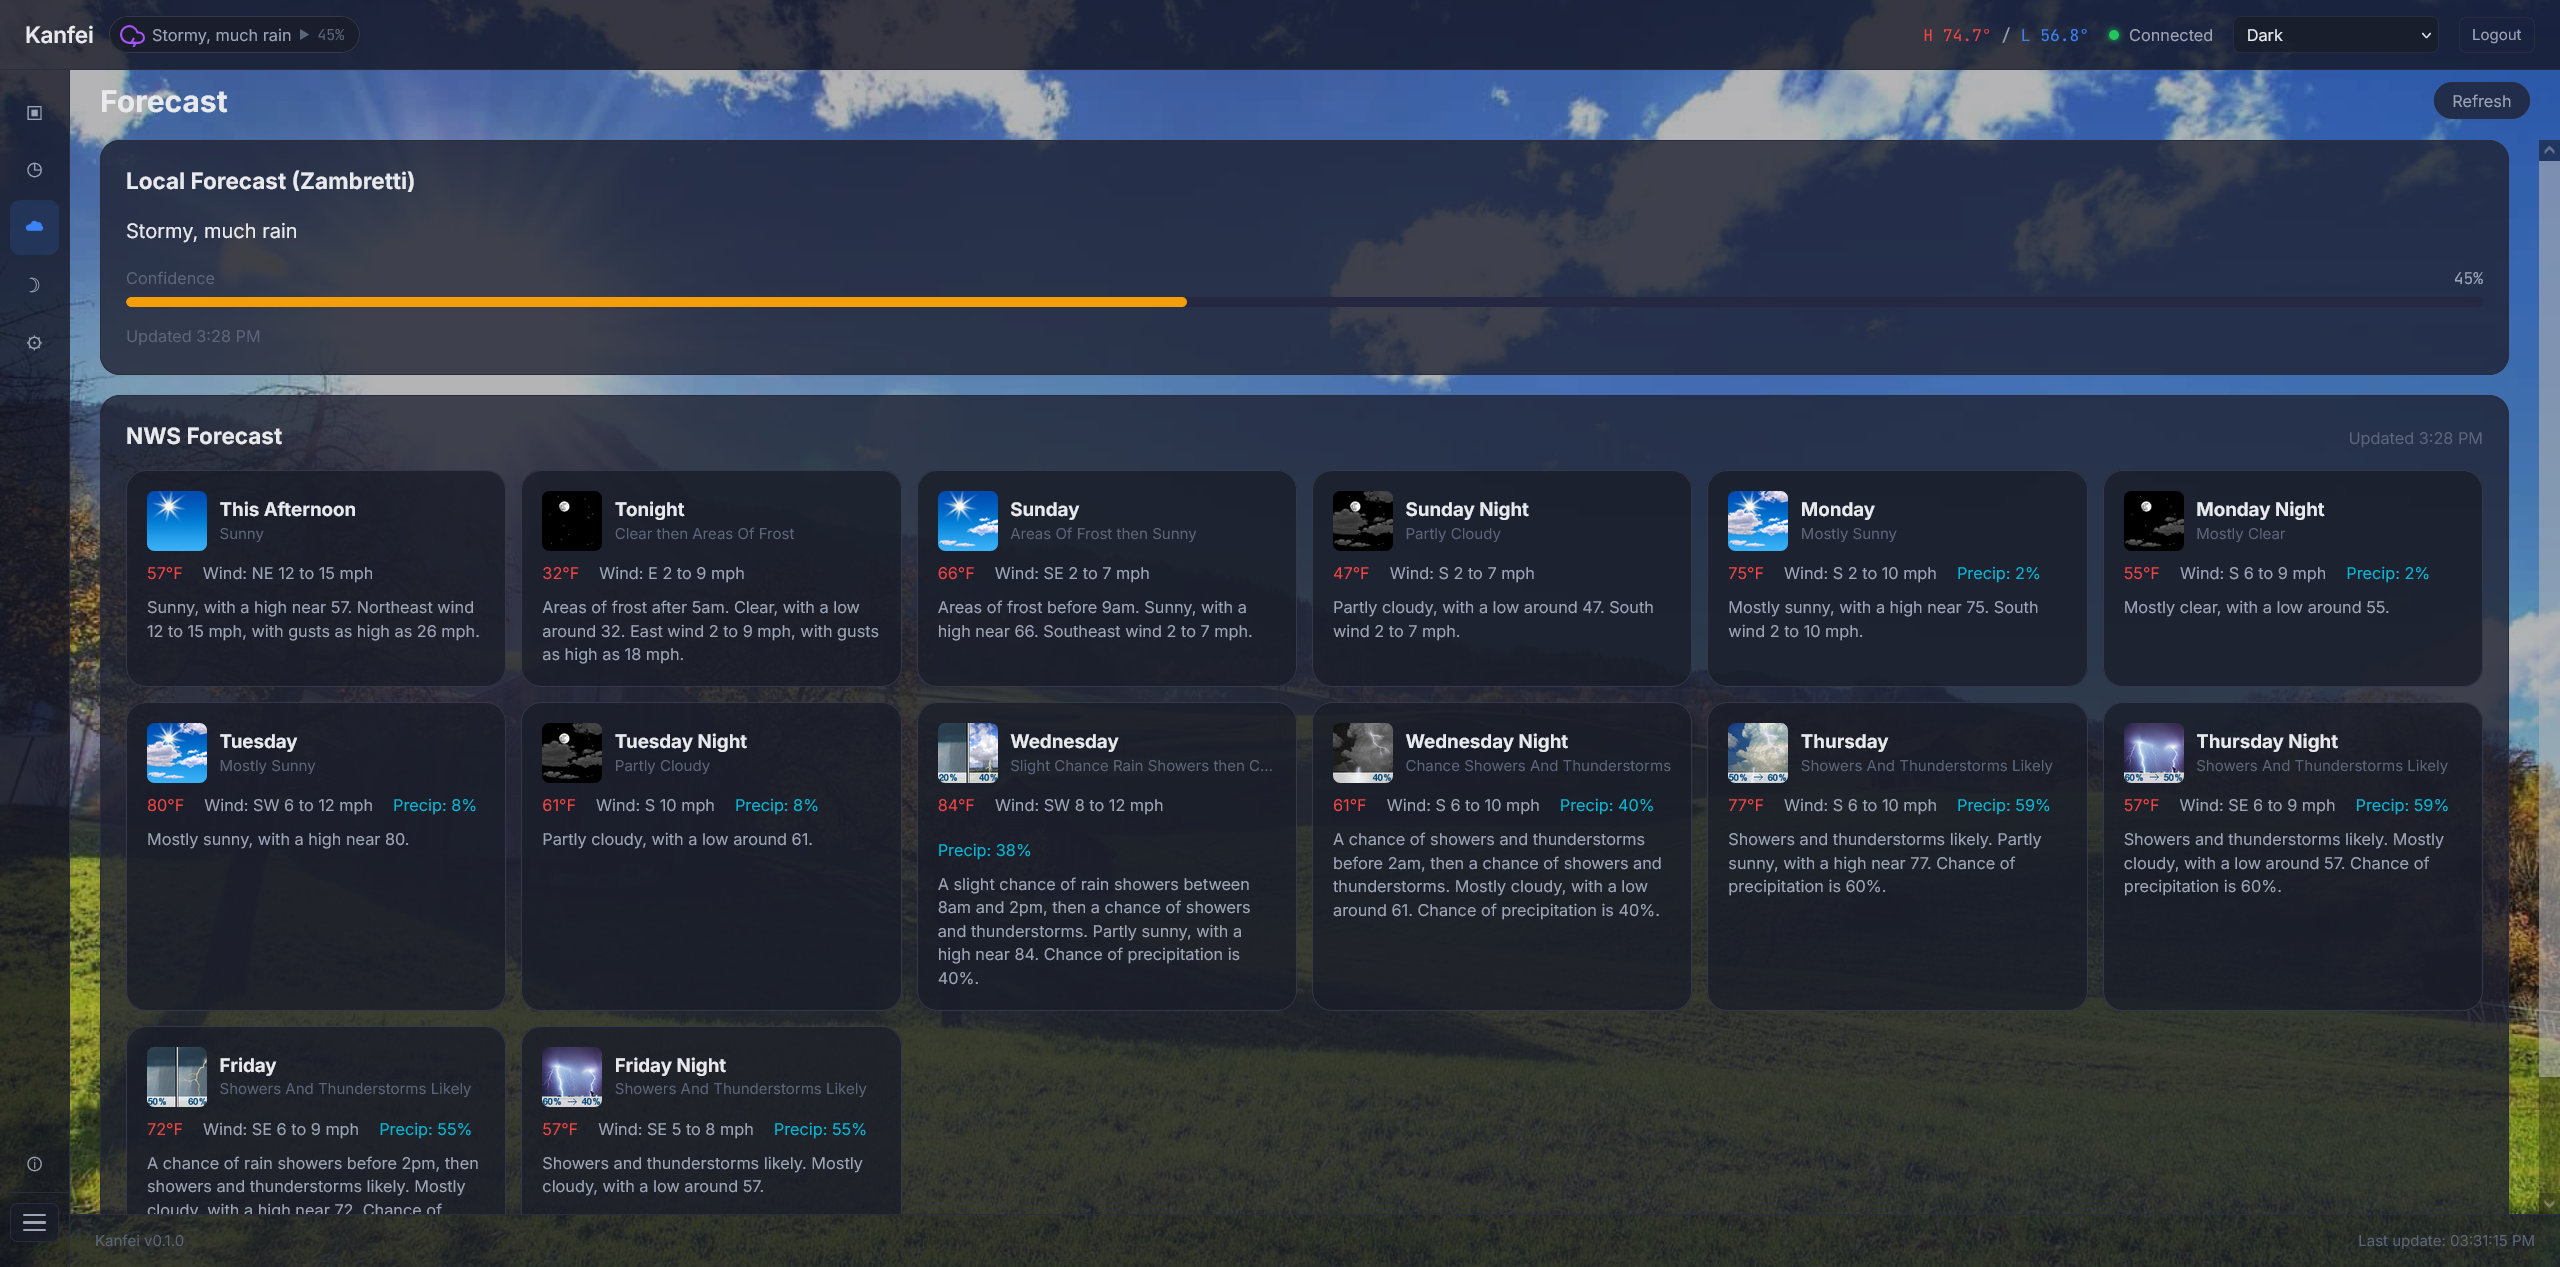
Zambretti barometric algorithm blended with NWS API data.
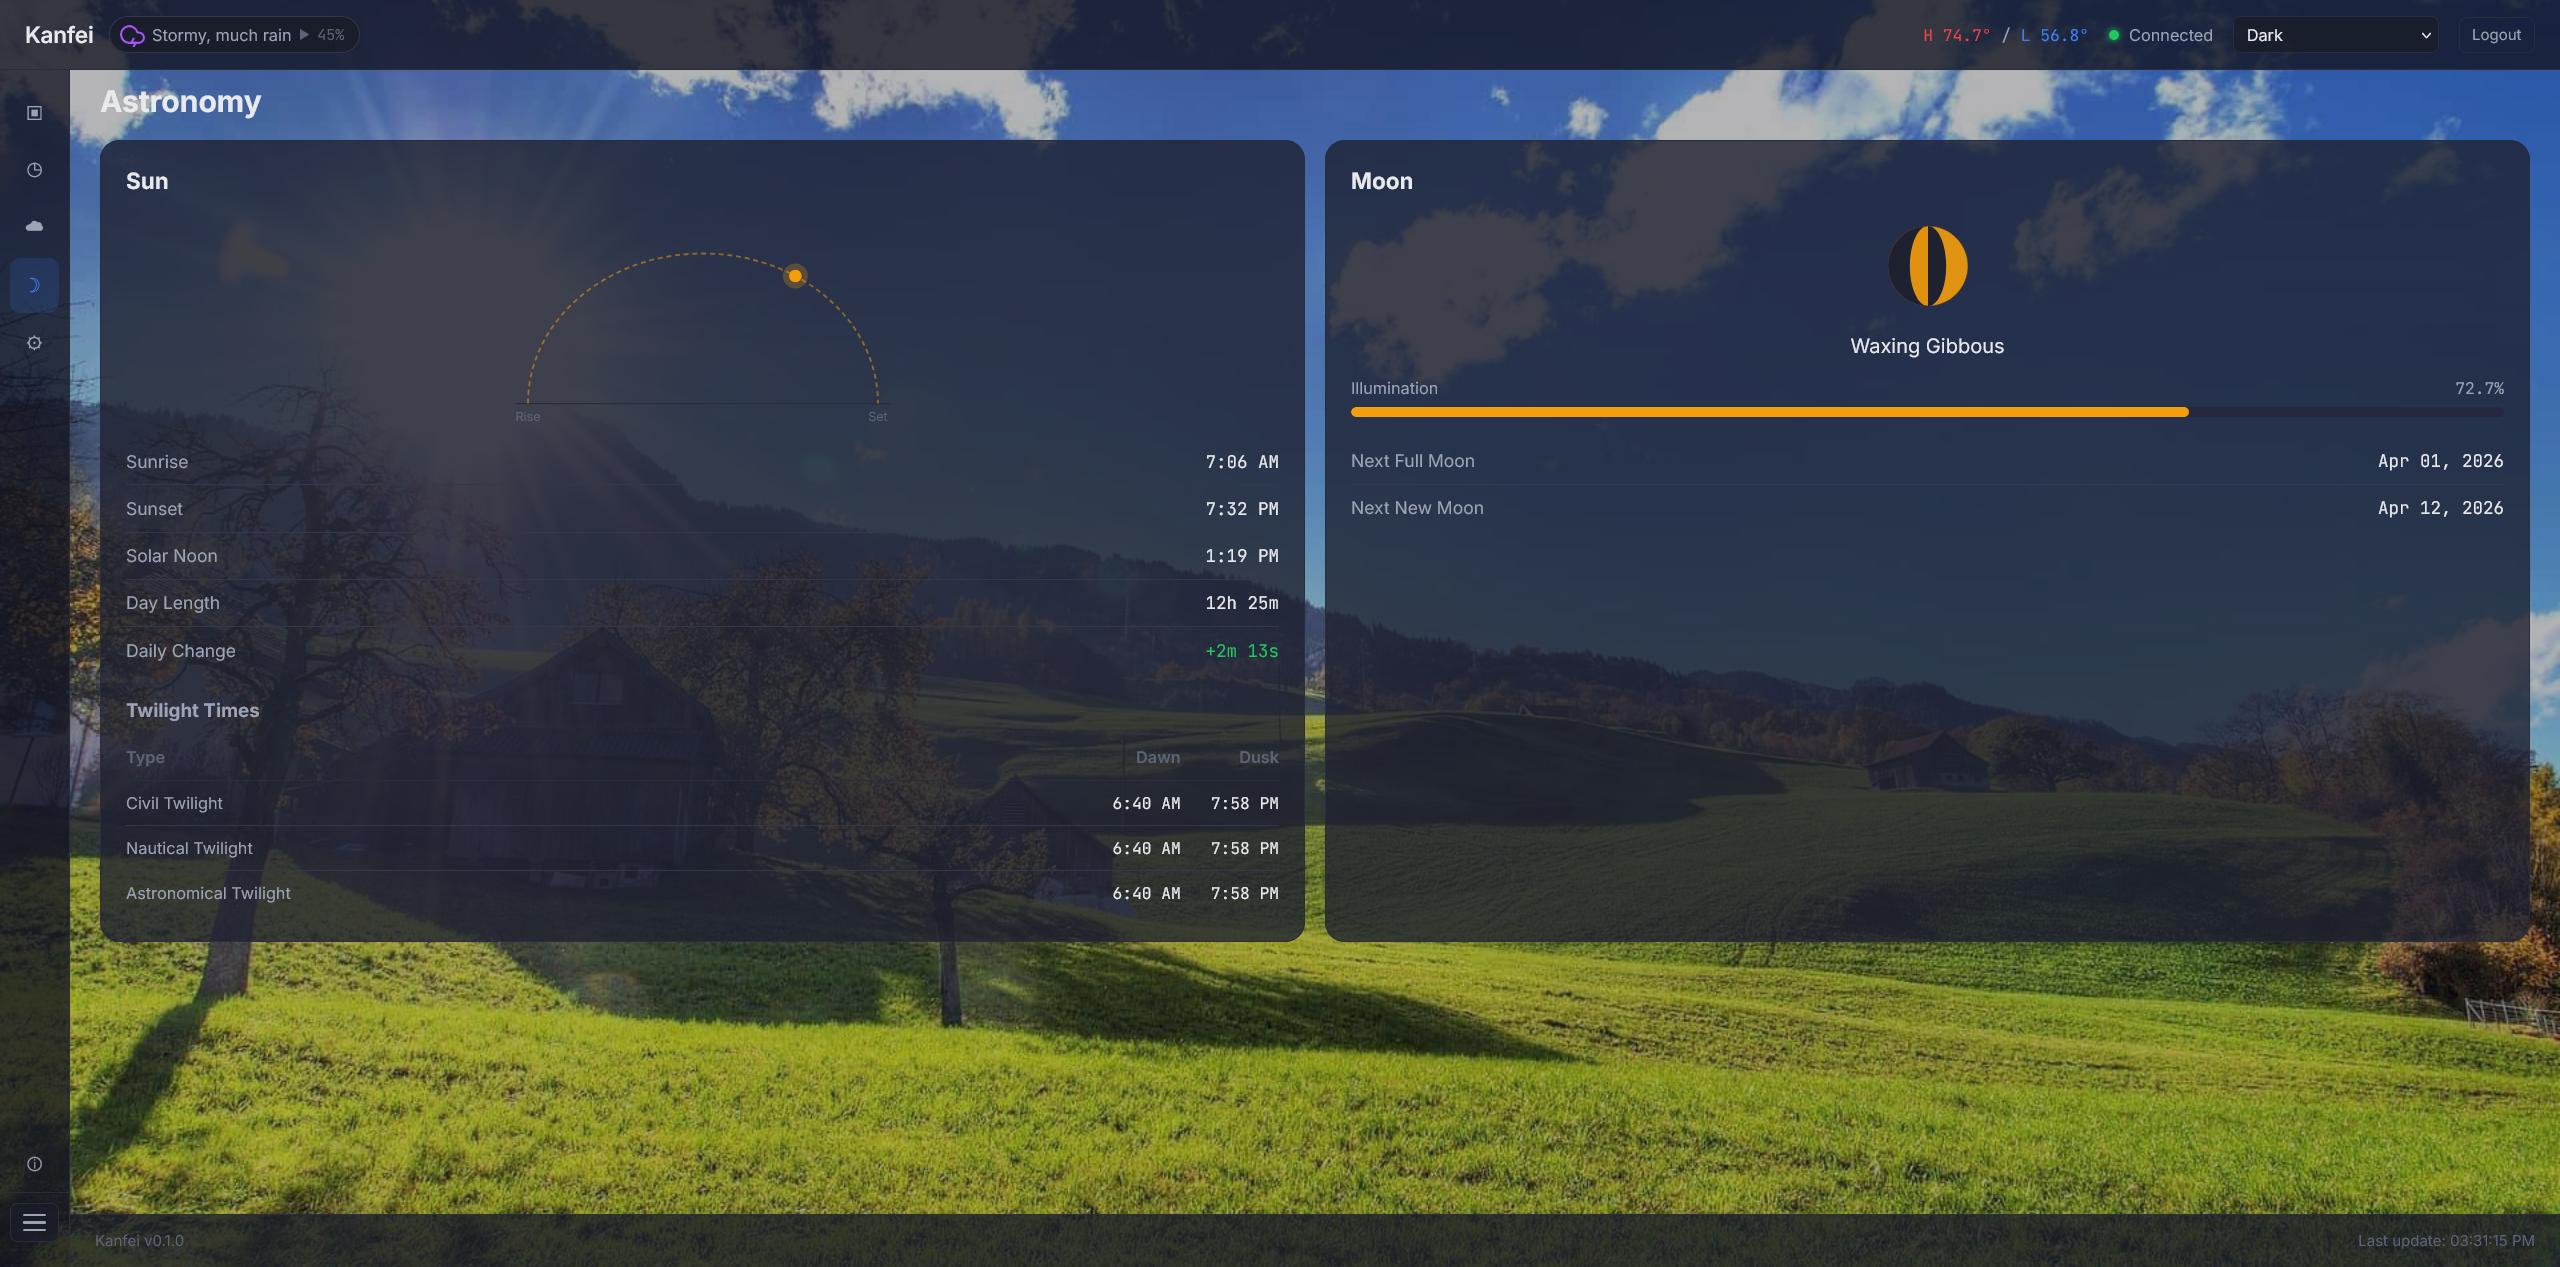
Sunrise/sunset arc, twilight bands, and moon phase with illumination.
AI-powered hyper-local weather intelligence (optional add-on).
Screenshot needed: images/nowcast.png
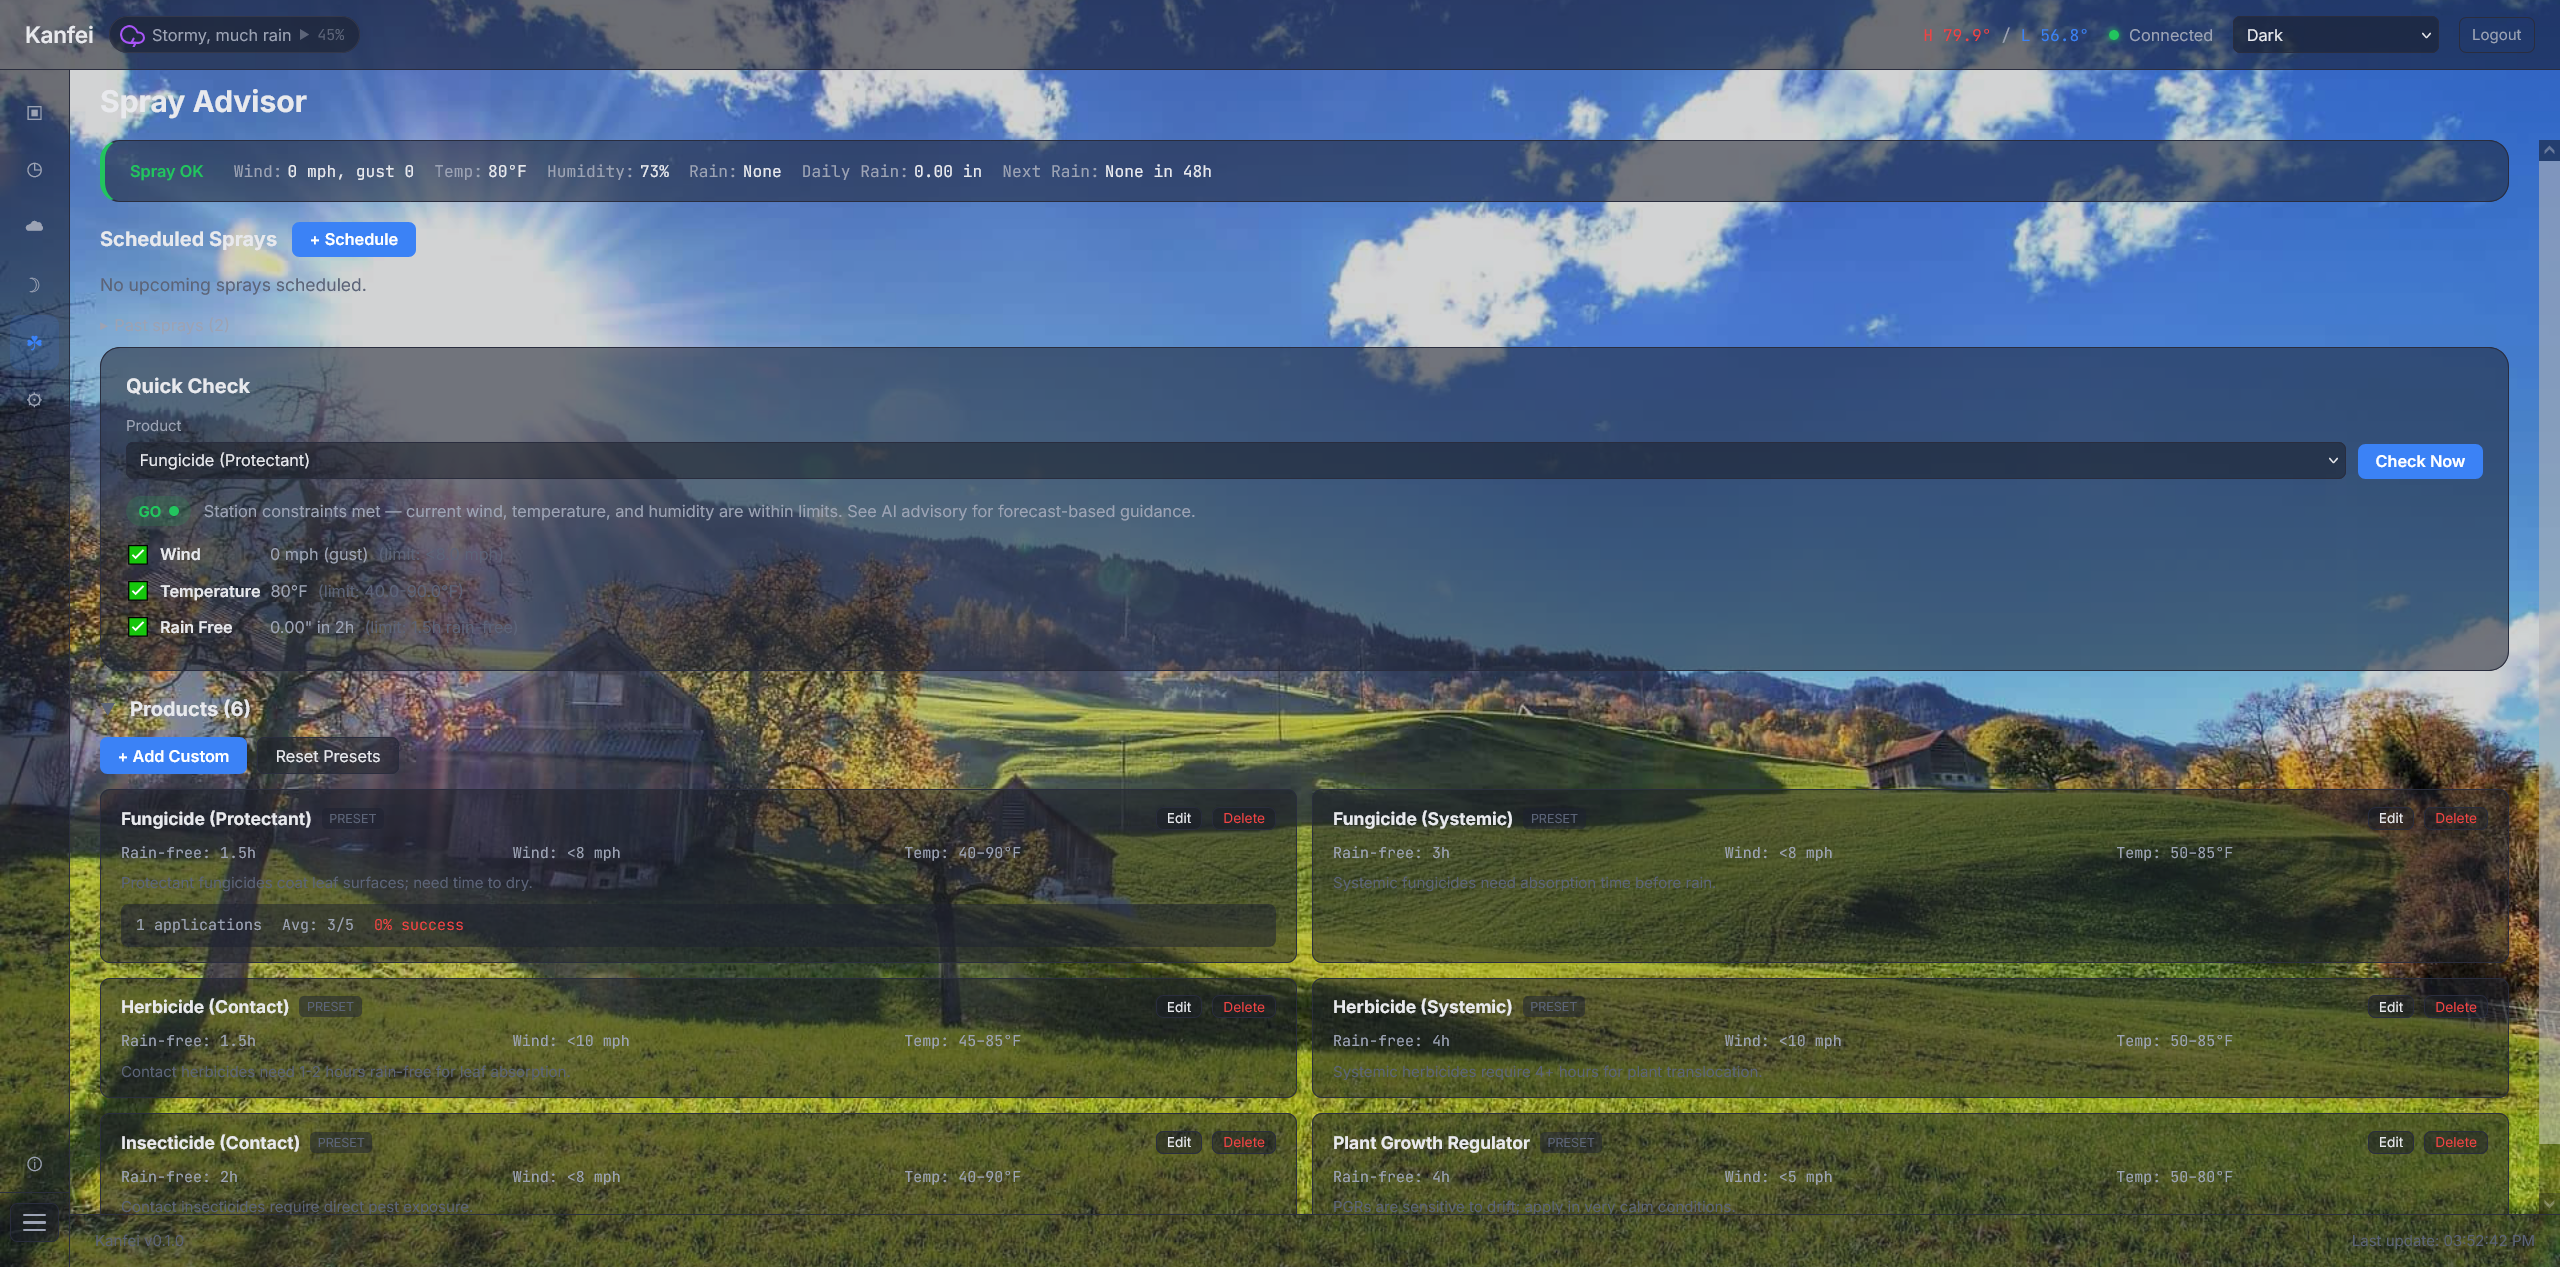
Rule-based go/no-go engine with product thresholds and outcome feedback.
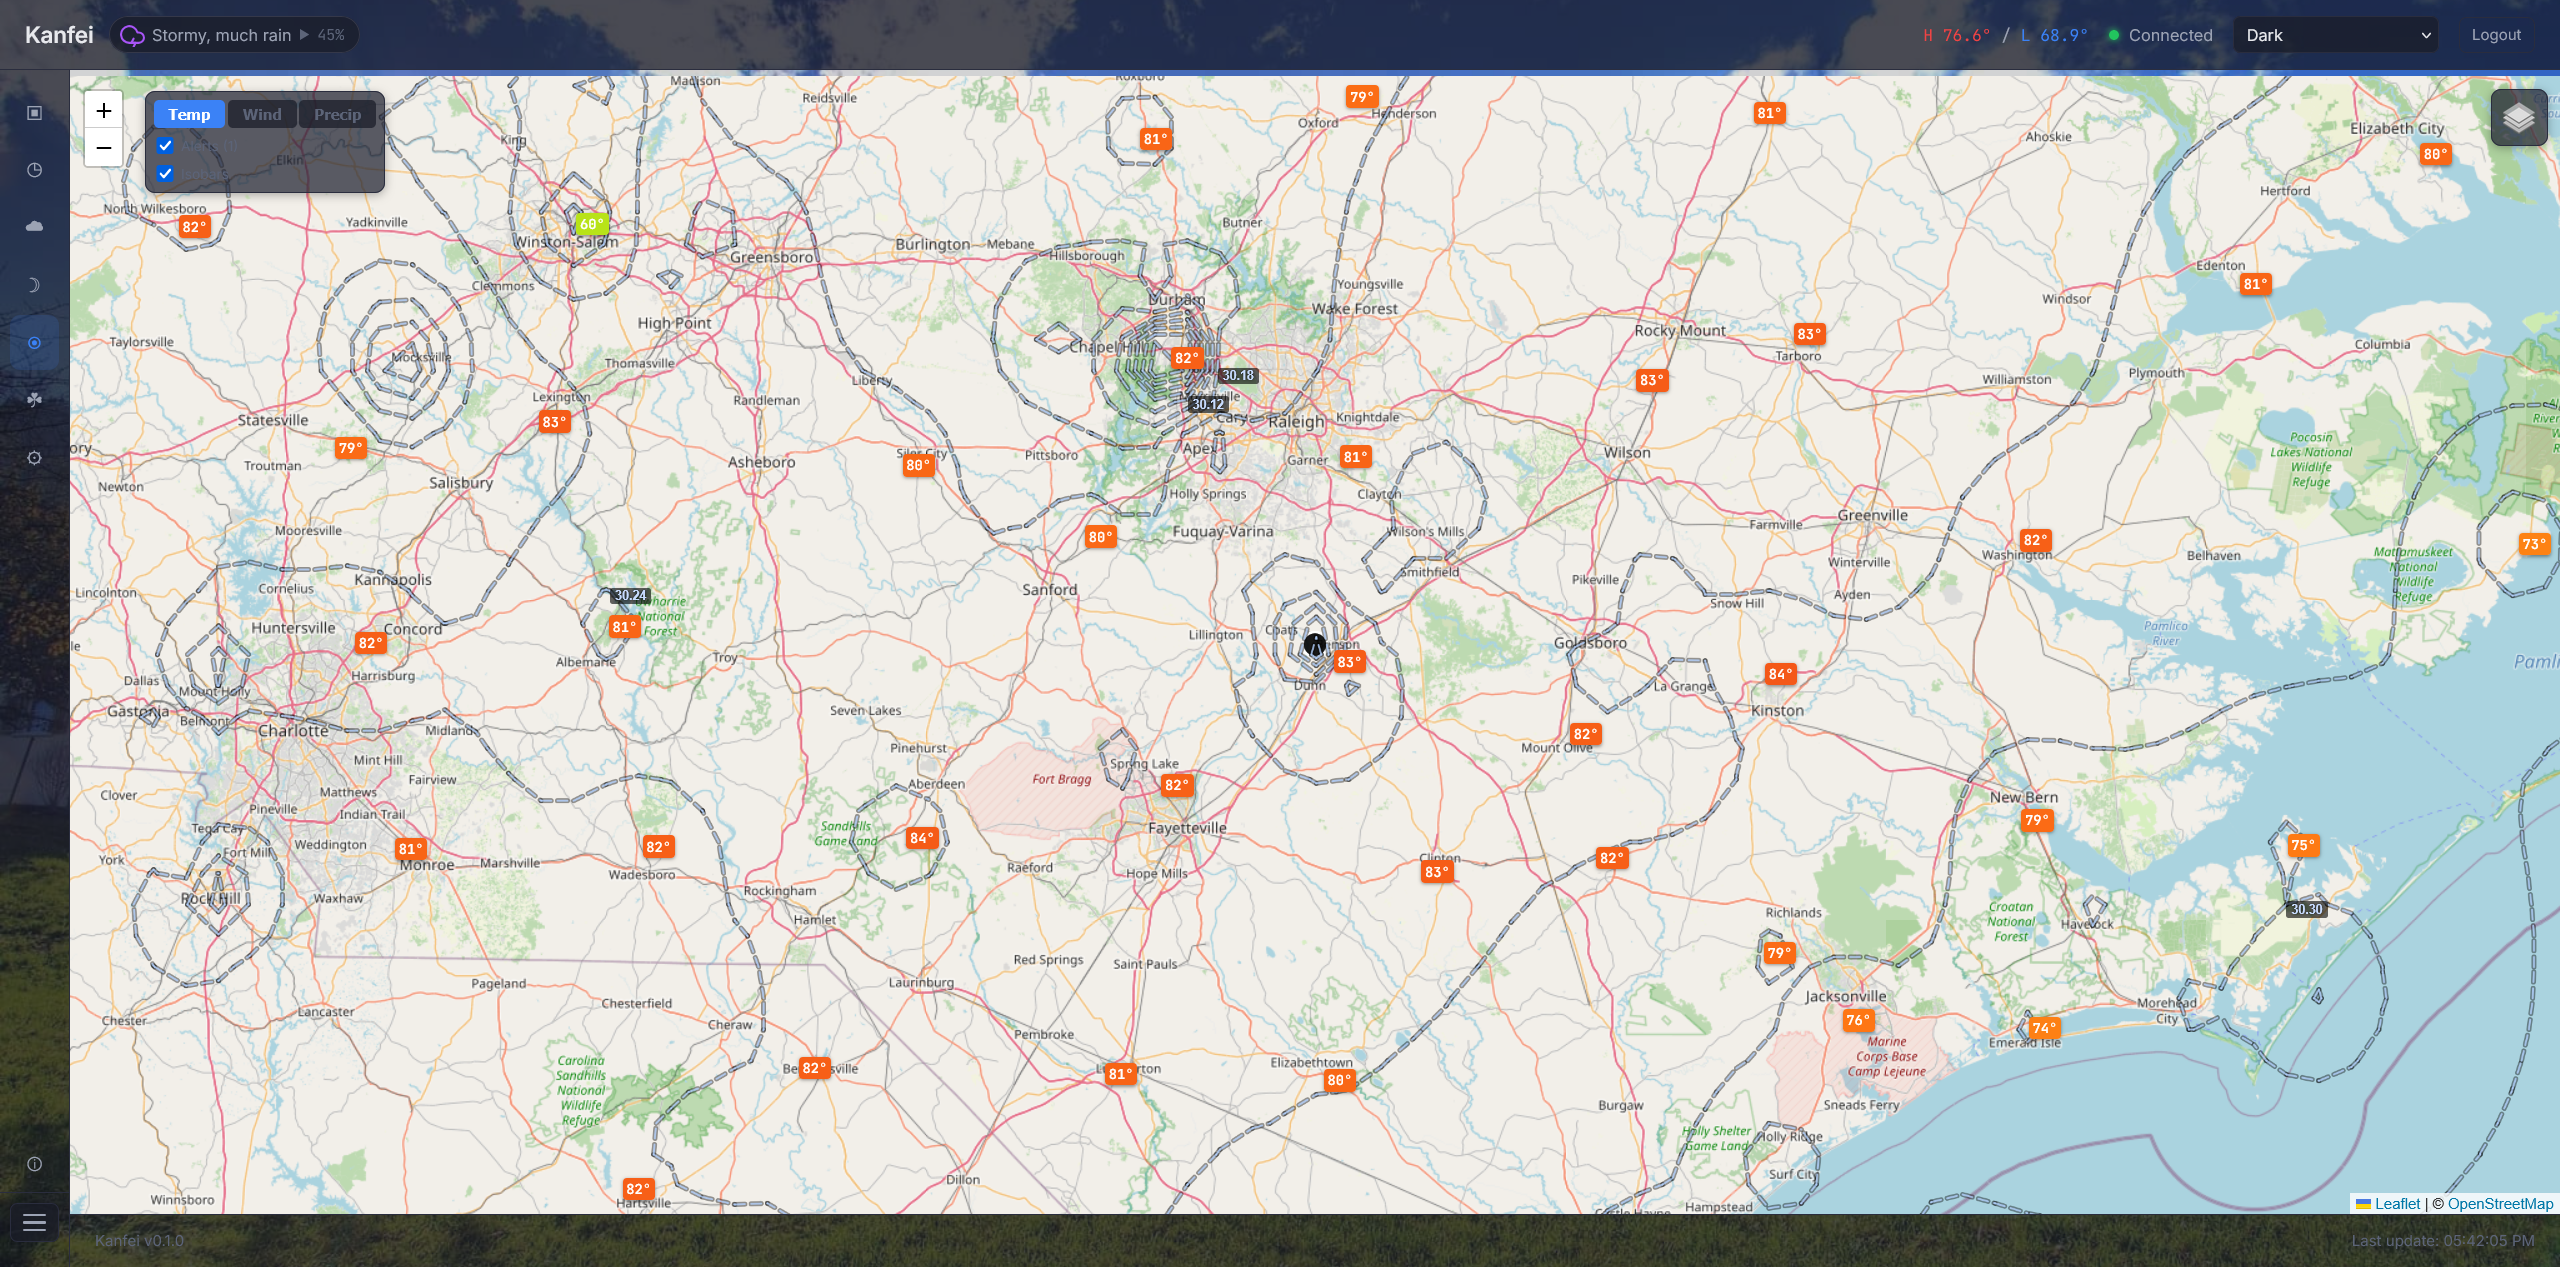
Interactive full-page weather map with nearby station observations, pressure isobars, and NWS alert polygons.
Station temperature badges, isobar contours, and road overlay across the surrounding region.
Zoomed-in view showing station popup with current conditions and tighter isobar contours.

Active alert monitoring for your station location.
Screenshot needed: images/nws-alerts.png
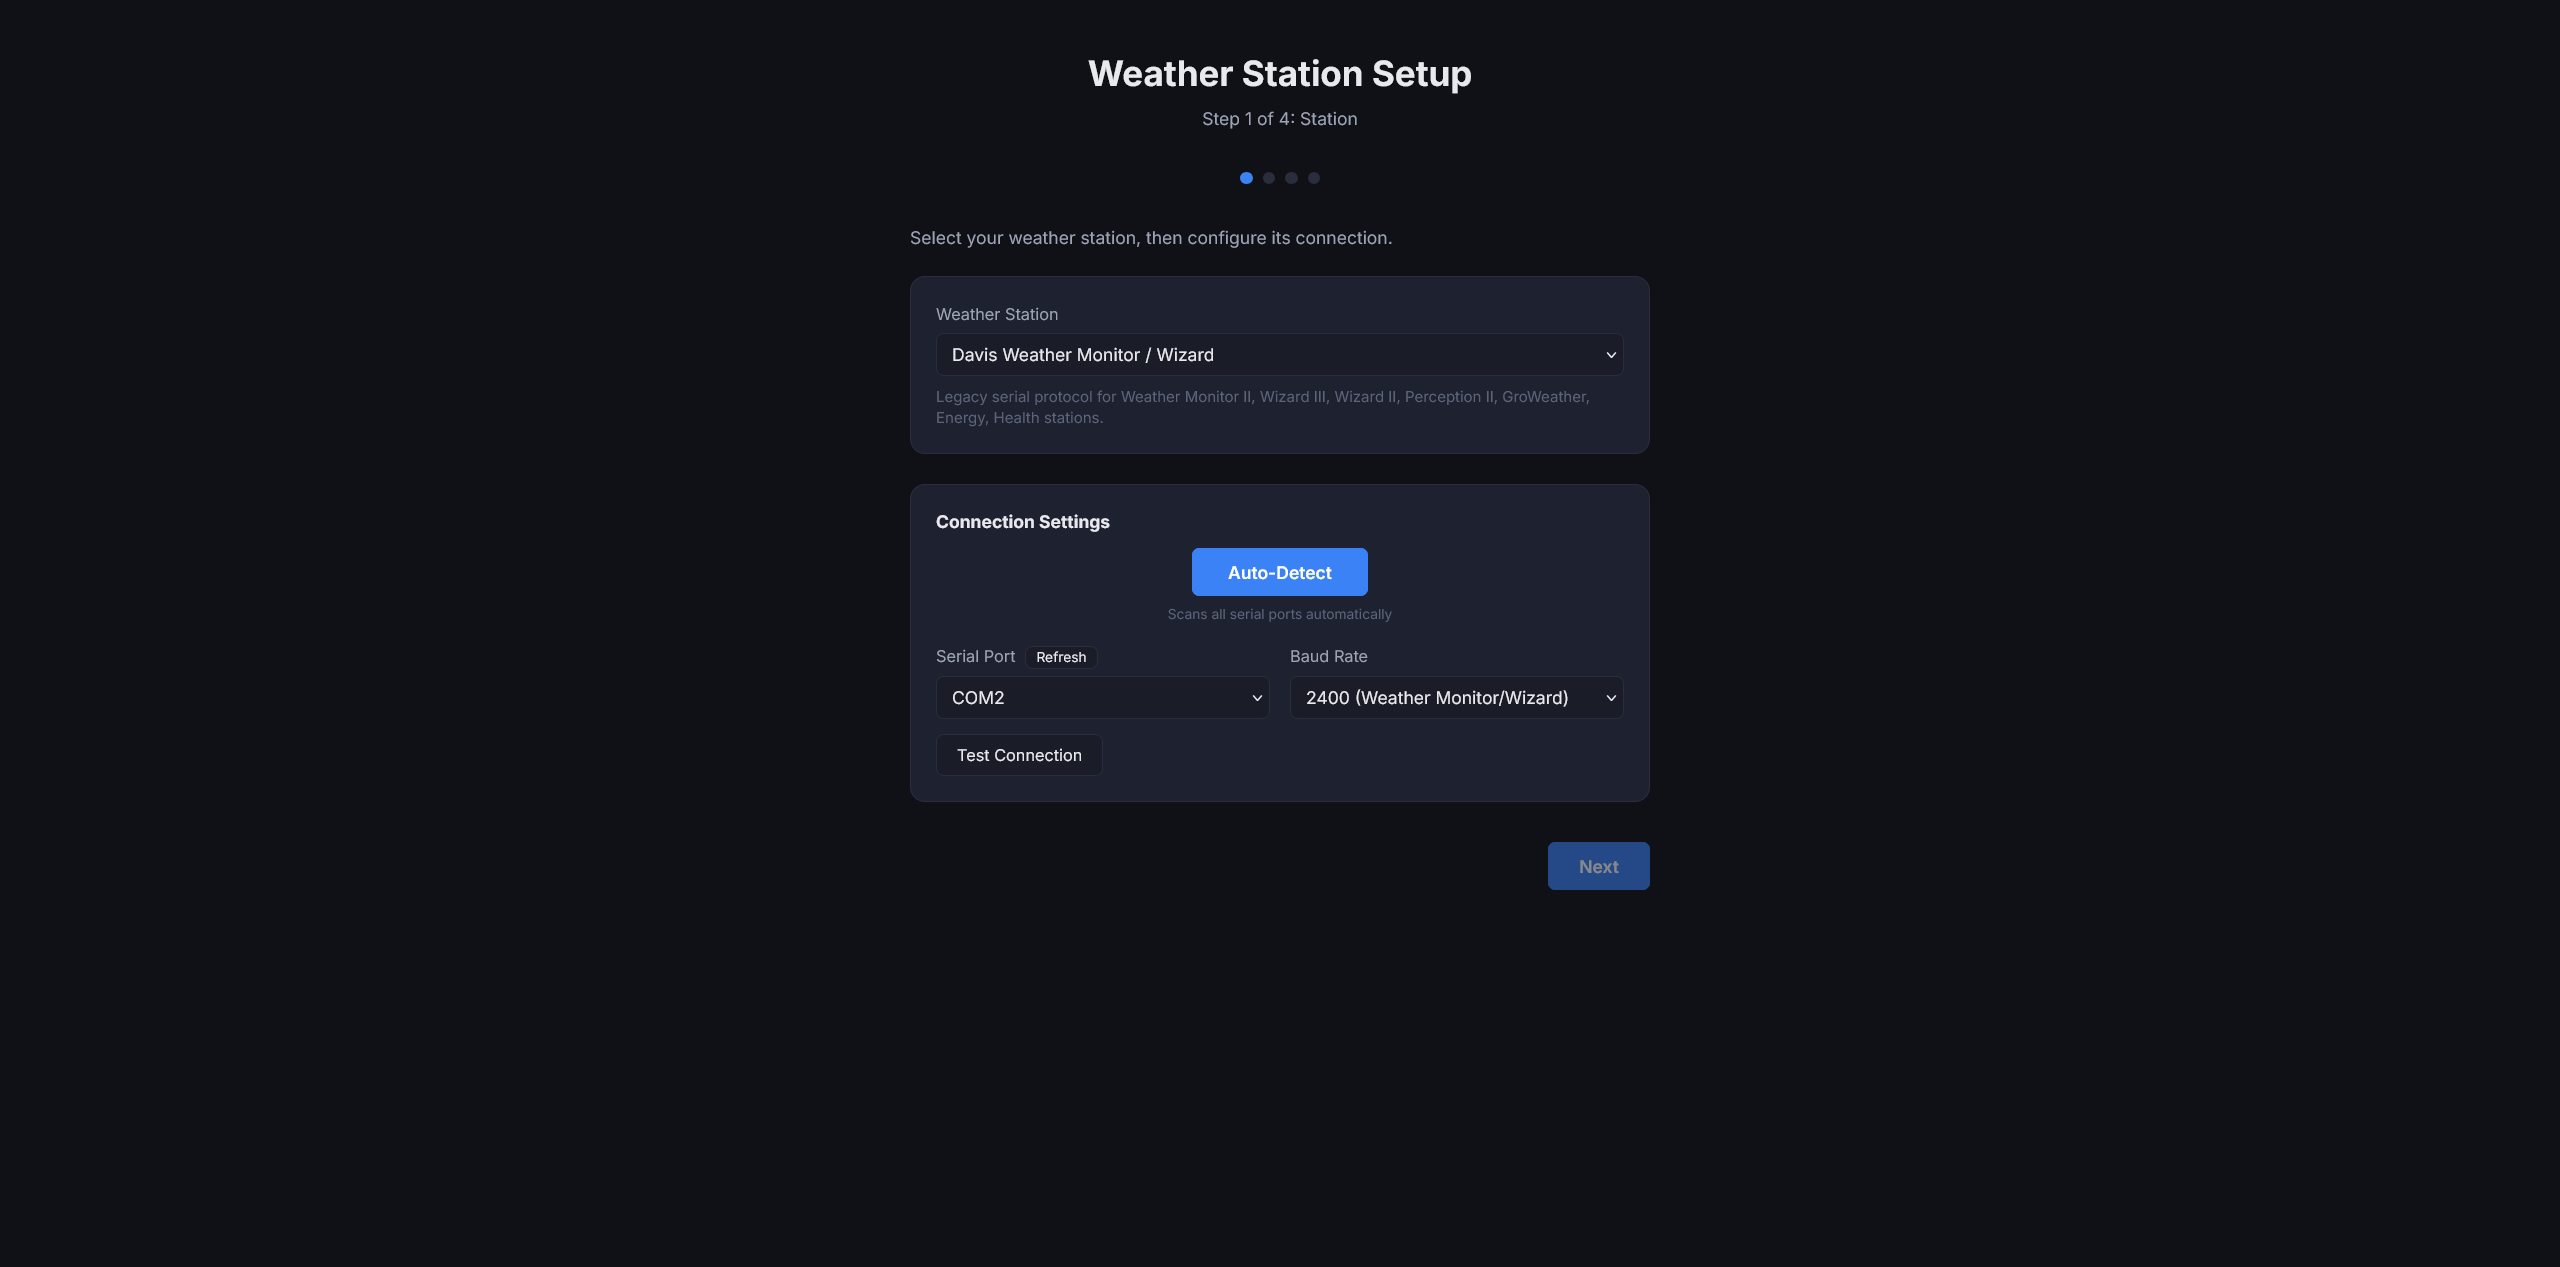
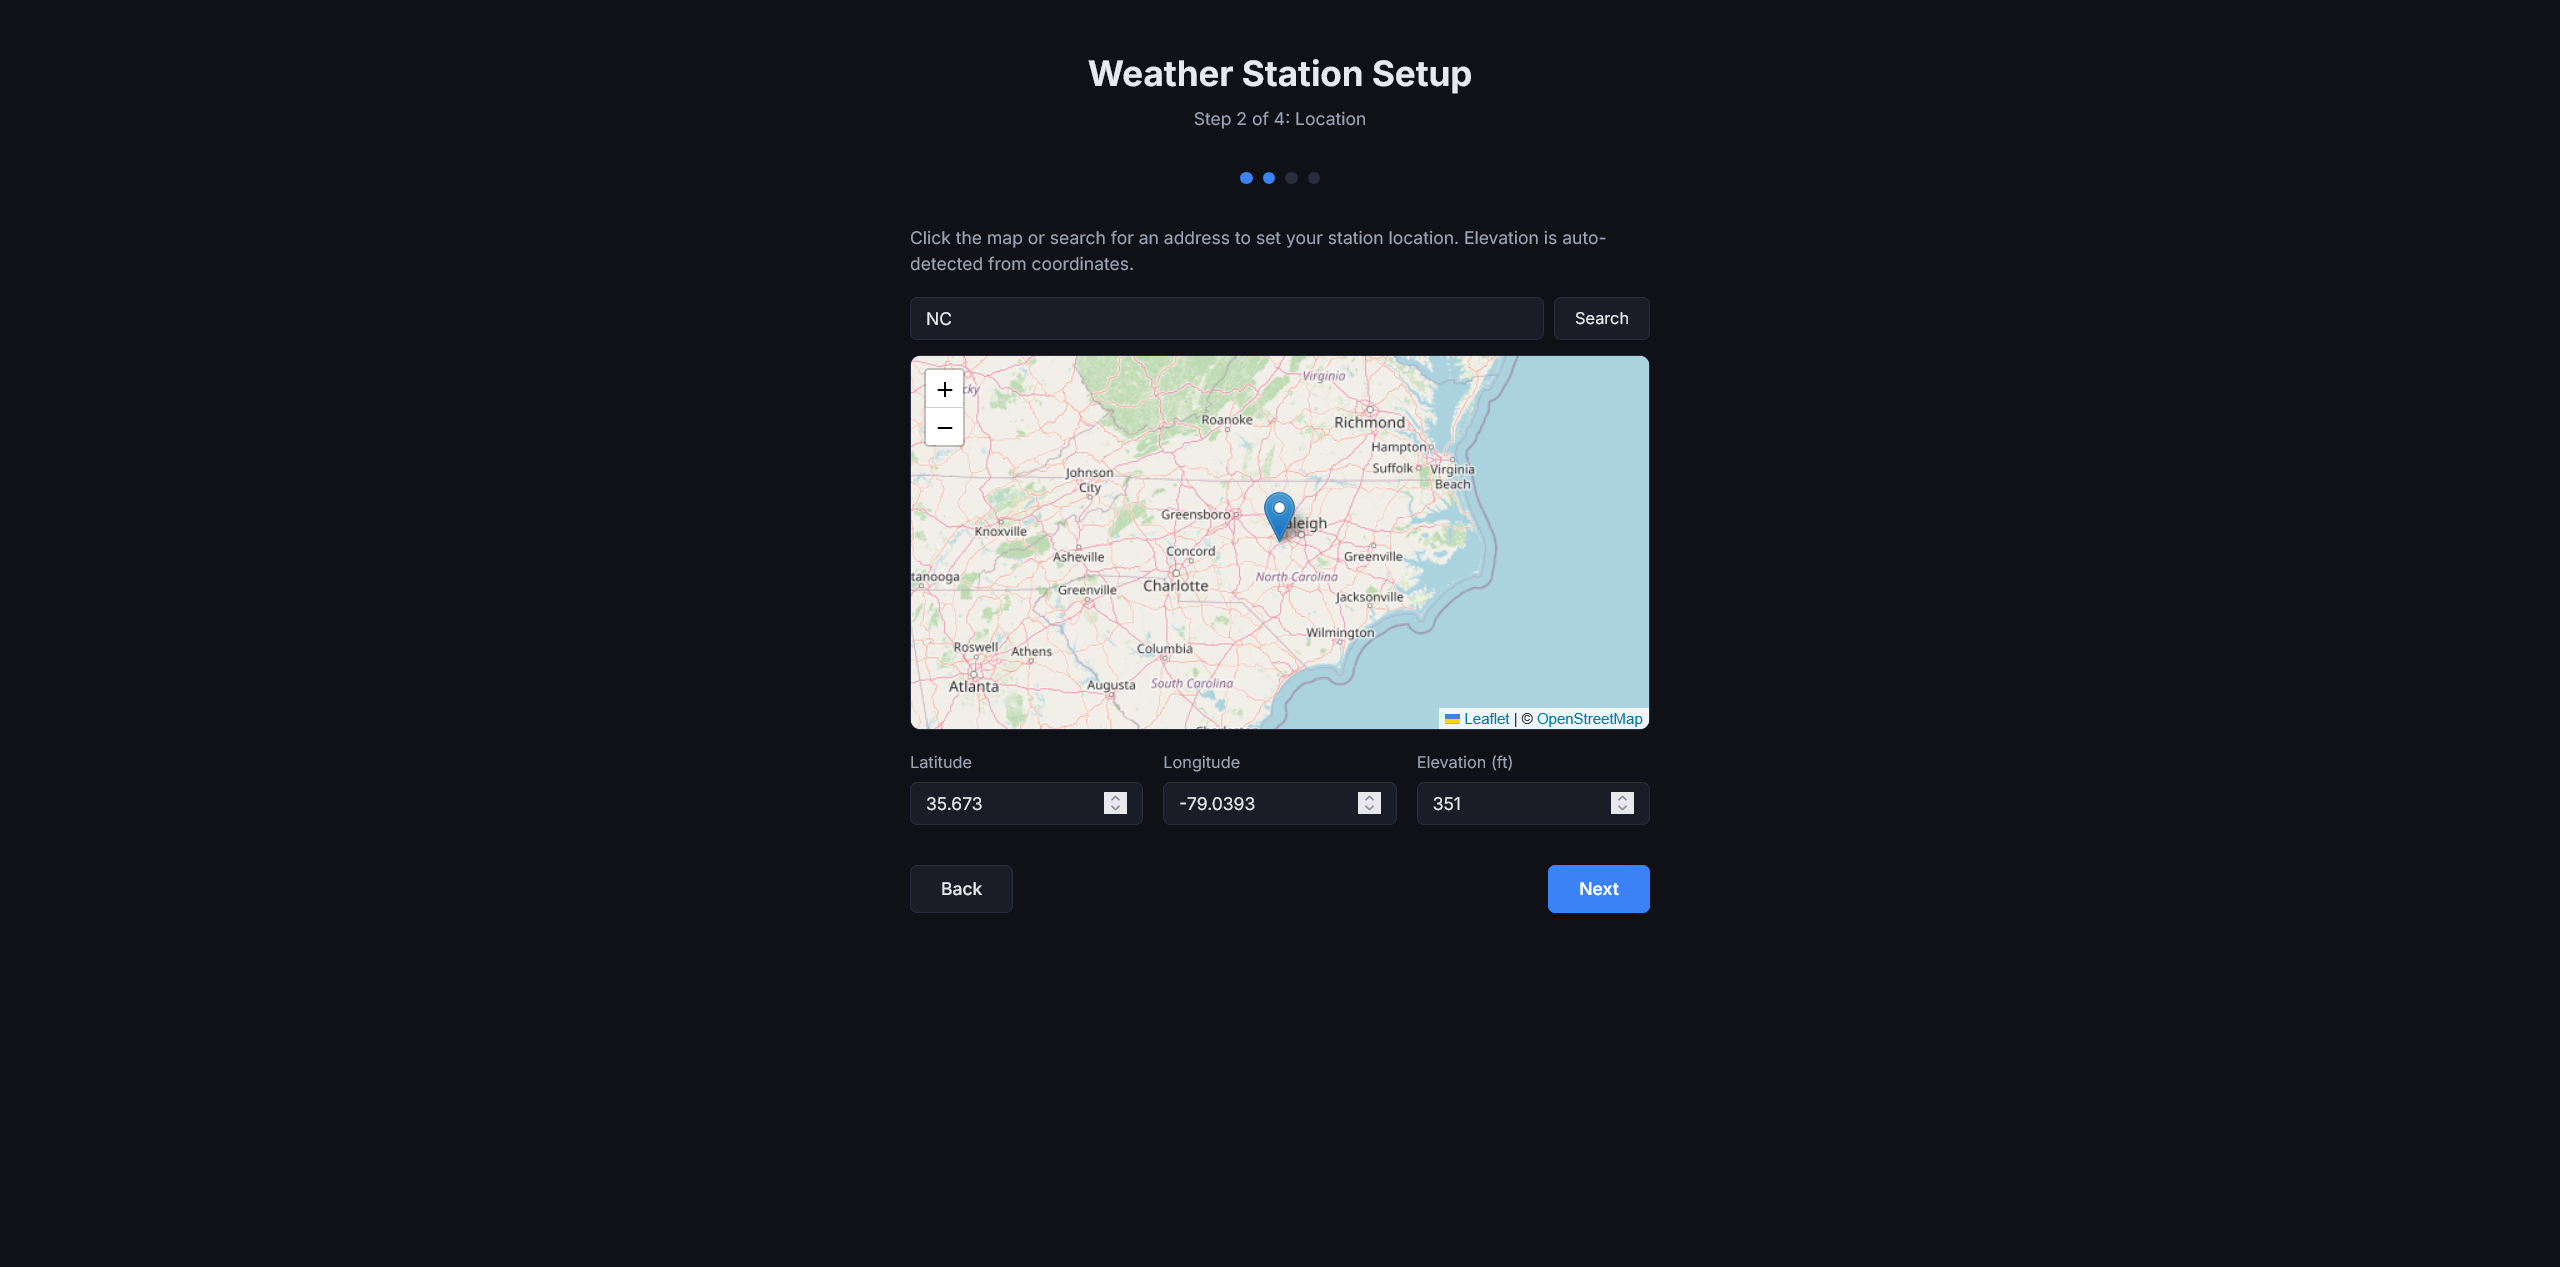
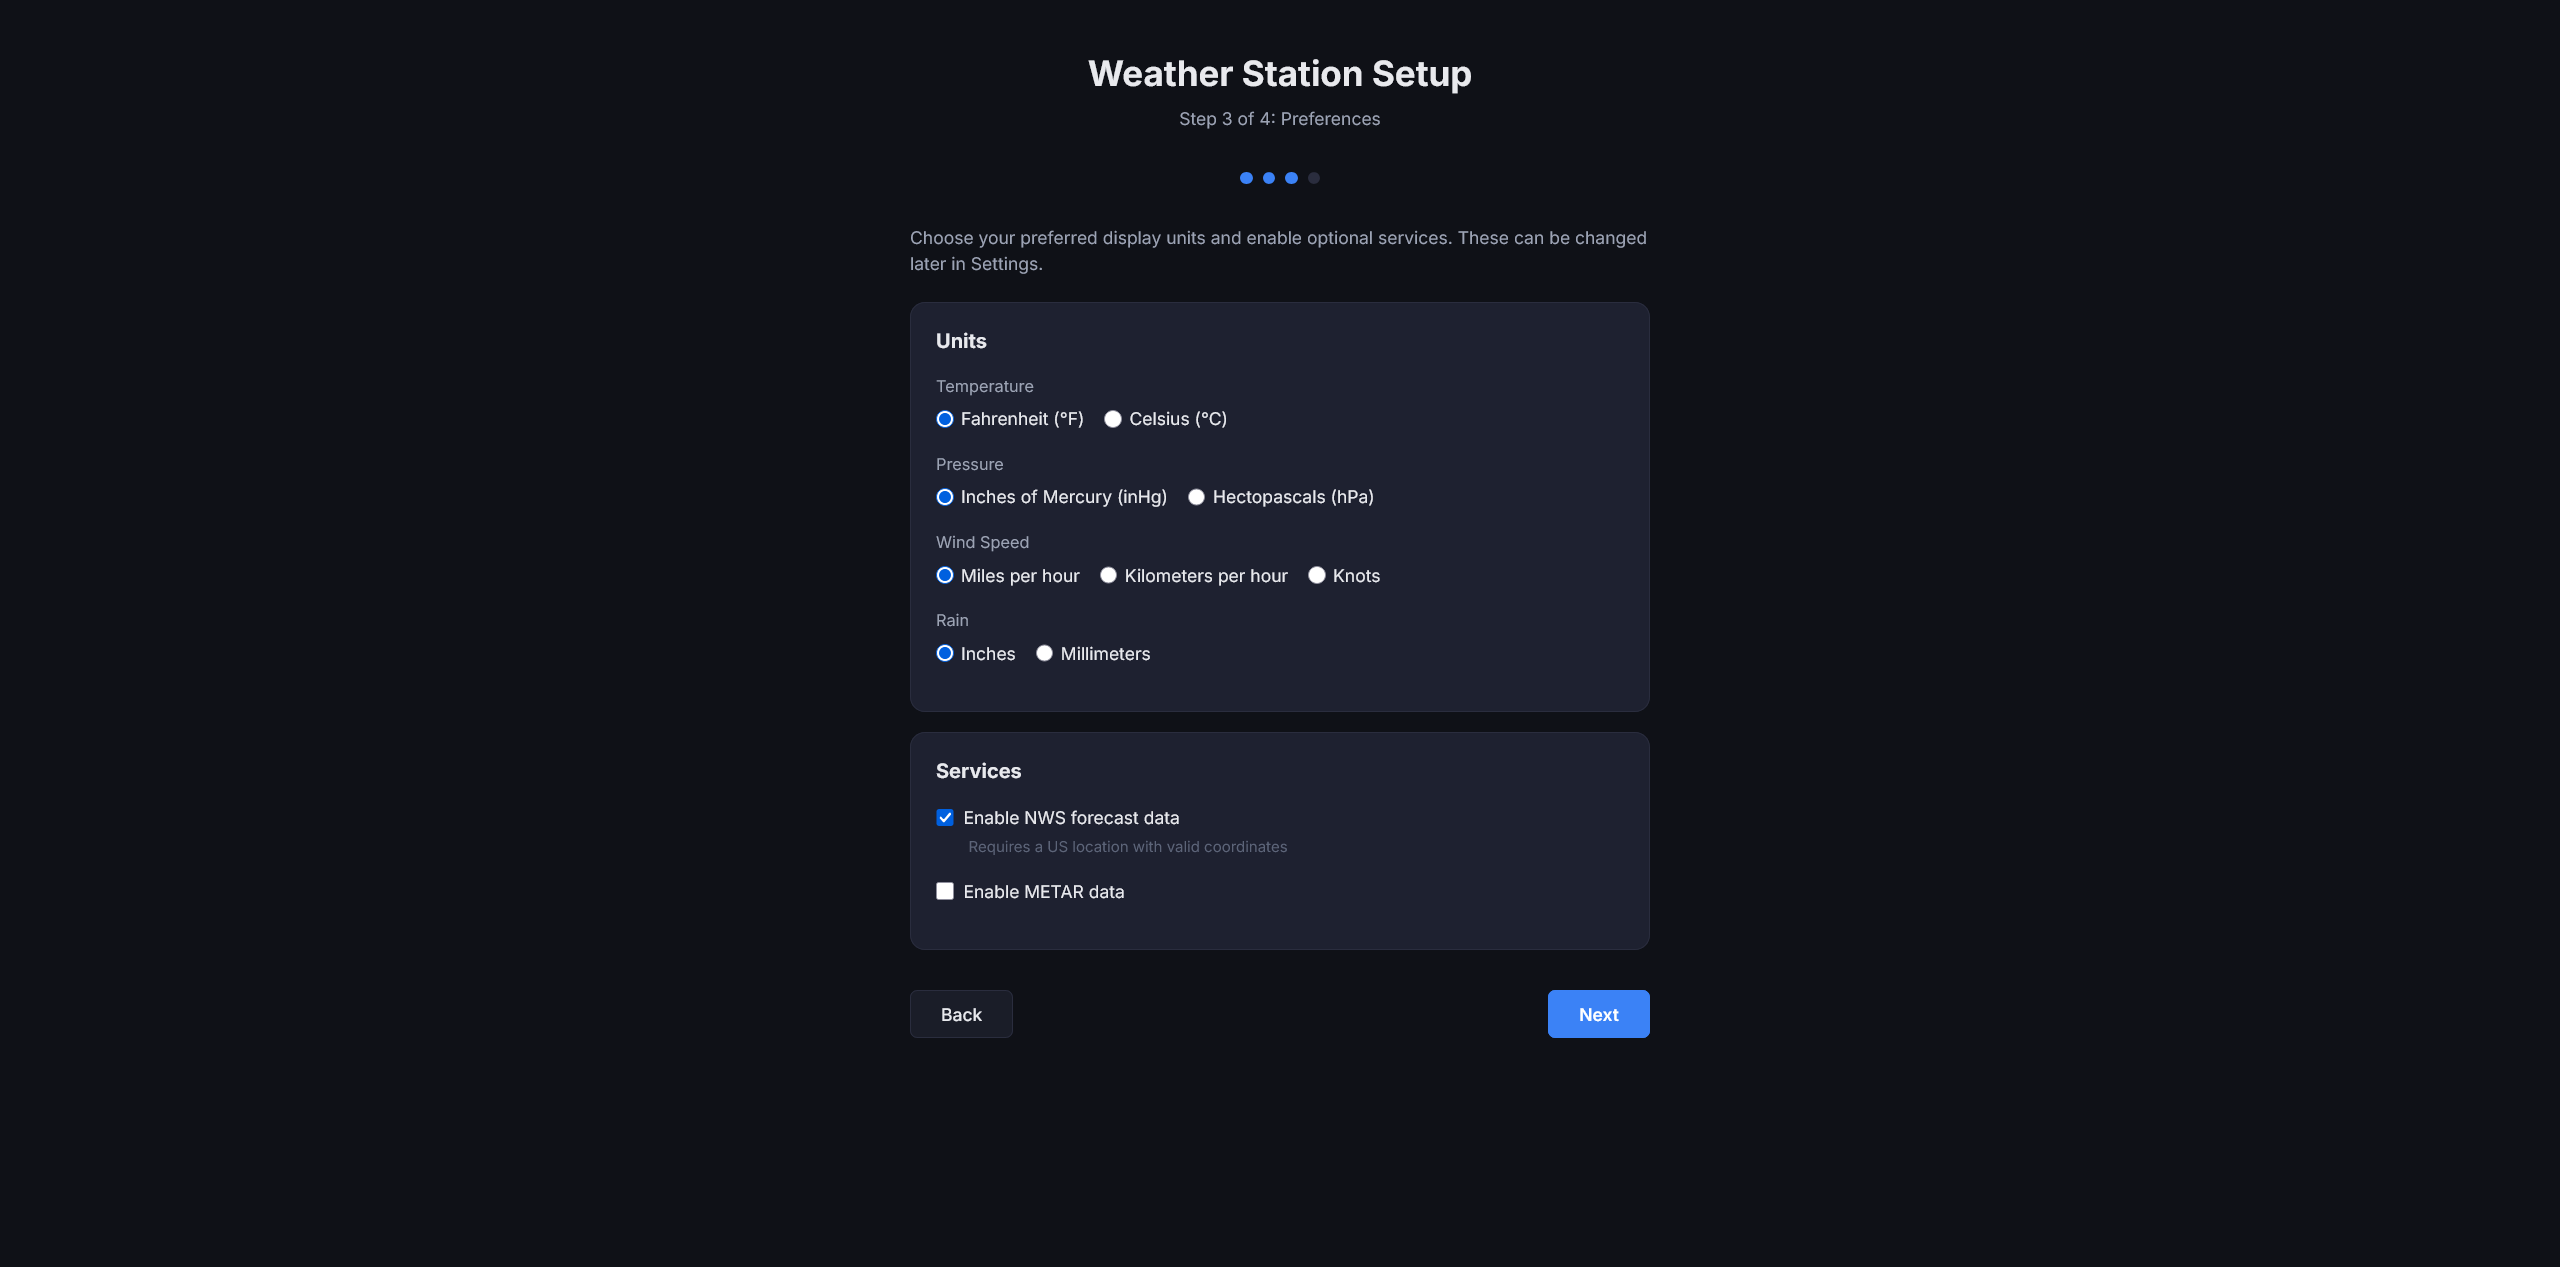
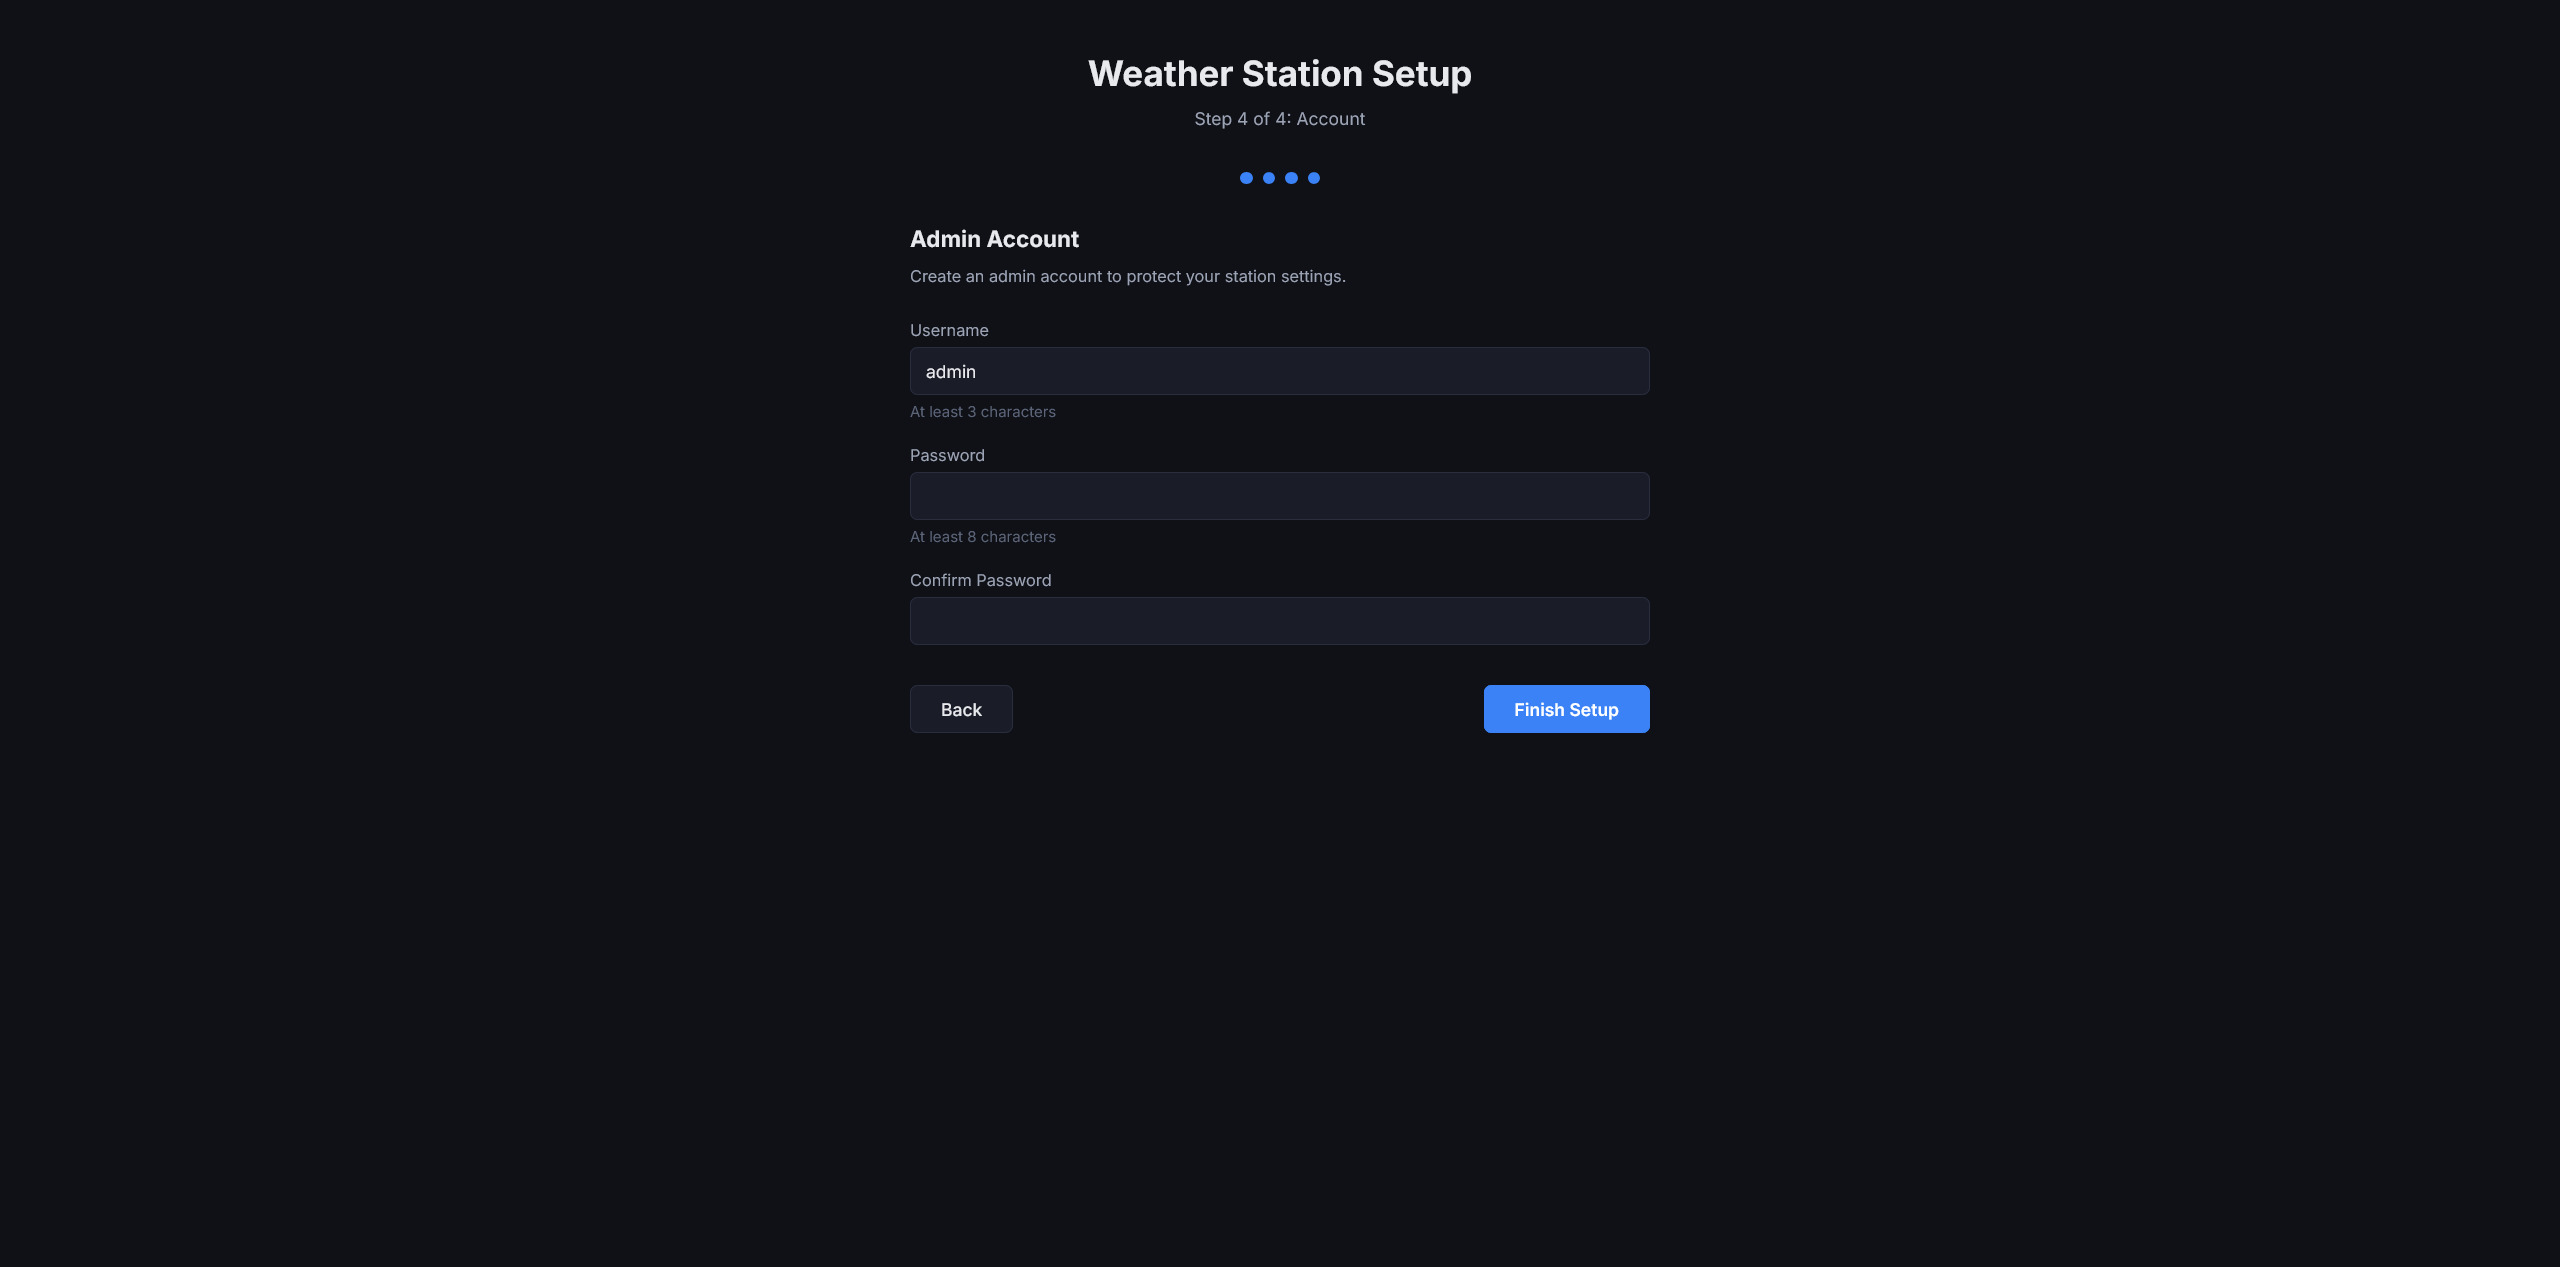
First-run wizard for hardware detection, location, preferences, and admin account creation.
Select hardware type and configure connection settings.
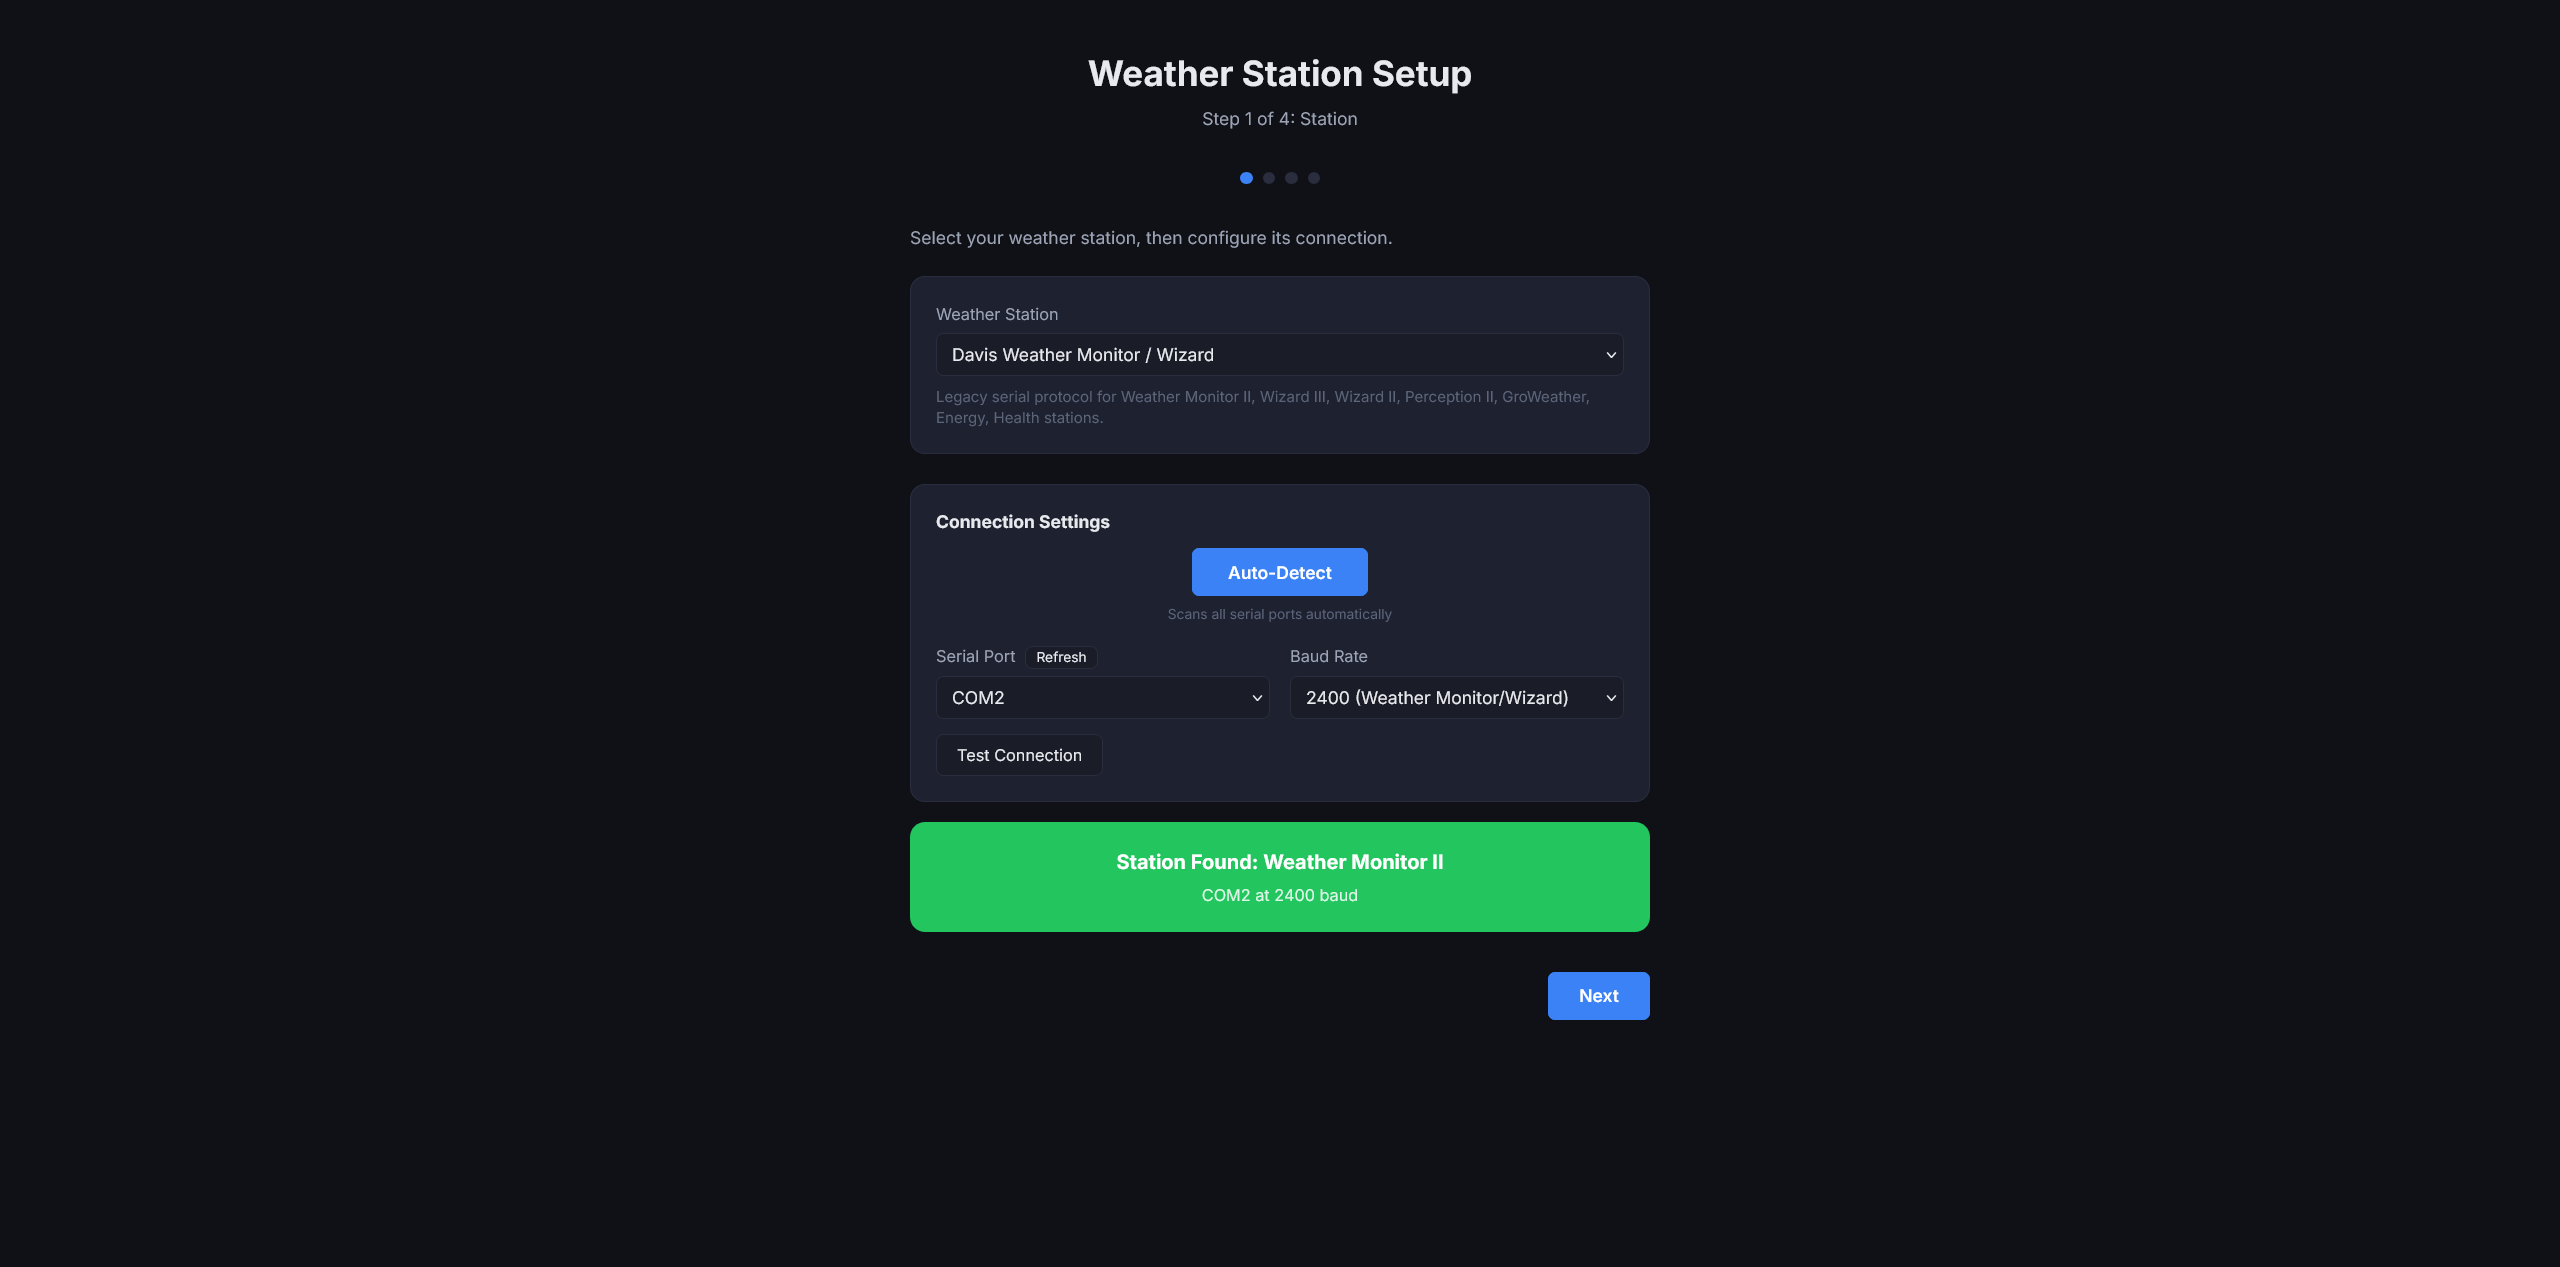
Auto-detect confirms the station is reachable.
Set station coordinates and elevation via map or manual entry.
Choose display units and enable optional services.
Create the admin account for Settings and management access.
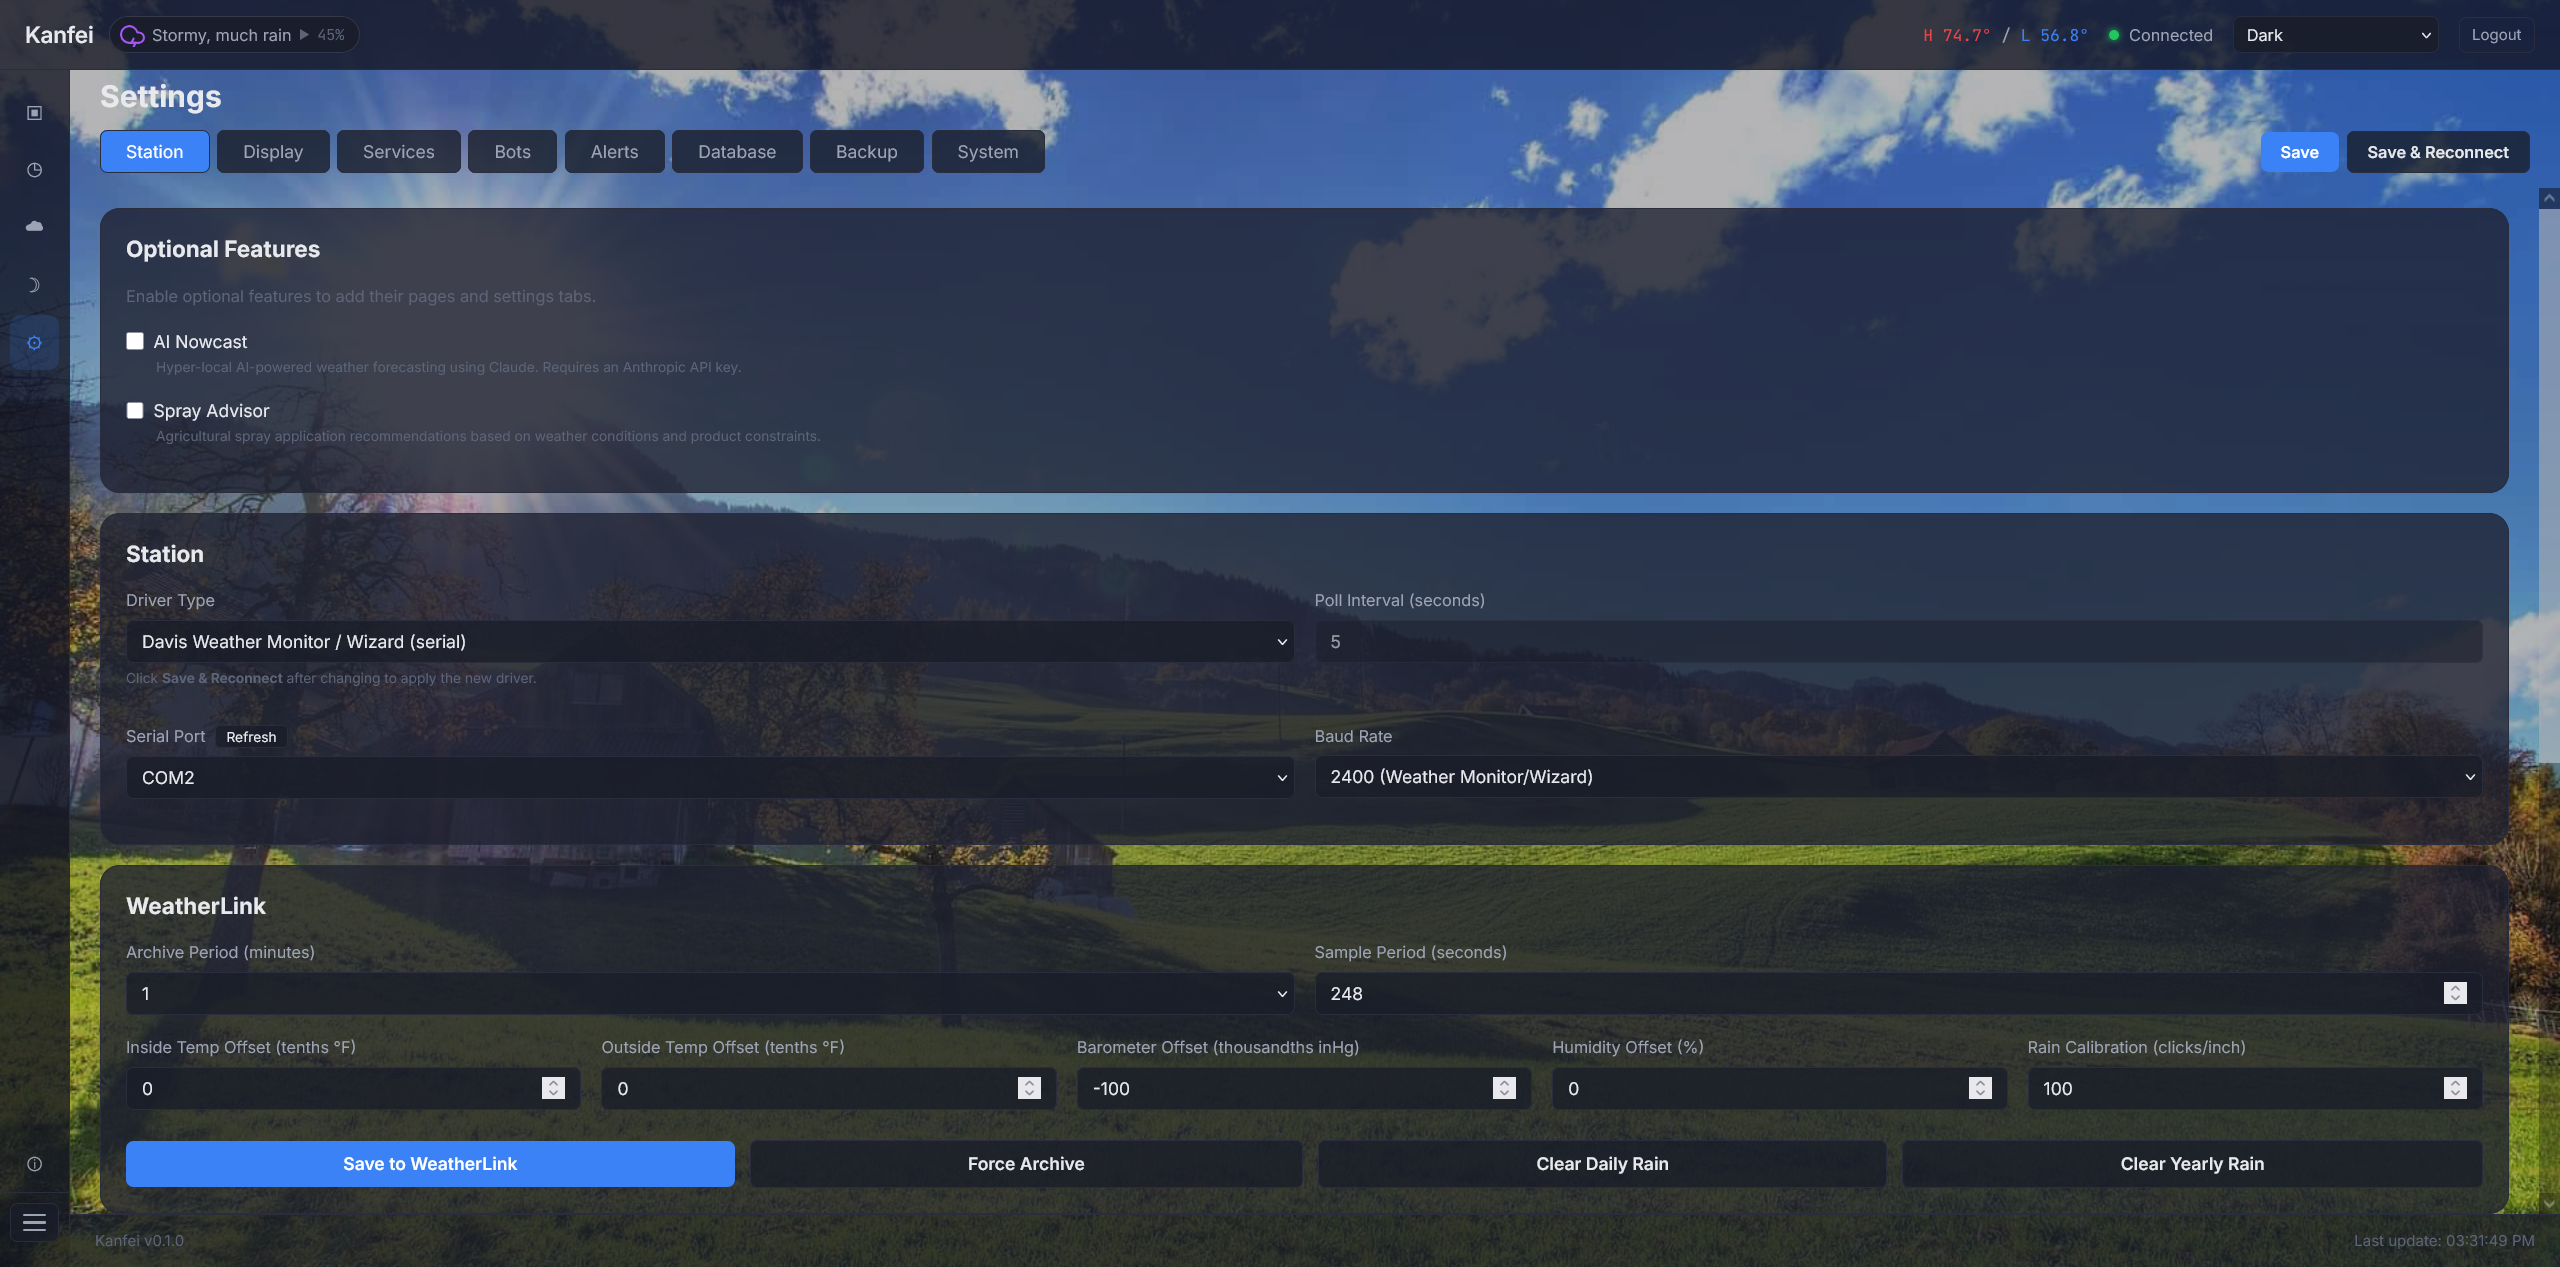
Station connection, hardware config, and WeatherLink calibration.
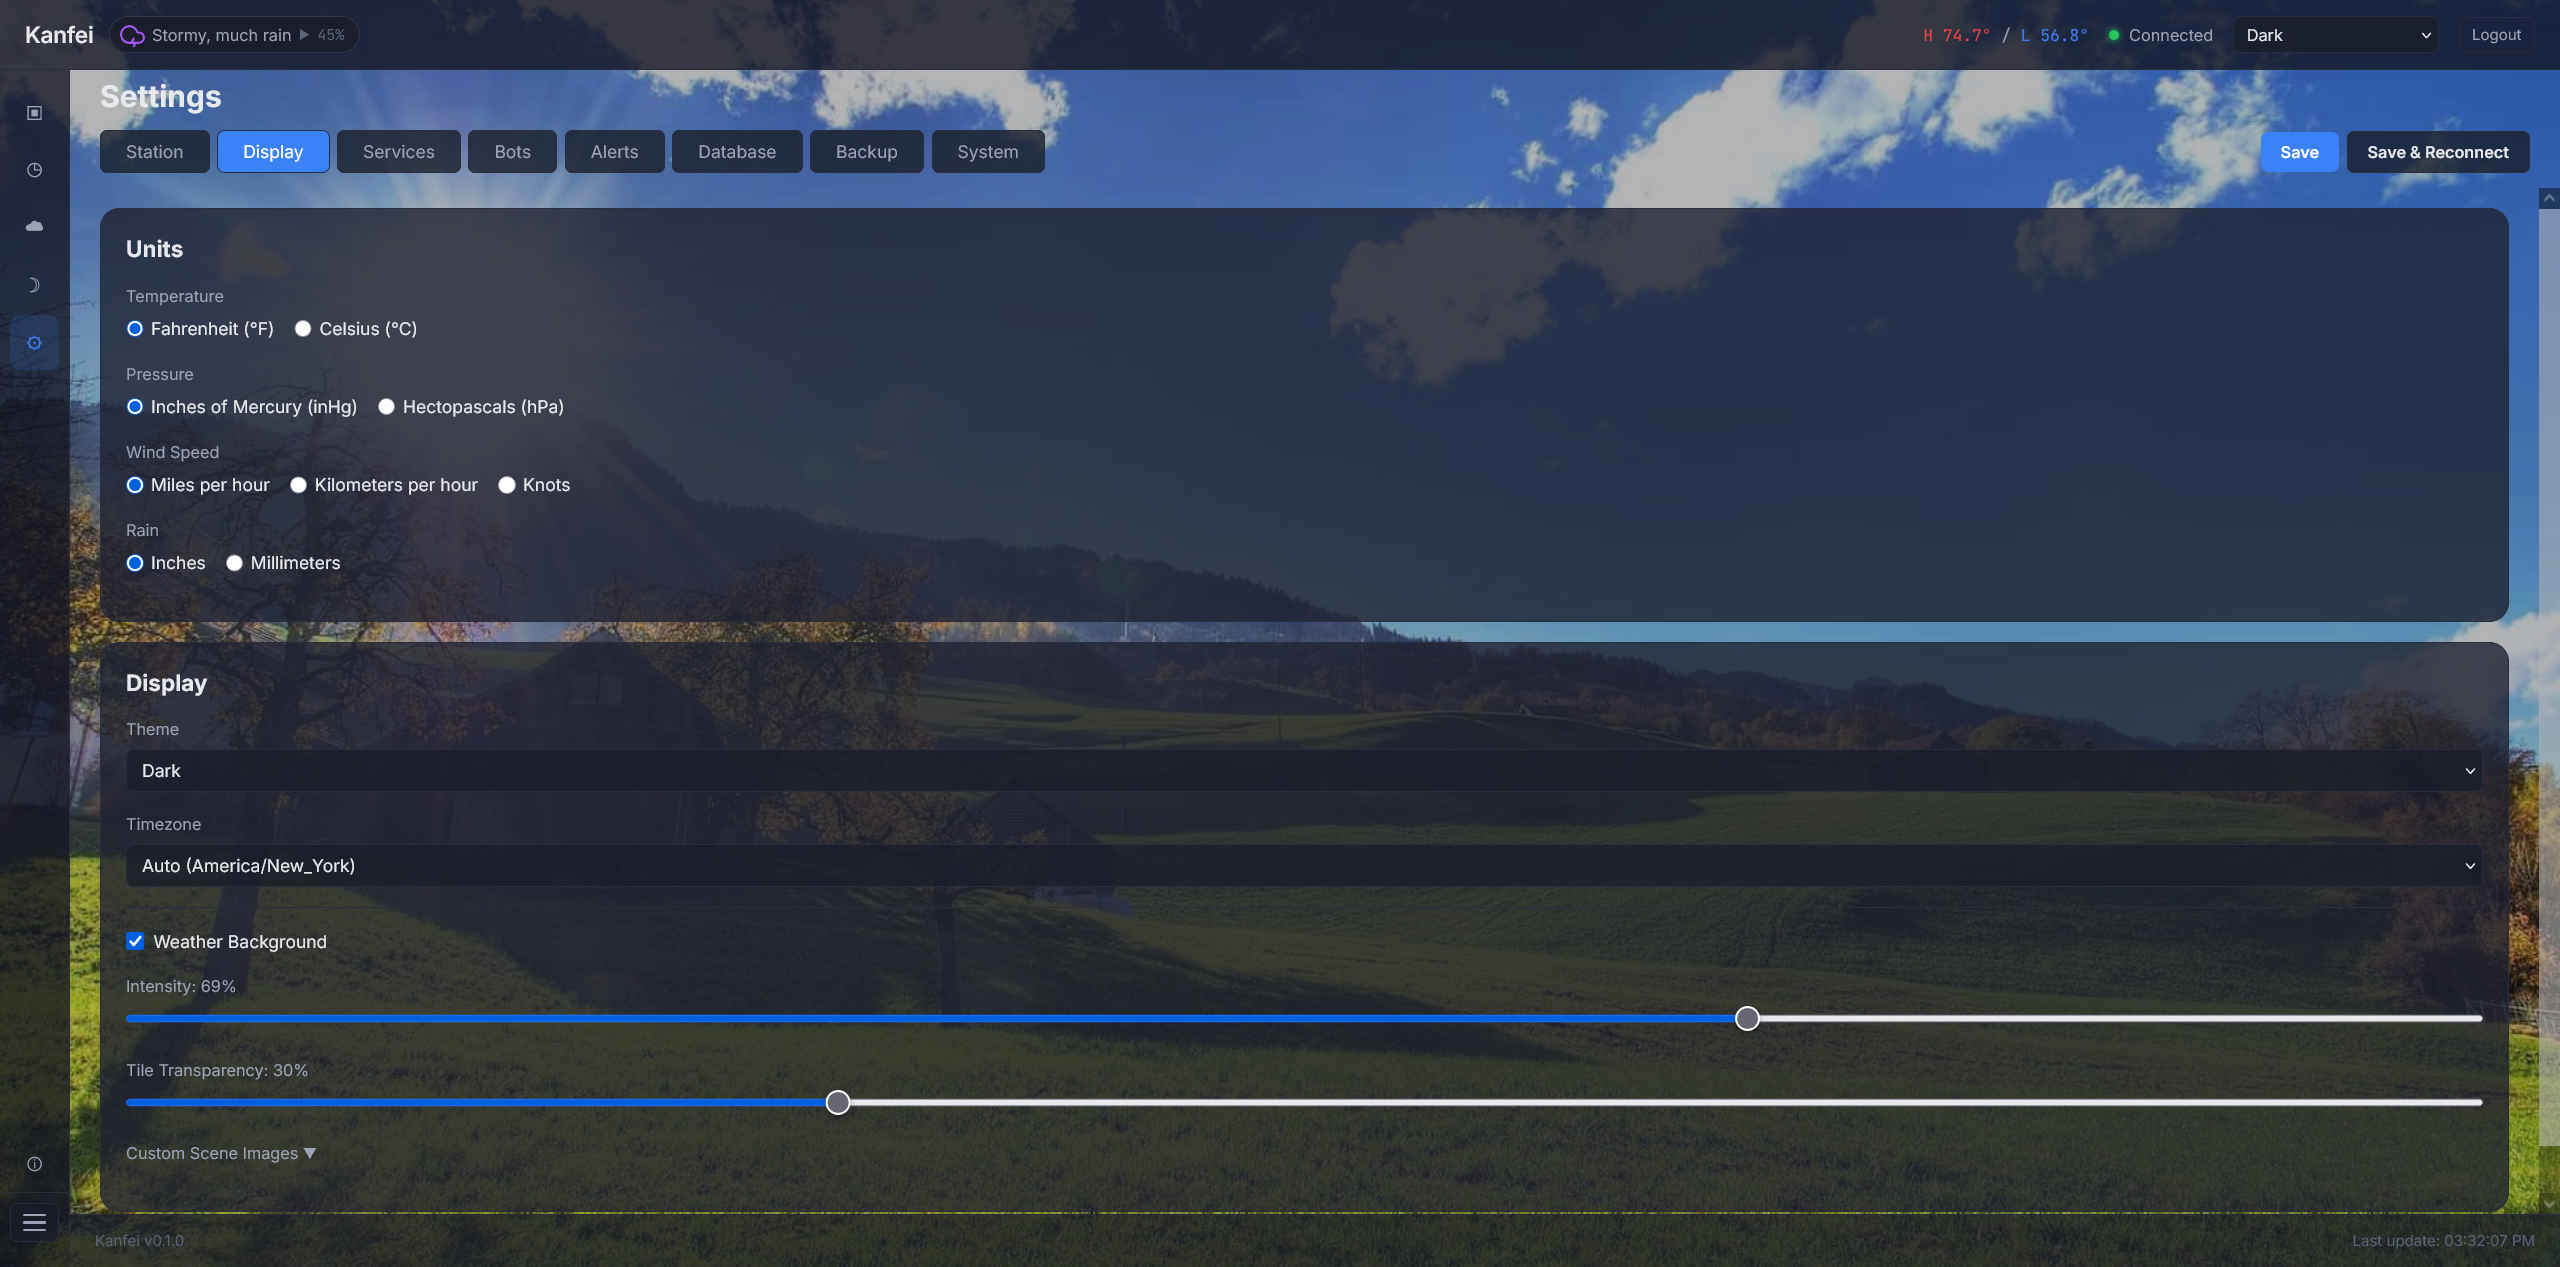
Units, theme, timezone, and weather background settings.
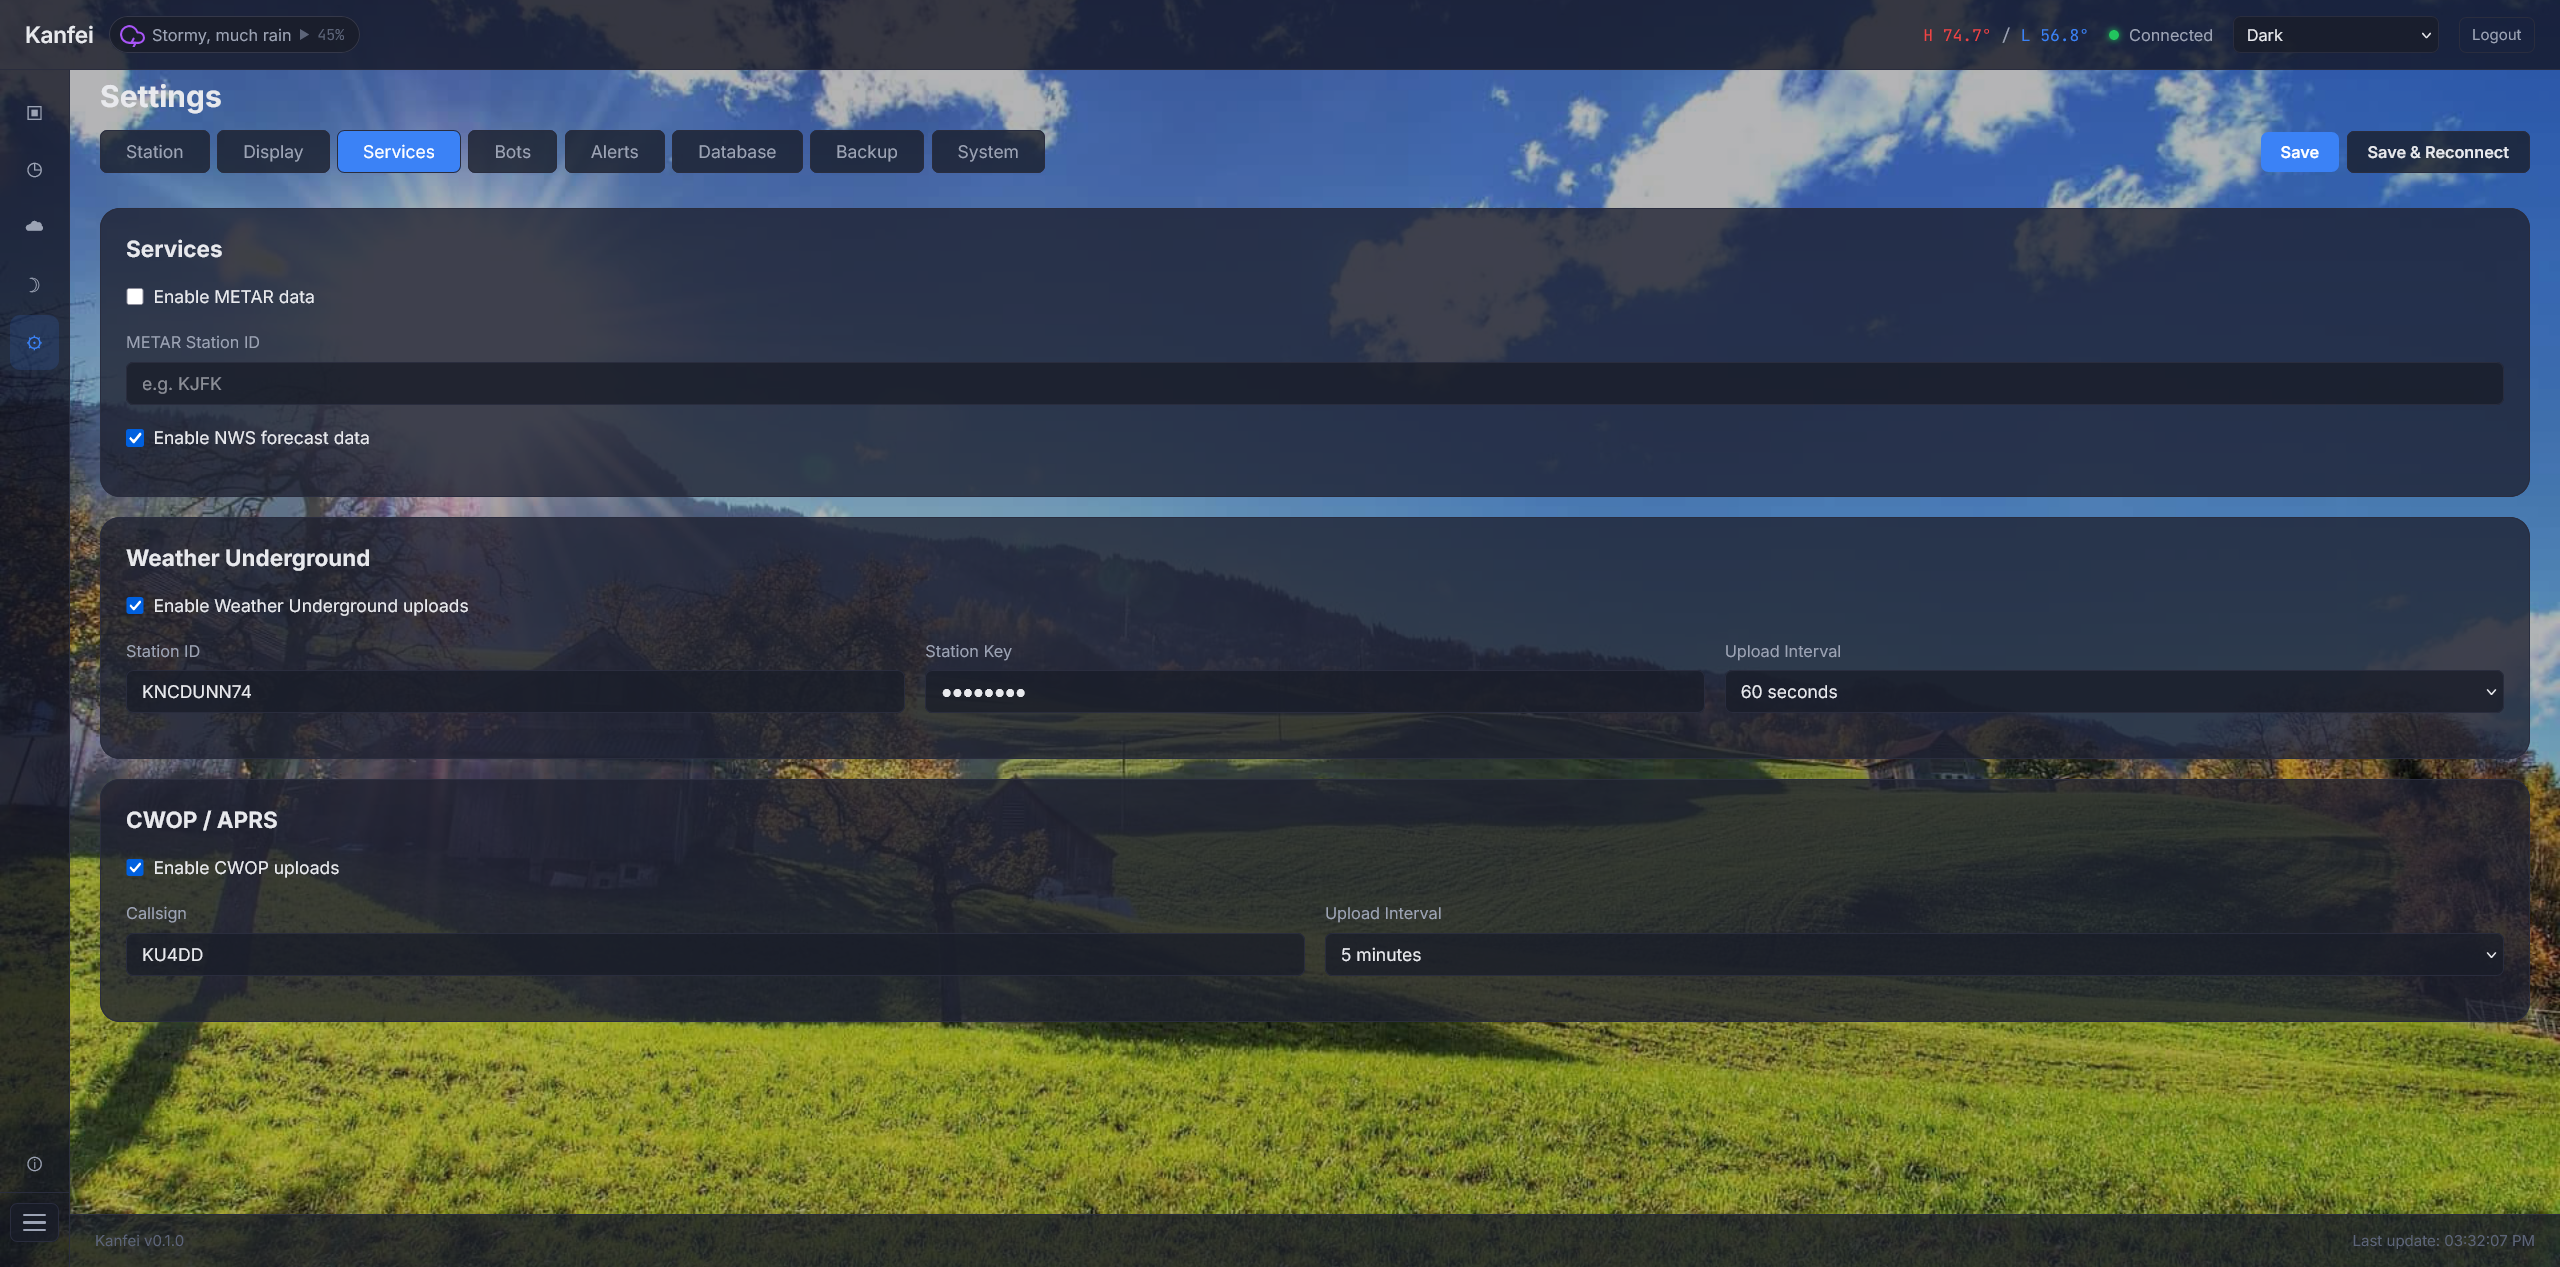
Weather Underground and CWOP/APRS upload integrations.
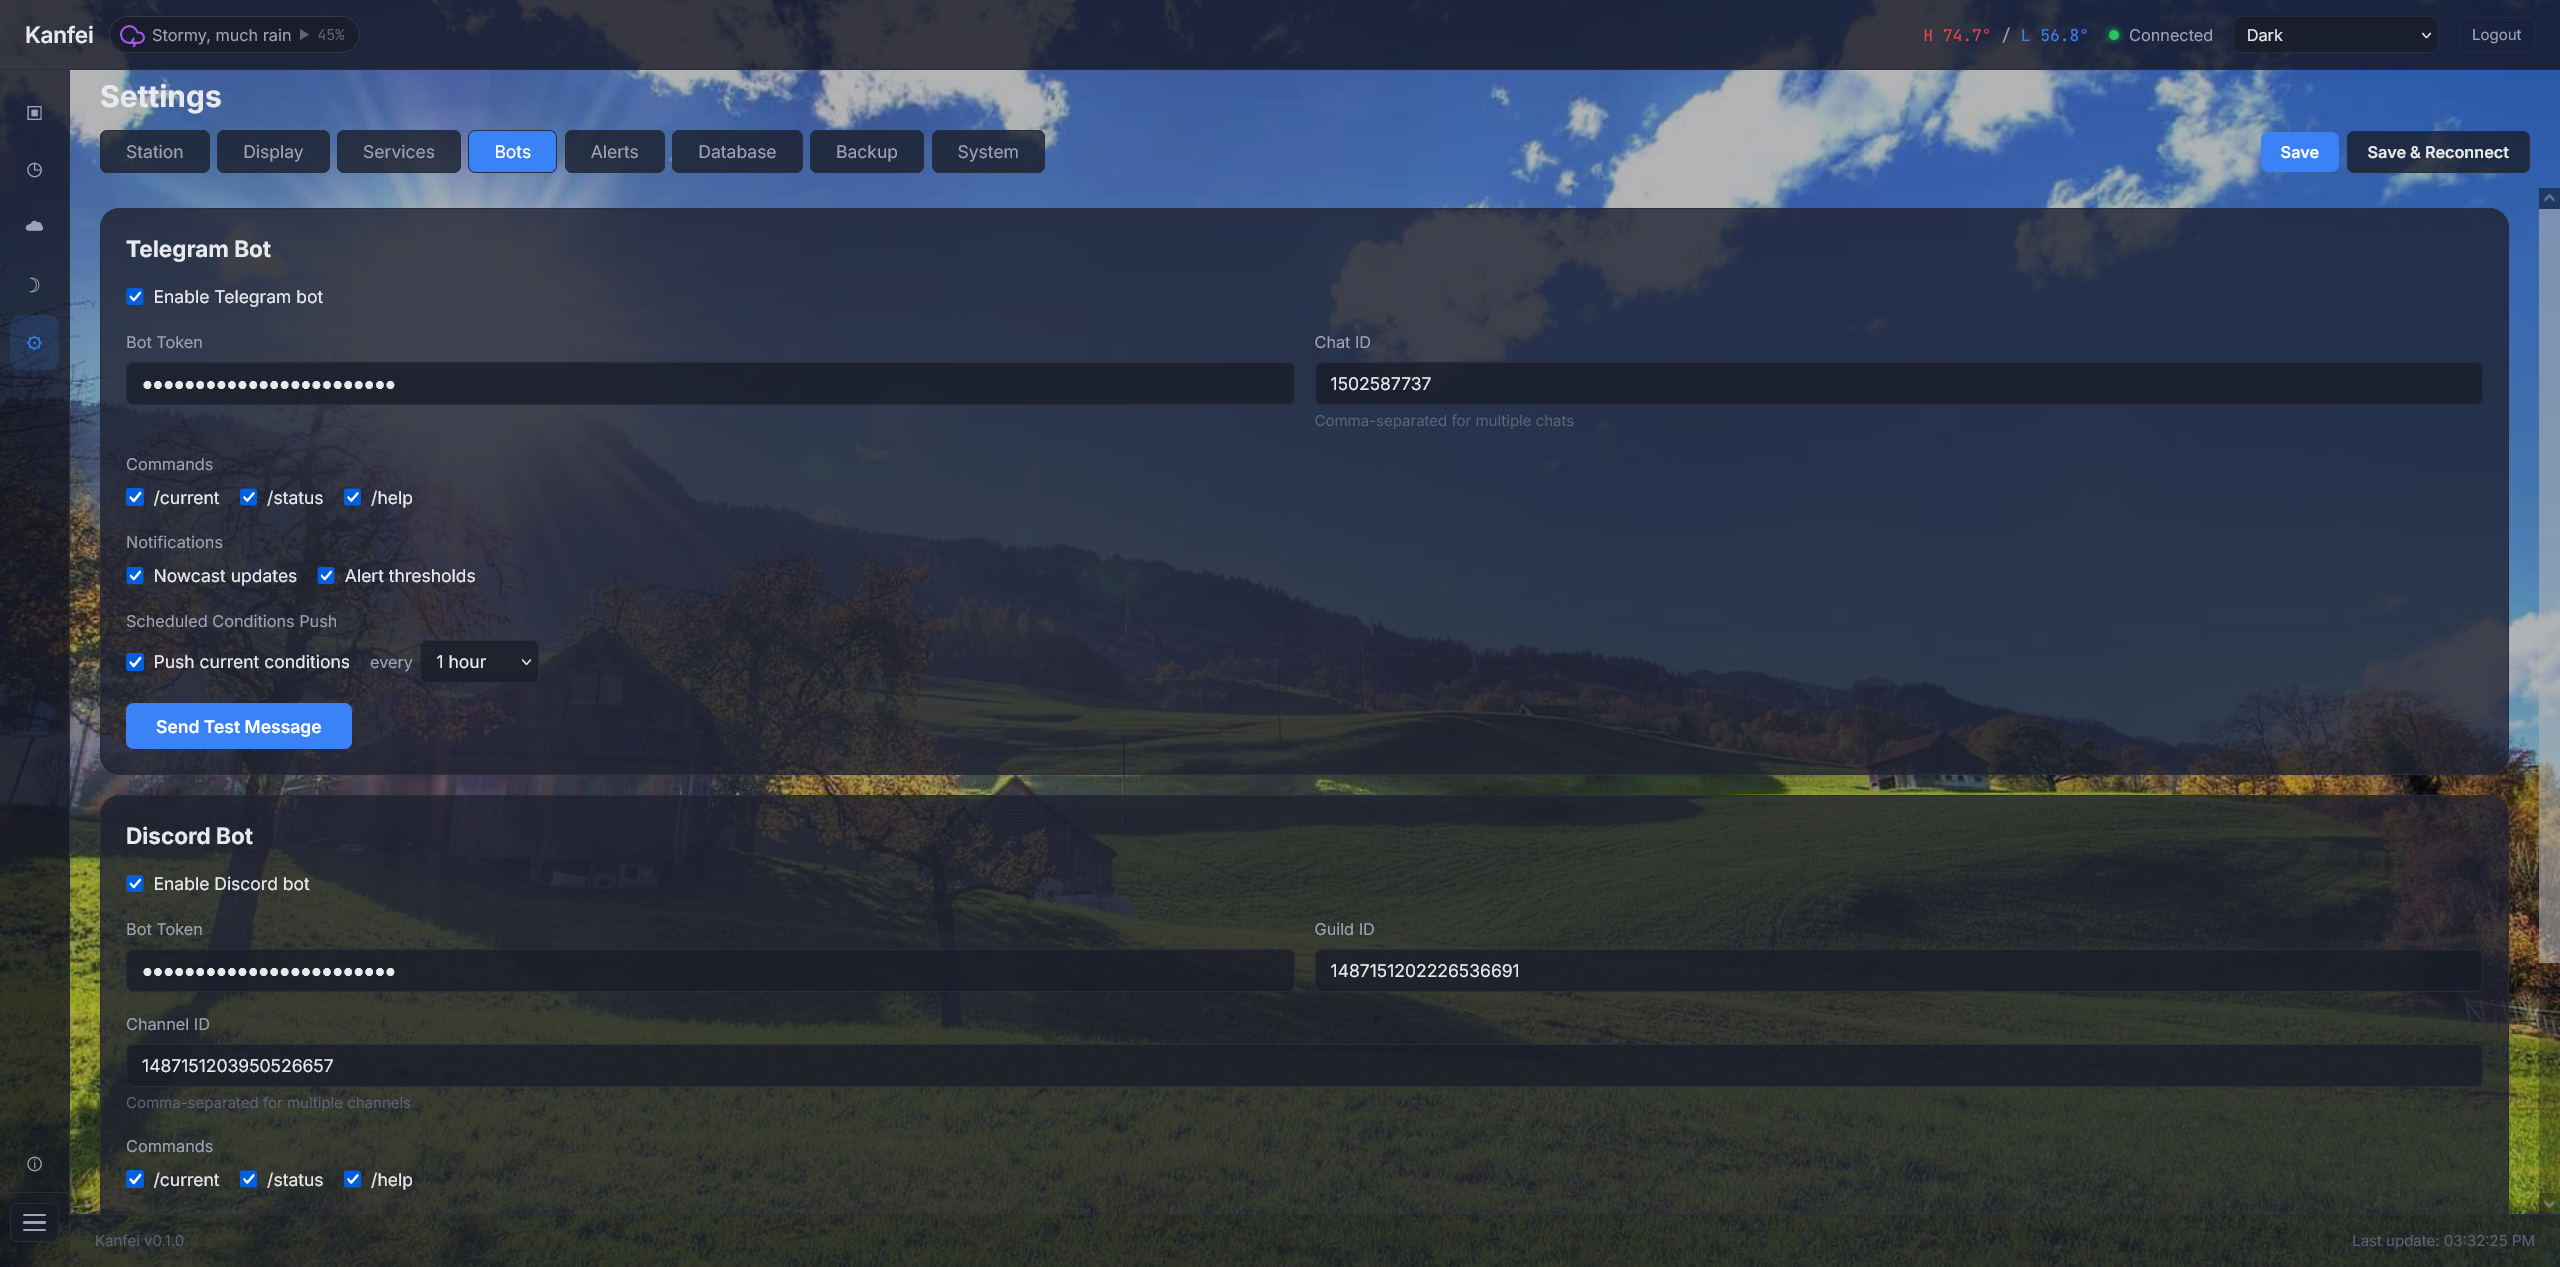
Telegram and Discord bot configuration.
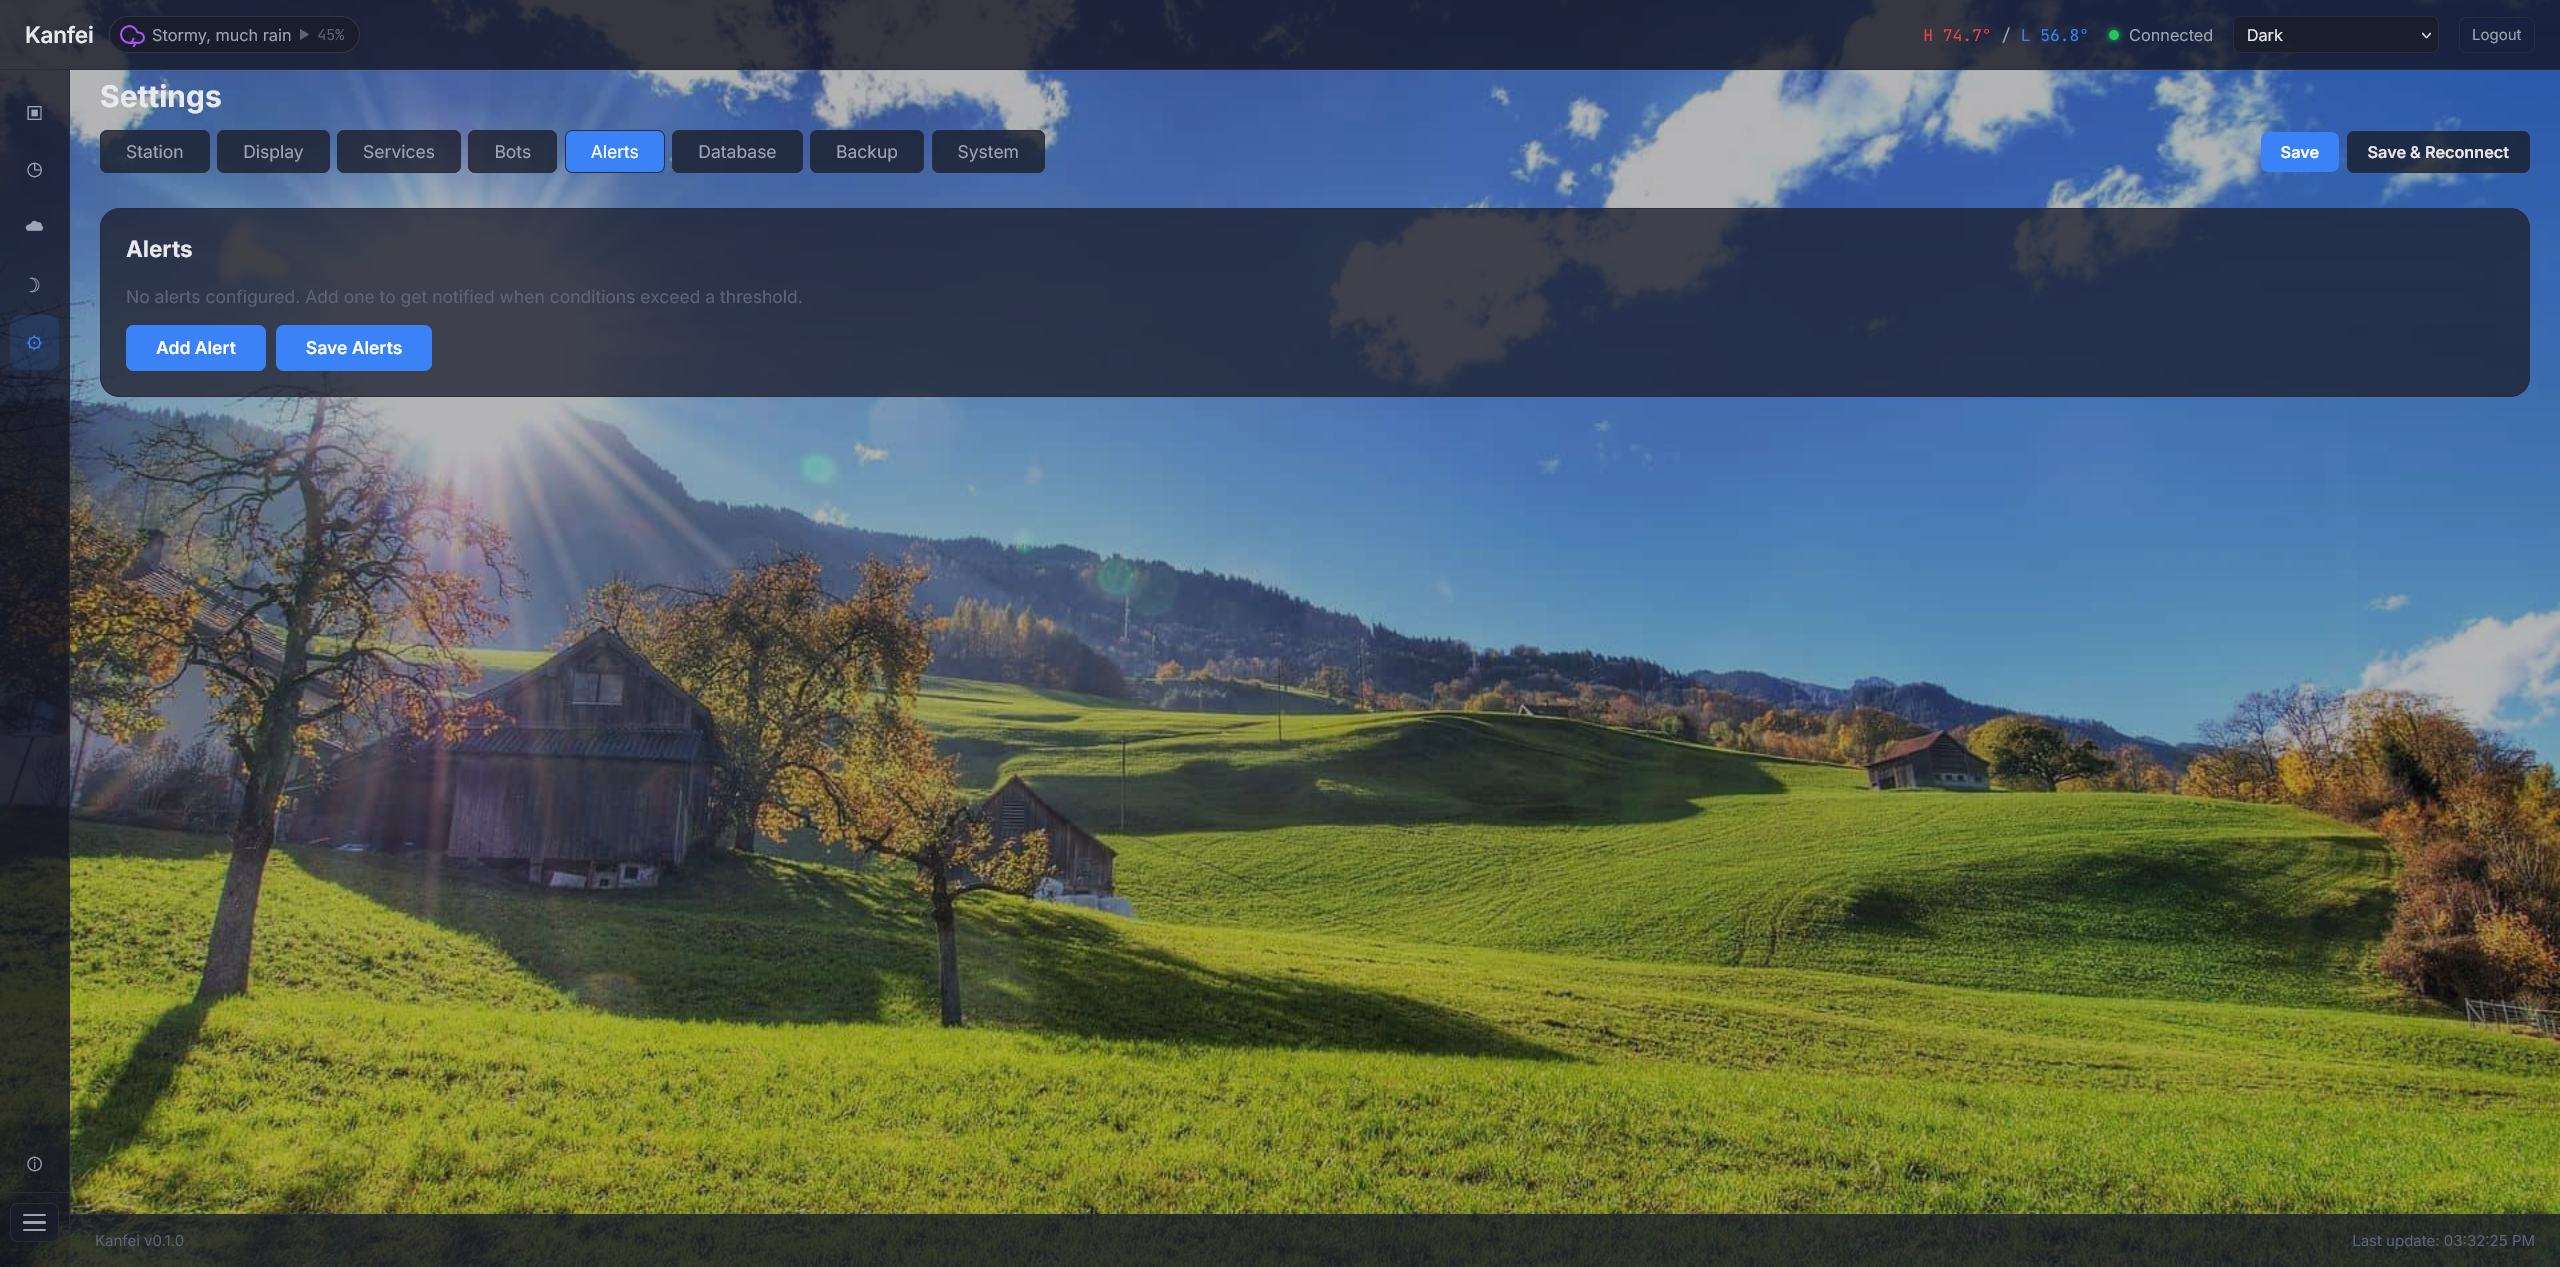
Custom alert threshold configuration.
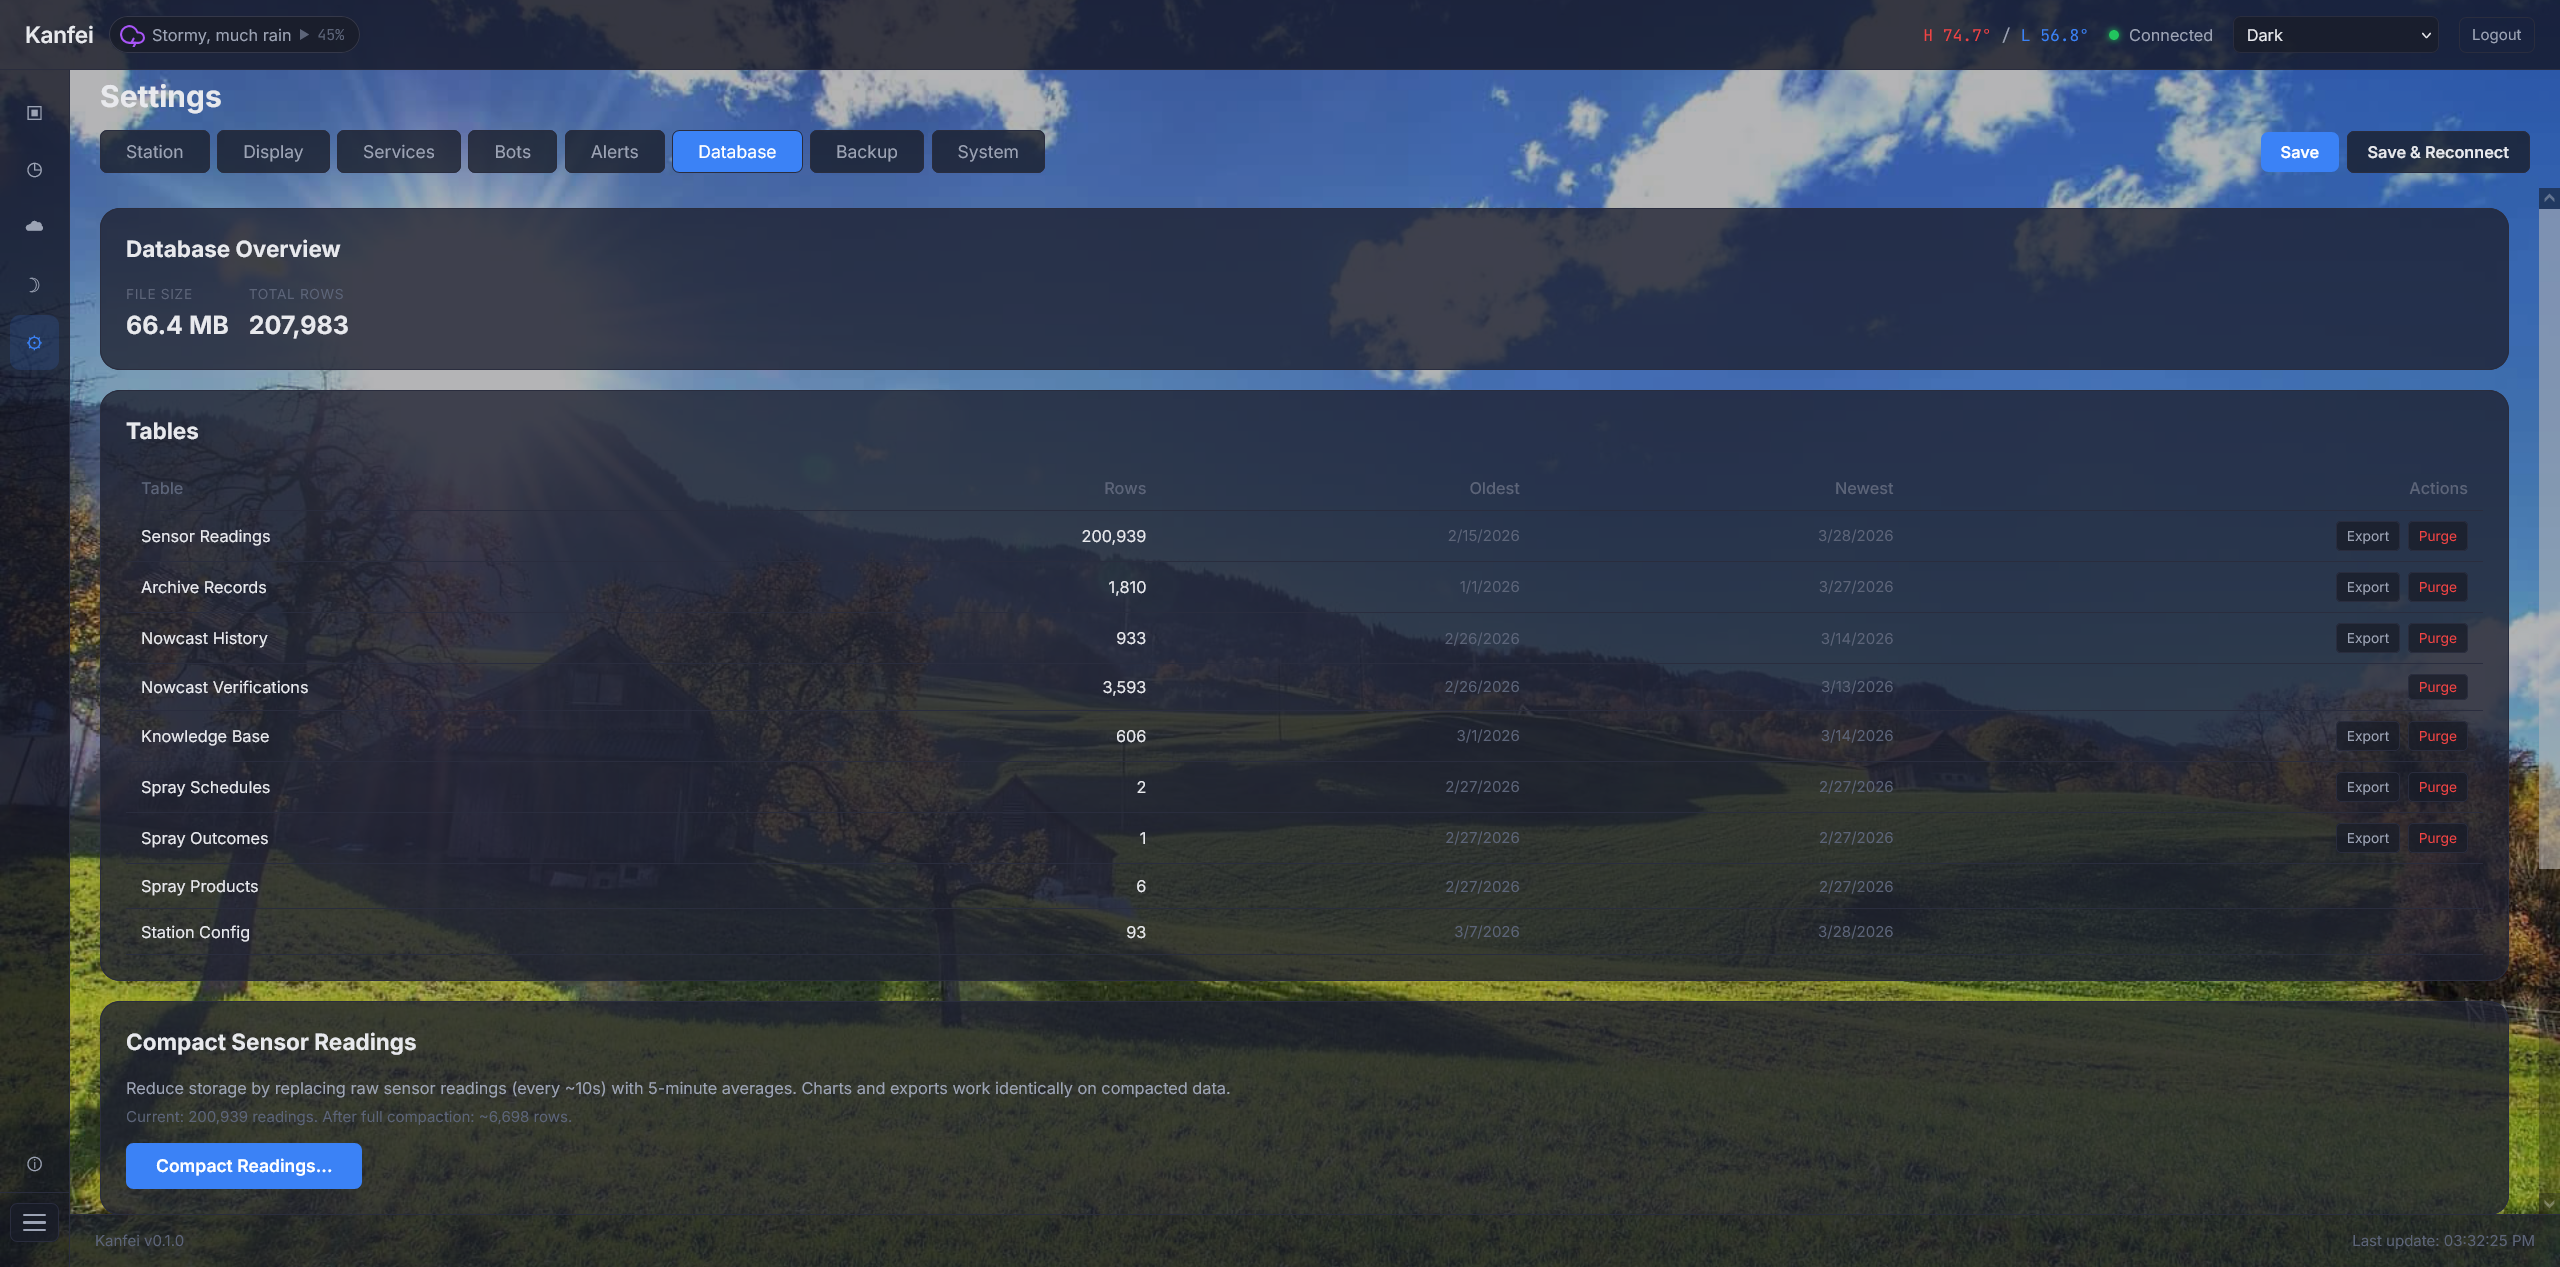
Database overview, table stats, and sensor reading compaction.
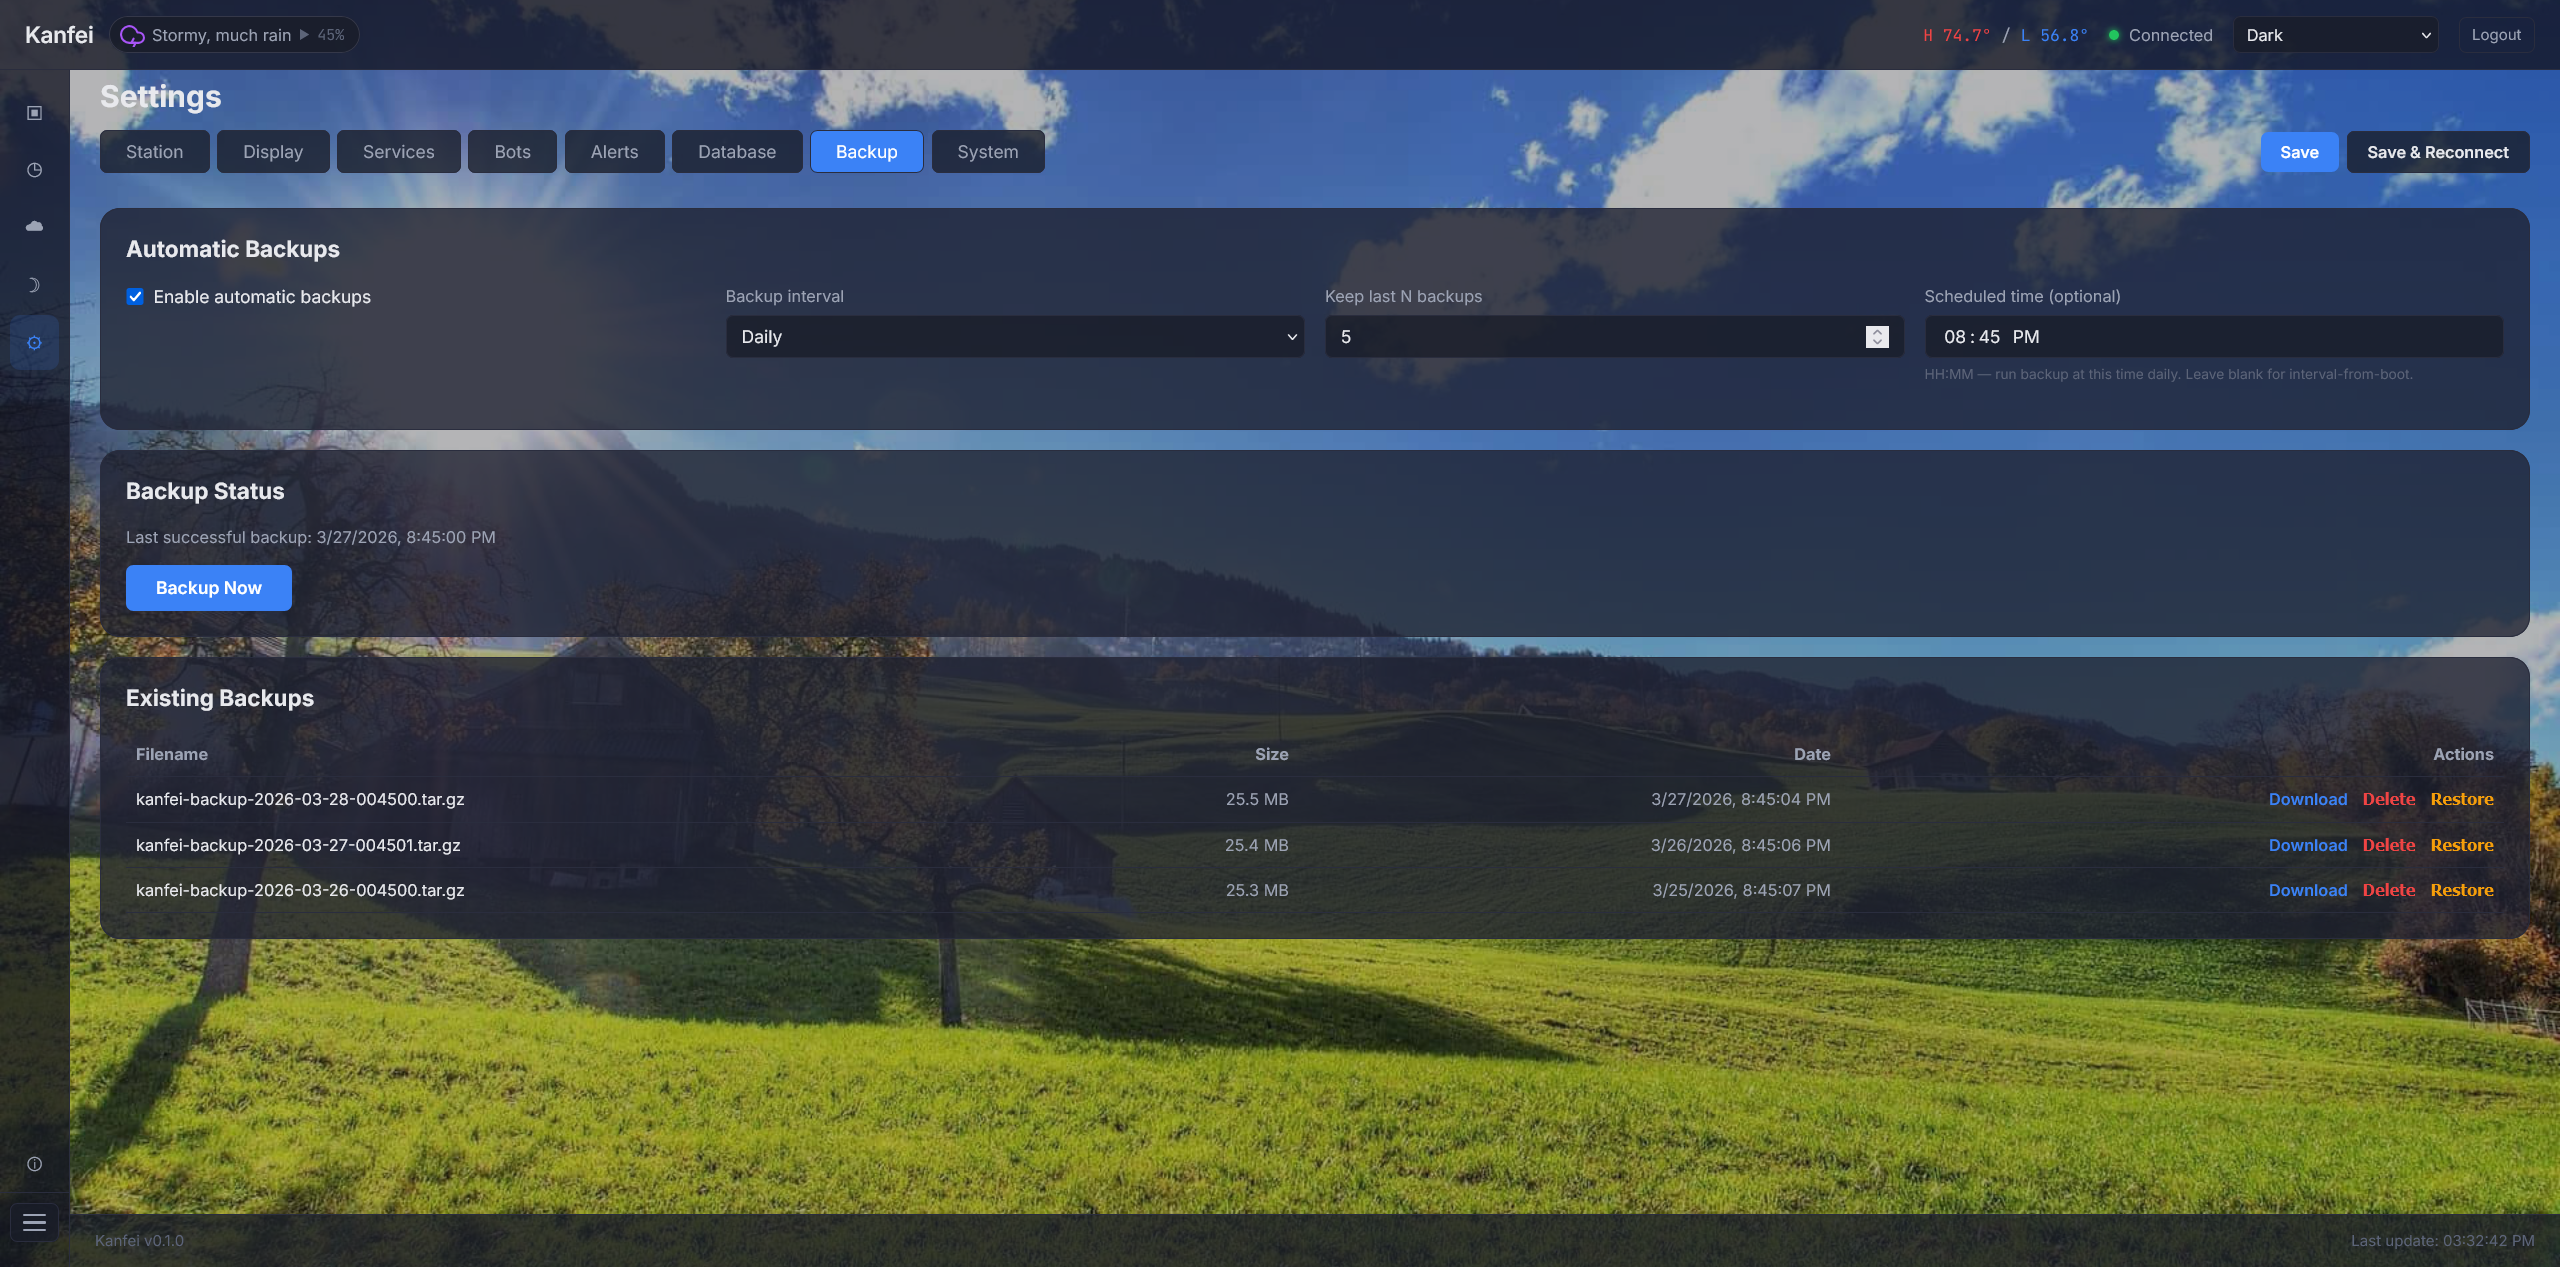
Automatic backup scheduling, manual backup, and backup archive management.
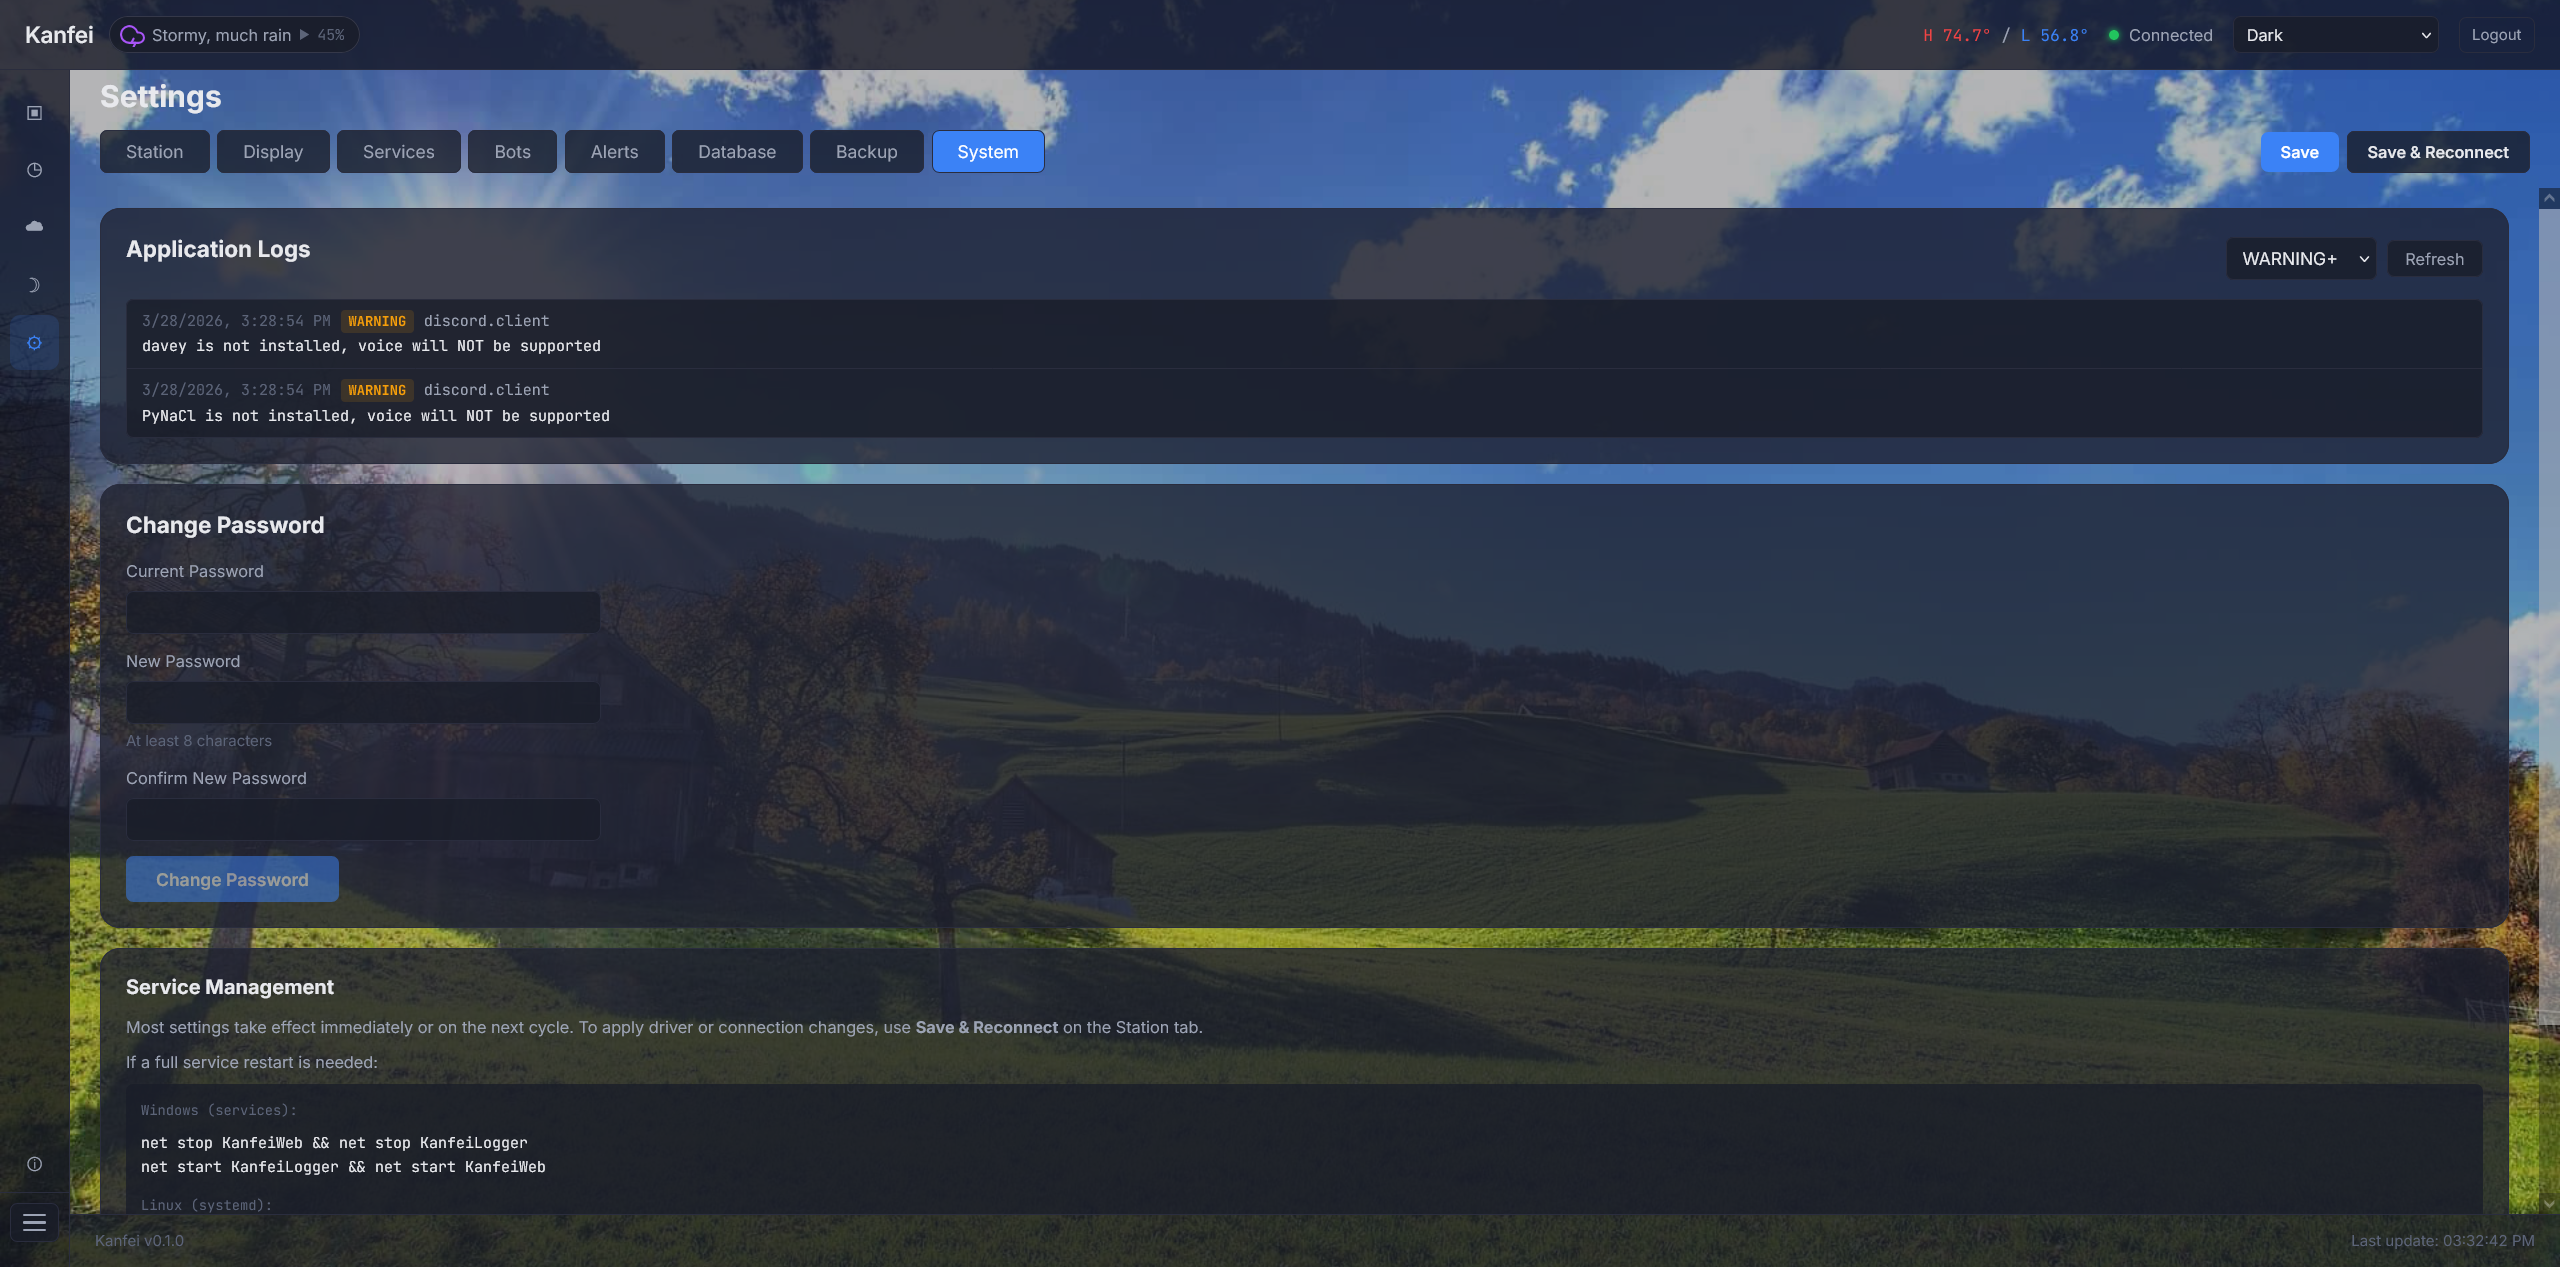
Application logs, password management, and service management commands.
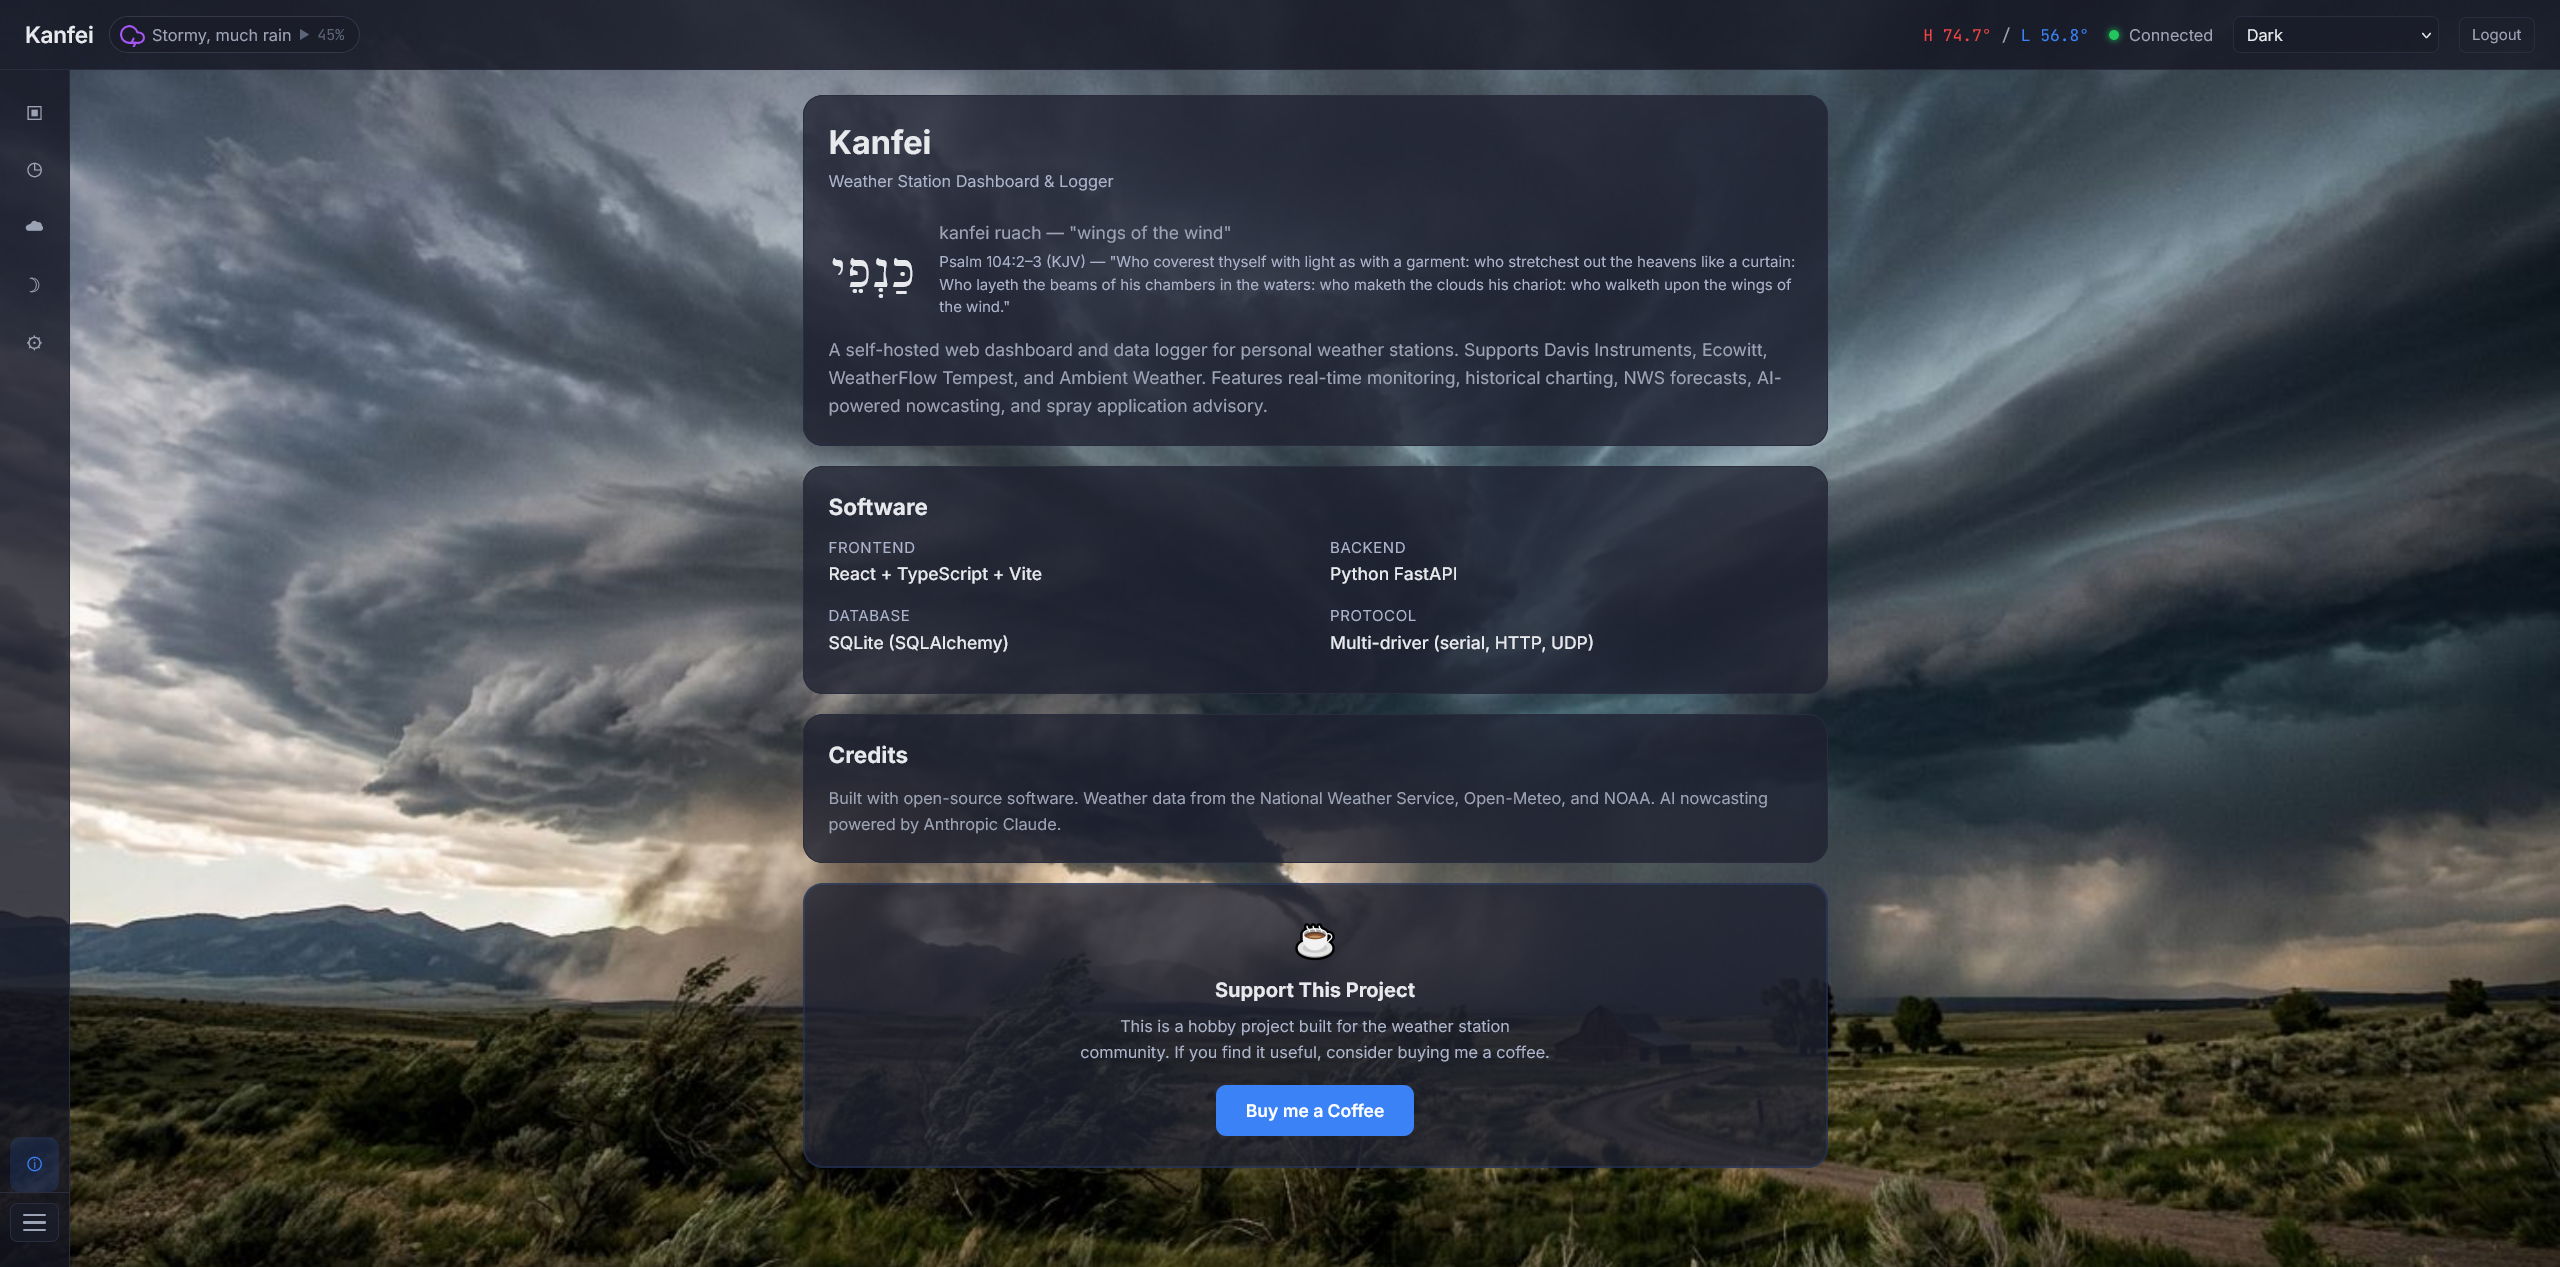
Project info, software stack, credits, and sponsorship.
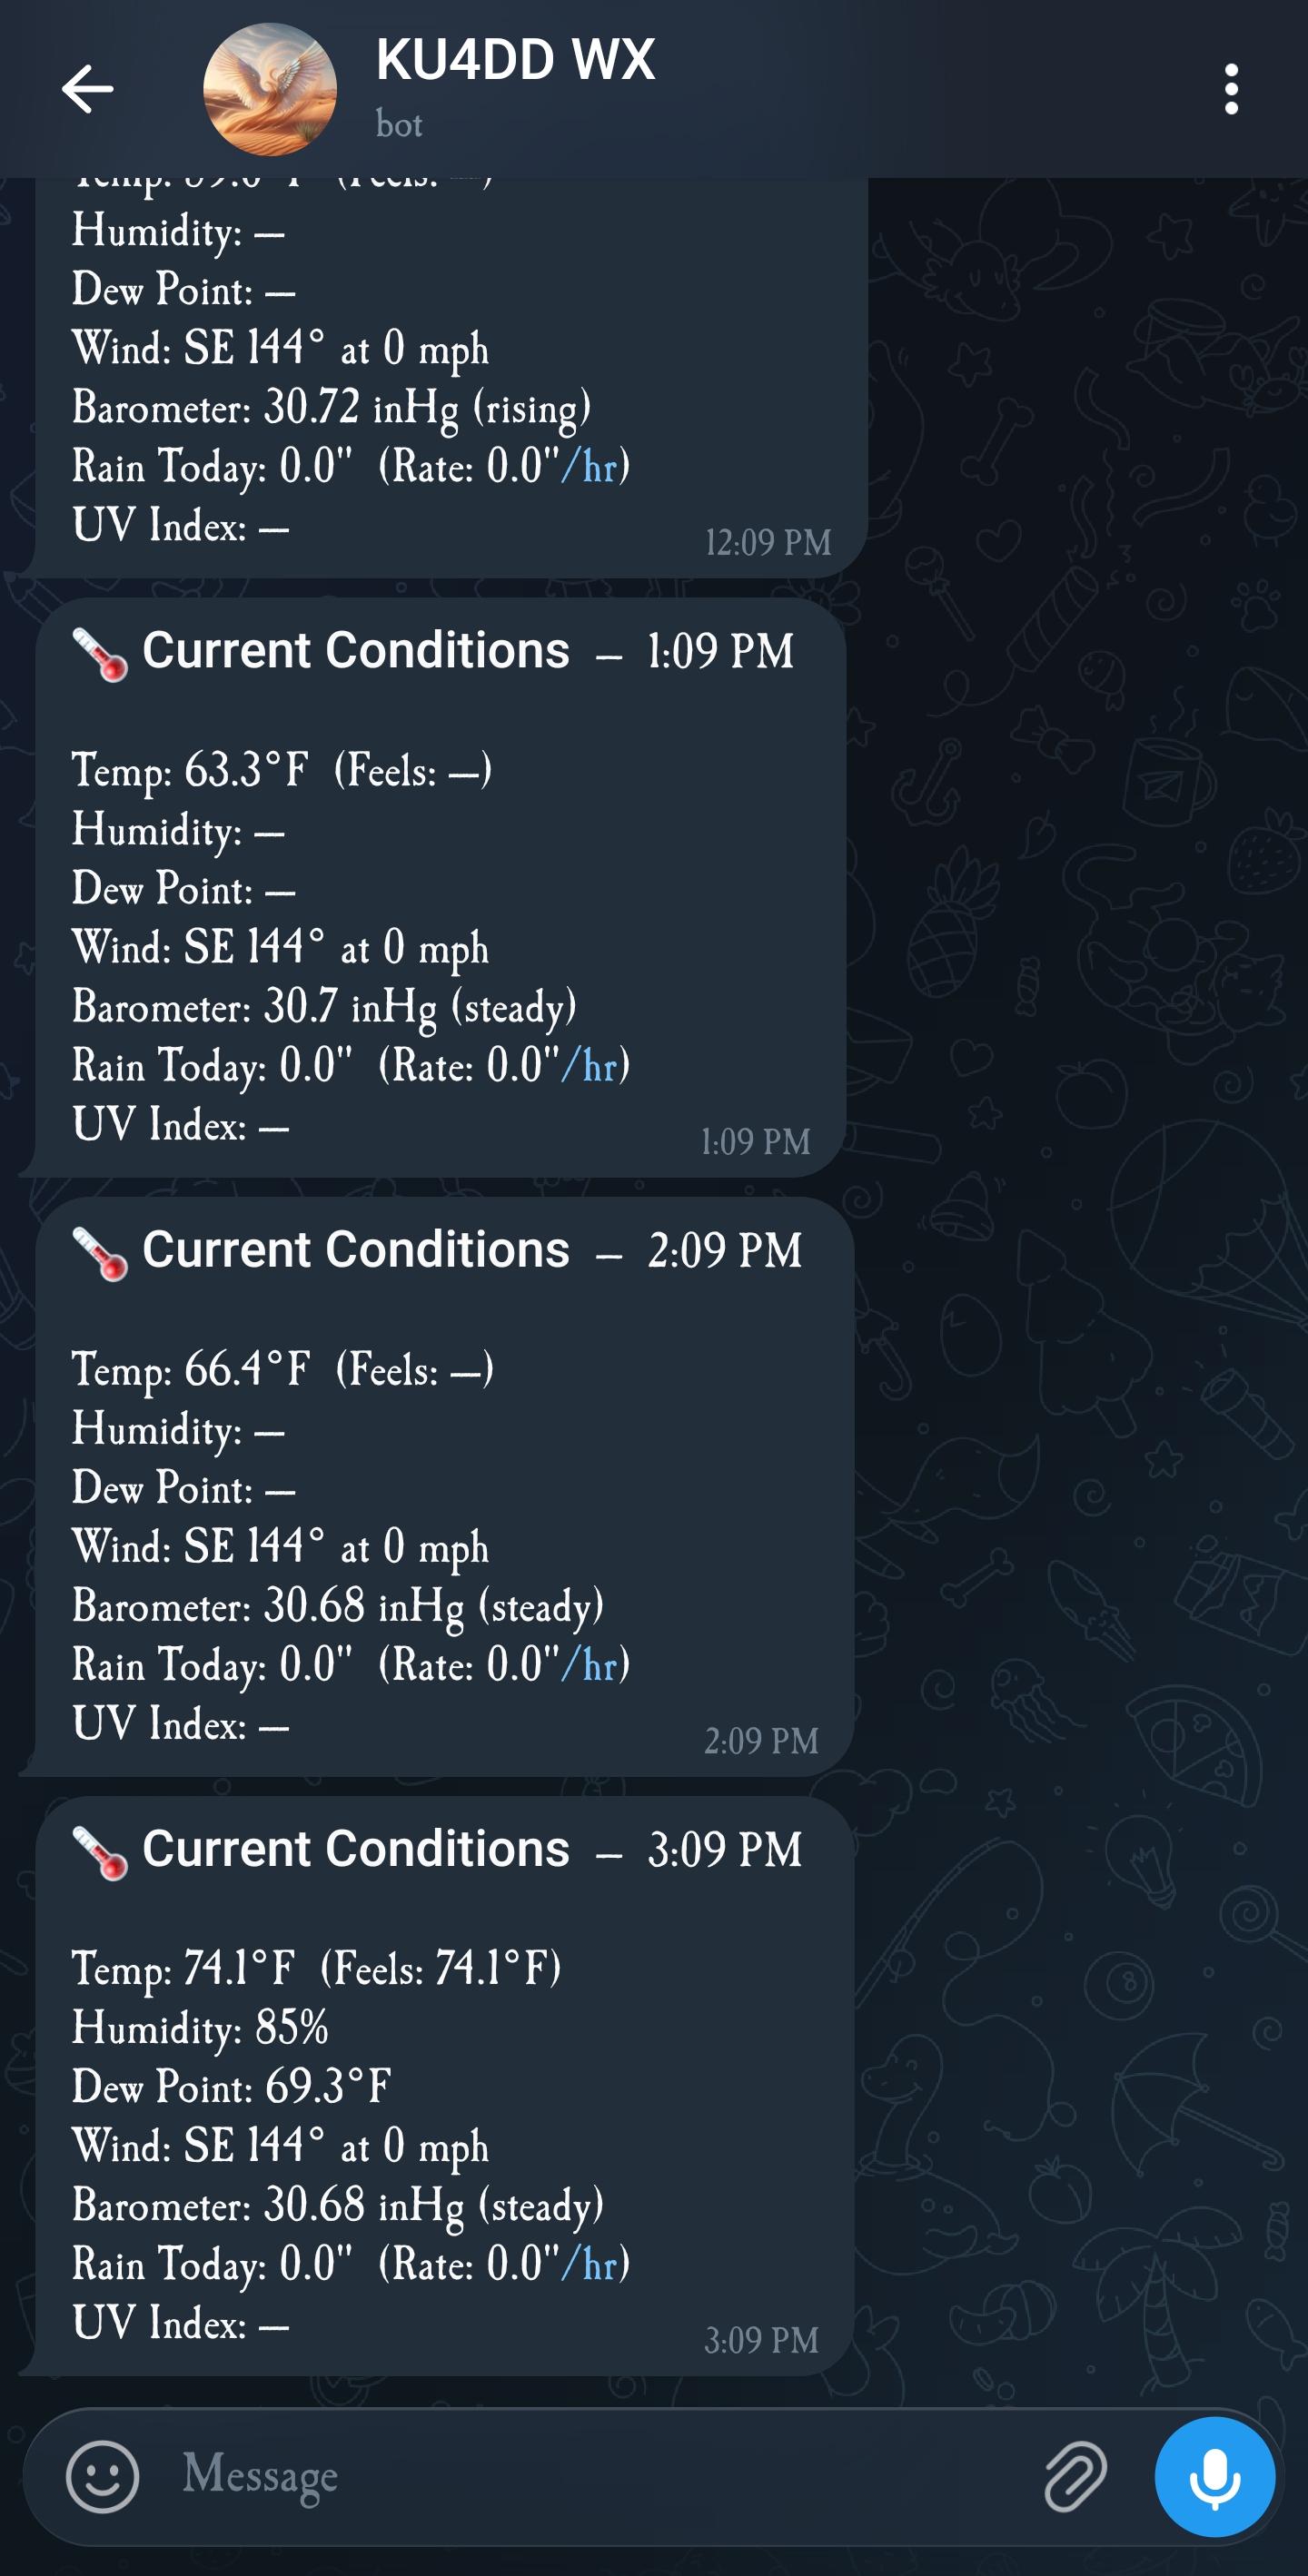
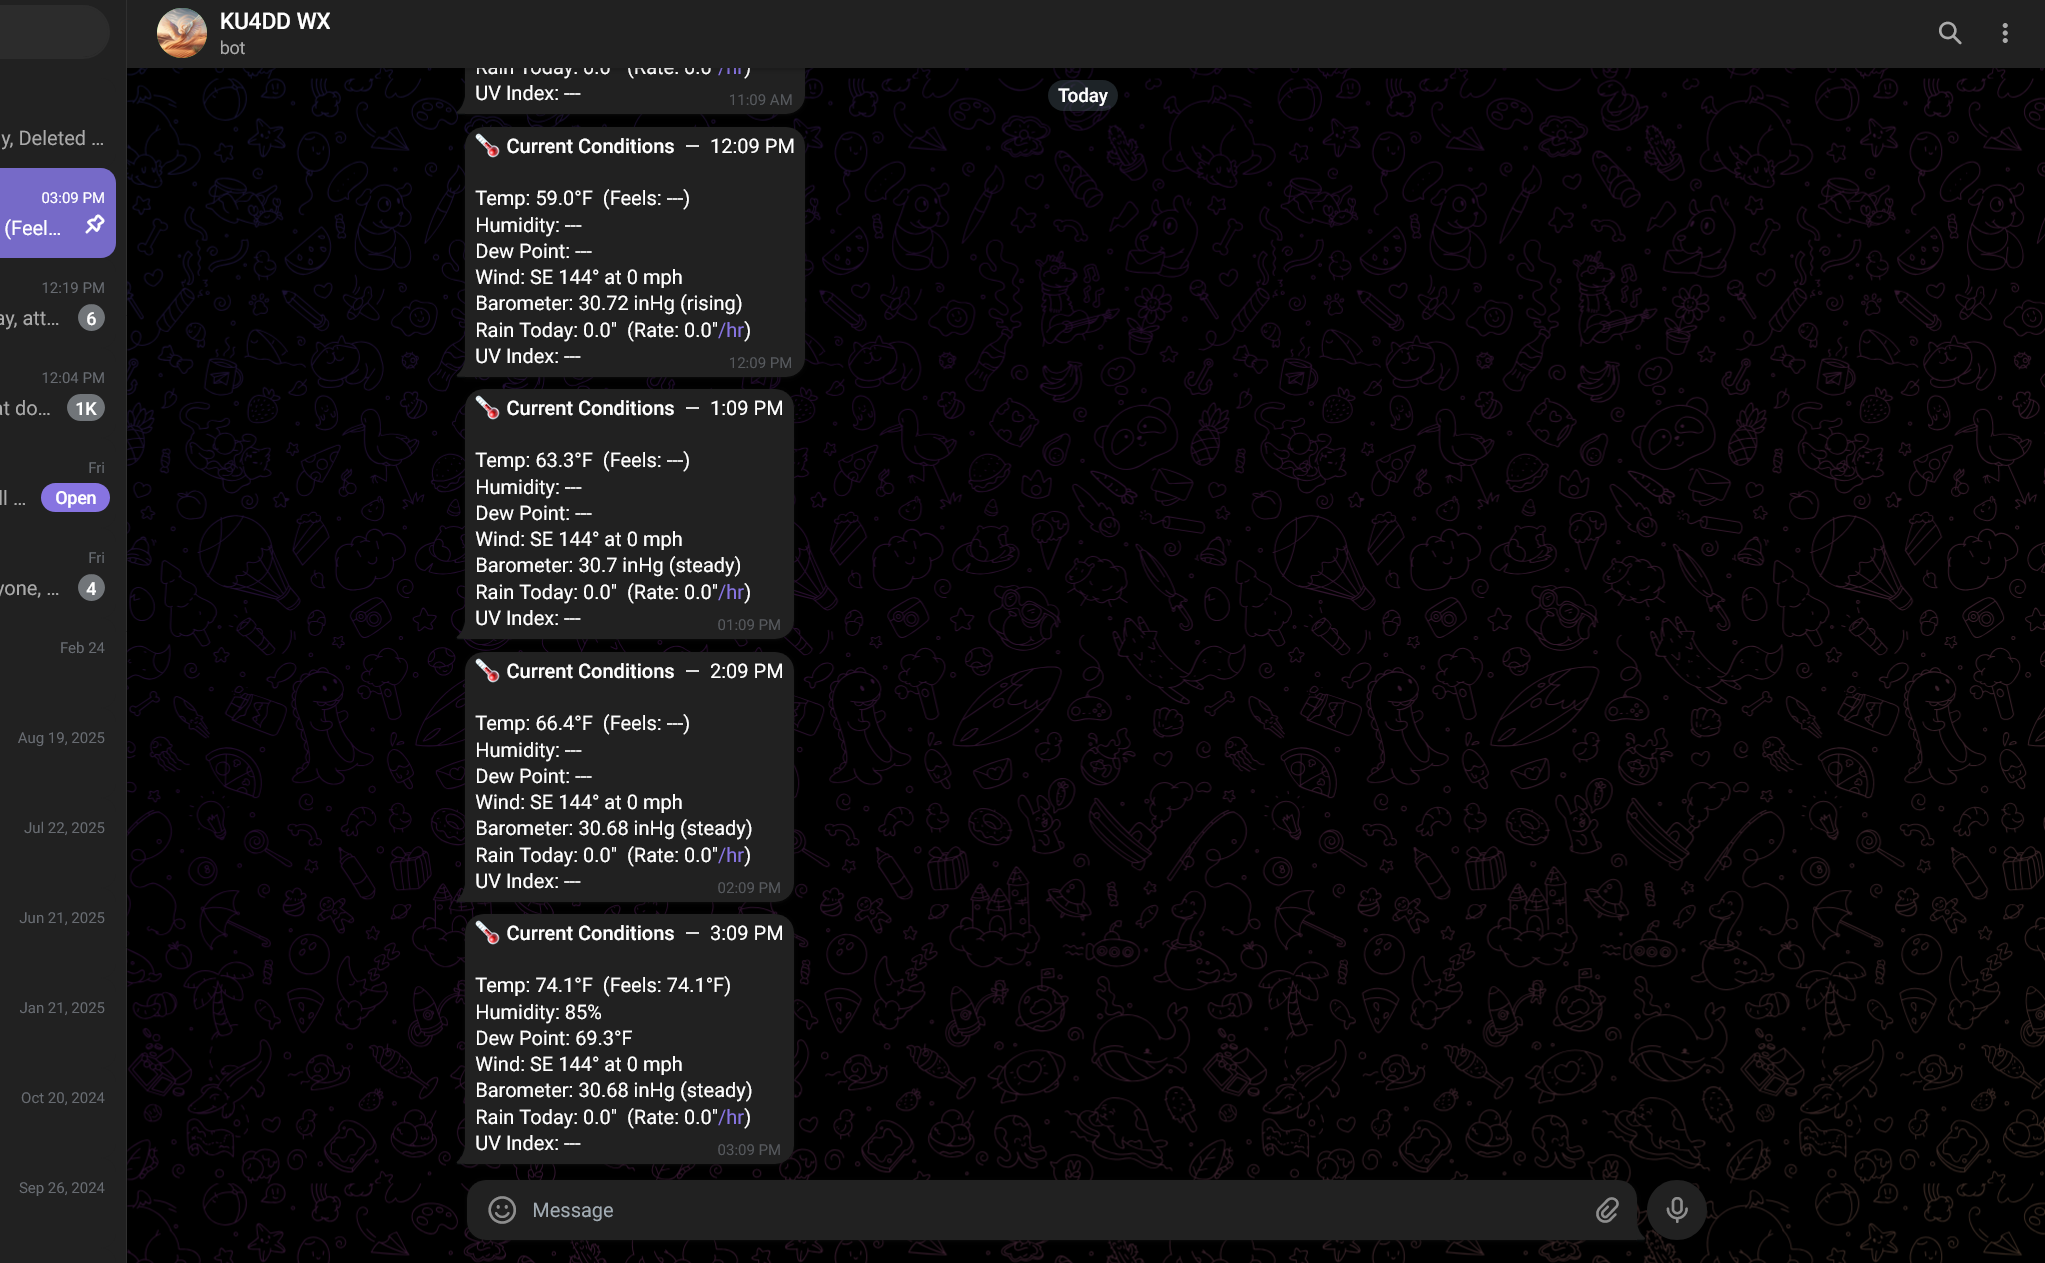
Commands and notifications as seen in the Telegram client.
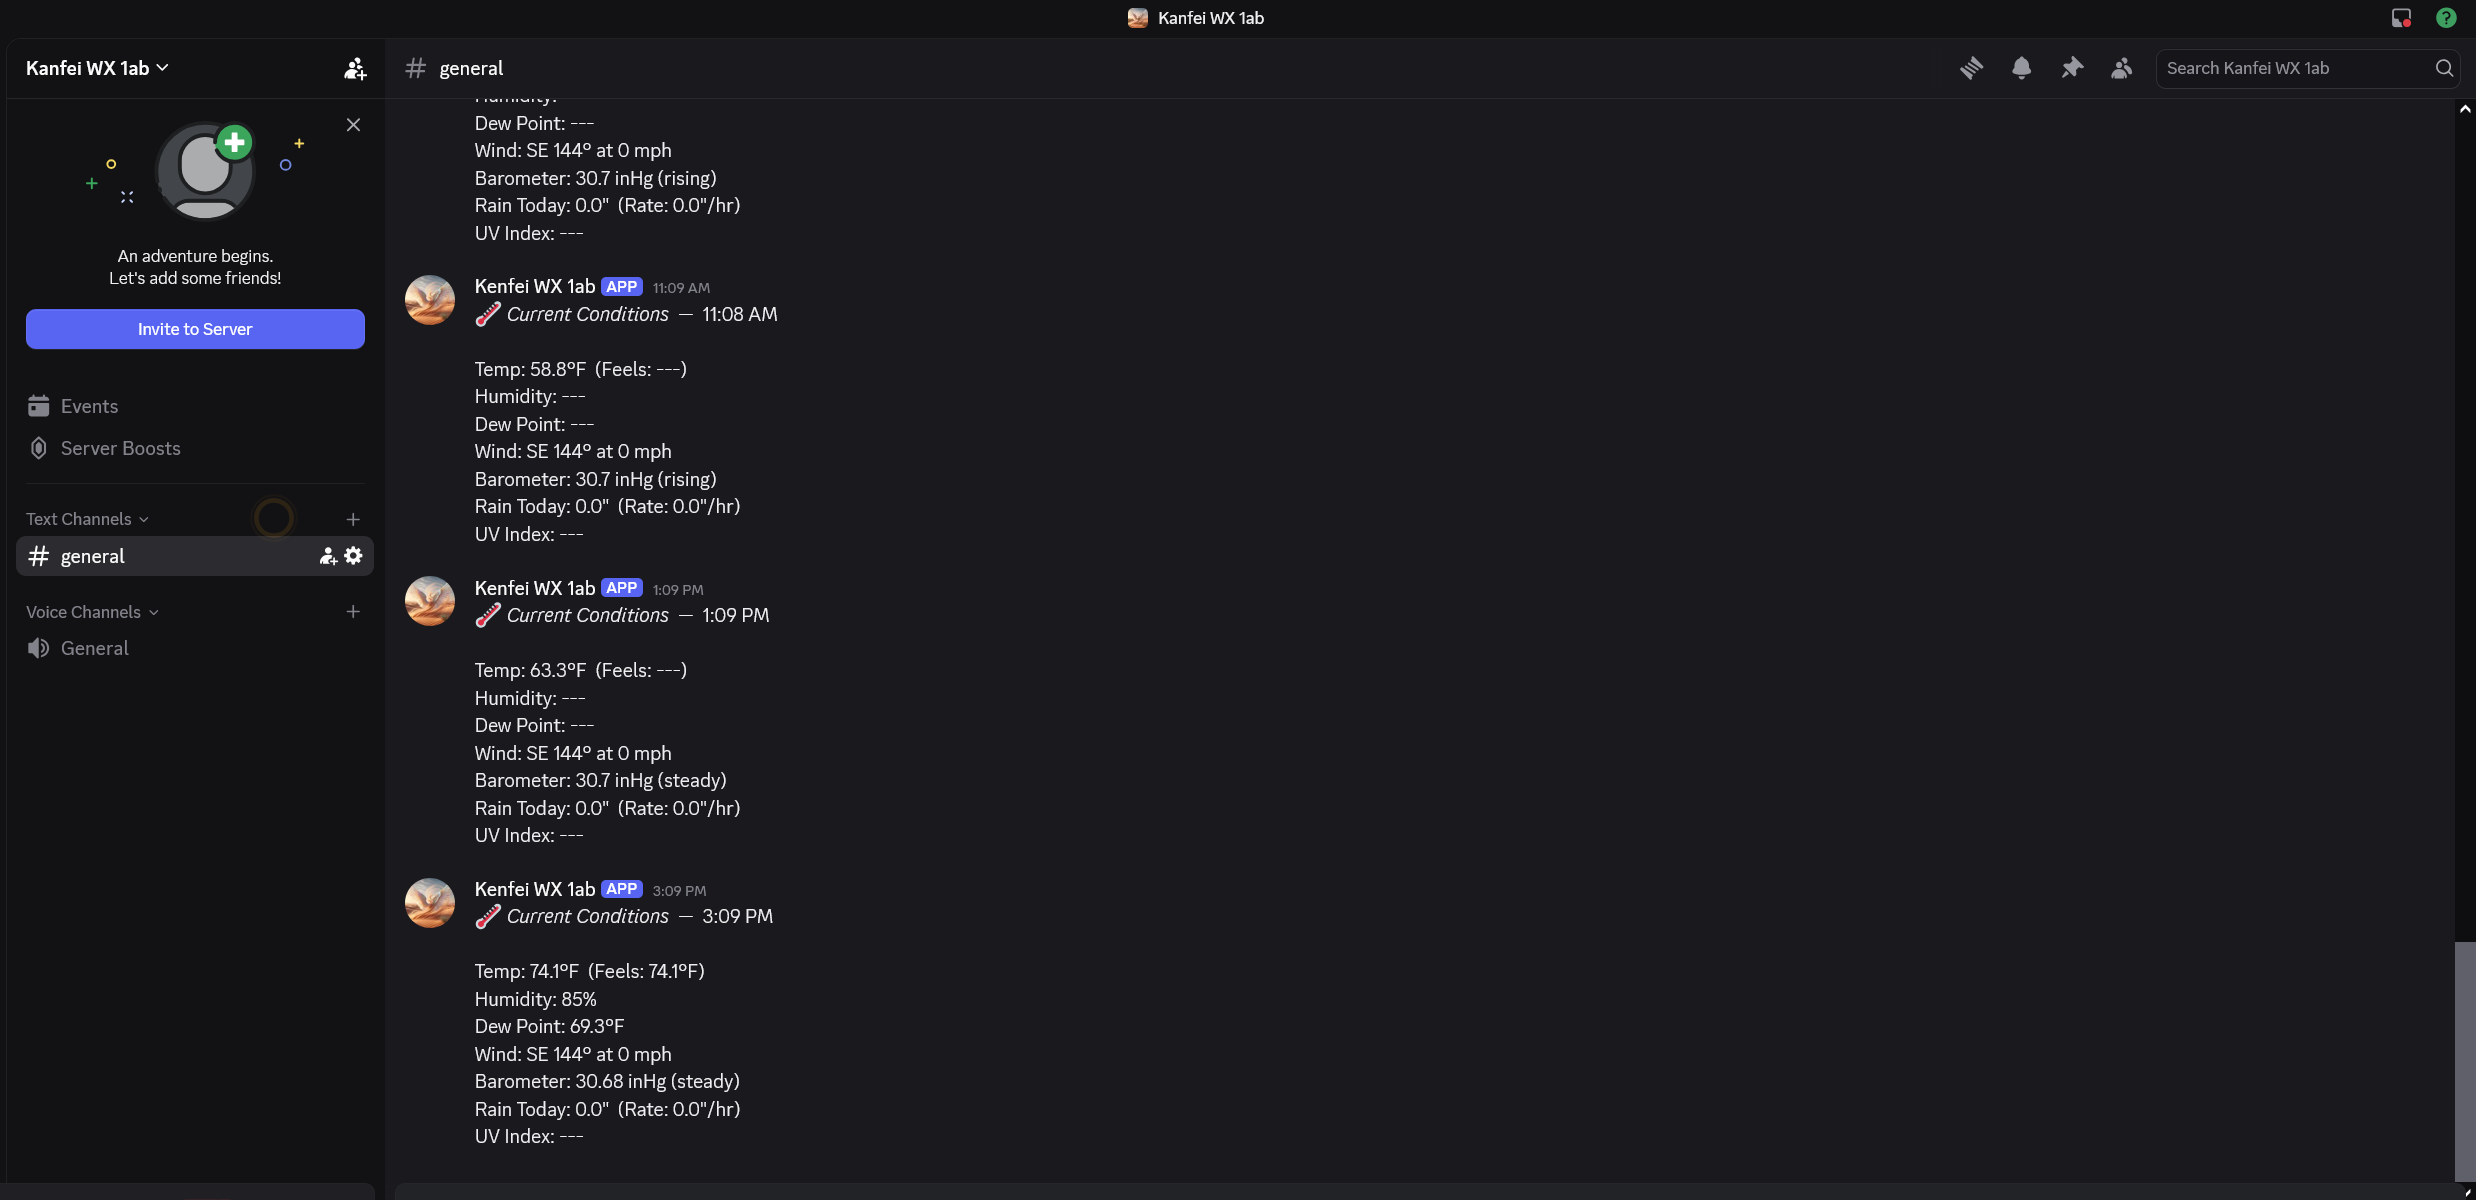
Slash commands and notifications as seen in the Discord client.
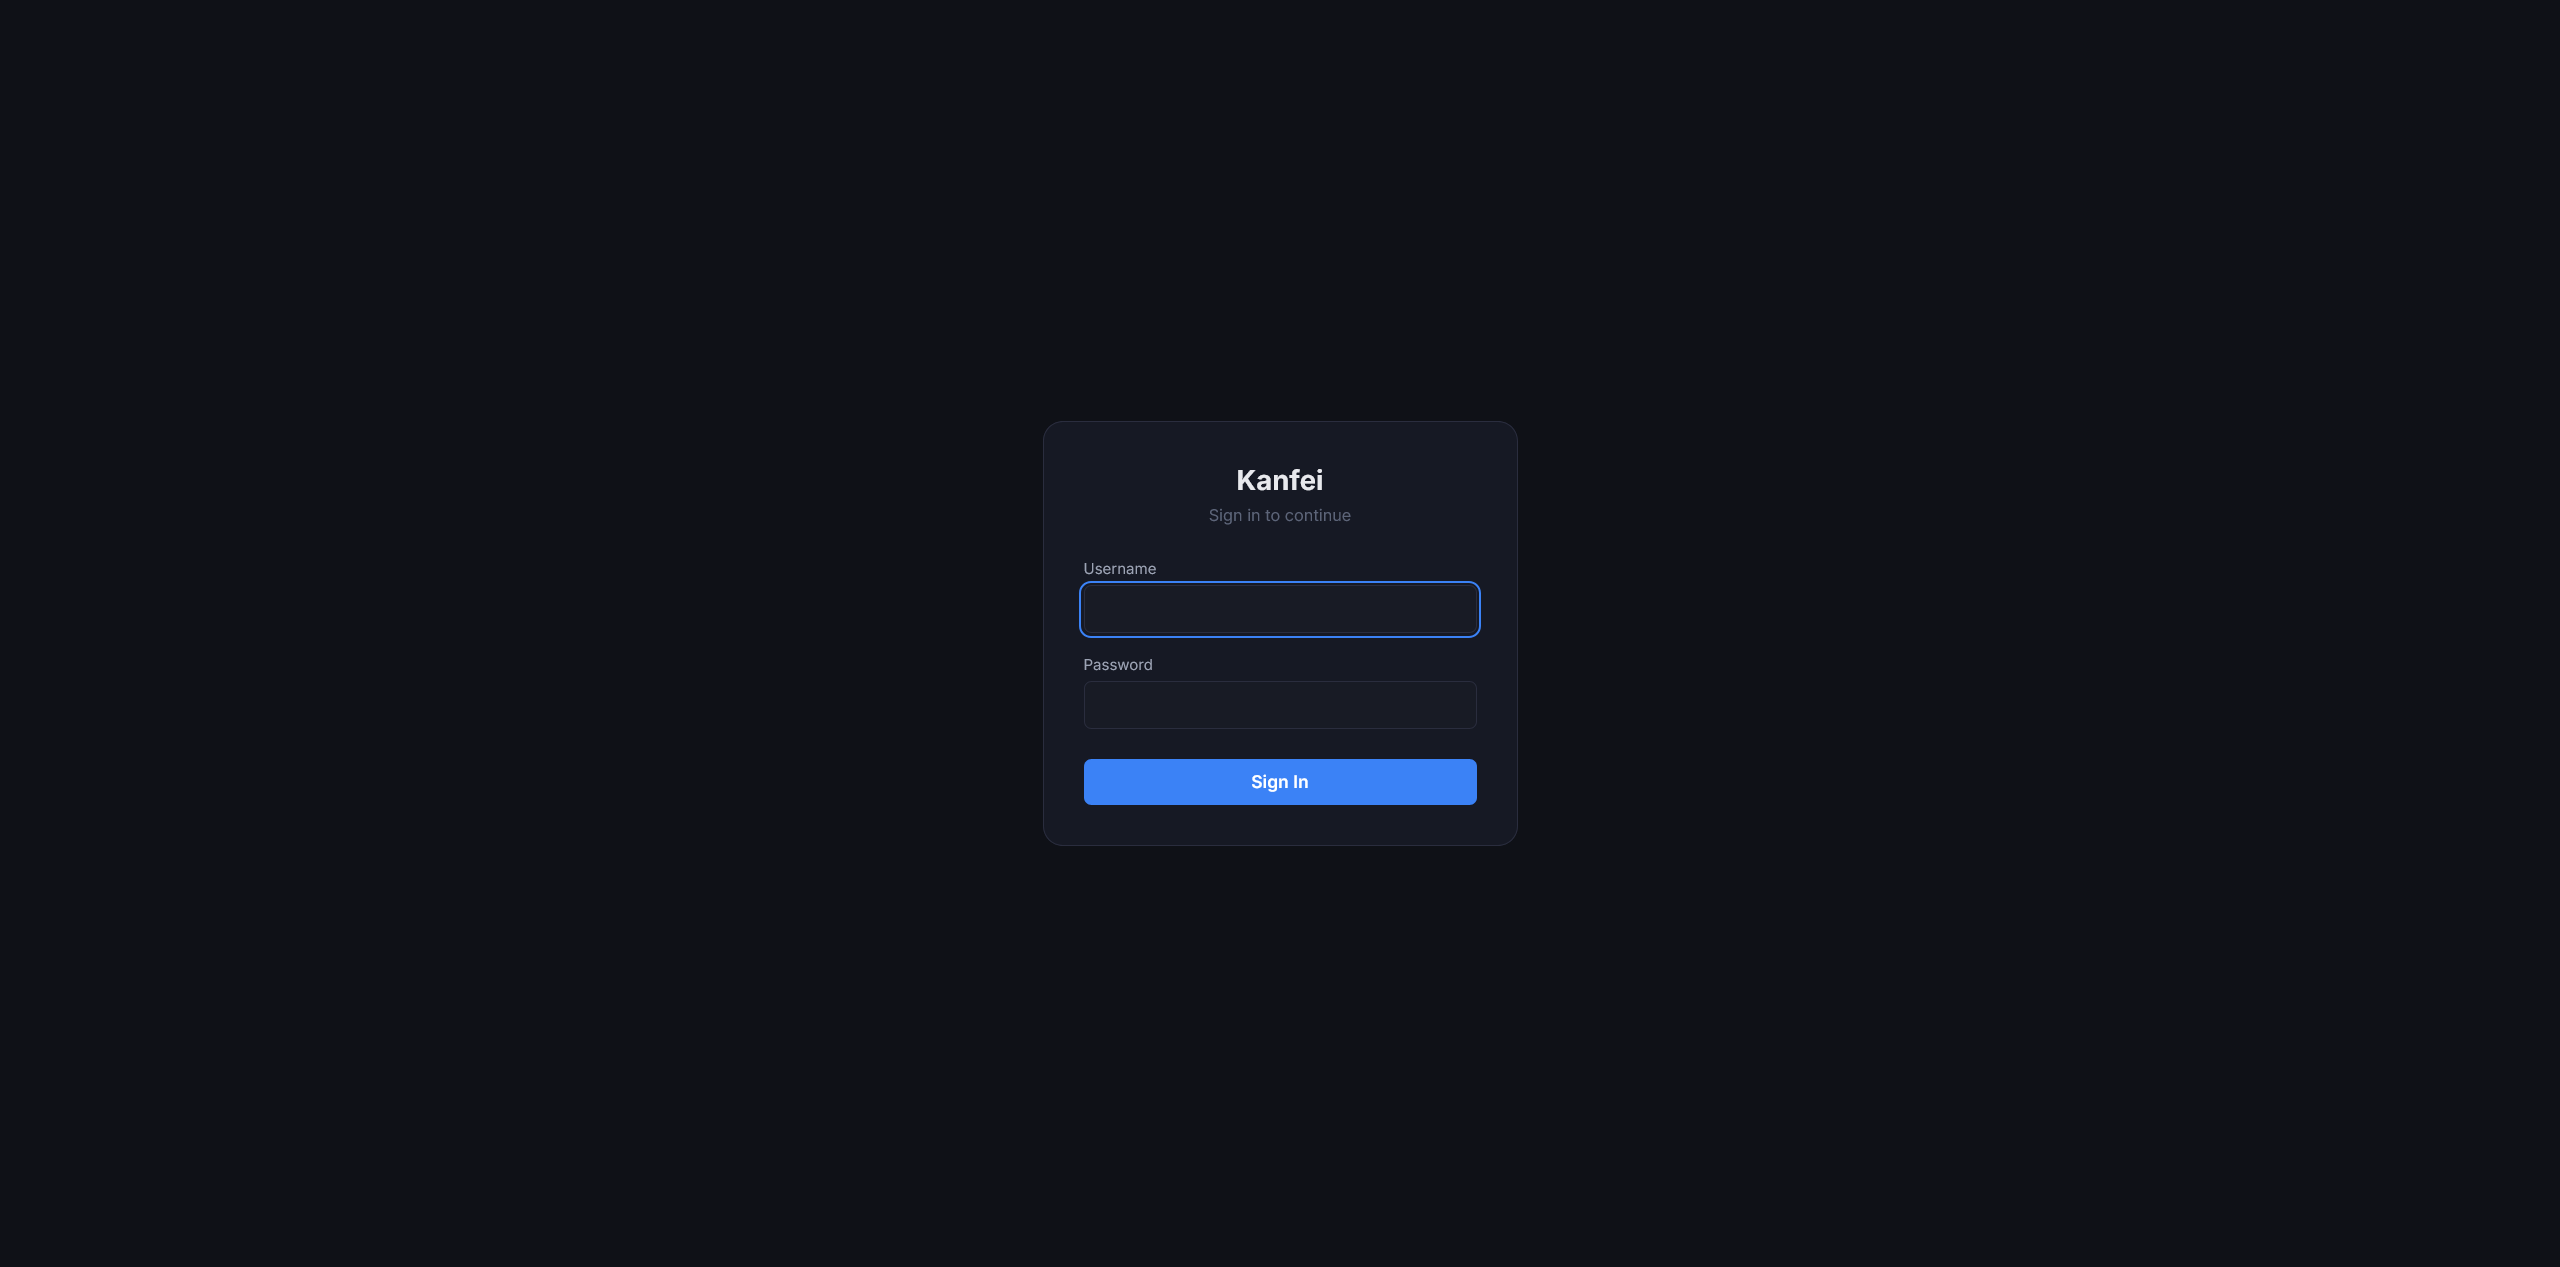
Session authentication login page.
- Take the screenshot and save as PNG.
- Name it following the convention:
images/<section>-<description>.png - Place it in the
images/directory in the wiki repo. - For desktop/landscape images, use:
<a href="images/name.png" target="_blank"><img src="images/name.png" alt="Description"></a> - For mobile/portrait images, add
width="300":<a href="images/name.png" target="_blank"><img src="images/name.png" width="300" alt="Description"></a> - Commit and push.
To replace an existing screenshot, overwrite the file with the same name — all references update automatically.