Repository navigation
Getting started
- Windows 10 22H2 or Windows 11, on x64 or ARM64.
- A printer that accepts RAW TCP on port 9100 and a compatible Windows print driver.
- A local IPv4 connection over Wi-Fi or Ethernet and a printer identifier such as a MAC address, serial number, or UUID.
- Install PrintBridge from the latest release and turn on the printer.
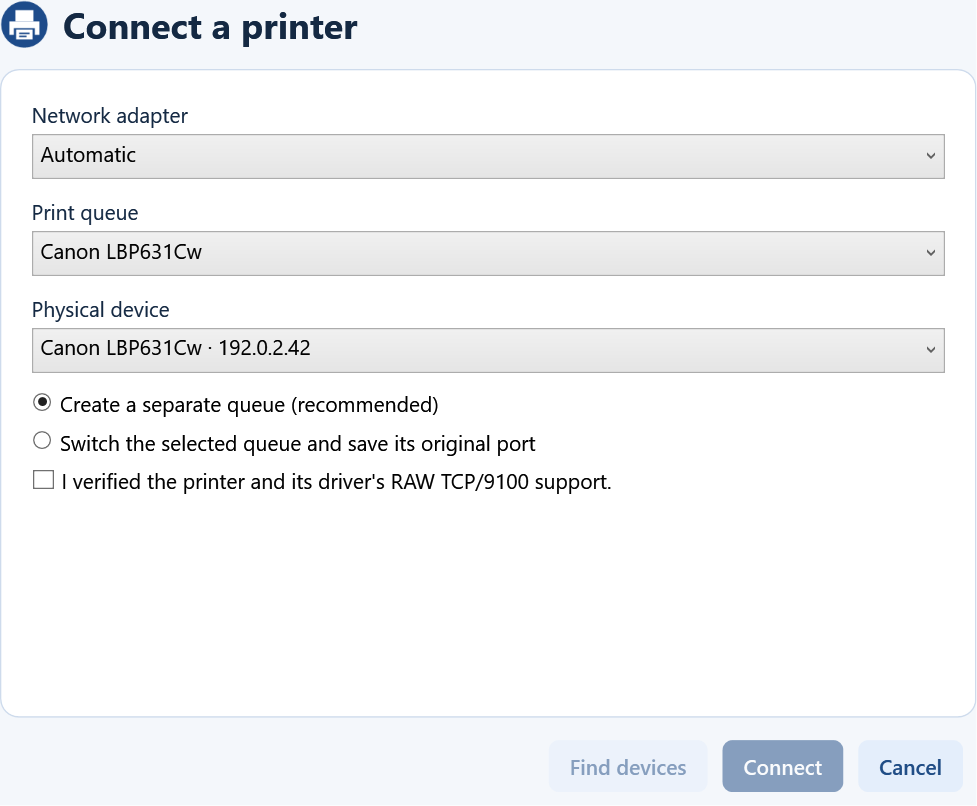
- Open PrintBridge and choose Connect. Choose Automatic to search connected physical adapters, or select an adapter manually.
- Select the Windows queue and confirm the physical printer. Choose Create a separate queue to keep the original queue available or Switch the selected queue to keep using its existing name.
- Approve the Windows request to create or change the print port.
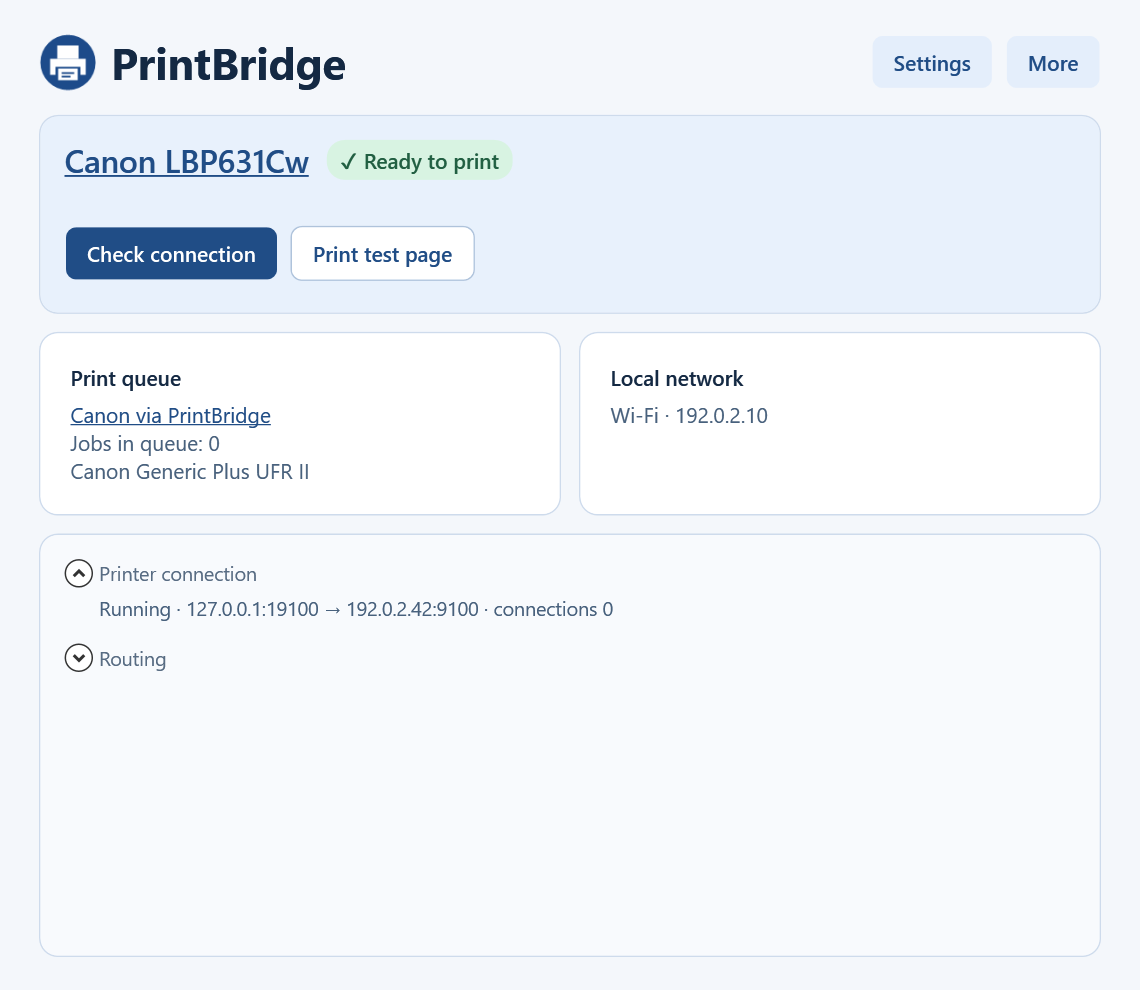
- Select Print test page and confirm the sheet comes out. Use the configured Windows queue for normal printing.
When the dashboard shows Ready to print, use Print test page to verify that a job reaches the printer.
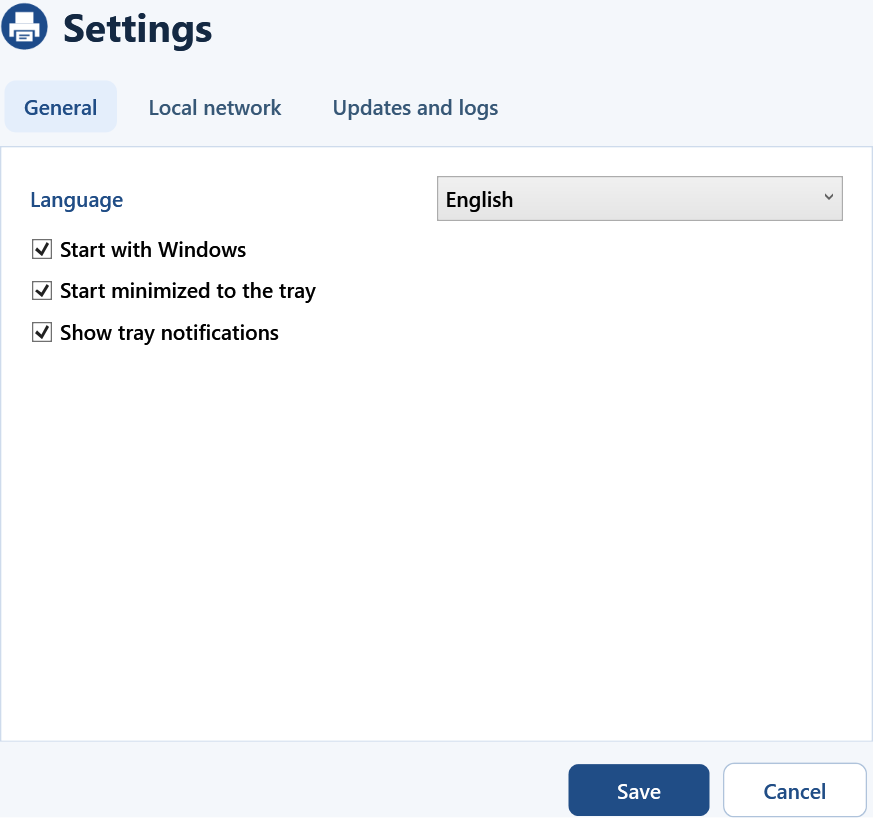
Closing the window sends PrintBridge to the tray. Open Settings → General to change the language or startup preference.