This is the full setup guide for the DSRad project, where a Nintendo DS remotely controls a Raspberry Pi FM broadcaster. If you want context on why this exists, check out the blog post.
Before starting, make sure you have:
- A Raspberry Pi Zero, Zero 2, 3, or 4 running Raspberry Pi OS (fresh install recommended)
- A Nintendo DS with a
.ndsloader (Wood Firmware works great) - Basic Linux shell knowledge
The Pi does the actual FM broadcasting and acts as the server the DS talks to. Get this right first.
BotWave handles everything broadcast-related, and exposes the remote interface the DS will use to control it.
SSH into your Pi (or connect directly), then run:
curl -sSL https://raw.githubusercontent.com/dpipstudio/botwave/refs/heads/main/scripts/install.sh | sudo bash -s -- client --no-alsaWait for it to finish. It might take a bit depending on your hardware.

Once installed, give it a quick test:
sudo bw-localYou'll land in the BotWave CLI. Try downloading and playing a file:
botwave> dl <url>
botwave> start <name>
If you tune a radio to 90MHz and hold it close to the Pi, you should hear something. That's the signal working.

By default, the Pi broadcasts using only its GPIO headers as an antenna, which gives you a very short range. Connecting any conductive metal (ideally copper wire) to GPIO 4 will extend it significantly.
Exact range depends on your environment and the wire length.

Now's the time to get your audio onto the Pi. It won't have internet access later, so grab everything you need now.
Option A: BotWave CLI (easy, slow for bulk):
botwave> dl <url>This downloads and auto-converts the file to the supported format.
Option B: Manual upload (better for large collections):
Get your files, zip them, transfer the zip to the Pi however you like, and drop everything directly into /opt/BotWave/uploads/.
Warning
BotWave officially only supports WAVE (.wav) files. Anything else triggers a runtime conversion, which can cause weird behavior.
BotWave's remote control uses WebSocket, which is a nightmare to implement on a DS. To work around this, we run a small bridge on the Pi that translates between TCP (what the DS can handle) and WebSocket (what BotWave expects).
Clone and install it:
cd /tmp
git clone https://github.com/douxxtech/bw_wtt
cd bw_wtt
sudo bash install.sh
When prompted, say y to launch WTT automatically on BotWave startup.
Then, tell WTT to append a newline after each message. Without it, the DS parser breaks:
sudo bw-nandl l_onready_wtt_start.shdlAdd set WTT_NEWLINE true before the wtt line, then exit with Ctrl+X → y → Enter. Say y again if it warns about unknown content.

To verify it works, start BotWave with the remote CLI enabled:
sudo bw-local --rc 9939You should see WTT report that it started.

In another shell, test it:
nc localhost 9940Try sending a command. If you get a response, everything's working.

Tip
--rc 9939 enables the remote CLI on that port. WTT listens on 9940 by default.
Optional: customize your broadcast name, description, and frequency:
sudo bw-nandl l_onready.shdlAdd set directives for whatever you want to change.

Make BotWave start automatically on boot:
sudo bw-autorun local --rc 9939The Pi needs to create its own WiFi network for the DS to connect to.
Caution
This cuts off the Pi's internet access. It'll also only be reachable by SSHing through the new access point. Make sure you've downloaded everything you need before proceeding.
If SSH isn't already enabled, do that now:
sudo apt install openssh-server
sudo systemctl enable ssh
First, find your current WiFi connection:
sudo nmcli -t -f NAME connection show --activeThe first result is usually your WiFi (in the example below, it's preconfigured). Never touch the lo one.

Disable autoconnect on your current connection:
# replace 'preconfigured' with your connection name
sudo nmcli connection modify preconfigured connection.autoconnect no
Then create the access point:
sudo nmcli connection add type wifi ifname wlan0 con-name "DSRad" ssid "DSRad"
sudo nmcli connection modify "DSRad" 802-11-wireless.mode ap 802-11-wireless.band bg ipv4.method shared
sudo nmcli connection modify DSRad connection.autoconnect yes
Reboot:
sudo rebootIf everything went well, a DSRad network should appear on nearby devices.

Tip
To SSH back in, connect to DSRad and use 10.42.0.1 as the Pi's address.
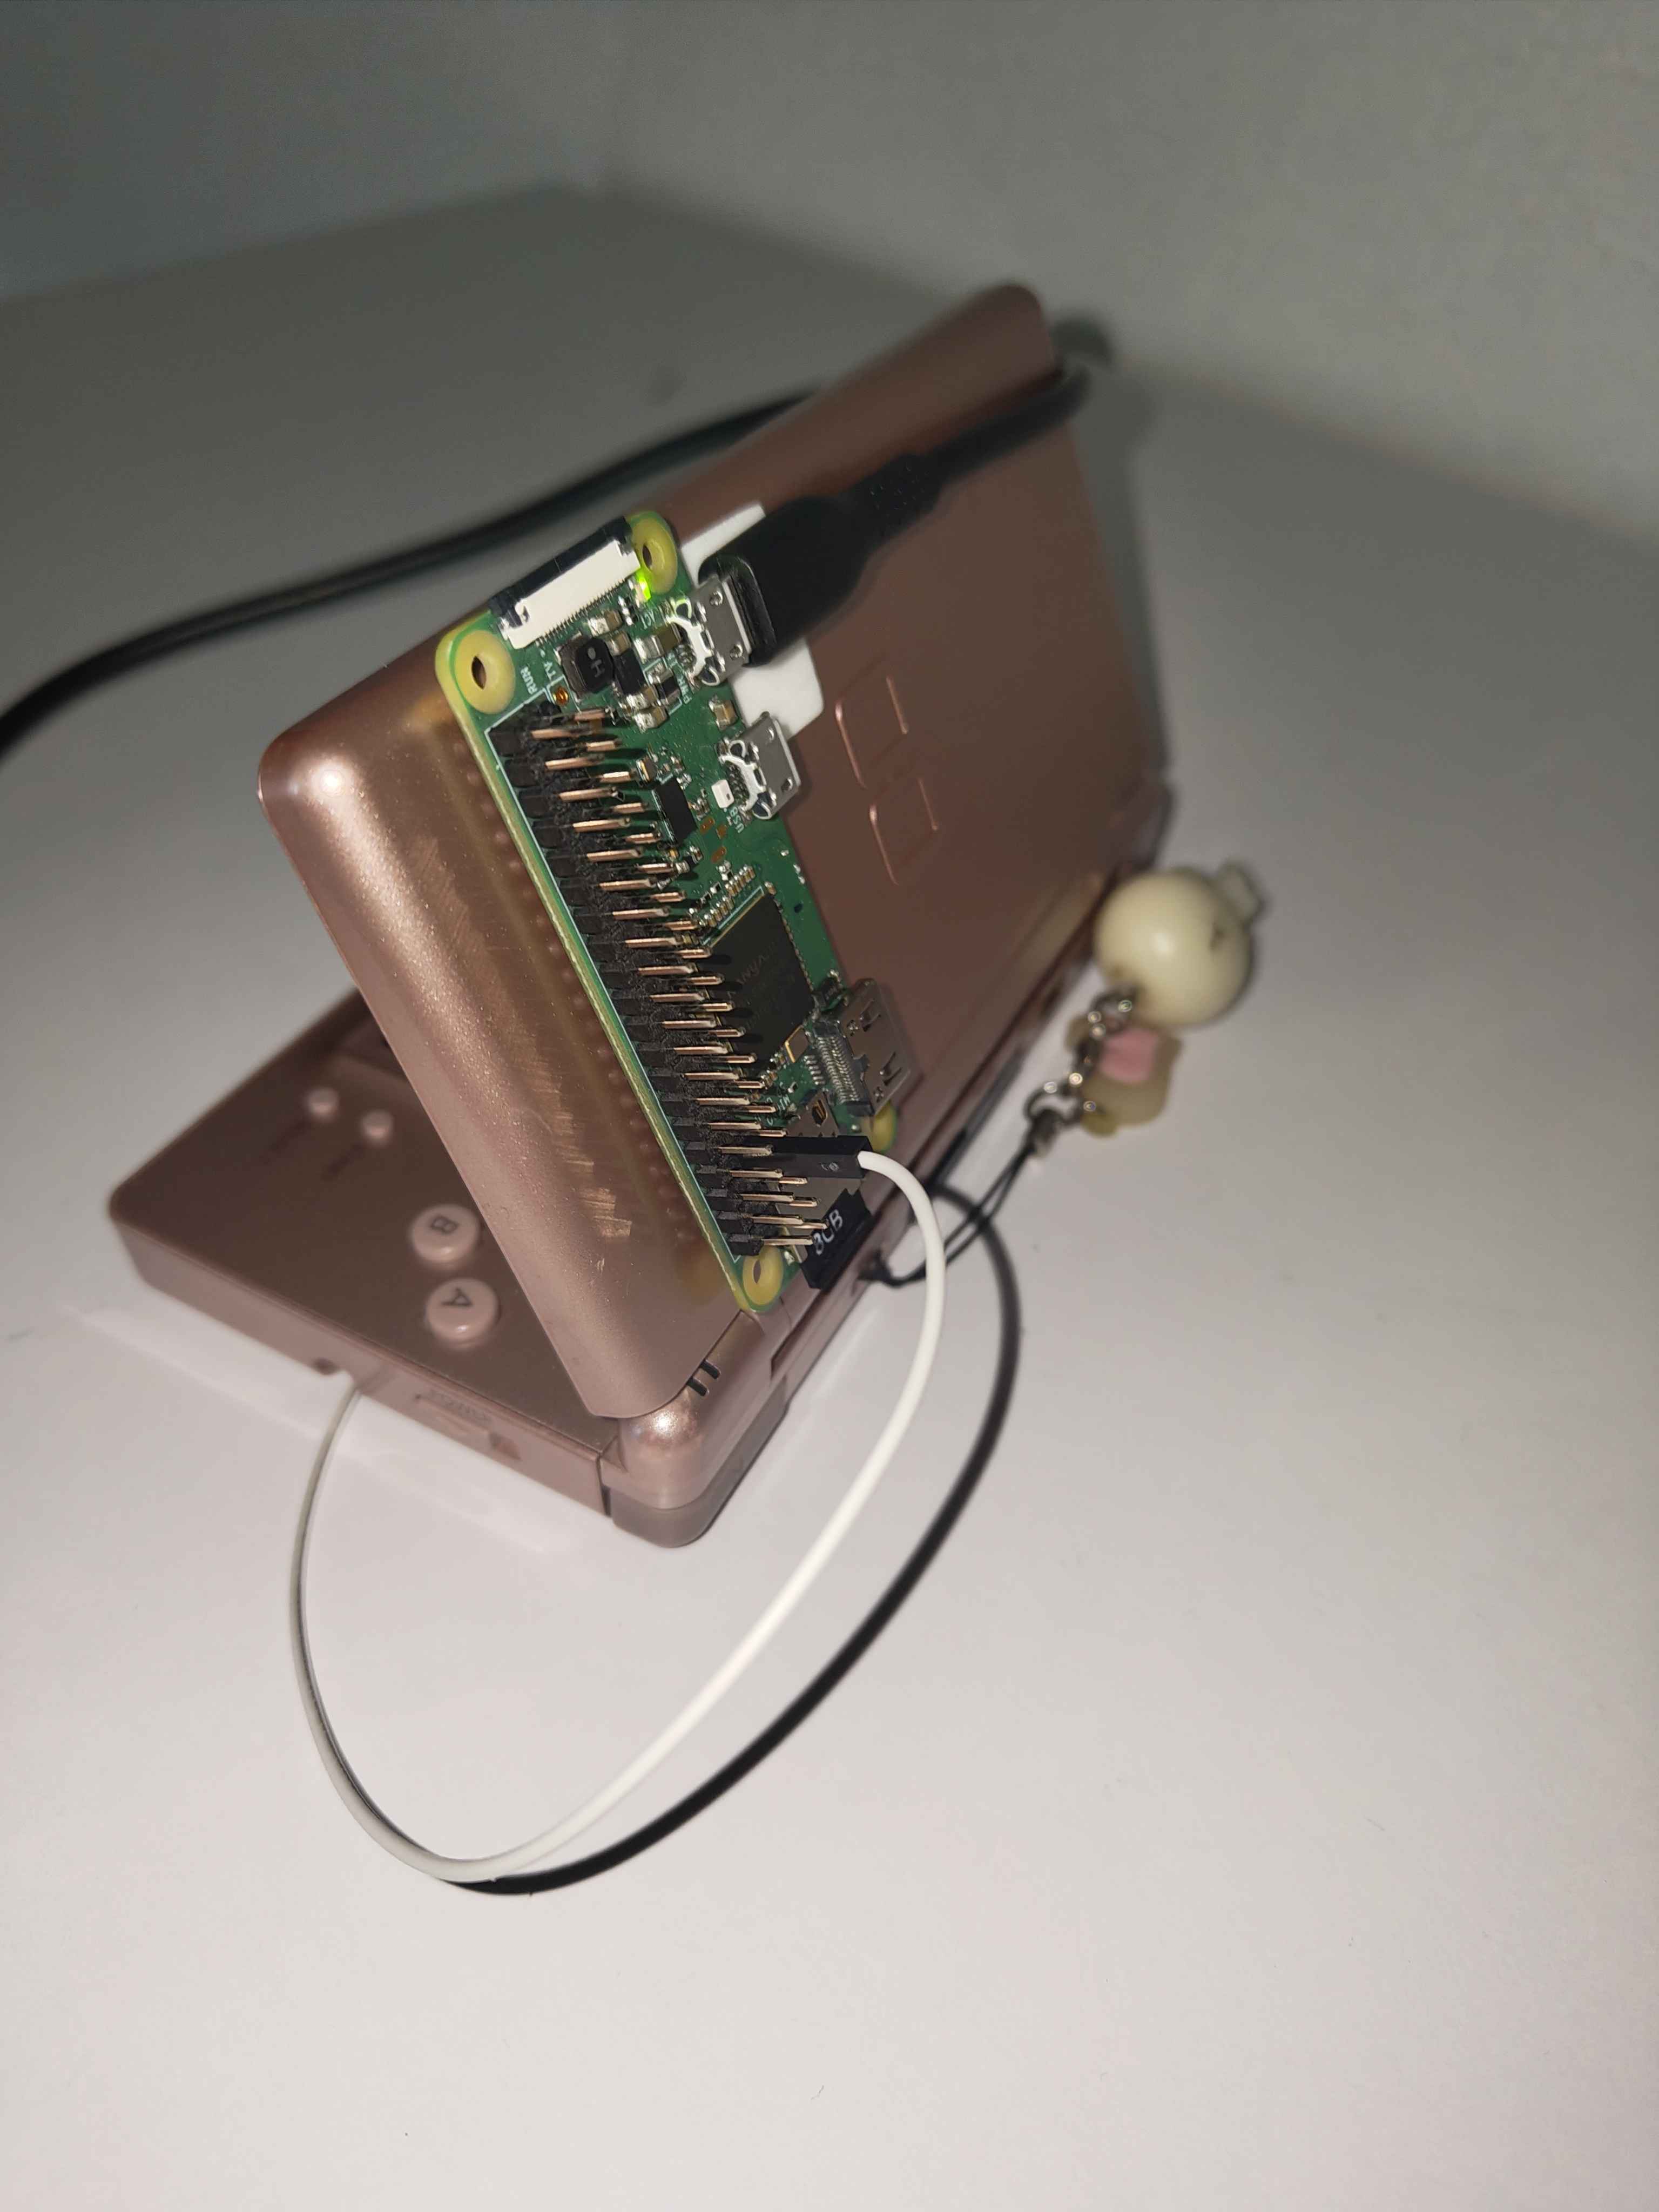
The Pi is now fully set up. Leave it somewhere near the DS and keep it on.
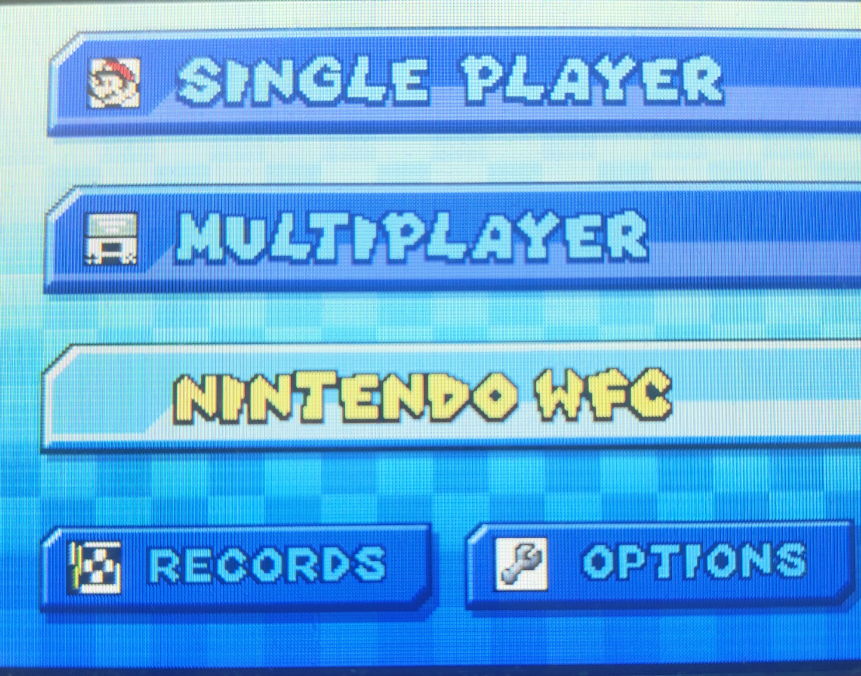
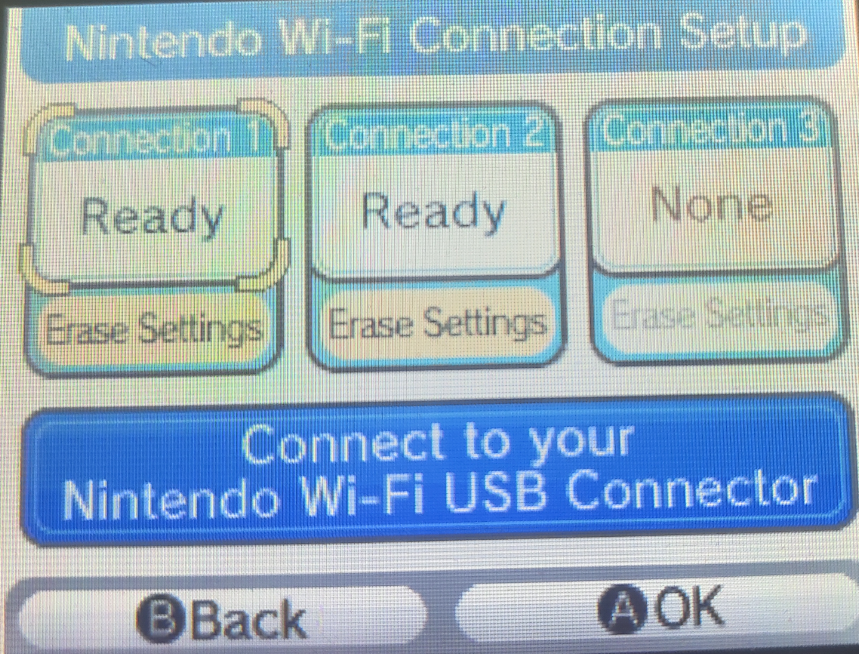
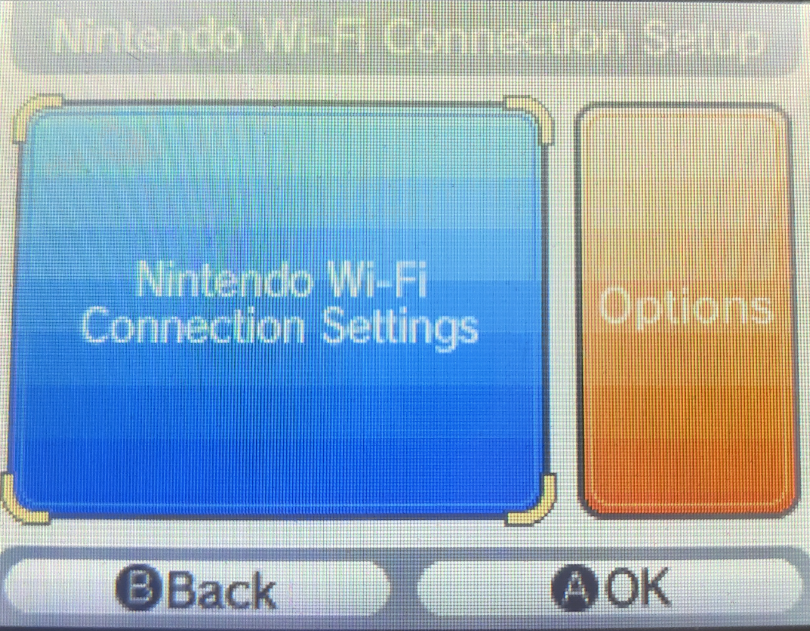
The DS WiFi setup is a bit... unconventional. The easiest approach is going through a Nintendo game's WFC settings.
- Load any game that supports Nintendo WFC (Mariokart DS works well)
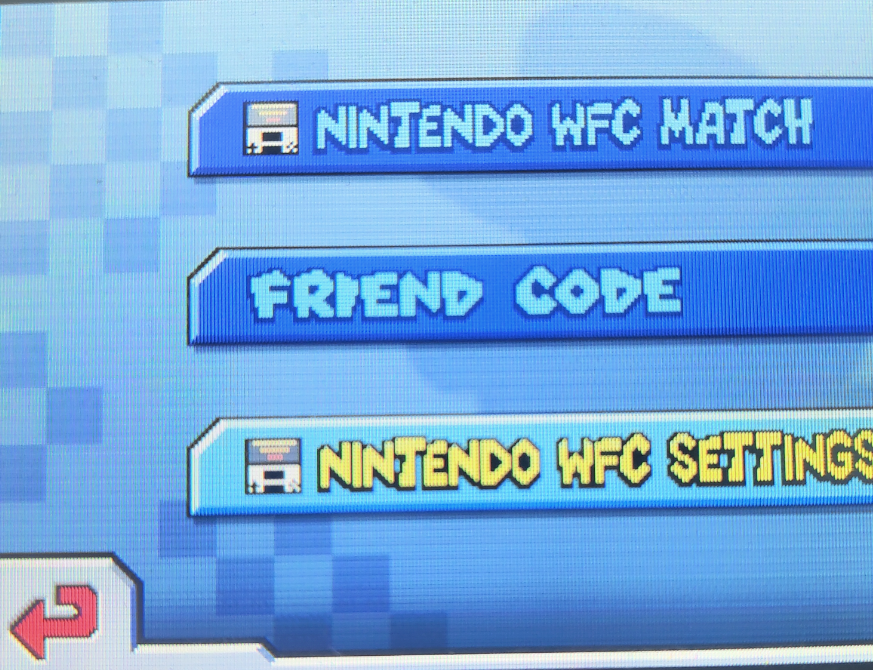
- Navigate to the WFC settings
- Add the
DSRadnetwork
It'll complain a little about it, that's expected, just push through. The DS only supports open or WEP networks, and DSRad is open so it should connect fine.
 |
 |
 |
 |
Grab the prebuilt dsrad.nds from this repo and load it onto your DS like any other ROM.
If you want to build it yourself: install devkitPro, go into the dsrad/ folder, and run make.
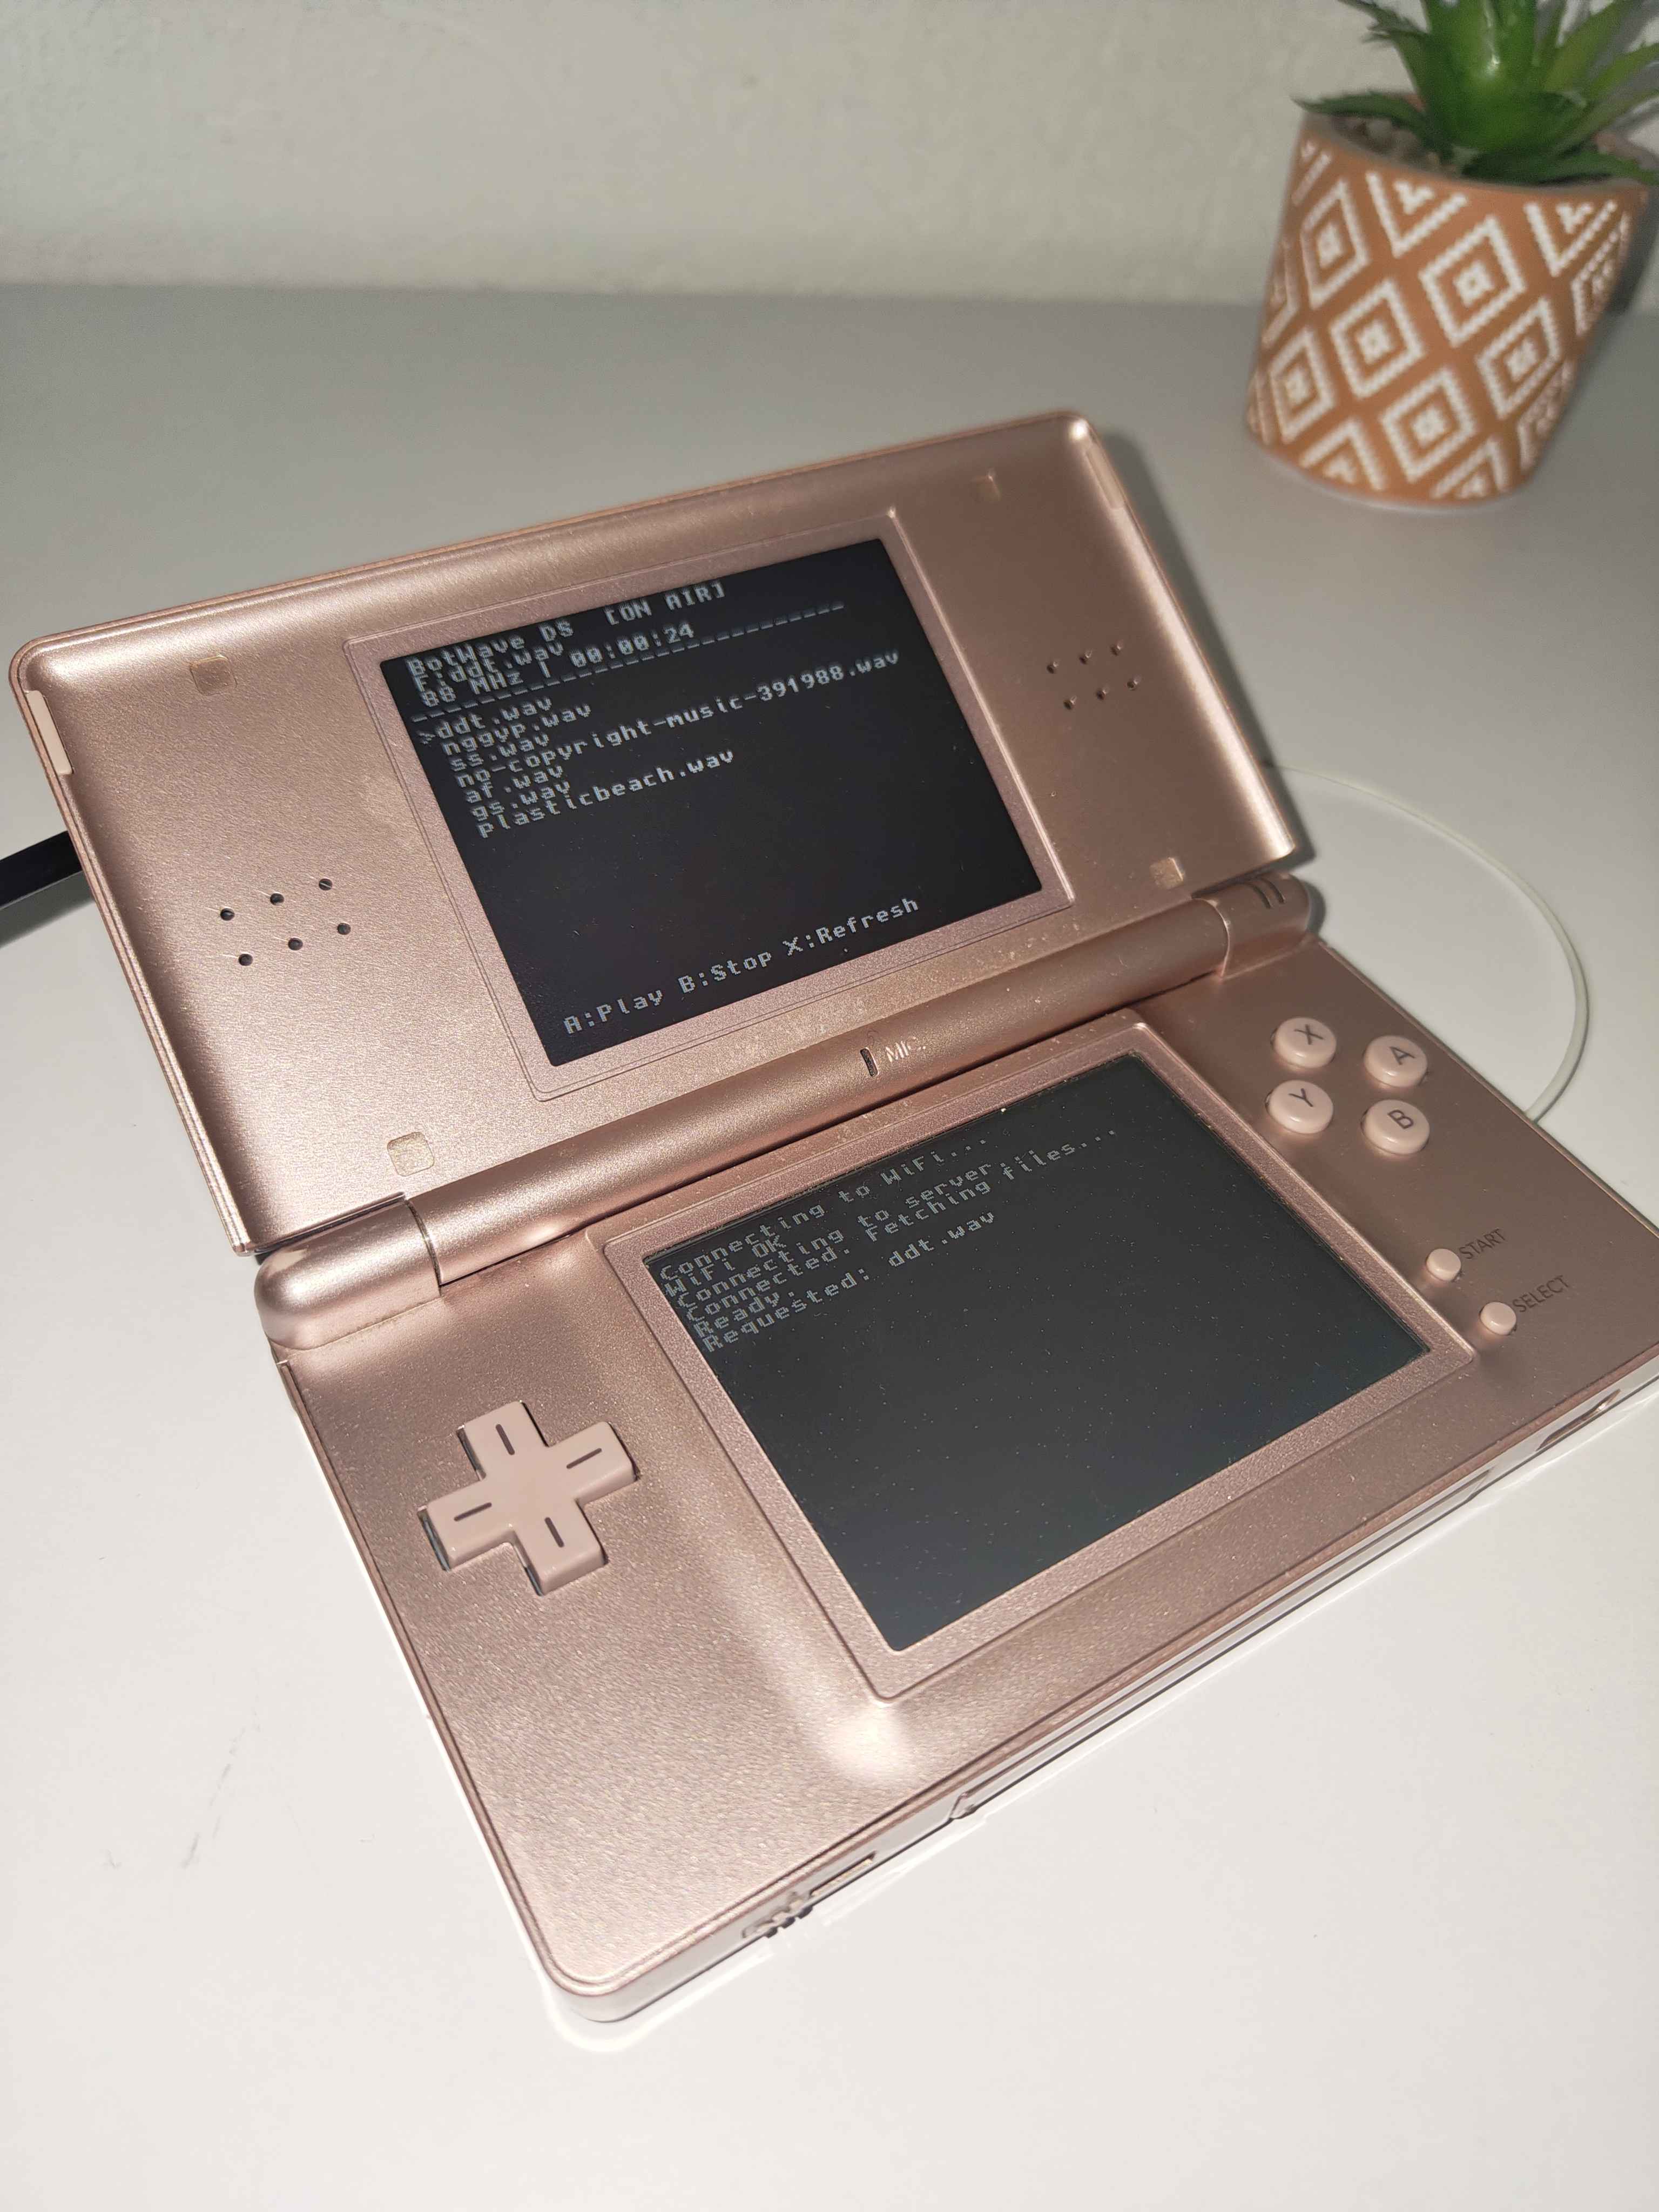
Boot the DS, launch dsrad.nds, and let it connect to the Pi.
Controls:
- D-Pad: navigate files
- A: play selected file
- B: stop playback
- X: refresh file list

If it connects and you can control playback from the DS, you're done. Tune a radio to your configured frequency and enjoy.
If you need any help, feel free to either open an issue, or DM me on discord: @douxx.tech!
All the code of this repository is licensed under the GPLv3.0 license.