Tutorial: Simple Box
Level: Beginner | Time: 5 minutes | Tools used: create_primitive, measure, fillet_edges, export_model
Create a 50x30x20 mm box with 2 mm fillets on all edges, then export to STL. This tutorial introduces the core Act-mode workflow: you describe what you want, and the AI calls the right tools.
A rounded rectangular box suitable for 3D printing. Final dimensions approximately 50x30x20 mm with all sharp edges replaced by 2 mm radius fillets.
- Launch FreeCAD and switch to the FreeCAD AI workbench (dropdown in the toolbar, or View > Workbench > FreeCAD AI).
- Open the AI chat panel if it is not visible: View > Panels > FreeCAD AI.
- Open settings (gear icon in the chat panel) and confirm:
- Mode is set to Act
- A working LLM provider is selected
- Create a new empty document: File > New.
You should see an empty 3D viewport and an empty model tree on the left.
Type the following in the chat panel and press Enter:
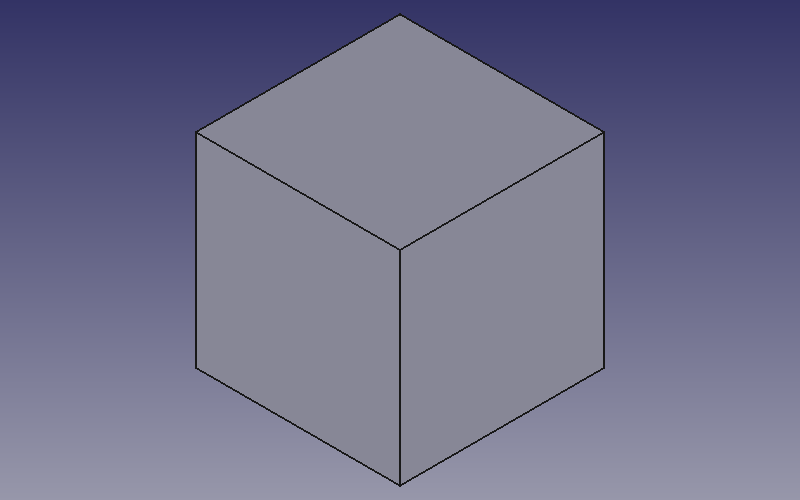
Create a box 50mm long, 30mm wide, 20mm high
What the AI does:
The AI calls the create_primitive tool:
create_primitive(
    shape_type="box",
    length=50,
    width=30,
    height=20
)
What you should see:
- A rectangular box appears in the 3D viewport
- The model tree shows a Body with a Pad feature
- The chat panel shows the tool call and its result with the object name
Verify: Rotate the viewport (middle-mouse-drag) to confirm the box looks correct. It should sit on the XY plane with one corner at the origin.
Type:
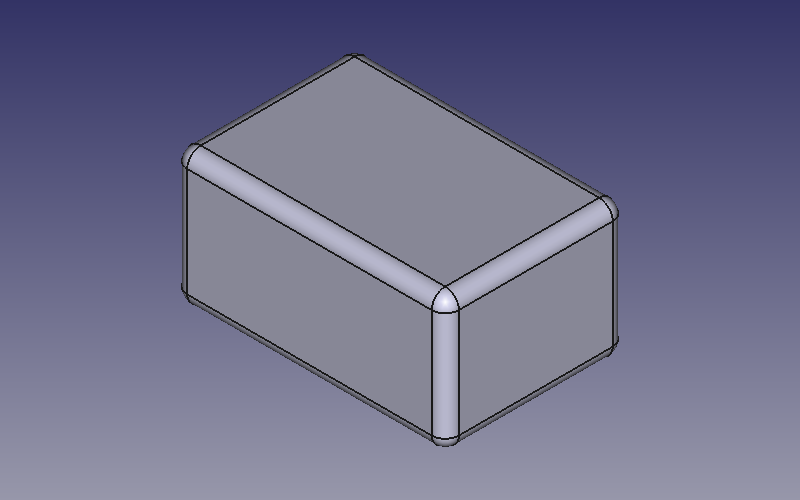
Apply 2mm fillets to all edges
What the AI does:
- Calls
measurewithmeasure_type="edges"to discover all edge names on the box - Calls
fillet_edgeswith the full edge list andradius=2
measure(
    object_name="Pad",
    measure_type="edges"
)

fillet_edges(
    object_name="Pad",
    edge_names=["Edge1", "Edge2", ..., "Edge12"],
    radius=2
)
What you should see:
- All 12 edges of the box become rounded
- The model tree shows a Fillet feature under the Body
- The box now looks like a smooth, rounded brick
Troubleshooting: If the AI fillets only some edges, type "fillet the remaining edges too" and it will pick up the ones it missed.
Type:
Export to STL at /tmp/my-box.stl
What the AI does:
export_model(
    format="stl",
    filename="/tmp/my-box.stl"
)
What you should see:
- The chat confirms the export succeeded
- The file
/tmp/my-box.stlnow exists and can be opened in a slicer (Cura, PrusaSlicer, etc.)
Verify: Check the file size. A box with fillets typically produces an STL of 50-200 KB depending on tessellation.
If you want a CAD-native format instead:
Also export as STEP to /tmp/my-box.step
STEP files preserve exact geometry (no triangulation) and are better for sharing with other CAD software.
| Concept | Details |
|---|---|
| Act mode | You type natural language; the AI selects and calls tools automatically |
| Primitives |
create_primitive creates boxes, cylinders, spheres, and cones |
| Edge measurement |
measure with measure_type="edges" lists all edges on an object |
| Fillets |
fillet_edges rounds edges by a given radius |
| Export |
export_model writes STL, STEP, or IGES files |
- Try changing the dimensions or fillet radius
- Create a cylinder and apply chamfers instead of fillets
- Move on to Tutorial: Enclosure for a multi-step build