1} Pulled 2 different Models and a Wood Texture for our Assets. One is the Whole fruit and other is Sliced fruit.
2} Turned off Compression for our Wood Texture as it was losing its quality because of it.
3} Added a Plane to our Scene and applied rotations and scaling to it such that it becomes the veiw we'll be seeing with our wood texture on it.
4} Created a material named Background and added to it to our Mesh Renderer/Materials of Plane and then Dragged our Texture to Albedo and set smoothness to 0 while turning off our highlights and reflections because we don't need these on our Plane.
5} Also set Z of our plane to 5. This way we'll be veiwing a little above the origin, so we can now Spawn our fruits at the Origin.
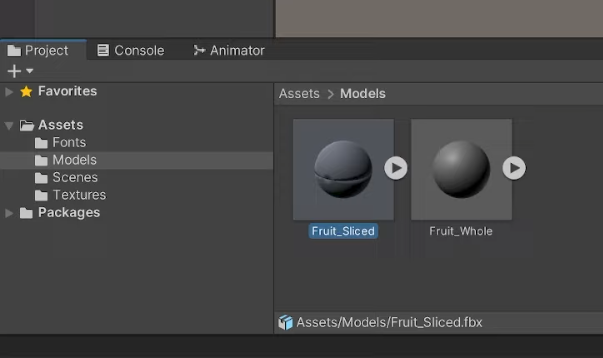
1} Created an Empty Game Object in our Hierarchy, named it as Fruit and dragged whole and slice model on it making them it's child.
2} Slice model is Turned off initially as we'll be turning it on when Player(Blade) collides with it causing a trigger.
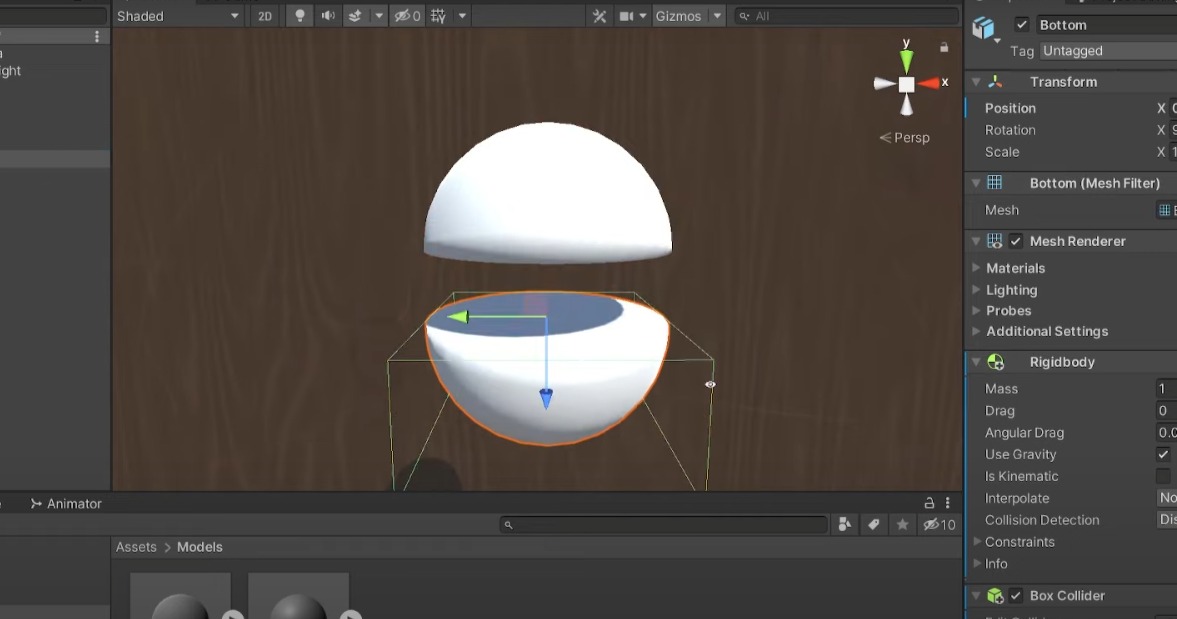
3} We add Rigidbody component to our Fruit instance so that it becomes a Physics Object. Added a Sphere collider to it and set it to IsTrigger as we don't want fruits to interfere with each other while they are been launched up in the air.
4} Turned On our Slice Model to Add Rigidbody and colliders to it too. Here we need to add Box Colliders since they are halves and not a single whole sphere. Turned Off Drag and Kept Box Colliders as Non-Triggers Because Slices Colliding with each other creates an interesting dynamics.
5} Dragged our fruit object to Assets/Prefab creating a Prefab and renaming it as Fruit_Base. We created 5 Varients of Prefab named Fruit_Base naming them 5 different Fruits. Creating Varients helps us as changes(scripts) applied to our Fruit_Base will automatically be applied to all of its varient.
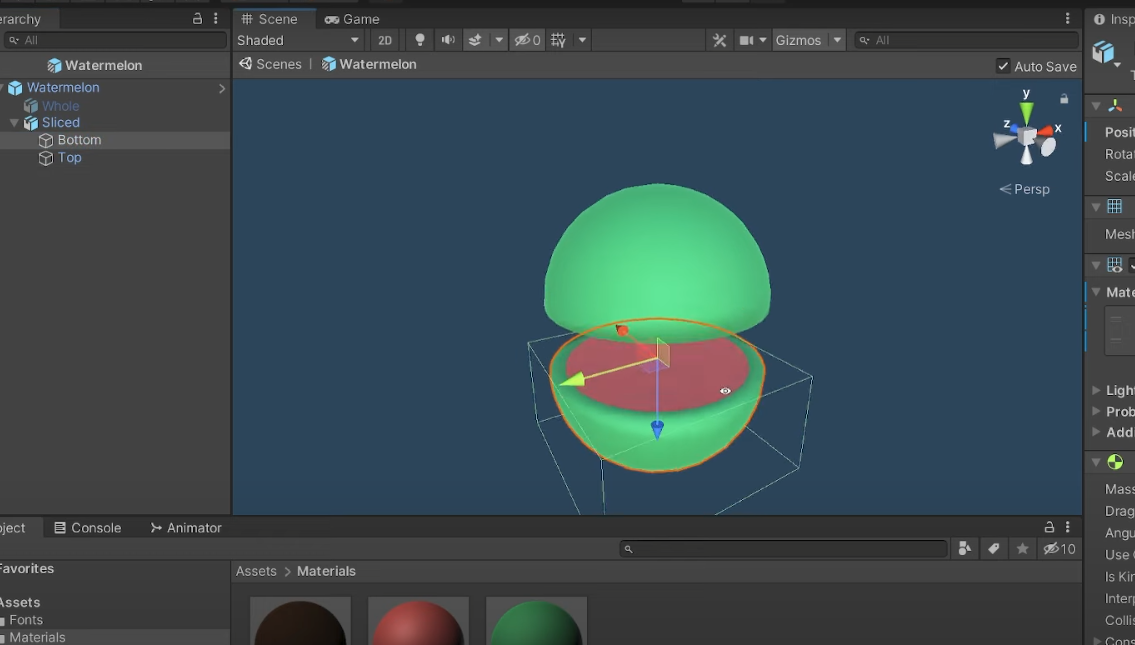
1} Created 10 materials that is Inside and Outside for all of our 5 Fruits in our Assets/Materials. Dragged these materials to its respective Prefab in Mesh Renderer of Slice.
2} Set Colour of inside and outside of material according to the Fruit. Also set different sizes(Radius) so that Watermelon looks bigger than Kiwi and so on.
3} Set smoothness of inside material double to the outside material so that the inside looks more shiny, hence more juicy.
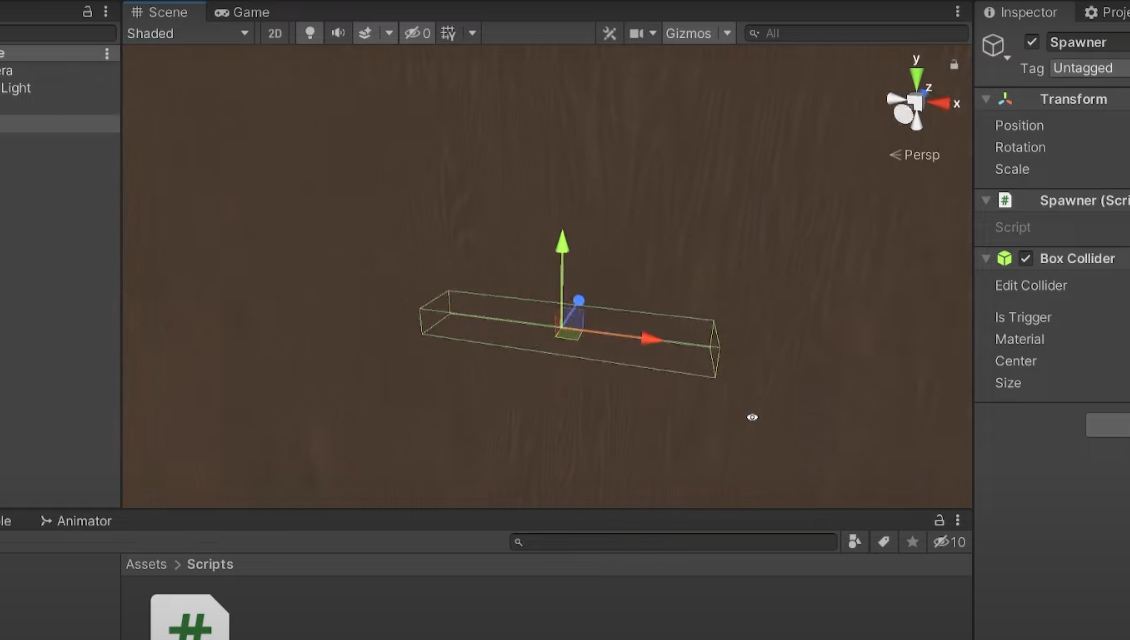
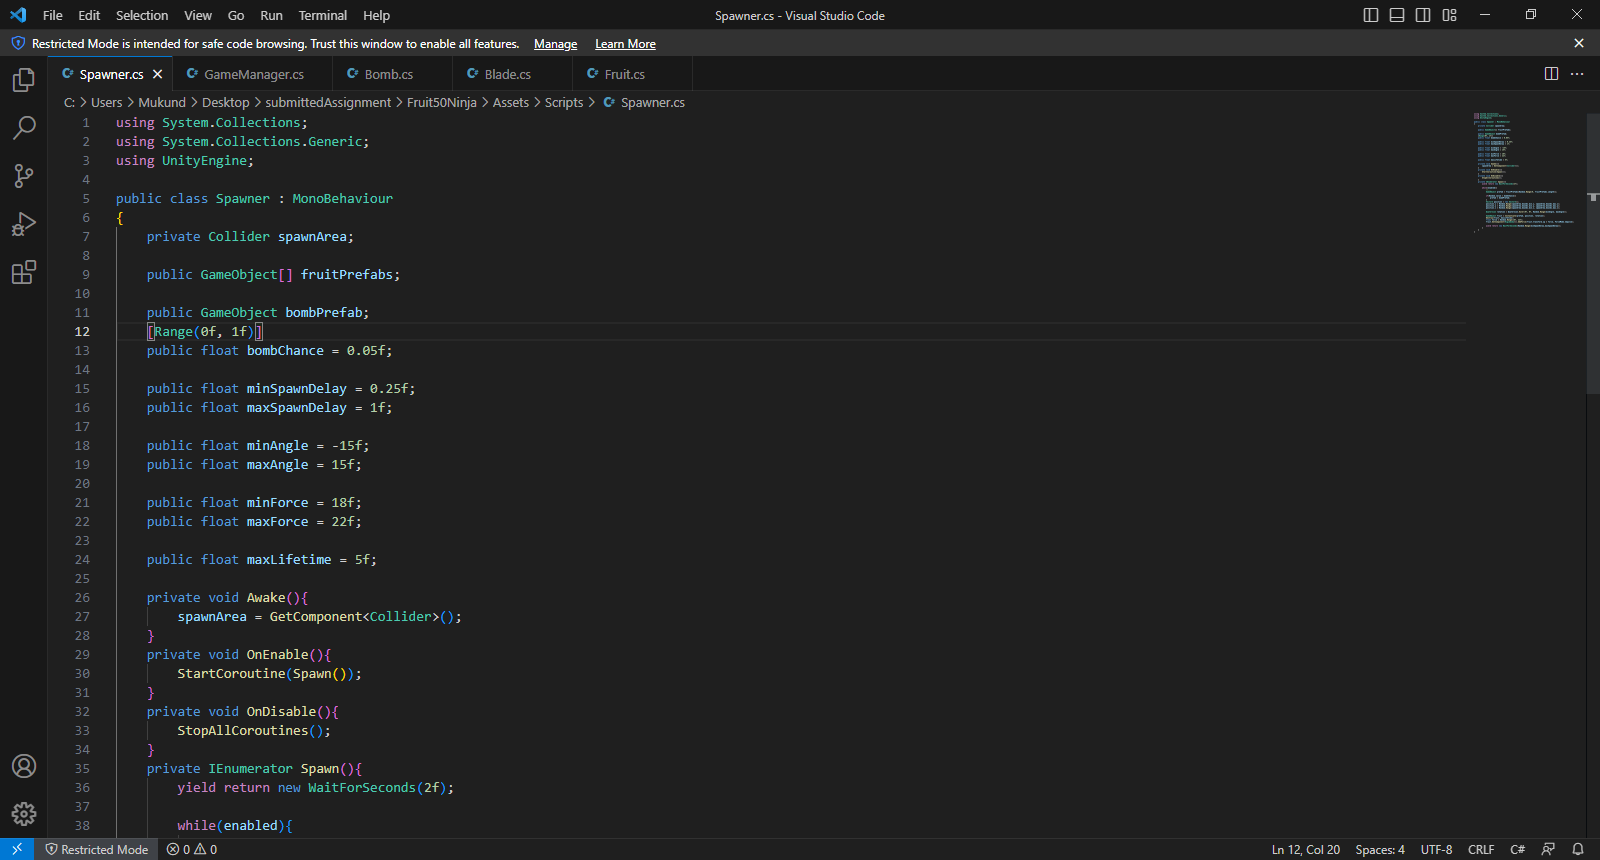
1} Create an empty Game Object in our Scene named Spawner. Create a C# script named Spawner which will be responsible for the logic behind Spawning our Fruits in the scene. Added this script as a component in our Game Object Spawner.
2} Added a Box Collider to our Spawner and set its Y to -15 as this box collider will be referenced for Spawning our fruits. All Fruits are Spawned on this Box collider hence this collider is kept as IsTriggered since we don't want Fruits actually colliding with it.
3} Created reference to our collider in our Spawner.cs script and intializing and getting this component in our Awake() function. Added OnEnable() and OnDisable() functions to start and stop all coroutines.
4} Created an array of Game Object for our Fruit prefab to store all the fruits we have created earlier stored in our Prefab folder. Added other variables such as minSpawnDelay, maxSpawnDelay, minAngle, maxAngle, minForce, maxForce, maxLifeTime doing what their name suggests.
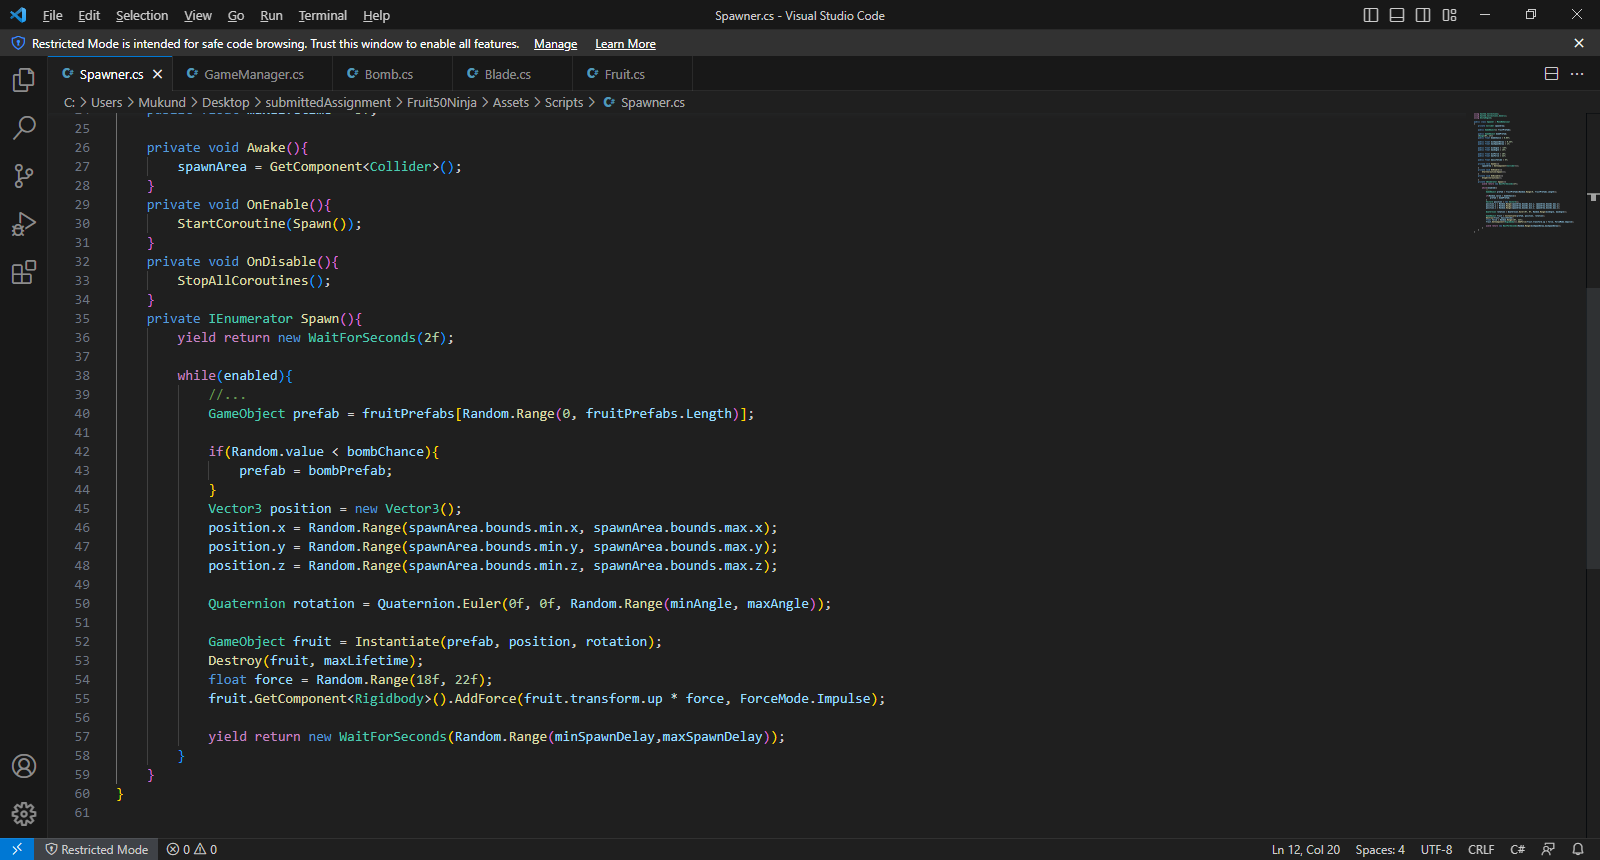
5} Dragged fruit prefabs from Assets/Prefab to our Spawner.cs in Spawner Game Object. Added logic for Spawning fruits in our IEnumerator() function which yeilds return new Wait for seconds 2 when the function is first called so that the player gets ready and then while enabled it returns new Wait for seconds between minSpawnDelay & maxSpawnDelay.
1} Added a Game Object named Blade to our Scene and added Playet tag to it. Create a C# script named Blade which will be responsible for the logic behind Slicing our Fruits based on our mouse Input in the scene. Added this script as a component in our Game Object Blade.
2} Added a Collider to our Blade, this collider will be referenced for Slicing our fruits. Created reference to our collider in our Blade.cs script and intializing and getting this component in our Awake() function.
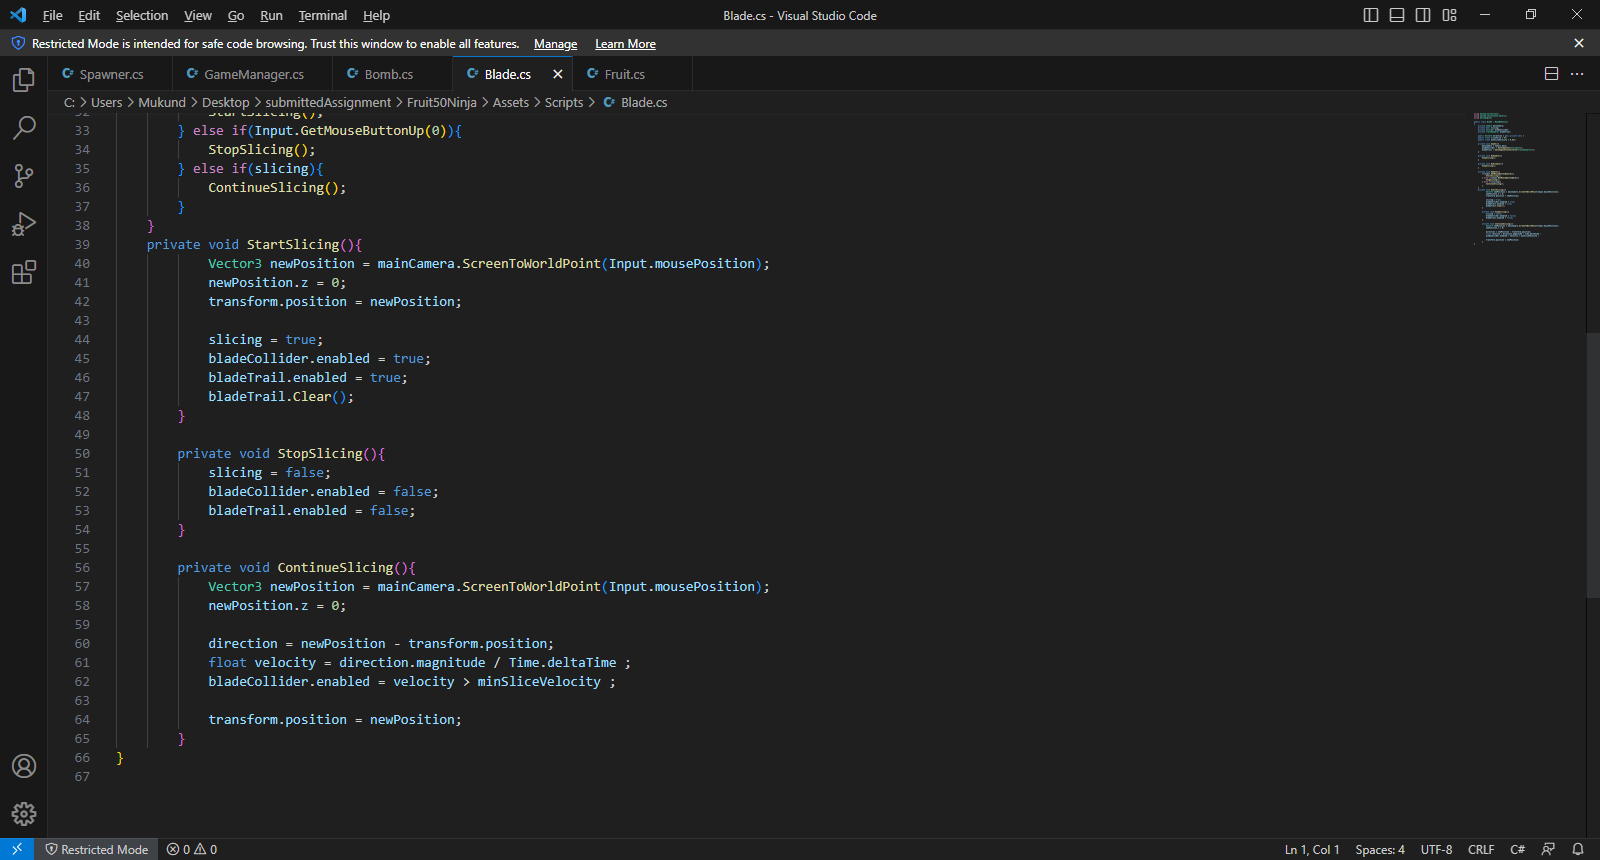
3} Enable and Disable this collider in our StartSlicing() and StopSlicing() functions respectively. We also calculate our Direction and Velocity of our blade so we can DISABLE it at velocity < MinSliceVelocity.
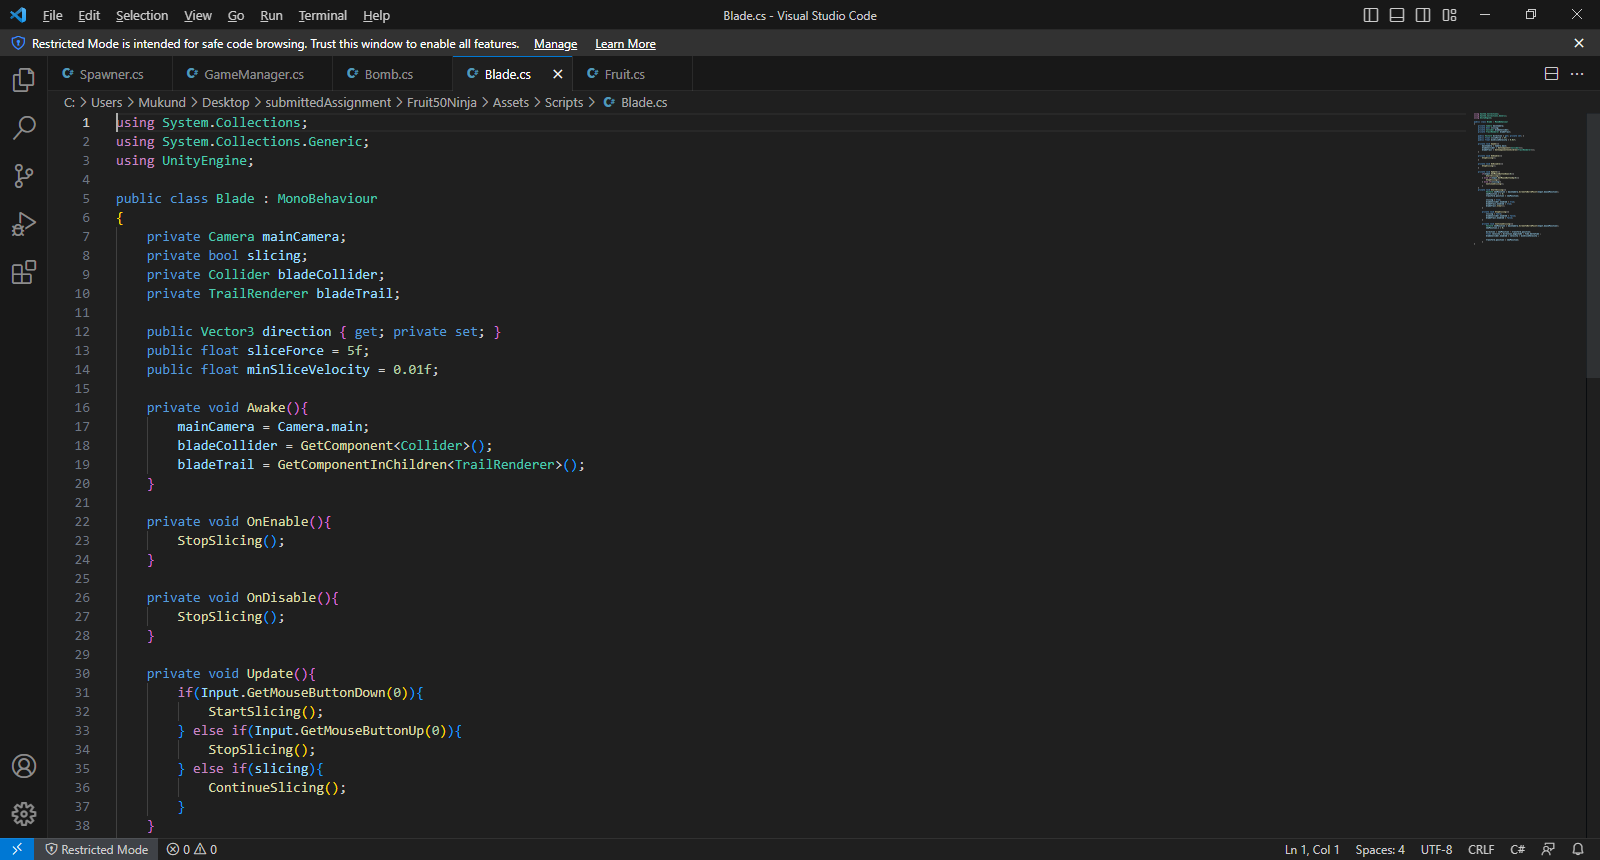
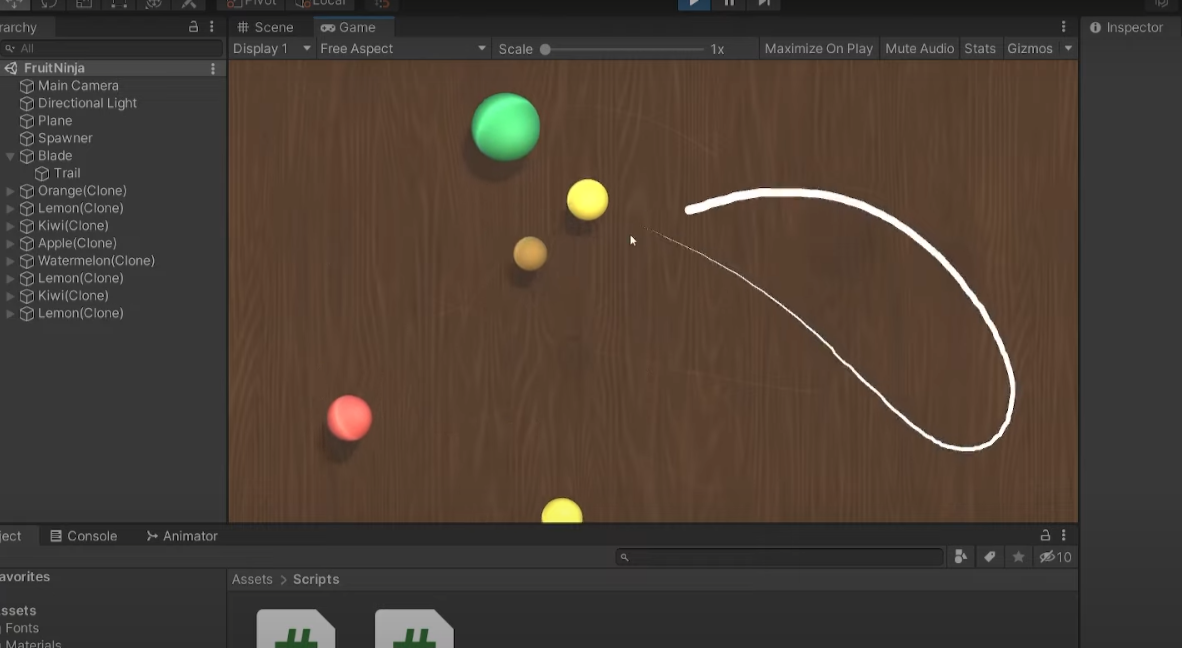
1} Added a Trail to our Blade as its child, this Trail will be referenced for Trailing our Blade. Created reference to our TrailRenderer in our Blade.cs script and intializing and getting this component(GetComponentInChild() since its a child of our Blade Game Object) in our Awake() function.
2} Enable and Disable it in the same way as our Blade. bladeTrail.Clear() when we start slicing to fix the bug which appears on clicking screen (the trail getting rendered by just clicking which we don't want).
3} In our Trail which is child of our Blade Game Object we changed time to 0.2 (thats how long our trail will be rendered) and End cap vertices to 4 (so it looks circular at its end points). Made the Width vs Time graph linear with Width = 0.4 at Time = 0 and Width = 0 at Time = 1.
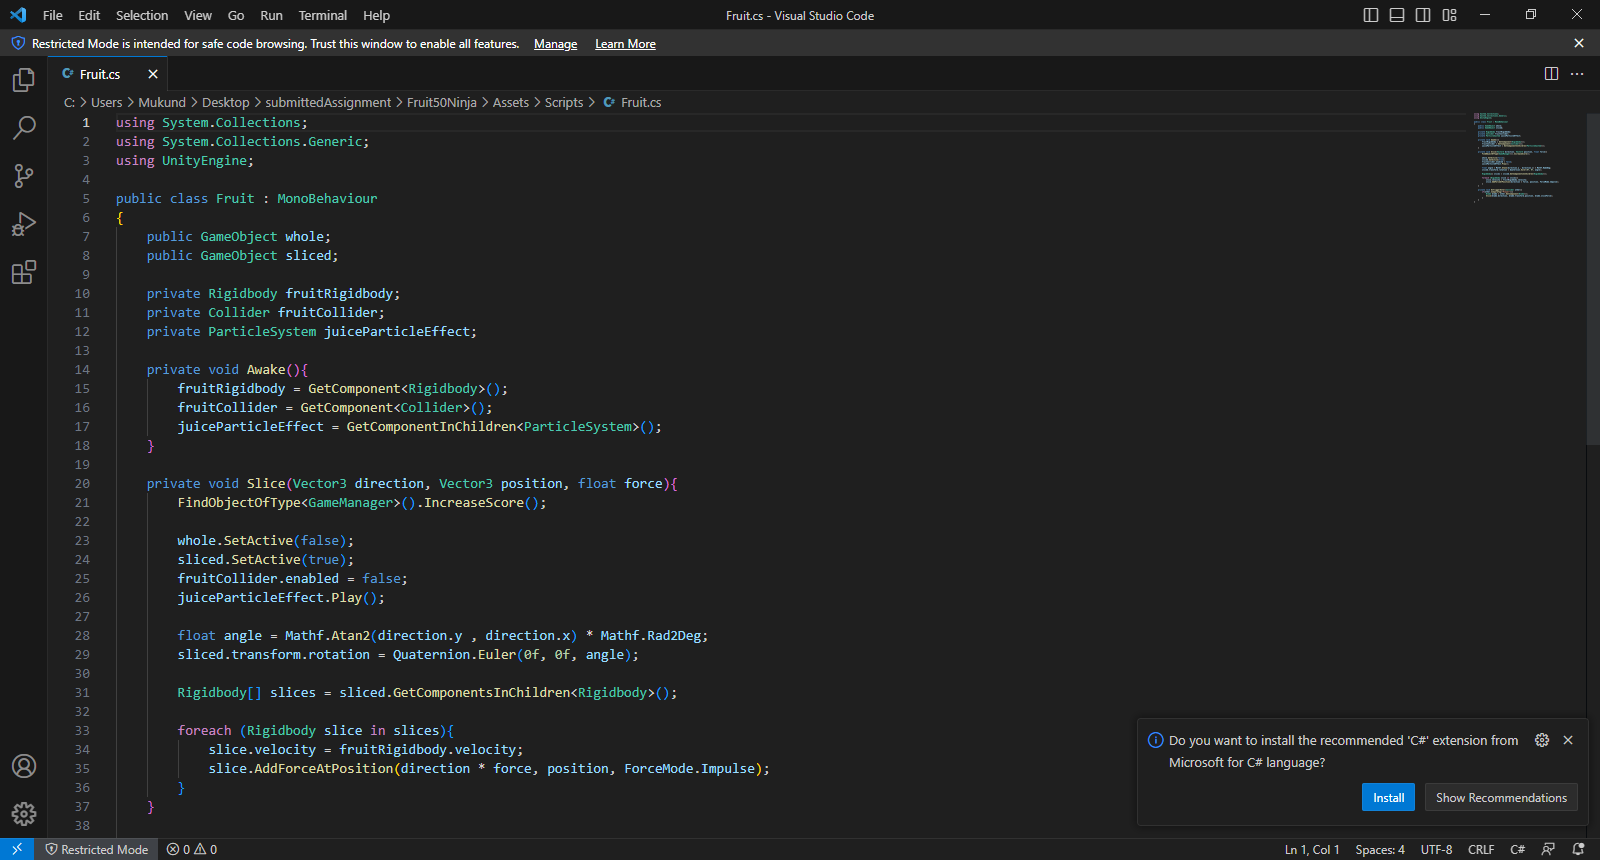
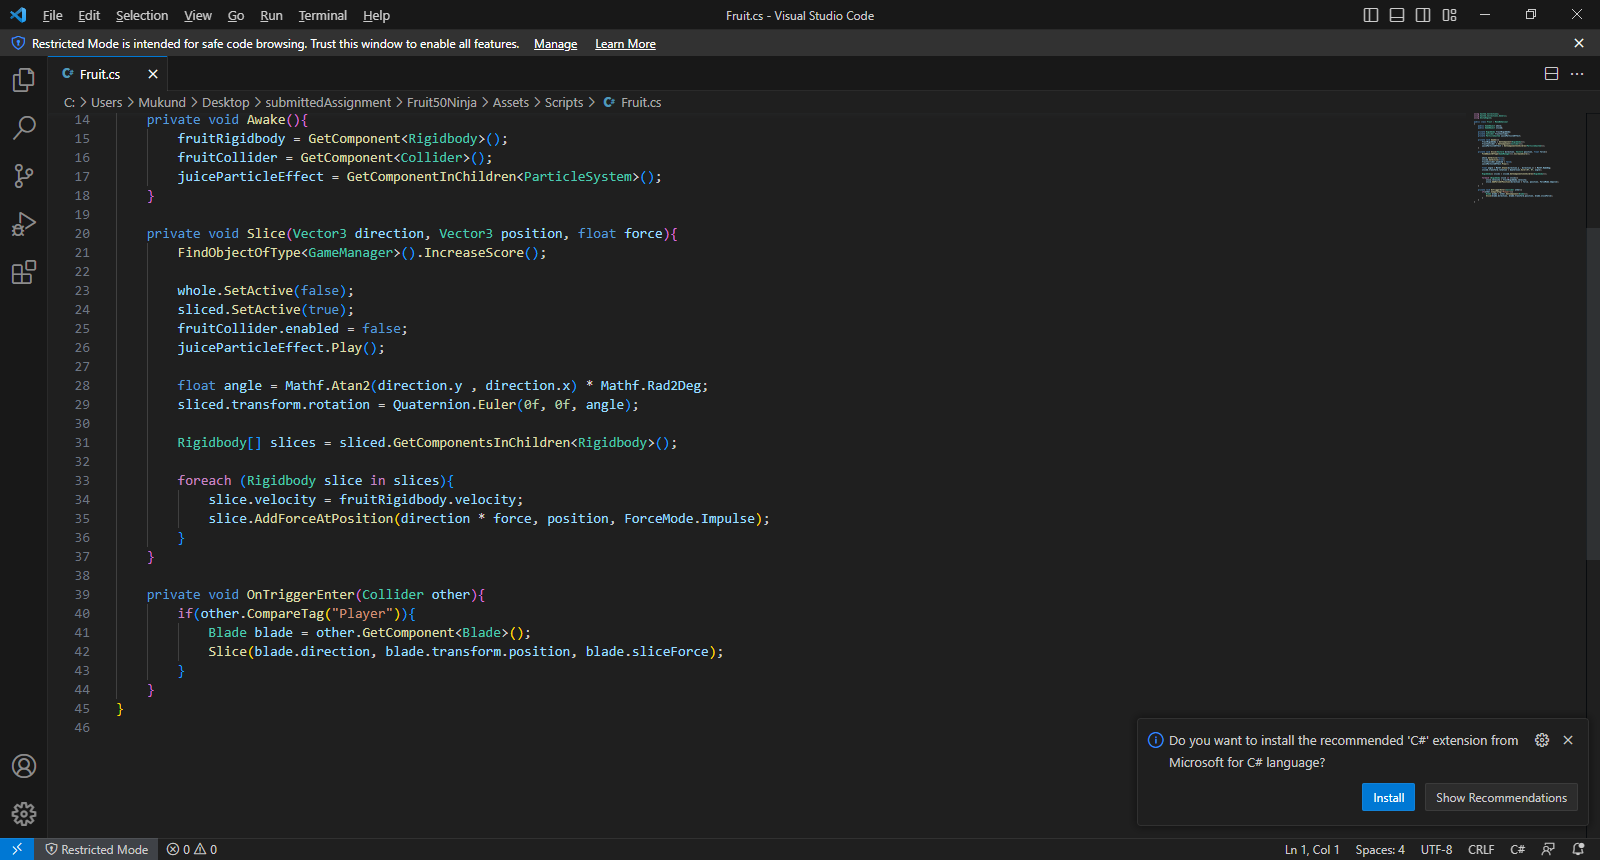
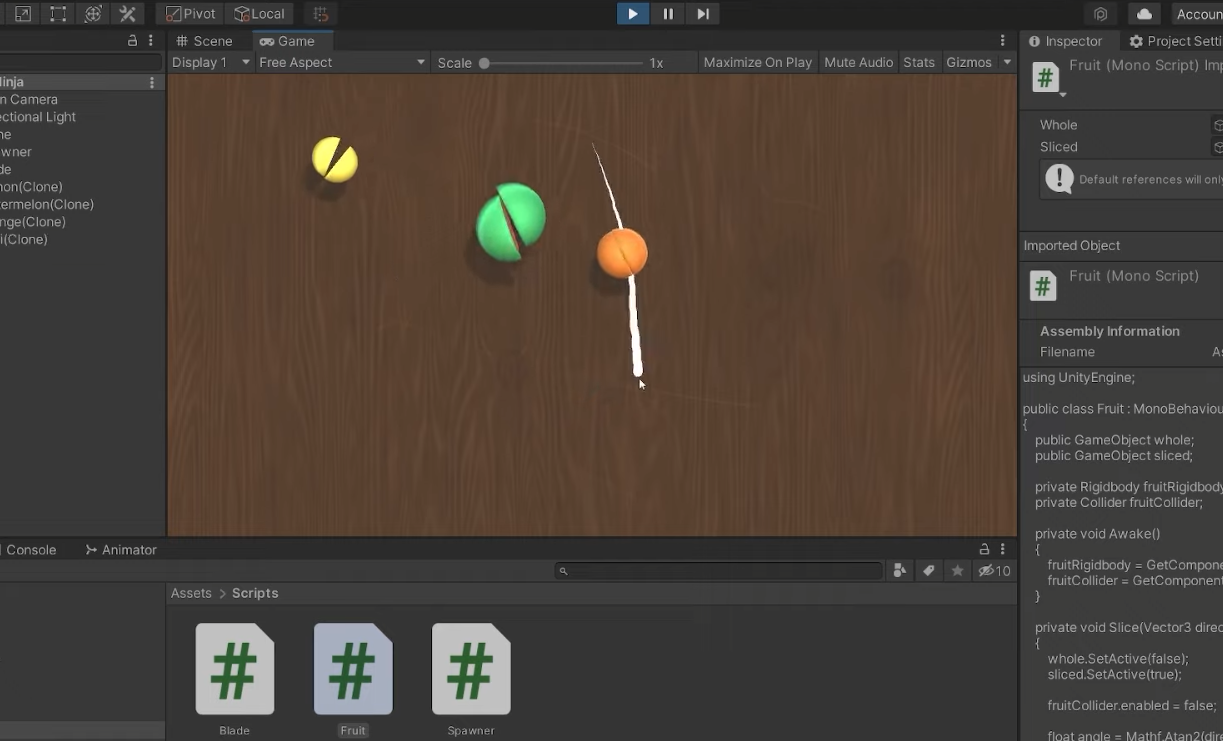
1} Created a new script called Fruit and assigned it to our Fruit_base Prefab hence this script gets applied to all the varients created by us from Fruit_base i.e all Fruits.
2} In this script we need to get reference to our Game Object whole & sliced and swap them. Check for collision with our Player Tag that is Blade in our Fruit Script.
3} We want to Transfer our velocity of whole to the sliced Fruit. For this, at collision we pass in the parameters from Blade namely as direction, position and force to our Slice() function.
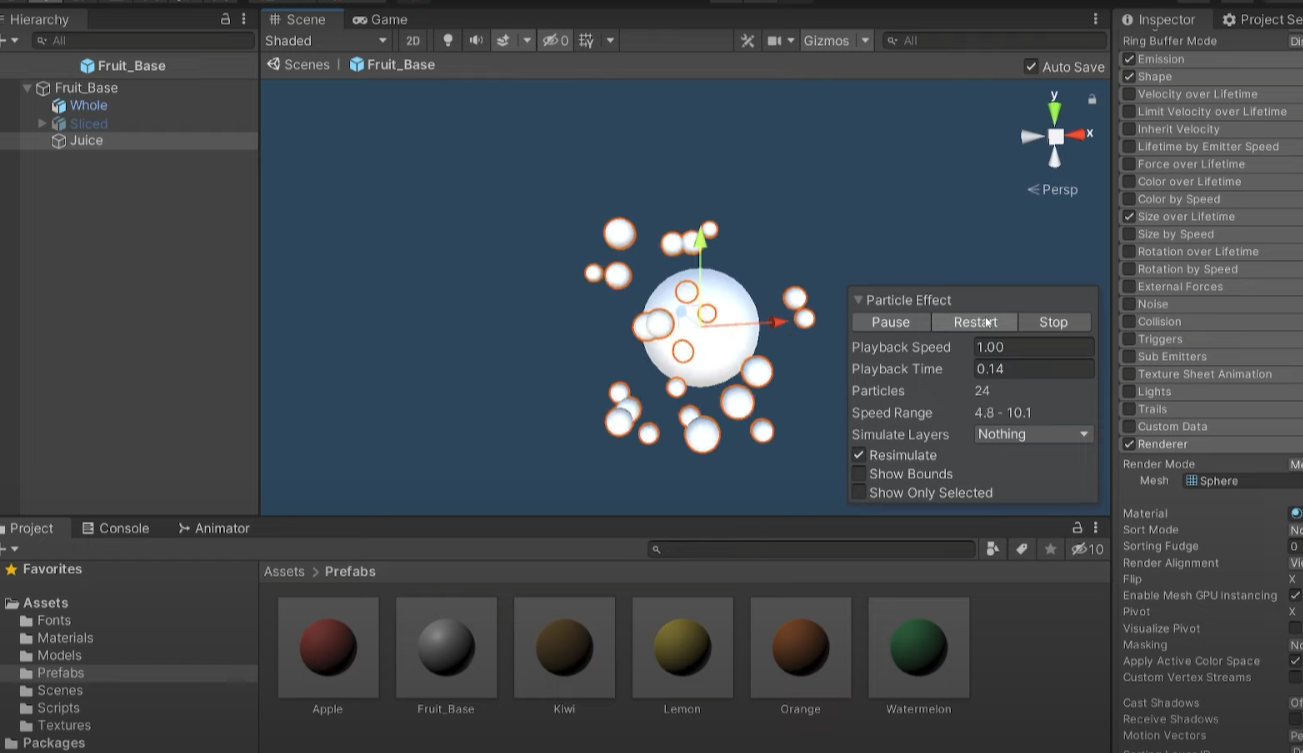
1} Right click and Add a particle effect to Fruit_base in Heirarchy because we want our fruits juice coming out as we slice it and since we are applying this particle effect to our Fruit_base it will automatically be applied to all of our Fruits.
2} In Inspector of our particle system we changed Rate over time to 0 as we want our particles to be a single burst. Changed shape to sphere as we want paricles coming out from all direction and not just a cone and Thickness to 0, this will contribute in all particles spawning at the edge of our Fruit.
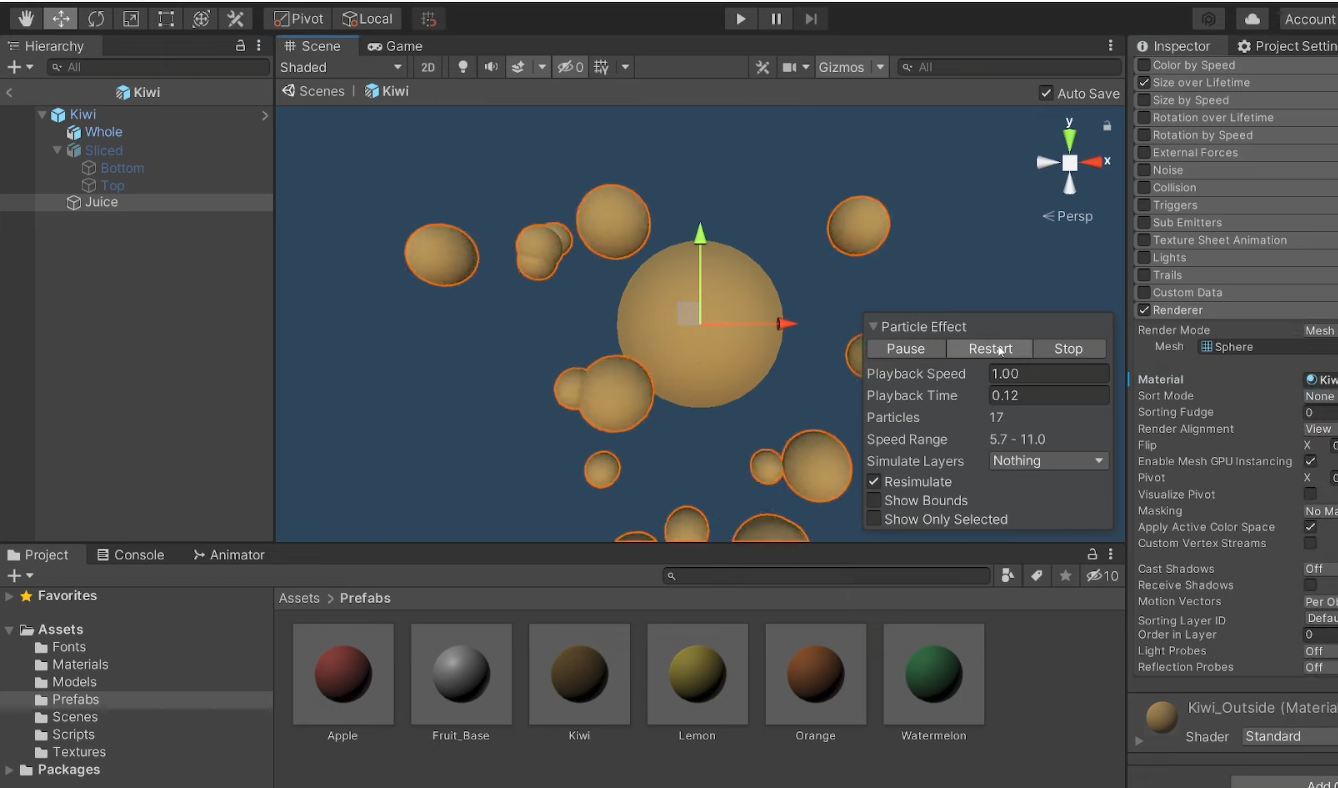
3} Size over time graph changed to Linear with size going from 1 to 0 over time, this was done to give particles a feel of a Droplet. Render mode changed to Mesh of a sphere and set the material to be the same as of the fruit being sliced.
4} Now go to each Fruit prefab and override the material in particle effect to the material of respective fruits Outside.
5} All we need to do now is Create a reference of Particle system in our Fruit script and use Play() function in our Slice() function to show the particle effect when a Fruit is Sliced.
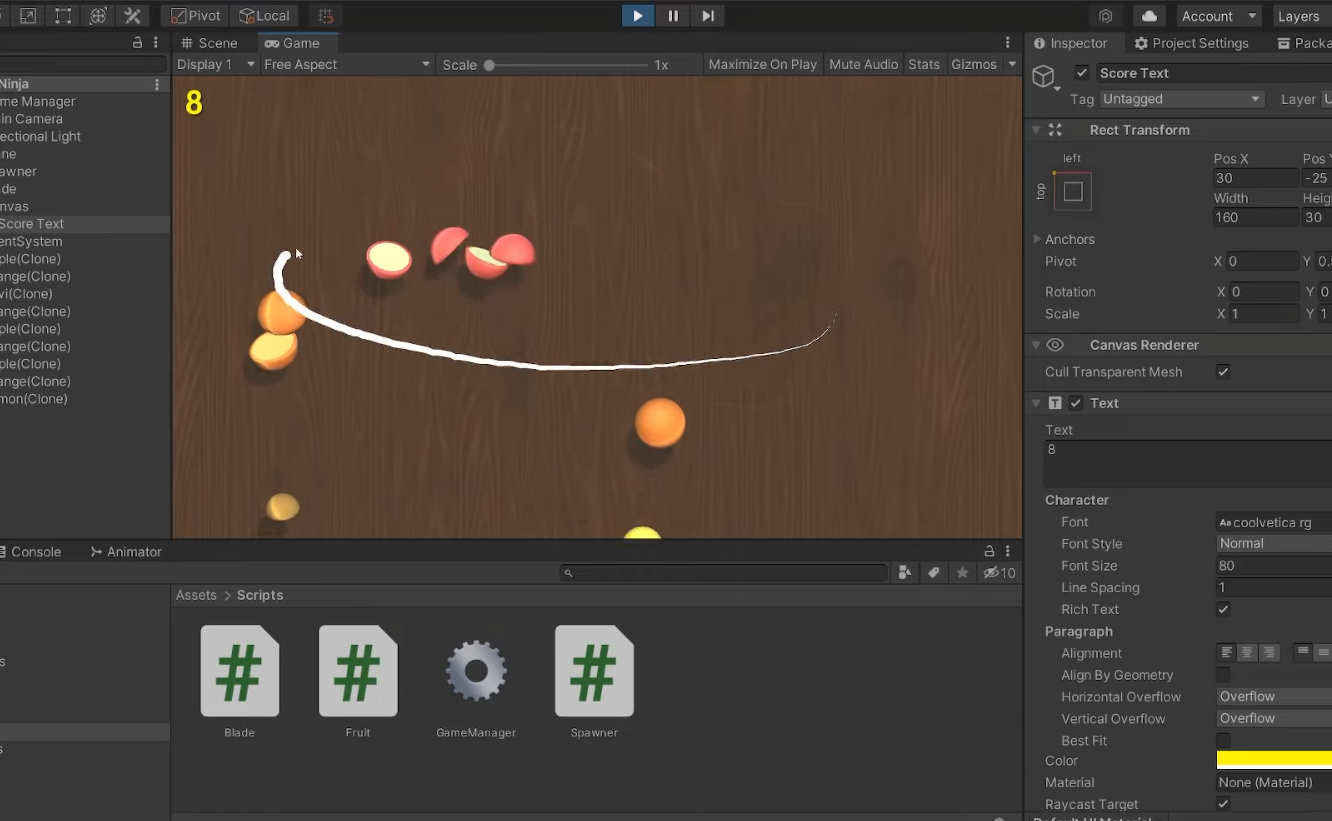
1} Create a Canvas(Raw Text) in our Hierarchy which is a UI component provided by Unity. Set Horizontal and Vertical overflow so that it balances it's textBox and we don't have to worry about size.
2} Set the anchor to top left as this will be featuring our Score. Changed colour to a golden yellowish colour.
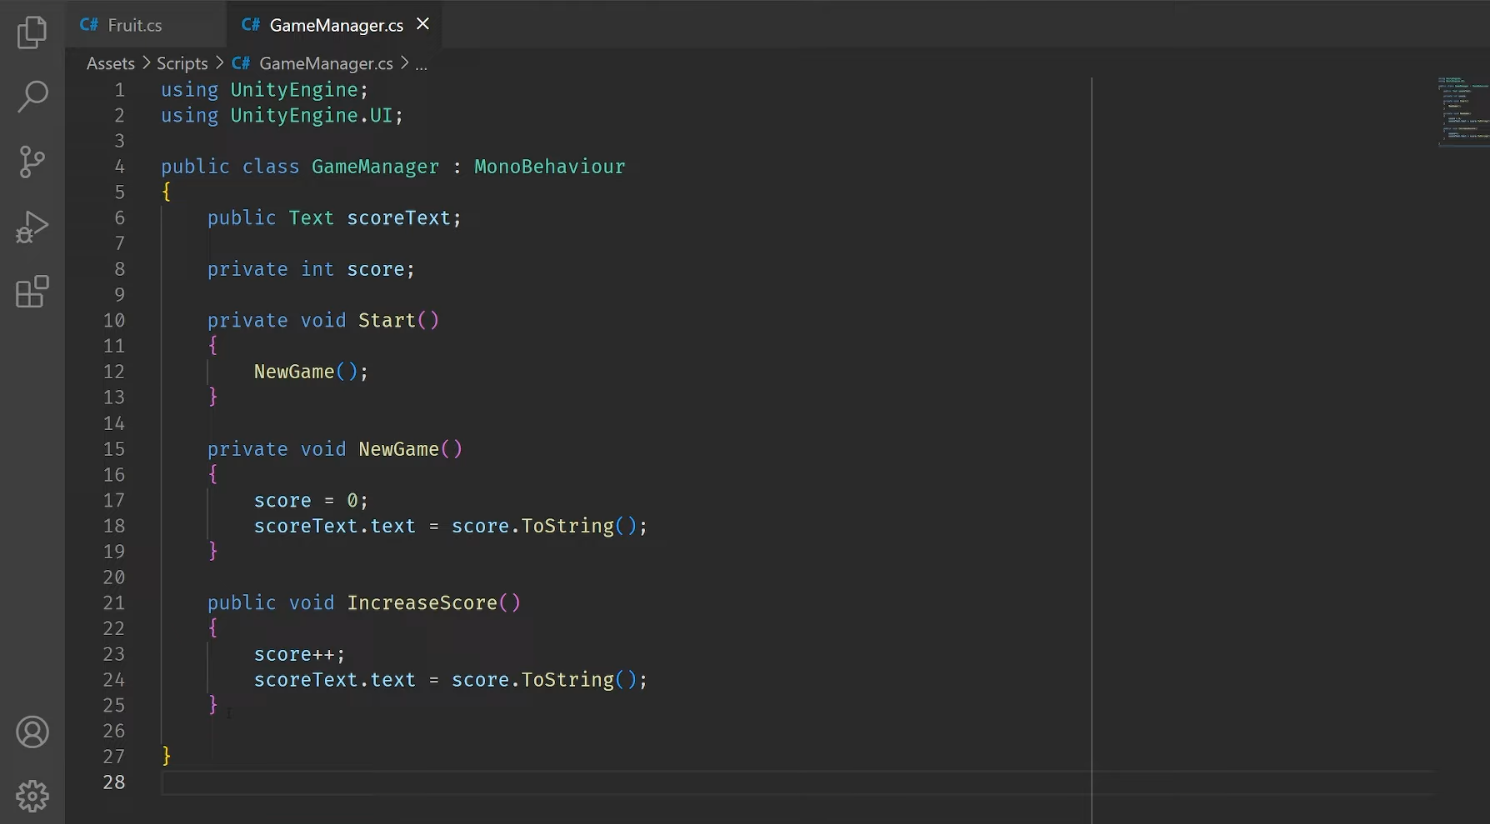
3} We handle our scoring in a new script called GameManager. We call our IncreaseScore() function of our GameManager script from the Slice() function in our Fruit Script. Assign text in Canvas to our GameManager script in our Game Manager game object.
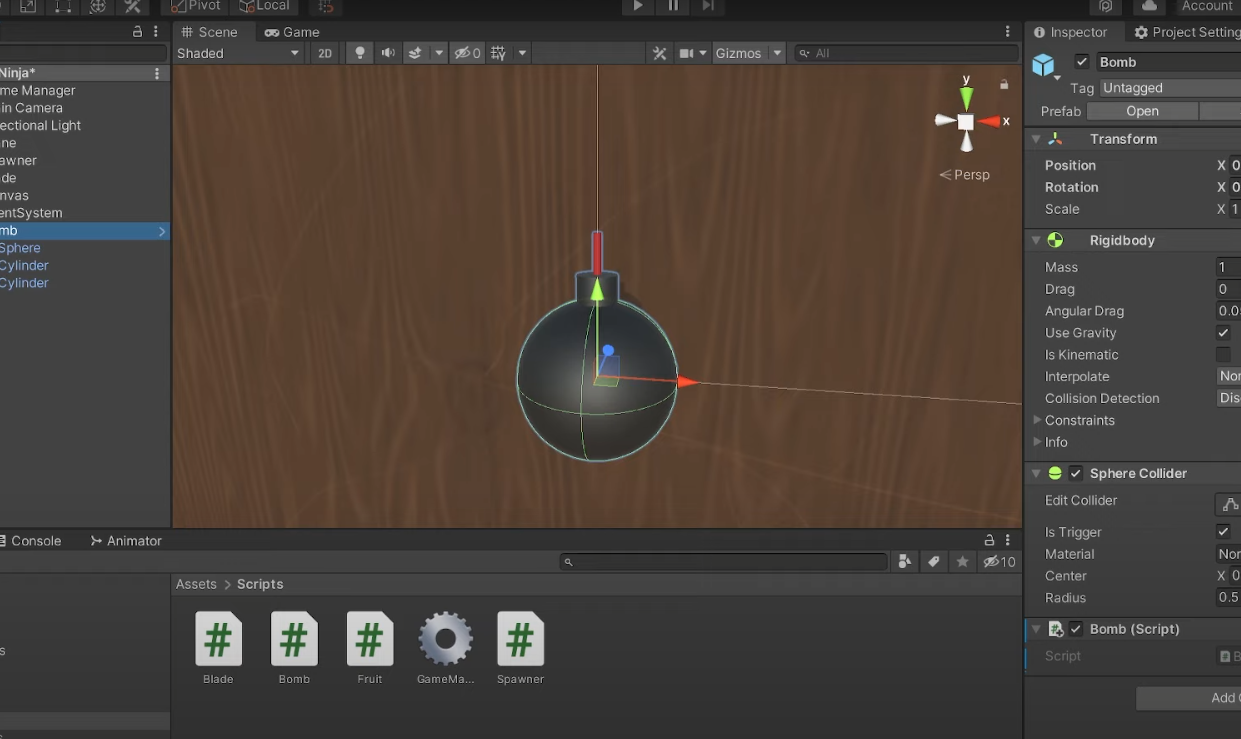
1} We Create a bomb in our hierarchy by right clicking and adding a game object named bomb and adding a sphere and 2 cyclinders to it. Create materials for our bomb and bomb Wick in Assets/Materials of colour black and dark red respectivily.
2} Added bomb prefab reference and bombChance variable in our spawner script so there's a chance of bomb getting spawned too. Also make a new script named as Bomb and add it to our bomb Prefab.
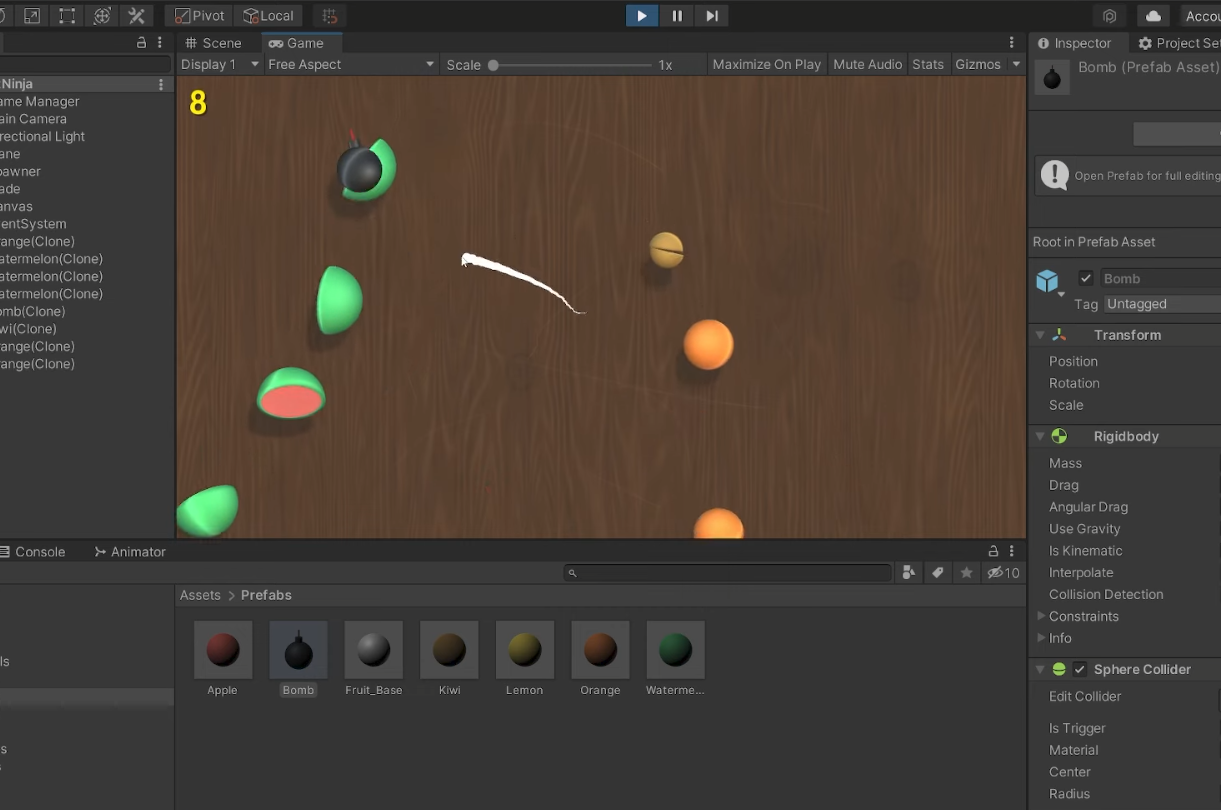
3} Go to Spawner game object and drag our bomb prefab onto our spawner script, and all we need to do in our bomb prefab is check for collision with our player(blade) tag with CompareTag(Player) function and call Explode() function from our Game Manager script when collision is detected.
4} Explode() function disables the spawner and blade creating a Game Over kind of State for which we are going to have fadeIn(white) state and fadeOut(back to normal).
1} Add an image component on canvas which will act as FadeIn white and scale it to entire screen. Now we can just change the alpha to create a fade in and out effect.
2} By default it will be at 0 and turn off Raycast target so it doesn't prevent us from clicking other things and we do the same thing for our score Text.
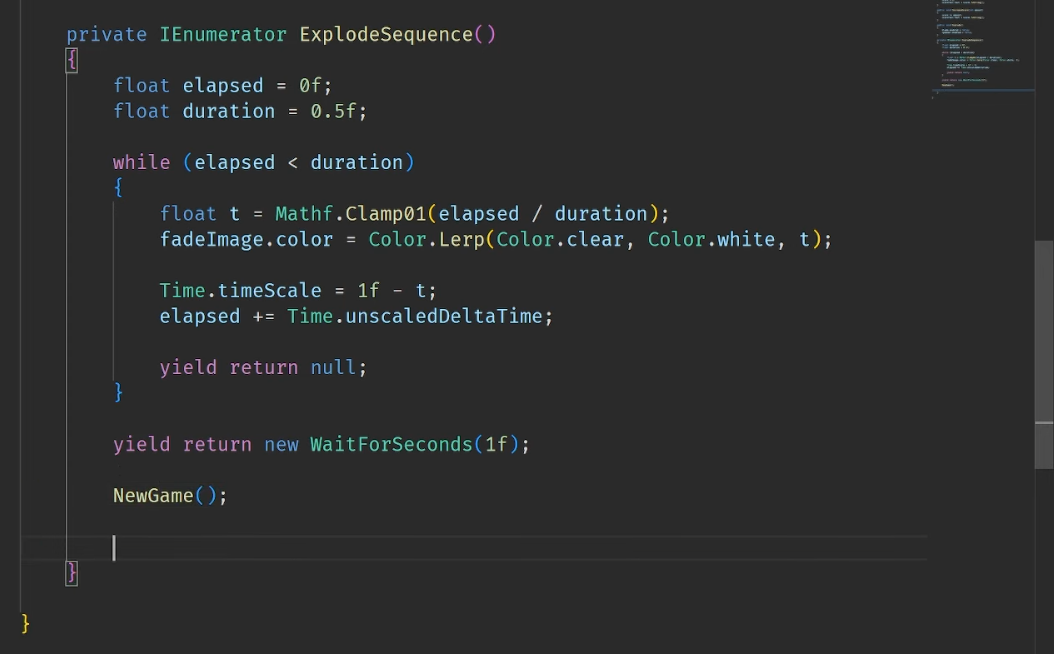
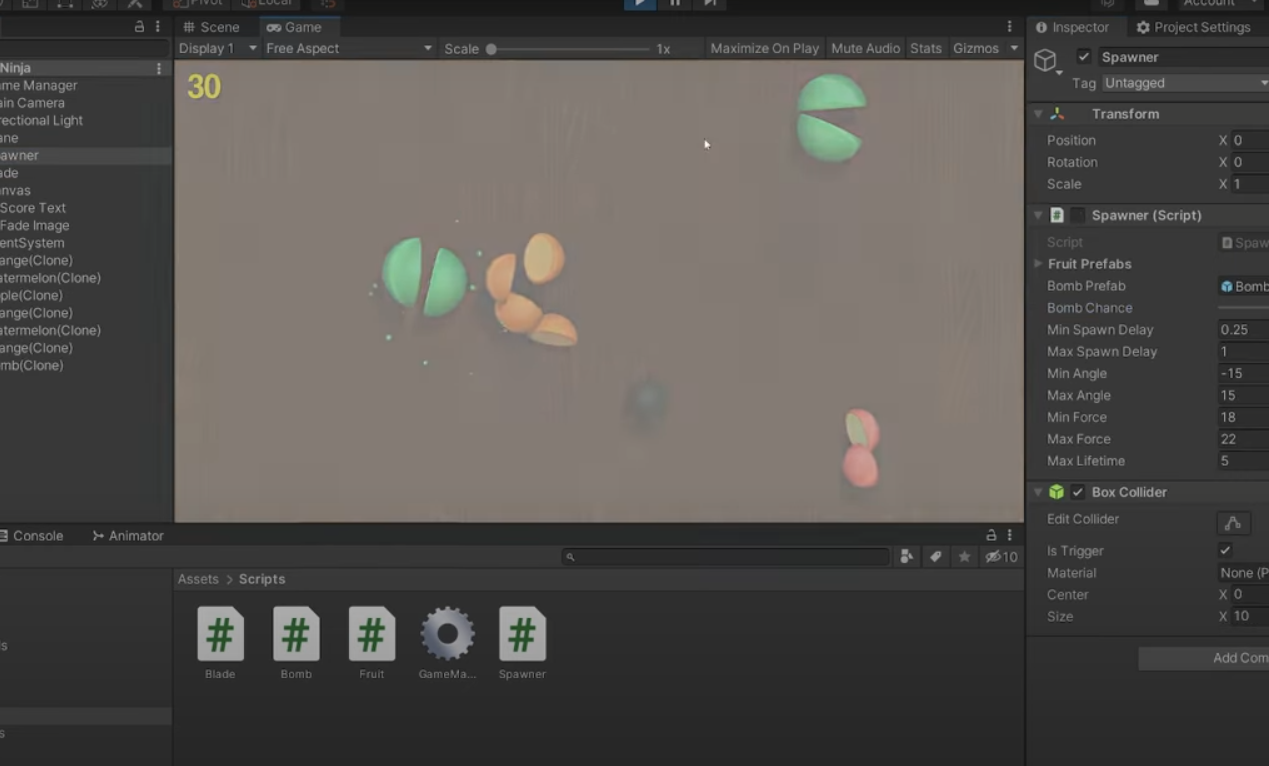
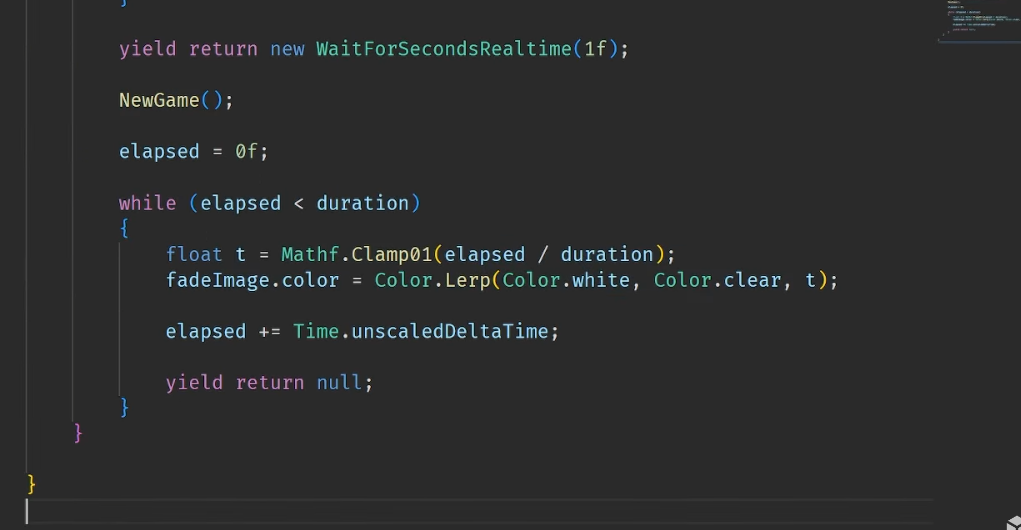
3} Get a reference to our Image in GameManager script and name it as fadeImage and then create our routine function named ExplodeSequence(). We Fade into White and then hold there for a second.
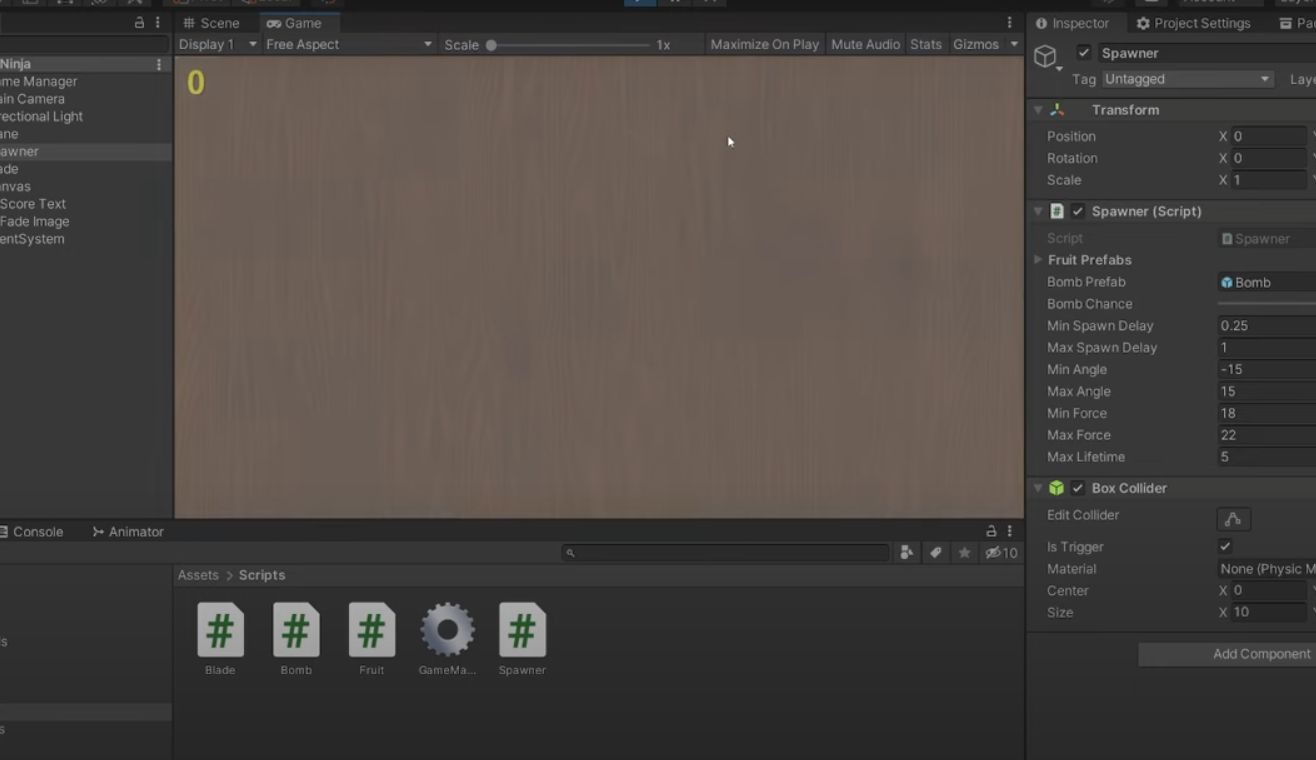
4} When we'll be switching to FadeIn white we want to clear all Fruits and Bombs in our Scene. Also we need to re-enable our Spawner.
5} Go to Game Manager game object in our scene and assign Fade Image from our canvas to the GameManager script.