The most efficient, reliable, and developer-friendly way to use the Google Images API.
Actor page: apify.com/johnvc/google-images-api Input schema: apify.com/johnvc/google-images-api/input-schema
Search Google Images in bulk and get back clean, structured JSON for every result: the full-size image URL with its width and height, a thumbnail, the source site and domain, the page the image appears on, and a Google reference URL. Pass many queries at once, localize by country and language, and export thousands of images. You pay per image returned, from $0.10 per 1,000.
- Python 3.11 or higher
- An Apify account and API key (get a free key here)
-
Clone the repository
git clone https://github.com/johnisanerd/Google-Images-API.git cd Google-Images-API -
Install dependencies with UV
# Install UV if you do not have it:
curl -LsSf https://astral.sh/uv/install.sh | sh

# Install project dependencies:
uv sync
-
Configure your API key
cp .env.example .env
# Edit .env and add your Apify API key
# Get your free API key at: https://apify.com?fpr=9n7kx3
-
Run the example
uv run python google-images-api-example.py
export APIFY_API_TOKEN="your_api_key_here"
uv run python google-images-api-example.pyIt is the lowest-cost path to Google Images data. You pay a flat $0.0001 per image, which is $0.10 per 1,000, with no setup fee and no per-run fee. That is roughly 10x below the cheapest mainstream alternative.
It returns clean, predictable JSON. Every result is one row with a stable set of fields, so you can load it straight into a dataframe, a database, or an AI pipeline without reshaping.
It is fast and reliable. The API talks to a structured data service instead of driving a slow, breakable headless browser, so runs finish quickly and consistently.
It is built for batch work. Pass a list of queries and a per-query result count, and the API paginates for you and tags every row with the query it came from.
It is MCP-ready. AI agents can discover and call it as a tool through the hosted Apify MCP server, so an assistant can fetch image results in one step.
- Bulk search: pass one or many queries in a single run
- Control the number of images returned per query
- Localize results by country (
gl) and language (hl) - Pagination handled for you, with per-query result tagging
- Full-size
imageUrlplusimageWidthandimageHeight thumbnailUrlwith its own dimensions for fast previewssourcesite,domain, and thelinkto the hosting page- Stable, flat JSON shape: one row per image, easy to load anywhere
{
  "queries": ["golden retriever puppy"],
  "maxResultsPerQuery": 10
}{
"queries": ["golden retriever puppy", "eiffel tower at night"],
"maxResultsPerQuery": 100,
"gl": "us",
"hl": "en"
}| Parameter | Type | Required | Default | Description |
|---|---|---|---|---|
queries |
list[str] |
YES | - | One or more image search queries. Each is searched independently and tagged in the output. |
maxResultsPerQuery |
int |
no | 100 |
How many images to return per query (minimum 1, maximum 1000). |
gl |
str |
no | "us" |
Two-letter country code for localization, e.g. us, gb, de. |
hl |
str |
no | "en" |
Two-letter interface language code, e.g. en, es, de. |
Each item in the dataset is a single image result:
{
  "query": "golden retriever puppy",
  "position": 1,
  "title": "Golden Retriever Puppy",
  "imageUrl": "https://images.example.com/products/57215/golden-retriever-puppy.jpg",
  "imageWidth": 1047,
  "imageHeight": 699,
  "thumbnailUrl": "https://encrypted-tbn0.gstatic.com/images?q=tbn:ANd9Gc...",
  "thumbnailWidth": 275,
  "thumbnailHeight": 183,
  "source": "Photowall",
  "domain": "www.photowall.com",
  "link": "https://www.photowall.com/us/golden-retriever-puppy-wallpaper",
  "googleUrl": "https://www.google.com/imgres?imgurl=..."
}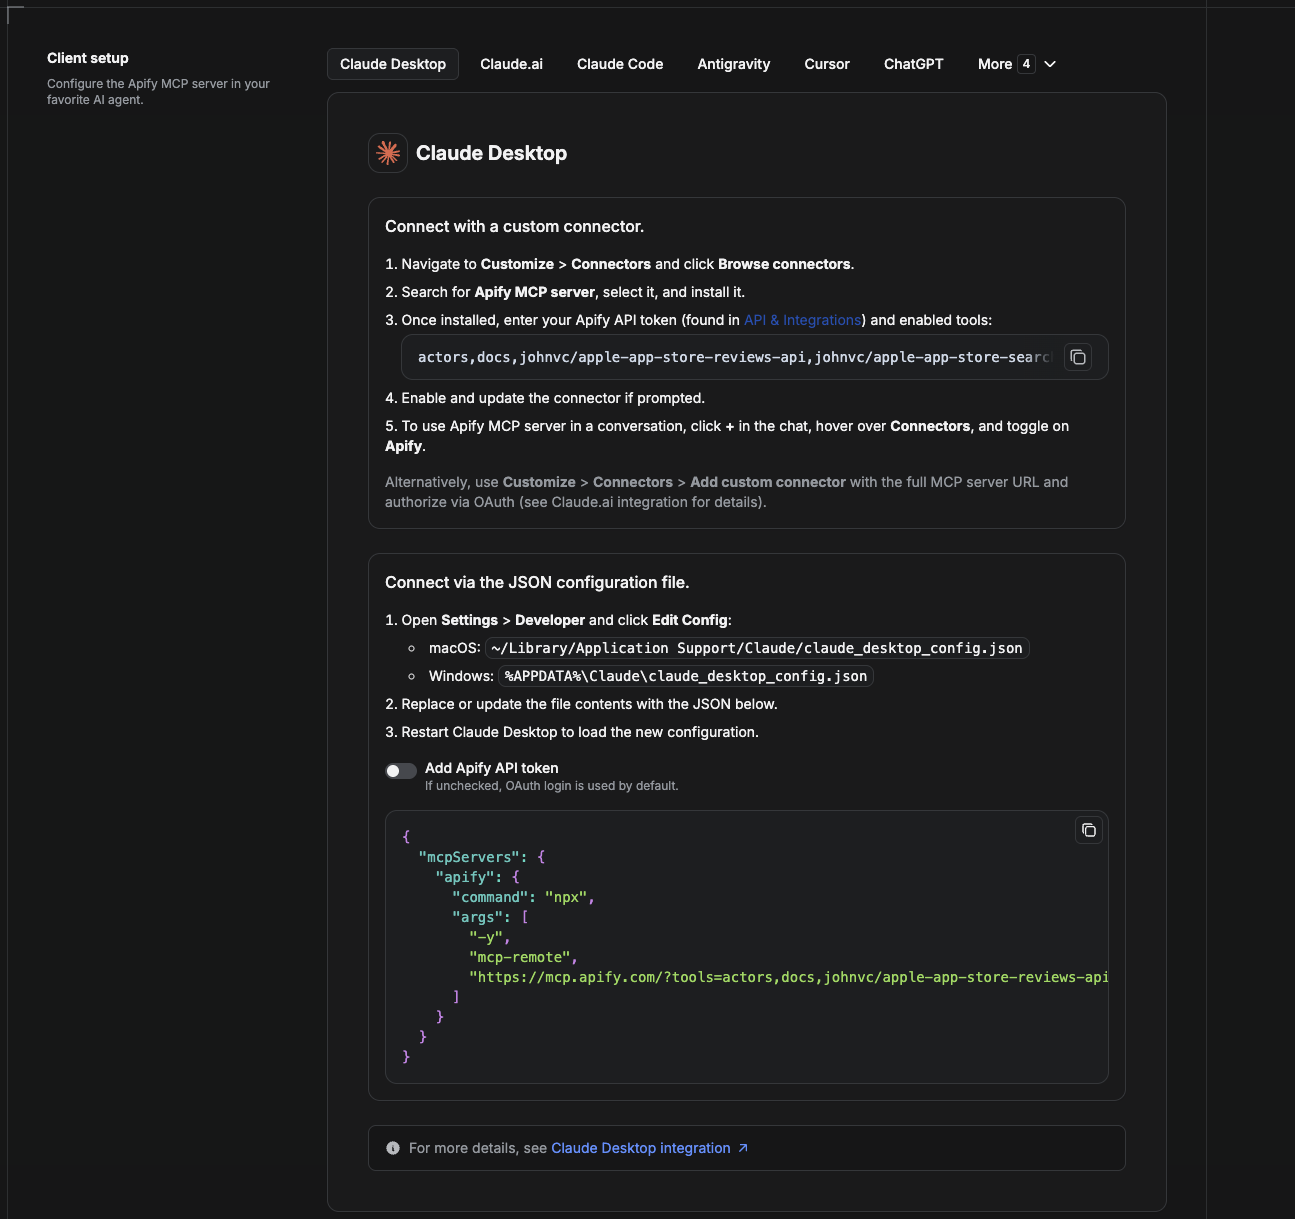
Cowork is the desktop app's automation mode. To give it the Google Images API as a tool, add the Apify MCP server as a connector.
- Open the Claude desktop app and go to Settings → Connectors (or Settings → Developer → Edit Config to edit
claude_desktop_config.jsondirectly).- macOS:
~/Library/Application Support/Claude/claude_desktop_config.json - Windows:
%APPDATA%\Claude\claude_desktop_config.json
- macOS:
- Add the Apify MCP server, preloaded with only this Actor:
{
  "mcpServers": {
    "apify": {
      "command": "npx",
      "args": [
        "-y",
        "mcp-remote",
        "https://mcp.apify.com/?tools=actors,docs,johnvc/google-images-api"
      ]
    }
  }
}- Restart the app. When Cowork first calls the tool, complete the OAuth prompt in your browser, or add your Apify API token in the connector settings to skip OAuth.
- In a Cowork chat, confirm the tool is available and ask it to run the Google Images API.
Download the desktop app and start a free trial: https://claude.ai/referral/uIlpa7nPLg More help: https://docs.apify.com/platform/integrations/claude-desktop
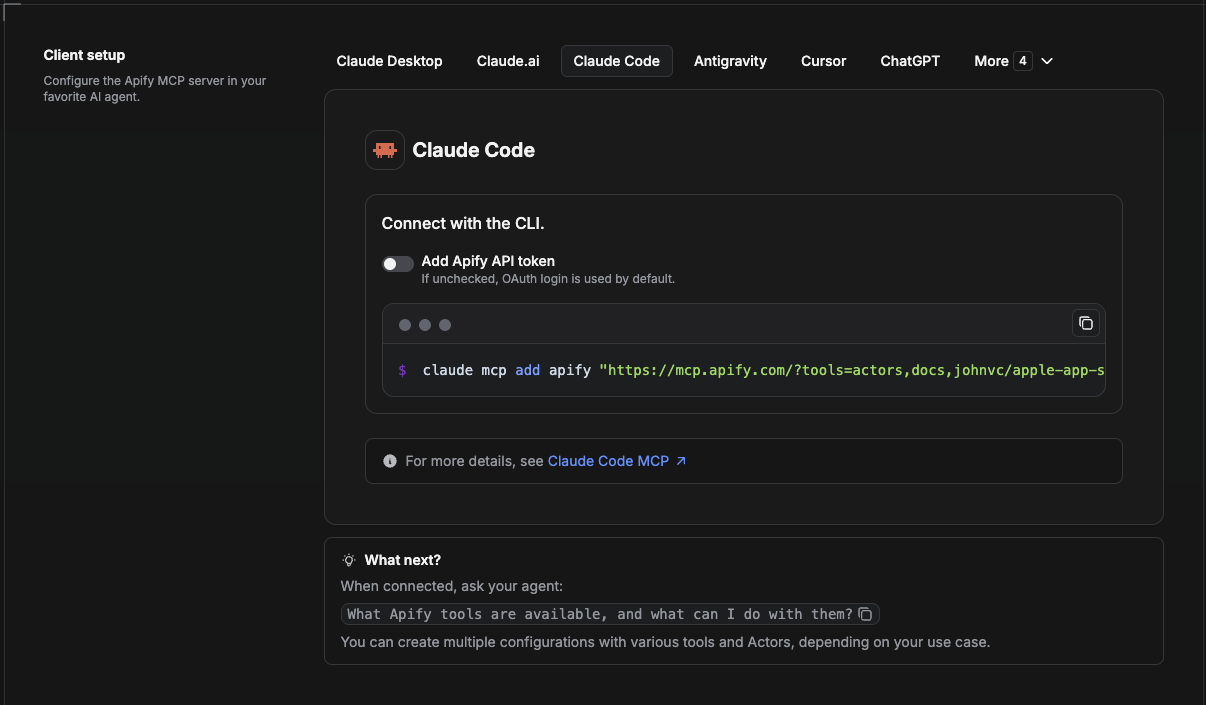
Claude Code is the command-line tool. Add the Actor's MCP server with one command:
claude mcp add --transport http apify \
  "https://mcp.apify.com/?tools=actors,docs,johnvc/google-images-api"
To use a token instead of browser OAuth:
claude mcp add --transport http apify \
  "https://mcp.apify.com/?tools=actors,docs,johnvc/google-images-api" \
  --header "Authorization: Bearer YOUR_APIFY_TOKEN"
Then verify with claude mcp list, or run /mcp inside a session. Ask Claude Code to call the Google Images API.
Try Claude Code free: https://claude.ai/referral/uIlpa7nPLg Claude Code MCP docs: https://code.claude.com/docs/en/mcp
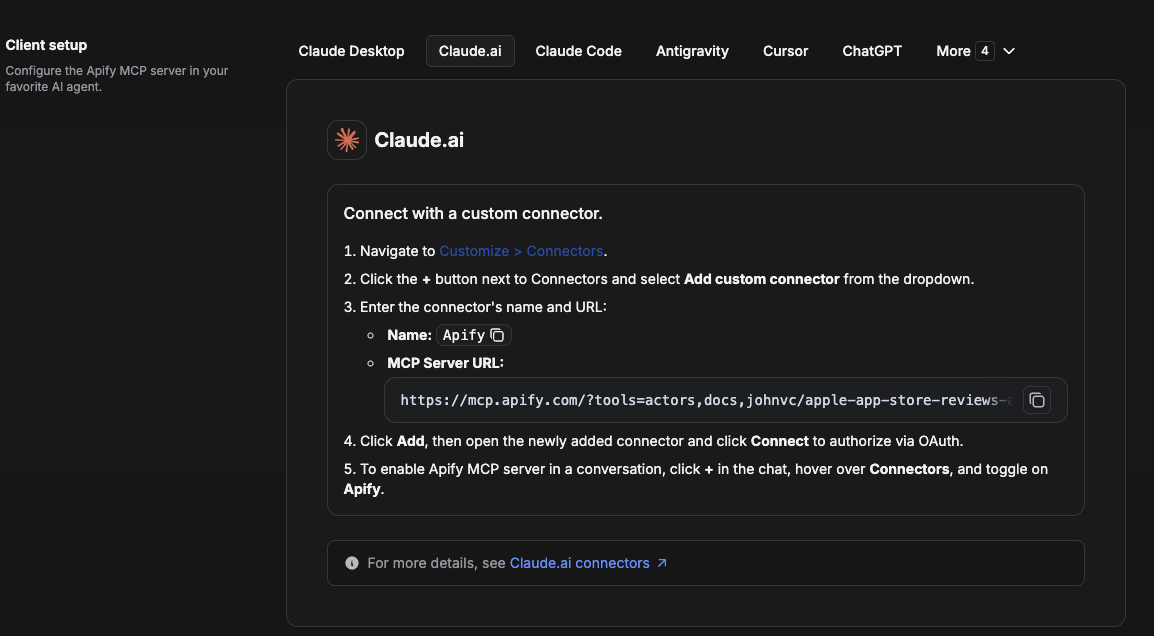
On claude.ai you add Apify as a connector, then enable just this Actor's tool.
- Go to Settings → Connectors → Browse connectors and search for Apify MCP server. Install it (enable or update if prompted).
- When connecting, authenticate with your Apify API token, and enable the tool
johnvc/google-images-api. - In any chat, open + → Connectors and turn on Apify.
- Alternatively, choose Add custom connector and paste the full MCP URL
https://mcp.apify.com/?tools=actors,docs,johnvc/google-images-api, using OAuth when prompted. - Ask Claude to run the Google Images API.
Open Claude on the web: https://claude.ai
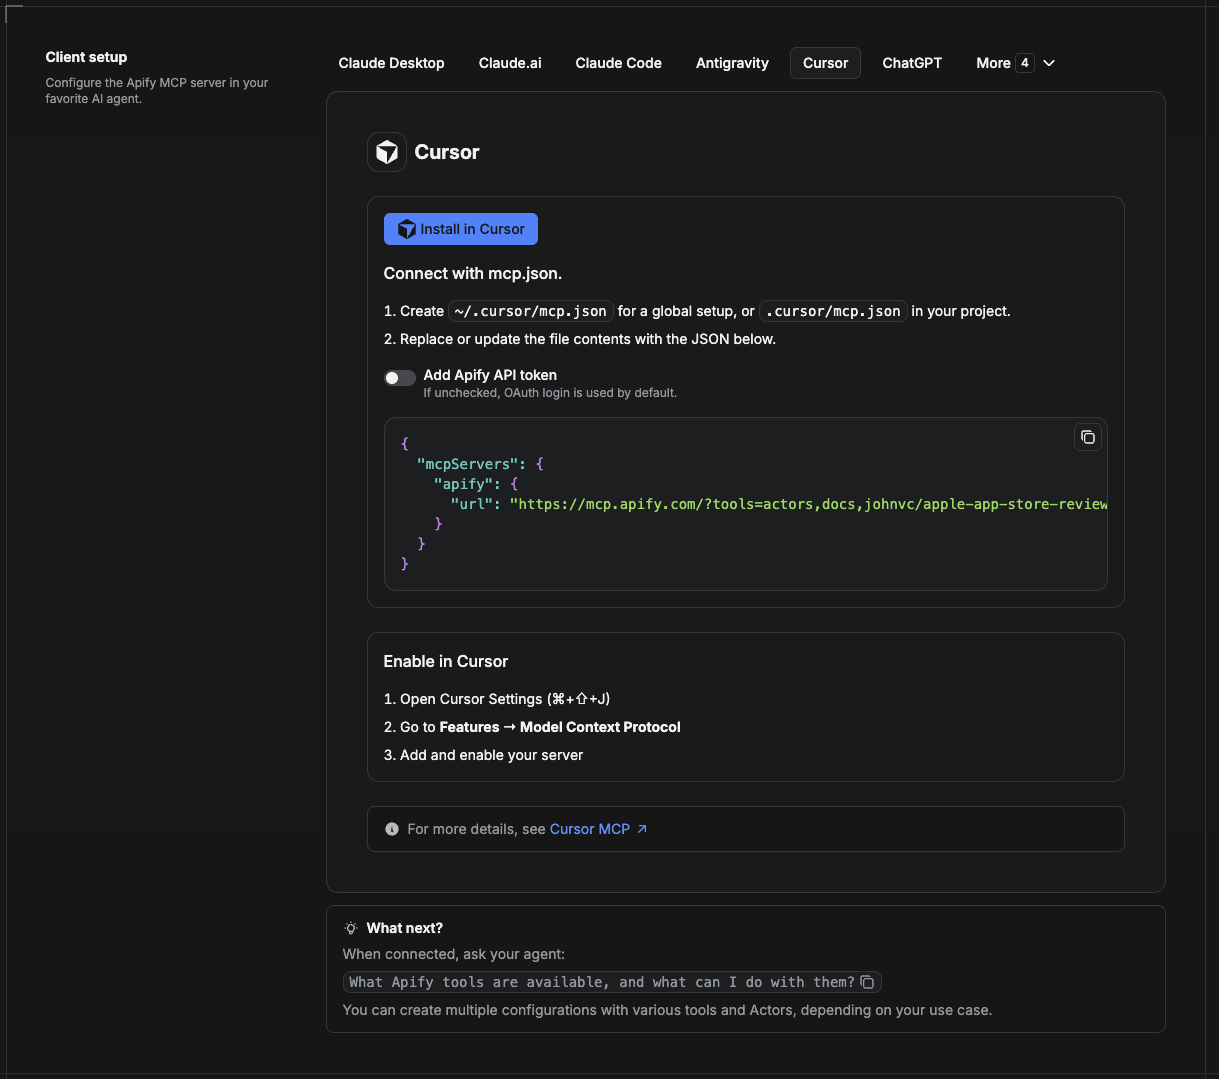
Cursor reads MCP servers from a project file at .cursor/mcp.json.
- In your project, create
.cursor/mcp.json:
{
  "mcpServers": {
    "apify": {
      "url": "https://mcp.apify.com/?tools=actors,docs,johnvc/google-images-api"
    }
  }
}- If you prefer token auth over browser OAuth, add a header:
{
  "mcpServers": {
    "apify": {
      "url": "https://mcp.apify.com/?tools=actors,docs,johnvc/google-images-api",
      "headers": { "Authorization": "Bearer YOUR_APIFY_TOKEN" }
    }
  }
}- Open Cursor → Settings → MCP and confirm the apify server is connected (green dot).
- In Composer or Chat, ask Cursor to call the Google Images API.
New to Cursor? Get it here: https://cursor.com/referral?code=XQP4VBLI3NNX
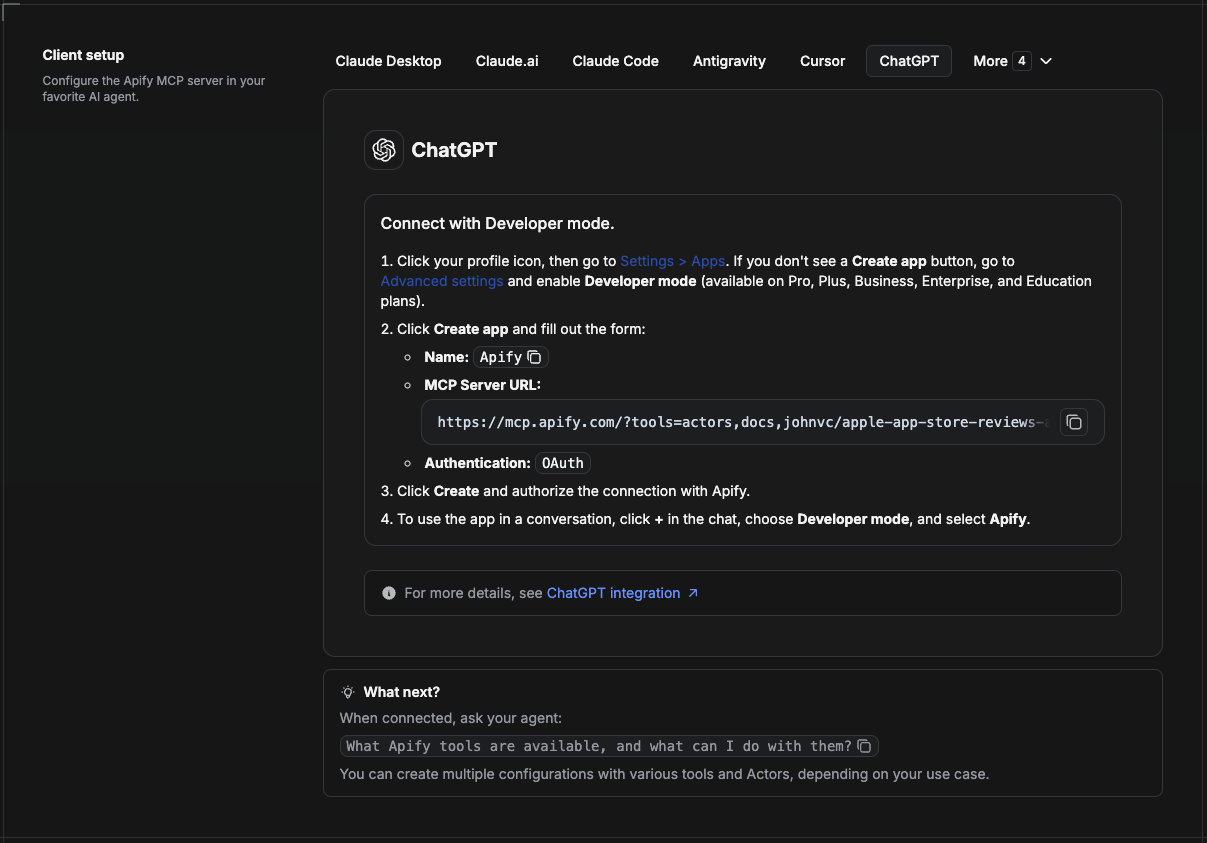
ChatGPT connects to the Apify MCP server through Developer mode (available on ChatGPT Pro, Plus, Business, Enterprise, and Education plans).
- Click your profile icon, then go to Settings > Apps. If you do not see a Create app button, open Advanced settings and enable Developer mode.
- Click Create app and fill out the form:
- Name: Apify
- MCP Server URL:
https://mcp.apify.com/?tools=actors,docs,johnvc/google-images-api - Authentication: OAuth
- Click Create and authorize the connection with Apify.
- To use the app in a conversation, click + in the chat, choose Developer mode, and select Apify.
More help: https://docs.apify.com/platform/integrations/mcp
Use the Google Images API to power your data workflows with reliable, structured results.
Ready-to-run examples on the Apify Store.
Last Updated: 2026.07.02