Stable Diffusion is an impressive text-to-image generation technique that has achieved remarkable results. However, we have discovered that it is not perfect in every use case, and therefore investigated how to teach Huggingface's Stable Diffusion Model our own concept - broccoli sticker. Broccoli stickers are two-dimensional drawings of broccoli that exhibit specific emotions by facial expressions and gestures. Through this project, we are able to create our own dataset and explore the possibility of fine-tuning the Huggingface's Stable Diffusion model to generate broccoli stickers with different emotions, allowing a simple ResNet to classify our synthetic data. To achieve this goal, we employ the use of textual inversion, a powerful concept that has been proven to be highly effective for fine-tuning diffusion models using a limited amount of data. Thus, we only need a few images of broccoli stickers for training and can then generate an unlimited amount of them.
The way we are saving requires Google Drive.
All weight arrays referred to in the following are stored or uploaded as NumPy arrays.
The generated images will be of the format PNG.
The code for training the finetuning model and generating images is to be found in the folders "four_emotions" and "two_concepts". Each includes a training.ipynb, which can be used for training new weights on the task, a textual_inversion.py, and an image_generation.ipynb, which can be used for generating new images of broccoli with emotions, using either pre-trained weights or weights provided by us.
Choose whether to use "four_emotions" or "two_concepts" depending on whether you want images generated by training on the emotions "happy", "sad", "angry" and "in love" at the same time or whether to train the concept of a broccoli sticker and the concept of a happy emoji simultaneously and later combining them.
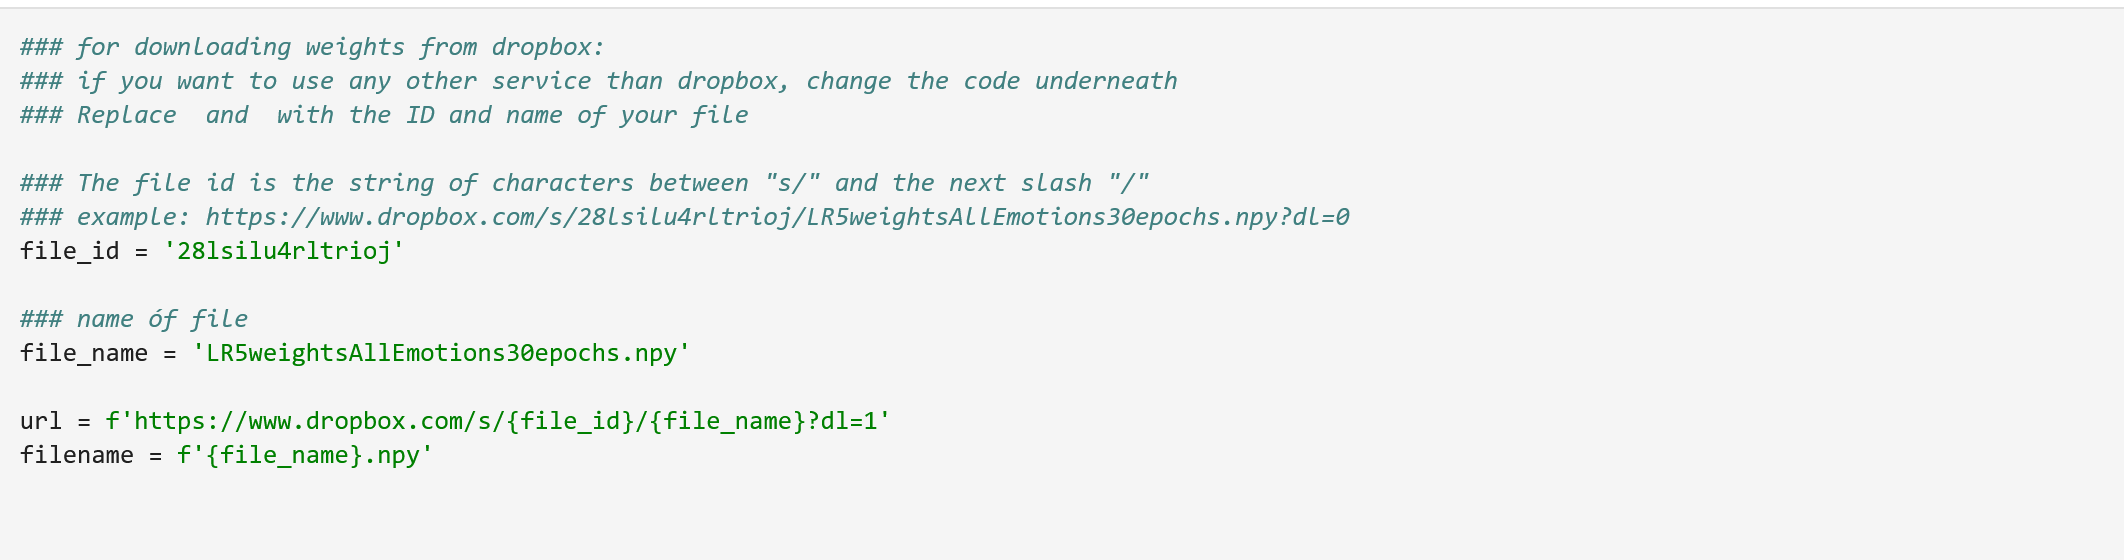
For training, you can either continue with weights saved in Dropbox or start a new training.
For the former, set "download_weights = True". For the latter, leave it on "download_weights = False".
 Afterwards, choose how many epochs you want to train for, and where to save your new weights:


For image generation, choose where to load weights from. Either execute the code as it is and load our pre-trained weights, or insert your own path.
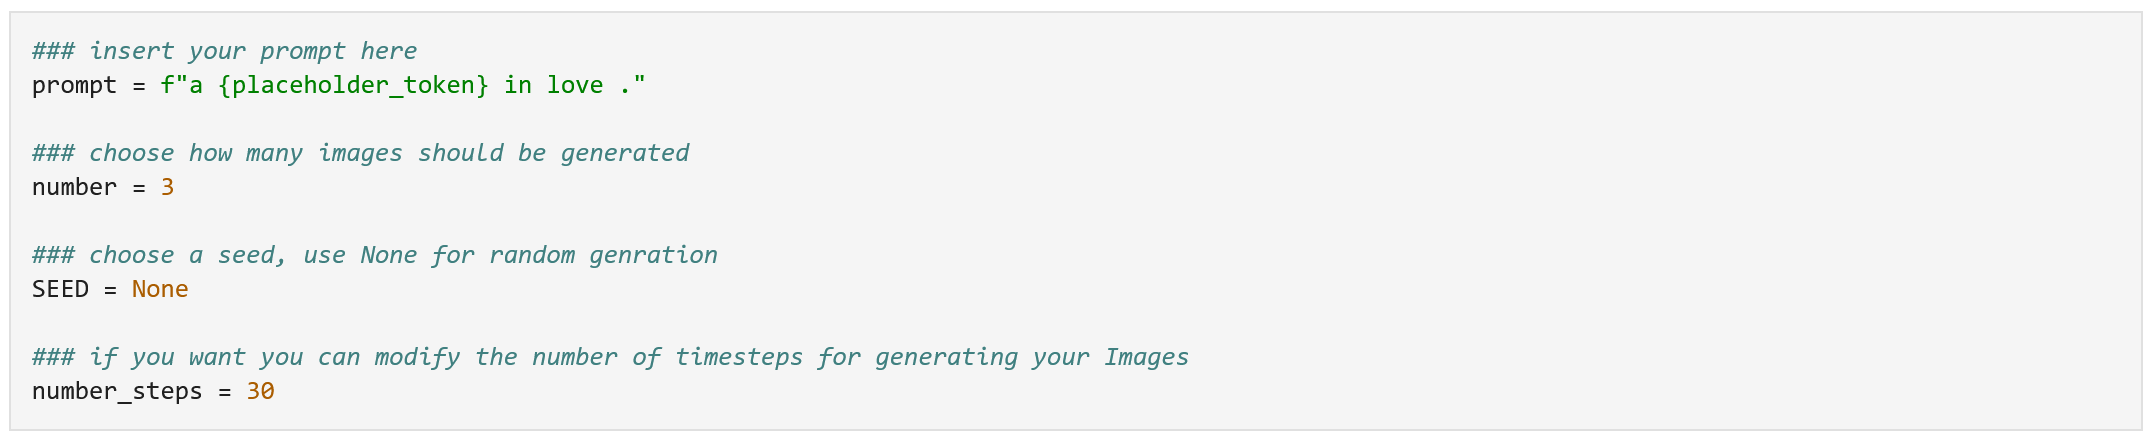
 Afterwards, you can choose a prompt, the number of images to be generated, a fixed seed if wanted, and the number of stepy the model should take for image generation.
Execute the cell for storing the images in your Google Drive or the one for showing the images in the notebook.
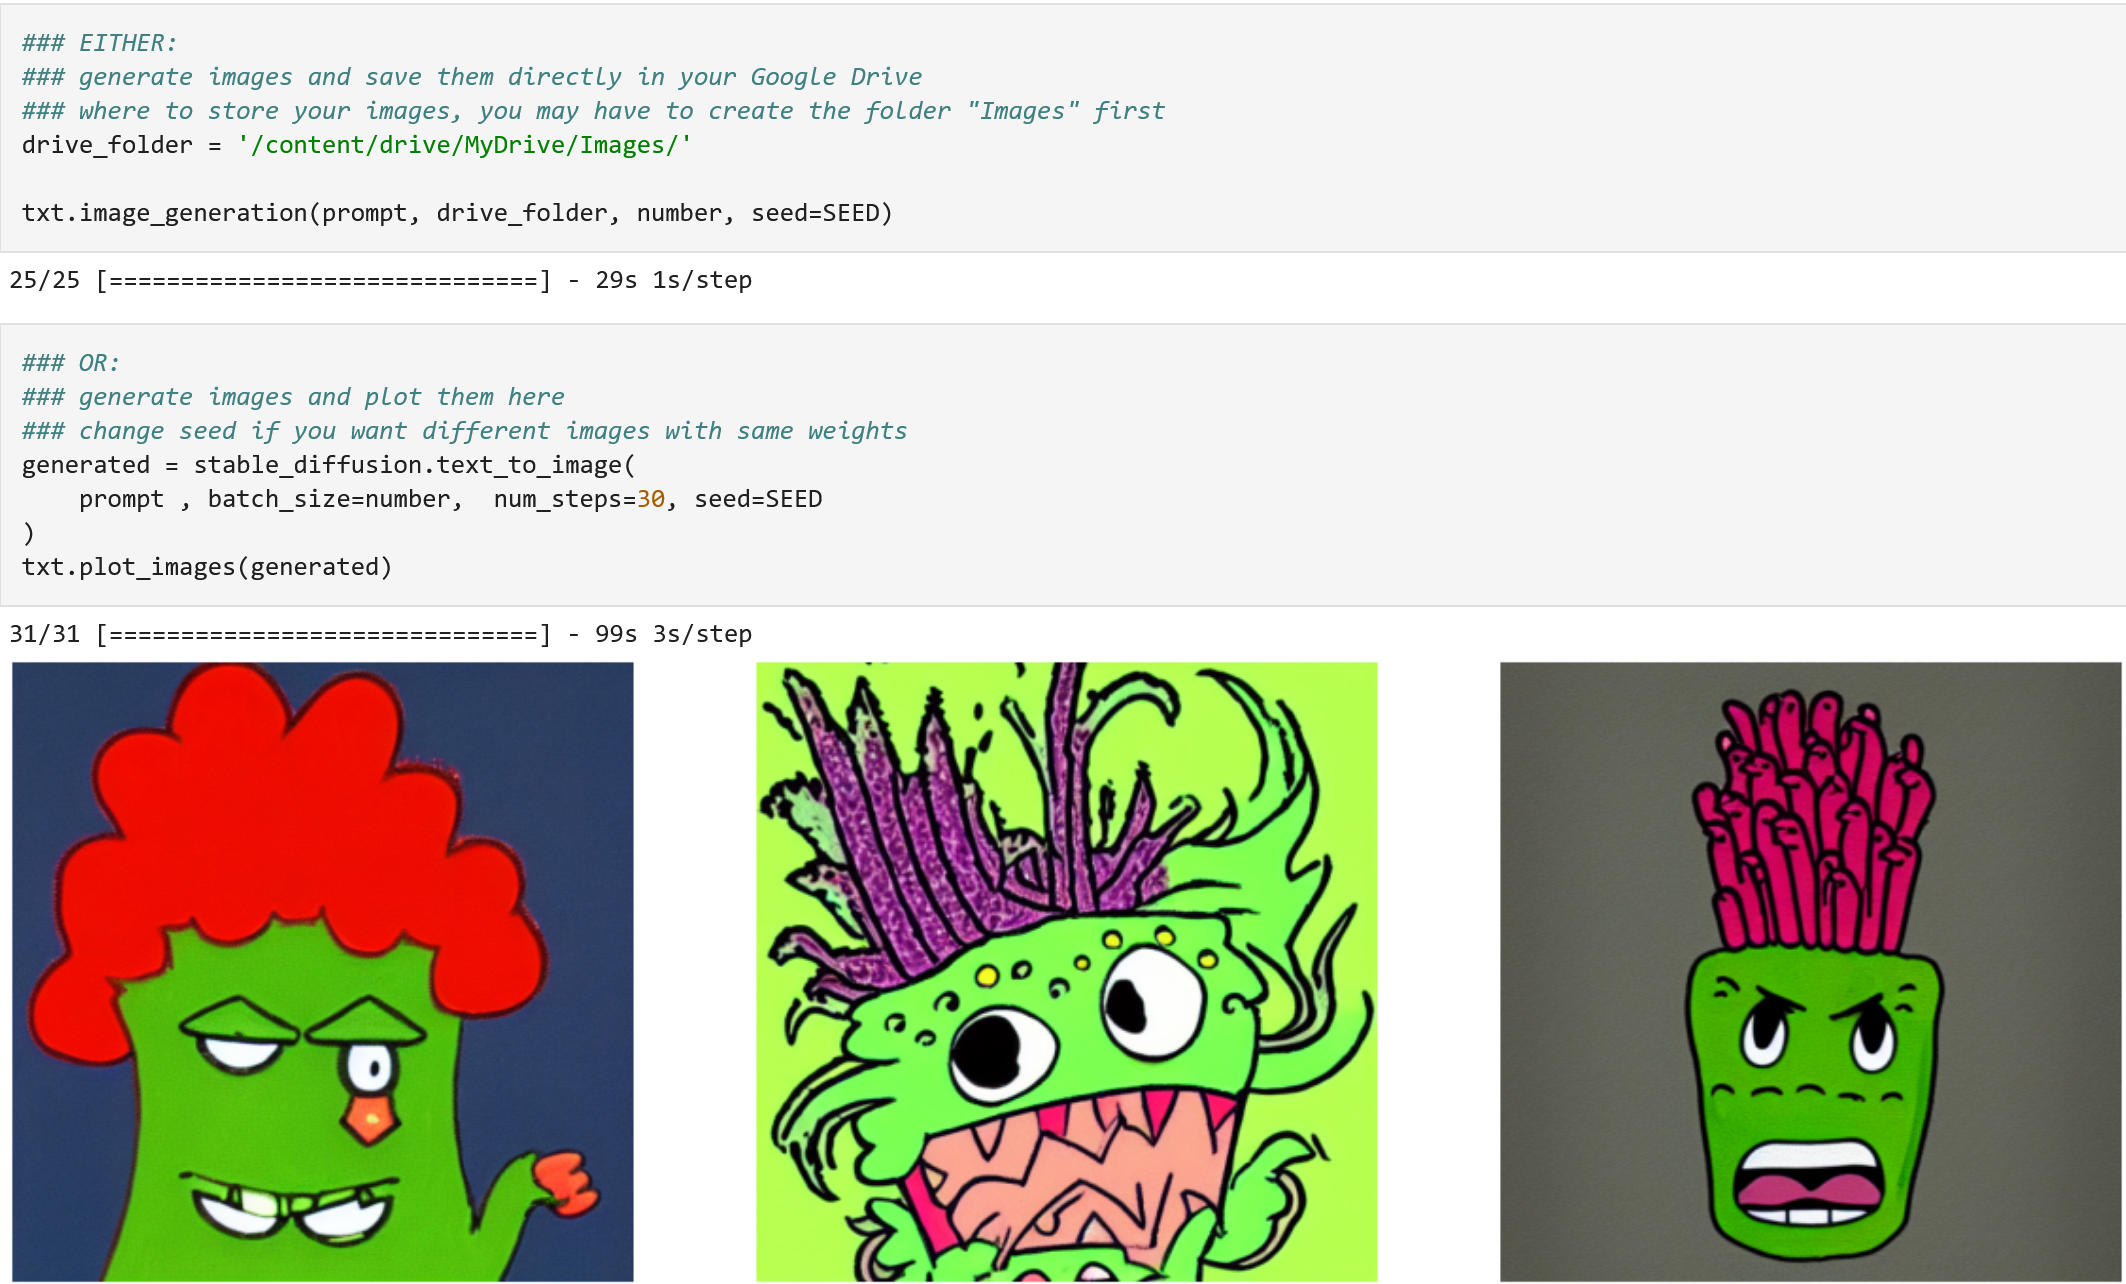 Set "folder_created = False" to "folder_created = True", if you created a folder "Images" in your Drive and want to save images there.

When generating images with two concepts, choose the percentage of emoji the images should contain and whether to generate images by concept interpolation:

 or by combining concepts in the prompt:

The file "classification/Classifying.ipynb" contains the notebook for the pre-trained, customized ResNet-50 used by us including image preprocessing. The images used are stored in the folder "dataset" and contain only images that contain enough features of broccoli and the respective emotion.
In "Experiments", you find plots and images generated by us which show the training progress, and the related code.
With the weights provided by us, only about one in three generated images will be recognizable as broccoli with the respective emotion. This might improve with further training, which we do not have the resources for. Defending on epochs trained, learning rate and method used (four emotions or two concepts), the results differ strongly.
The accuracy of the ResNet is improving with training, but validation accuracy hardly surpasses 30%, meaning the outcome is better than pure chance, but there is still room for improvement.
We use pre-trained models and the pre-trained ResNet-50 model from Keras which are licensed under the Apache License, Version 2.0. You may obtain a copy of the License at https://www.apache.org/licenses/LICENSE-2.0 (Copyright 2022 The KerasCV Authors).
We use the keras-cv Stable diffusion model.
Link to keras-cv Github: https://github.com/tensorflow-project/keras-cv .
Furthermore, we customize the keras-cv ResNet-50.
Link to keras-cv Github: https://github.com/keras-team/keras-applications/blob/master/keras_applications/resnet50.py .