Visit the link and download the Node installer for your respective operating system. Execute the installer and follow the guide the install Node.
- Visit the link to login to the Firebase console. (NOTE: This requires a Google account.)
- Click add project to create a new Firebase project.
- Name your project (i.e. Eduverse).
- After enabling or disabling Google Analytics, press Create Project.
- Expand the Build button in the sidebar and select Authentication.
- Press Get Started and then enable Email/Password as a sign-in method.
- Expand the Build button in the sidebar and select Firestore Database.
- Select Create Database and start in test mode for now.
- On the Project Overview page, press the </> button to register a web app.
- Visit the link to the code and download or clone the code into the directory of your choosing.
- In your Firebase console, go to project settings and copy your app’s firebaseConfig object.
- In the server folder, create a .env file and input your Firebase configuration and save it. It should be formatted like this:
FIREBASE_APIKEY = "APIKEY";
FIREBASE_AUTHDOMAIN = "AUTHDOMAIN";
FIREBASE_PROJECTID = "PROJECTID";
FIREBASE_STORAGEBUCKET = "STORAGEBUCKET";
FIREBASE_MESSAGINGSENDERID = "MESSAGINGSENDERID";
FIREBASE_APPID = "APPID";- Open a terminal and navigate to the server folder and run the following commands:
> npm install
> npm start
- Your server should now be running on port 5000 if it is available.
- Open another terminal and navigate to the client folder and run the following commands:
> npm install
> npm start
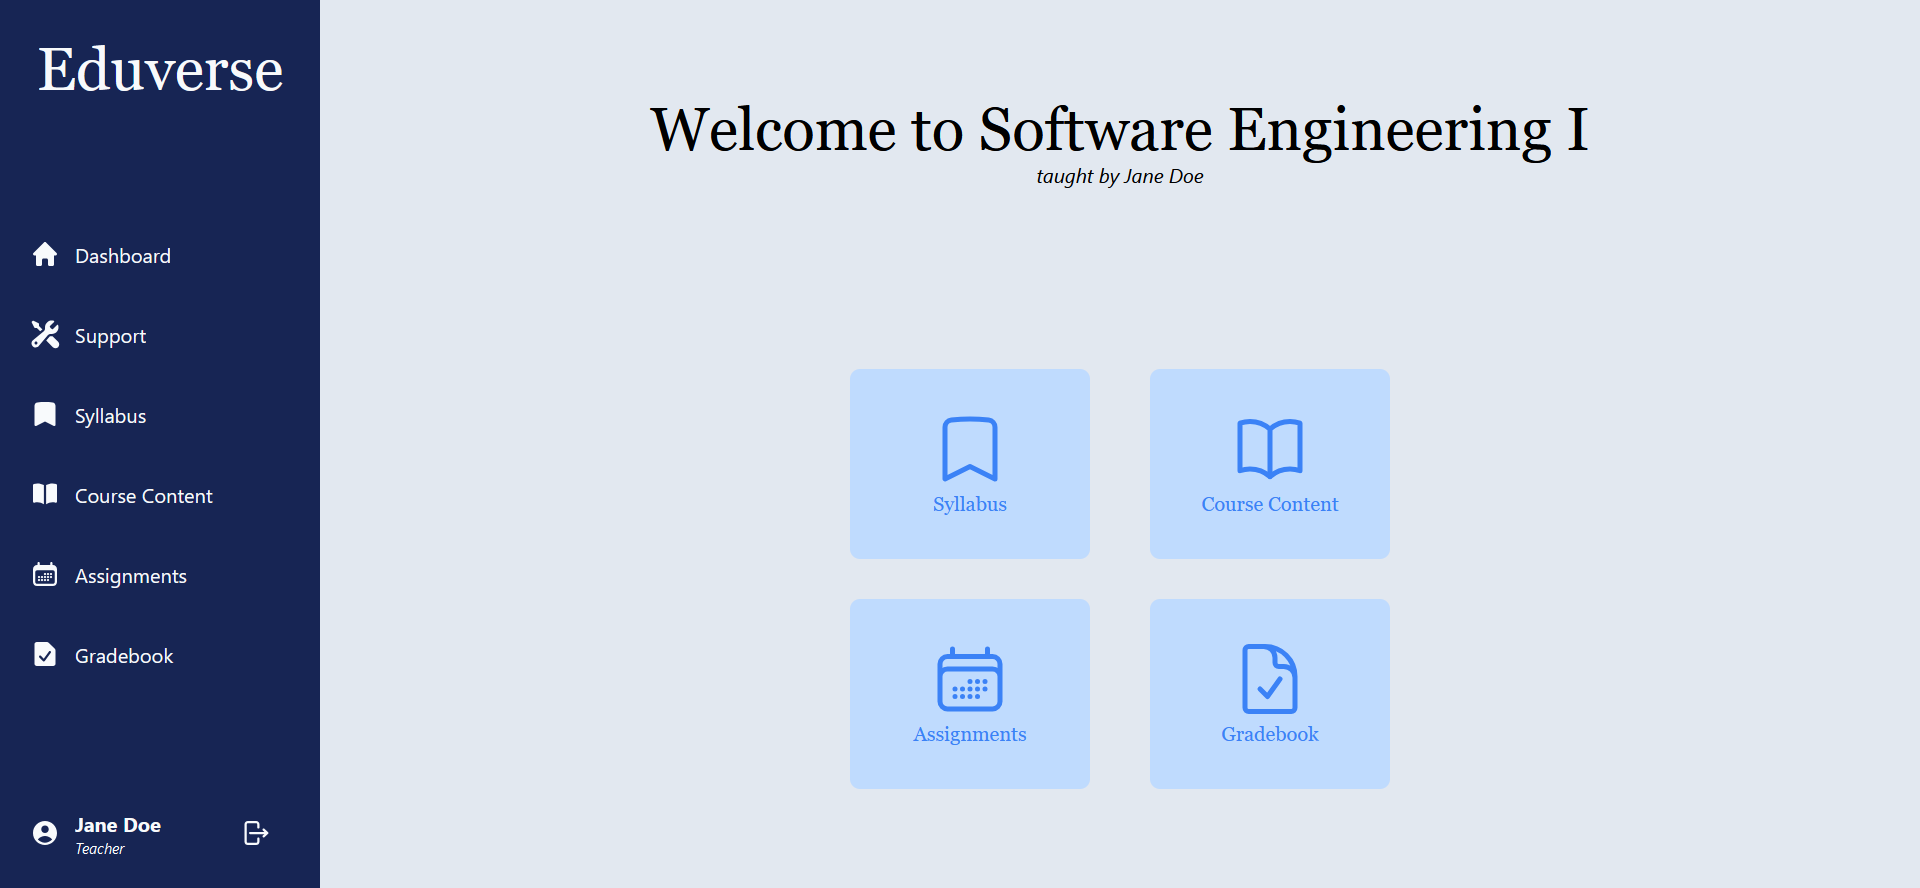
- Eduverse should now be up and running on your localhost port 3000 if available. Open your web browser and go to http://localhost:3000.