Requirements
This guide takes you from a clean machine to a connected Dataverse project.
Steps: Install prerequisites → Check requirements → Initialise a project → Connect.
Dataverse PowerTools shells out to standard, cross-platform tooling. Install:
| Tool | Used for | Install |
|---|---|---|
| .NET SDK | Building plugins (targets .NET Framework 4.6.2 via reference assemblies, on any OS) | dotnet.microsoft.com |
| Node.js | Web resource build / bundling | nodejs.org |
Power Platform CLI (pac) |
Solution, portal and early-bound operations | MS Learn install guide |
That's the whole list. Web-resource tooling (webpack, jest, TypeScript) is installed per project as local dev dependencies during project creation — no global npm installs.
Cross-platform: the extension runs on Windows, macOS, and Linux — including web resource typings (a bundled cross-platform XrmDefinitelyTyped run via
dotnet) and, since 1.0.7, capturing a plug-in profile (Profile next run), which is now ordinary Web API calls rather than a .NET Framework tool.The one step that still needs .NET Framework is running a replay test: your plug-in test project targets
net471, and whiledotnet buildcompiles that anywhere,dotnet testneeds the Framework test host — so Replay & debug means Windows, or mono on macOS/Linux. Capturing, downloading a run, generating the replay test and trace logs are all native everywhere.You can also multi-target the plug-in to
net462;net8.0and run replays natively on .NET 8 — see Debugging Plugins.
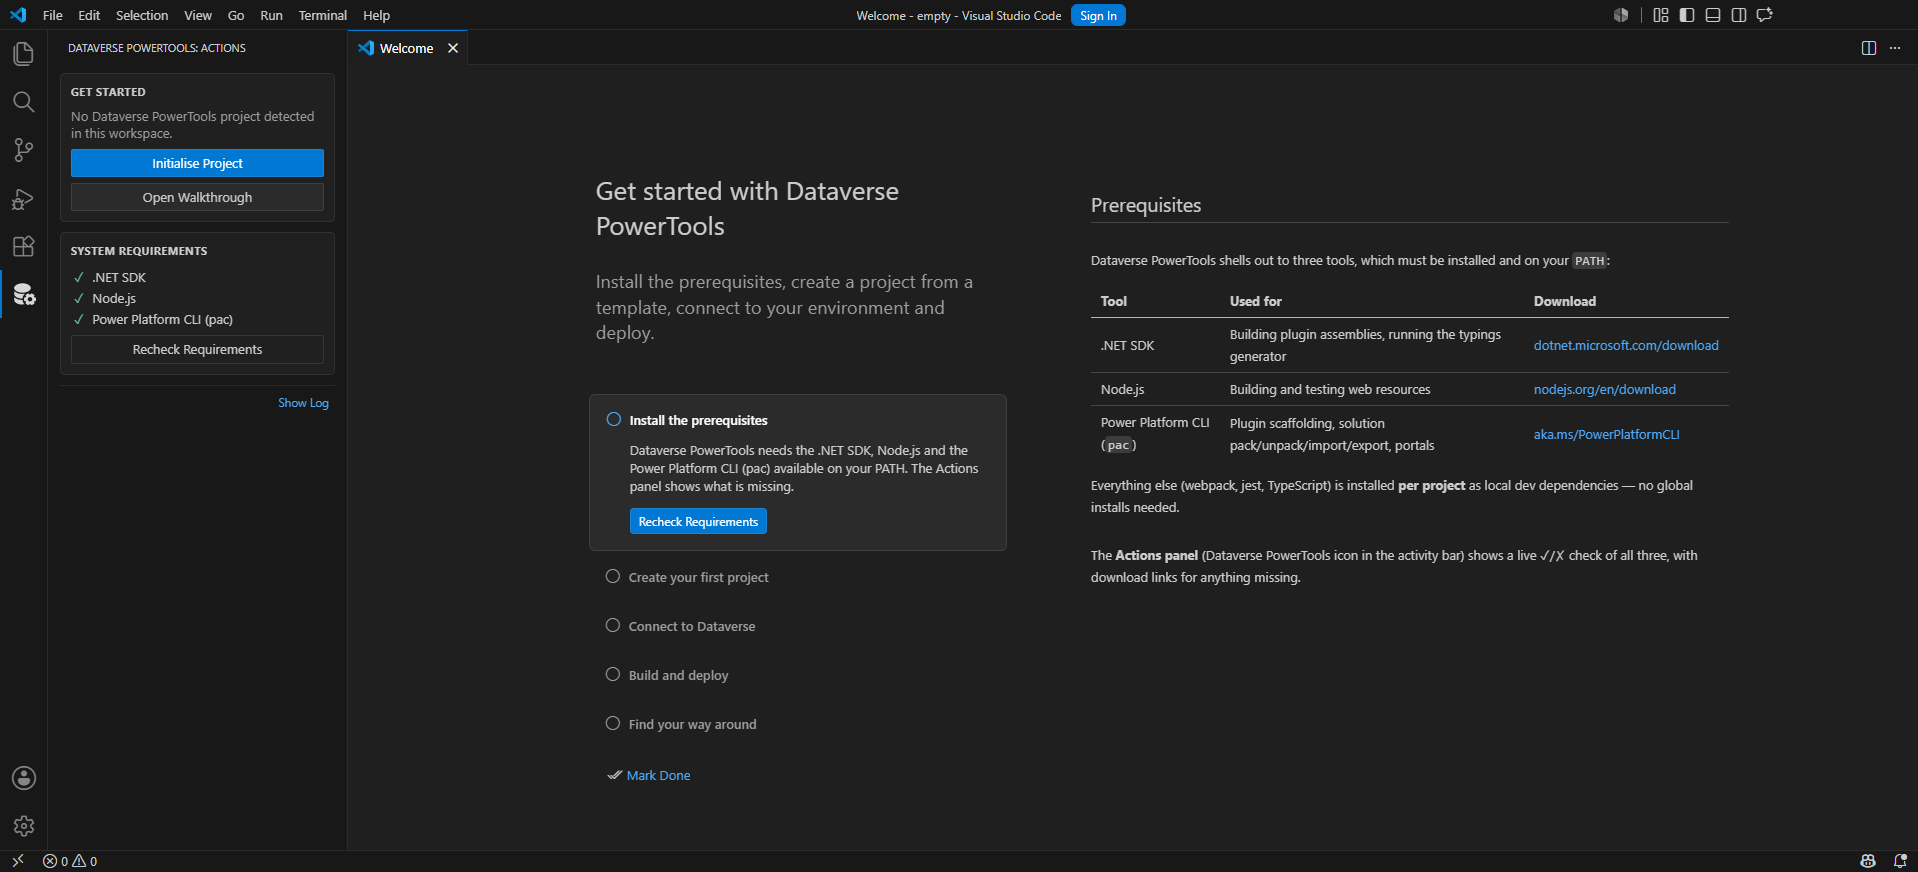
Open the Dataverse PowerTools activity-bar panel. The System Requirements card
scans for the .NET SDK, Node.js and pac, showing ✓/✗ per tool with a download link
for anything missing (Recheck Requirements re-runs the scan). Once everything is
green the card collapses to a single ✓ requirements line in the panel footer.
Verify: the panel shows ✓ requirements (or three green rows) before you build or
deploy.
Prefer a guided setup? The Getting Started walkthrough (
Help → Get Started, or Open Walkthrough in the panel) walks these steps with self-completing checkmarks:
- Open an empty folder in VS Code (
File → Open Folder). - Run Dataverse PowerTools: Initialise Project from the Command Palette, or click Initialise Project in the activity-bar view.
- Choose a project type: Solution · Web Resource · Plugin · Portal.
- Provide your connection details (next step).
Initialisation scaffolds the chosen template, restores dependencies (npm / NuGet /
pac), and writes a dataverse-powertools.json settings file to the workspace root.
Verify: the folder now contains project files and dataverse-powertools.json, and
the activity-bar view shows the actions for your project type.
During initialisation you choose how to authenticate — Interactive sign-in (a browser sign-in, no app registration needed) or Service principal (client secret).
Then you pick an environment and a solution (the publisher prefix is inferred from it). Secrets are stored in VS Code secret storage, never in the settings file.
Verify: the status bar shows a $(database) icon with your environment URL, and
Show Log reads Connected to Dataverse.
➡ Full details — including switching environments and fixing a stale connection — are in Connecting & Authentication.
-
Solutions — export / pack / import with
pac. - Web Resources — TypeScript, typings, build & deploy.
- Plugins — classes, step registration, early-bound, build & deploy.
- Portals / Power Pages — download and edit Power Pages content.
- Troubleshooting — common issues.