Quick Start Examples Level
The fastest way to confirm your install works and see what TensionFX does.
Prerequisite: the Deformer Graph plugin must be enabled. If you skipped that, do Installation & Setup first.
In the Content Browser, go to Content/TensionFX/Examples/ and open
L_Examples. There are short instructions written right in the level.
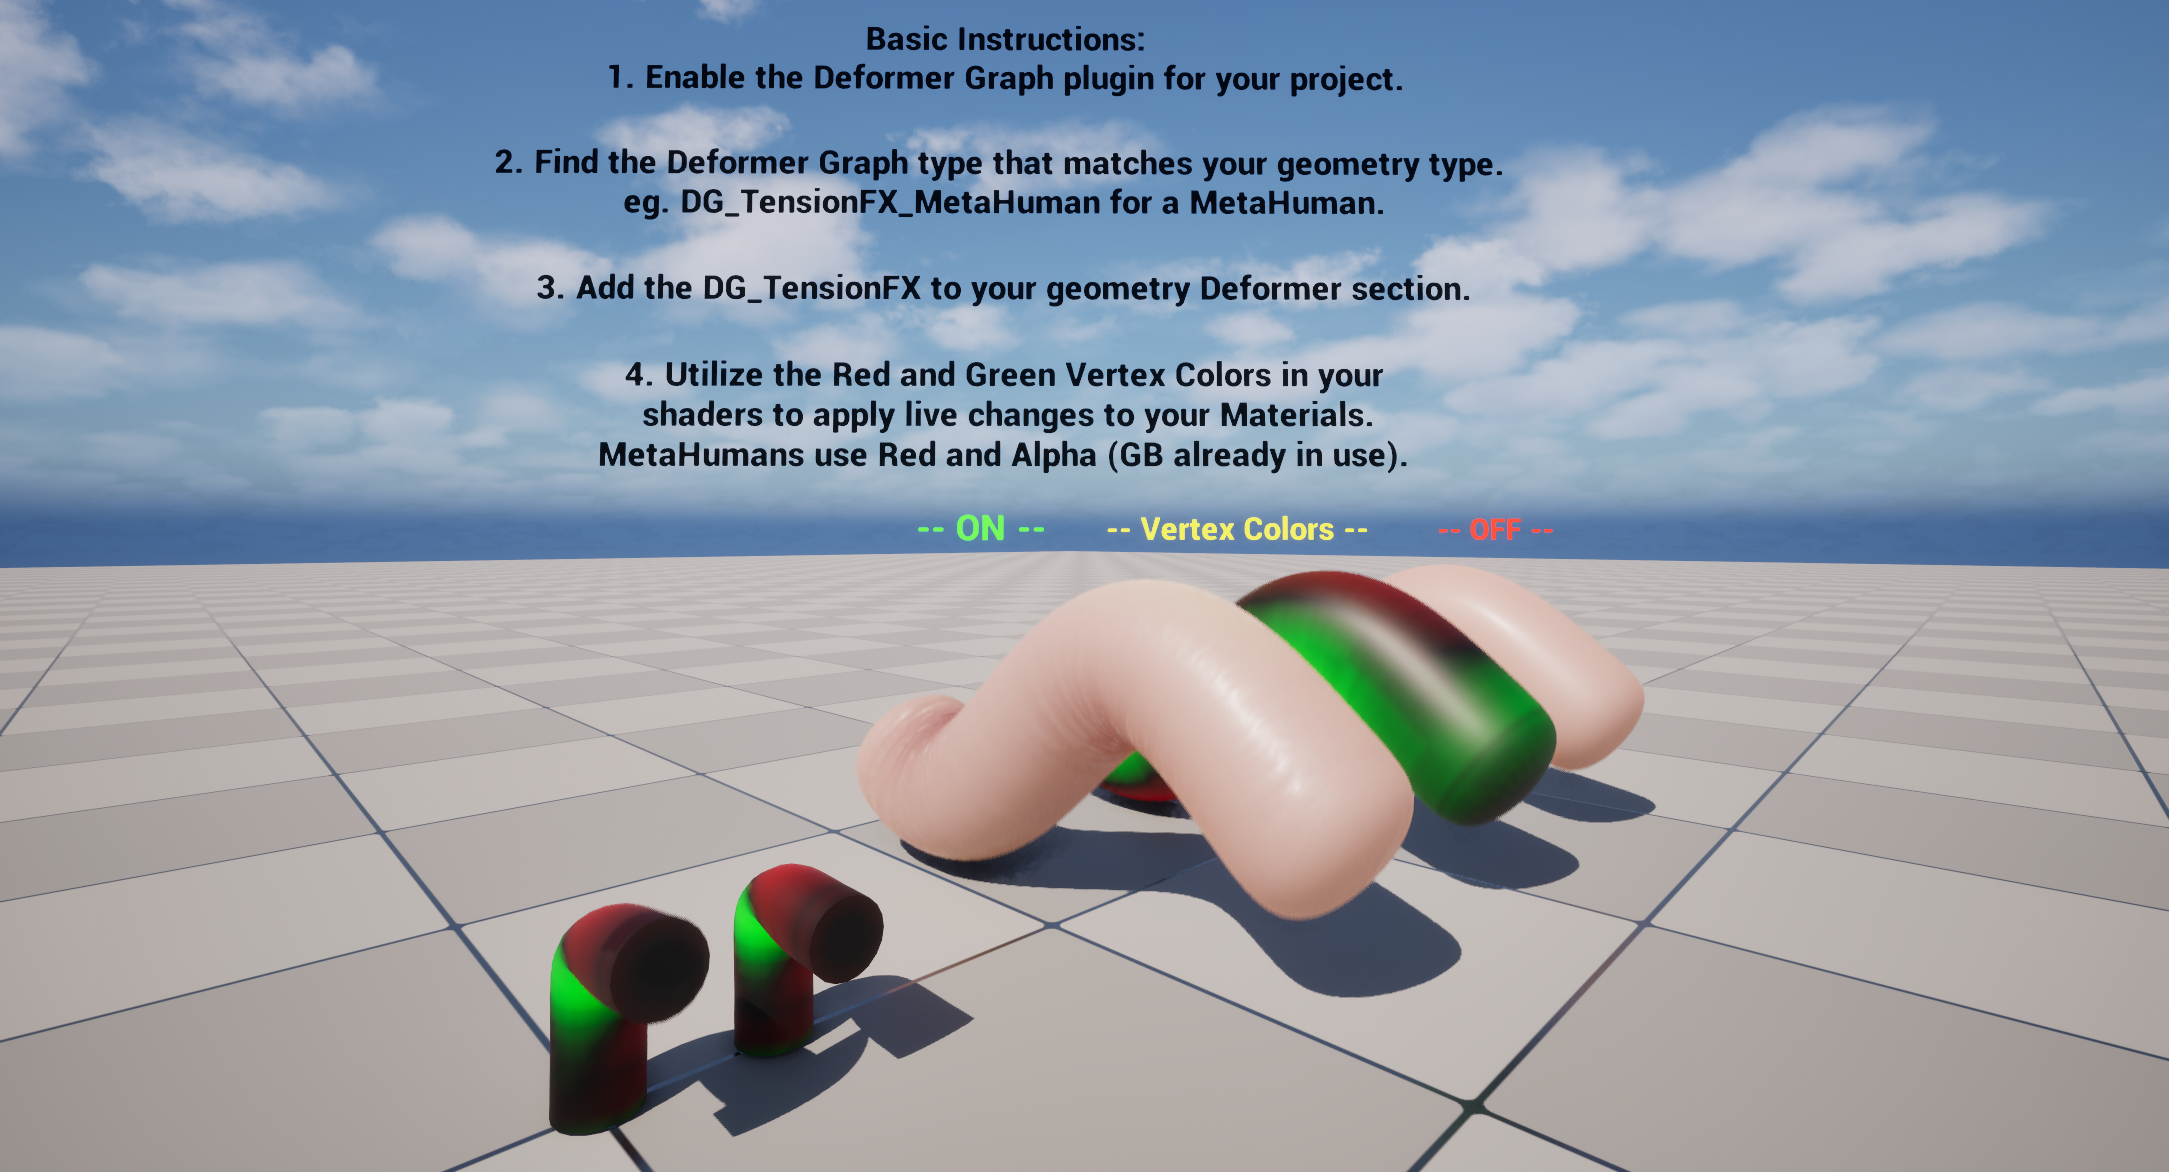
You'll see a few setups side by side:
-
The
sqworm, three ways:-
ON (
MI_Sqworm) — full effect: procedural wrinkles + color in the stretch and squash zones. -
Vertex Colors (
MI_Sqworm_Vertex) — the raw vertex colors TensionFX writes (red = stretch, green = squash). -
OFF (
MI_Sqworm_None) — plain skin, no effect. Your "before" reference — what you'd get without the tool.
-
ON (
- Cylinders — a simple bend: one shows the raw red/green vertex colors, the other is plain (OFF).
Play the level to watch them animate:
- The ON worm grows little procedural wrinkles and shifts color as it stretches and squashes.
- The Vertex Colors worm lights up red where it stretches and green where it squashes.
- The OFF worm just deforms — no wrinkles, no color.
That side-by-side is the whole pitch: same animation, same skinning, but TensionFX adds the wrinkles and color response on top. The effect updates live in the level viewport — you don't need to be in PIE to see it.
Heads up — the Material Editor preview can look wrong. Its preview mesh has every vertex-color channel set to
1(full white), so every stretch and squash effect fires at once and the material reads as blown-out/bad. That's just the preview, not your material — judge the look on your actual animating mesh in the level. See Troubleshooting.
- Want it on your own skeletal mesh? → Use it on your own mesh
- Working with a MetaHuman? → MetaHumans
- Want to understand the vertex colors and the controls? → Material Controls & Tuning