GP2Y0A60SZ analog distance sensor
Sensor looks like this:
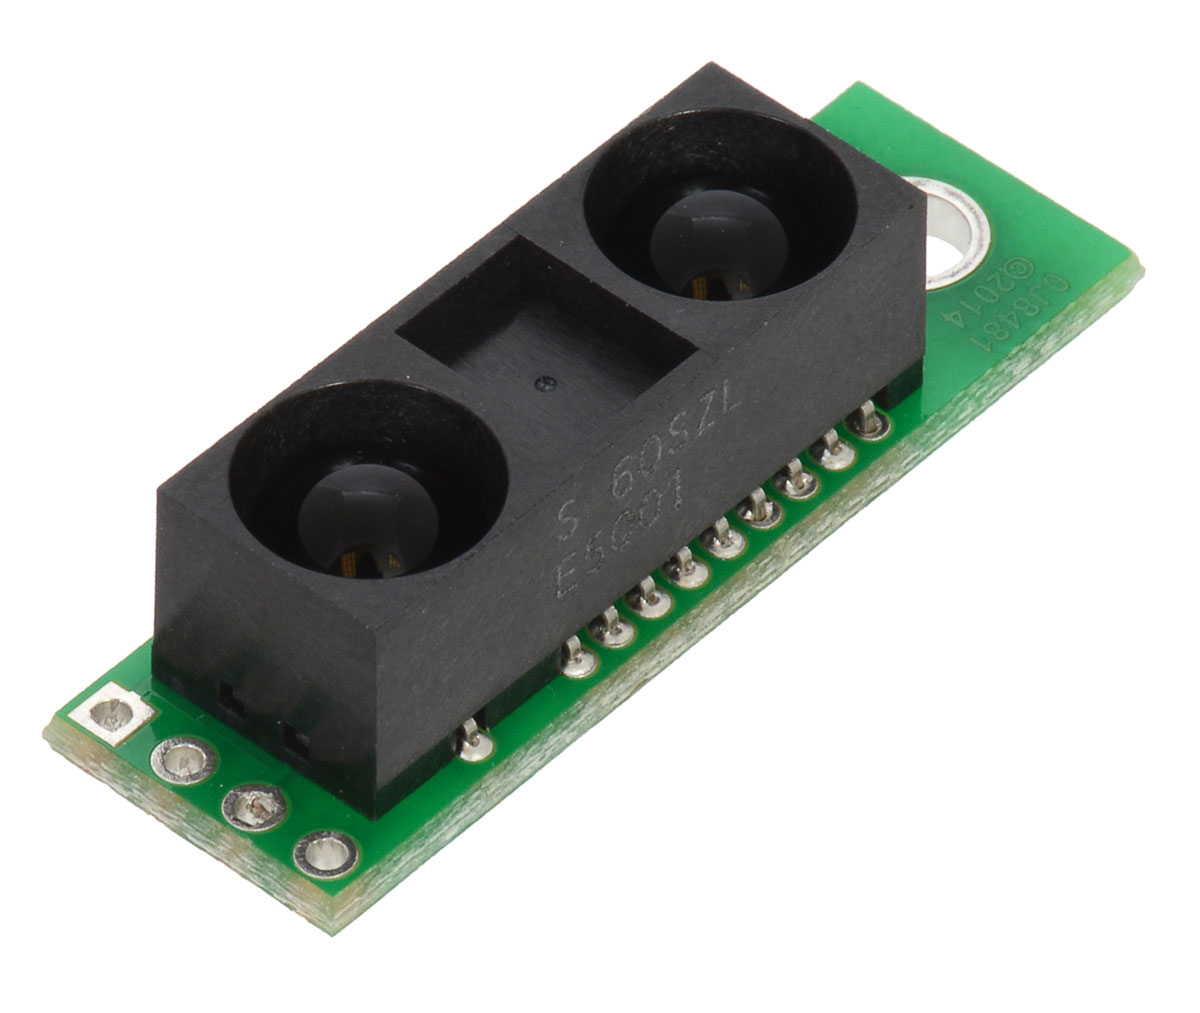
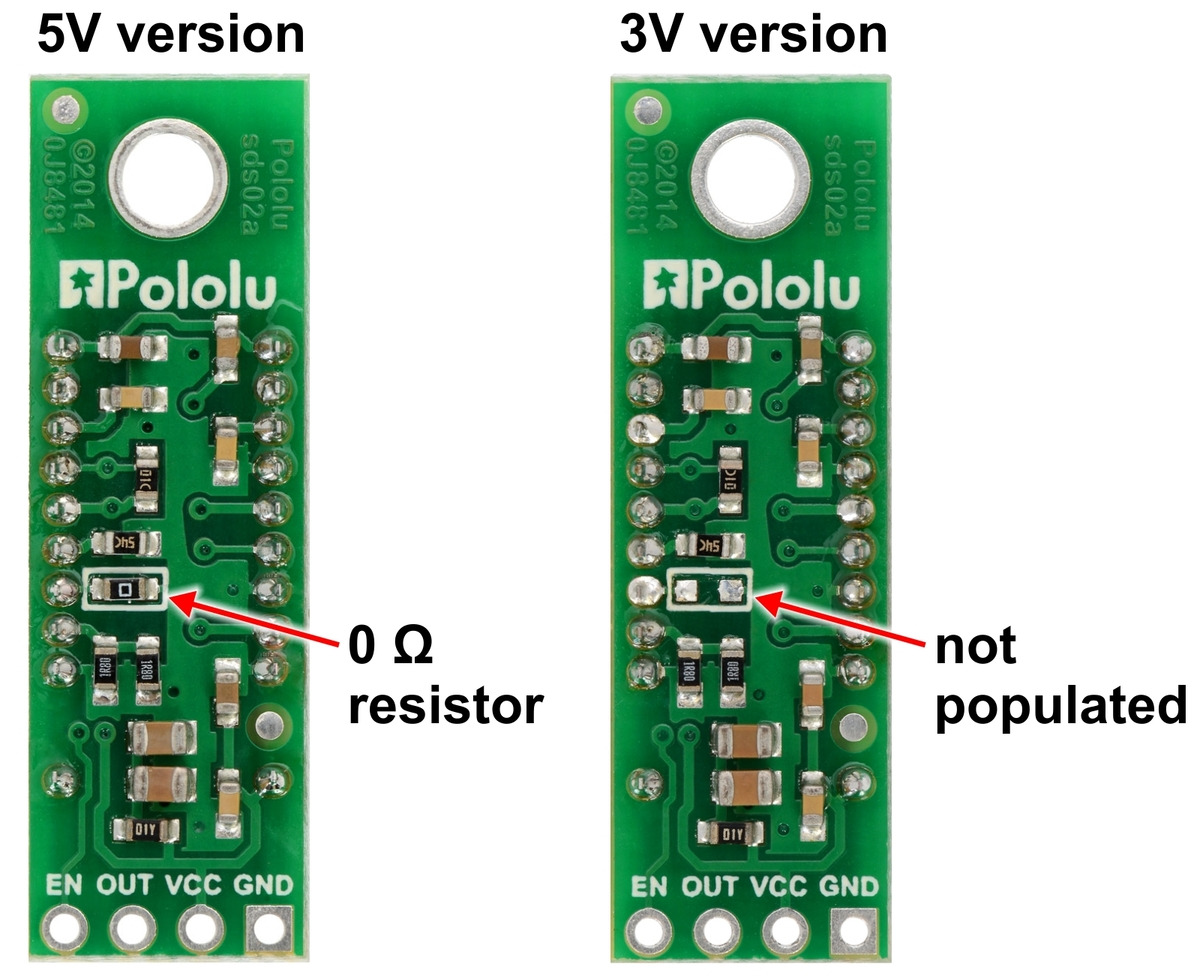
the GP2Y0A60SZ analog distance sensor is just what it sounds like, it is a sensor that outputs a range of analog voltages depending on the distance of an object in front of it. It can detect objects up to 150 cm (60 in).
- Operating voltage: 2.7 V to 5.5 V (5V version) or 2.7 V to 3.6 V (3V version)
- Average current consumption: 33 mA (typical)
- Distance measuring range: 10 cm to 150 cm (4 in to 60 in)
- Output type: analog voltage
- Update period: 16.5 ± 4 ms
- Enable pin can optionally be used to disable the emitter and save power
The sensor uses infrared light to detect how far an object is from it and converts the distance into an analog voltage that follows the graph shown below.

The distance sensor can obviously be used to detect the distance of objects for whatever means you may need it. You can do this by working with analog values or by linearizing the output voltages and converting them into a set distance using software (how to do this is shown further below).
The sensor can also be used as a proximity sensor by setting a threshold of analog voltage (or a distance if the output voltages are linearized) to make the robot do a specific task if it comes too close to an object.
In order to interface with the sensor an analog-to-digital converter (ADC) must be used to convert the output analog voltage into a digital value. In the case of the TM4C, it has an ADC that can detect and convert analog voltages of up to +3.3V into a value between 0-4095 (16 bits). The 16-bit value that the ADC will output will be the workable data that you will use from the sensor. You can use the ADC, GPIO, and DistanceSensor libraries to easily interface with the sensor and not have to worry about manually initializing all the components needed to interface the sensor.
In order to interface with the sensor follow these couple of steps:
-
Connect the sensor with the TM4C: Connect the OUT pin of sensor to a valid analog pin on the TM4C (look at the ADC library for a full list of valid analog pins). Connect the VCC to the +3.3V pin on TM4C (you can connect it to 5V but the TM4C's ADC won't be able to convert voltages above +3.3V, so it is not recommendable to do that). Connect EN (enable) pin to the +3.3V pin through a 10k ohm resistor (if you don't want to use the enable pin feature) or to a GPIO digital output pin through a 10k ohm resistor (if you want to use the enable pin feature). MAKE SURE to not forget to connect the 10k ohm resistor between both pins or you could damage the sensor and microcontroller. Finally, connect the GND pin to ground.
-
Import the necessary libraries to interface with the sensor using the "#include" macro. In this case the necessary libraries are: GPIO, ADC, DistanceSensor, and Timers.
#include <lib/GPIO/GPIO.h>
#include <lib/DistanceSensor/DistanceSensor.h>
#include <lib/ADC/ADC.h>
#include <lib/Timers/Timer.h>

int main(void){
   //code...
}
- declare a variable (preferably global) of type "DistanceSensor_t"
DistanceSensor_t sensor;

int main(void){
  //code...
}
- Initialize the necessary GPIO ports for the sensor. 1) an analog input pin with alternate mode on and alternate function 8 (ADC) for OUT pin 2) a digital output pin if using EN pin feature (optional).
int main(void){

   /* Initialize PD2 GPIO to read analog voltage OUT pin of sensor */
    GPIOConfig_t PD2Config = {PIN_D2, NONE, false, true, 8, true};
    GPIOInit(PD2Config);


    /* Initialize PA7 GPIO for enable pin (EN) */
     GPIOConfig_t PA7Config = {PIN_A7, NONE,true, false, 0, false};
     GPIOInit(PA7Config);

}
- Initialize the ADC using "ADC_init" and the distance sensor using either "DistanceSensor_ENInit" if using EN pin feature or "DistanceSensor_Init" if not.
Using DistanceSensor_ENInit:
-
first parameter: The variable of type "DistanceSensor_t" declared in step 3 passed as a pointer by simply putting a '&' in front of the variable name.
-
Second parameter: The name of the analog pin from the TM4C you are going to use for the sensor (look at the ADC library for full list of analog pins and their names).
-
third parameter: The name of the variable of type "GPIOConfig_t" for the GPIO digital input for the EN pin.
int main(void){


    ADC_Init(); //initialize ADC


    DistanceSensor_ENInit(DistanceSensor_ENInit(&sensor, PD2, PA7Config);
}
Using DistanceSensor_Init:
-
First parameter: The variable of type "DistanceSensor_t" declared in step 3 passed as a pointer by simply putting a '&' in front of the variable name.
-
Second parameter: The name of the analog pin from the TM4C you are going to use for the sensor (look at the ADC library for full list of analog pins and their names).
int main(void){


    ADC_Init(); //initialize ADC


    DistanceSensor_Init(DistanceSensor_ENInit(&sensor, PD2);
}