Hardware Assembly
Physical build for the Hardware enclosure. Software setup is on Installation.
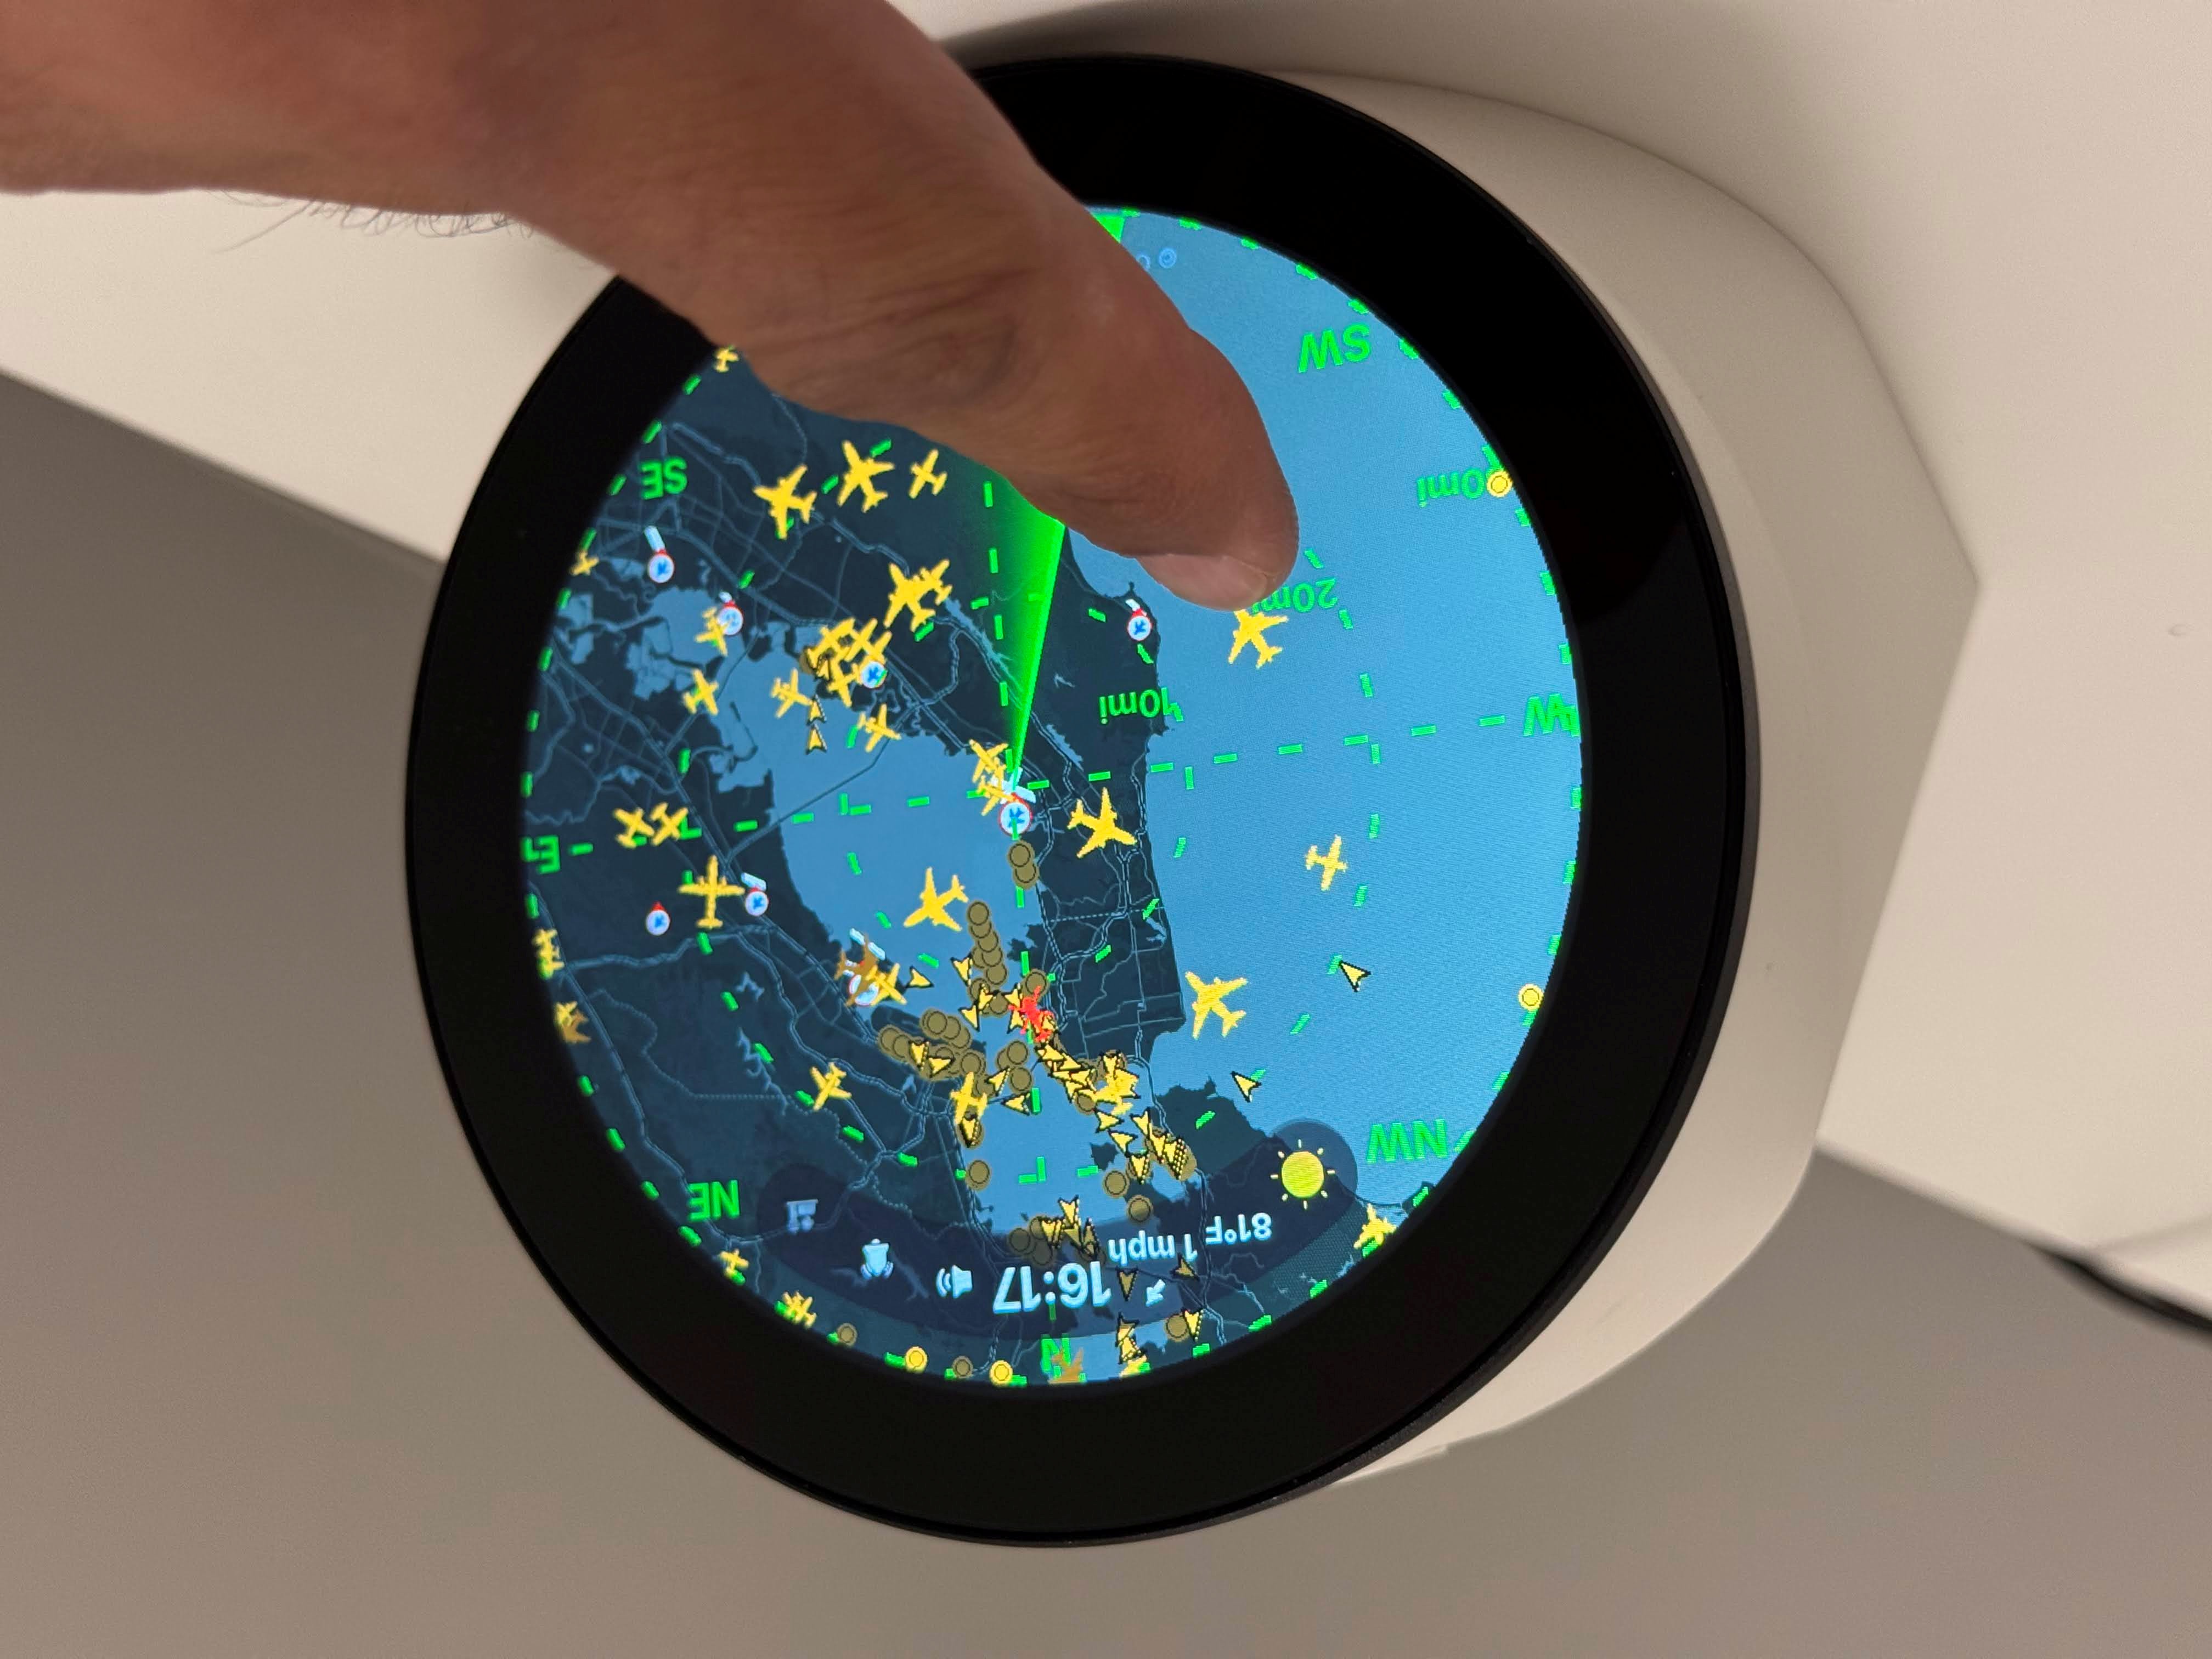
Choose a build path before you print and close the case:
| Option | Best for | Audio |
|---|---|---|
| #Option-A-without-USB-speaker | Compact build; quieter desk | No onboard speaker. Use Web Portal later for ATC / chime, or skip audio. |
| #Option-B-with-USB-speaker | Built-in ATC and hourly chime | Plug a compact USB audio speaker into the Pi before closing the enclosure. |
Both options share the same Pi + Waveshare display stack. Only the speaker and how you close the enclosure differ.
Do this for either option. Work with power disconnected.
Flash Raspberry Pi OS (64-bit) with desktop, then confirm you can reach the Pi (SSH or desktop) before you bury the board in the enclosure. Full steps: Installation.
Recommended for 24/7 Pi 4 use.
- Bore out the heatsink screw holes with a 3 mm drill bit so they clear M2.5 screws.
- Mount the Waveshare Pi 4 fan heatsink with the 2× M2.5×10mm button-head screws.
- Connect the fan power lead per the heatsink instructions (GPIO / fan header as supplied).
- Power off and unplug USB-C power.
- Secure the display to the Pi with the standoffs and screws included with the Waveshare kit.
- Connect the DSI ribbon between the round display board and the Pi’s DSI port (on Pi 4: connector above the microSD slot).
- Leave any I2C address DIP switch in the factory position.
- Fit the 90° USB-C adapter onto the USB-C connector on the LCD backpanel.
- Attach a USB A–C or C–C cable from that adapter to a free USB-A port on the Pi (or to a powered hub if your layout needs it). This powers the panel from the Pi.
Do not power the Pi yet if you still need to install the USB speaker (Option B).
Print the desktop enclosure from MakerWorld. Read the model page for the current file set and print settings. Enclosure files are under a separate license — see Credits and License.
Use when you do not want a wired speaker in the case. ATC / hourly chime can still use a Bluetooth speaker later via the portal, or you can leave audio disabled.
None beyond the base Hardware.
- Complete #Shared-prepare-the-Pi-and-display 1–5.
- Seat the Pi + display stack into the printed enclosure so the round panel sits flush in the bezel.
- Route the Pi USB-C power cable (and Ethernet if used) out the rear opening. Leave USB ports free if you might add a speaker or dongle later.
- Fasten the display / front to the enclosure with the 4× M4×8mm button-head screws.
- Close any rear / bottom cover the print provides. Do not pinch the DSI ribbon or fan wires.
- Power the Pi with a 5 V / 3 A USB-C supply and continue with Installation (panel overlay,
install-pi.sh, Wi‑Fi, API keys).
After software install: portal → Bluetooth Speaker to pair a BT speaker for LiveATC and the hourly chime. See Features#ATC-audio and Troubleshooting#ATC--chime-has-no-sound.
Use when you want ATC and the hourly chime through a USB speaker that the app can detect as an ALSA playback device (preferred default for the speaker gate).
| Qty | Item | Notes |
|---|---|---|
| 1 | Compact USB speaker (or USB audio adapter + small speaker) | Must enumerate as a USB sound device on the Pi. Prefer a self-powered or bus-powered unit that fits your enclosure cavity / rear clearance. |
| — | Short USB-A cable or the speaker’s captive plug | Must reach a free USB-A port on the Pi without stressing the DSI cable. |
Check the MakerWorld model page for any speaker-ready shell, baffle, or cutout in the current print files. If the base enclosure has no speaker bay, mount the speaker so a USB port stays reachable, or use a short extension to the rear opening.
- Complete #Shared-prepare-the-Pi-and-display 1–5.
- Before closing the case, plug the USB speaker into a free USB-A port on the Pi (not the port used only for the LCD pigtail if that would block the speaker).
- Seat the Pi + display stack in the enclosure. Route speaker cable so it cannot pull on the DSI ribbon.
- If the print has a speaker grille or pocket, align the speaker to it; otherwise position it where it will not rattle against the Pi or heatsink.
- Route Pi USB-C power (and Ethernet if used) out the rear. Keep the speaker cable from being crushed by the cover.
- Fasten with the 4× M4×8mm button-head screws and close the cover.
- Power with a 5 V / 3 A USB-C supply (budget headroom for panel + USB speaker).
- Continue with Installation. After boot, confirm the speaker appears to the OS (
aplay -lor portal audio status). Enable ATC Audio / chime on the Web Portal.
- Firmware prefers a USB (or selected Bluetooth) sink for ATC / chime. See
.env.example(FLIGHTSCNR_REQUIRE_SPEAKER,FLIGHTSCNR_AUDIO_ALLOW_BUILTIN). - You can still switch to Bluetooth later from the portal; use Use USB to return to the wired speaker.
- If sound is missing after reconnect, see Troubleshooting#ATC--chime-has-no-sound.
- Enable the Waveshare overlay and reboot — Installation#3-Enable-the-panel-in-firmware.
- Run
sudo bash install-pi.sh. - Open the portal, set location and API keys, and (Option B) verify ATC / chime playback.
- Hardware — full BOM and links
- Installation — OS, overlay, software
- Web Portal — ATC, Bluetooth, favorites
- Credits and License — enclosure license
