Hardware
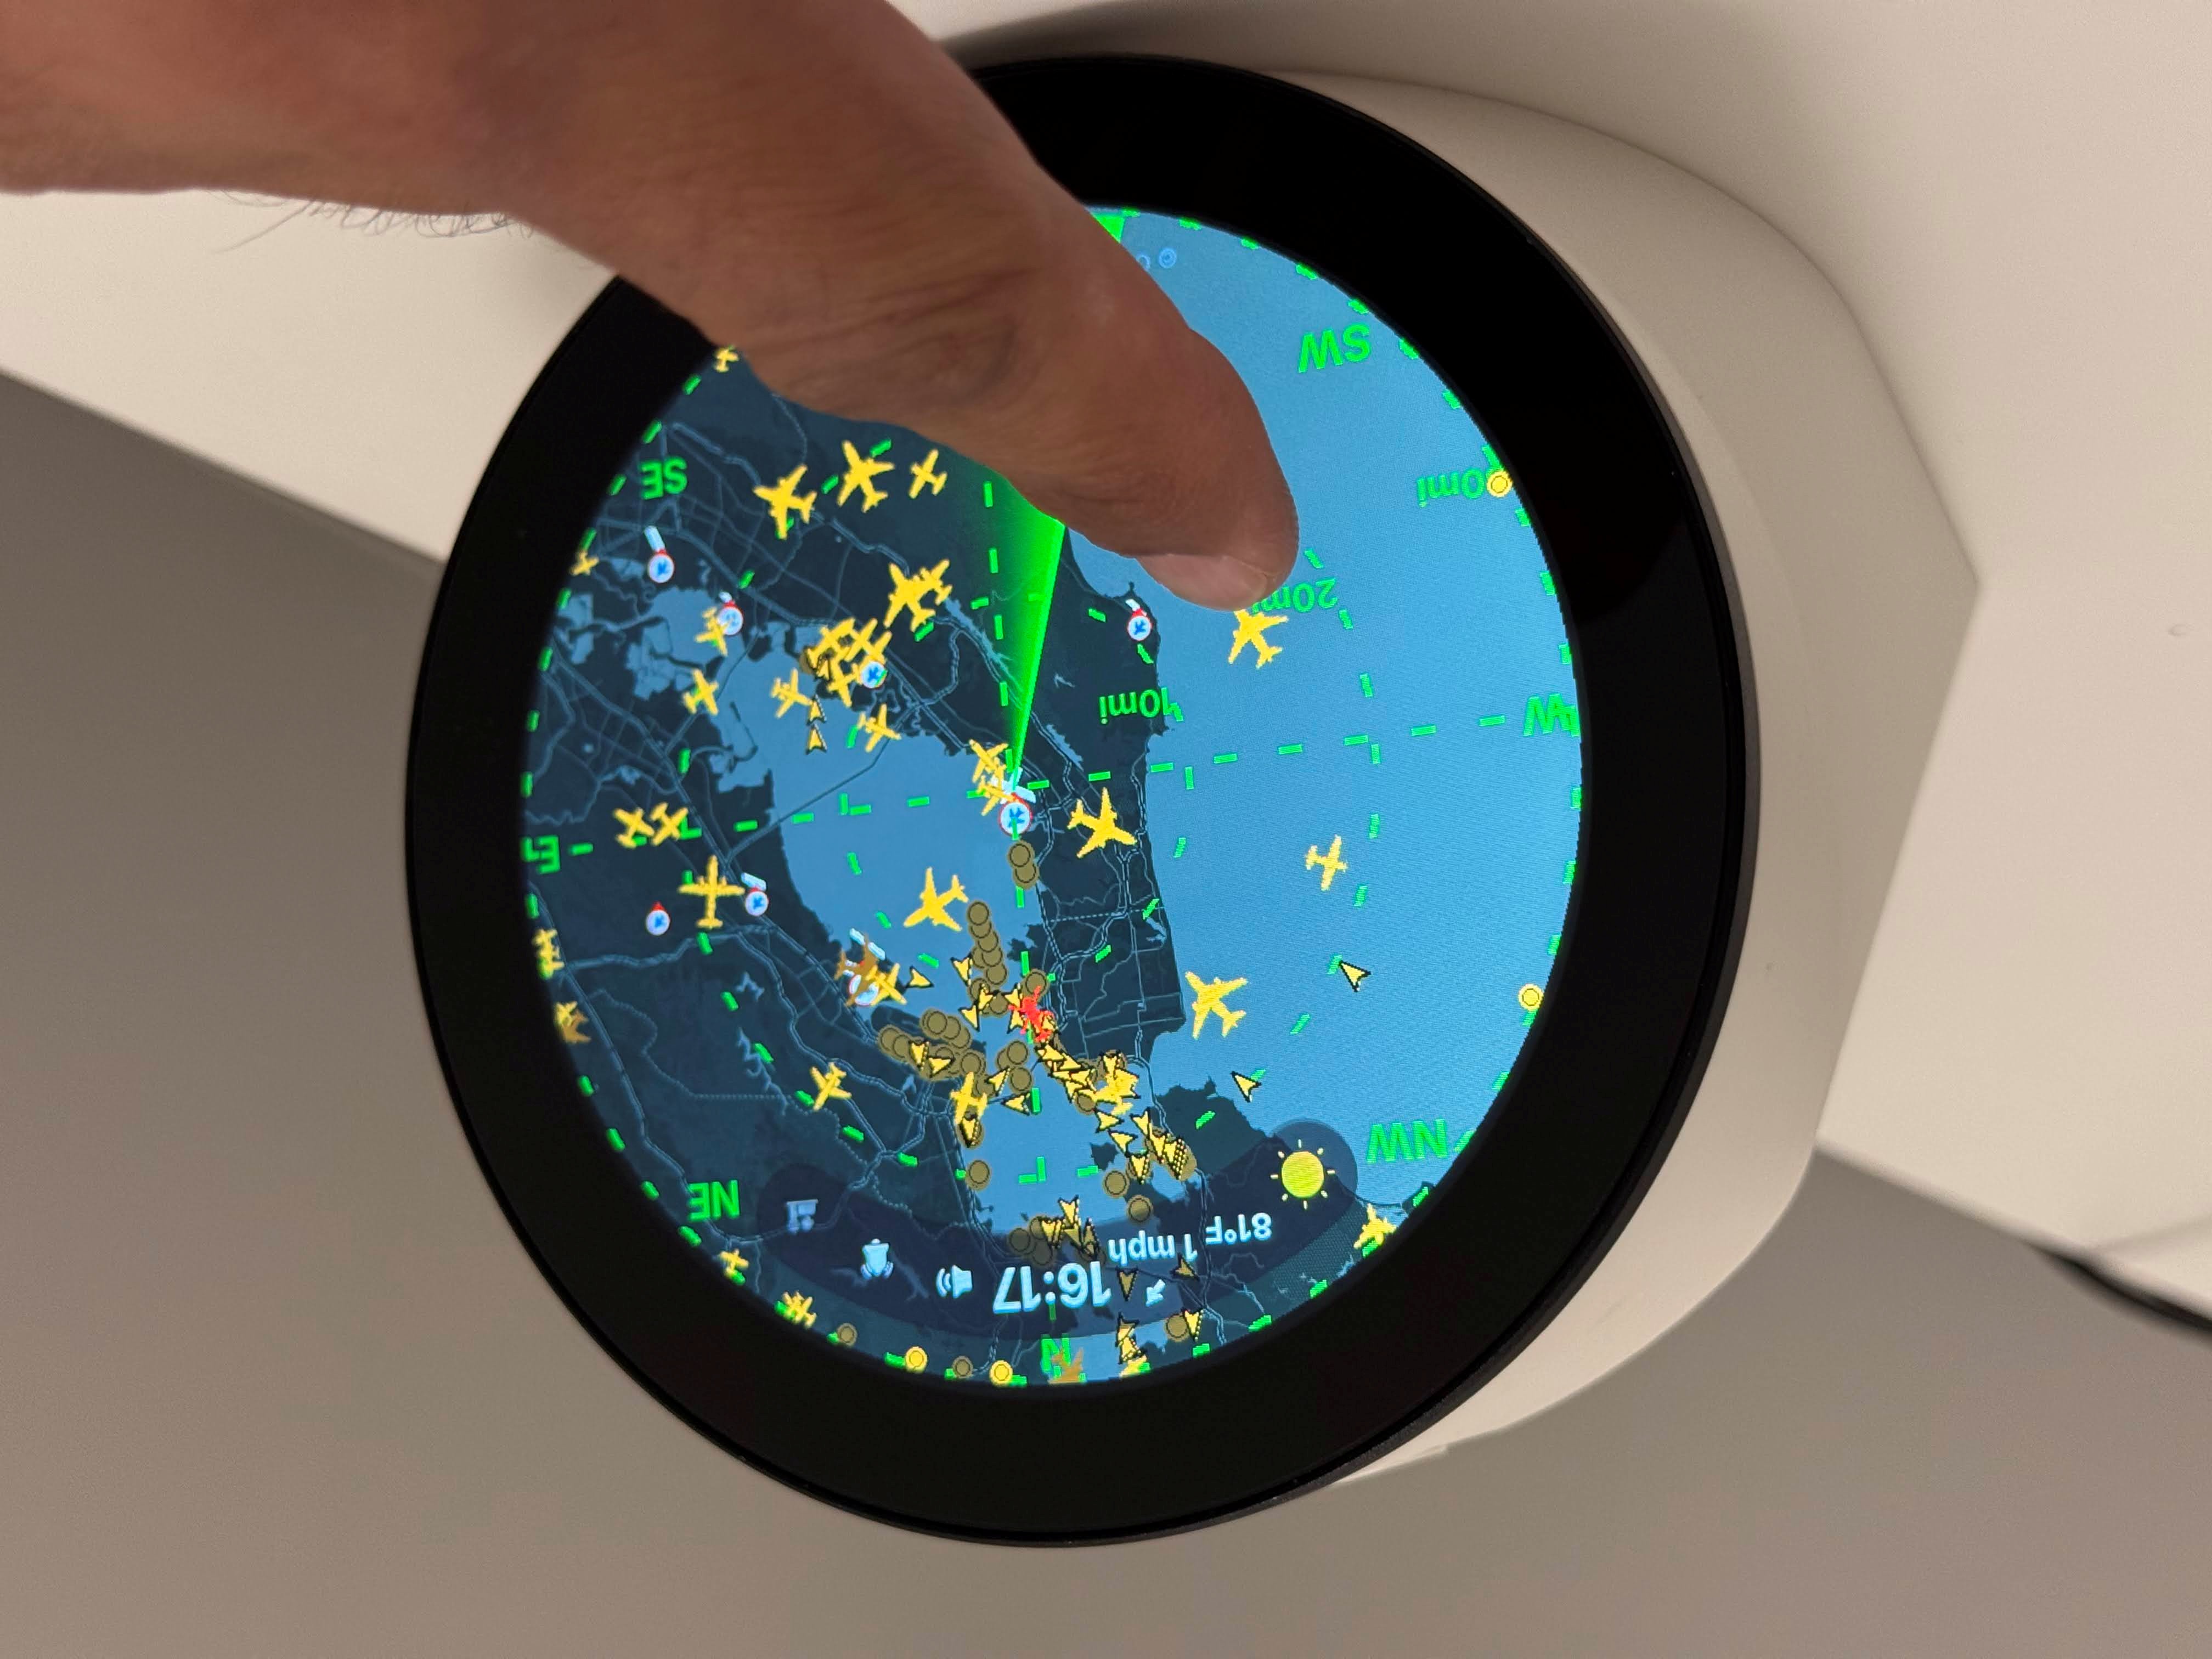
For physical build steps, see Hardware-Assembly. For OS install, display overlay, and software setup, see Installation.
| Qty | Item | Notes | Link |
|---|---|---|---|
| 1 | Raspberry Pi 4 Model B (2 GB or 4 GB RAM) | Tested on Pi 4; Pi 3B+/Pi 5 also work with the Waveshare panel. Needs desktop OS for pygame/X11. | raspberrypi.com |
| 1 | Waveshare 4″ DSI LCD (C) | 720×720 round IPS, 10-point capacitive touch, DSI + I2C. Part of Waveshare “4inch DSI LCD (C)” line — not the 480×800 or HDMI round variants. | Waveshare |
| 1 | microSD card (32 GB+, A2 recommended) | Flash Raspberry Pi OS (64-bit) with desktop. | |
| 1 | USB-C power supply (5 V, 3 A minimum) | Official Pi 4 PSU or equivalent. Budget headroom for the DSI panel. | |
| 1 | Enclosure / Stand | 3D-printed desktop enclosure. | MakerWorld |
| 4 | M4×8mm button head screws | Attach screen to the enclosure | |
| 2 | M2.5×10mm button head screws | Attach the fan heat sink to the Raspberry Pi | |
| 0–1 | Heatsink + fan (optional) | Recommended for 24/7 operation on Pi 4. Bore out the screw holes on the heat sink with a 3 mm drill bit to convert them into clearance holes for the M2.5 screws. | Waveshare |
| 1 | 90° USB-C connector | Connect to the USB-C connector on the LCD backpanel. | Amazon |
| 1 | USB A–C or USB C–C cable | Any generic cable will work. |
The 3D-printed enclosure is not part of the firmware repository. See Credits-and-License and the license on the MakerWorld model page before downloading, printing, or sharing.
