Home
This wiki serves as the guide for using and configuring the Polaroid600 mod. The current version of the wiki was made for the 26.2-1.0.0 of the mod.
This section of the wiki is aimed at the players of the mod.
The mod features 5 different cameras (with 3 more planned in the future). These are based on real-life Polaroid cameras, and - based on the properties of their real-life counterparts - offer different features.
| Icon | Name | Focus | Flash | Double Exposure | Selfie Mirror | Film Format |
|---|---|---|---|---|---|---|
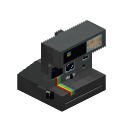 |
Polaroid 635 | Fixed-focus | Yes | No | No | 600 |
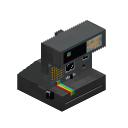 |
Polaroid 660 AF | Toggleable AF | Yes | No | No | 600 |
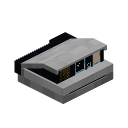 |
Polaroid Spectra | Toggleable AF | Yes | No | No | 1200 |
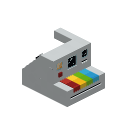 |
Polaroid Now | Toggleable AF | Yes | Yes | No | 600 |
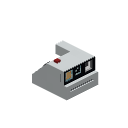 |
Polaroid Go | Toggleable AF | Yes | No | Yes | Go |
To take a photo, the camera must be filled with film. The way this works depends on the Film Mode configuration option, which is set to CARTRIDGE by default. To use a camera, you have to get at least one of the film items and "place it" on top of the Film Cartridge item in your inventory, just like you would with a Bundle in vanilla Minecraft. This places the cartridge with the film. A single cartridge can take 8 film items. No film mixing is allowed, so all of the film items must be the same type.
After that, you can, in similar fashion, place the cartridge on top of one of the camera items, which places the cartridge into the camera. The camera must be empty - i.e. can not contain any other cartridge. You can remove an empty cartridge from the camera by right-clicking with the camera on an empty slot in your inventory - again similar to how bundles work. If you insert a cartridge with 8 film items into a camera, you will also get a random Darkslide item. Once the camera is loaded, you can adjust the camera settings, as described in the sections below, or you can take a photo using the "Use Item/Interact" button - typically a right mouse button click.
In the case Film Mode is set to DIRECT, the cartridge step is skipped, and instead you put the film directly into the camera, again similar to how bundles work.
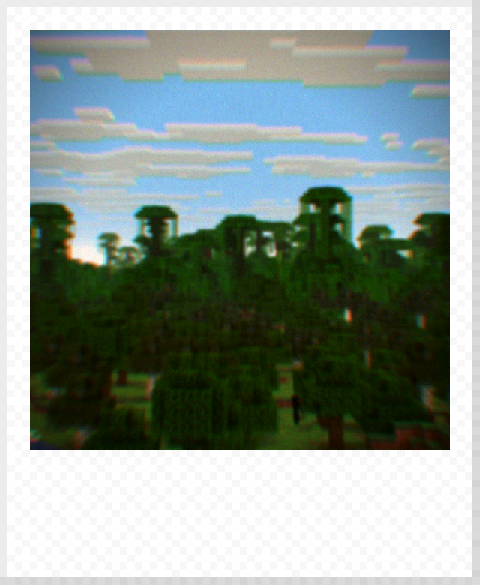
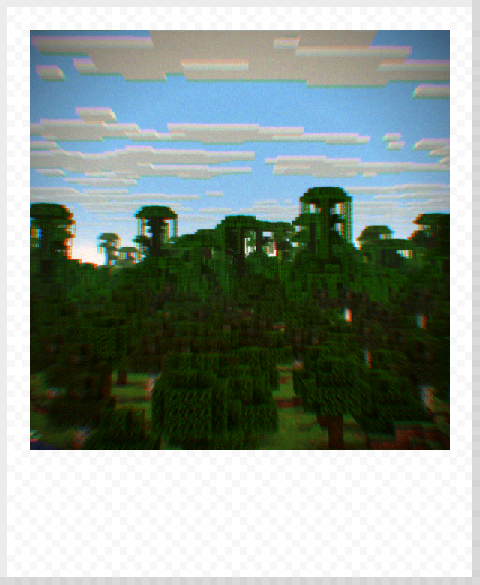
The mod applies a DOF shader to all taken photos, before sending them for further image processing. This DOF shader is vaguely based on real-life optics properties, and because of that, the distance of the focus point affects the look of the image. Fixed-point cameras, or cameras with turned-off autofocus, have their focus point about 0.66 blocks away - good enough to take a selfie or a portrait, not good for landscape photos. Autofocus makes the camera use the centre of the taken image as the focus point. Autofocus is controlled using the "Autofocus Toggle" keybind (by default '*').
| Without AF | With AF |
|---|---|
 |
 |
All currently added cameras have the ability to make a flash when taking a photo. This light is purely client-side, so similar to dynamic lights in other mods, it does not affect the world in any way, just the rendering. Flash is controlled using the "Flash Toggle" keybind (by default '9' on numeric keyboard).
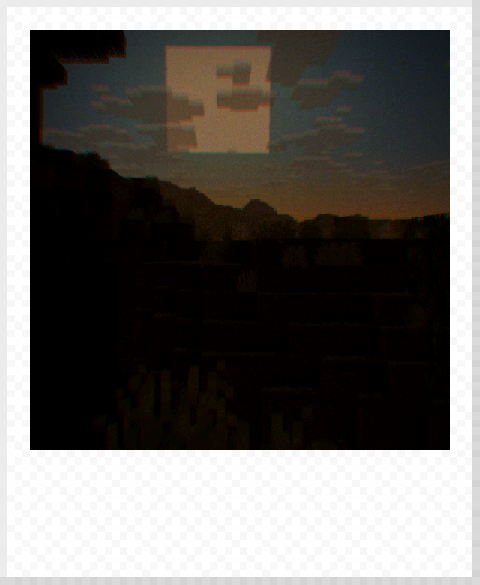
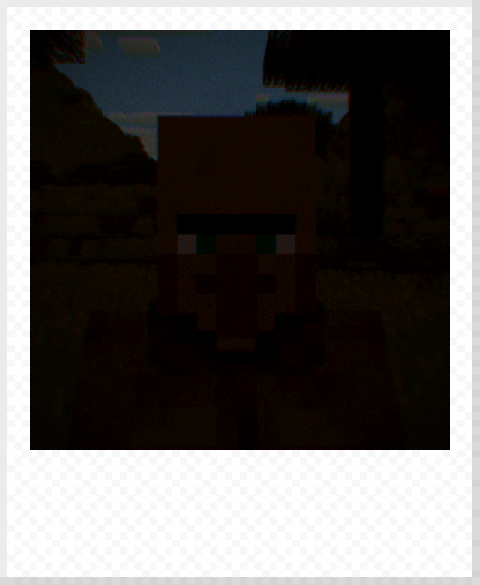
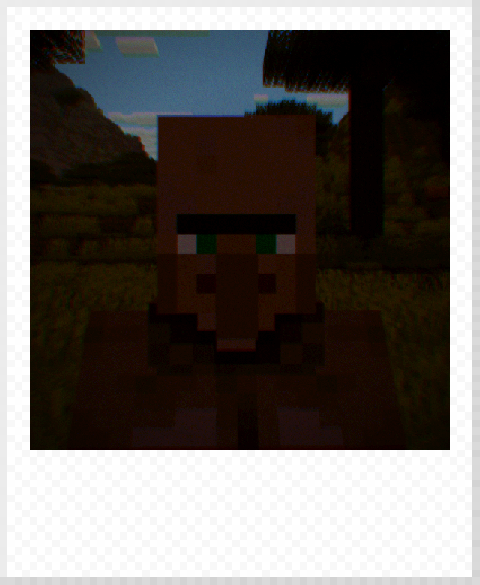
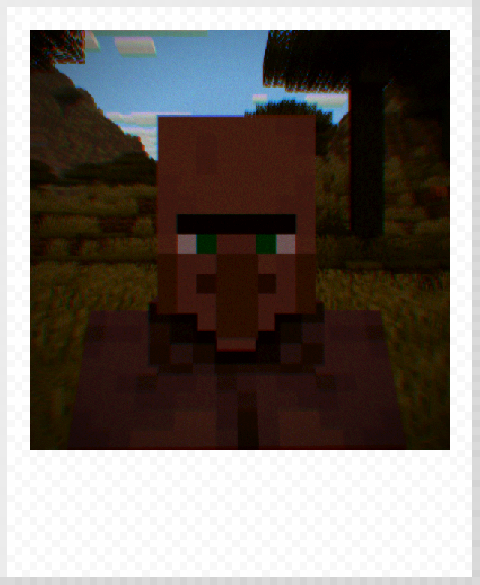
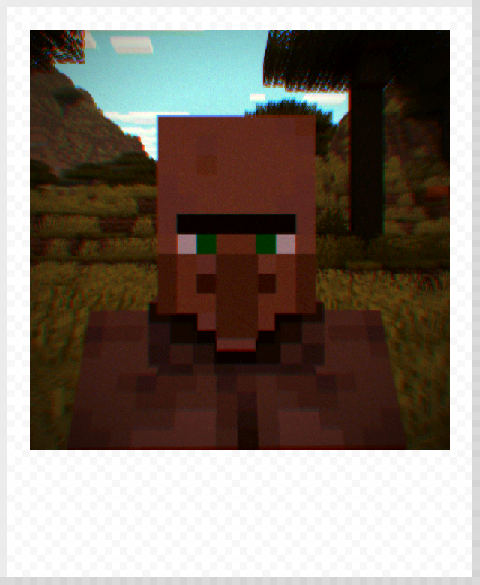
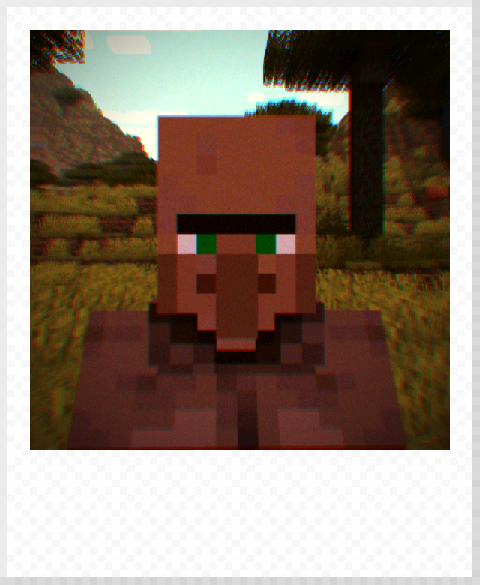
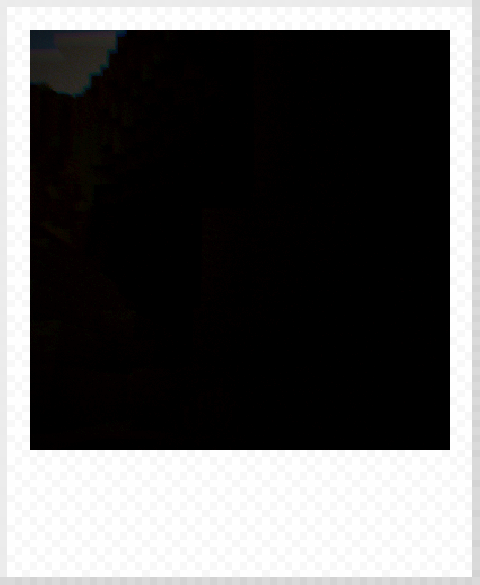
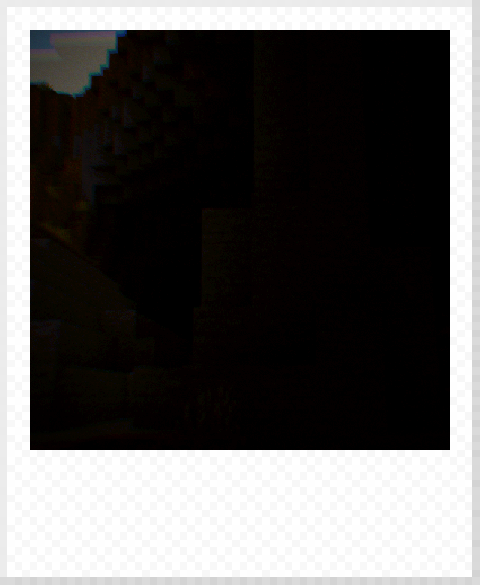
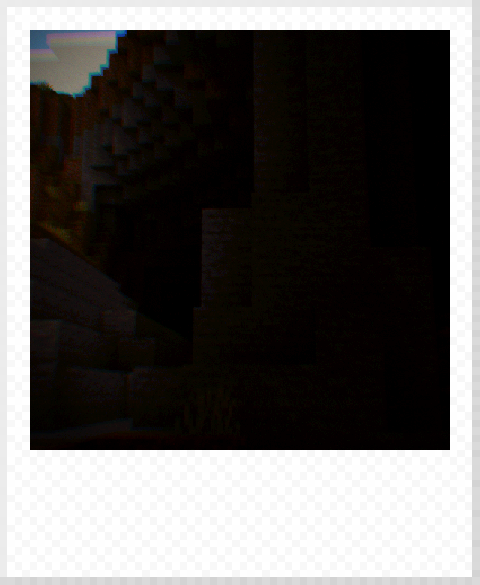
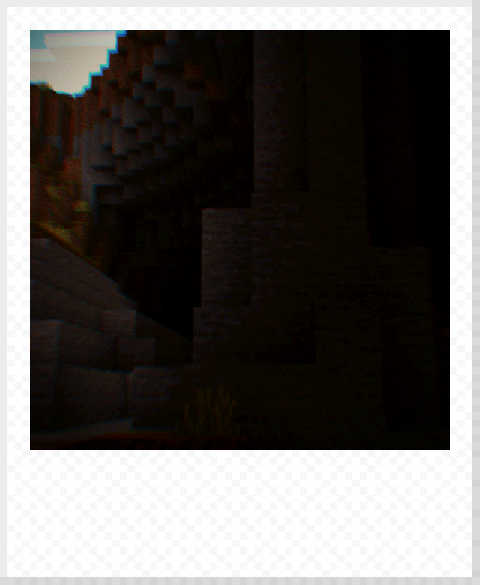
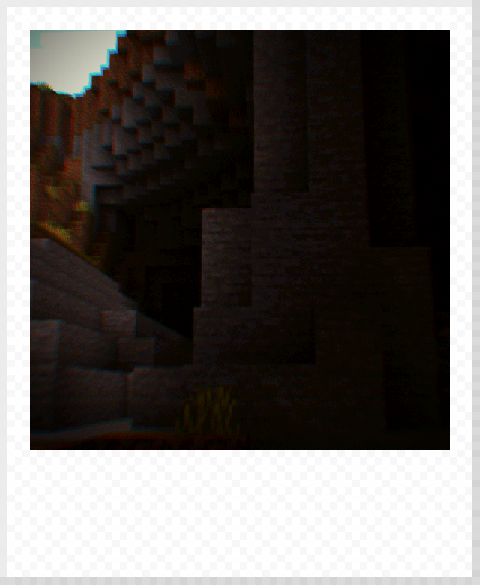
You can increase or decrease the brightness of the photos using the exposure adjustment keybinds (by default '+' and '-'). The exposure adjustment values range from -4 to 4.
| -4 | -2 | 0 | 2 | 4 |
|---|---|---|---|---|
 |
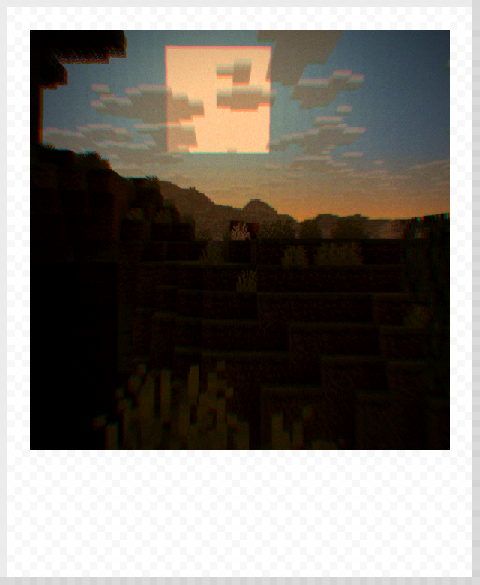 |
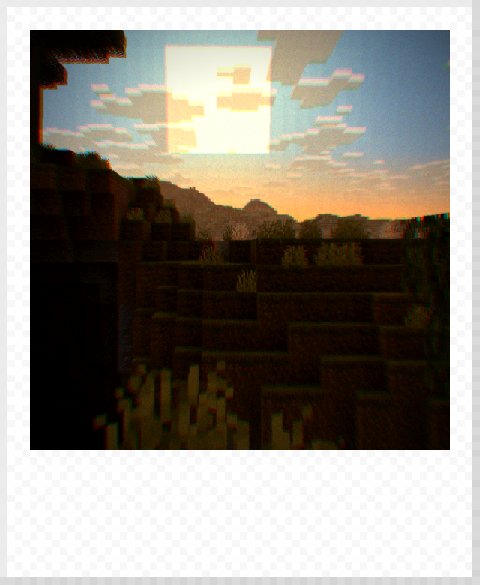 |
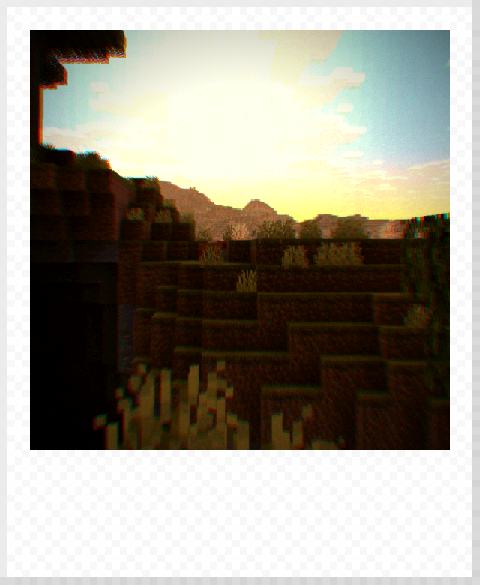 |
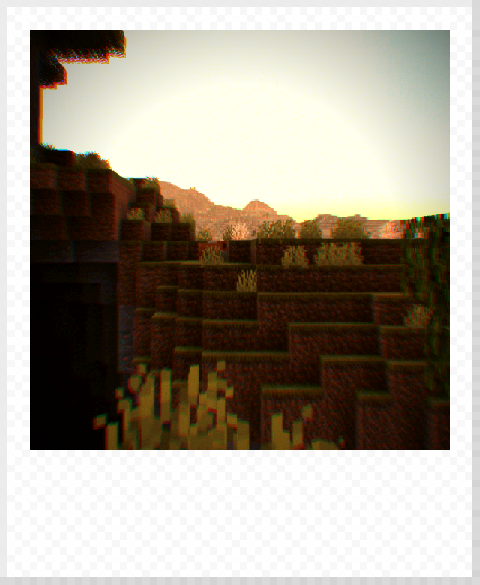 |
 |
 |
 |
 |
 |
 |
 |
 |
 |
 |
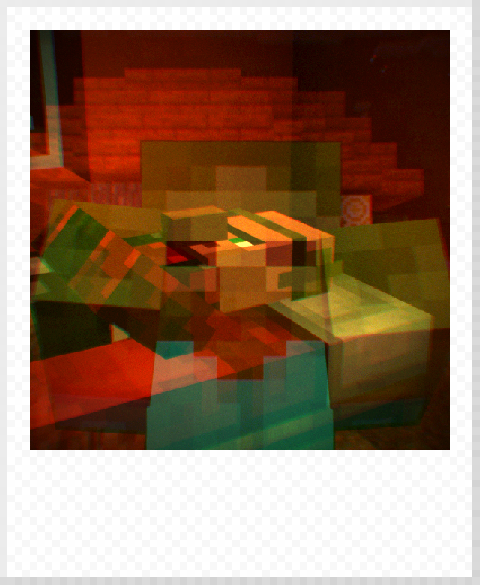
Double exposure allows you to blend two different images on one photo. This is done by enabling the double exposure mode on a compatible camera using the "Double Exposure Toggle" keybind (by default '/'). Since the first exposure is saved on the server side, different players can take each of the exposures. The double exposure mode automatically turns off after taking the second exposure.
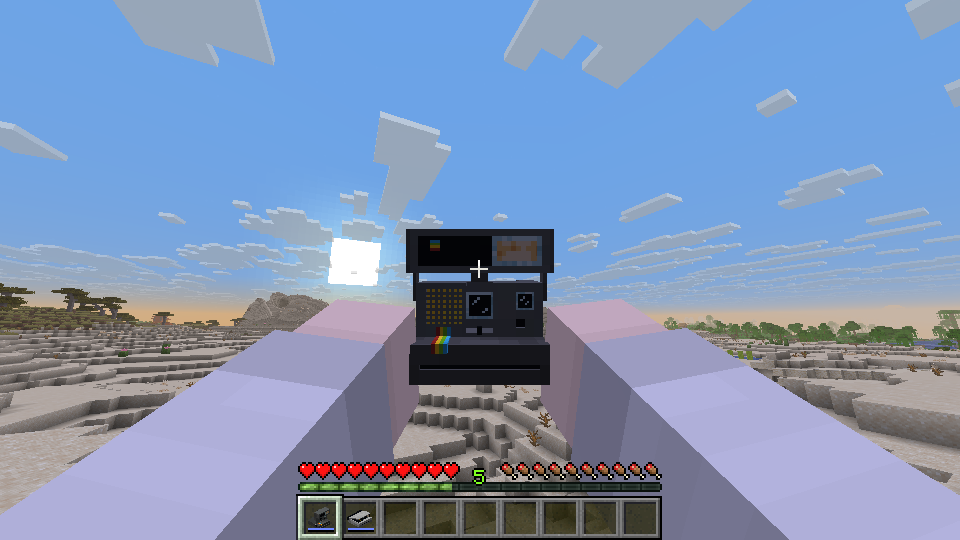
By pressing the selfie mode keybind (by default 'R'), you can enter the selfie mode, which (naturally) means the player character points the camera at themselves at roughly an arm's length (0.625 blocks).
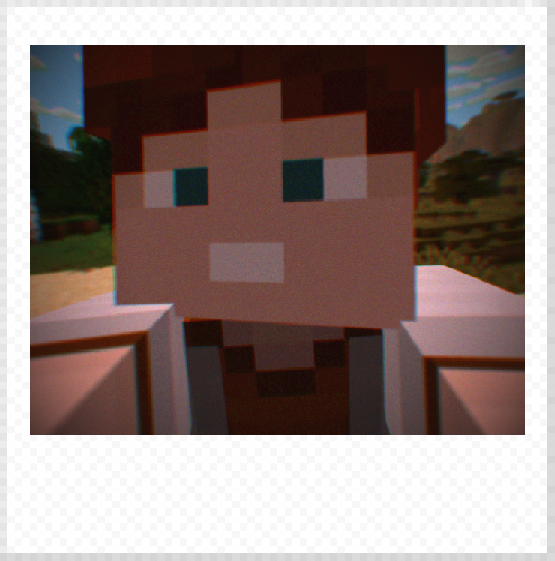 |
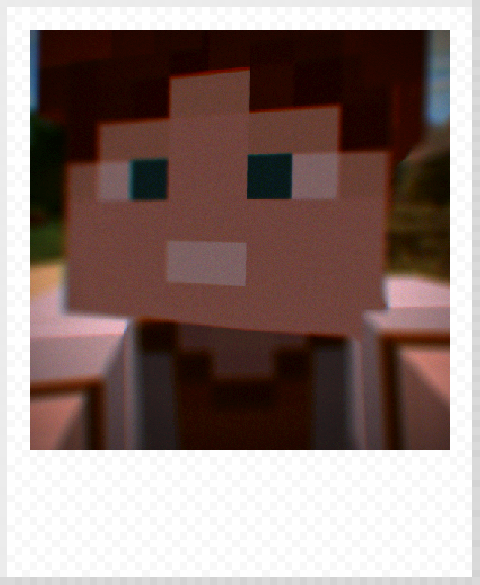 |
|---|
The selfie mirror that some cameras have gives a real-time preview of what the camera sees before you take a photo
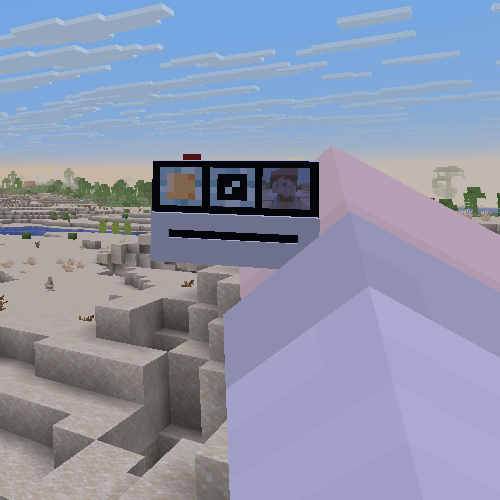 |
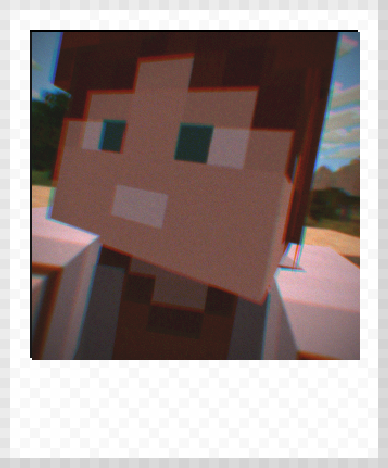 |
|---|
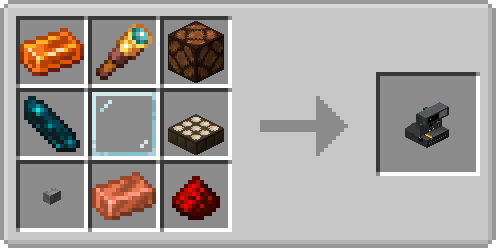
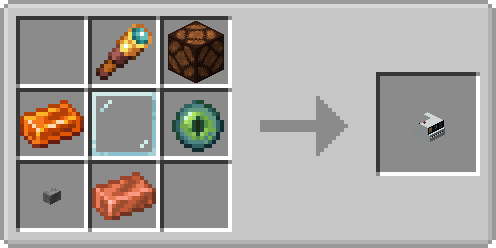
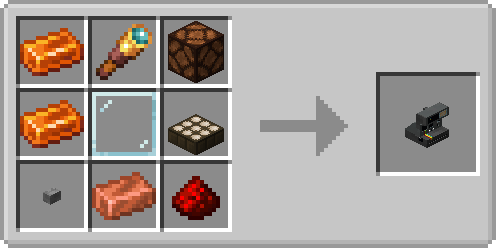
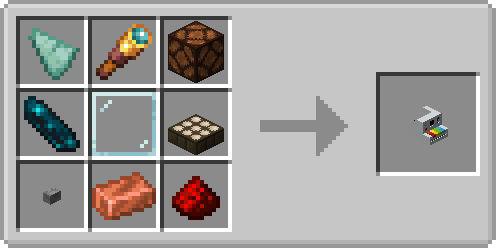
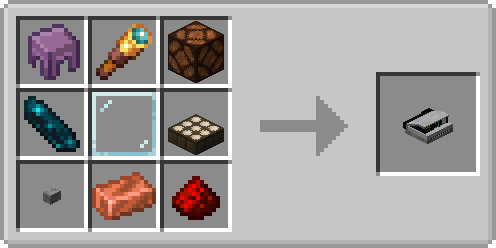
The crafting recipe complexity of the cameras generally rises with the functions they offer, with the simplest one being the Polaroid 635. However, the key materials pretty much all cameras use are Resin Bricks, Spyglass, Glass Pane, Copper Ingot, Redstone Lamp and Stone Button.
Upon ejection, photos take some time to fully develop. The photo will gradually shift from solid blue through darker blue with visible image outlines to a full clear image. This by default takes 1200 ticks (so a minute).
During the earliest moments (by default first 400 ticks), it is important to shield the developing photo from the sunlight, otherwise the image can get damaged - solarized, resulting in a bright white appearance. Solarization can happen, when holding the developing photo in your hands, during the day and clear weather with no blocks above your head - basically, whenever Vanilla monsters can burn from the sunlight.
You can see your photo either directly in your hands or by using the item to open the UI screen to inspect it. Photos can also be placed on solid walls into a 5x5 grid.
Renaming the photo item on an anvil makes the name of the item appear on the chin of the photo - similar to how people write on real Polaroid photos.
This section of the wiki is aimed at the people who configure or troubleshoot the mod.
Currently planned features include:
- new cameras - namely the Polaroid I-2 (with manual aperture controls), the Polaroid SX-70 and the Polaroid 20x24.
- viewfinder mechanic
- better effects
- attempt at making it slightly more compatible with shaders