Release Testing Instructions WooCommerce 5.5
-
WooCommerce Admin Updates
- Add target to the button to open it in a new tab #7110
- Remote Fee Extensions List #7144
- Set target to blank for the external links #6999
- Exclude WC Shipping for store that are only offering downloadable products #6917
- Redirect users to WooCommerce Home after setting up a payment method #6891
- Disable the continue btn when plugins are being installed/activated #6838
- Business features uncheck creative mail by default #7139
- Fix an issue with OBW when wc-pay and Jetpack are both being installed. #6957
- WooCommerce Blocks Updates
- WooCommerce Core Updates
- Navigate to WooCommerce -> Settings -> Payments
- Wait a few seconds until the Recommended ways to get paid section appears.
- Click on the See more options button.
- A new tab/window should open.
- Make sure you have Marketplace suggestions turned off
wp option set woocommerce_show_marketplace_suggestions no - Set your store to a US address
- Be sure to deactivate the following extensions if they are active
- WooCommerce Payments
- WooCommerce Services
- Jetpack
- Mailpoet
- Facebook for WooCommerce
- Google Listings and Ads
- Mailchimp for WooCommerce
- Creative Mail
- Set product types to "Physical" at
/wp-admin/admin.php?page=wc-admin&path=%2Fsetup-wizard&step=product-types - Set the industry to anything other than CBD at
/wp-admin/admin.php?page=wc-admin&path=%2Fsetup-wizard&step=industry
- Go to Business Details step of the OBW
/wp-admin/admin.php?page=wc-admin&path=%2Fsetup-wizard&step=business-features - Click on "Free features" tab
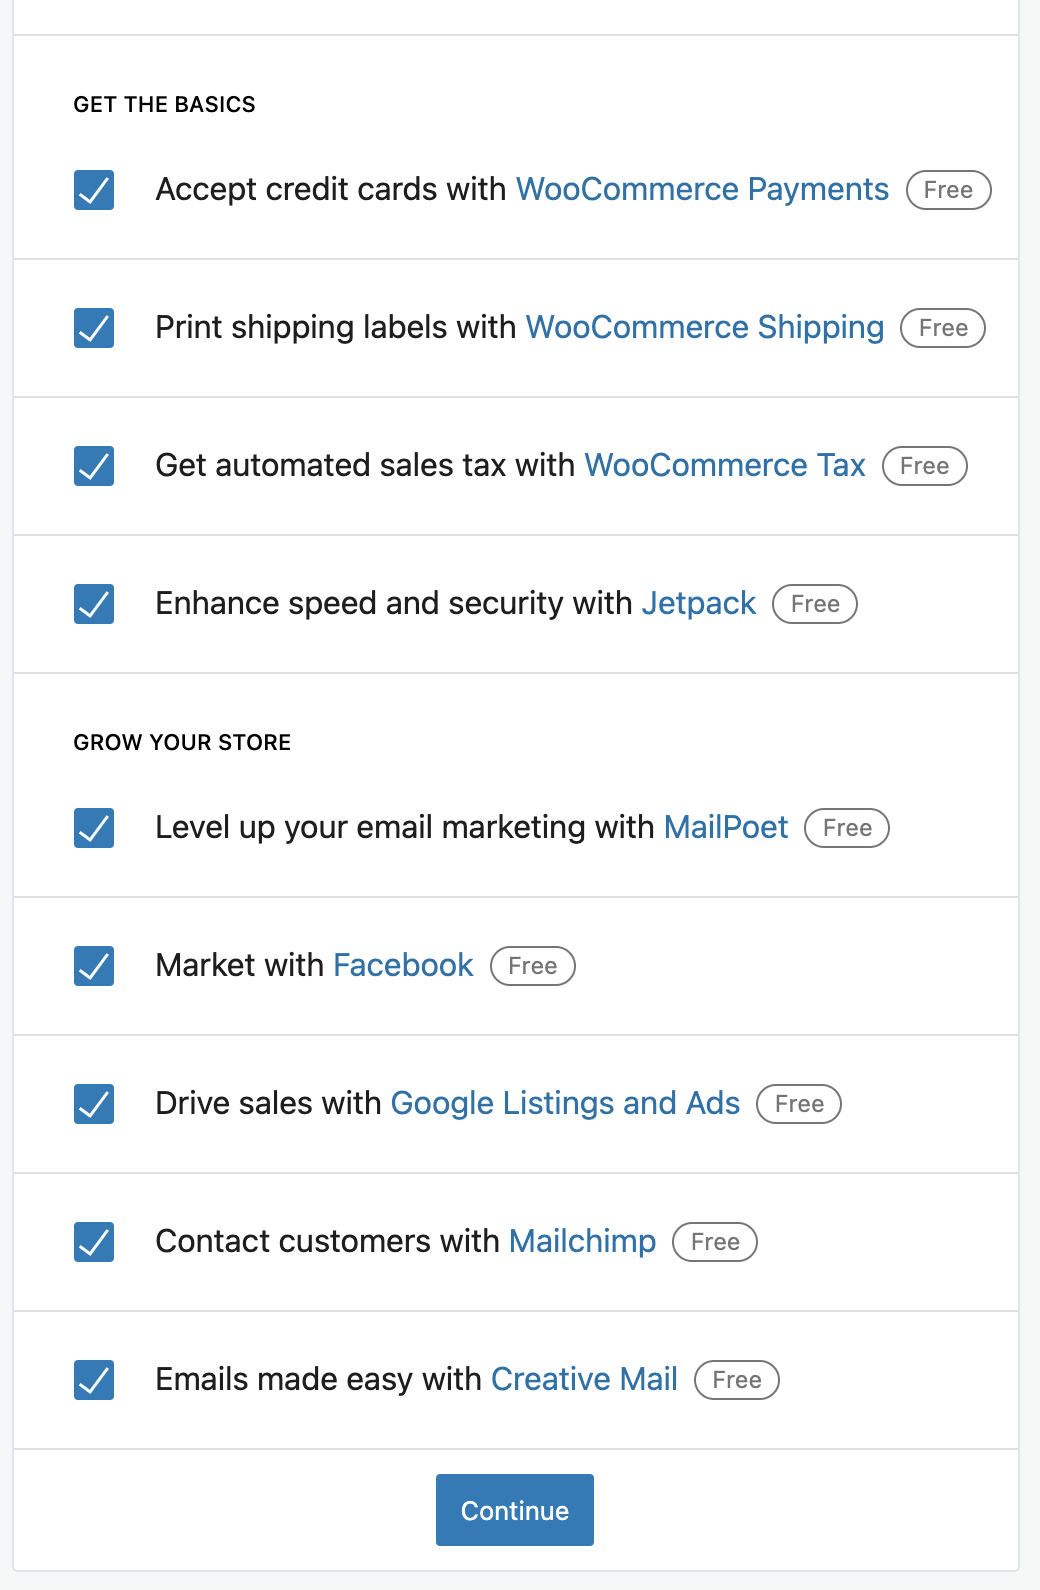
- Click the dropdown "Add recommended business features to my site" to see the list of free extensions.
- See 9 total suggestions
- Turn Marketplace Suggestions on
wp option set woocommerce_show_marketplace_suggestions yes - Repeat steps in Scenario 1 and see the same result
- Select CBD industry only at
/wp-admin/admin.php?page=wc-admin&path=%2Fsetup-wizard&step=industry - Visit the free features of Business Details and see that WooCommerce Payments is no longer being shown
- Add another industry in addition to CBD and confirm WooCommerce Payments is still not being shown
- Set the product type to "downloads" only at
/wp-admin/admin.php?page=wc-admin&path=%2Fsetup-wizard&step=product-types - Visit the free features of Business Details and see that WooCommerce Shipping is not shown
- Add another product type, such as "physical" and confirm WooCommerce Shipping is now being shown
- Set your store location to South Africa
- Confirm WooCommerce Payments, WooCommerce Services Shipping, and WooCommerce Services Tax are not shown.
- Install and activate Jetpack
- Confirm Jetpack in not show in Free features list
- Clone this repository.
- Complete the OBW
- Navigate to WooCommerce -> Home
- Hide the Setup task list on the Home screen.
- Note that the Store Management section appears on the Home screen.
- Click on the Visit My Store link.
- Observe that the link opens in a new tab.
- Start OBW and enter an address that is in the US.
- Choose "food and drink" from the Industry
- Choose "Downloads" from the Product Types step.
- When you get to the Business Details step, expand "Add recommended business features to my site" by clicking the down arrow.
- Note that "WooCommerce Shipping" is not listed.
- Navigate to WooCommerce -> Home and choose "Set up payments".
- Click one of the payment methods and go through the setup process.
- You should be redirected to WooCommerce Home with a notice when you are done.
- In OBW fill out store details with a USA address
- Click Continue and select Fashion, apparel, and accessories,
- Click Continue, and select Physical products, and continue.
- The business details tab should show a Business details tab, and a Free features tab (disabled at first)
- Select 1-10 for the first dropdown, and No for the second, and click Continue.
- Make sure the "Add recommended business features to my site is ticked
- Click Continue, before the page redirects click Continue again
- Confirm no error has been recorded in your browser console.
- Complete the OBW until you get to the business details step.
- Continue setup until the Business Detail step.
- Open
Free Featurestab and toggle dropdown forAdd recommended business features to my site. - Observe that the list have
Creative Mailunchecked by default.
- Complete the OBW until you get to the business details step.
- Deselect "Add recommended business features to my site", and select only Jetpack and WooCommerce Payments for installation.
- The plugins should be installed and activated correctly, and you should be able to continue in the flow.
When using the testing instructions below, test only those cases presented in the section called "Feature plugin and package inclusion in WooCommerce core". There is no need to test cases in the "Feature plugin only" section since they are not a part of WooCommerce Core.
- Go to your list of orders page
/wp-admin/edit.php?post_type=shop_order. - Select a few orders by checking the bulk action checkbox on each one.
- Click on the
Bulk actionsdropdown. SelectChange status to cancelled. - Click on
Apply. - Ensure all the selected orders now have a status of
Cancelled.
- On a fresh WP site, install WC 5.5
- Either complete the set-up wizard or skip it.
- Go to
WooCommerce > Settings > Payments. - PayPal Standard won't appear as an option.
- On an existing store, upgrade to 5.5
- Go to WooCommerce > Settings > Payments.
- PayPal Standard will be listed.
- Using Chrome, add several items to the cart.
- Go to the cart page and remove/delete one of the items and go to checkout page.
- Click the back button on your Chrome browser.
- Ensure the item you removed/deleted is still gone.
- Change your country to Curaçao
- Postcode and state are not required on the checkout form
- Create an order with an item that keeps stocks.
- Go to the order and do a refund on the line item reducing the stock by 1. Ensure to uncheck the box that says
Restock refunded items. Click theRefund manuallybutton. - Note stock count for the product stays the same and not restocked.
- On the same order click the
Updatebutton. Ensure stock count remains the same for the product and not restocked. - Manually edit the quantity of the product line item. Reduce it by 1. Click on
Savebutton on the bottom. Ensure stock is increased for the product. - Click on
Updatebutton. Ensure stock count remains the same for the product and not restocked. - Manually edit the quantity of the product line item again and this time increase it by 1. Click on
Savebutton on the bottom. Ensure stock is decreased for the product. - Click on
Updatebutton. Ensure stock count remains the same for the product and not restocked.
- Create an order in
wp-admin, add some items to your order. - Add a percentage fee and notice that prior to this PR, it wouldn't be calculated correctly (and show
$0). - Apply this PR and against create an order in
wp-admin, add some items to your order. - Add a percentage fee and verify that it's calculated correctly based on the existing items in the order.
- Verify that the percentage fee is correct based on the items in the order at the time you add it.