Release Testing Instructions WooCommerce 5.7
WooCommerce 5.7 includes:
- WooCommerce Admin Updates
- WooCommerce Blocks Updates
- WooCommerce Core Updates
- WooCommerce Marketplace Updates
Match stock status value in CSV download to table #7284
- Add some products and set stock value.
- Place an order and make it completed.
- Navigate to Analytics -> Stocks
- Click the Download button.
- Open the downloaded file and confirm the status values match the table.
The following tests are taken from the WooCommerce Admin Smoke Test Checklist. In each of these tests, we need to make sure that these existing functionalities still work as expected in this release.
Onboarding can be initialized either by:
- Navigating to WooCommerce -> Settings -> Help, and pressing the Setup Wizard button.
- Using the URL
/wp-admin/admin.php?page=wc-admin&path=%2Fsetup-wizard.
On a new test site ( Jurassic Ninja or Atomic Ephmeral ), test out the onboarding flow to ensure no regressions have occurred.
If using Jurassic Ninja, remove the Jetpack plugin before proceeding.

Note that the first variants are for the non WooCommerce Admin plugin version, when just testing WooCommerce.
- Variant A: WooCommerce Payments is listed as a business feature for US or PR based address.
- Variant B: WooCommerce Payments is not listed as a business feature for addresses based in BR, ID, VN, PL, NG, GR, BE, PT, DK, SE, and JP.
When testing any of these onboarding flows, maybe mix it up with some of these options:
- Option: Select a paid product type upsell like subscriptions.
- Option: Toggle some extension promotions off
- Option: Select a Paid theme or non-default theme selection
- Option: Go through Jetpack Connection at the end.
- Upon completing the onboarding wizard, verify you see the welcome modal on the home screen.

If you installed woo in a way that results in the setup check list not to be shown by default, it can be toggled on/off by visiting Settings > Help.

- Complete all steps on setup checklist. This has many different options such as payment methods, product entry etc. Try to mix it up a bit!

- Verify the ability to Hide the Setup Checklist also works ( use the help menu above to toggle it on/off ) Activity Panel Area

- Verify the display toggle works as expected for 1 or 2 column view
- Verify the Help Menu works as expected

- Verify they are not shown when setup checklist is being shown
- Verify when setup checklist is done/hidden that the links are shown.

- Interact with display options and verify they function as expected
- Click on a summary number and confirm you are directed the the appropriate analytics report
- Optional: Connect via Jetpack through this component if shown.

- Interact with some notes, do an action.
- Dismiss a single note
- Dismiss All Notes

- If items are shown, like the orders panel, interact with the component.
Verify that going through these flows will also populate data for Analytics testing.
- Create a new product
- Edit a product
- Create an order ( front end )
- Create an order ( back end )
- Edit an Order Status
- When on the various admin screens for the above, interact with the Activity Panel links ( Inbox and Help )
Again it is very helpful to have created at least one test order, and updated it to “Complete” to test out the analytics pages.
With those test orders in mind, perform the following:
- Verify the Summary Numbers / Performance Indicators look correct

- Adjust the Date Range filter on the analytics overview page and verify the page updates as expected.
- Interact with the elipsis menu in the Perofrmance Indicators section. Toggle stats on/off, rename seciton, and move the section down.

- Under the charts section, toggle between line and bar charts
- Under Leaderboards section, toggle a leaderboard off or on
- Hard refresh the page and verify order changes in sections, names, and summary number, chart, and leaderboard selections are persisted.
Select a report with data and verify basic analytics functionality works.
- Interact with date range picker
- Clicking on a summary number adjusts the chart
- Select a long date range, quarter to date, verify you can change the period on the chart
- If applicable search in the table
- Try a CSV download
- Toggle visibility on table columns via ellipsis menu
- Interact with advanced filters
- Change settings for Excluded and Actionable statuses
- Adjust default date range
- Save and hard refresh to verify settings have been persisted.
The Help panel on Home screen provides links to online documentation hosted on woocommerce.com
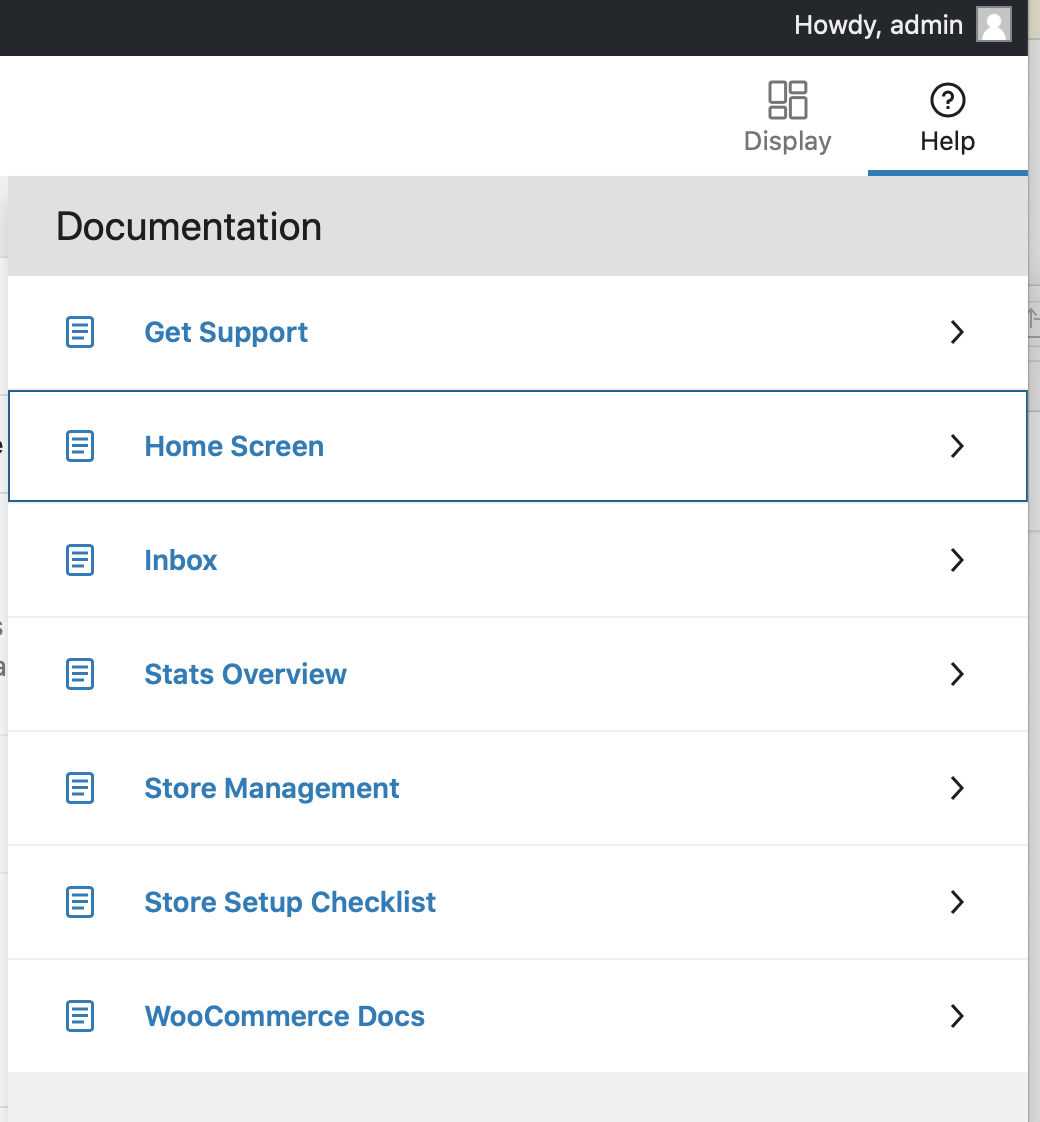
- Ensure each of the menu items link to appropriate documentation on woocommerce.com.
- Load the Marketing Overview Page wp-admin/admin.php?page=wc-admin&path=%2Fmarketing
- Load the Customers page wp-admin/admin.php?page=wc-admin&path=%2Fcustomers
With a new WordPress site, install an unsupported version of WooCommerce. An unsupported version is less than the prerequisite version listed in the README. Note: .zip Downloads available here under Previous Versions.
- Try to activate WooCommerce Admin from the WordPress plugin screen. It should immediately deactivate.
Install the Gutenberg plugin
- Perform a task from the Onboarding Profile Wizard Flows.
- Perform a task from the Home Screen.
- Perform a task from the WooCommerce Analytics Flows.
When using the testing instructions below, test only those cases presented in the section called "Feature plugin and package inclusion in WooCommerce core". There is no need to test cases in the "Smoke Testing" or "Feature plugin only" section since they are not a part of WooCommerce Core.
Fix pages were being re-created even though not set during a db migration #30540
- Install and activate WooCommerce 5.5.0. Here is a direct link to its zip file: https://downloads.wordpress.org/plugin/woocommerce.5.5.0.zip
- Go to WooCommerce > Settings > Advanced tab and unset the 'My Account page' by clicking on the "x" icon inside the drop-down box.
- Click 'Save changes'.
- Update WooCommerce to the latest version of 5.7.
- Navigate to WooCommerce > Home.
- You would see a 'WooCommerce database update required' notice at the top of the page.
- Click 'Update WooCommerce Database' and wait for the DB update to finish.
- Go back to WooCommerce > Settings > Advanced tab and verify that the 'My Account page' is still unset.
Fix: product attribute permalinks not working for non-ASCII characters #30443
- Go to 'Products > Attributes' page.
- In the 'Add new attribute' form, enter the following values:
- Name: Color
- Slug: 色
- Check the "Enable Archives?" option.
- Click on 'Add attribute' button
- Click 'Configure terms' link in the table on the right.
- You should see an 'Add new Color' form. Enter the following details:
- Name: Red
- Slug: red
- Click 'Add new Color' button.
- Go to 'Products > Add new' page
- Enter 'Shirt' in the 'Product name' field
- Enter $100 as the Regular Price
- Click on the 'Attributes' tab
- Click the 'Custom product attribute' dropdown menu
- Select 'Color'
- Click 'Add'
- In the 'Value(s)' dropdown menu, select 'Red'
- Click 'Save attributes'
- Click 'Publish'
- Navigate to your store's homepage, and append the attribute slug
/色/red - You should be taken to the product page of that shirt successfully, instead of getting a 'Page not found' screen.
- Try repeating the test using other non-ASCII characters as the slug. For example, this Greek word:
επεξεργαστής.
Fix variations menu order not applying correctly when manually set closes #30423
- Create a variable product.
- Add a custom attribute with 20 terms.
- Make sure to choose
Used as variationsand then save attributes. - Go to the variations tab and run
Create variations from all attributes. - You should have at least 2 pages of variations.
- On page 1, click on the drag and drop handle icon for the last variation.
- You should see a window prompt asking you for the menu order value.
- Enter 2 for example and ok/enter.
- After an AJAX refresh, you should see the last variation is now in the second position from the top.
- Click on each of the drag and drop handle icon to make sure the menu order values are indeed correct.
- Perform the same test from step 6 - 10 except this time do it from page 2 and see if the results are correct.
- Now test the drag and drop and make sure we don't have any regressions due to this fix.
Allow user with capabilities to view downloadable image #30385
- Go to a downloadable product and add a downloadable file that is an image. Make sure it is a new uploaded image.
- After loading the file, ensure you can see the image in the media editor popup.
- Now navigate to the Media page.
wp-admin/upload.php. - Ensure you can see the image for the file you just uploaded.
Fix: Quick editing hidden product creates duplication of visibility setting #30374
- Go to products page.
- Click on quick edit on one of the products and choose visibility hidden and update.
- Click on quick edit on any different product and make sure visibility is not stuck on hidden. They should show as was saved.
Update locale-info.php #30216
- While onboarding, select
Arubaas your country, and finish onboarding. If you have already finished onboarding, you can go to WooCommerce > Orders, then on the above tab drawer, choose Help > Setup Wizard, then click on the Setup Wizard button to re-access the onboarding workflow. - After you finish onboarding, go to
WooCommerce > Settings > Generaland on the Currency select, you should seeAruban florin (Afl.)as the selected currency for that store.
Split the Extensions page in WP Admin and add respective menu items #30380
-
Go to WP Admin and notice the WooCommerce > Extensions menu item has been replaced by WooCommerce > Marketplace and WooCommerce > My Subscriptions.
-
Open each of these pages and make sure they load correctly and have all styles in place. Please disregard the "Extensions" title in the breadcrumb on these two pages. It has already been corrected in the test build.
-
Make sure the correct menu item is highlighted when you open each page.


In-app marketplace redesign phase 1 #30391
Please test in all viewports:
-
View the Marketplace page.
-
Mouseover or click on the 'Browse Categories' menu.
-
Click 'All'.
-
Click the 'View details' button of one of the products. It should take you to the corresponding product page.
-
Mouseover or tap on the menu again.
-
Select 'Featured'.
-
Promotions should appear as normal in the Featured section and (depending on your locale and plugin setup) in the Shipping and Payments sections.

Add mobile section menu to marketplace #30499
-
Open dev tools, enable responsive design mode and select a mobile device like iPhone, so the browser stops recognising hover events.
-
Go to
wp-admin/admin.php?page=wc-addons. -
Click "Browse Categories". The mobile menu should open in full-width style, as shown below:

-
Click on an item in the menu. You should be taken to the section.
-
Change your device to desktop. The menu should have the mobile style on viewports less than 600px wide, as shown below:
-
Verify that the menu should open and close on hover events.
Marketplace mobile layout fixes #30498
- Go to WooCommerce > Marketplace
- Switch to mobile view and make sure product cards look good on all resolutions. This is how the cards should look like in mobile view:
- Test the dropdown menu and make sure it's fully functional on all screen sizes, and that the current item is always highlighted.
Add product card styling. #30410
- Navigate to one of marketplace category pages, i.e.
wp-admin/admin.php?page=wc-addons§ion=payment-gateways. - Check product card and make sure it looks good on all screen sizes. This is how the cards should look like in larger screen sizes:
In-app marketplace style tweaks #30497
- Make sure your store is set to a US location in
/wp-admin/admin.php?page=wc-settings, and WooCommerce Payments is not active in your plugins. - Go to
wp-admin/admin.php?page=wc-addons§ion=payment-gateways. Check that the WCPay promo looks as illustrated in the screenshot below. (Please disregard the wide horizontal nav menu bar. It's been replaced by the "Browse categories" menu).
- Do a search in the search input on the Marketplace page, or go to
wp-admin/admin.php?search=shipping&page=wc-addons§ion=_all. - Check that the
Search results forlabel matches the designs (Please disregard the wide horizontal nav menu bar. It's been replaced by the "Browse categories" menu):