Release Testing Instructions WooCommerce 6.7
WooCommerce 6.7 includes:
Workflow: WooCommerce Product Blocks
Zip file for testing: woocommerce-gutenberg-products-block.zip
Add the Fixed image and Repeated image media controls to the Featured Product block. (6344)
- Create a new page and add a
Featured Product. - On the block settings go to
Media Settingsand toggleFixed imageandRepeated imageand save. - Check the rendered product on the frontend is correct and matches the one on the edit page.
- Edit the block again, repeat the steps above with different combinations on
Fixed image,Repeated imageand any other configuration.
Remove bold styles from All Products block. (6436)
| Before | After |
|---|---|
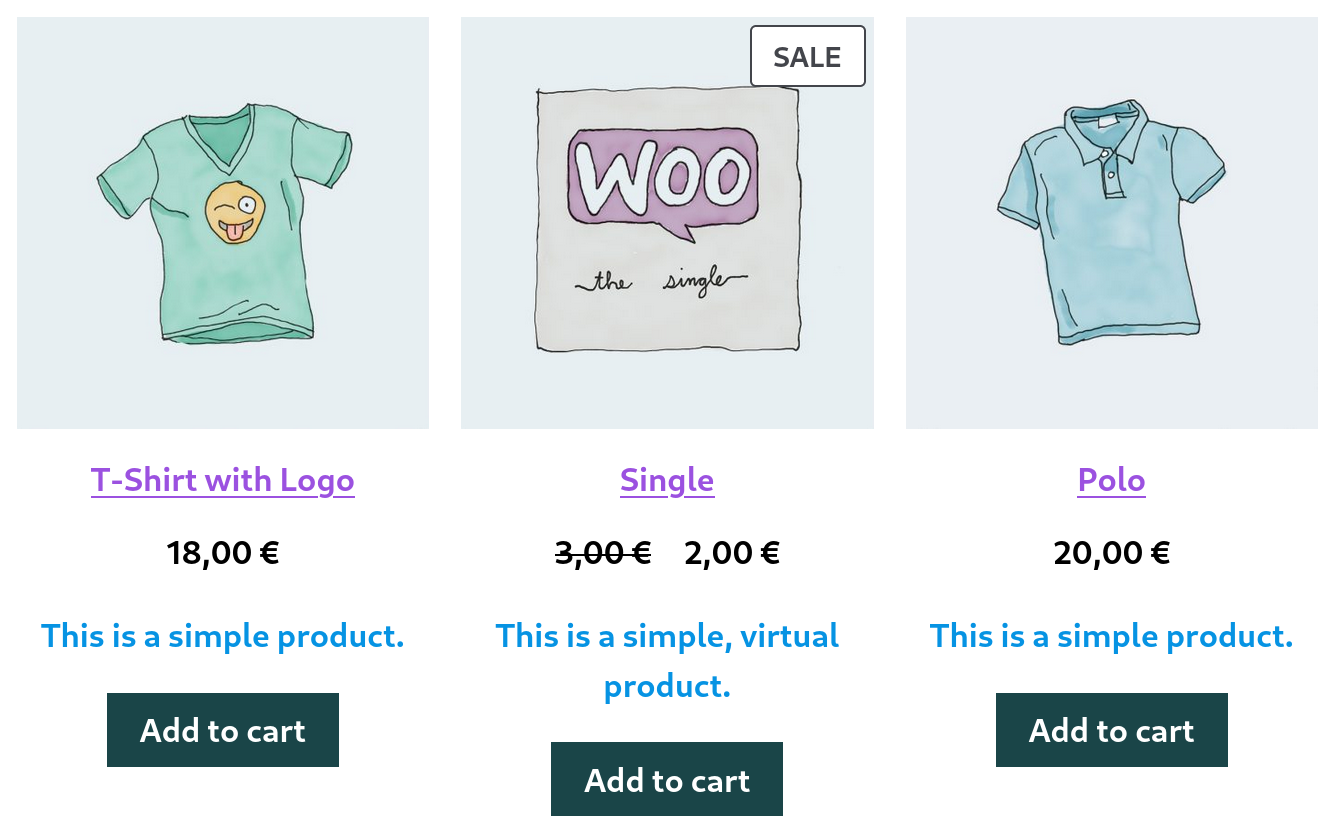 |
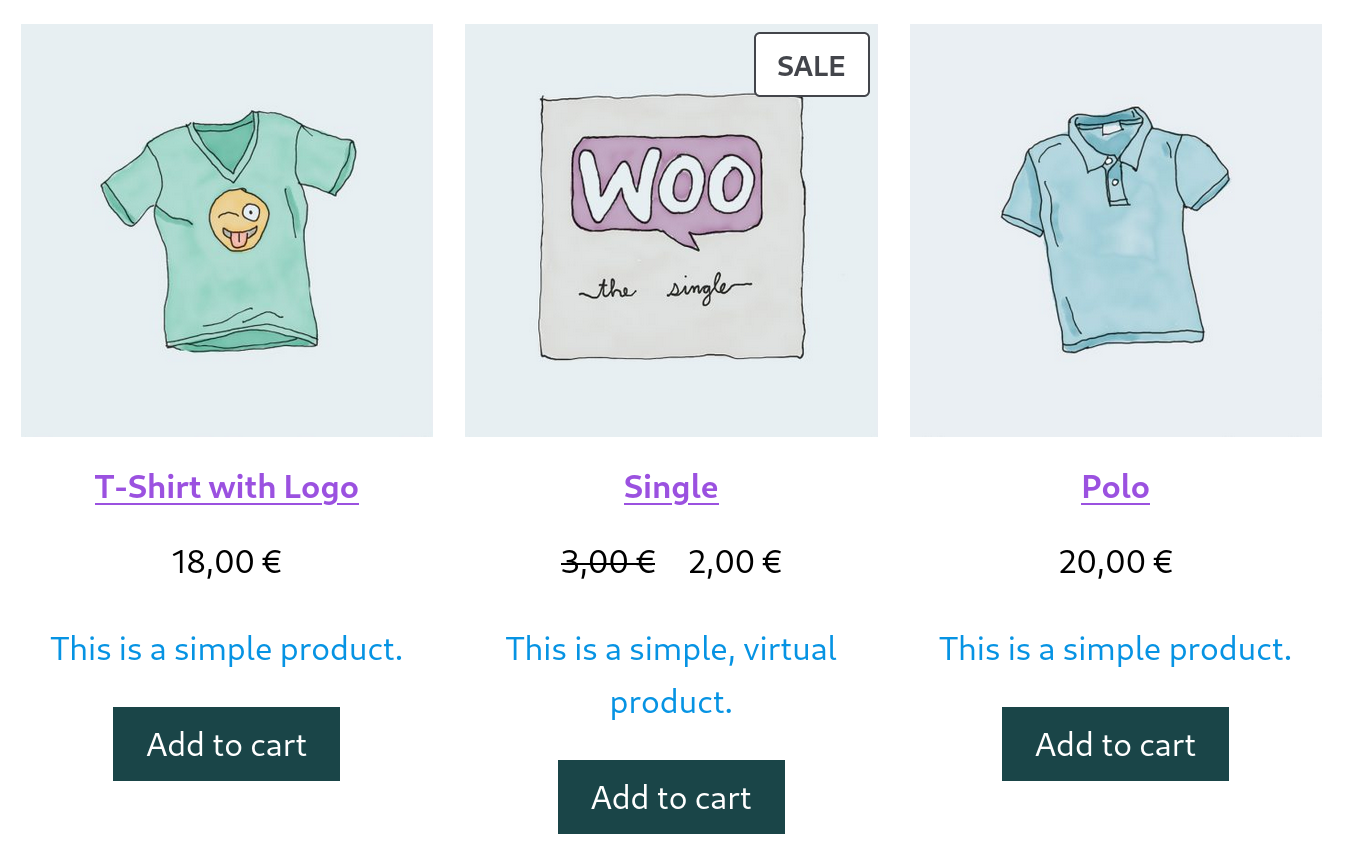 |
- Create a post or page and add the All Products block. Optionally, edit the inner blocks and add the Product Summary inner block (this will make the issue more visible).
- Preview the post in the frontend.
- Verify product price and product summary are not bold.
- Verify there are no regressions in the All Products block and in the Shop page.
Zip file for testing: woocommerce-gutenberg-products-block.zip
Filter Products by Price: Decrease price slider step sequence from 10 to 1. (6486)
- Create a new page and add a "Filter Products by Price" block plus the "All Products" to the page.
- Save and preview the site on the Frontend e.g. via "Preview > Preview in new tab".
- Interact with the price slider and confirm the price slider now increments in steps of 1 instead of 10.
- Smoke test to ensure all other "Filter Products by Price" is still working as expected.
Add the Fixed image and Repeated image media controls to the Featured Category block. (6440)
- Create a new page and add a
Featured Categoryblock, select a Category and, if it doesn't have an image, set one with the Replace button in the toolbar. - On the block settings go to
Media Settingsand toggleFixed imageandRepeated imageand save. - Check the rendered category on the frontend is correct and matches the one on the edit page.
- Add a gradient overlay, save, and check the gradient is rendered on the frontend.
- Edit the block again, repeat the steps above with different combinations on
Fixed image,Repeated imageand any other configuration. - Repeat steps 1-5 for the
Featured Productblock.
Featured Item Blocks: Fix an issue where the default color could be overridden by a theme, and where custom colors where not applied correctly. (6492)
| Before | After |
|---|---|
 |
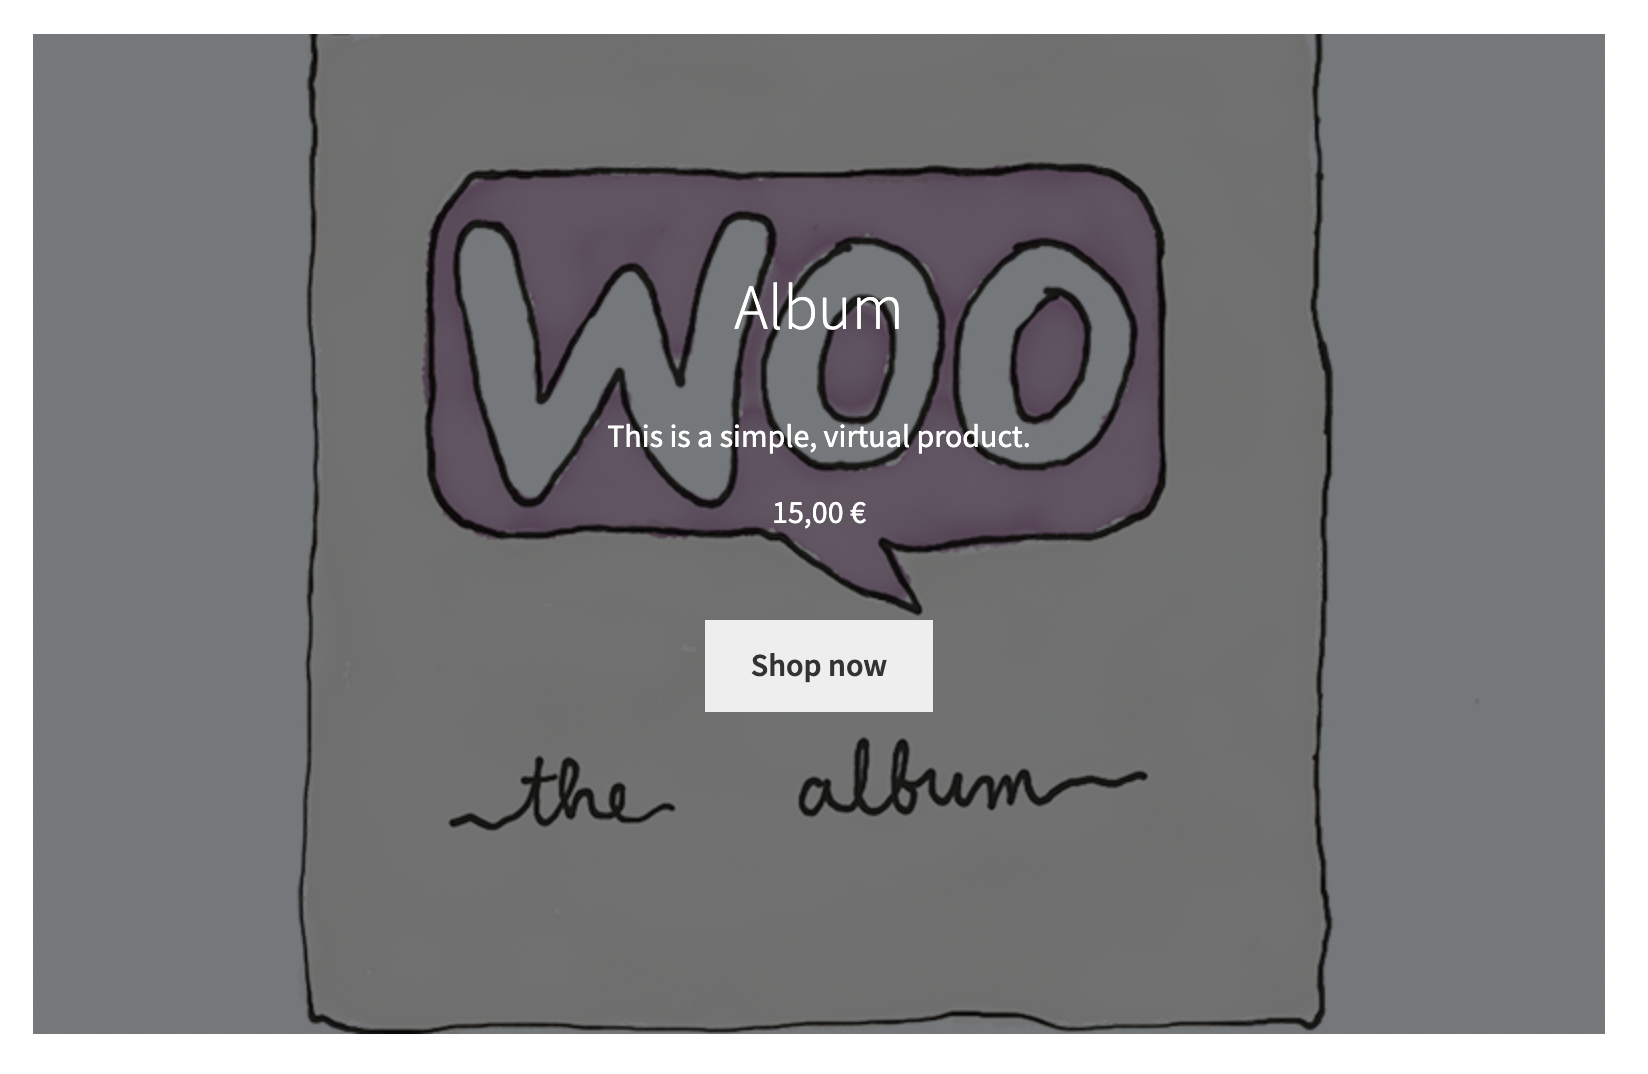 |
- Activate the Storefront theme.
- Add the Featured Product block to the page.
- Select a product.
- Notice that the default color of the text inside should be white.
- Change the color using the picker to a custom one (not included in the default palette).
- The color of the text should change.
- Repeat steps 2–6 with the Featured Category block.
Fix: All Products block: New product is missing in the Cart block if Redirect to the cart page after successful addition is enabled. (6466)
- Go to WooCommerce > Settings > Products > check both 'add to cart' behaviors to redirect and use AJAX, then save
- On the home page, add the All Products block
- On the front-end, click "add to cart" for any product
- See the page is redirected to the Cart page and the Cart block contains the newly added product.
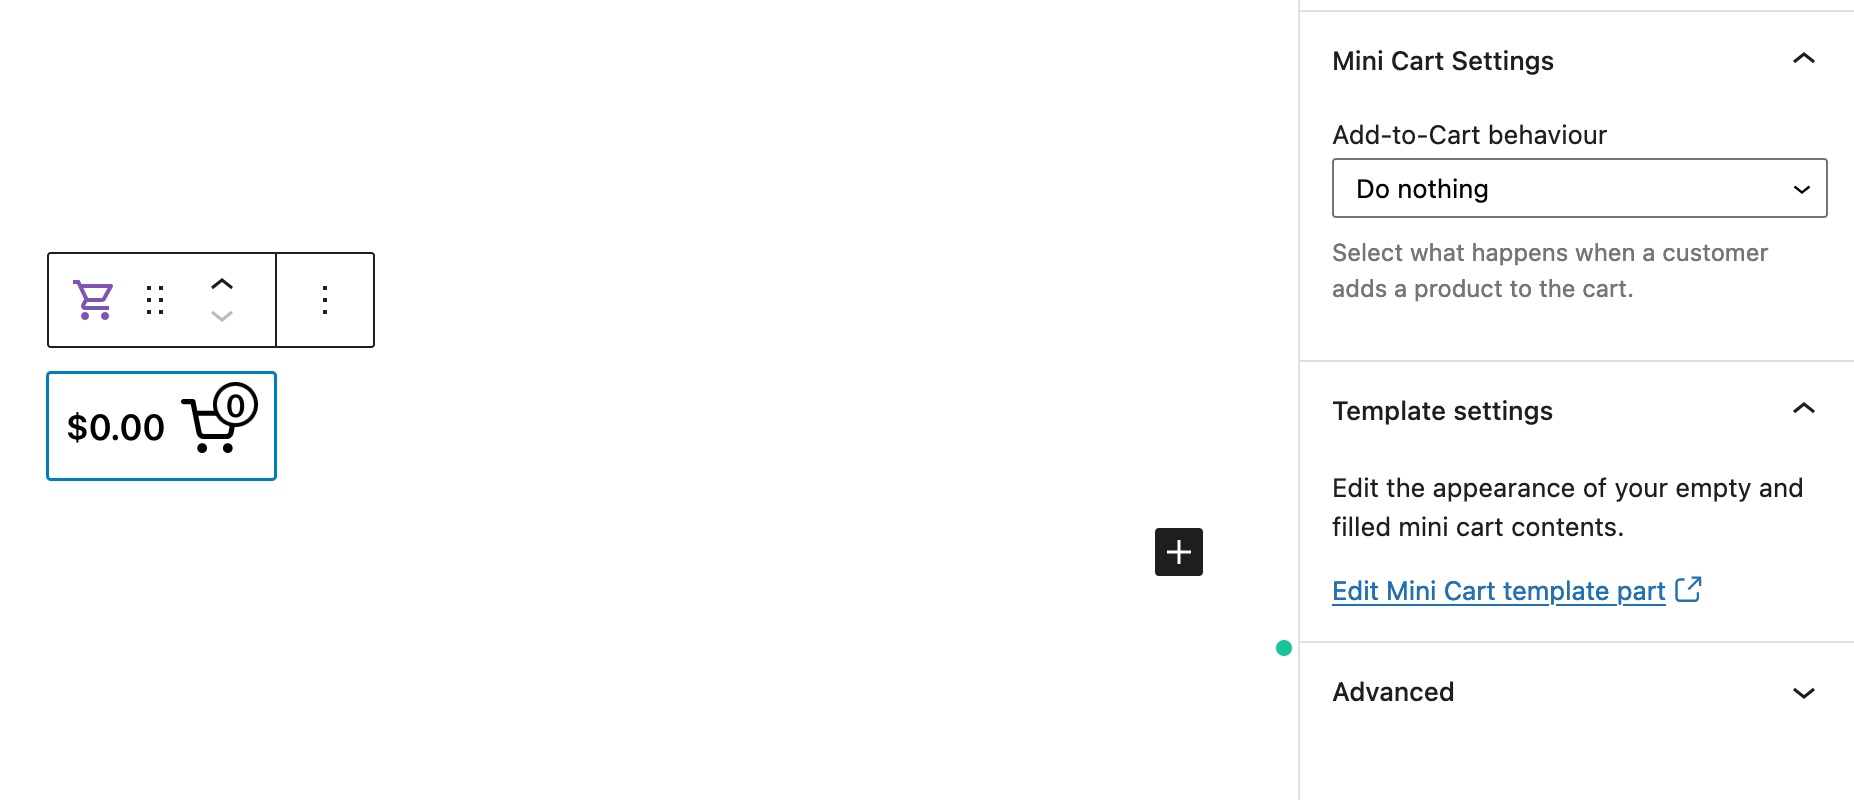
Add support for Font size and Font family for the Mini Cart block. (6396)
| Before | After |
|---|---|
 |
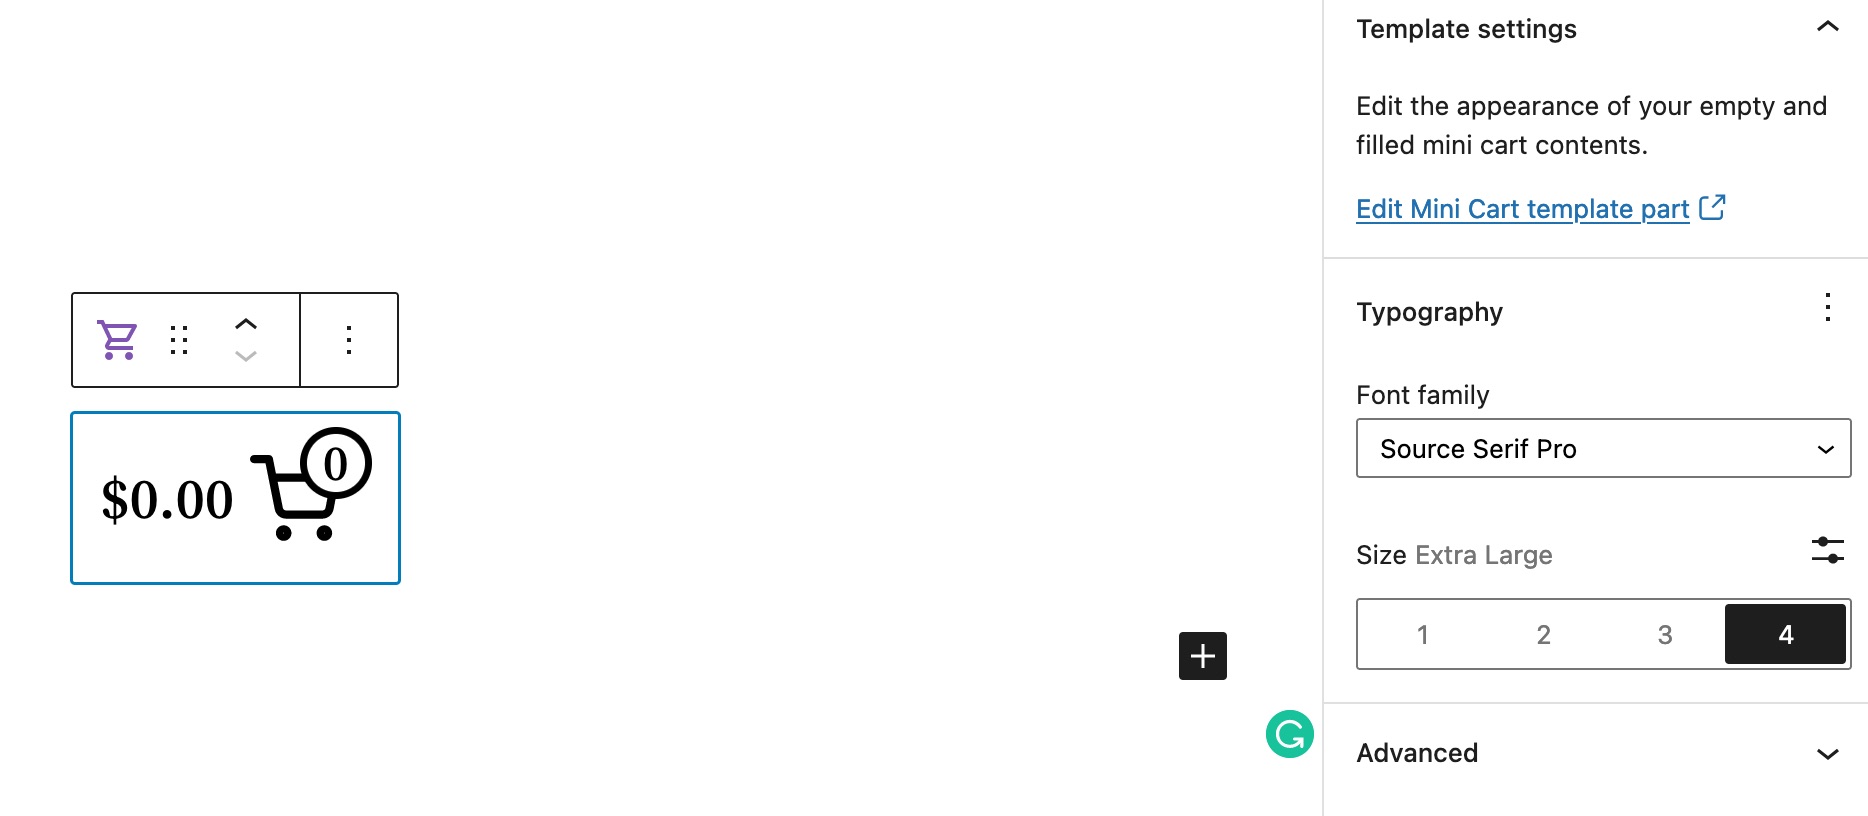 |
- Activate a block theme, like Twenty Twenty Two
- Create a new page, and add the Mini Cart block
- Check if the
Typographyoption is available for the block - Check if the
Font sizeandFont familyoptions work correctly both in the editor and on the frontend
2b. After testing the above, try the same with the Mini Cart block added via the FSE editor (for example in the header)
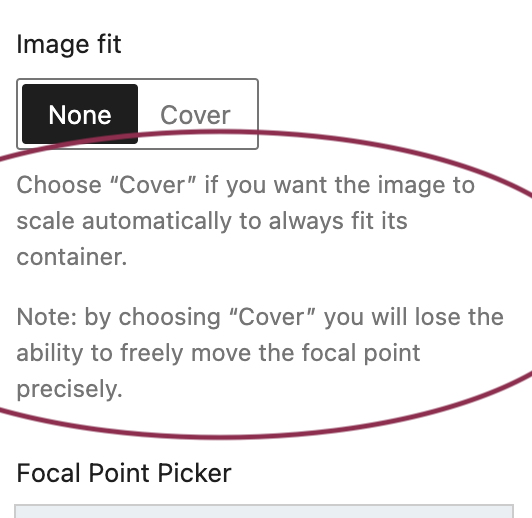
Set the default value for focalPoint on block.json. (6499)

- Create a new page and add a
Featured Productor aFeatured Categoryblock and open the console. - Save the page and refresh the editor.
- Click on the added block, edit some settings and check the error shown on the screenshot above does not appear.
- Edit the focal point, save the block and check the block is rendered correctly on the edit page and on the frontend.
Featured items: ensure valid DOM nesting in inspector controls. (6501)

- Create a new page and add a
Featured Productor aFeatured Categoryblock and open the console. - Click on the added block, edit some settings and check the error shown on the screenshot above does not appear.
Migrate Featured Items Blocks to TypeScript. (6439)
- Add the Featured Product block to a page
- Compare its functionality with the same block before these changes. Non-exhaustive list:
- When added, it shows a full-width selection dropdown to choose the product
- After choosing the product and clicking "Done", a loading spinner appears and the product is loaded
- All the info are displayed correctly (default image, title, description, price, call to action)
- The block toolbar shows the same tools (duotone, alignment, cropping/replacing, editing)
- The block sidebar shows the same options and they all work correctly (colors, content, media settings, etc.); note that the “border” does not currently work.
- The block appears resizable and resizing works the same way.
- Verify the same for the Featured Category block.
Refactor: Featured product and Featured category classes. (6443)
- Create a page and add a
Featured Categoryblock. - Save the page and check it renders correctly the default config in the frontend.
- Edit the page and make some changes to the block (duotone, padding, overlay, focal point, fixed/repeated image etc.).
- Save the page and check it renders correctly with the new settings.
- Repeat steps 1-4 with the
Featured Productblock.
Zip file for testing: woocommerce-gutenberg-products-block.zip
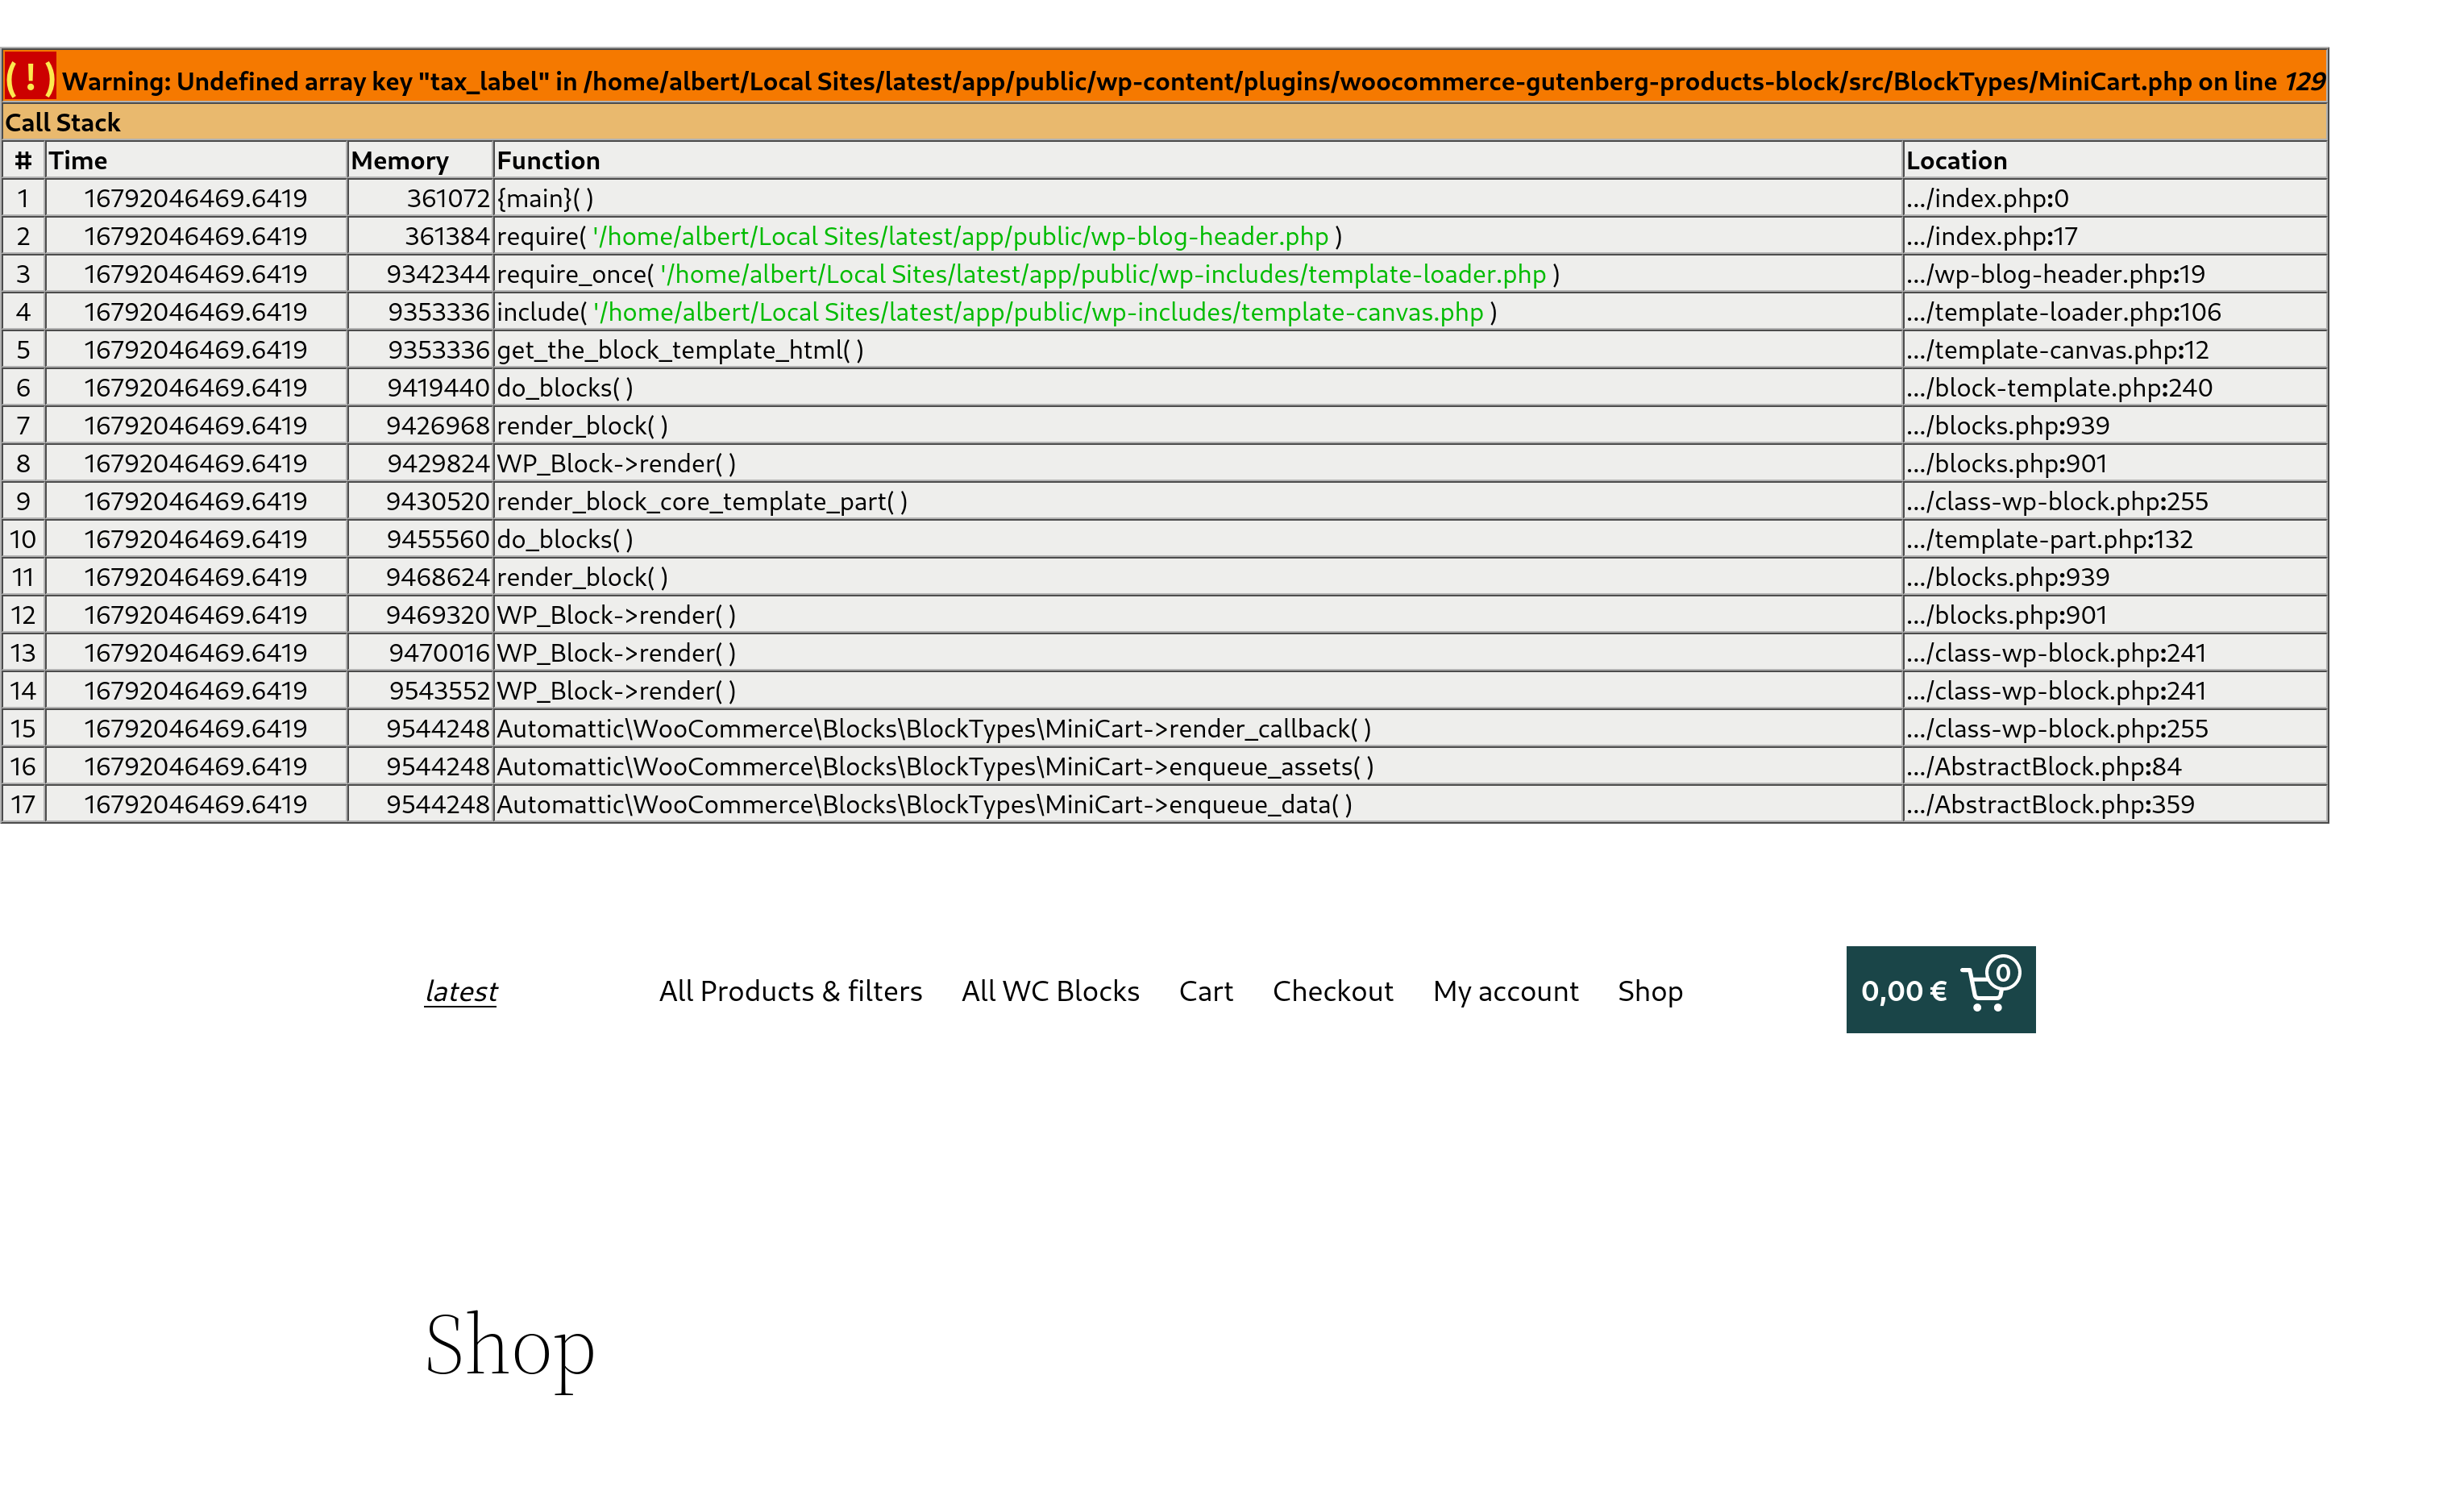
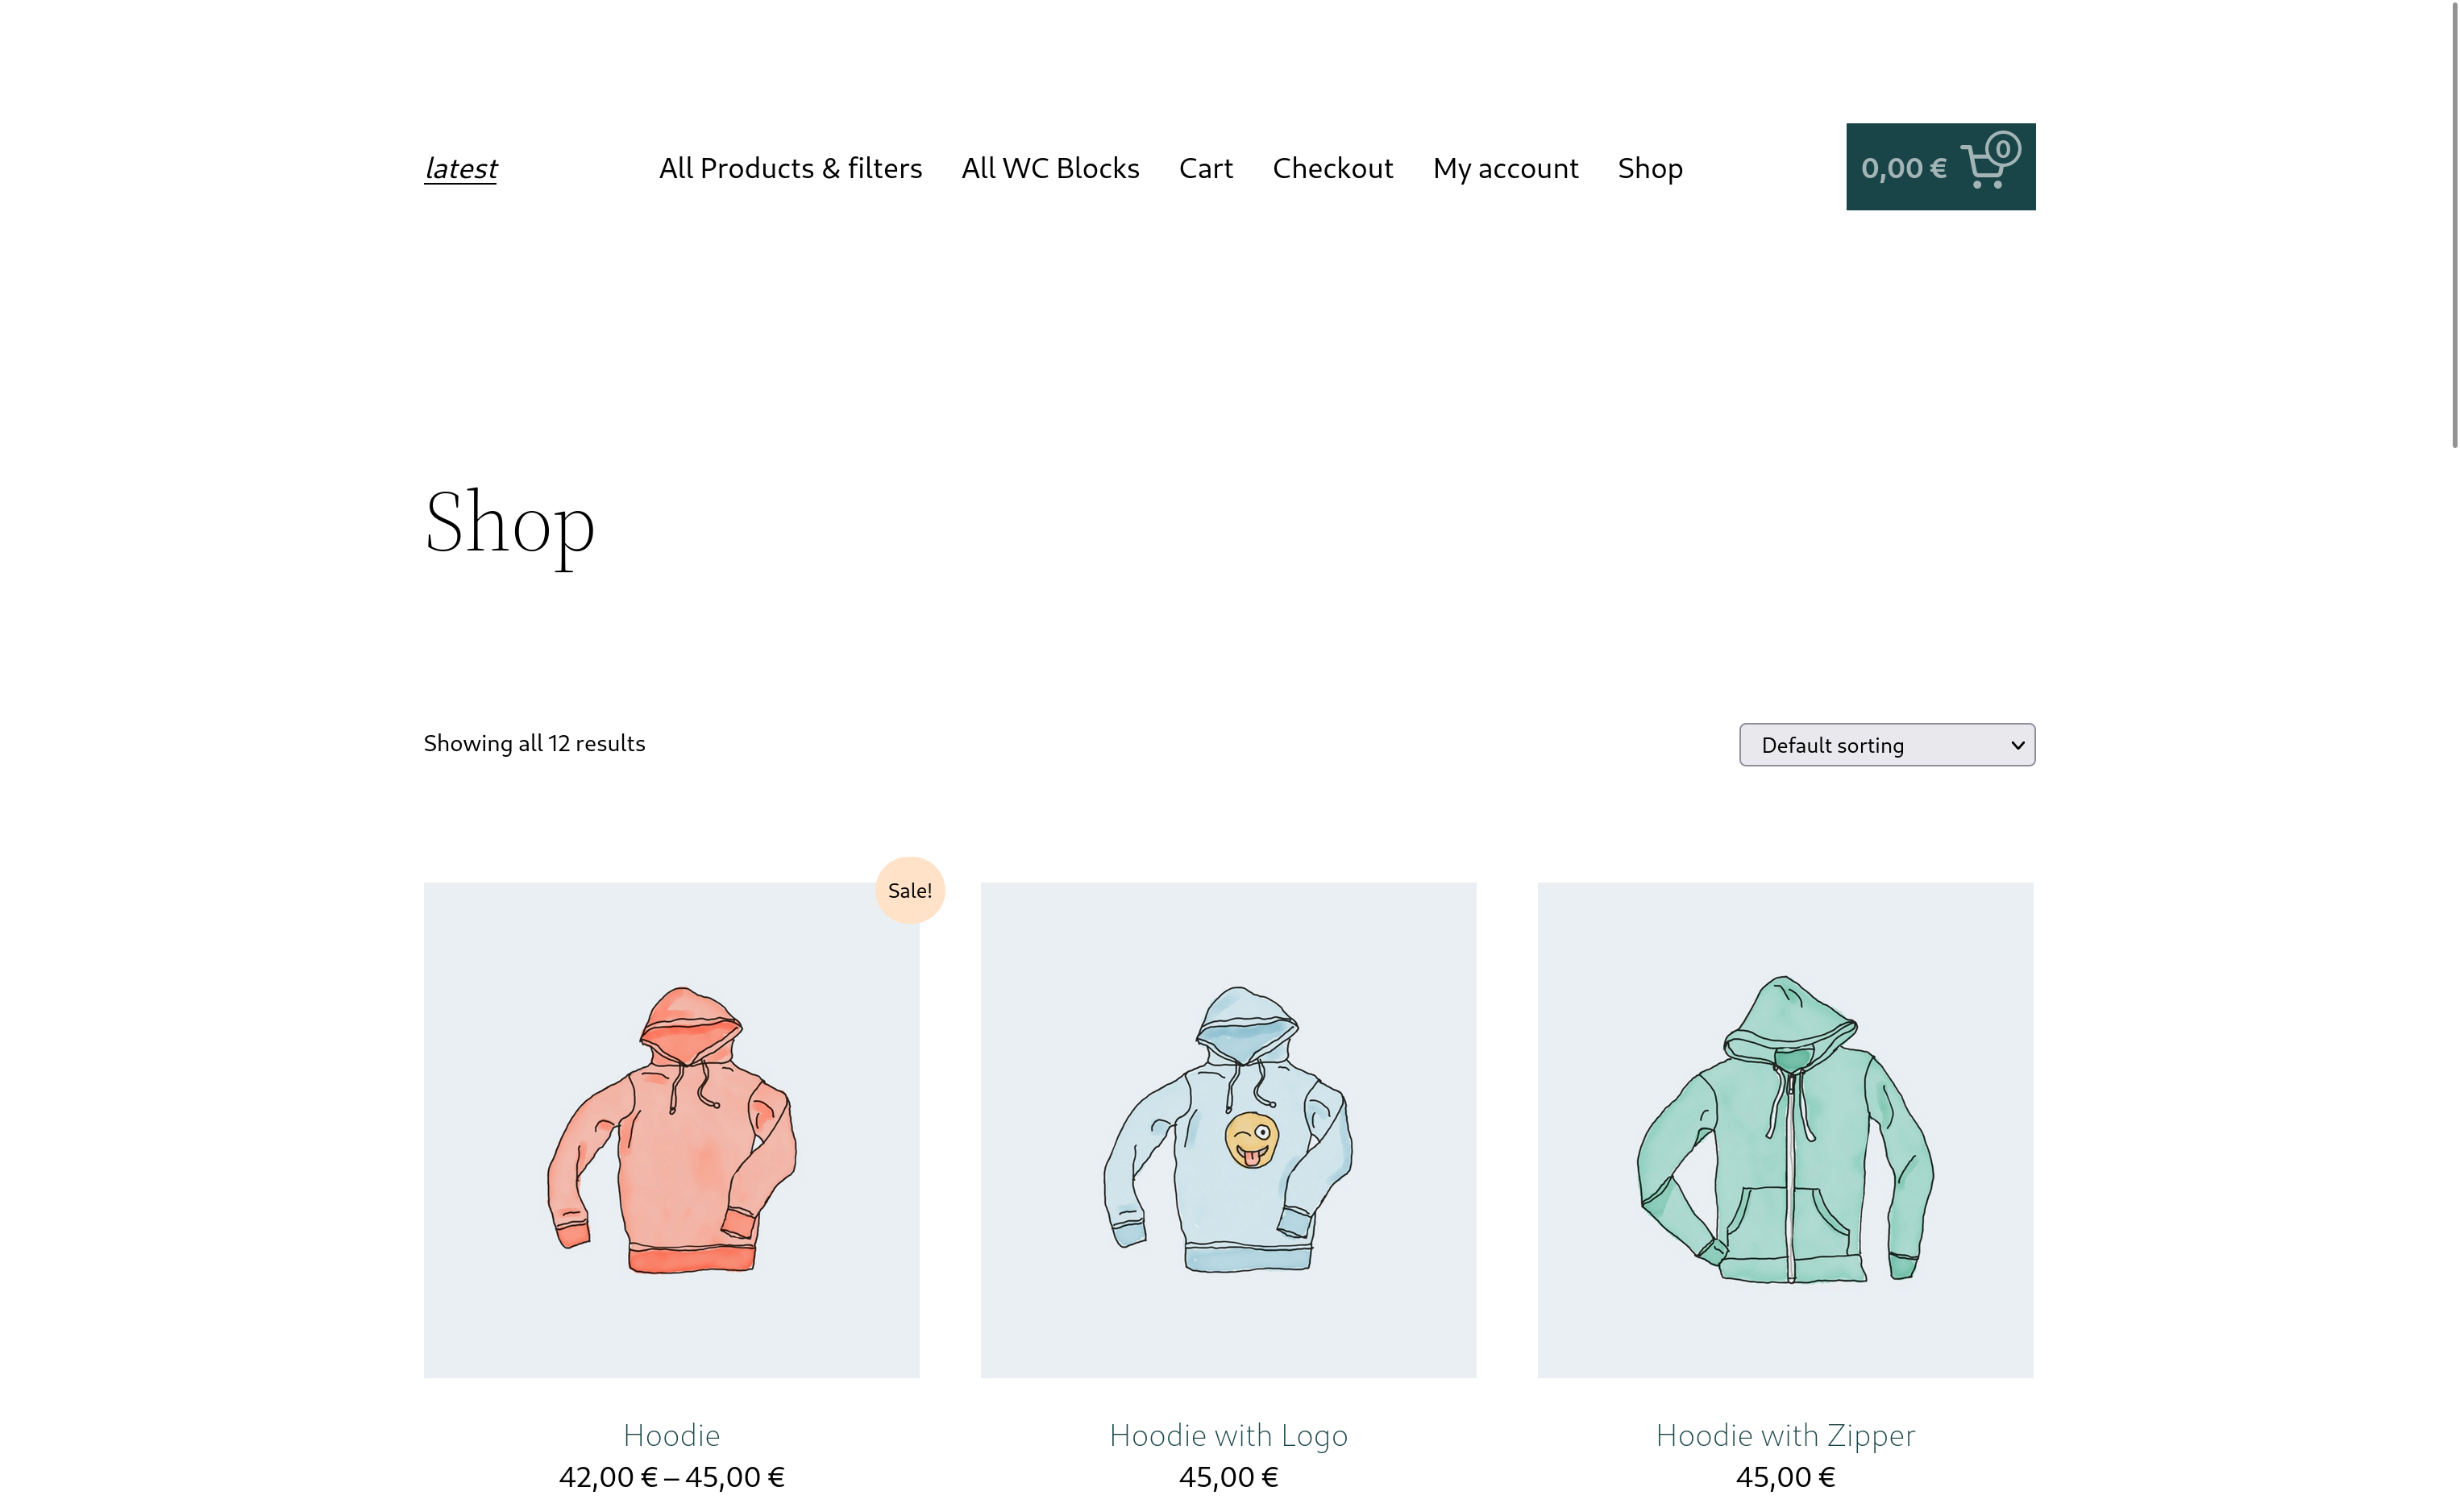
Fix PHP notice in Mini Cart when prices included taxes. (6537)
- Go to WooCommerce > Settings and check Enable tax rates and calculations.
- Go to the Tax tab in the settings and check Yes, I will enter prices inclusive of tax and Display prices during cart and checkout: Including tax.
- Add the Mini Cart block to a post or page.
- Visit that post or page in the frontend, and verify there isn't a PHP notice.
| Before | After |
|---|---|
 |
 |
Zip file for testing: woocommerce-gutenberg-products-block.zip
Replace instances of wp_is_block_theme() with wc_current_theme_is_fse_theme(). (6590)
Templates logic:
- With a block theme.
- Go to Appearance > Editor and verify you can modify the WooCommerce templates: Products by Tag, Products by Category, Single Product or Product Catalog (don't test Product Search template yet).
- Do some smoke testing: make an edit, save it, go to the frontend and verify the change has been applied, restore the template, etc.).
Product Search template:
- With a block theme.
- Go to Appearance > Editor and verify you can modify the Product Search Results template.
- Do some smoke testing: make an edit, save it, go to the frontend and verify the change has been applied, restore the template, etc.).
Mini Cart link:
- With a block theme.
- In a post or page, add the Mini Cart block.
- In the sidebar, click on Edit Mini Cart template part(opens in a new tab).
- Verify you land in the template part editor, editing the Mini Cart block.
Zip file for testing: woocommerce-gutenberg-products-block.zip
Fix images hidden by default in Product grid blocks after WC 6.6 update. (6599)
- With WC core 6.5.1 and WC Blocks disabled, add a Handpicked Products block to a post or page.
- Hide the Product price and Product rating using the sidebar toggles.
- Publish the post or page.
- Update WC core to 6.7.0.
- Verify images are visible by default.
- Verify you can still toggle the images.
Workflow: WooCommerce Core
- Start with a fresh install of WooCommerce
- Install and activate the latest WooCommerce Test Helper plugin
Scenario 1: Spotlight tour is shown when adding a new physical product from template
- Enable experimental-product-tour feature flag via WooCommerce Admin Test Helper
- Go to Tools > WCA Test Helper > Experiments and add woocommerce_products_tour to treatment
- Go to Woocommerce > Home
- Click Add my products task
- Select "Start with a template"
- Select "Physical product"
- Confirm spotlight tour is shown with the following features.
- The number of steps is always visible.
- The number of steps is reduced to 8.
- The page scrolls up and down automatically based on the information highlighted.
- Complete the step tour
- Click the "Enable guided mode" button
- Observe that the tour is shown again.
- Create another product with another product type
- Observe that the "Enable guided mode" button is NOT displayed.
Scenario 2: Spotlight tour follows the referenced element even when it moves or resizes
- Enable experimental-product-tour feature flag via WooCommerce Admin Test Helper
- Go to Tools > WCA Test Helper > Experiments and add woocommerce_products_tour to treatment
- Go to Woocommerce > Home
- Click Add my products task
- Select "Start with a template"
- Select "Physical product"
- Once the spotlight tour has started, open your browser console and enter the following snippet to move the product title in the UI:
document.querySelector("input.wp-tour-kit-spotlit").parentElement.insertBefore(document.createElement("p", "a"), document.querySelector("input.wp-tour-kit-spotlit"))
- Check that the spotlight follows the "product title" field even though it was moved
- Continue the walkthrough until you reach the "description" field, then enter a big text so that it exceeds the default element size
- Check that the spotlight is resized to be aligned with the "description" field Note: please find a recording to get a better understanding of the behaviour of this change.
Scenario 3: Spotlight tour is shown again after skipping it and reloading the page
- Enable experimental-product-tour feature flag via WooCommerce Admin Test Helper
- Go to Tools > WCA Test Helper > Experiments
- Add woocommerce_products_tour to treatment
- Go to WooCommerce > Home > Add my products > Start with a template > Physical product
- Observe that spotlight tour is displayed and dismiss it.
- Switch to the text tab for product description
- Reload the page
- Observe that spotlight tour is displayed again
- Click "next" button
- Switch to the Visual tab
- Observe that the spotlight tour is still shown and no typeError is shown in dev tools.
Scenario 4: Product types appear as cards instead of a list of stacked items when adding new products while the woocommerce_products_task_layout_card_v2 experiment is enabled
- Navigate to Tools > WCA Test Helper > Experiments and add woocommerce_products_task_layout_card_v2 to treatment
- Make sure your site has woocommerce_allow_tracking option set to yes
- Go to WooCommerce > Home > Add my products
- Product types are listed as cards (note than when the experiment is not in treatment, then the product types appear as a list of items)
Scenario 5: Purchase task should be added to experimental task lists
- Proceed through OBW, and select the paid theme "Blooms" on the final step.
- Be sure to opt into Marketing
- When brought to the Homescreen, notice that the "Add Blooms to my store" task appears.
- Go to Tools > WCA Test Helper > Experiments and add
woocommerce_tasklist_setup_experiment_1_*to treatment - Refresh the Homescreen.
- Note that the purchase task exists
- Go to Tools > WCA Test Helper > Experiments and add the
woocommerce_tasklist_setup_experiment_2_*experiment to treatment - Refresh the homescreen.
- Note the purchase task exists
Workflow: WooCommerce Core
Scenario 1: The image in the modal is the active image when opening a product with multiple images in the gallery
- Create a product with multiple images in the gallery
- Head to the product page as a shopper (where you can add the product to your cart)
- Click the magnifier button close to the product image
- Verify that you see a larger version of the picture where you would be able to scroll to the left/right in order to see the other pictures in the gallery
- Ensure the image that opens when you click the magnifier button is the same one that was selected before clicking it
Scenario 2: The product description from the product templates now have more realistic examples
- Go to add my products
- Click Start with a template
- Choose Physical product
- Observe that the
Hoodie in sweatshirt fabric made from a cotton blend.text is shown in the product description
Scenario 3: Product reviews should have a dedicated location within WooCommerce
- Add some products
- Add some reviews to those products
- Navigate to Products > Reviews 3.1. Product reviews and review replies are displayed on a list table 3.2. You can filter (by Type, Rating, and Product) the reviews 3.3. You can sort the reviews 3.4. You can search the reviews 3.5. You can moderate the reviews
- Navigate to the WordPress Comments page 4.1. Product reviews and review replies are not displayed
- Navigate to the WooCommerce > Home page and expand the reviews section 5.1. The Manage all reviews link redirects to the new Products > Reviews page
Workflow: WooCommerce Core
- On a fresh install, start the onboarding wizard.
Scenario 1: The onboarding marketing checkbox should be default to false
- See that the marketing checkbox is not ticked by default
Scenario 2: Continue button should be disabled when email is not entered
- Fill in details like Address, Country, City, and Postcode
- Check the
Get tips, product updates and inspiration straight to your mailbox.checkbox - Ensure the email textbox is empty
- Observe that "Please enter your email address to subscribe" error is displayed, and "Continue" button is disabled
Scenario 3: The "Yes, count me in!" button should not be loading when user decides to decline enabling usage tracking
- Skip setup wizard
- Click the first button
No thanks - Observe that only
No thanksbutton is loading andYes, count me in!button is disabled
Workflow: WooCommerce Core
Scenario 1: Design of Single Product template in block themes should look right when product had no reviews or additional info
- Create a new product and make sure it has no description, no reviews and no additional information.
- With TT2 theme, visit that product in the frontend.
- Verify the footer doesn't render on top of the single product template.
Scenario 2: Twenty Twenty-Two theme should not break when updating modifying the alignment of a Classic Template Block
- With Twenty Twenty-Two, edit the Product Catalog template.
- Select the Group block that contains the Classic Template.
- Set an arbitrary background color.
- On a new tab, go to the shop page on the front end, see the background is set and the layout doesn't break.
- Back to the Site Editor tab, select the Classic Template block, and set the alignment to Wide.
- See it reflects on the front end.
Workflow: WooCommerce Core
Scenario 1: Order/product count should be correct even when order status changes or product stock is set to zero
- Create a couple of products and orders
- Go to
WooCommerce > Homepage and notice how two request were made to the WC api (one to/wc/v3/productsand one to/wc/v3/orders) - Hide the task list
- The Orders and Stock panel should show up
- If you change an order to processing, the correct number should show up in the panel header
- If you enable stock management on a product and set stock to zero, the stock panel should show products
Scenario 2: Navigation nudge note should not be added when while using the previous WC navigation
- Make sure you don't update to 6.7 but you directly install 6.7 from scratch (a new fresh site might be needed for this)
- Do not enable the new navigation
- Visit the homescreen
- Make sure the navigation note ("You now have access to the WooCommerce navigation") is not added
Scenario 3: "Built by WooCommerce" label should be added to Pinterest
- Make sure
woocommerce_show_marketplace_suggestionsis set tonoin wp_options table - Navigate to http://your-site/wp-admin/admin.php?page=wc-admin&task=marketing
- Confirm the Pinterest has a "Built by WooCommerce" label
Scenario 4: Admin should be able to see the Payments settings without any issue
- Install and activate the "Paytm Payments" plugin
- Go to WC > Settings > Payments
- No fatal errors are found
Workflow: WooCommerce Core
Scenario 1: Filtering of cookie flags should be allowed (#33219)
- Put items in cart
- Verify in your browser that valid set-cookie headers exist in the HTTP response
Scenario 2: Report days calculation should be correct for DST based timezones (#33036)
- Select a timezone (US, London, etc) that utilizes DST in your site's General settings
- Install an email logging plugin
- Go to the Revenue report
- Select October 1 - October 31 as a custom date
- Click "Download" to export the report
- Check your email logs to make sure the report is sent and can be downloaded
- Check that the number of "days" is correct in the summary numbers at the bottom of the Revenue report
Scenario 3: Categories should load as expected in Analytics (#33164)
- Create some categories
- Place some orders with products in various categories
- Navigate to Analytics->Categories
- Make sure the categories and category names load as expected
Scenario 4: Navigation Exploratory Test (#33027)
- Enable the Navigation at
WooCommerce -> Settings -> Advanced -> Features - Perform brief exploratory testing in WooCommerce Admin to check that no errors appear as part of this new Navigation