
Get dynamically generated GitHub stats from all of your accounts onto a single README card!
Report Bug · Request Feature · Ask Question
This is a fork of the original GitHub Readme Stats project that adds the ability to combine stats from multiple accounts into a single card. You can access the original project here.
- Replace
github-readme-stats.vercel.appwithgithub-readme-stats-multiuser.vercel.appin your README - Change
?username=to?usernames=in the URL parameters - To add more than one account, simply separate their usernames with commas (without spaces)
?usernames=username1,username2,username3
- ???
- Profit!
You may wish to check the original projects documentation to customize your cards even further.
Note Only the Stats and Top Languages cards have been modified to support multiple users. The Extra Pins and Wakatime Stats cards work exactly the same as the original project.
A lot of GitHub users (like me) have multiple accounts to work on different types of projects. For example, an user might have an account where they work on their academic/professional projects and another account to keep their smaller/personal projects.
This is where the problem arises: Their commits, stars, top languages and other contributions are always being split into individual, isolated accounts, and they could not be easily consolidated into a simple elegant solution (in this case, the GitHub Readme Stats' cards).
Sure, you could put multiple stats cards on your READMEs for each one of your accounts. However, that still presents some annoyances:
- The stats will still be isolated from each other;
- The grade and top language systems will evaluate the stats individually, not as a whole;
- Having multiple cards could look clunky and may confuse your profile visitors.
This is where this project comes in handy: A single URL that displays the stats for all your accounts combined. This gives you and your profile visitors:
- Your TOTAL contributions to the entirety of GitHub;
- All languages you've used on all of your projects;
- The ability to see everything mentioned above in a small form factor.
Your README can easily go from this:
 To this:

To learn how to migrate from the original project to this one, check out the TLDR above. Otherwise, everything else from the original project (other parameters, themes, etc.) still applies here.
Warning If you are on the hobby (i.e. free) Vercel plan, please make sure you change the
maxDurationparameter in the vercel.json file from30to10(see #1416 for more information).
🛠️ Step-by-step guide on setting up your own Vercel instance
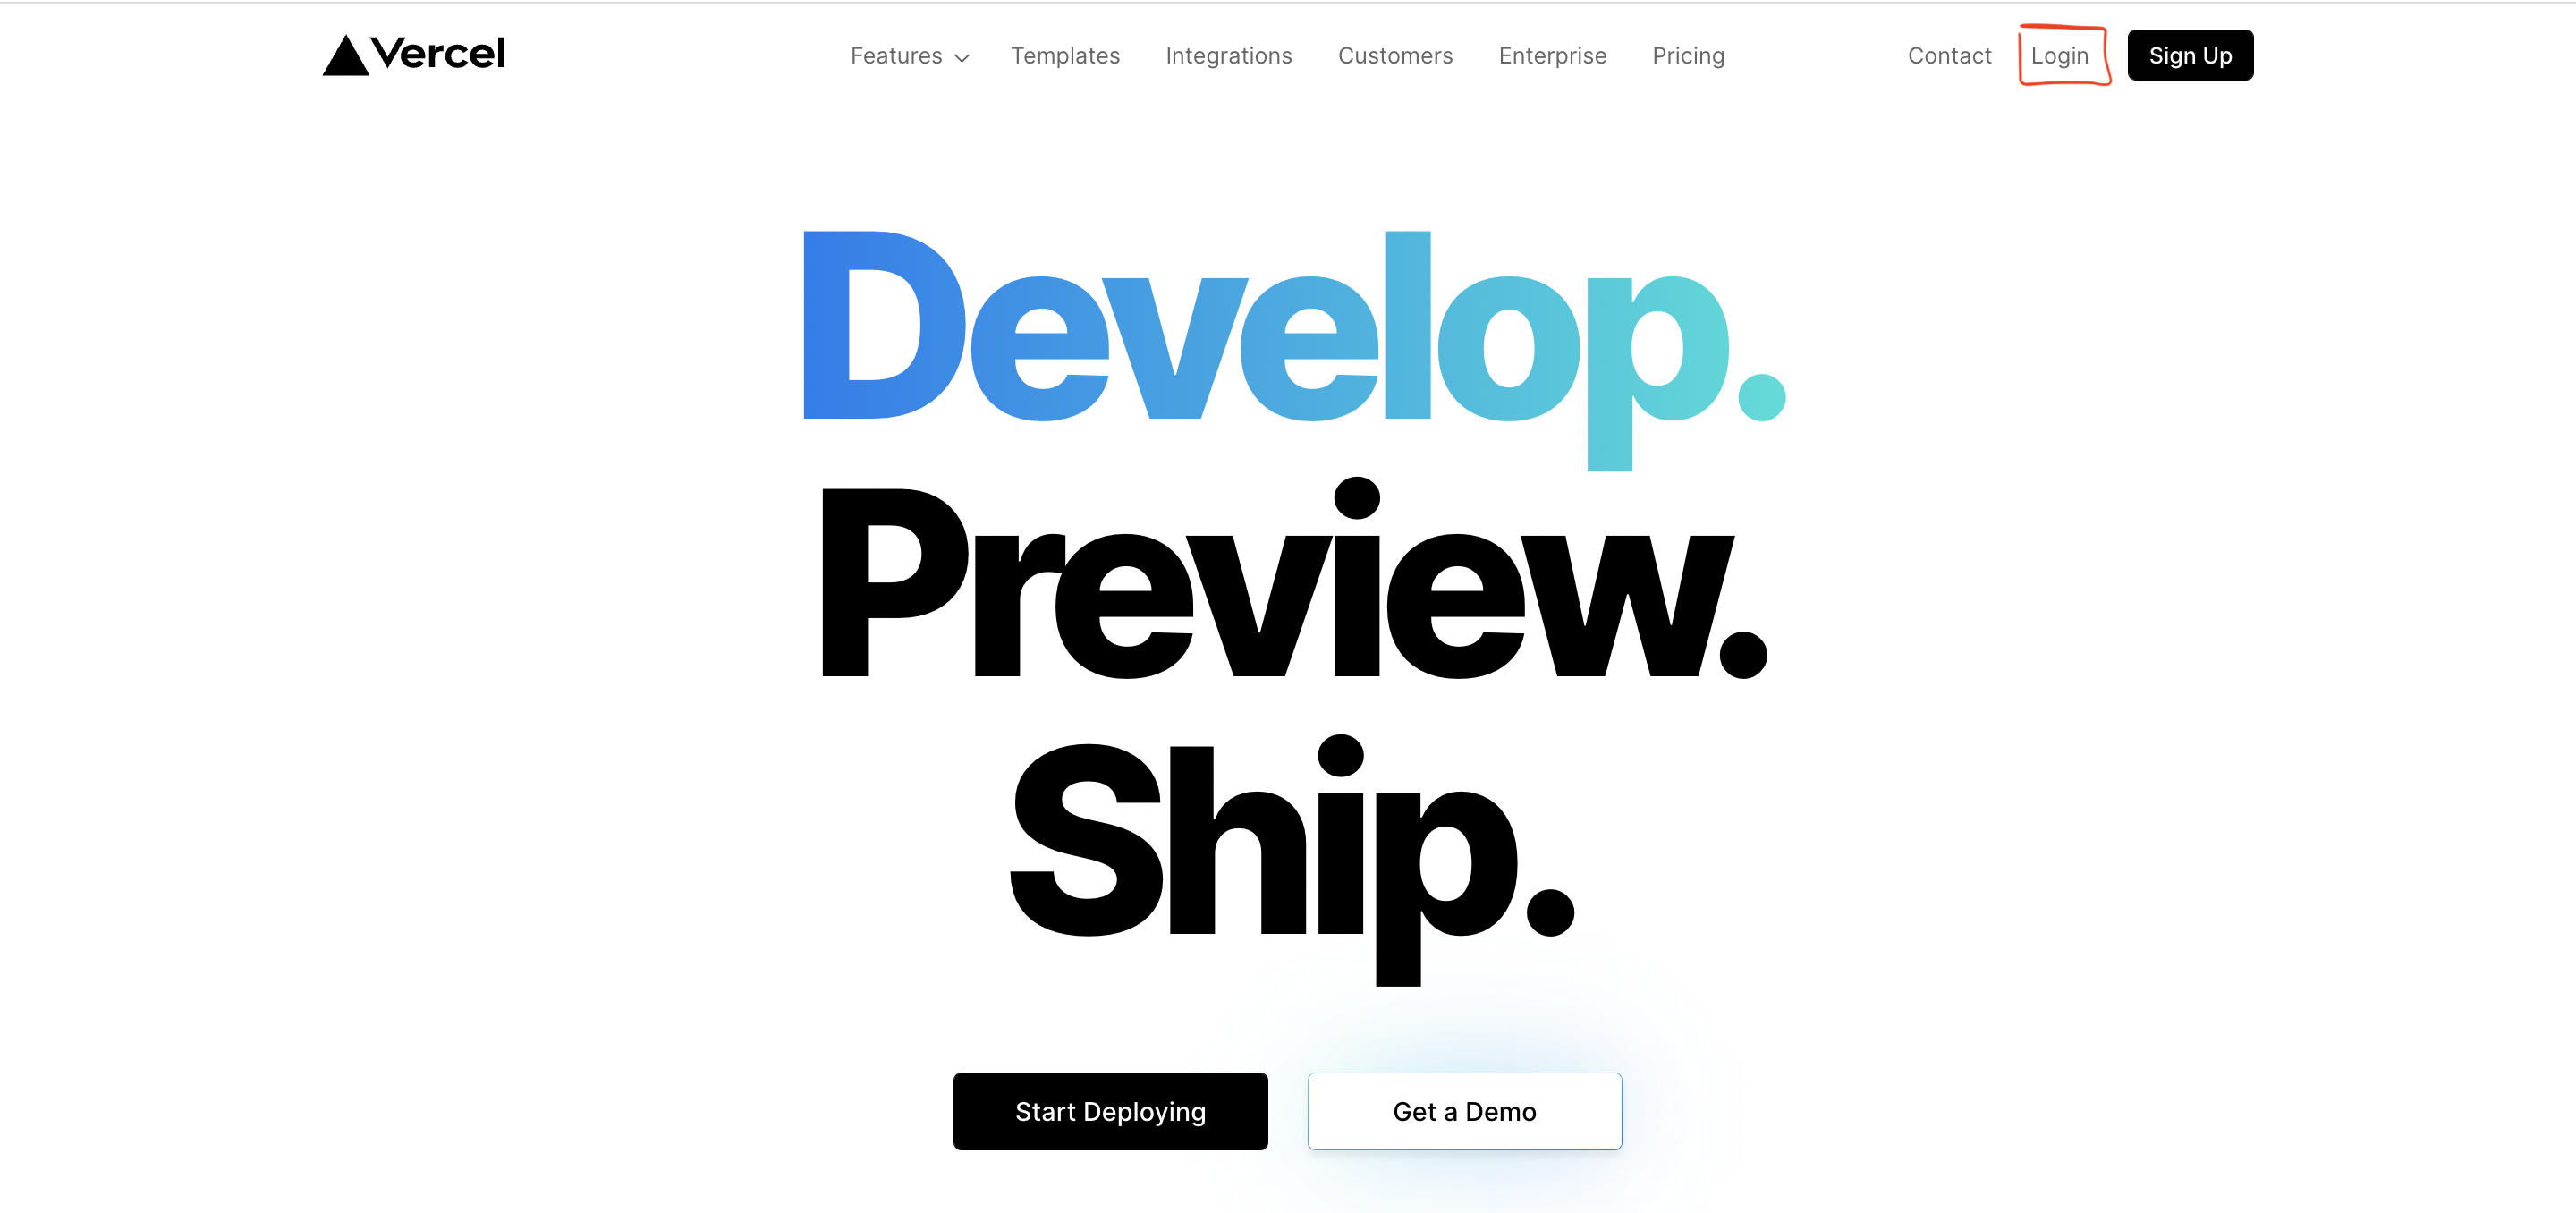
- Go to vercel.com.
- Click on
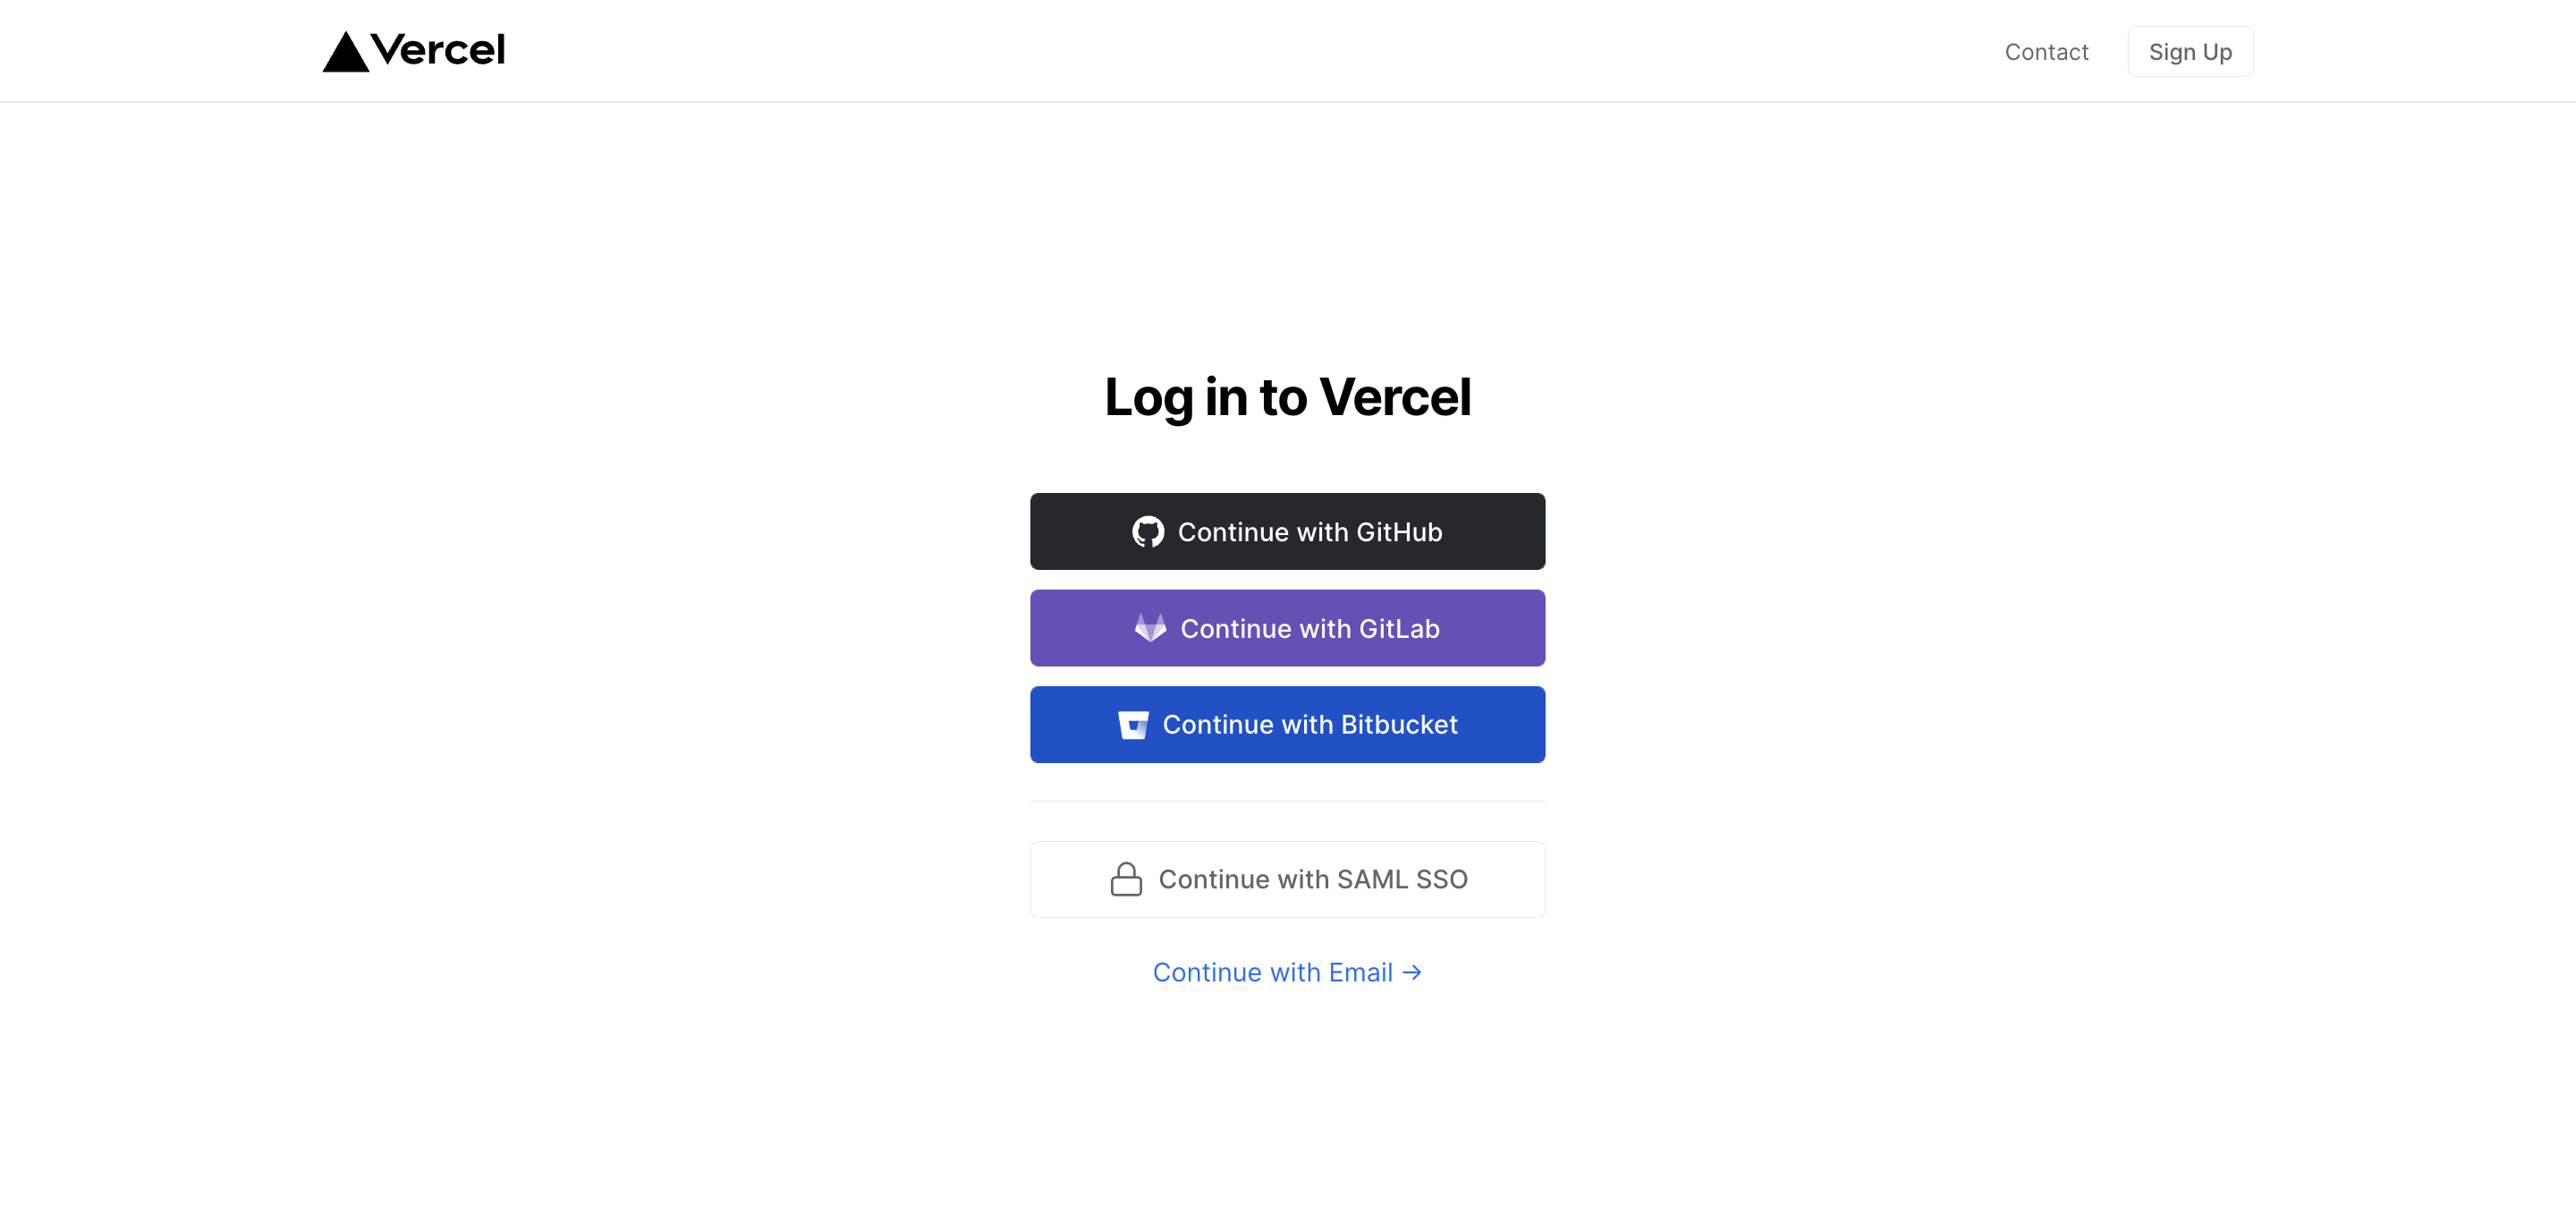
Log in. - Sign in with GitHub by pressing
Continue with GitHub. - Sign in to GitHub and allow access to all repositories if prompted.
- Fork this repo.
- After forking the repo, open the
vercel.jsonfile and change themaxDurationfield to10(if you are running the free tier). - Go back to your Vercel dashboard.
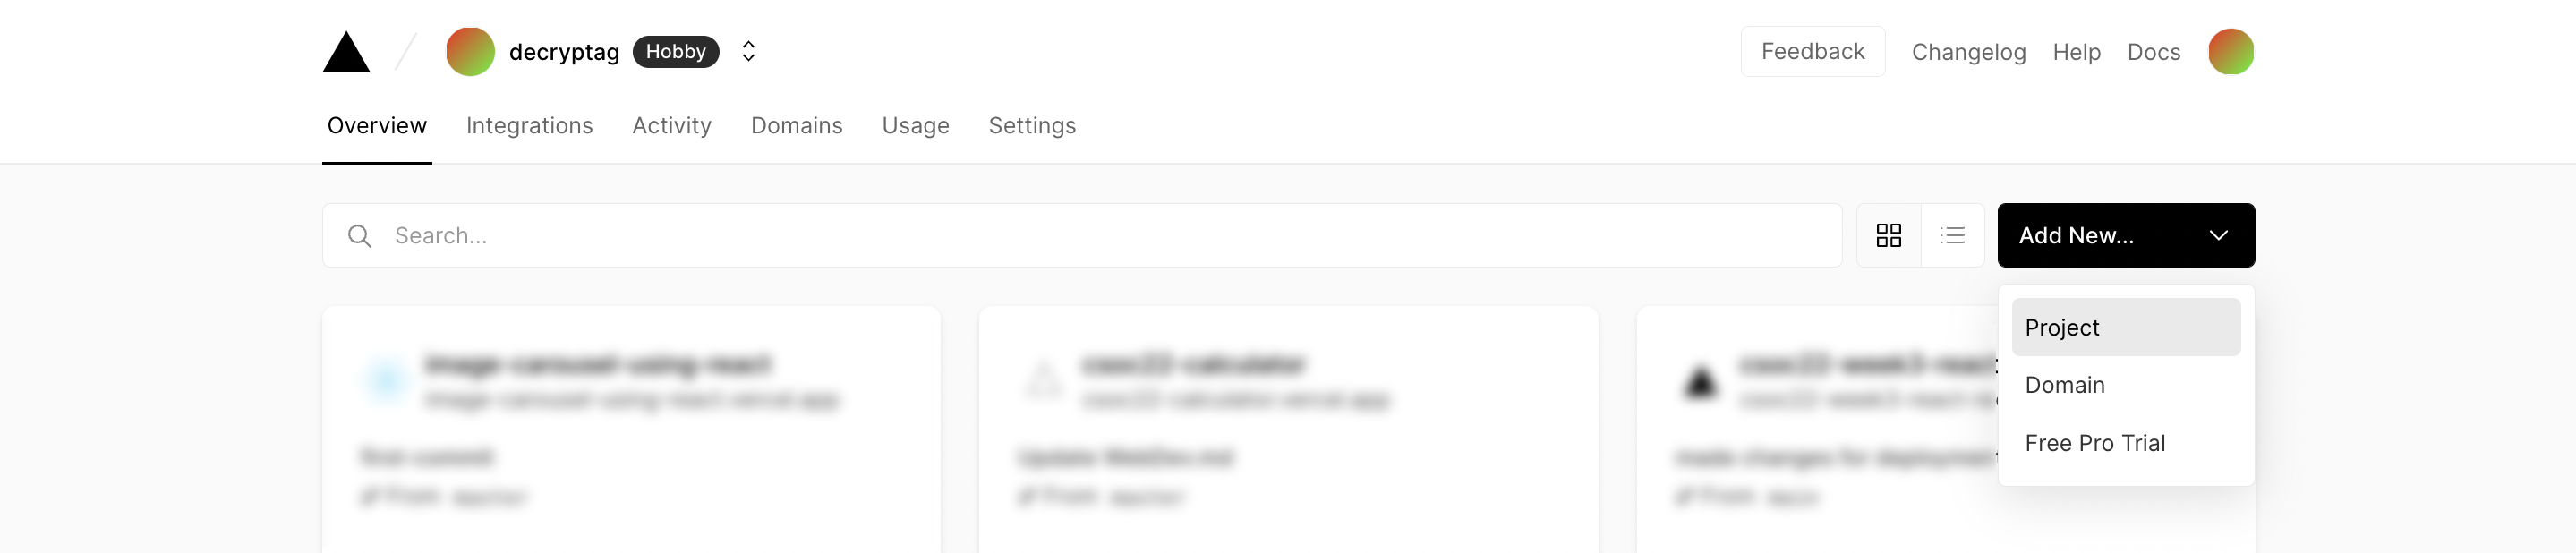
- To import a project, click the
Add New...button and select theProjectoption. - Click the
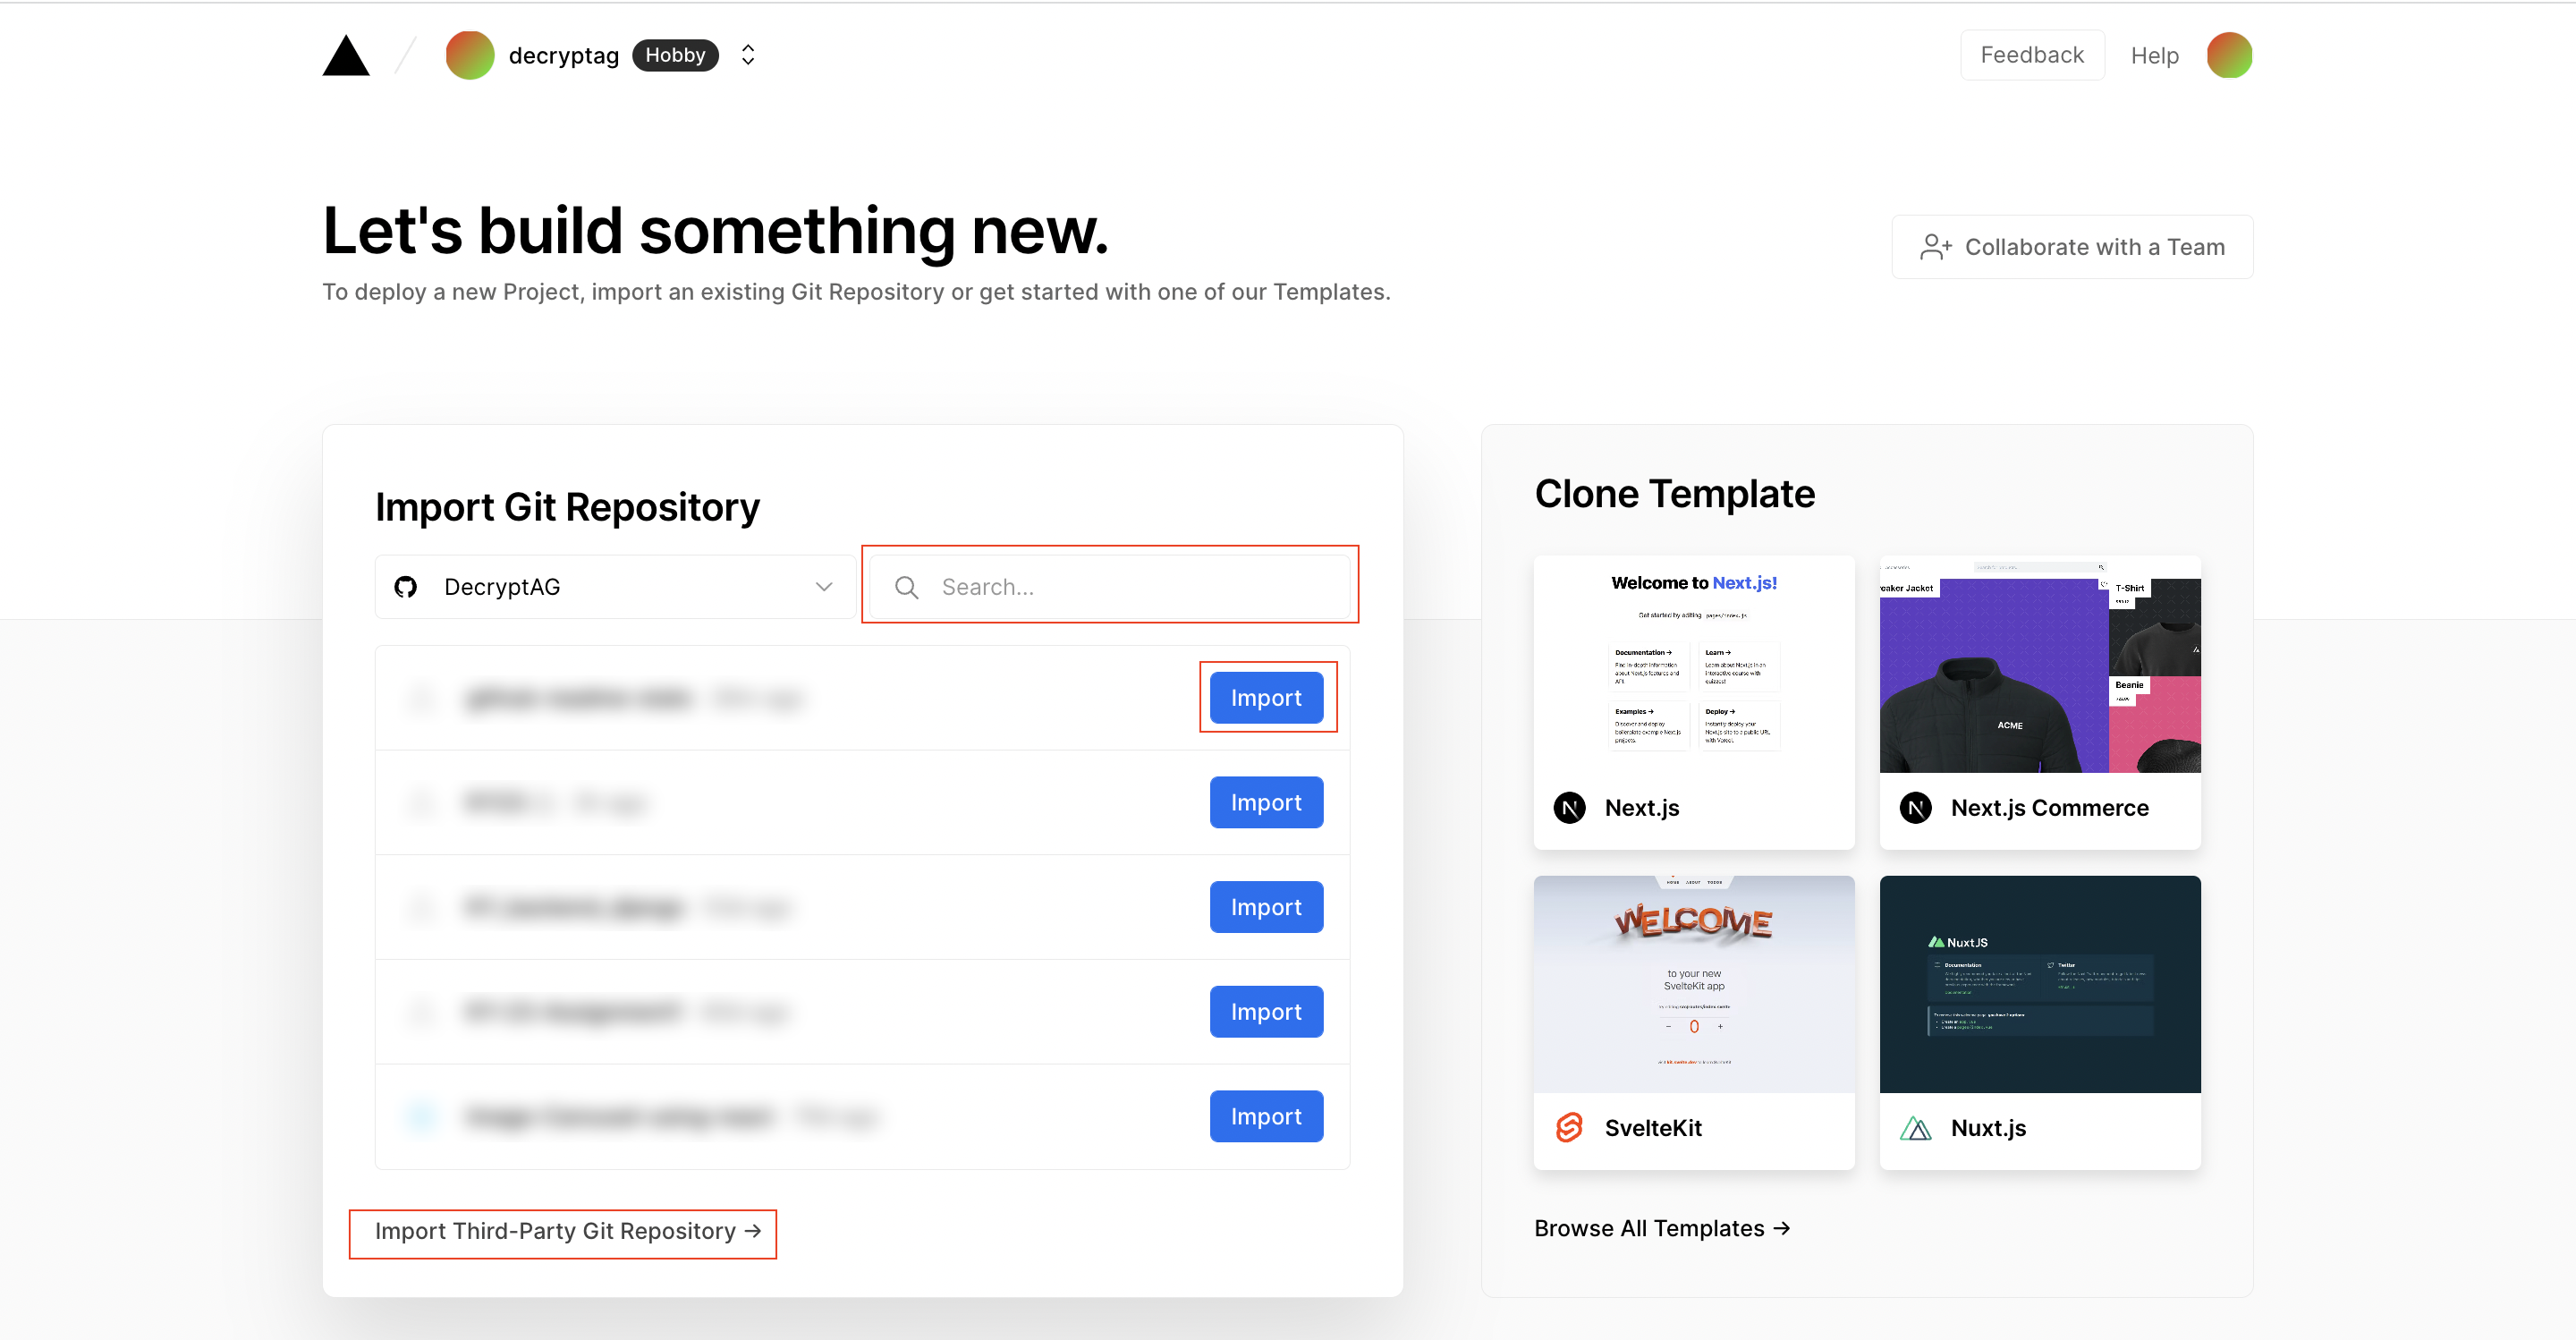
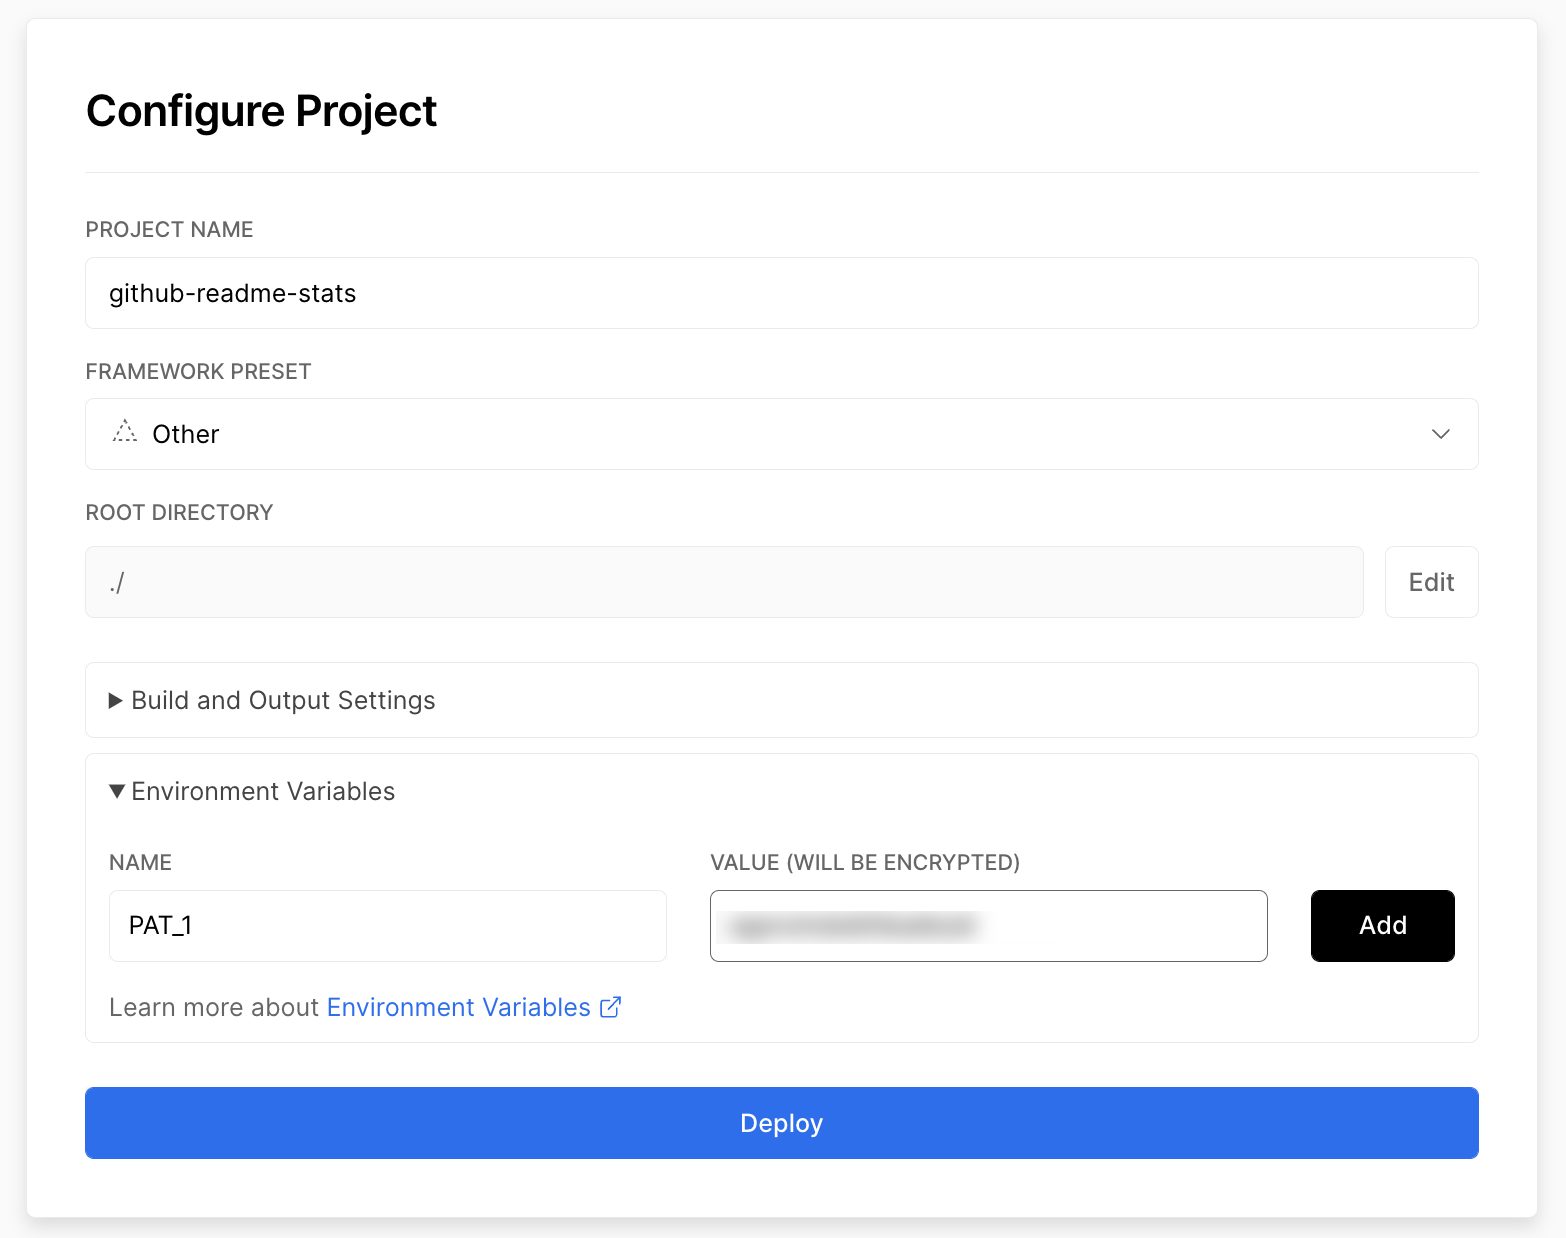
Continue with GitHubbutton, search for the required Git Repository and import it by clicking theImportbutton. Alternatively, you can import a Third-Party Git Repository using theImport Third-Party Git Repository ->link at the bottom of the page. - Create a personal access token (PAT) here and enable the
repopermissions (this allows access to see private repo stats). - Add the PAT as an environment variable named
PAT_1(as shown). - Click deploy, and you're good to go. See your domains to use the API!

You can keep your fork, and thus your private Vercel instance up to date with the upstream using GitHubs' Sync Fork button. You can also use the pull package created by @wei to automate this process.

All credits go to Anurag Hazra and all of the contributors of the original project. Thank you ❤️