Repository navigation
VIRINT
Virint is a script that allows the user to paint on a canvas on the Windows console with different colors. Supporting the ability to save and load your pixel arts.

| Table of contents |
|---|
| Usage |
| CFG file |
| Other Parameters |
For running the script, you can call it just like any command, or run it directly from your explorer. After running it, a menu like this will be displayed:
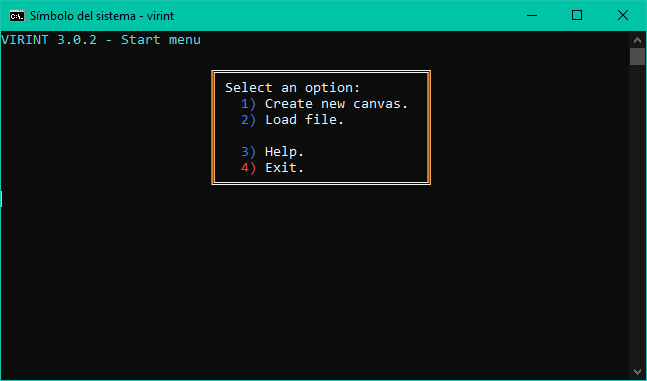
When creating a new canvas, you will be prompted to select the size of it. The formatting for this option is two numbers separated by an x (e.g. 64x32) Pressing ENTER without any value will select the default size (the one inside the brackets), which is 32x24.
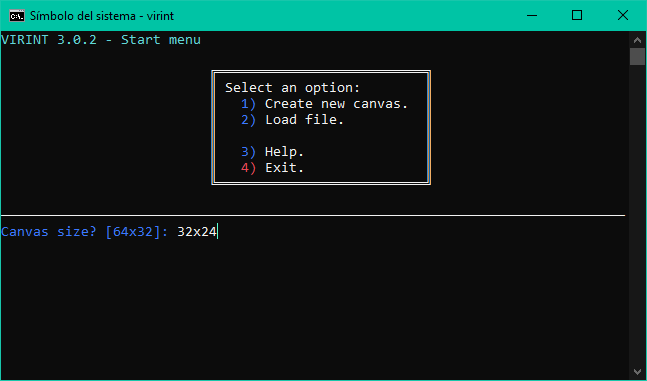
It is also possible to create a new canvas by using parameters. For creating a new canvas, you must use the /N parameter. Use /S followed by the size of the canvas (e.g. 64x32) to select a size.
Example:
VIRINT /N /S 64x24
When selecting a file to load, you can select any type of file, as long as it has been created by VIRINT.
By default, a file viewer will be displayed showing the contents of the current directory. You can move among the files by using W and S to move up and down respectively. Press F to open the selected file. If the file selected is a folder, VIRINT will open that folder. If the file that you want to load is located in another drive, press R to change to the desired drive.
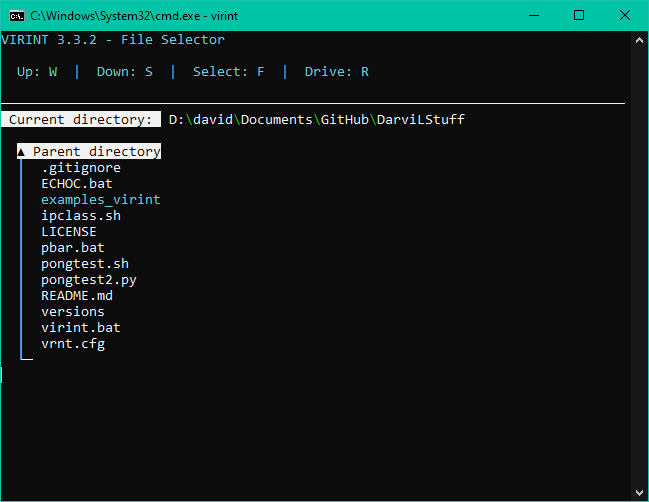
If the file specified has been created in an older version, a warning will be displayed. (Resaving the file will remove the warning)
Note: Any file ending with
.vrntwill be colored as blue. (This can be changed in the CFG file)
Note: If you prefer to just type the file path, you can disable this file selector by using the
/NoFileMgrparameter, or by modifying the CFG file. The path specified can be relative and absolute.
You can load any file by using the /L parameter followed by the filename.
Example:
VIRINT /L "virint_logo.vrnt"
You can also load a file by dragging it onto the script. This means that you can also set a file extension to always load with VIRINT, and double click the files to open them with VIRINT automatically.
The canvas is the main part of this script. Here is where you paint your drawings.
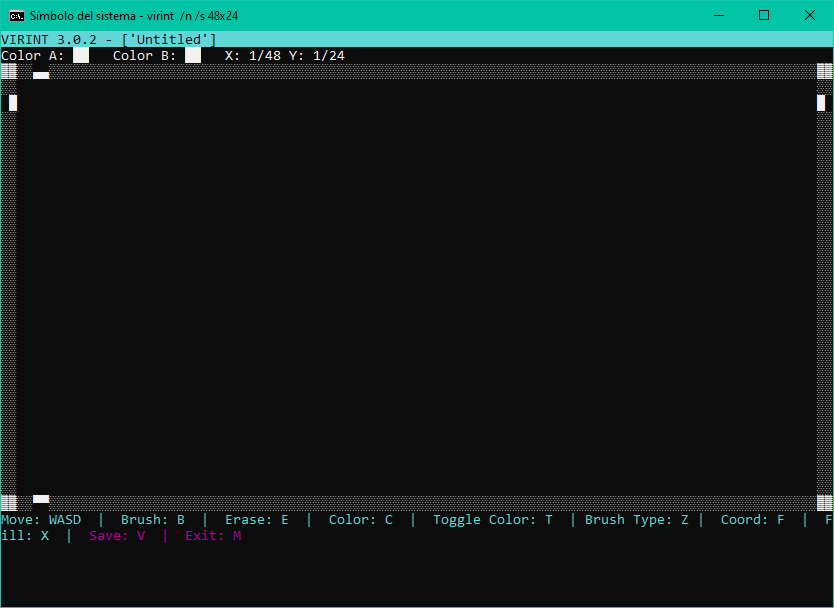
Let's start explaining what you can see from the top to the bottom of the screen.
At the top, we can see the title bar, which shows the version of the script, and also the file that we are currently modifying.
Note:
*will be displayed before the filename if there are unsaved changes.
Right under this, we can find the Color A and Color B indicators, and the coordinates where the brush is located around the canvas. The Color indicators will show the current color selected (Color A) and the secundary color (Color B), which is basically the latest color used before A.
This is how the brush coordinates are represented dynamically on the canvas. Use the four helpers on every side to help you localize the brush position on screen.
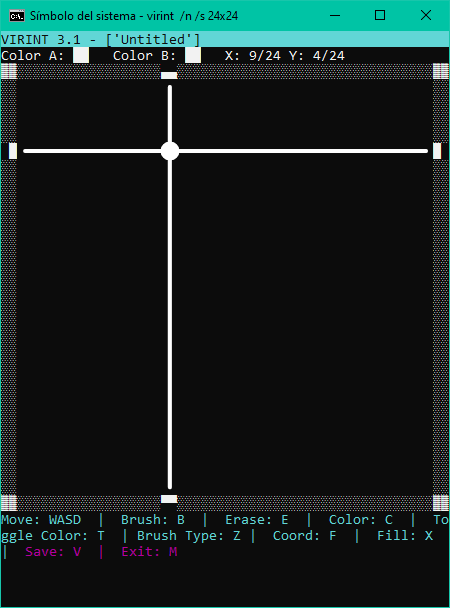
Finally, at the bottom we can find the available tools to use:

Note: The toggleable tools will be represented highlighted while being used.
Use WASD for moving the cursor arround the canvas. (W: Up, A: Left, S: Down, D: Right)
Note: If the canvas gets messy acidentally after resizing the window or similar, press
Rto reload the entire UI and the file that is being edited.
The Brush is a toggleable tool which allows you to paint on the canvas with the current brush and color selected. Press B to start/stop painting where the cursor is located.
Note: You can of course move the cursor around while having the Brush tool enabled.
The Eraser is a toggleable tool which allows to erase pixels on the canvas. Press E to start erasing content on the canvas.
Note: The Brush tool must be enabled to be able to erase.
Select a color from the provided list (default terminal colors), or select a custom RGB value.

Note: The custom RGB value format must be as follows:
<RED>-<GREEN>-<BLUE>
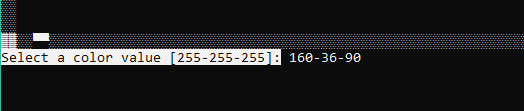
Note: If you want to use black as a color, you can use the Erase tool.
After selecting a color, it will be displayed at the Info bar:
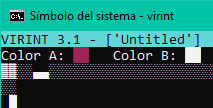
Toggle between Color A and Color B.
A simple brush selector is provided to pick another character/characters to paint with. The brush picker will preview the current color selected.
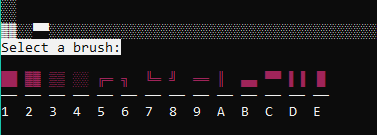
Note: The selected brush will be displayed at the info bar:
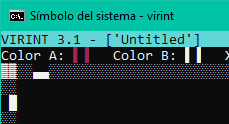
Sometimes the canvas is so big that you can't reach the other side of it by just pressing the movement keys continuously. Use the Coordinate Selector to select the coordinate to move directly.
Note: The value format must be as follows:
<posX>-<posY>
Example: Moving to the center of my canvas, which is 64x32 pixels big:
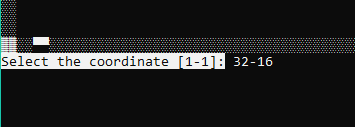
Note: Pressing ENTER without entering any value will move the cursor to position X1 and Y1.
Note: Use a value of 'E' to move the cursor to the limit of the canvas on the specified axis.
It is possible to fill the entire canvas with the current brush configuration (Color and brush type). Lets say you want to apply a red flat background. For doing so, first select the color using the Color Selector (C). Then, the brush with the Brush Type Selector (Z). After selecting everything, press X to fill the entire canvas with these options.
Note: If you want to clear the canvas, enable the Erase tool (E) before using Fill.
Note: The Fill tool is a destructive tool. This means that after confirming the fill, there will be no way back.
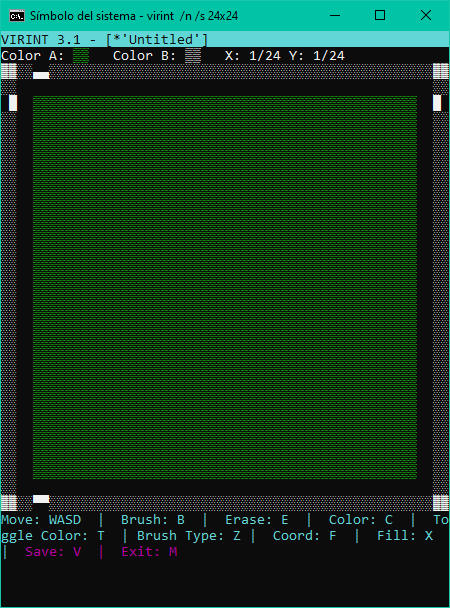
Example: Filling the canvas with a green color, and another brush type:
You can save all of your work by saving your current project. Press V to select the file path where the file will be saved. Relative and absolute paths are accepted.

Note: Pressing
ENTERwithout specifying any filename, will save the project asUntitledin the current directory.
Example: Saving the file as
testing.vrntin Desktop:

After pressing ENTER, the file will be compressed (without loosing any data). This operation might take some time depending on the file. Do not close VIRINT while saving.
Note: The file compressor can be disabled by using the
/NoCompressionparameter, or by modifying thevrnt.cfgfile. (This file will be covered later) Disabling it will make files substantially larger, and take longer to load.
For preventing the repetition of using parameters when launching the script, you can use a configuration file that VIRINT will read at startup, setting all your custom config automatically. If you would like to create the default vrnt.cfg file, use the /NewCFG parameter. After running it, the cfg file will be generated at the same directory where the script is located. This is how this file looks from inside:
#VIRINT config file. Use '#' to comment out the values that you don't want to modify.

#Select the default size of the canvas, horizontally and vertically. (20-128)
	Canvas_X=32
	Canvas_Y=24


#Enable/Disable the file compression algorithm. Disabling it will make file saving much faster,
#but files will be much bigger, and they will take more time to load. (0/1)
	NoCompression=0


#Enable/Disable the automatic window resizing. Enabling this option will make VIRINT use a
#secundary console buffer to not clear the original one, but no automatic resizing will be done. (0/1)
	NoMode=0


#Check for updates silently automatically when running the script. (0/1)
	CheckUpdates=0


#Do not warn about old files being loaded. (0/1)
	NoOldWarn=0


#Do not use the file viewer when searching for files. (0/1)
	NoFileMgr=0


#File extension definition. Currently only used to highlight the files with this extension in the
#file viewer. (string)
file_extension=.vrntCompress the specified file with /L. This will apply the same compression like when a file is saved (with the file compressor enabled).
Example: Compress the file
"examples_virint\virint_logo.vrnt":

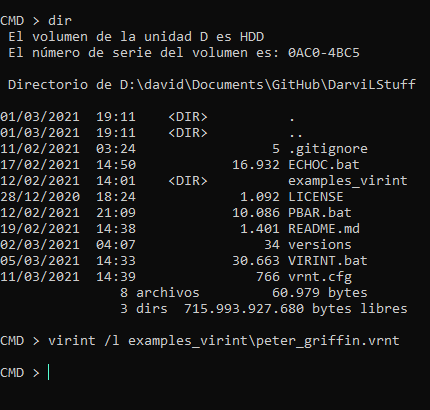
Stops resizing the window automatically. Enabling this option will make VIRINT use a secundary console buffer to not clear the original one, but no automatic resizing will be done. This can be useful if you don't want VIRINT to clear your console when running it. Note the difference between using /NoMode and not:
NoMode enabled |
NoMode disabled |
|---|---|
 |
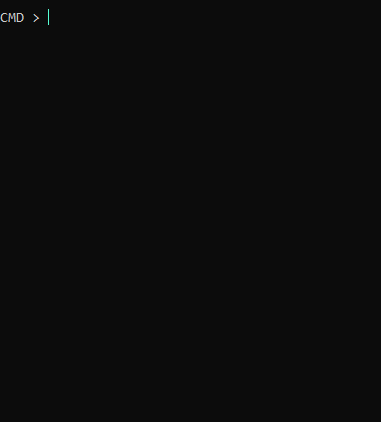 |
In both cases, I did this:
- Run
dir- Run
virint /l examples_virint\peter_griffin.vrnt- Exit VIRINT
Since auto-resizing is not a thing while using NoMode, if the console is not big enough for displaying the canvas, an error like this will be displayed:
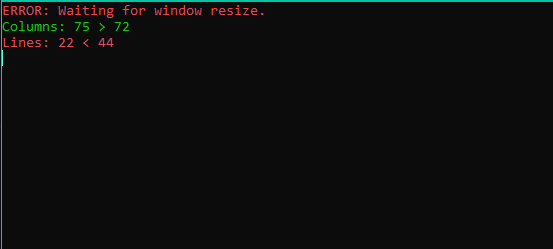
VIRINT will wait the user to resize the window until it is big enough.
Disables the warning that appears if the user tries to load a file edited in an older version of VIRINT.

Check if you are using the minimum necessary Windows build for ANSI escape codes and the newest versions of VIRINT. If it finds a newer version of it, it will ask for a folder to download VIRINT in. Pressing ENTER without entering a path will select the default option, which is the folder that contains the currently running script, overwriting the old version.
Example:
