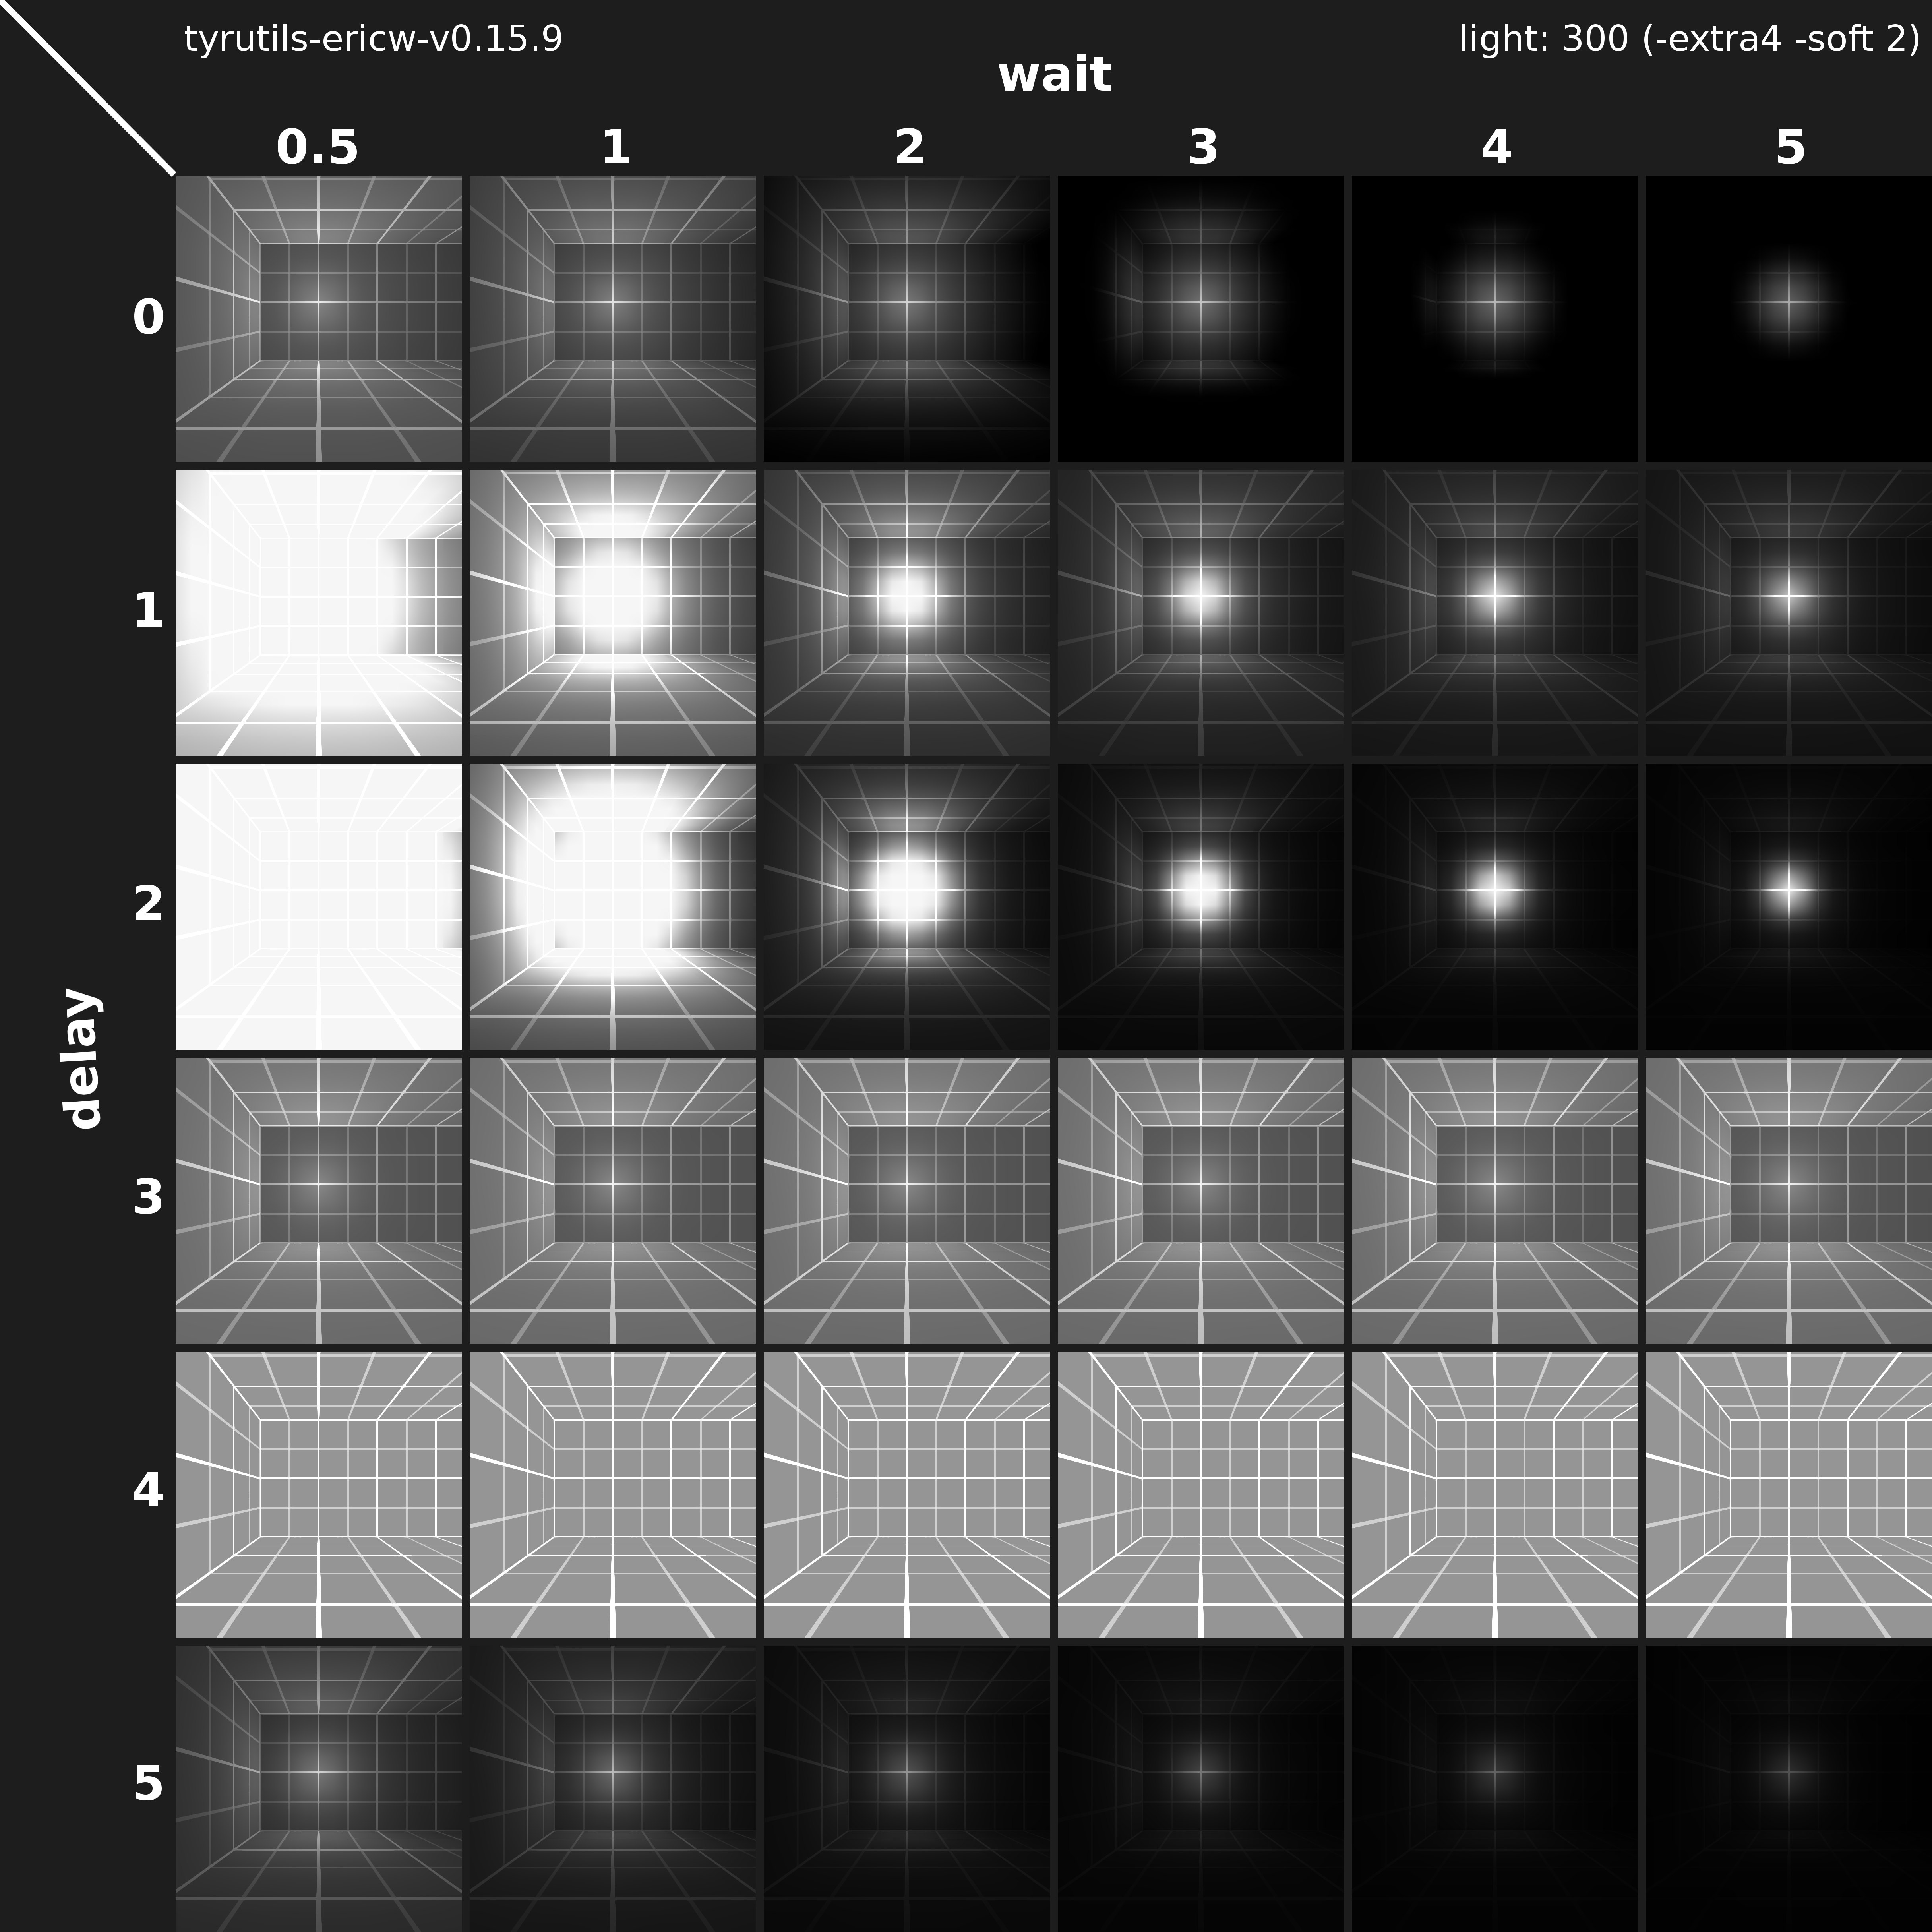
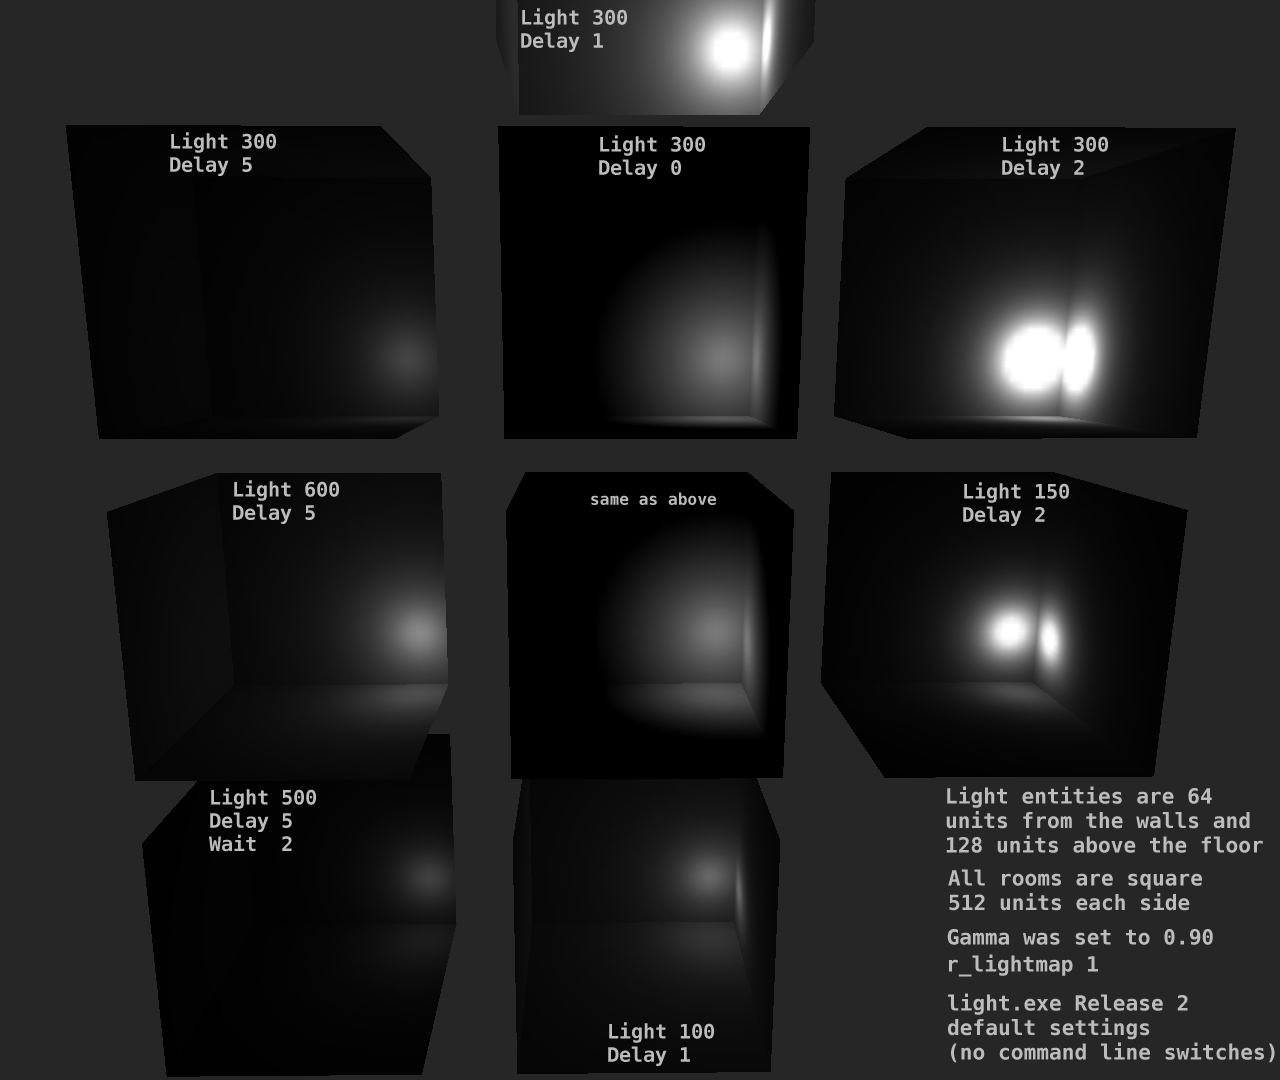
This is a development environment for making Quake maps with Trenchbroom on Arch Linux. This loosly follows the excellent guides from dumptruck_ds and jonathanlinat/quake-leveldesign-starterkit. When I started this project, quake-leveldesign-starterkit was made for MS Windows only, but it has since started supporting Debian Linux, so you may want to check that out first!
- Arch Linux
- If you run MS Windows, use jonathanlinat/quake-leveldesign-starterkit instead.
- A copy of Quake installed (tested with the Steam version). (You
only really need the
id1folder which you can copy from any install.) - Your user account requires
sudoprivileges to install all the dependencies. - You must enable the multilib repository.
- You will also need to pre-install GNU make and git:
sudo pacman -S make git
Clone the repository:
git clone https://github.com/EnigmaCurry/quake-dev ~/git/vendor/enigmacurry/quake-dev
cd ~/git/vendor/enigmacurry/quake-dev
At the top of the Makefile there are a number of environment variables that have default values, but one of them may be especially important if you didnt install the steam version:
QUAKE_ROOT_ID1
This variable must be set to the full path to the id1 folder from
your Quake directory. The default value
(${HOME}/.steam/steam/steamapps/common/Quake/rerelease/id1) is the
correct path for the Steam version of the 2021 re-release of Quake. If
this is not correct for your system, you will need to modify the
variable, which you can do by editing the Makefile, or simply setting
the environment variable before you run it.
Install all the dependencies:
make install
The game assets directory id1 has now been copied to
./ironwail/id1, and the original quake directory is no longer
necessary.
- Open Trenchbroom
- Select
New map - Click
Open preferences... - Find
Quakein the preferences. - Set the Game Path to the full path to the created ironwail
directory (eg.
/home/ryan/git/vendor/enigmacurry/quake-dev/ironwail) - Click
Configure Engines... - Click the
+icon to add a new Profile. - Enter the profile name:
ironwail - Enter the Path:
/usr/bin/ironwail - Exit from the preferences menus you're done with setup.
Lets start with making a small modification to the original Quake
start map. The map source is found in the src directory named
start.map.
- Open Trenchbroom
- Click
Browseto open an existing .map file. - Navigate to the
games/id1/mapsdirectory and openstart.map. - Choose
Quakefrom the list of games. - Use the
Map FormatofAutodetectorStandard - Click OK.
Modify the level by adding some additional entities to the scene.
- Move your view inside the level to where the character starts.
- Click the
Entitytab, and find themonster_dogentity. - Drag a few dogs into the main starting area.
- Go to
File->Save document as, and save it asstart_dogs.map - You may close trenchbroom if you wish.
Build and run the modified map, run:
make map=start_dogs
The game should now start and you should see the dogs.
You can load any map name this same way, for example if you create a
new level with trenchbroom called foo, you can build and run it:
make map=foo
If you want to make it even easier, set the map variable ahead of
time:
## For example say you are working on the foo map for awhile now:
export map=foo

## Now you can just run make, and the foo level is loaded by default:
make

## But later on you can run any level just like before:
make map=e1m1
As an alternative to running the make command on the command line,
you can build and run directly from trenchbroom.
- Launch Trenchbroom
- Click on
Run->Compile Map... - Create a new profile, or modify the existing Profile, rename it
build. - Set the working directory as the full path to your main
quake-devdirectory. (eg./home/ryan/git/vendor/enigmacurry/quake-dev) - Click the
+button under theDetailspanel, to create a new Task. SelectRun Tool. - Set the Tool Path to
/usr/bin/make - Set the Parameters to
build - You can append whatever other arguments you need as parameters here.
- Click
Run->Launch Engine... - Click on the
ironwailprofile you created before. - Set all the Parameters you need:
-game id1 -basedir /home/ryan/git/vendor/enigmacurry/quake-dev/ironwail +map start_dogs2
At a minimum, your parameters must set the correct full path to your
basedir (the parent directory of id1) and the name of the map you
want to launch.
Remember to always save your level before trying to launch it!
All of the map source files are organized in the games directory.
The files in the games/id1 directory are copies of the original
quake levels (open sourced by John Romero in
2016!).
These files can be very useful to examine for your own design ideas.
You can create your own directories under games for your own games.
When running make, you must specify the game to use, which by default
is id1.
# Run the map called 'bar' in the game called 'foo' from the file: games/foo/maps/bar.map
make game=foo map=bar
Here are a few useful commands you can use from the quake console. Many of these you must enter each time you load the level, because they are cleared on level exit, and you can't set operators like "god" mode from autoexec.cfg.
- From inside the game, hit the
~key to open the console - Type
map fooand press Enter to load thefoomap. - Type
godto turn on temporary god mode (cleared on level exit!). - Type
notargetto turn of player targeting (unless you try to fight them! again, this is cleared on level exit.) - Type
noclipto be able to fly, this is useful especially because you can fly outside of the level and see everything from an overview. Use the swimming controlsEandCkey to ascend and descend, but I like to re-map descend to beQlike it is in Godot. - Type
r_lightmap 1to enable in-game rendering of the light map areas. - Type
r_showtris 2to show triangle geometries.
- dumptruck_ds trenchbroom series
- func_msgboard
- Quake map archive
- Quake mapping tips video
- Quake command line arguments (these are the same with ironwail)
- Quake console commands
- Map_compiling
- QodotPlugin/Qodot - import your quake maps into the Godot game engine!
- jitspoe/godot_bsp_importer - an alternative to Qodot that claims to have less overdraw by importing directly from bsp (?).
- Godot FPS quickstart
- BloodThief game using Qodot
- Interesting maps and dev-blog
- Lights: