Getting Started 1 BMW Portal Setup
Do this before adding the integration to Home Assistant.
BMW CarData is BMW's own telematics service. To use it you need a client ID generated in the BMW portal, with two scopes authorized. The CarData portal isn't offered in every market, but the client ID it produces is account-wide, so you can complete this setup from any supported region and use it everywhere, on every vehicle on the account.
- A BMW account with a vehicle that supports CarData.
- CarData API and CarData Streaming subscribed in the BMW portal.
It helps to skim BMW's CarData documentation once before starting — the steps below mirror it.
Sign in to your BMW account and open My Vehicles → Vehicle overview:
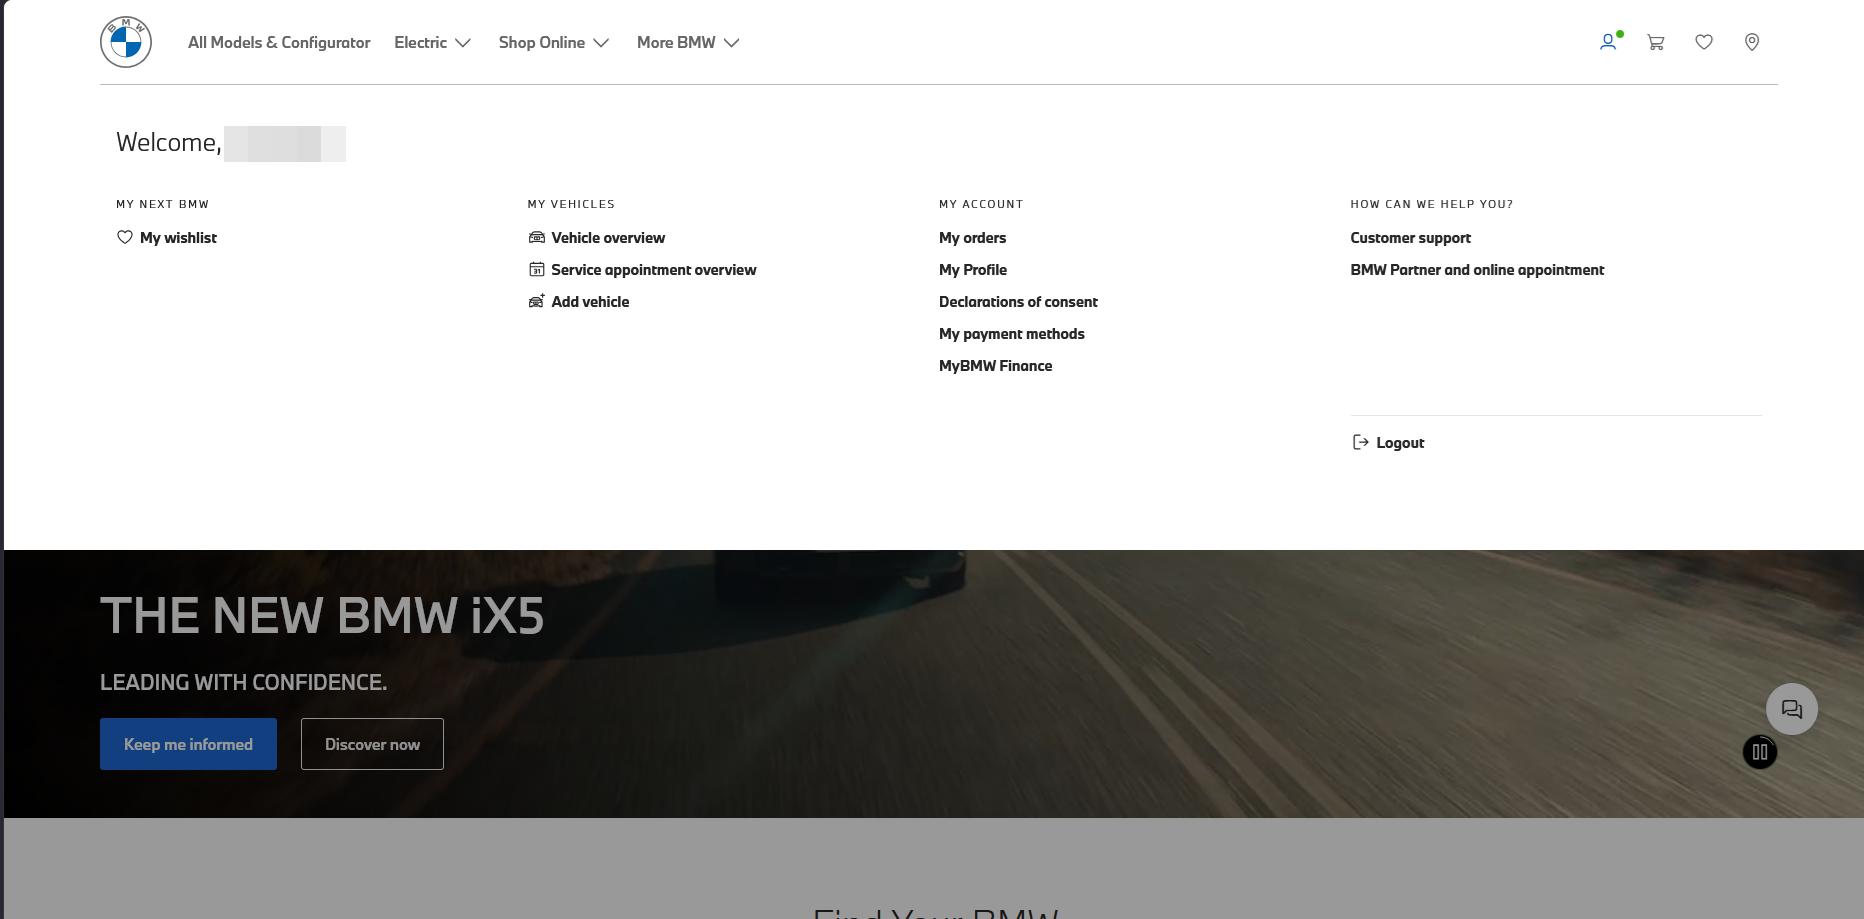
Direct links to the vehicle overview per market:
| English | German | Austrian | |
|---|---|---|---|
| BMW | vehicle overview | Fahrzeugübersicht | Fahrzeugübersicht |
| Mini | vehicle overview | Fahrzeugübersicht | Fahrzeugübersicht |
-
Select your vehicle and open the BMW CarData / Mini CarData tile.
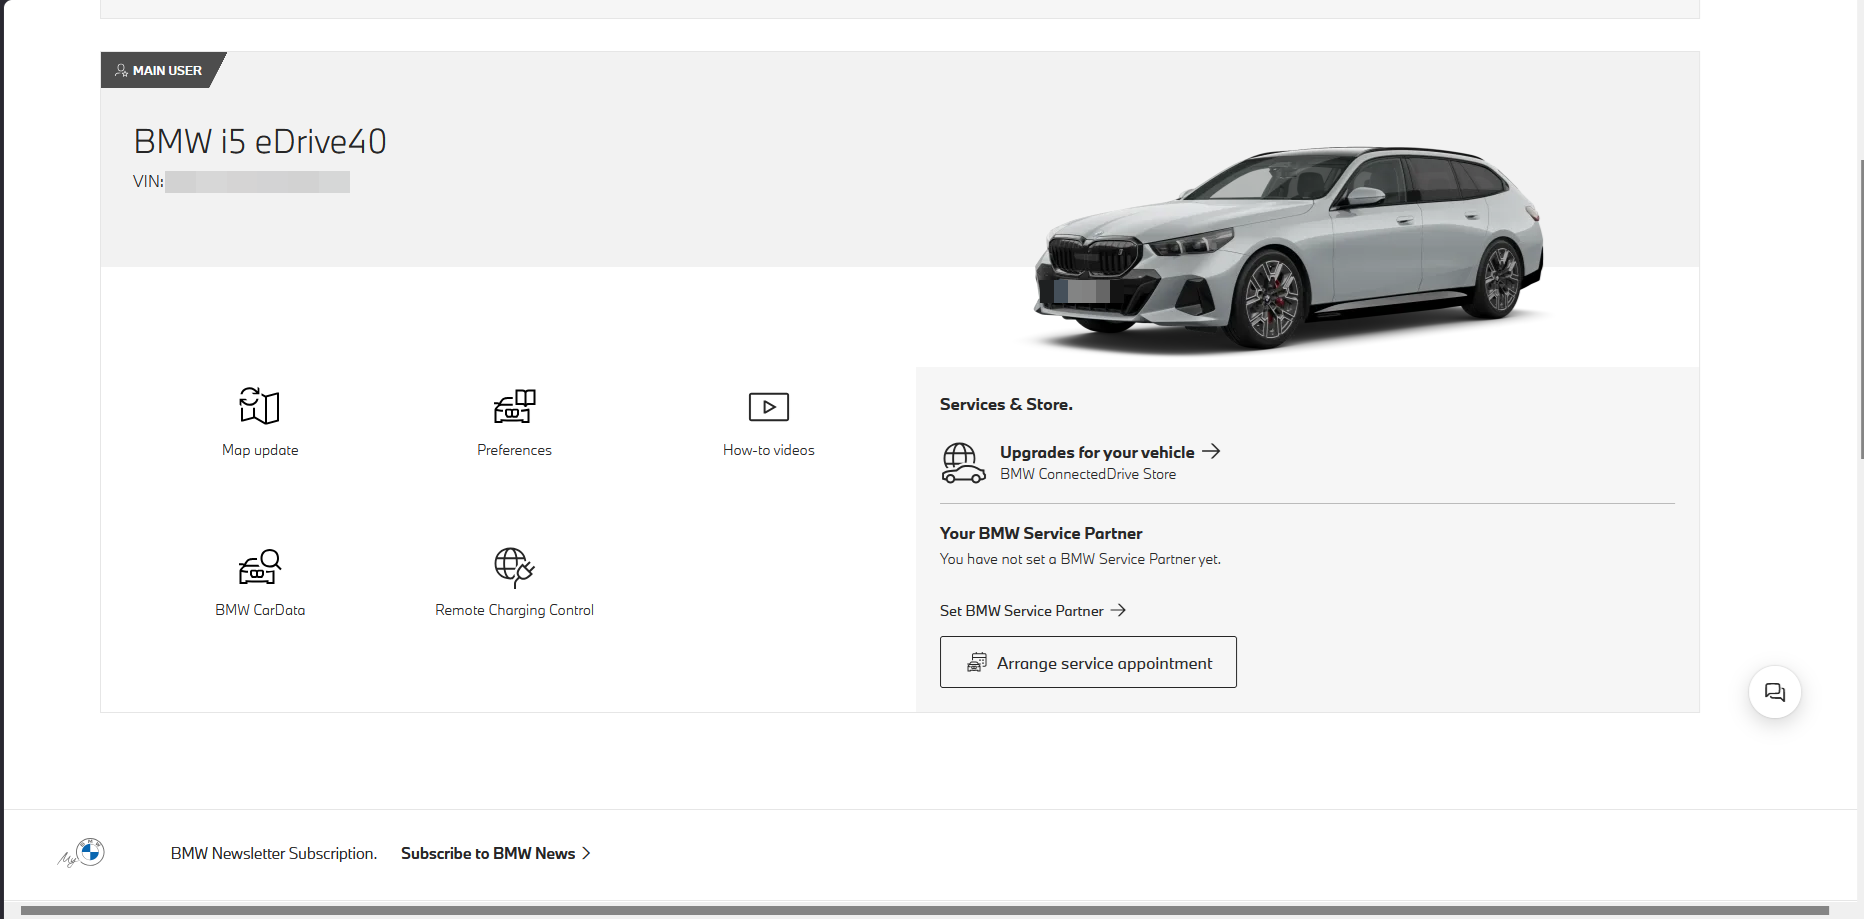
-
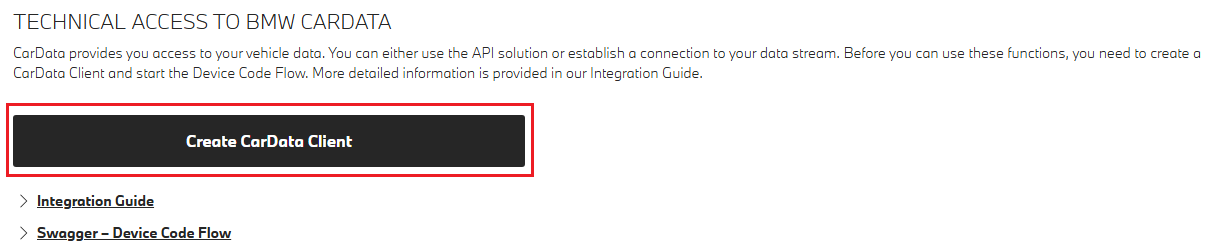
Press Create CarData Client to generate a client ID:
-
Give the client both scopes —
cardata:api:readandcardata:streaming:read— and authorize it. On the Technical access to BMW CarData screen you should end up with a Client ID shown and both Request access to CarData API and CarData Stream switched on.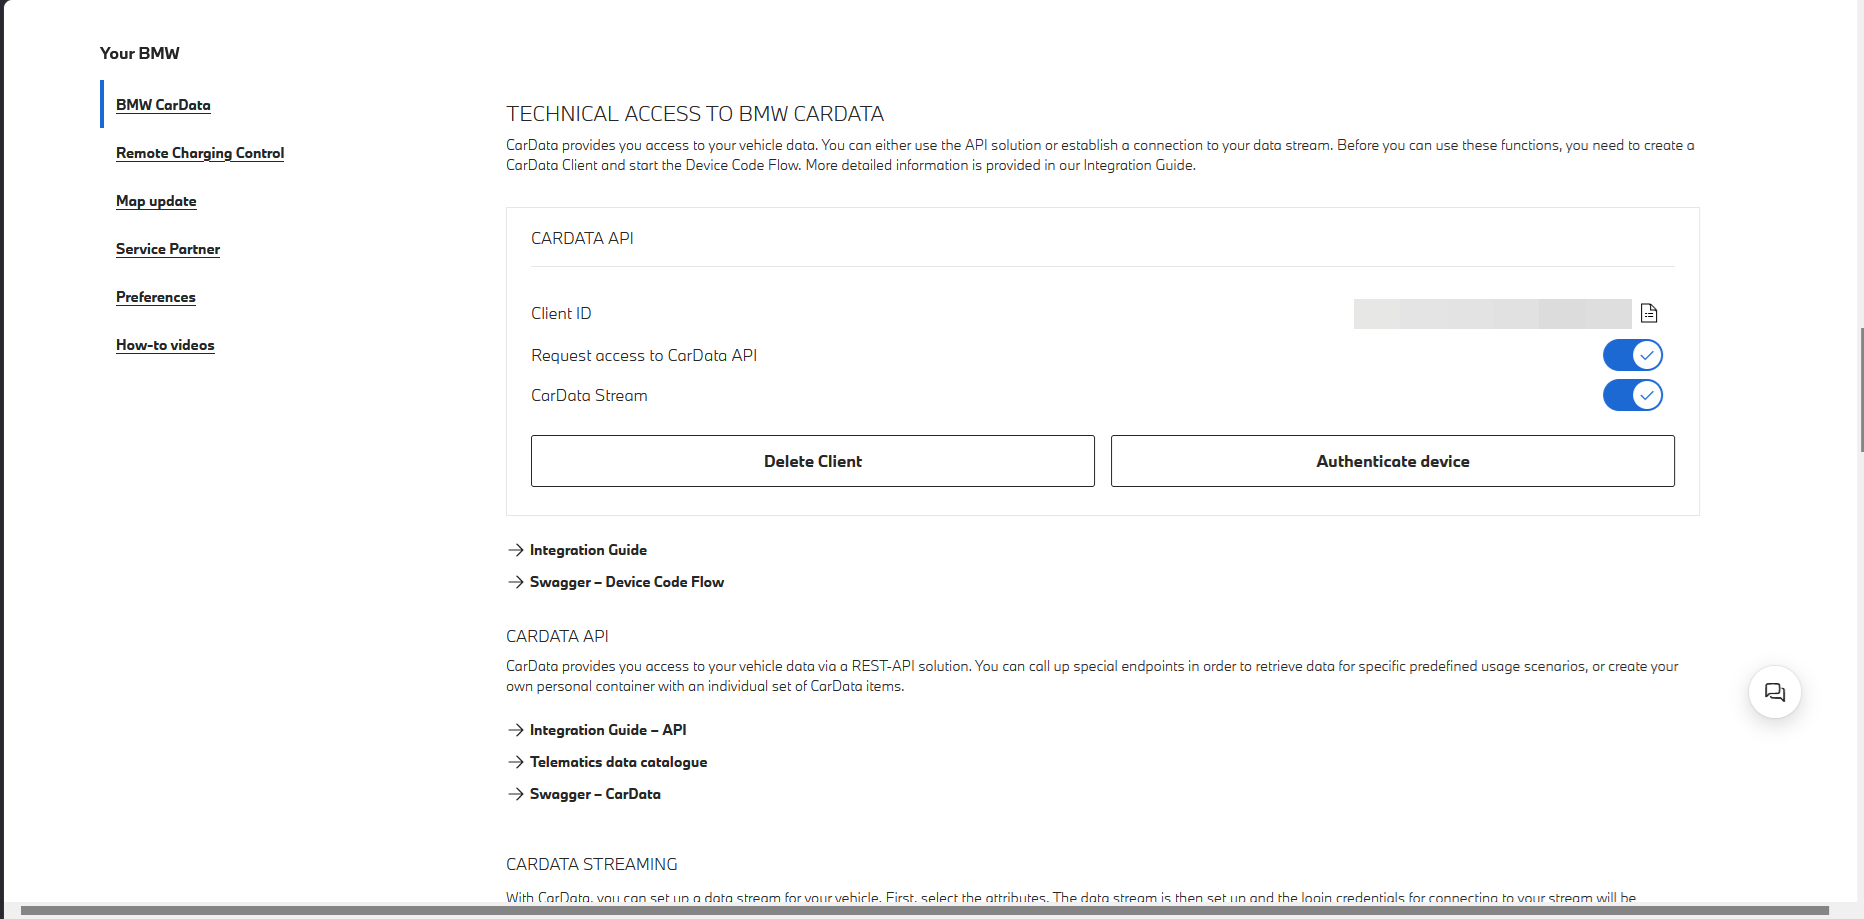
If the portal throws a scope error, reload the page, add one scope, wait ~30 seconds, then add the second.
That's all you need in the portal for now.
Don't tick anything under Data Selection yet. Which descriptors to stream is chosen from inside Home Assistant after install (step 4). The guided setup turns them on for you with a one-click Activate BMW data bookmarklet; the manual setup hands you a portal snippet for exactly the clusters you pick. Either way, doing it by hand here means picking through hundreds of technical fields — so leave it.
That's the whole portal setup. In step 3 you'll either let the guided path discover this client ID for you, or paste it in yourself on the manual path — so keep the client ID handy if you plan to go manual.
Next: 2. Install via HACS →