Getting Started
This walks you through installing HERMES and making your first Short, start to finish.
Head to the Releases page and grab one of two options:
-
Portable zip - unzip it anywhere (Desktop, a USB stick, wherever) and run
HERMES.exe. Nothing is installed; your settings and clips live inside that folder. Delete the folder and it's completely gone. - Installer - runs a normal setup, adds a Start Menu entry, no admin rights needed.
Either way, everything you need is already inside the download - including ffmpeg, which does the actual video encoding under the hood. You never have to go find or install that separately.
Windows will probably show a "Windows protected your PC" warning the first time you run it, since the app isn't code-signed yet. Click More info -> Run anyway. That's normal for small apps like this one, not a sign anything's wrong.
Open the Import tab. You can either browse for a file already on your computer, drag a file straight in, or paste a Twitch/YouTube/etc. URL and let HERMES download it for you.
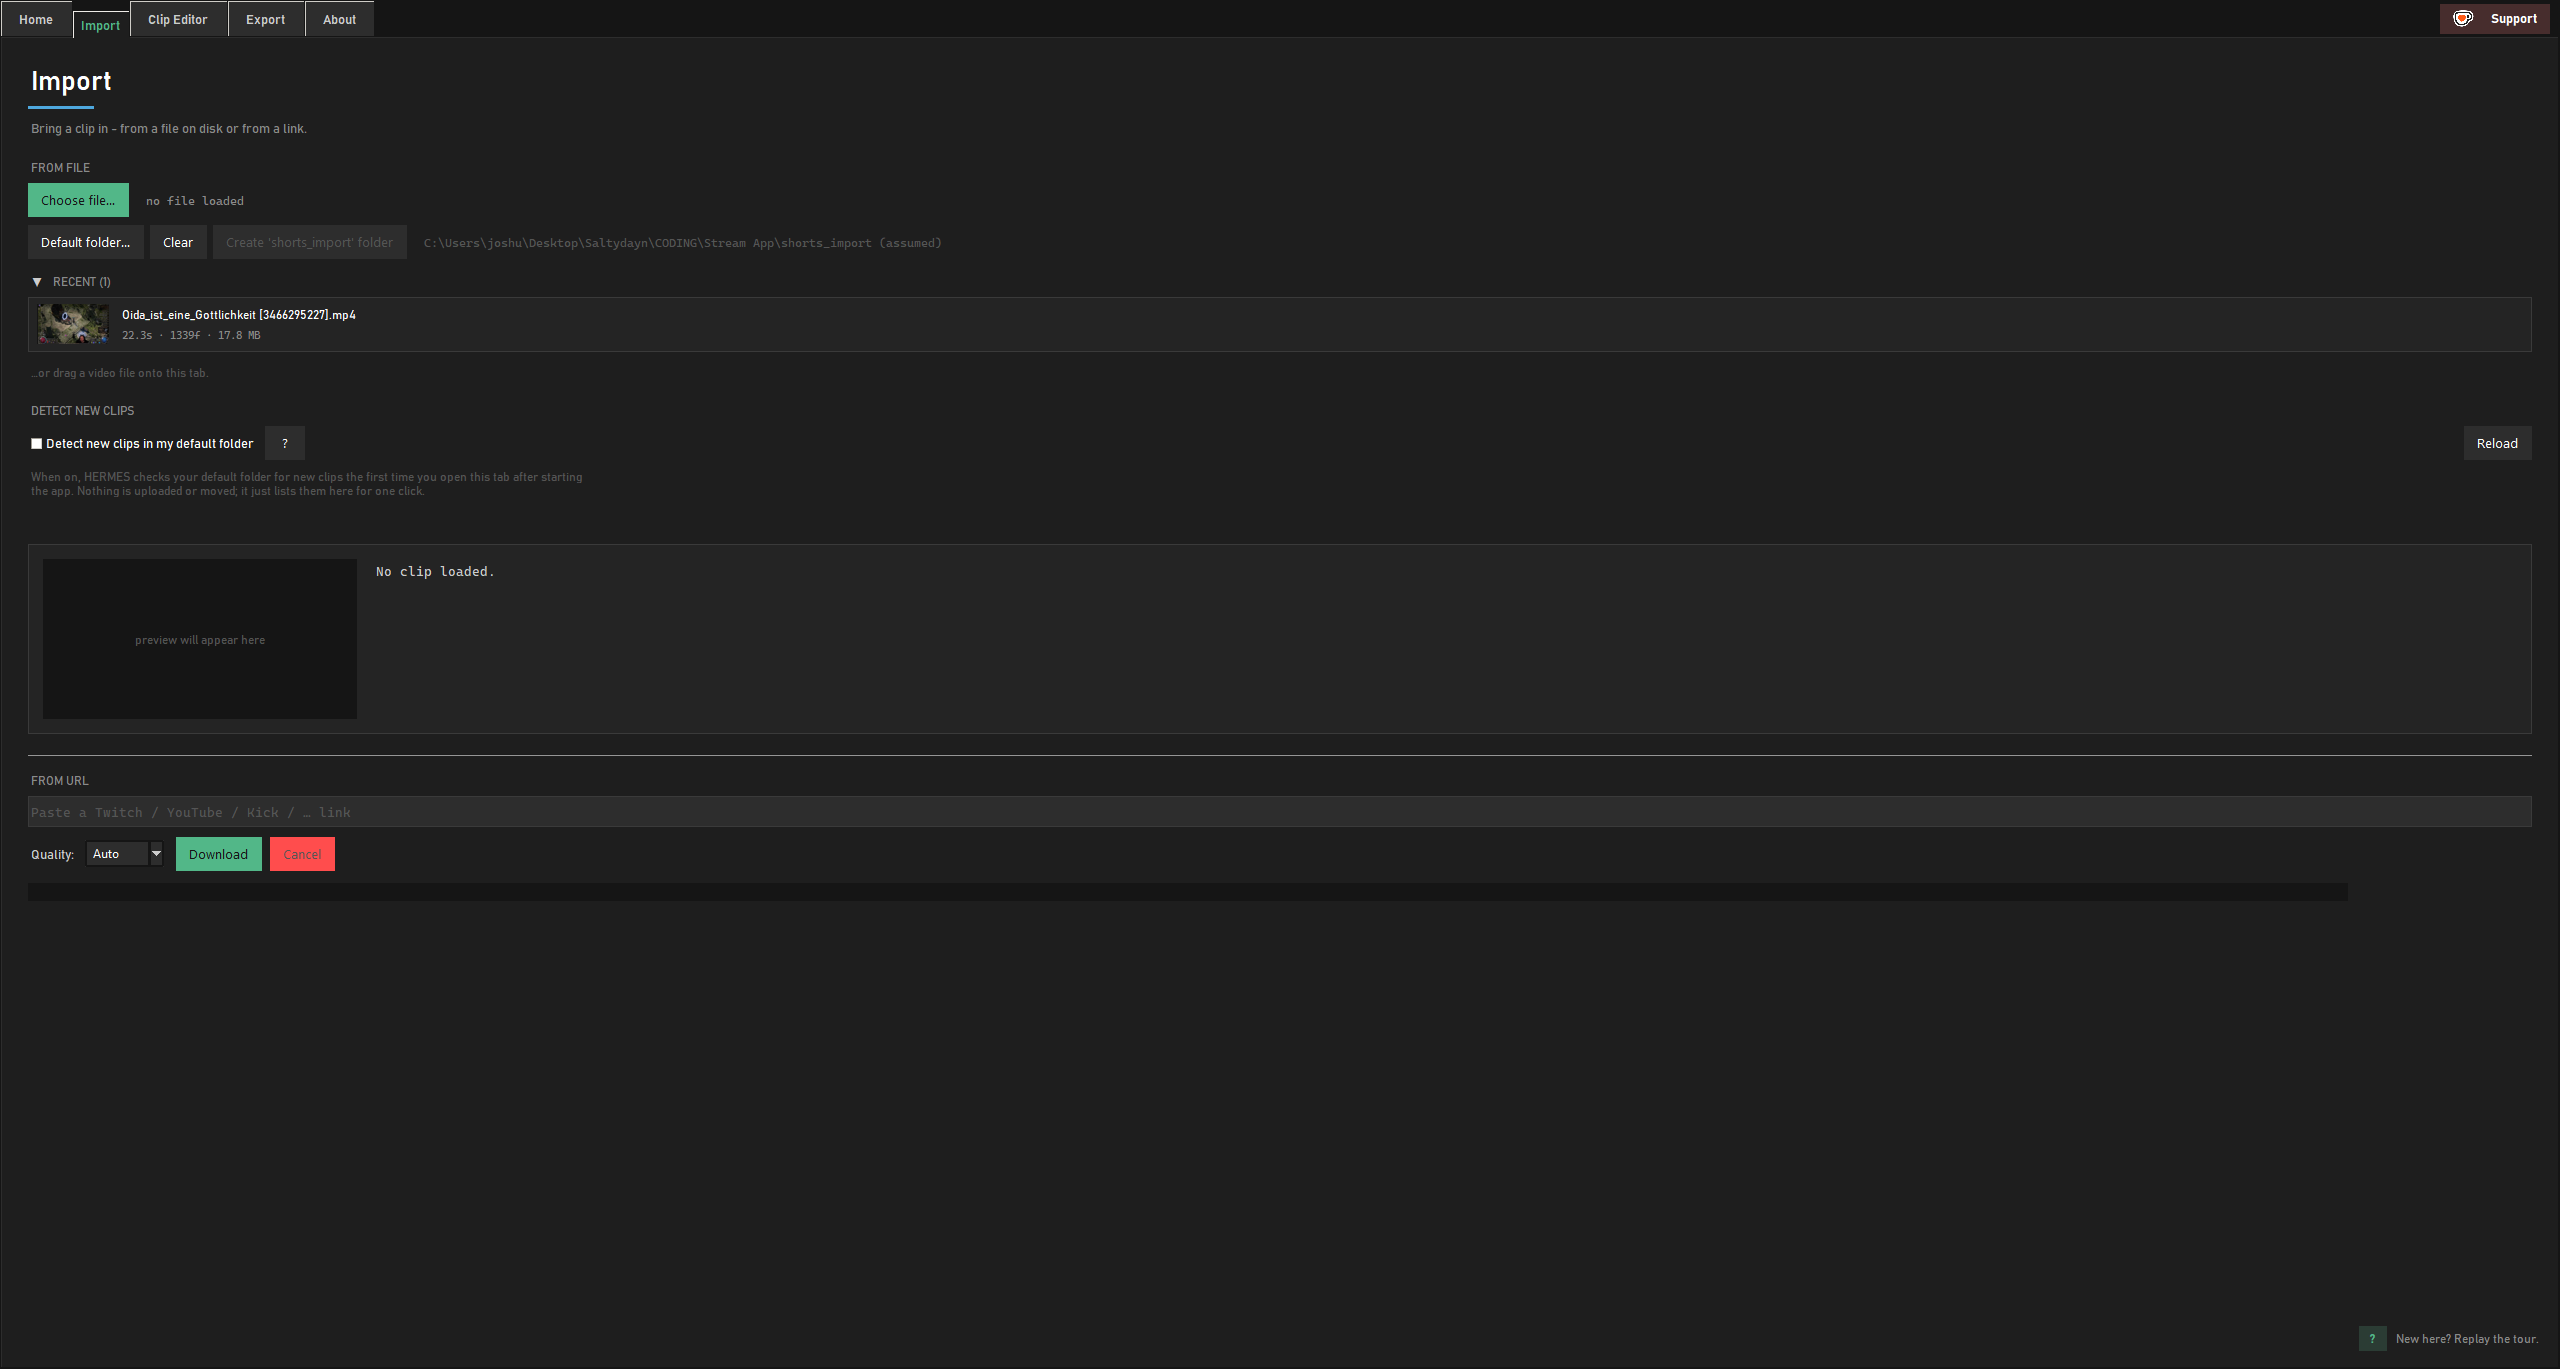
Send the clip to the Editor. From here:
- Pick a layout - split your gameplay and cam feed, or use a single focused panel.
- Add a highlight box if you want a picture-in-picture moment (a boss fight, a reaction, etc.).
- Cut out any dead air with the timeline - press once to start a cut, again to mark the end.
- Adjust audio if a section is too loud or quiet.
- Add your branding - a logo, your name, a watermark - if you want one.
There's a ? help button next to every section in the app if you get stuck, and a one-time
walkthrough that shows up the first time you open each tab.
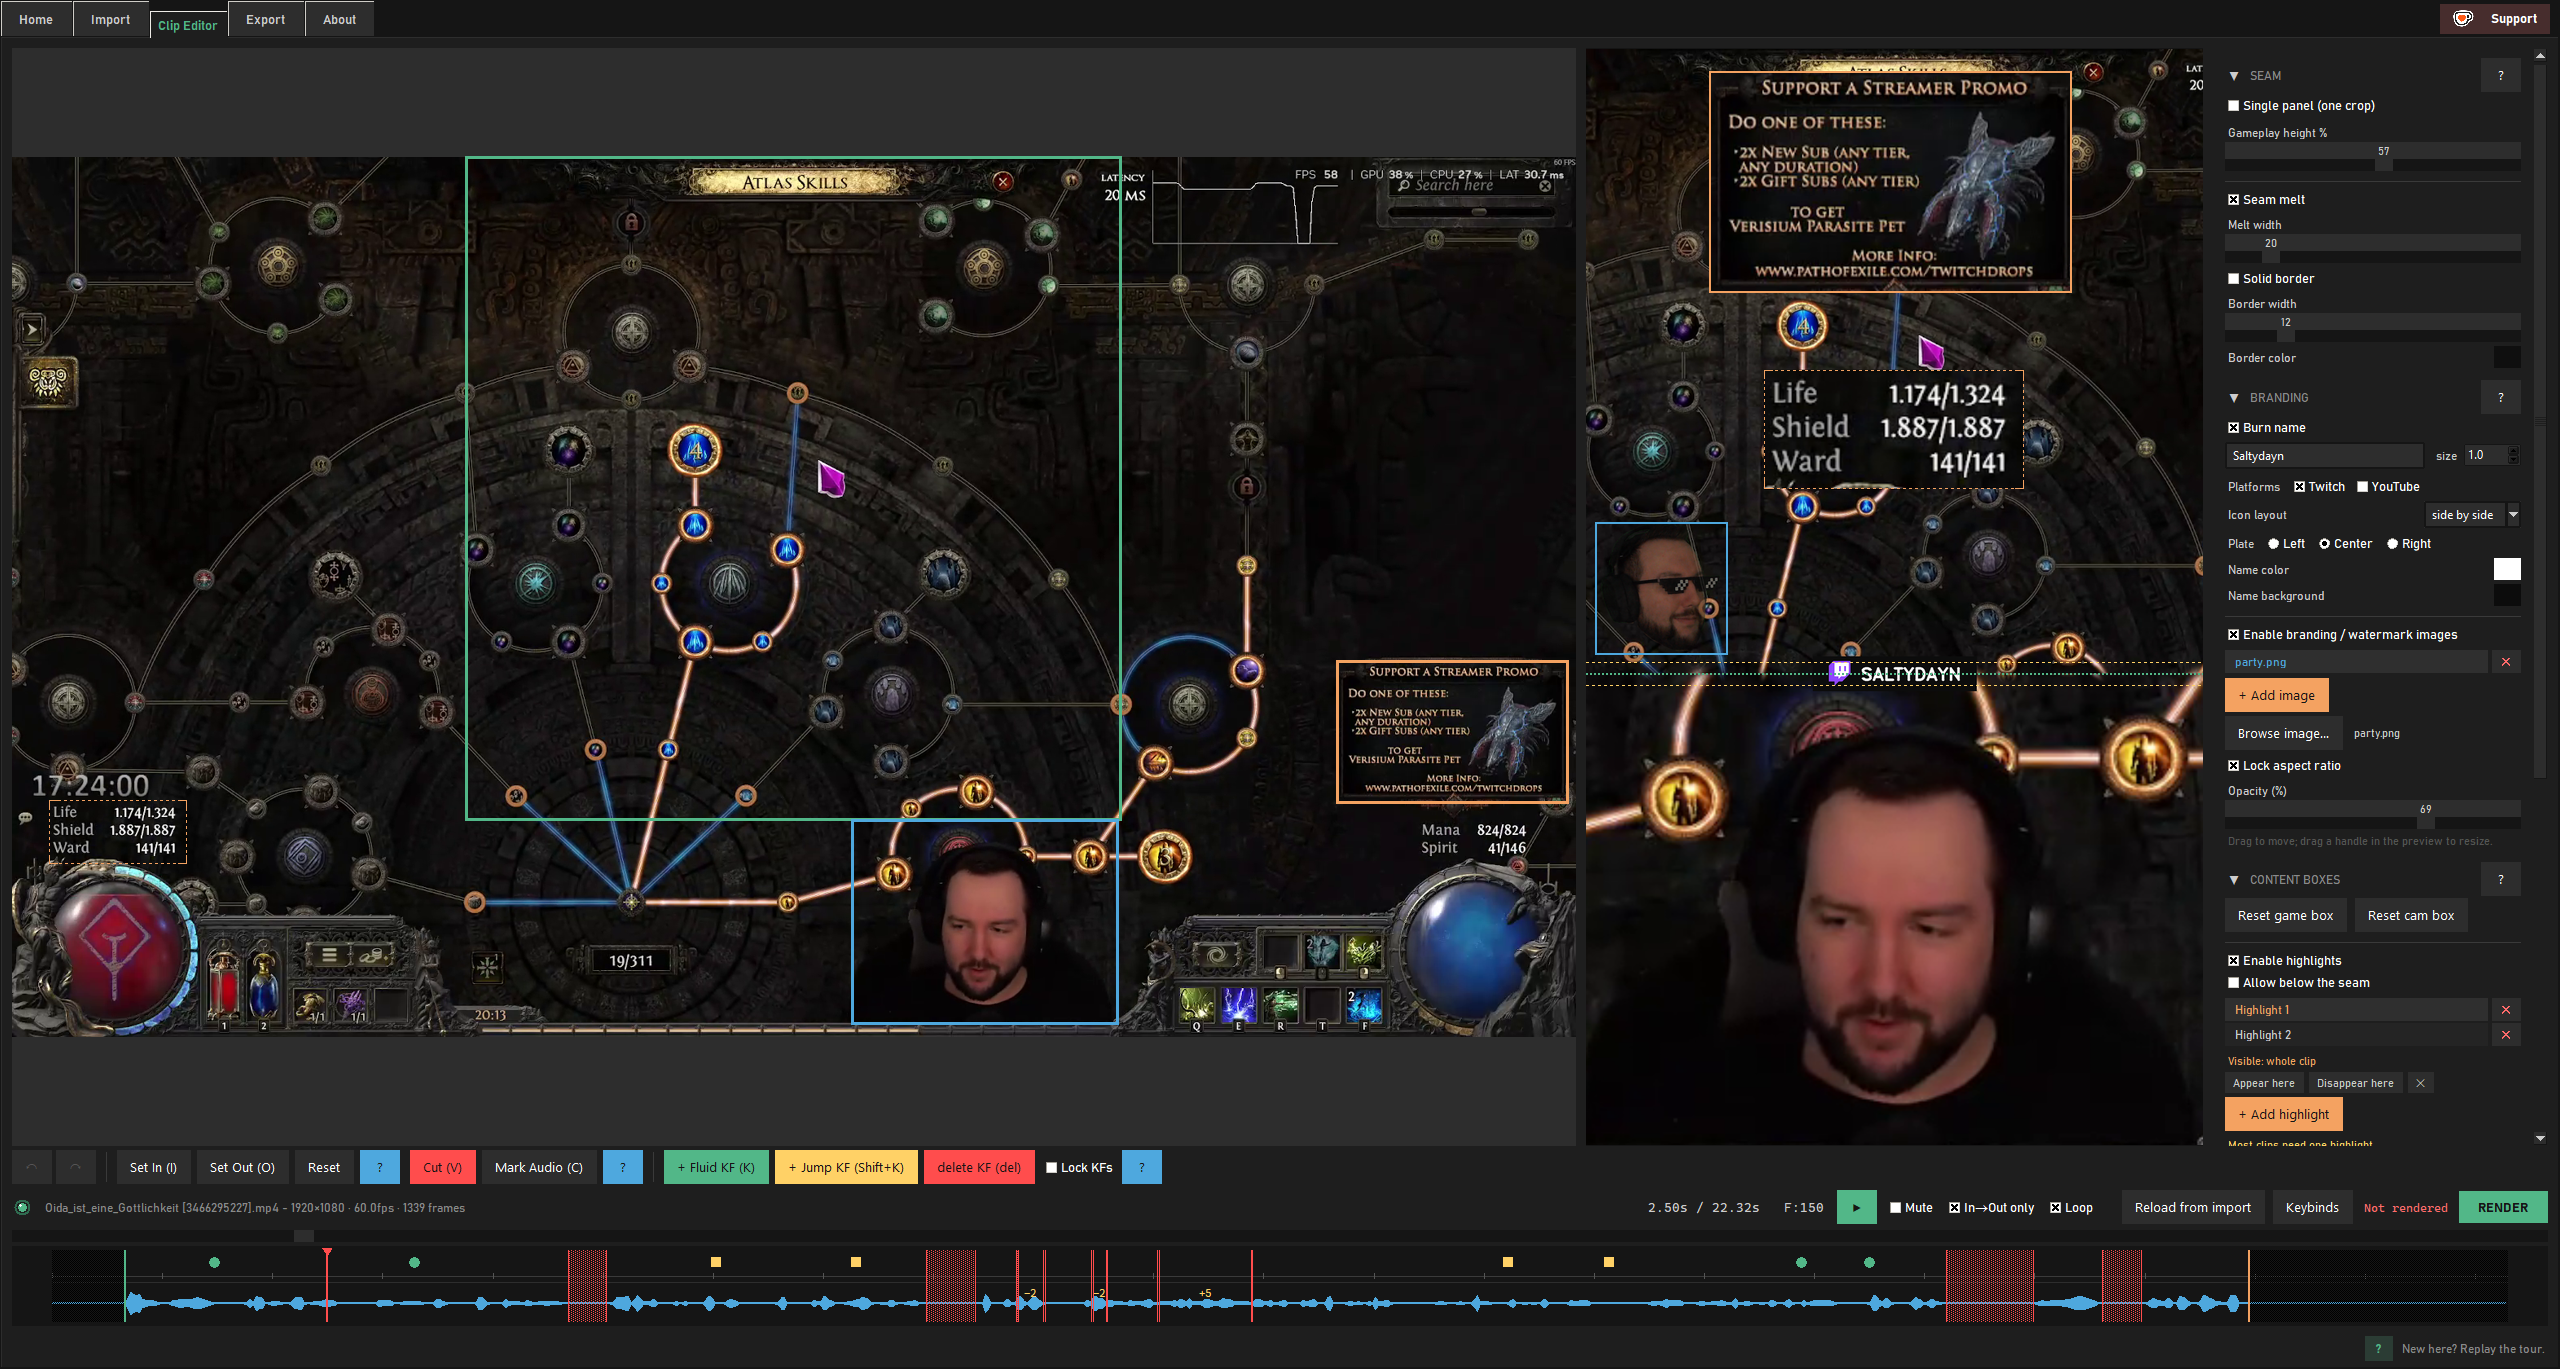
Hit Render in the Editor. Once it's done, head to Export - your finished file is ready to save, and there's a one-click button to open YouTube's upload page with the file ready to drag in.
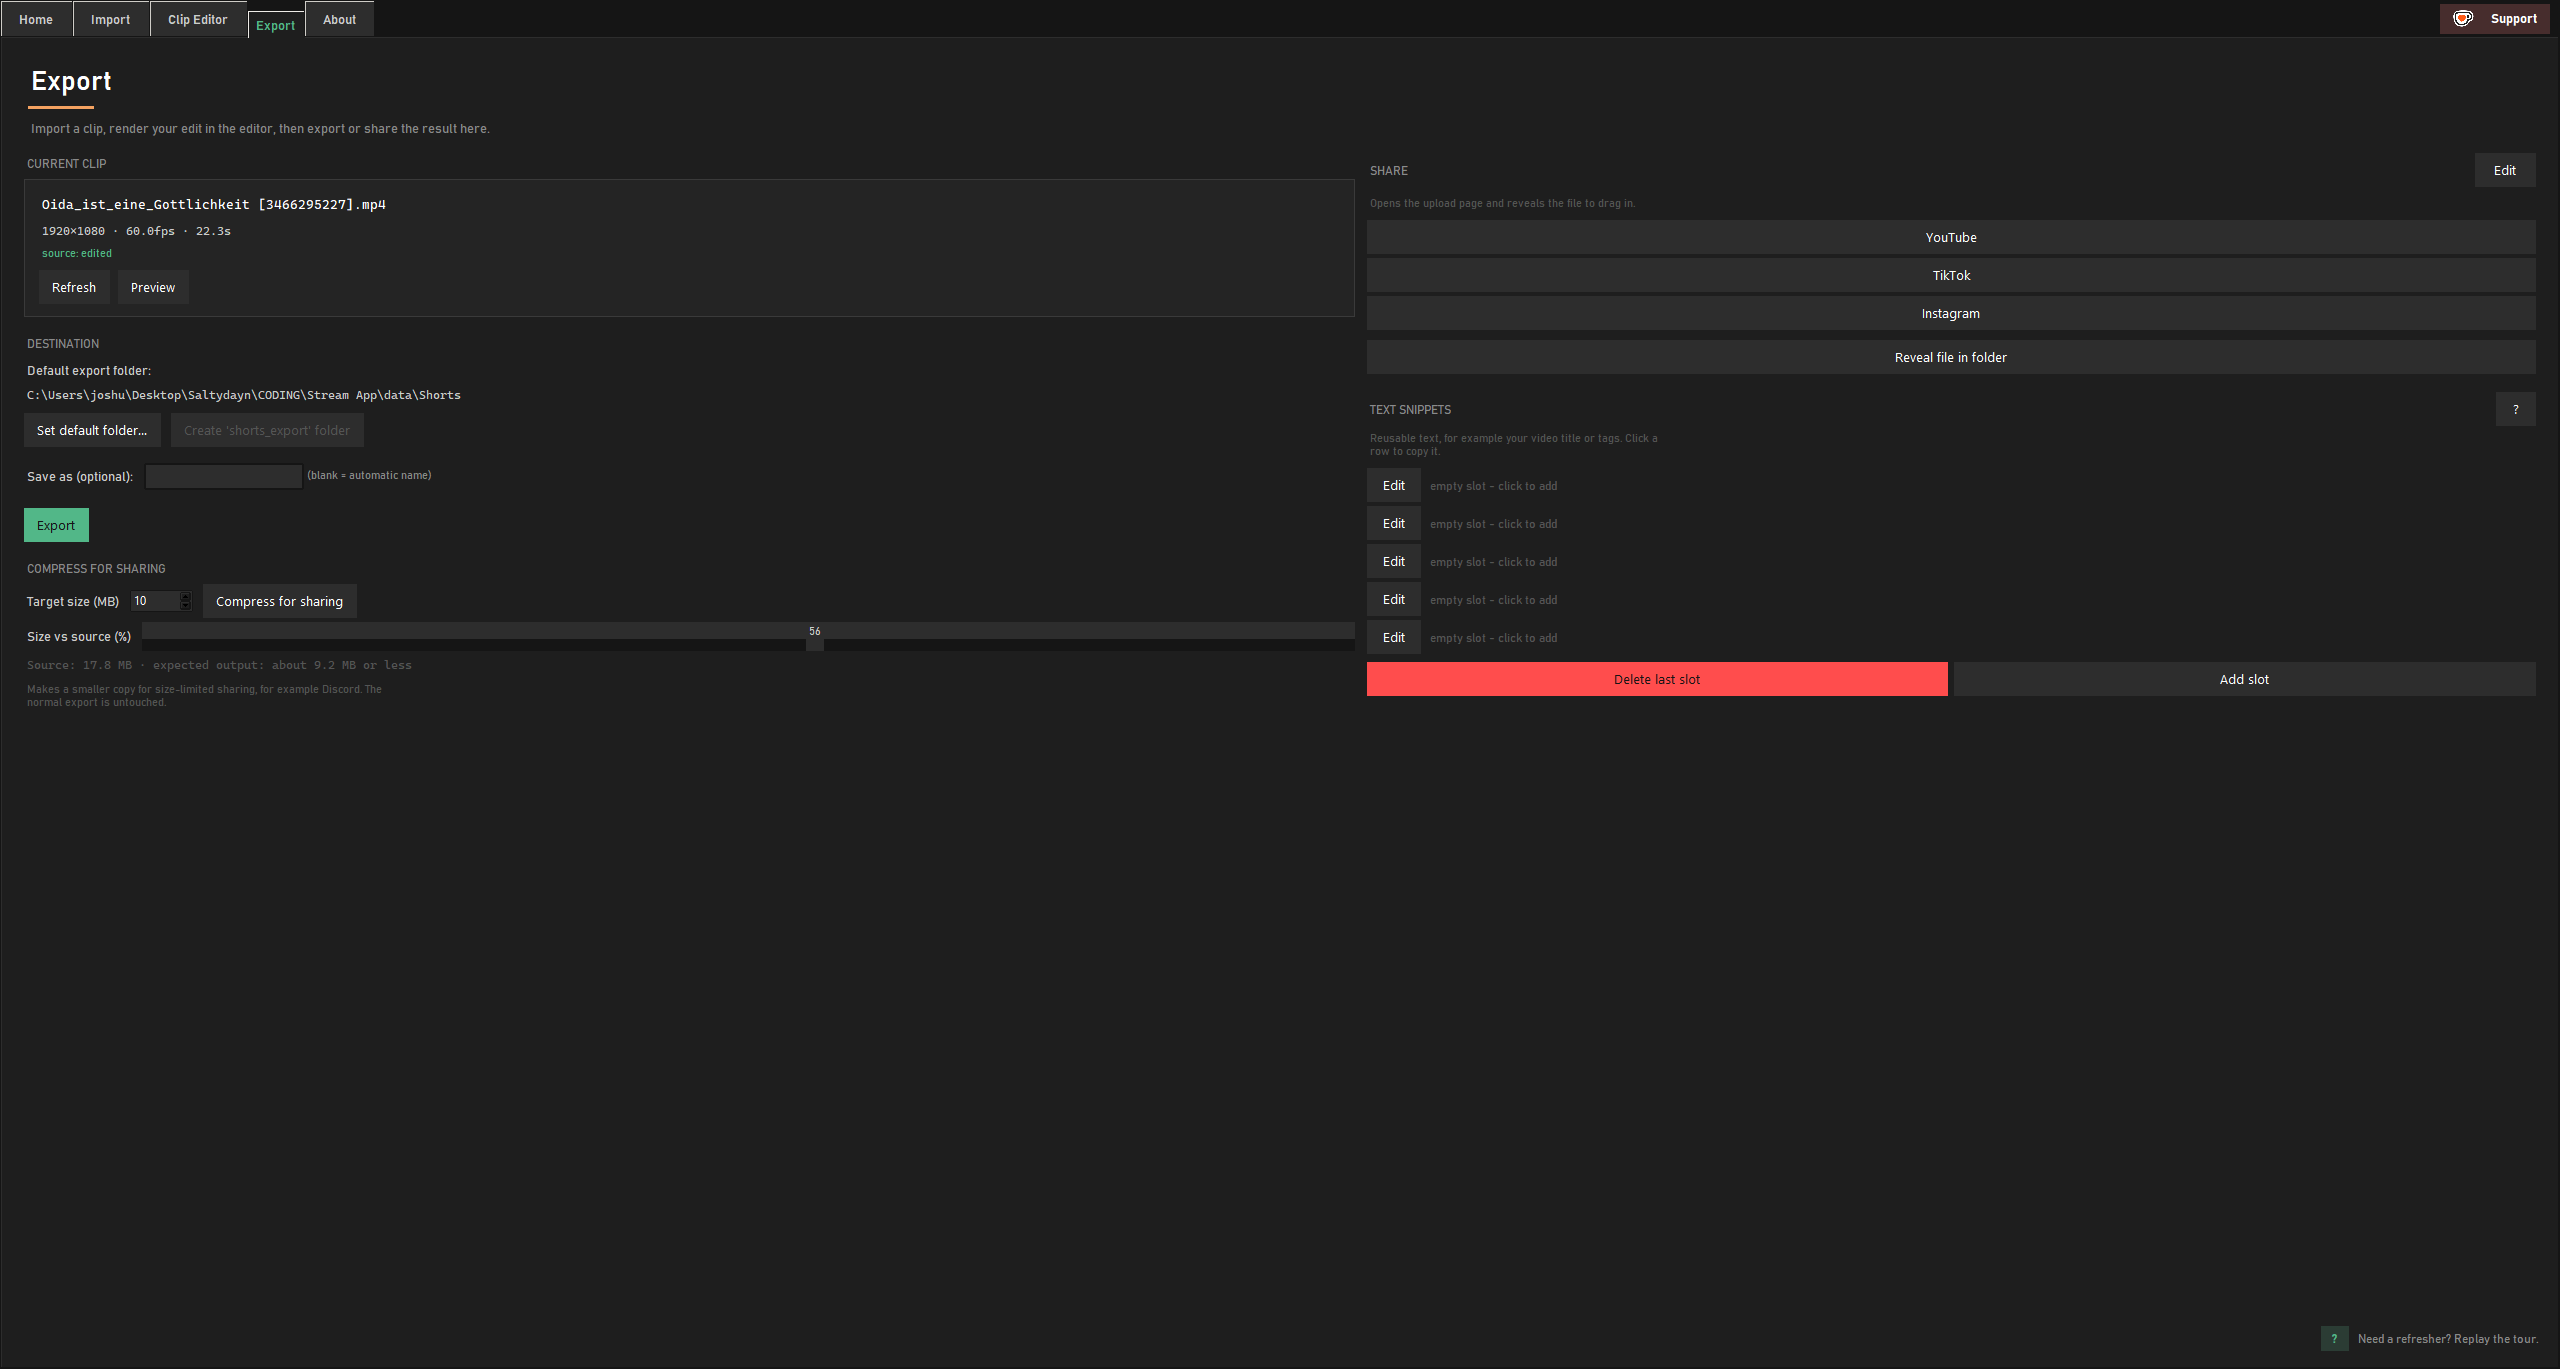
That's it. Import, edit, render, export - repeat for your next clip.
Check the Editor In Detail page for the deeper explanation of any feature, or use the in-app feedback/bug-report buttons (About tab) to let us know directly.