User Guide
This guide will help you use MyT1D. MyT1D is a mobile application that lets Type 1 Diabetes patients manage their diabetes with ease.
MyT1D includes the following features-
- Manage ingredients
- Insulin dosage calculator
- Manage recipes
- Set I:C and ISF Factors, including different meal factors
- Blood glucose monitoring
- Post-meal glucose value history
-
Home page
-
Current sugar value
-
Sugar value at last recorded meal (for comparison)
-
Graph of blood sugar values over time
-
Total number of foods stored
-
Total number of recipes stored
-
-
Ingredient editor
- Lets you set an ingredient's name, carbs, and unit
- Lets you delete an ingredient
- Lets you search an ingredient by name
-
Insulin Manager
- Lets you pick a meal time (Breakfast, Lunch, Afternoon Snack, Dinner, or Night Snack)
- Lets you change the date
- Lets you autofill ingredients from the database
- Lets you change servings to update the carbs per serving automatically
- Shows current sugar value, carbs, and insulin dosage
- If an ingredient is the main ingredient, MyT1D shows an infobox with an average of how high or low the glucose value has gone when previously eating this meal.
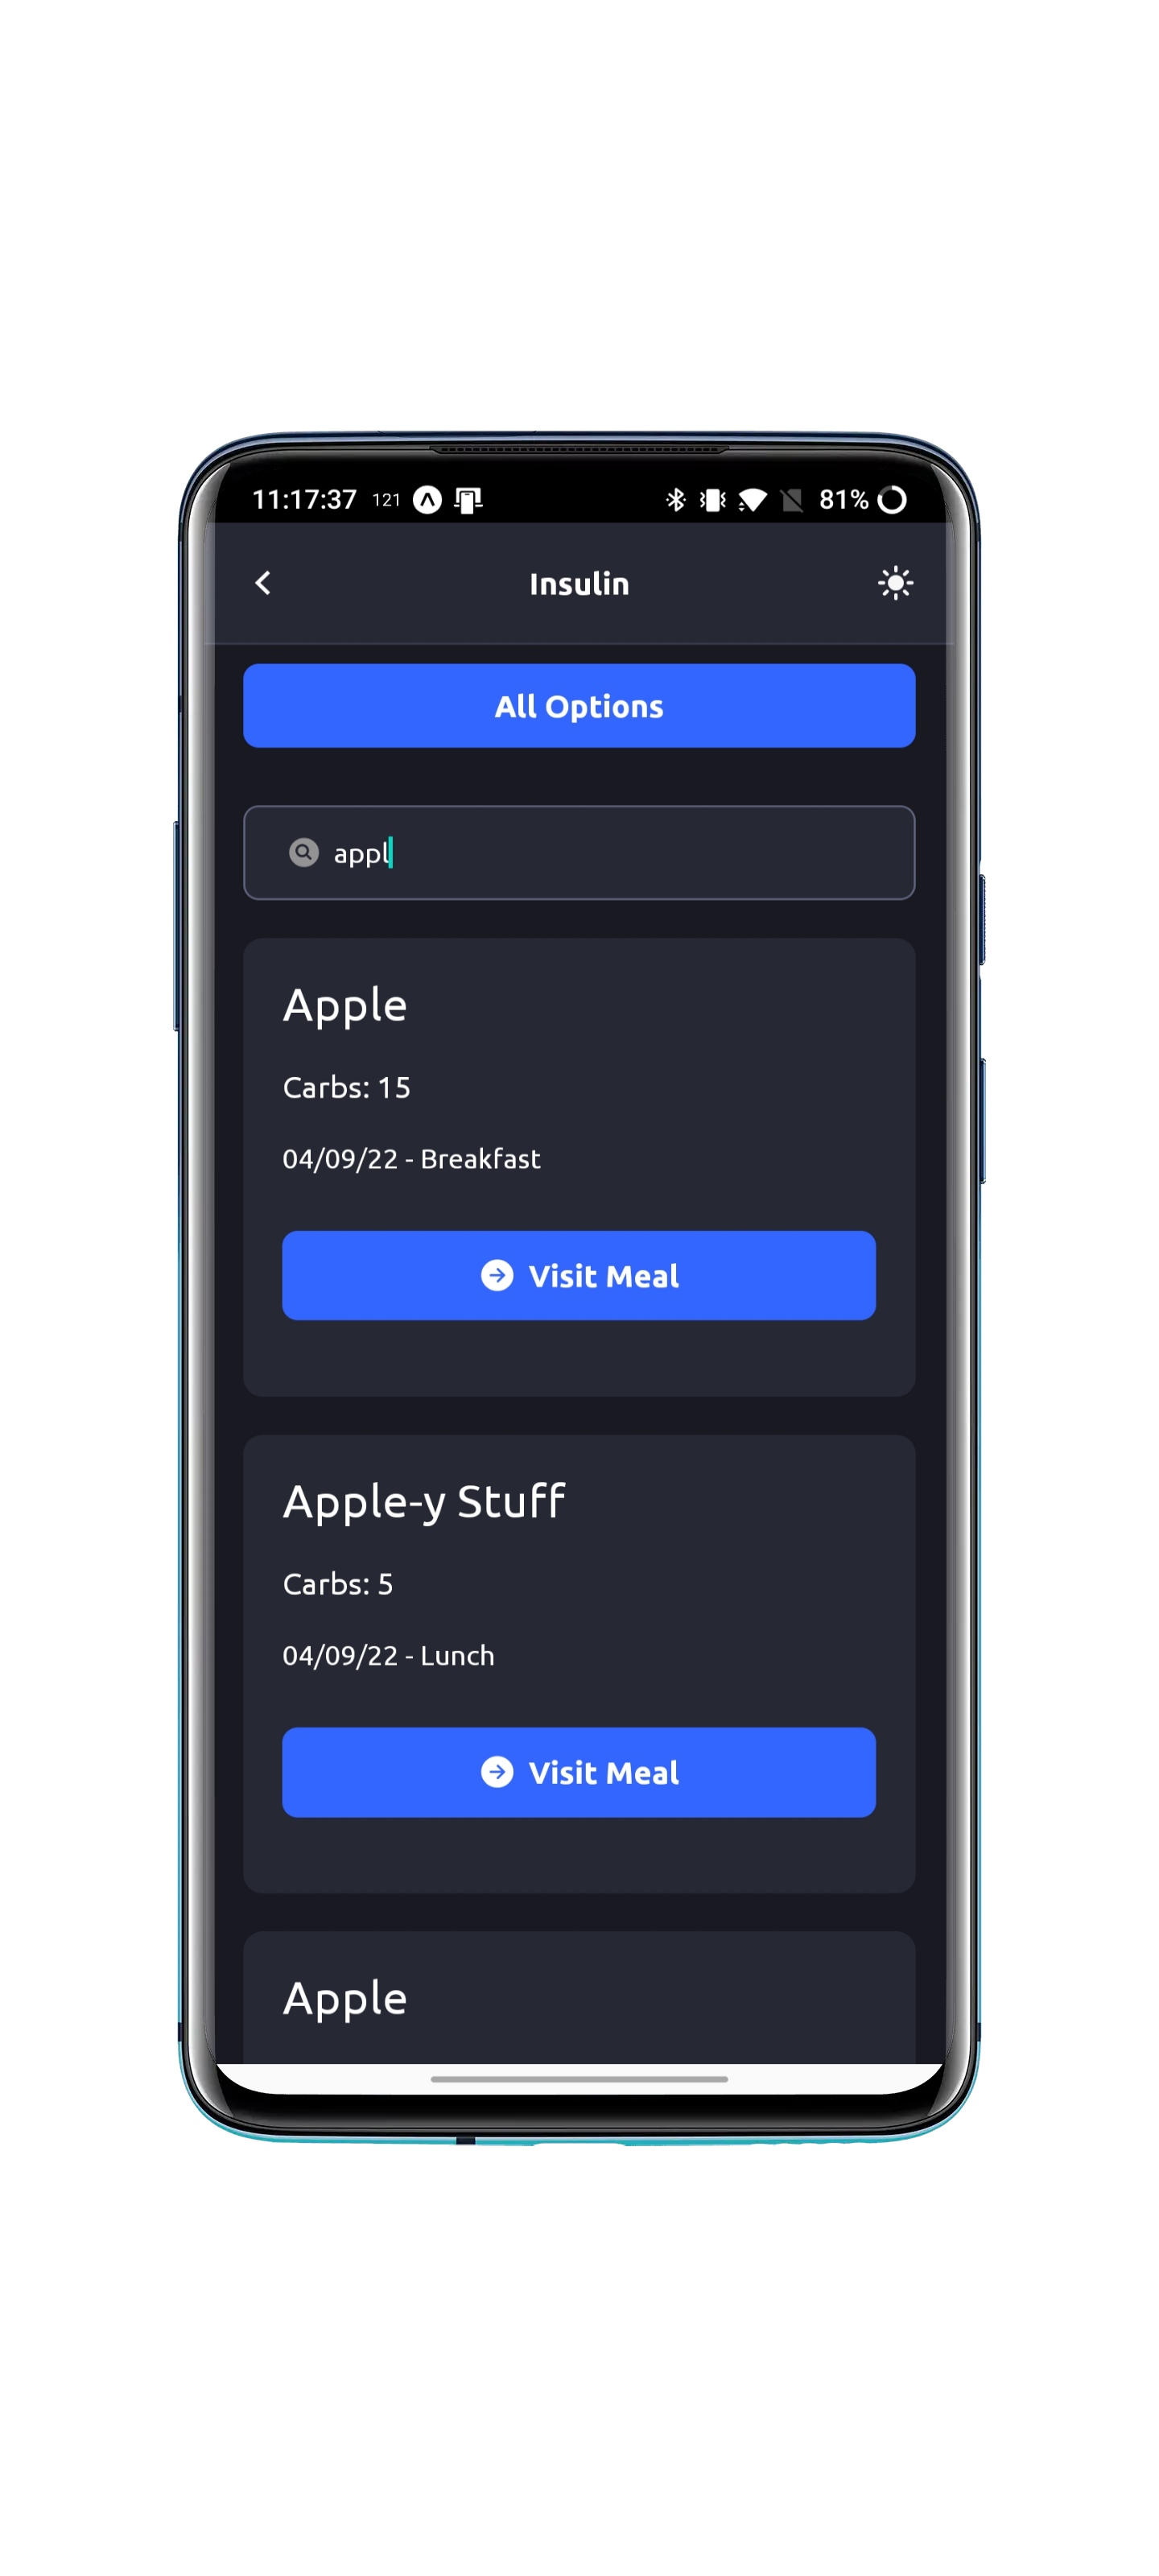
- Lets you search all ingredients ever used in a meal by name
- Shows the ingredient, carb, date, and meal
- Lets you go straight to that meal to see what else was used that day
-
Recipe Editor
- Similar to the insulin manager
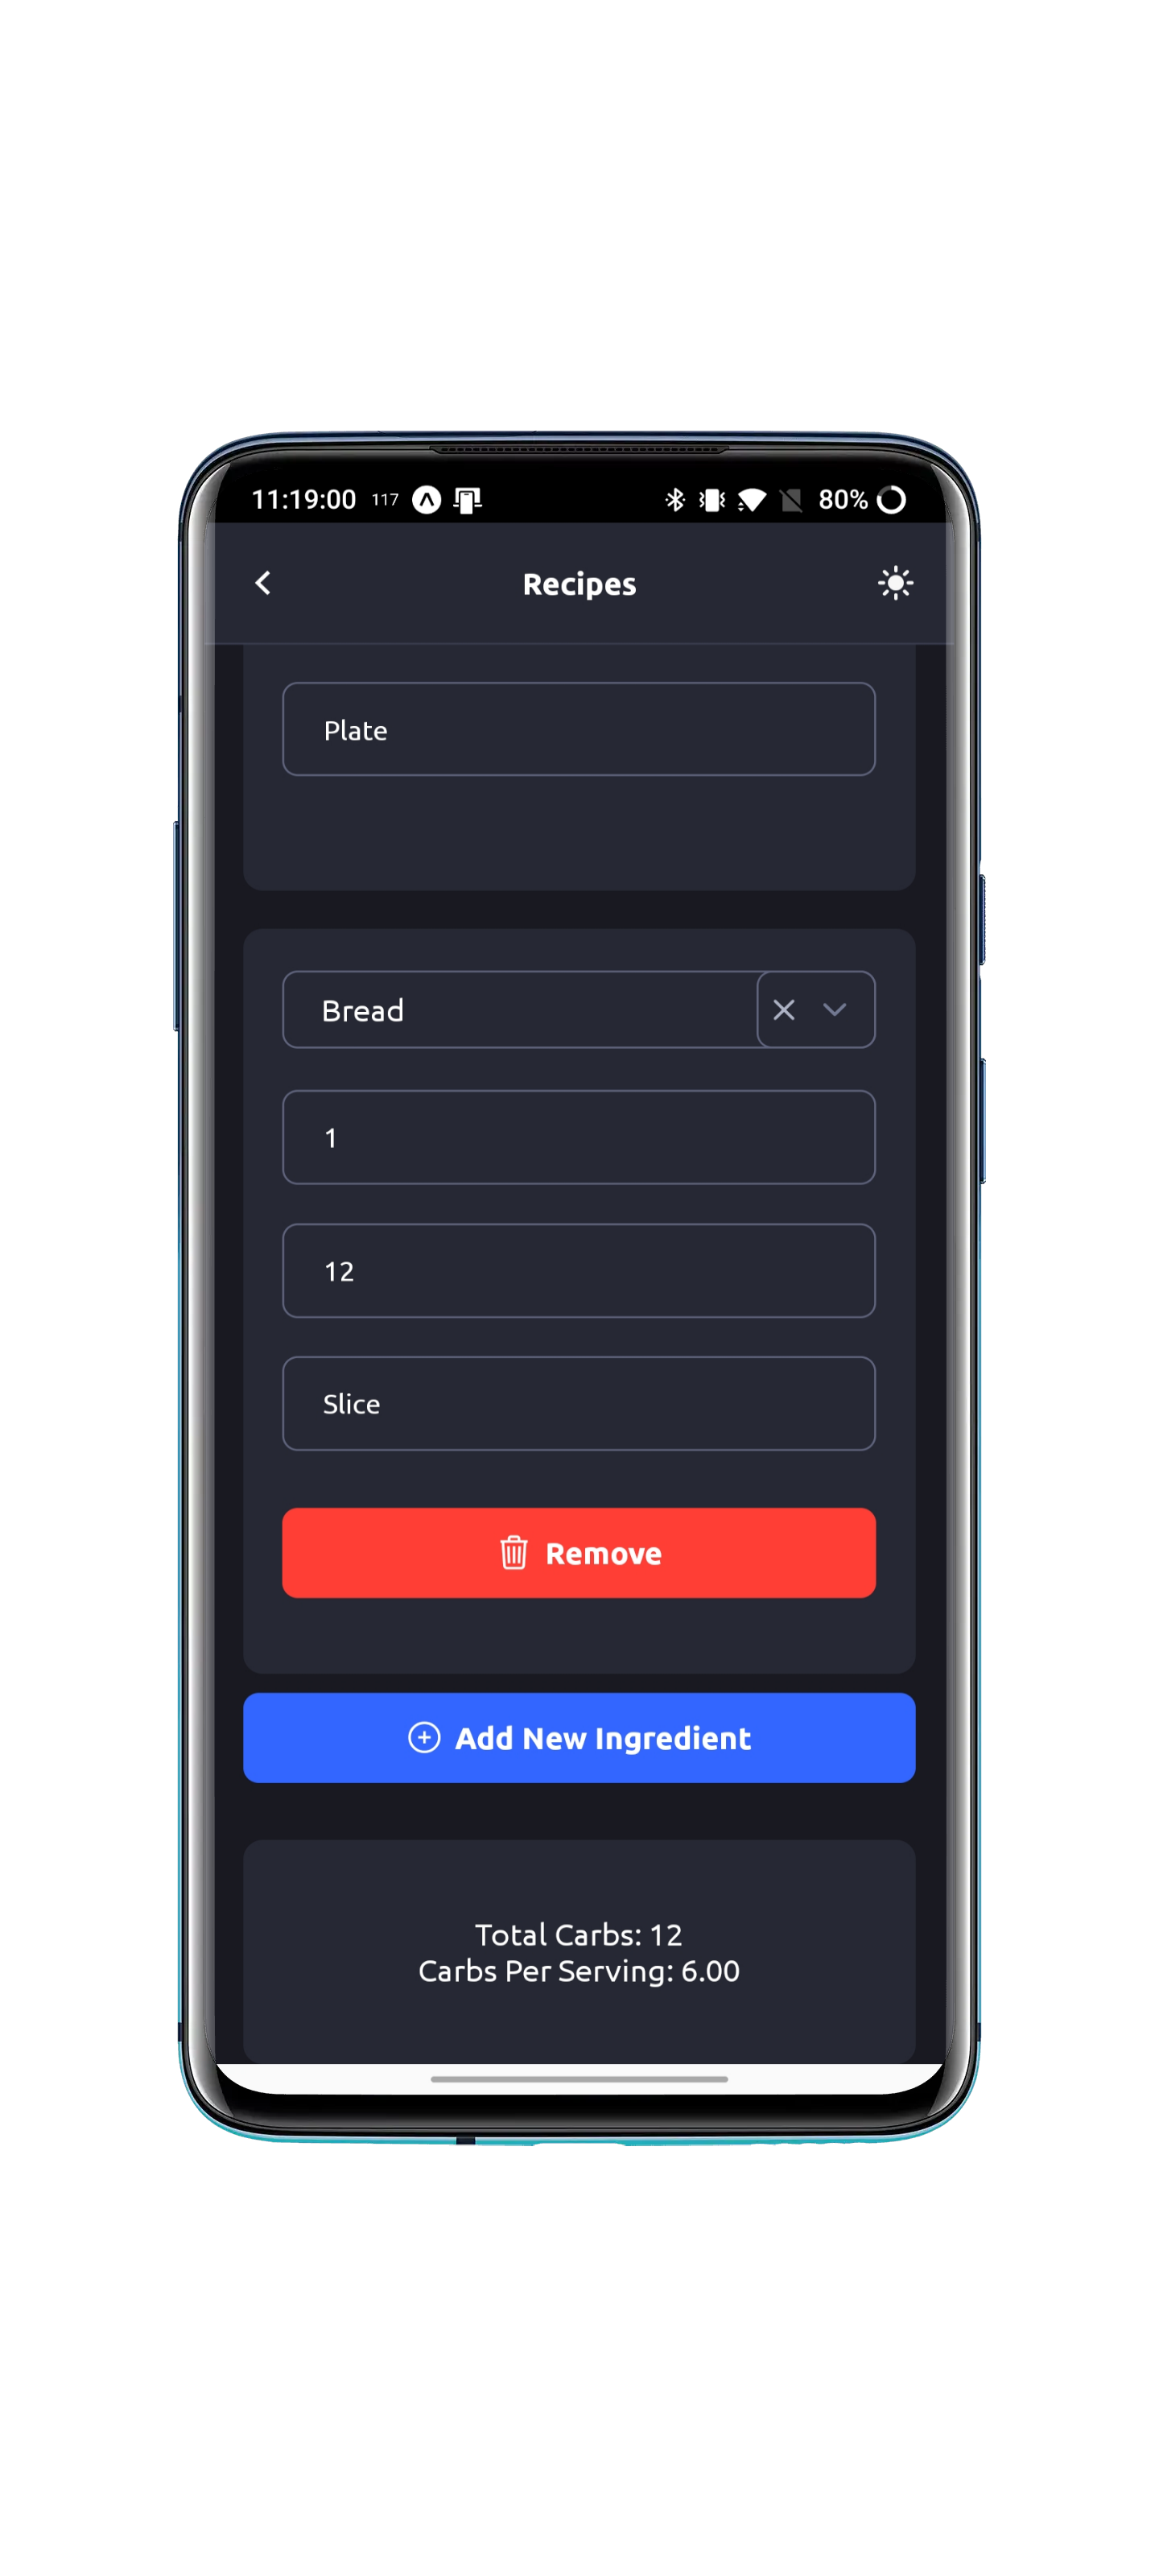
- Lets you change the total servings of the recipe to automatically update the carbs per serving
- Lets you autofill ingredients from the database
- Lets you change servings for an ingrdient to update its carbs automatically
- Shows total carbs and carbs per serving
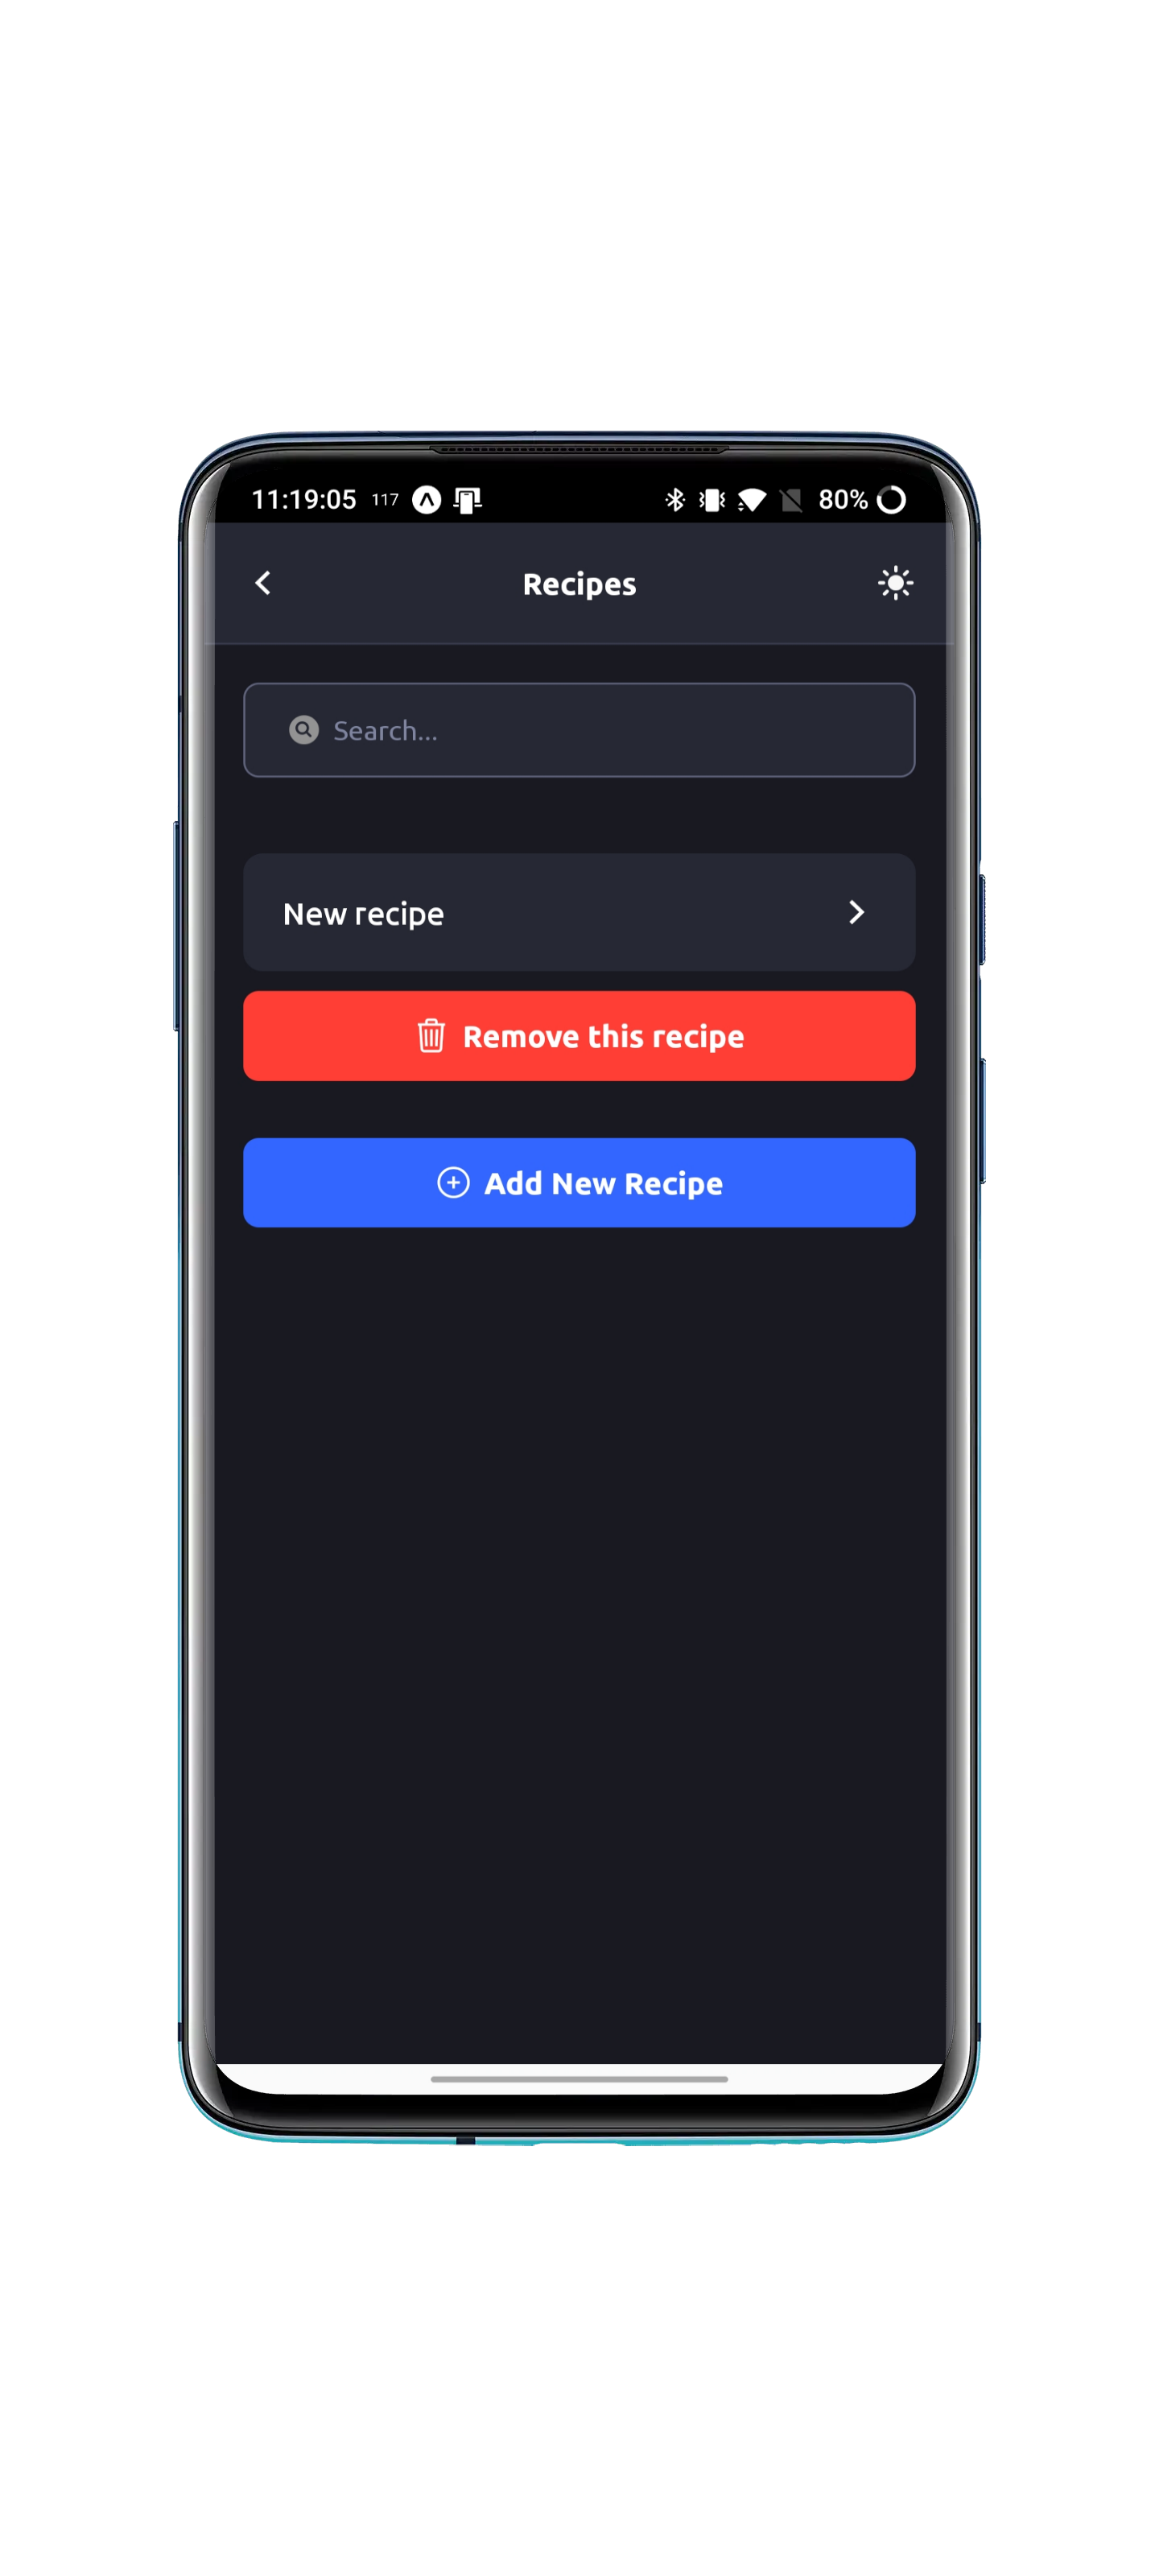
- Lets you search all recipes by name
-
Settings
- Lets you store general I:C and ISF preferences
- Lets you set I:C and ISF preferences for individual meals
- iOS: 10 or higher
- Android: 5 or higher
- An internet connection is required to load Dexcom data and all of the icons.
Install a Temporary Version (installation for iOS ONLY)
-
Download the Expo Go app for your device
-
Due to iOS limitations, you must sign-in first in the Expo Go app. You can skip this step if you are using Android
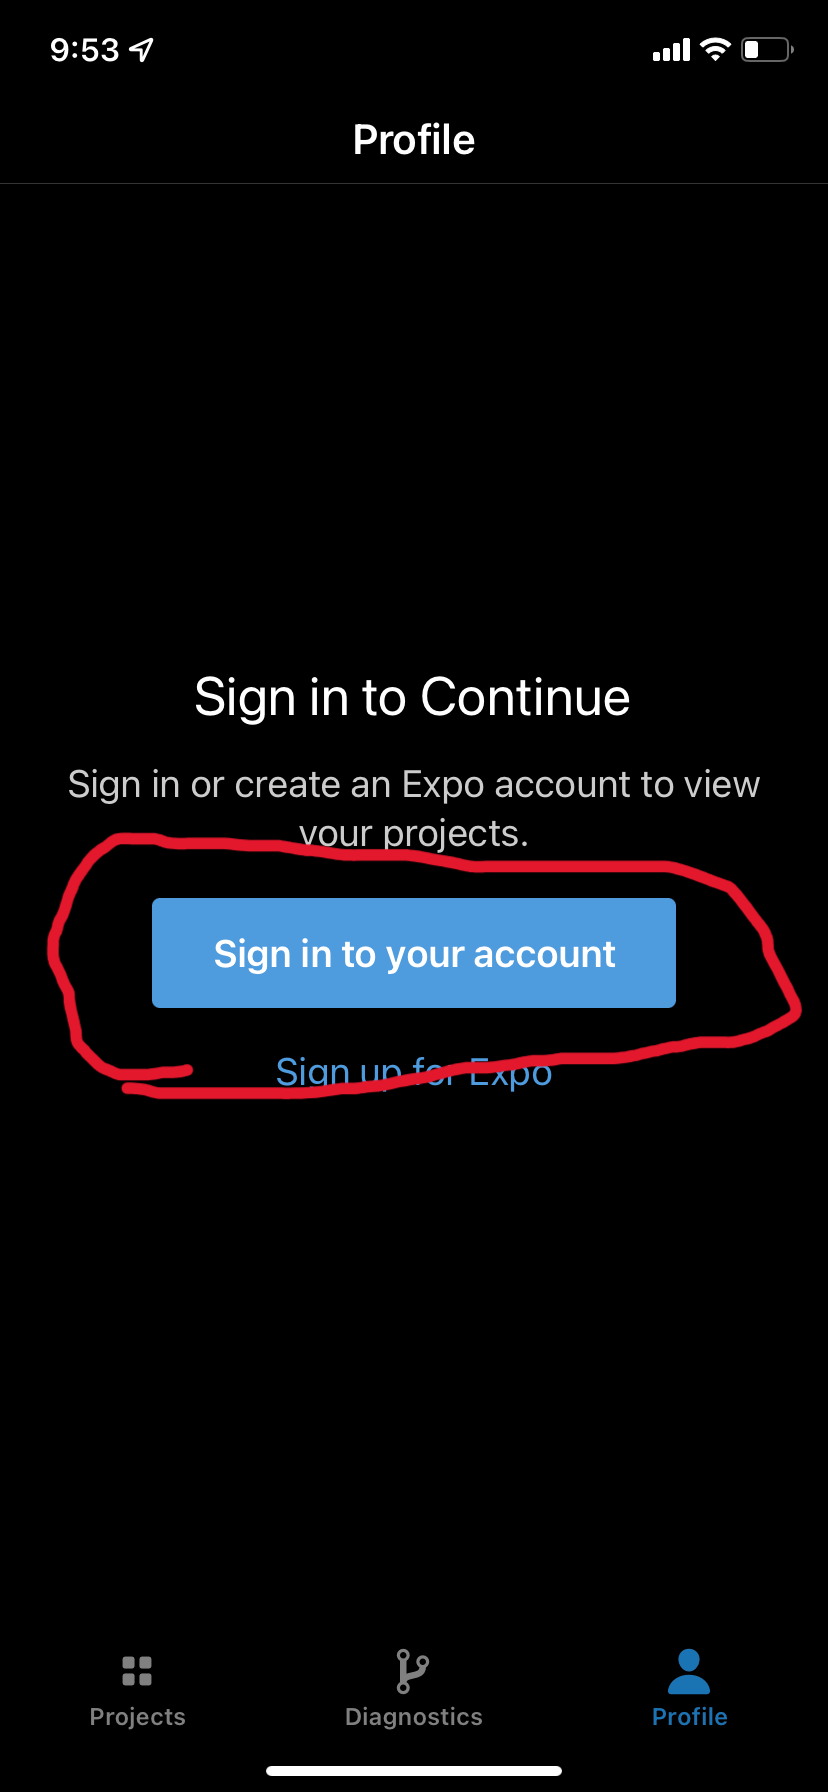
- On the bottom bar of the Expo Go app, click the person icon (The
Profiletab)
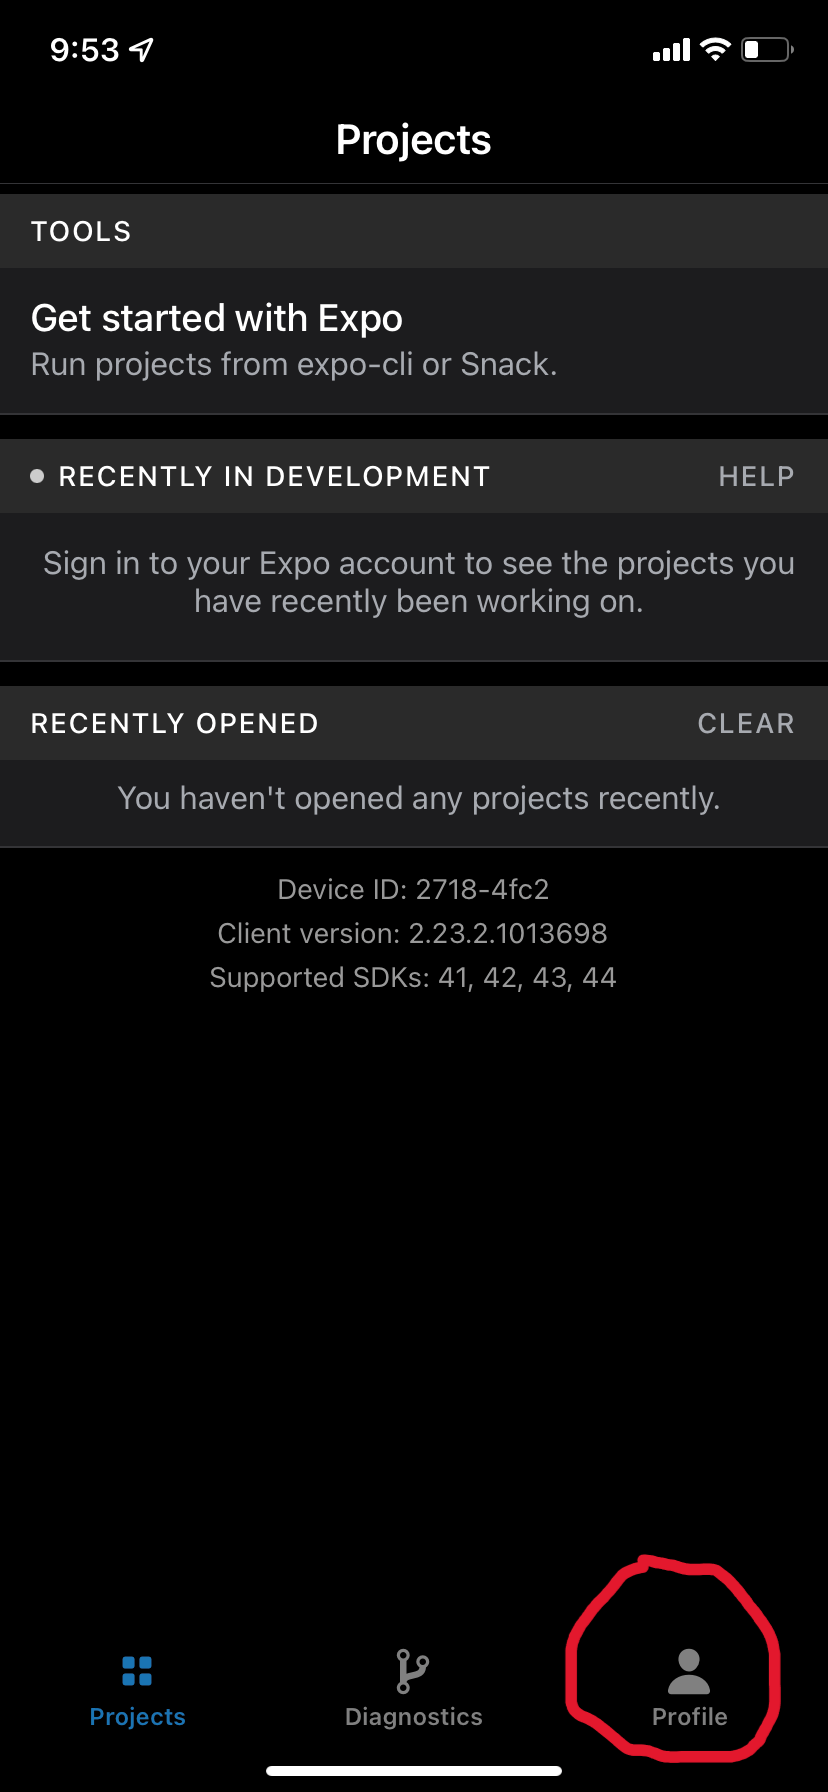
- Click Sign in to your account
- Username:
t1d_test - Password:
password
- Username:
- On the bottom bar of the Expo Go app, click the person icon (The
-
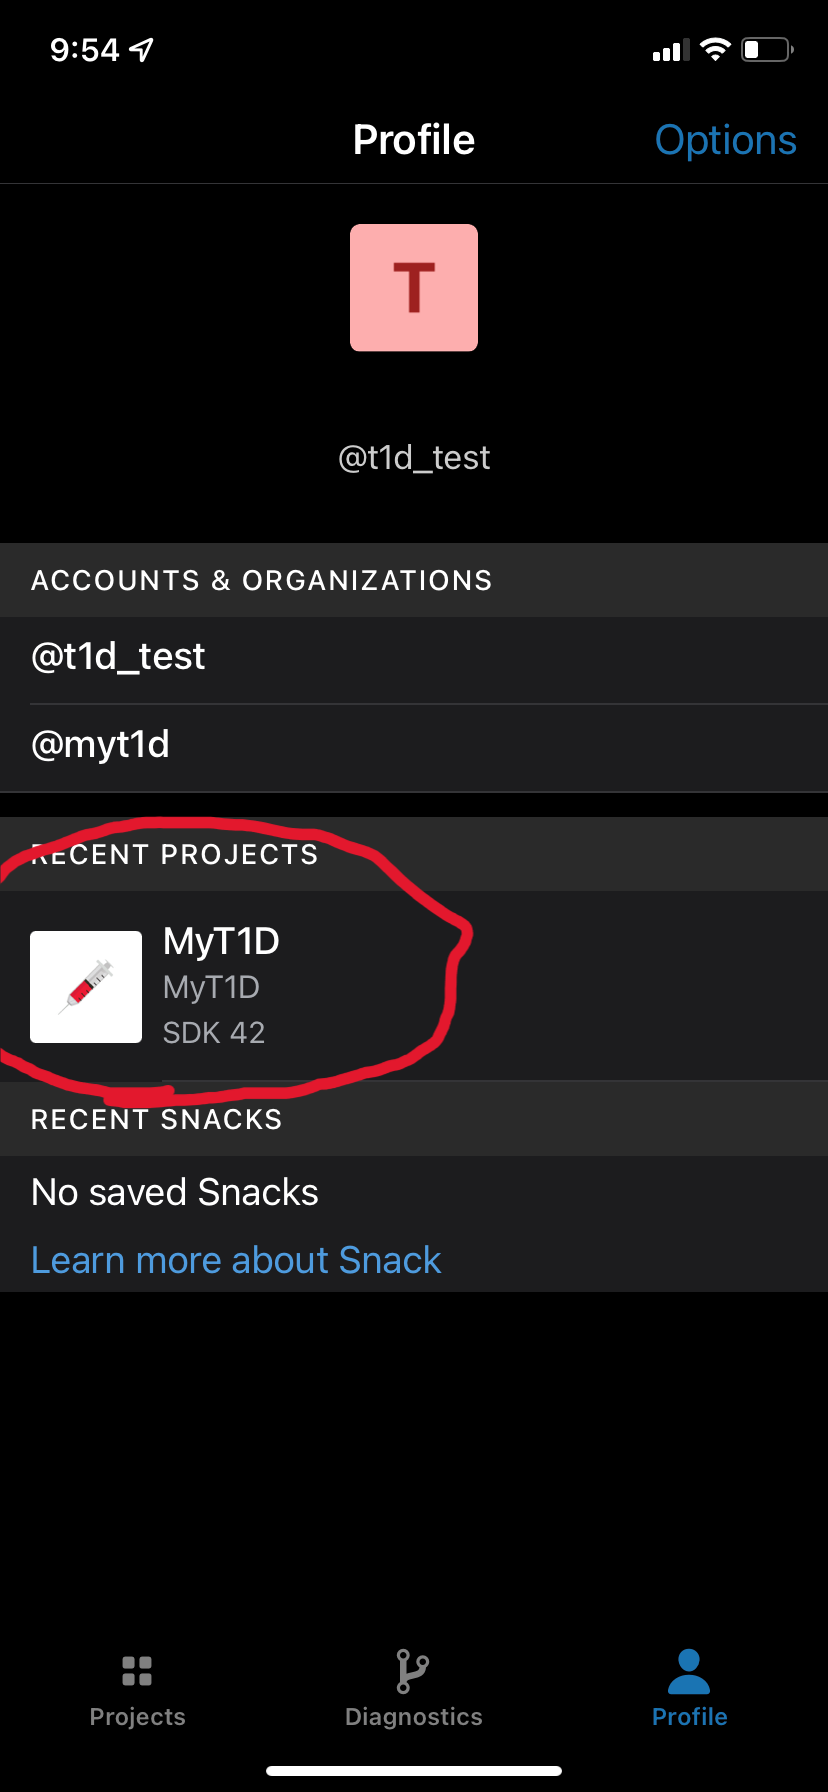
iOS: Click MyT1D shown in the Profile tab

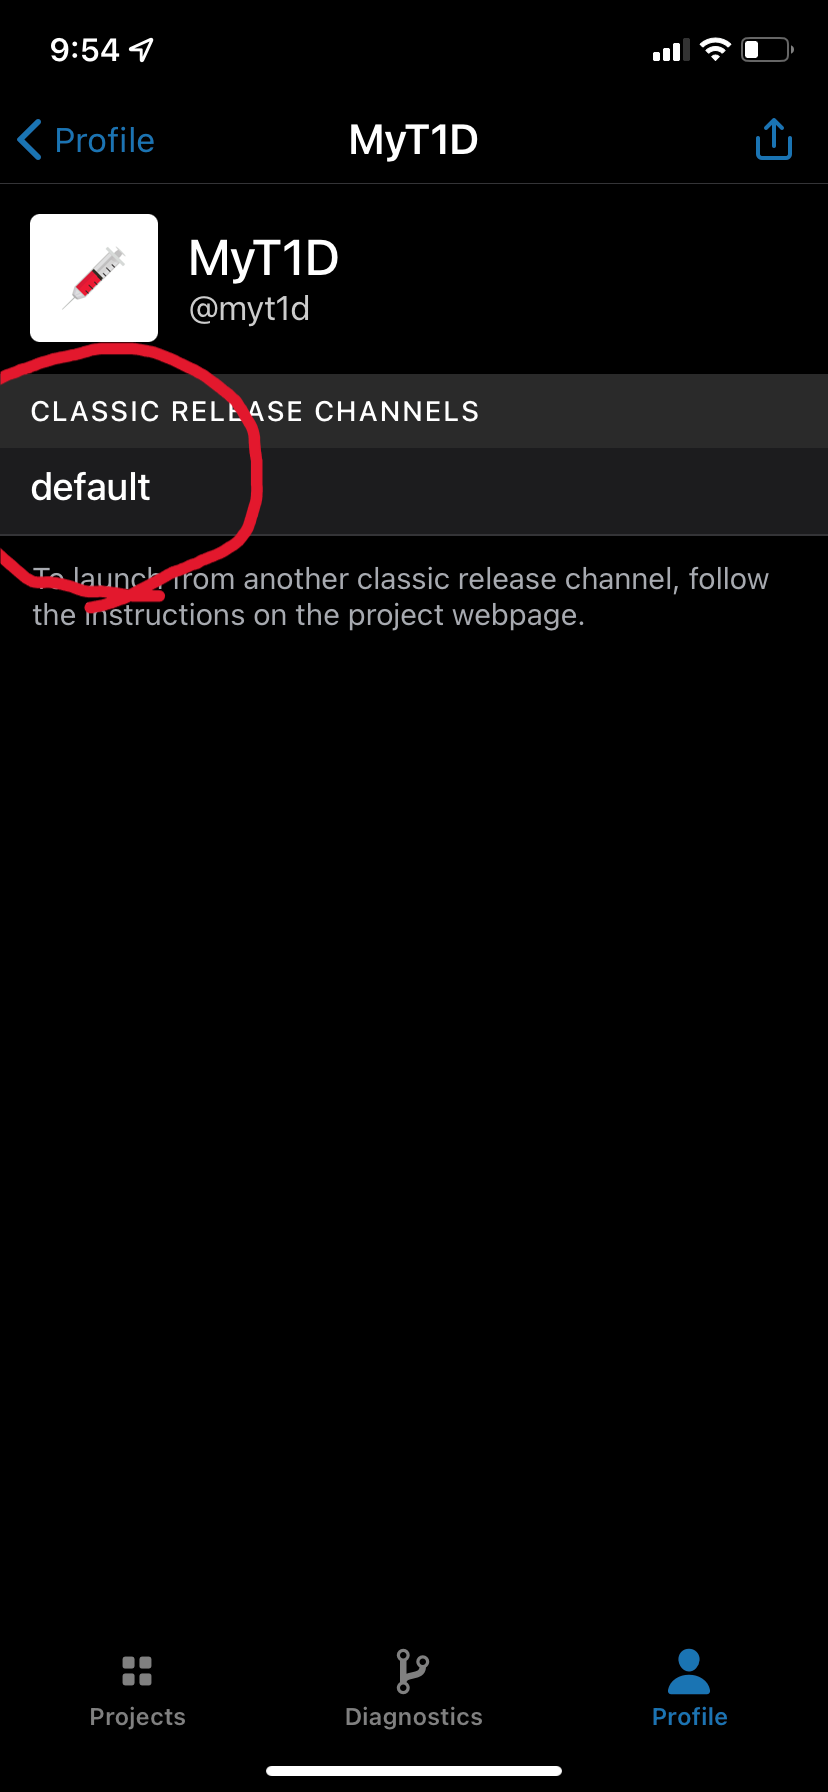
- iOS: Click default
Install a Temporary Version (installation for Android ONLY)
-
Download the Expo Go app for your device
-
Click Scan QR Code inside of the Expo Go app
-
Scan the QR code found here (https://expo.dev/@myt1d/MyT1D)

When you open the app for the first time, you will be greeted with the login screen.
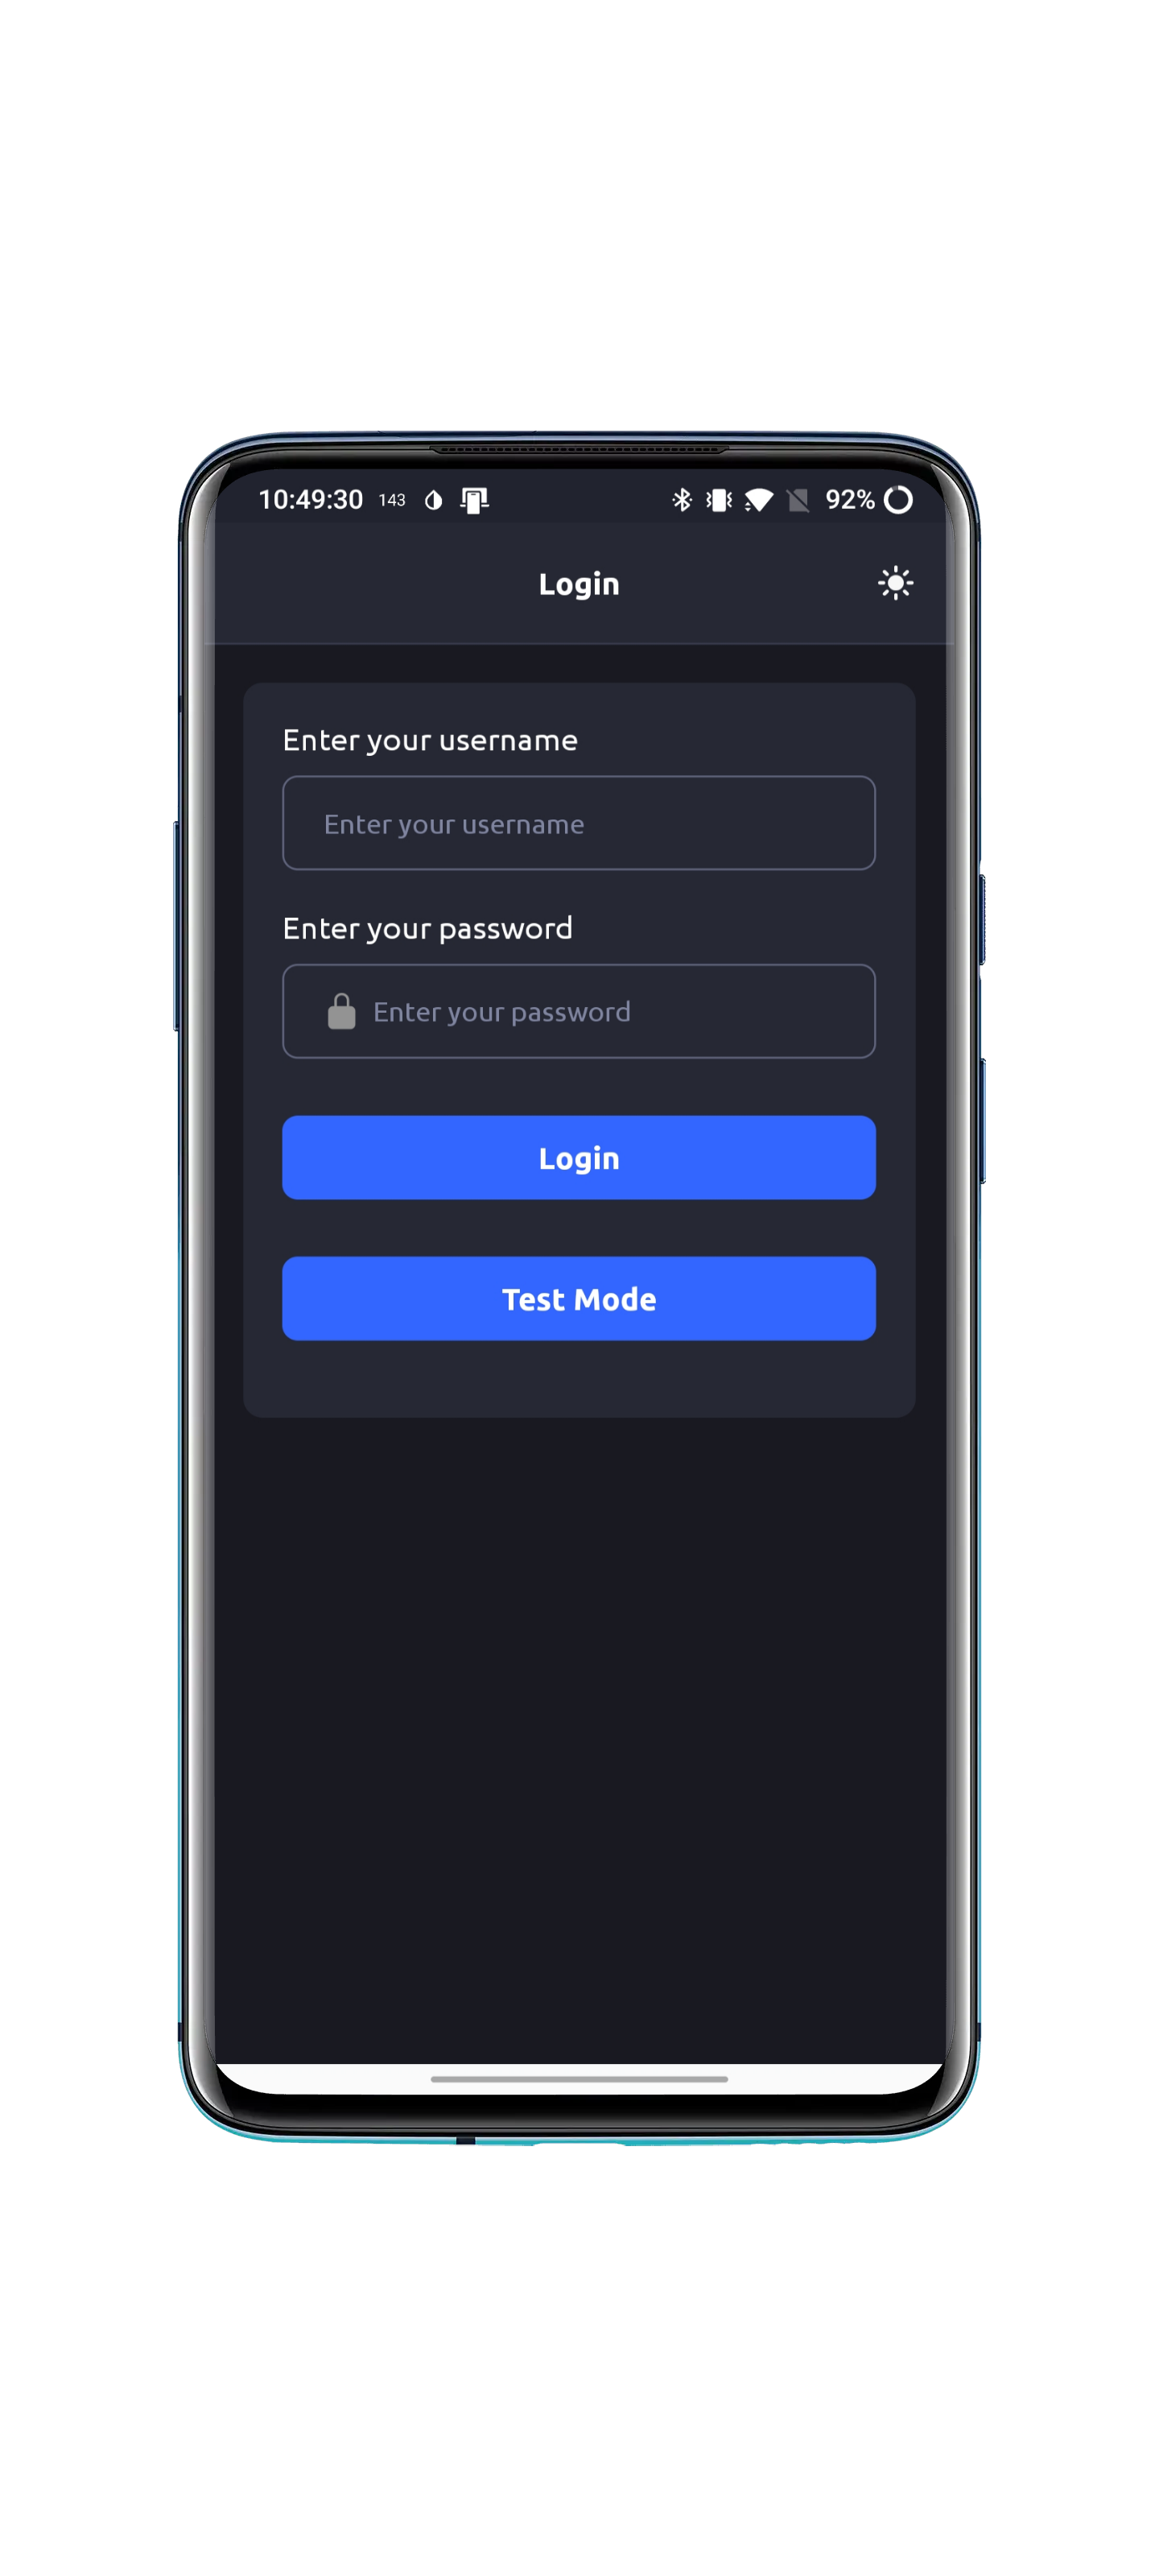
Since the Dexcom login requires a real account to fetch blood sugar values, skip the sign-in and click Test Mode.
The test mode will allow you to use the app without having to sign in to your Dexcom account by generating random blood sugar values.
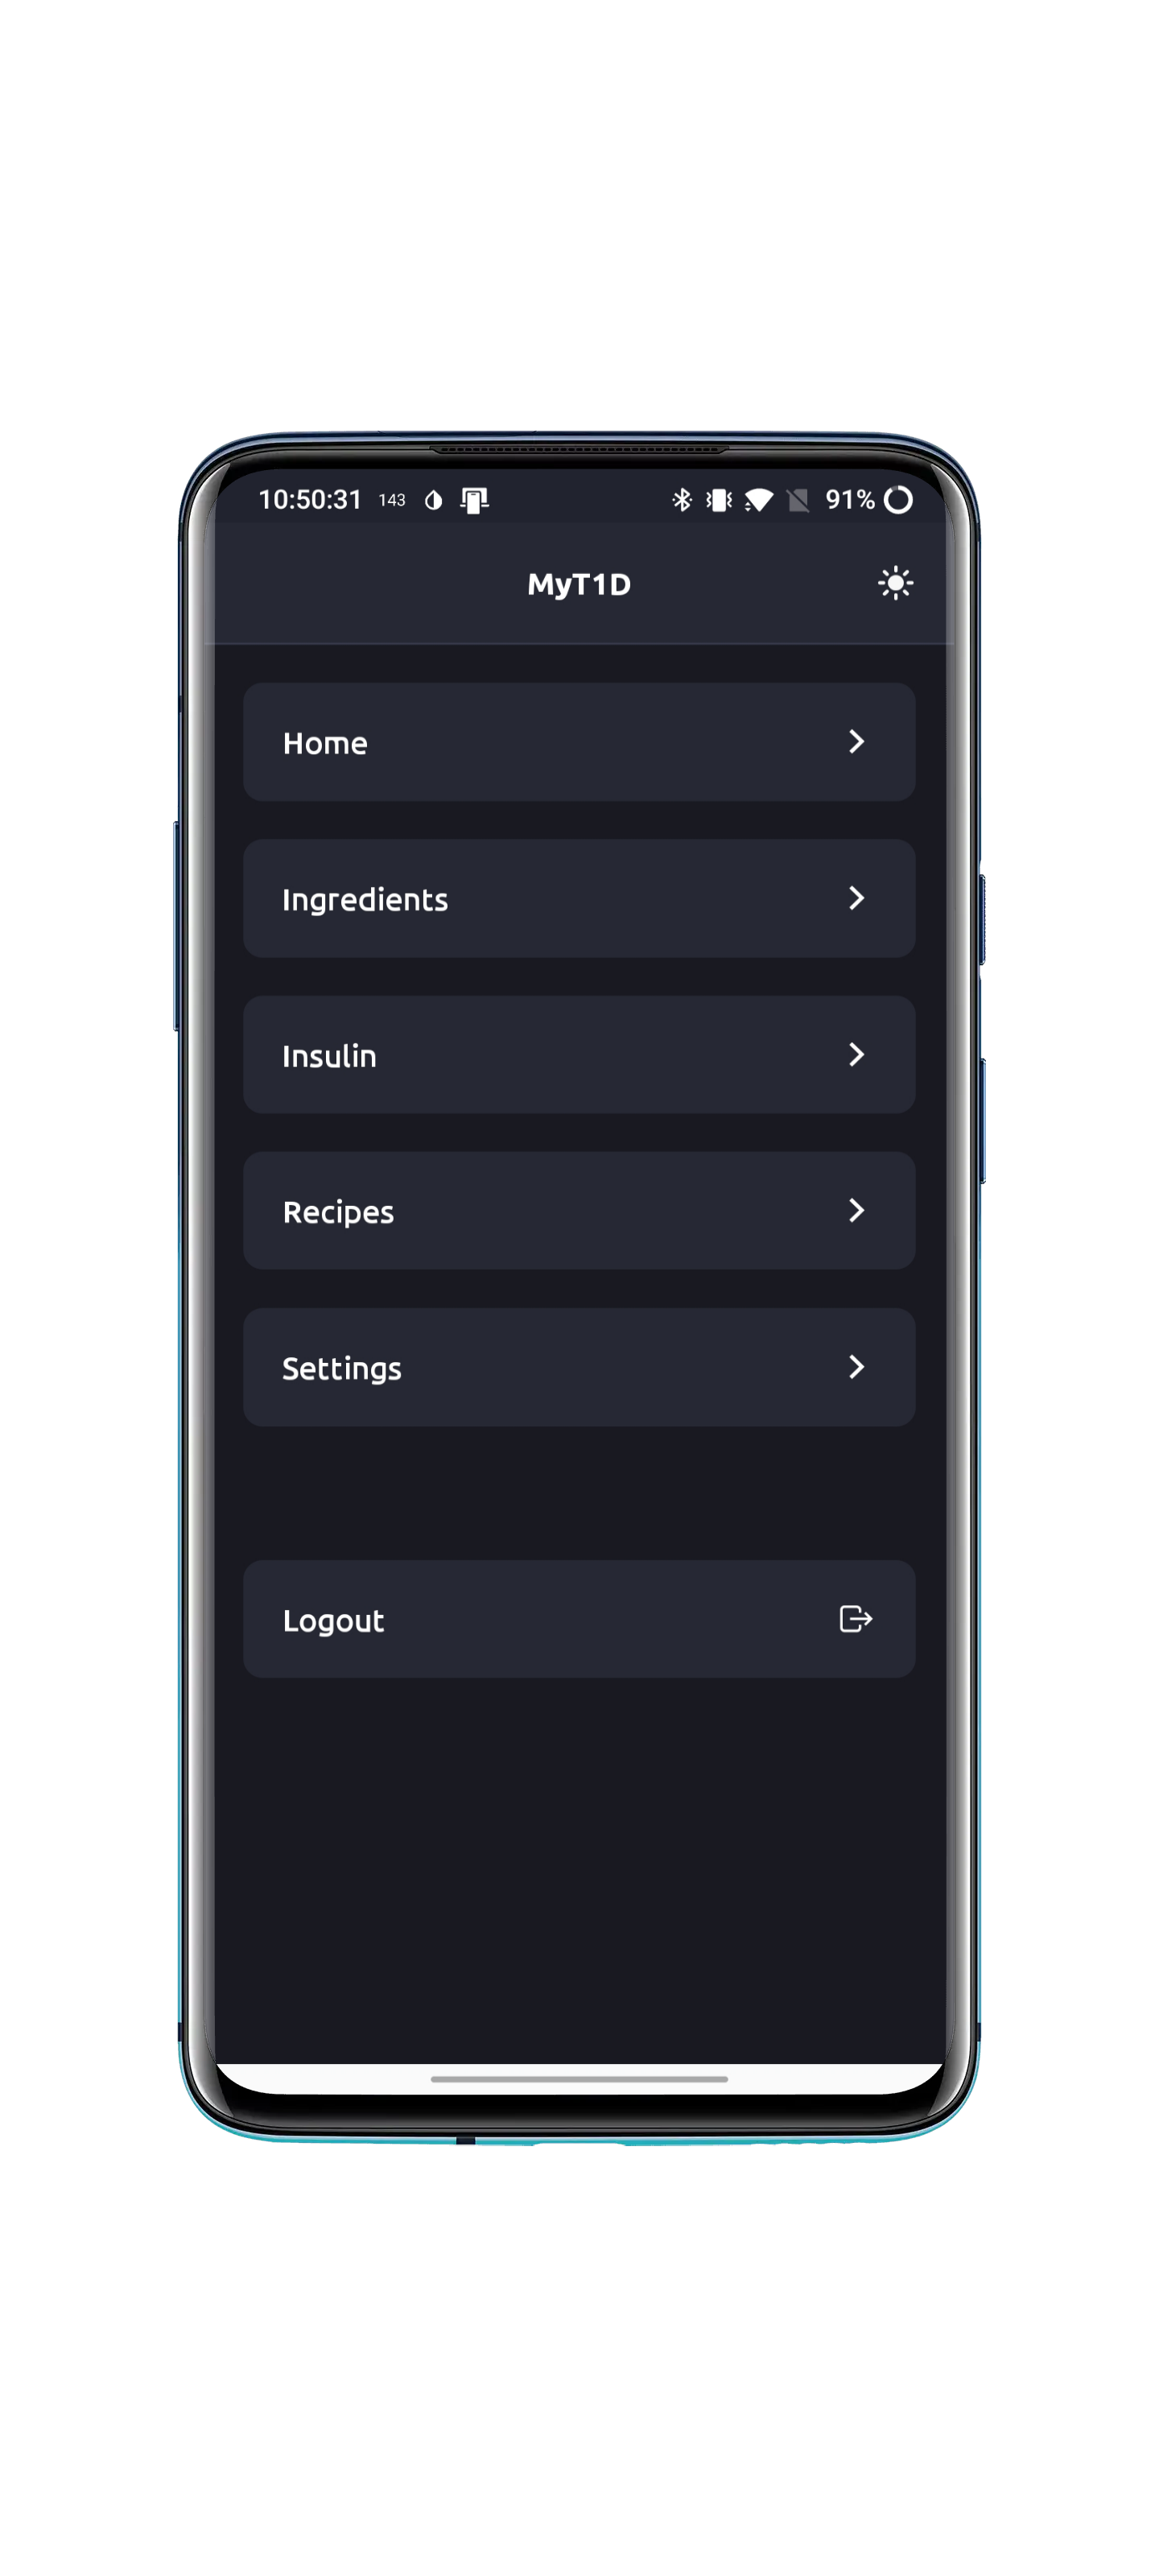
To navigate throughout the app, use the following screen to move to a new screen. If you ever need to come back to the navigation screen, just click the back button at the top left corner of the screen.
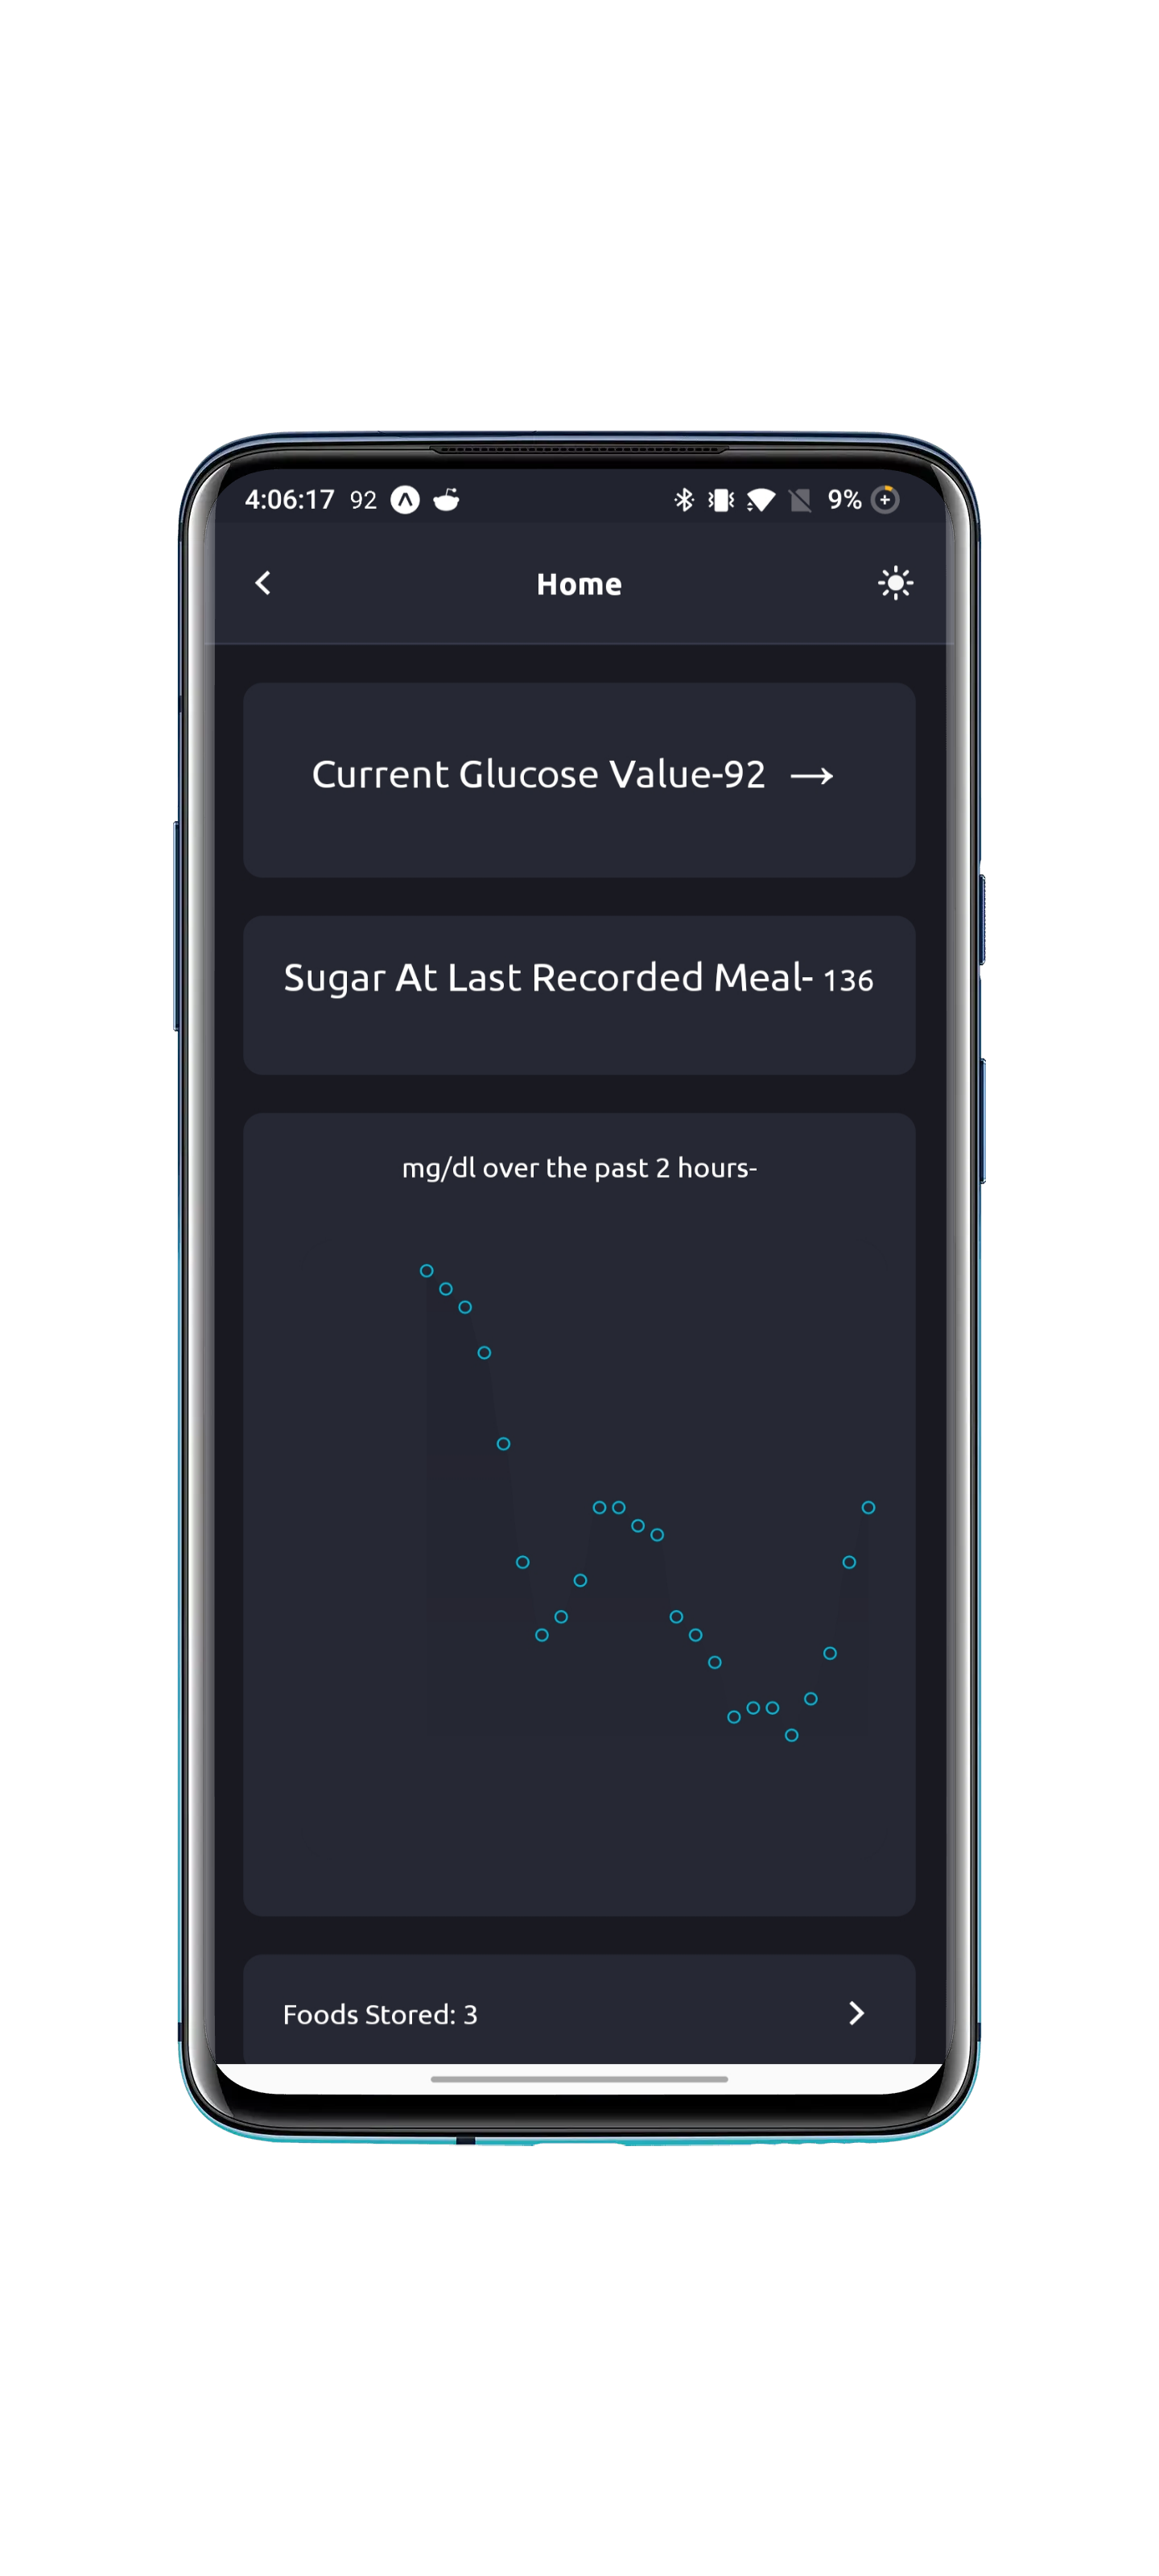
On the home screen, you will be shown your current sugar value, the sugar value recorded at the last meal, and a graph of your blood sugar values over time.
You will also be shown the amount of ingredients you have stored and the amount of recipes you have stored. You can directly click on these boxes to go to the ingredients screen and recipes screen.
NOTE: If you used Test Mode, the graph will only be a ranodm jumble of dots. The following screenshot shows what it may look like with a real account.
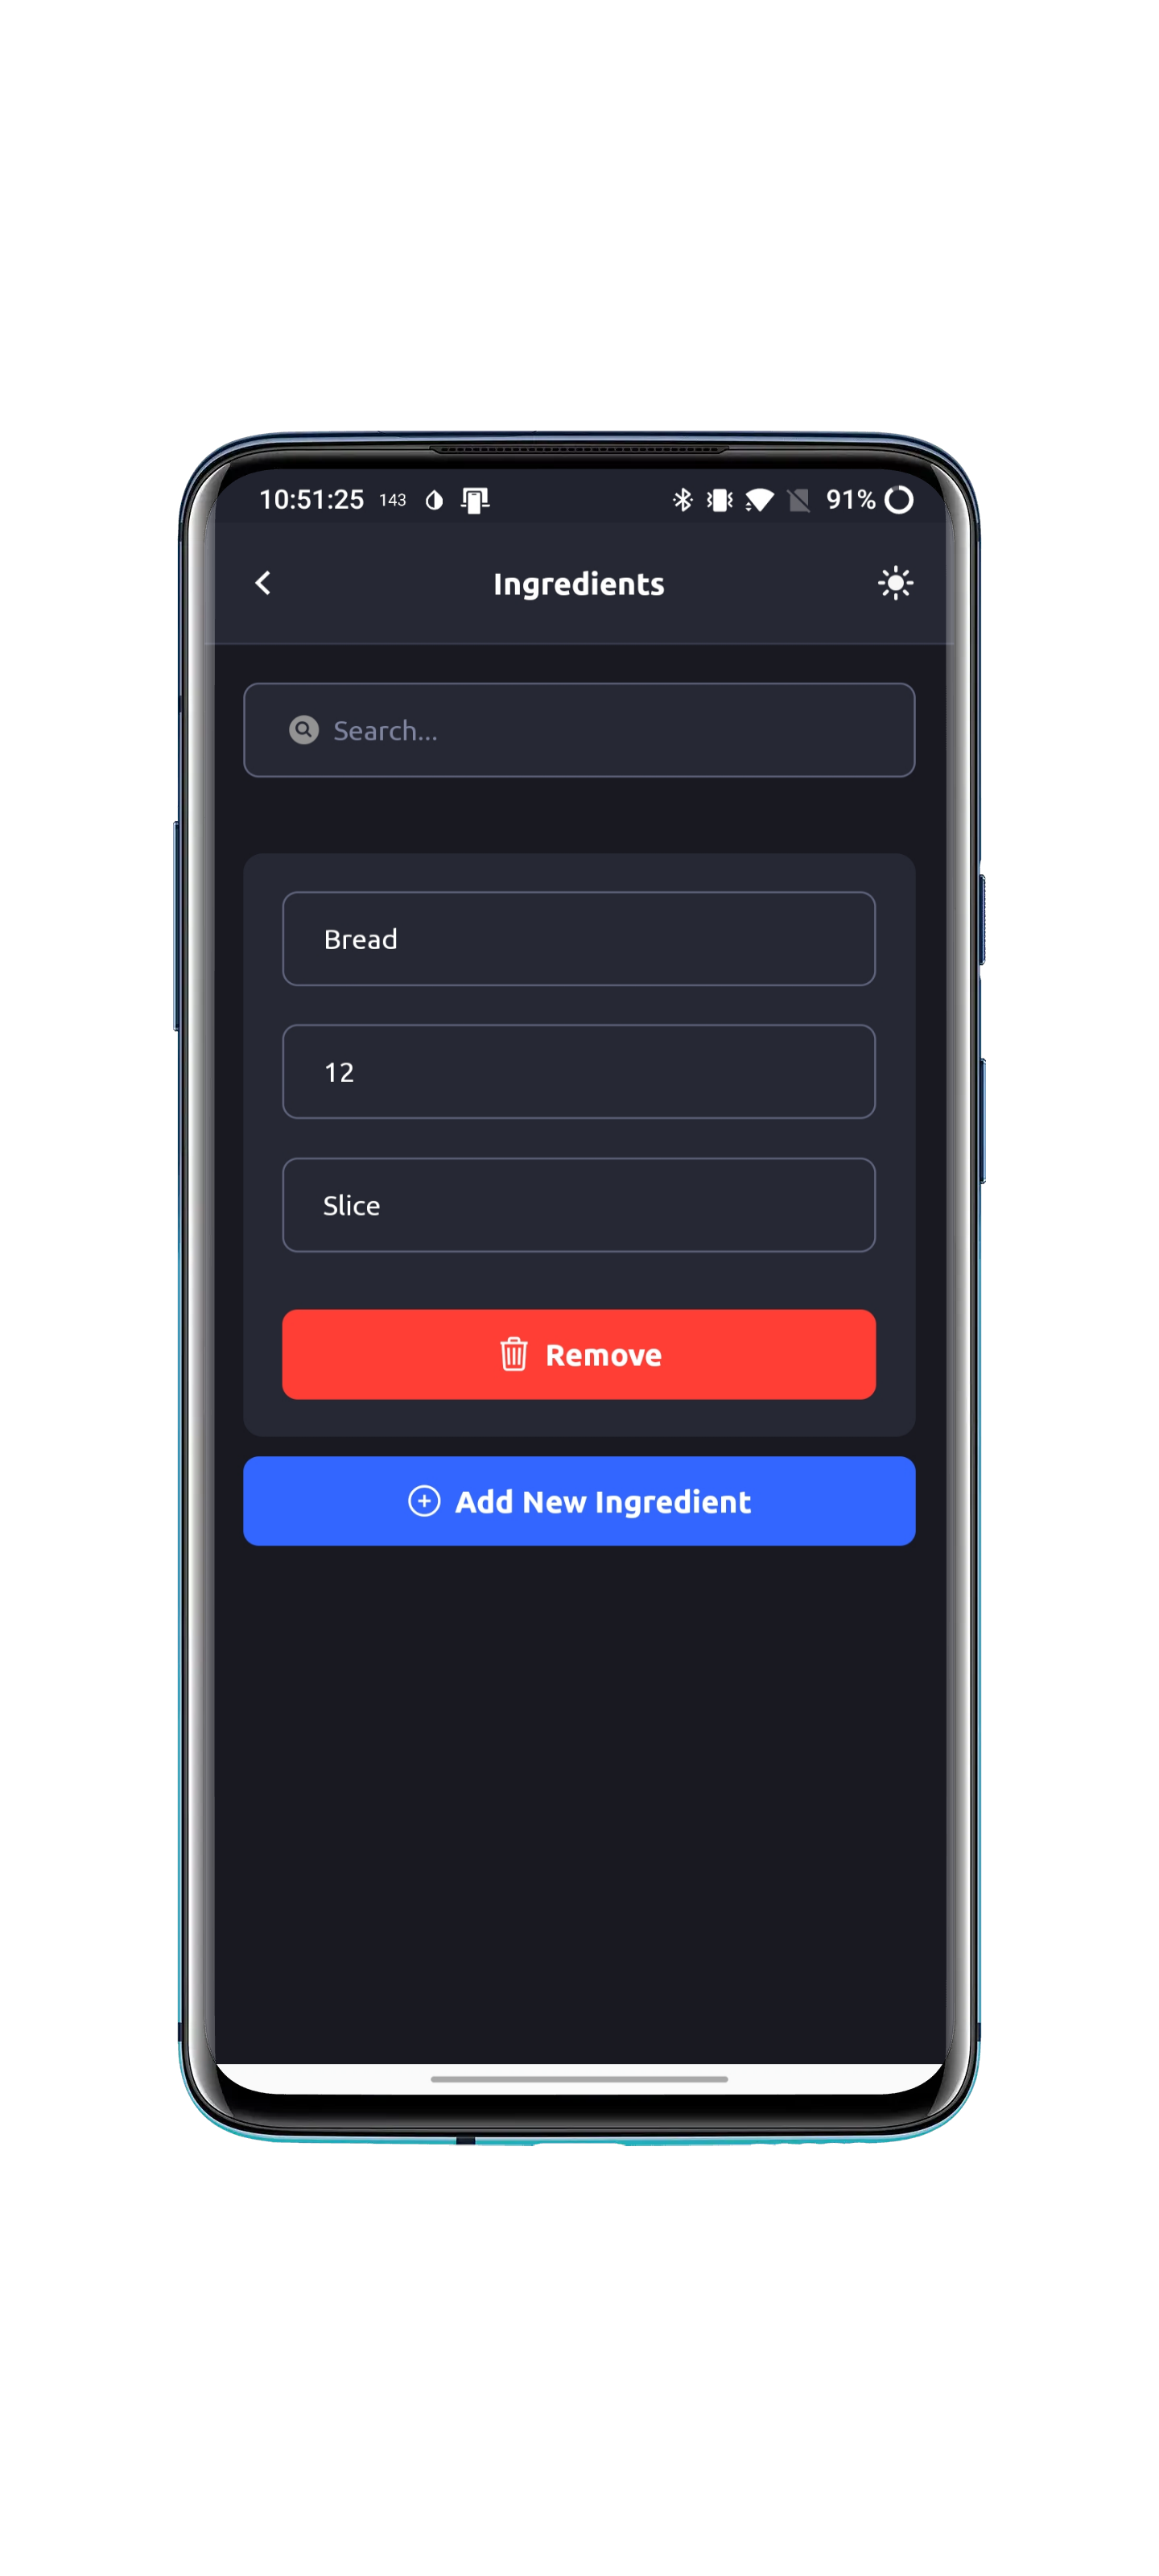
The ingredient editor lets you set an ingredients name, carbs, and unit. Here, you can add, edit, or delete an ingredient.
Everything on this screen is automatically saved to the database.
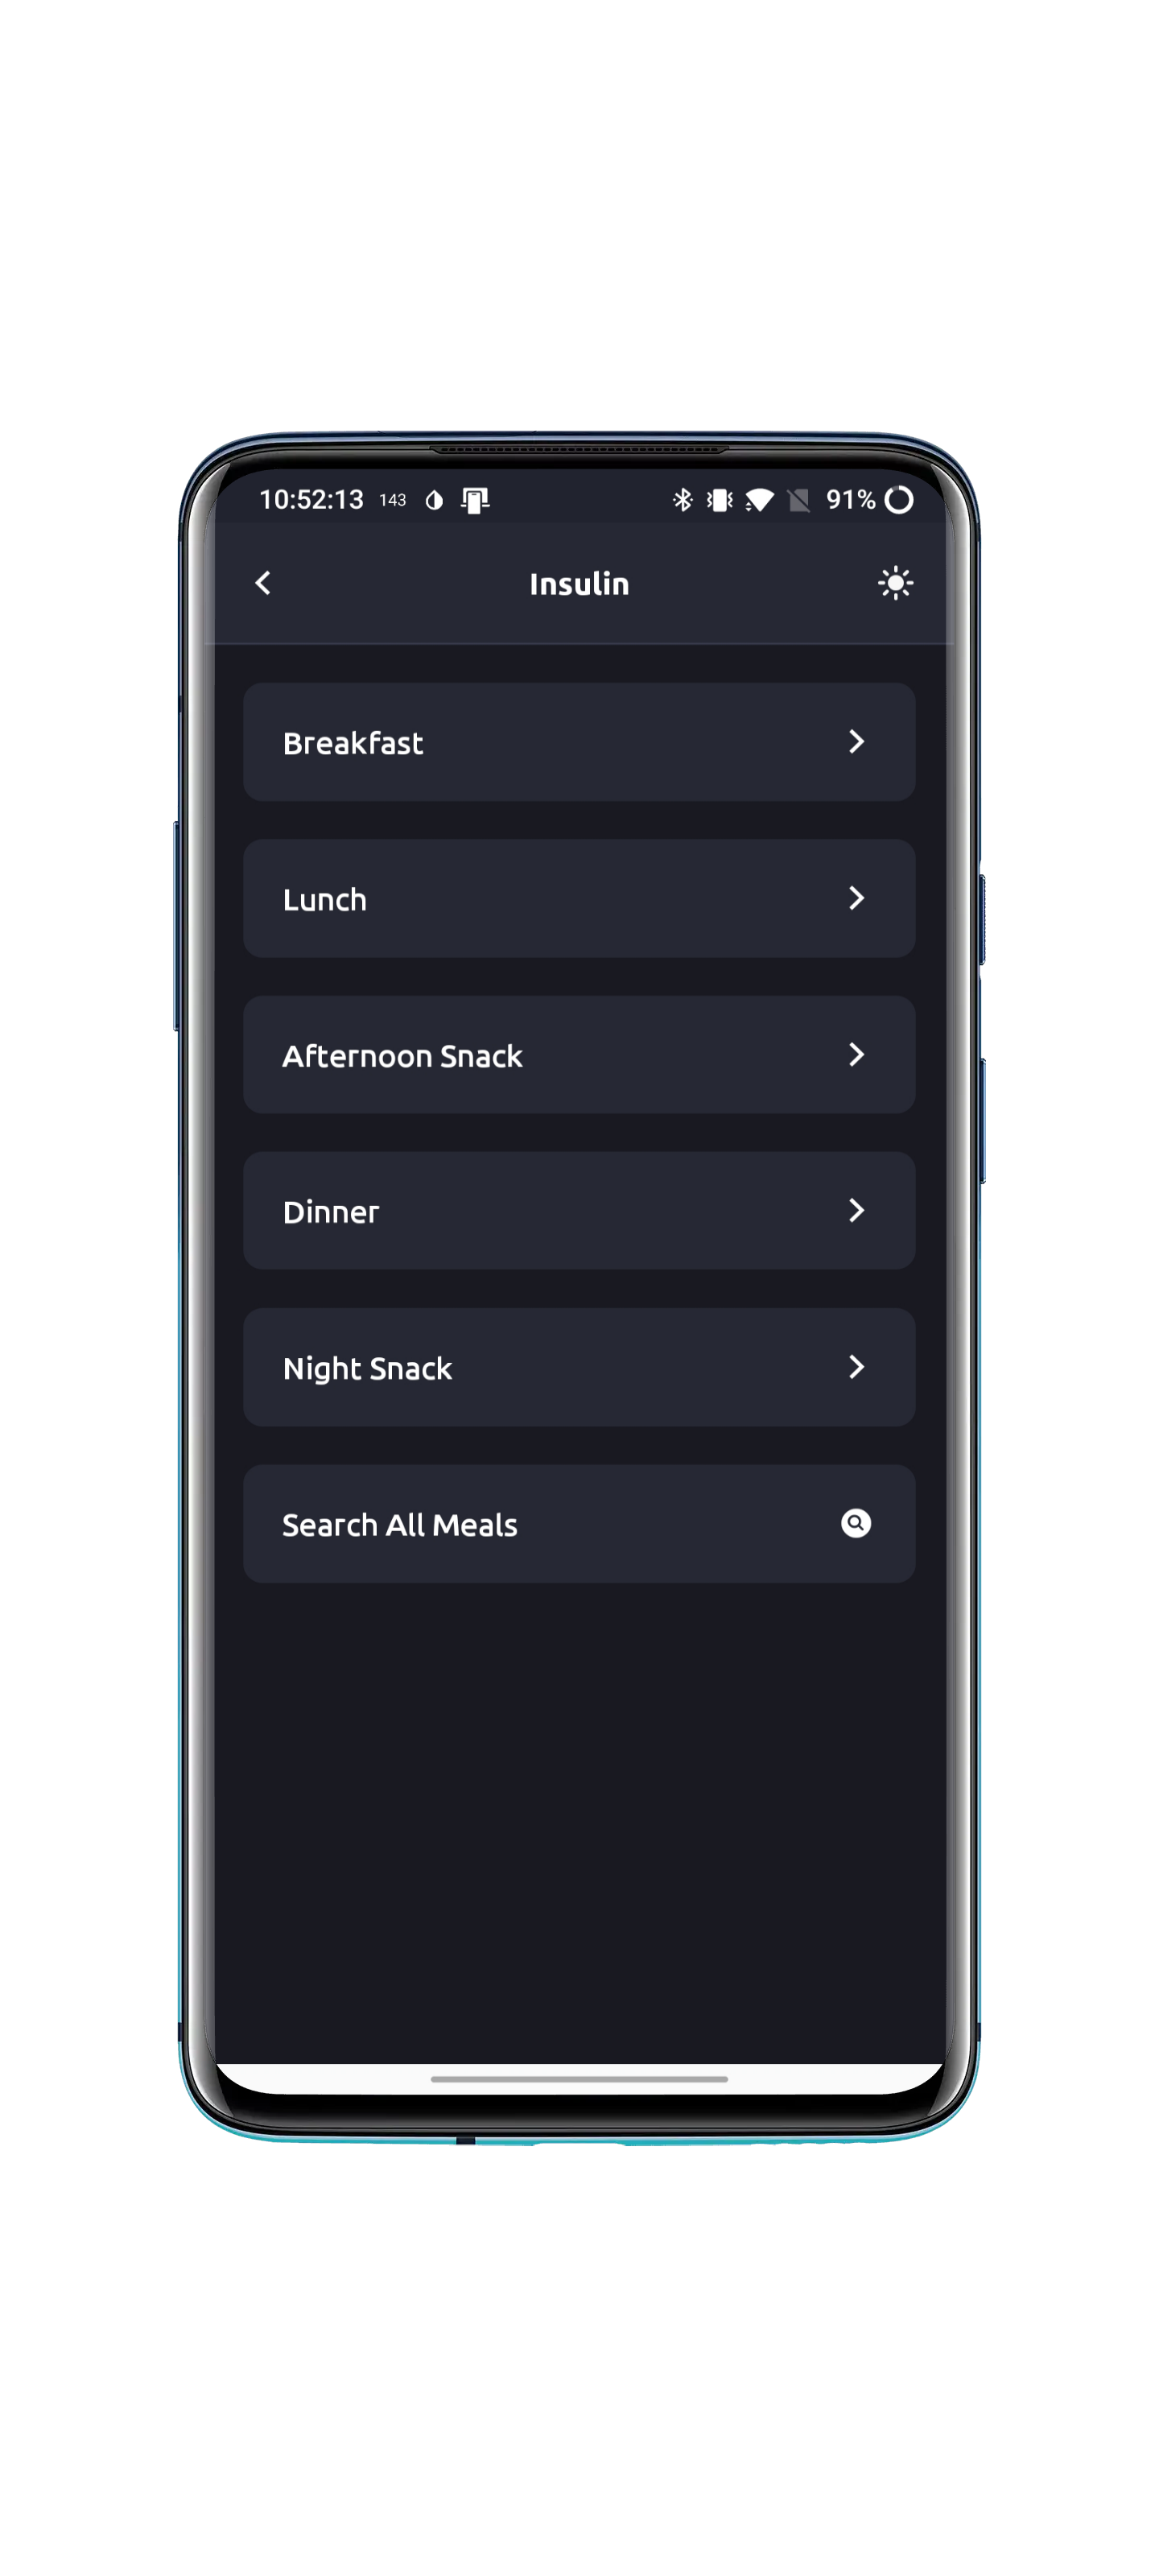
Enter the insulin manager by first selecting a meal you would like to fill in. By default, today's date is selected.
If you would like to change the date, click the date button on the top. Click All Meals to go back.
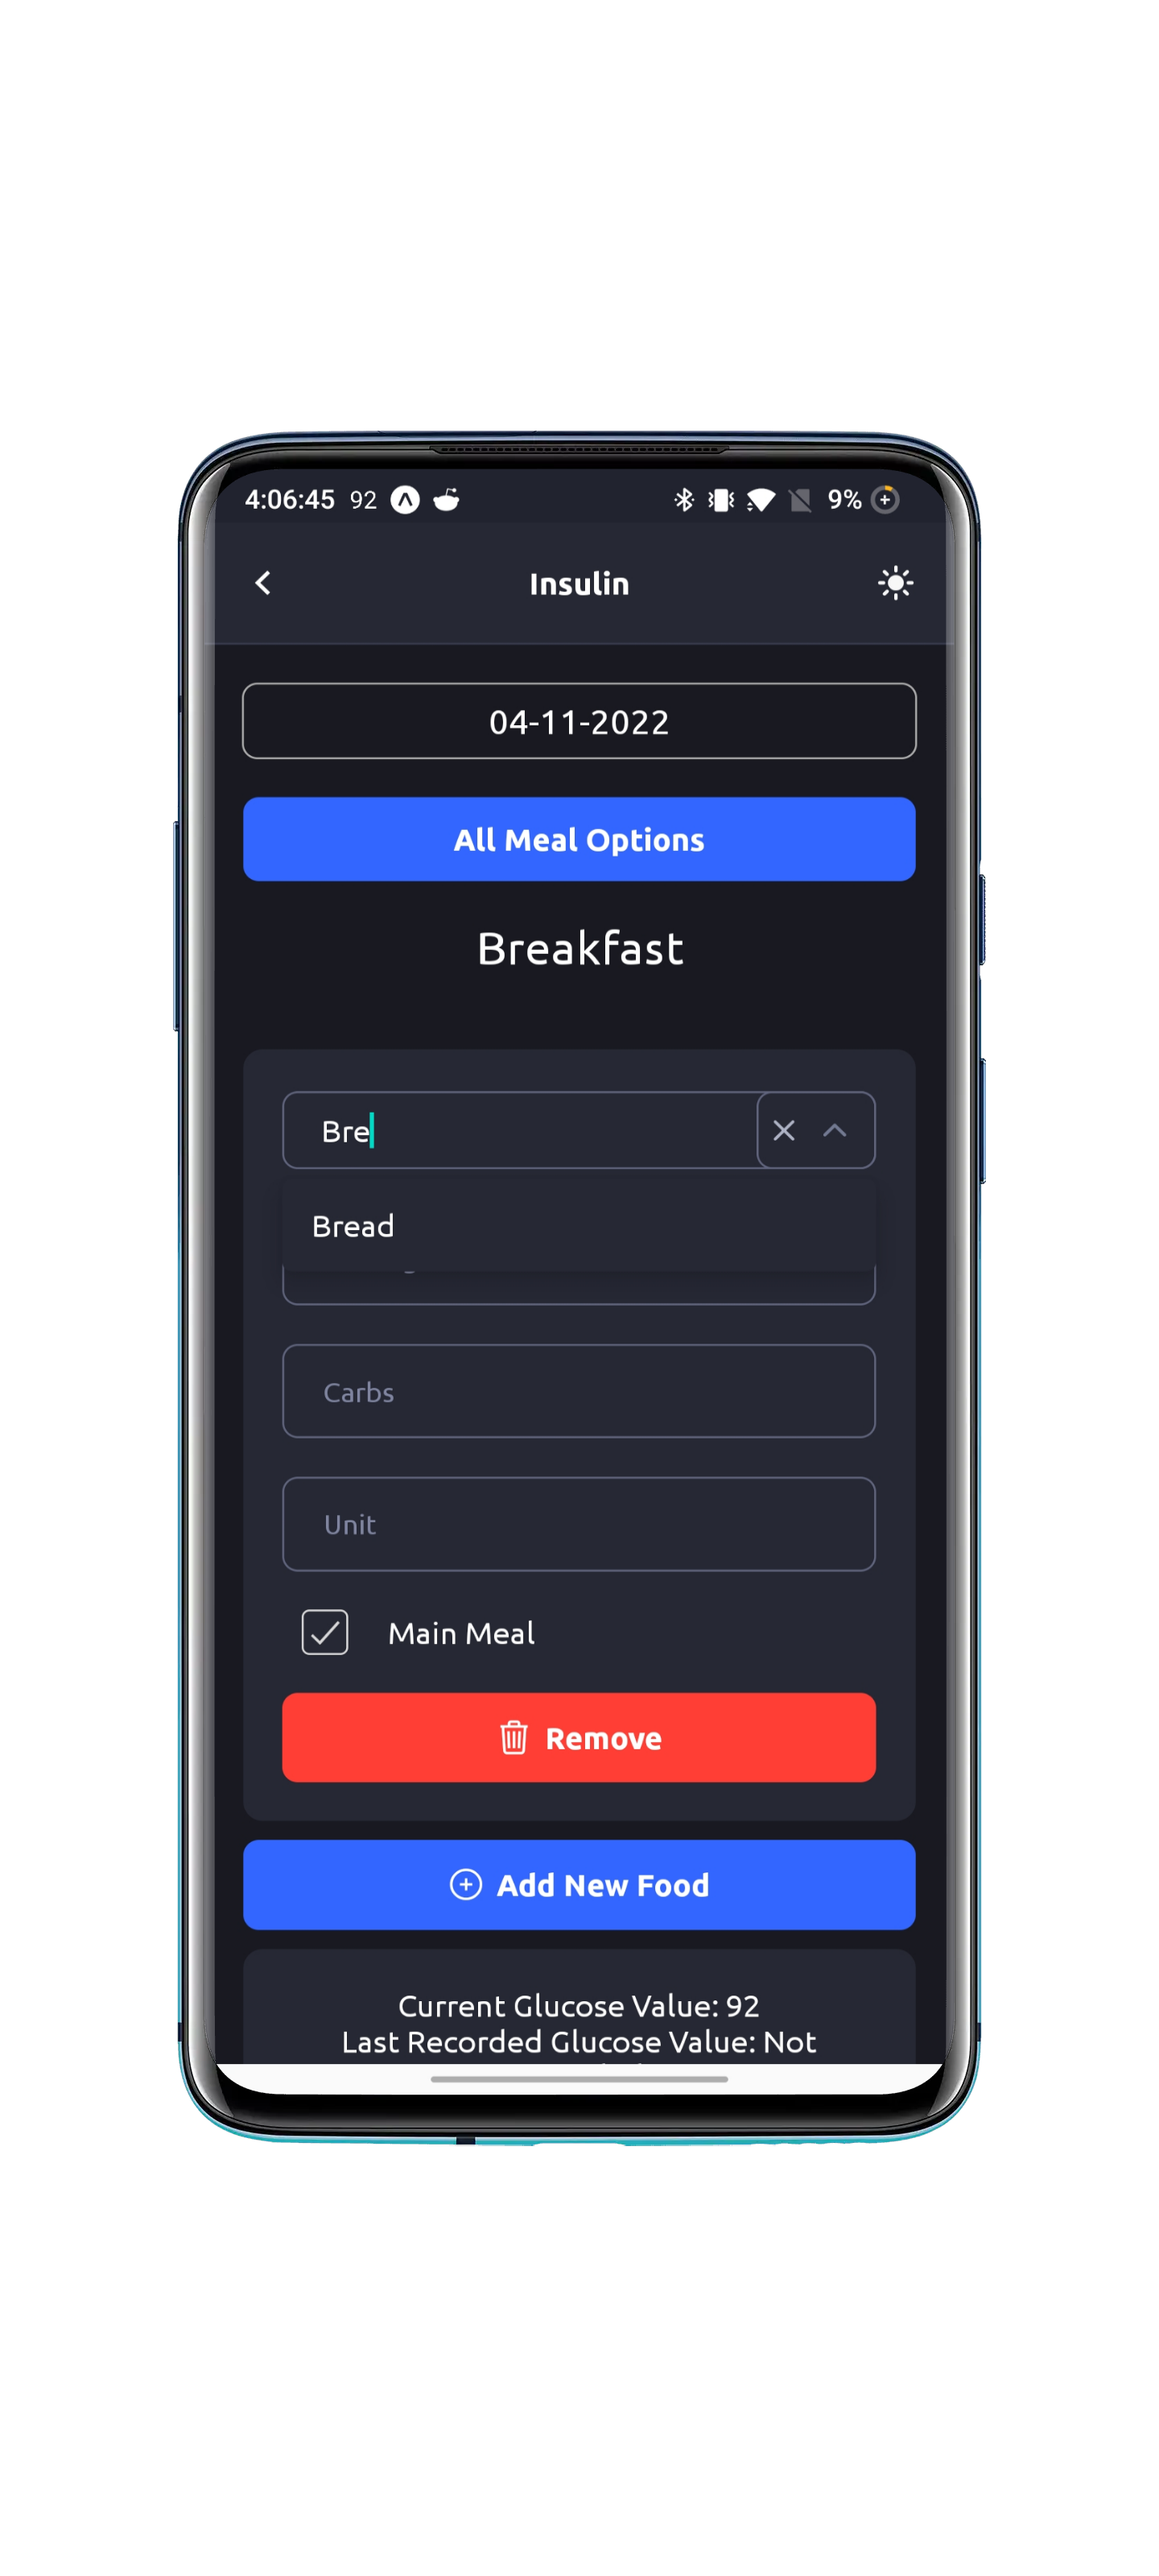
You can start typing in the ingredient autofill box to filter, or click the caret to show the list of ingredients stored.
You can change the serving amount to automatically update the carbs.
You can click the x in the autofill box to delete an ingredient section.
If an ingredient is your main ingredient, toggle the main meal toggle. When a main meal is selected, if this is the first occurence of the ingredient as a main meal, nothing will happen. However, if this ingredient has been used before, the sugar value recorded for the following meal will be used to calculate a moving average to give you an overview of whether the carbs for the ingredient should be adjusted or not.
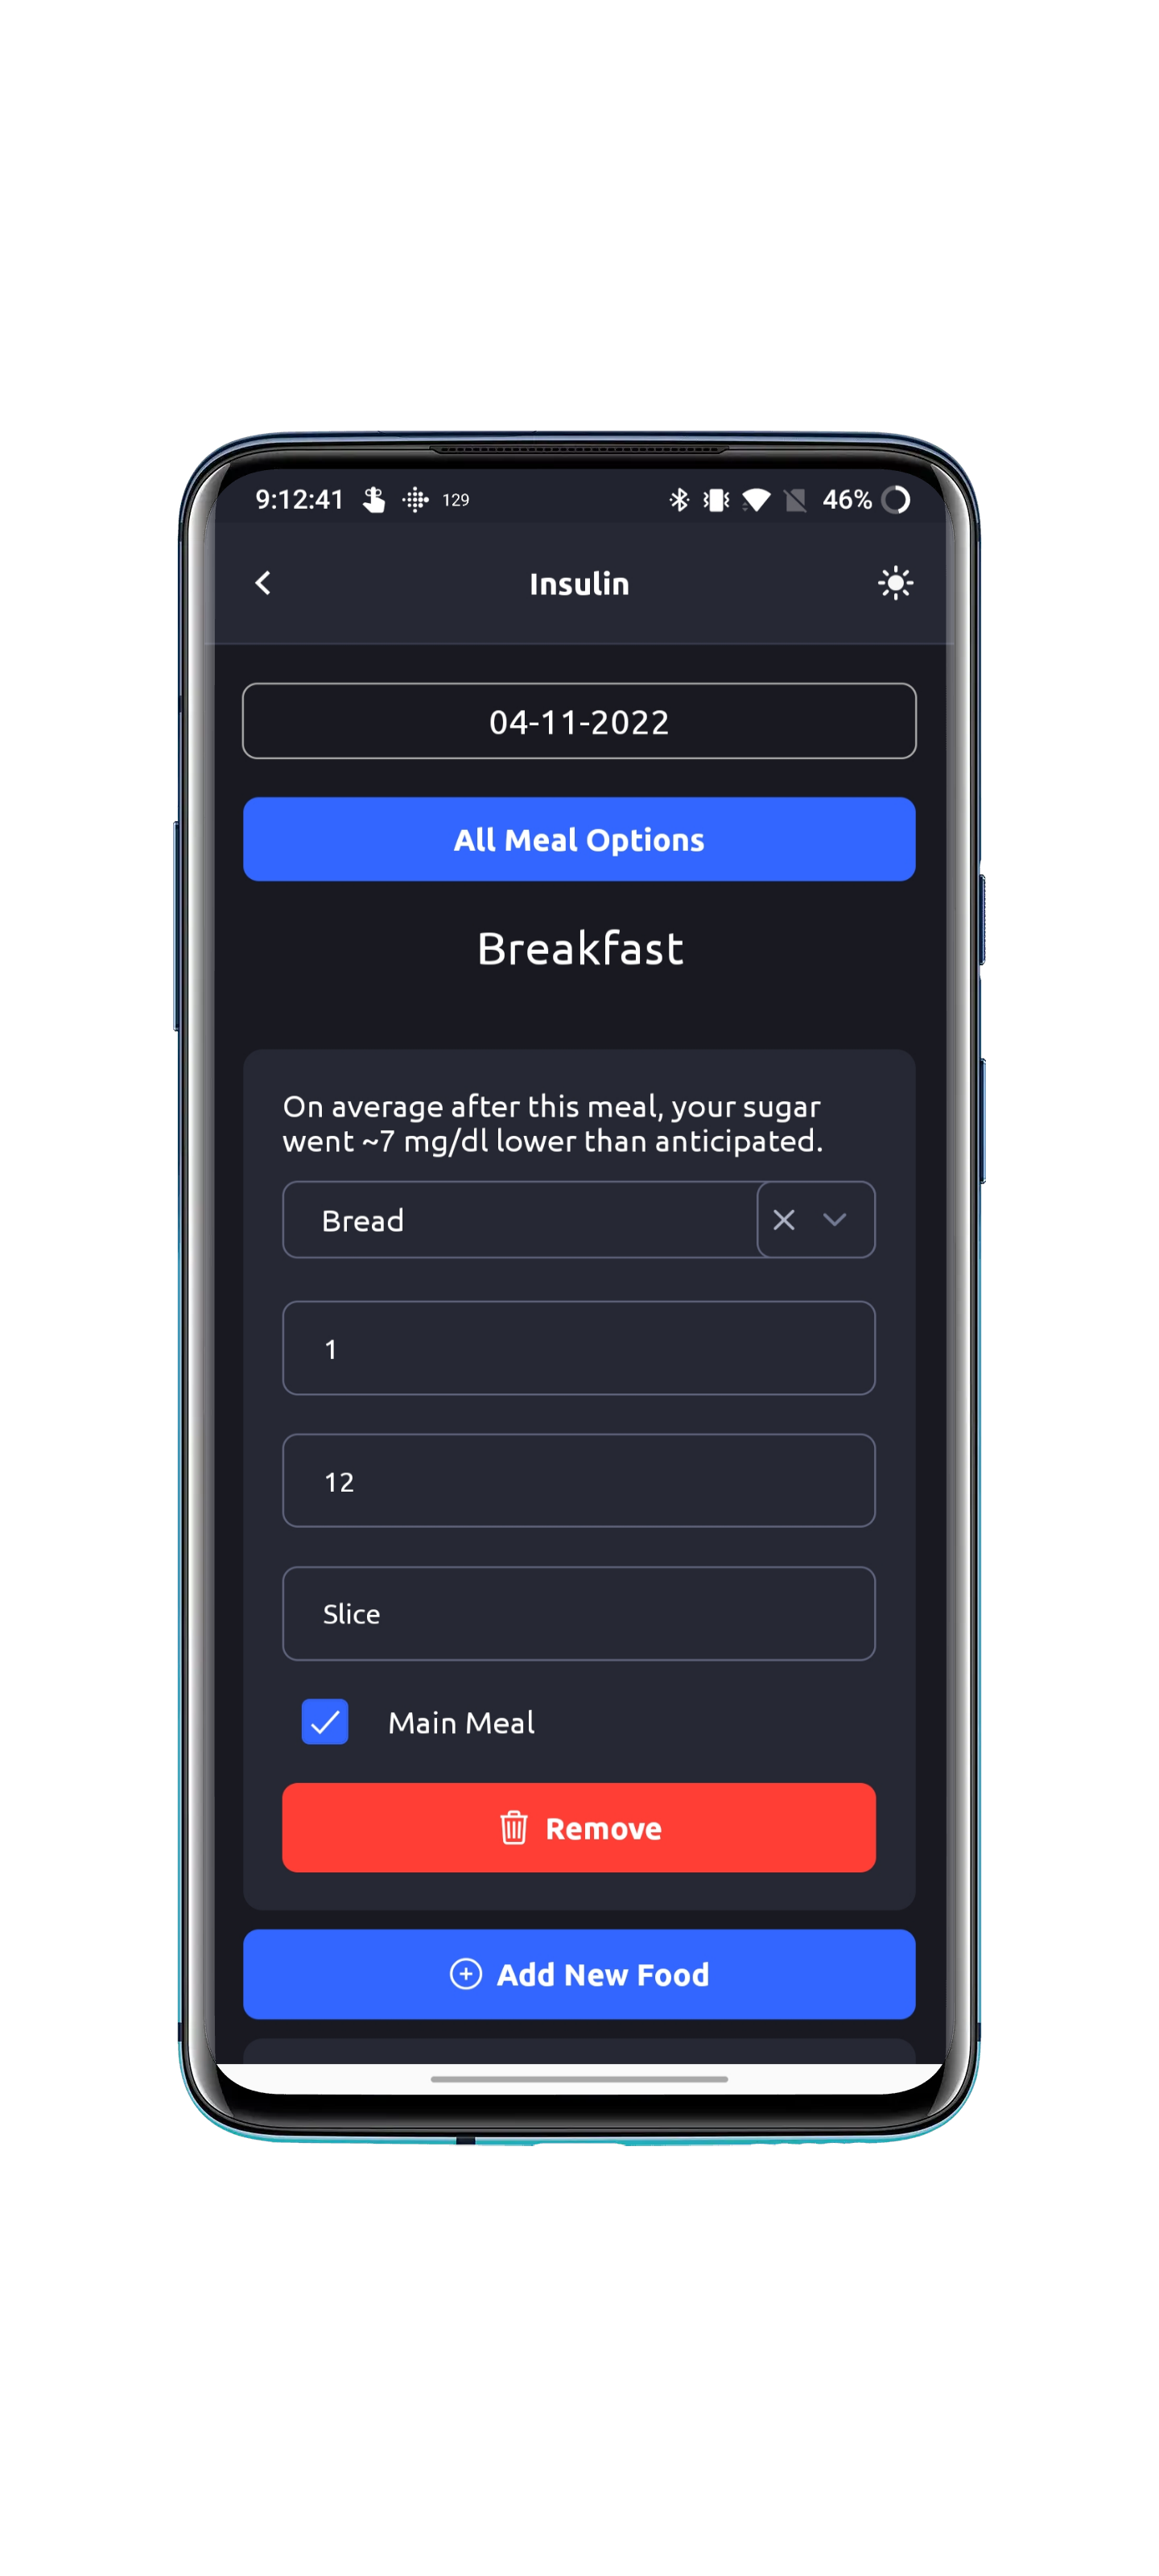
At the bottom of the insulin manager, you will see the current sugar value, carbs, and insulin dosage. If your settings haven't been set yet, you'll see an infobox letting you know that your insulin dosage can't be calculated until settings are set. To save the current glucose value as your meal glucose, just click the "Save metadata" button at the bottom.
- If you want to search all ingredients used in any meal, go back to the main menu of the insulin screen and click Search
- Search for an ingredient by typing into the search bar
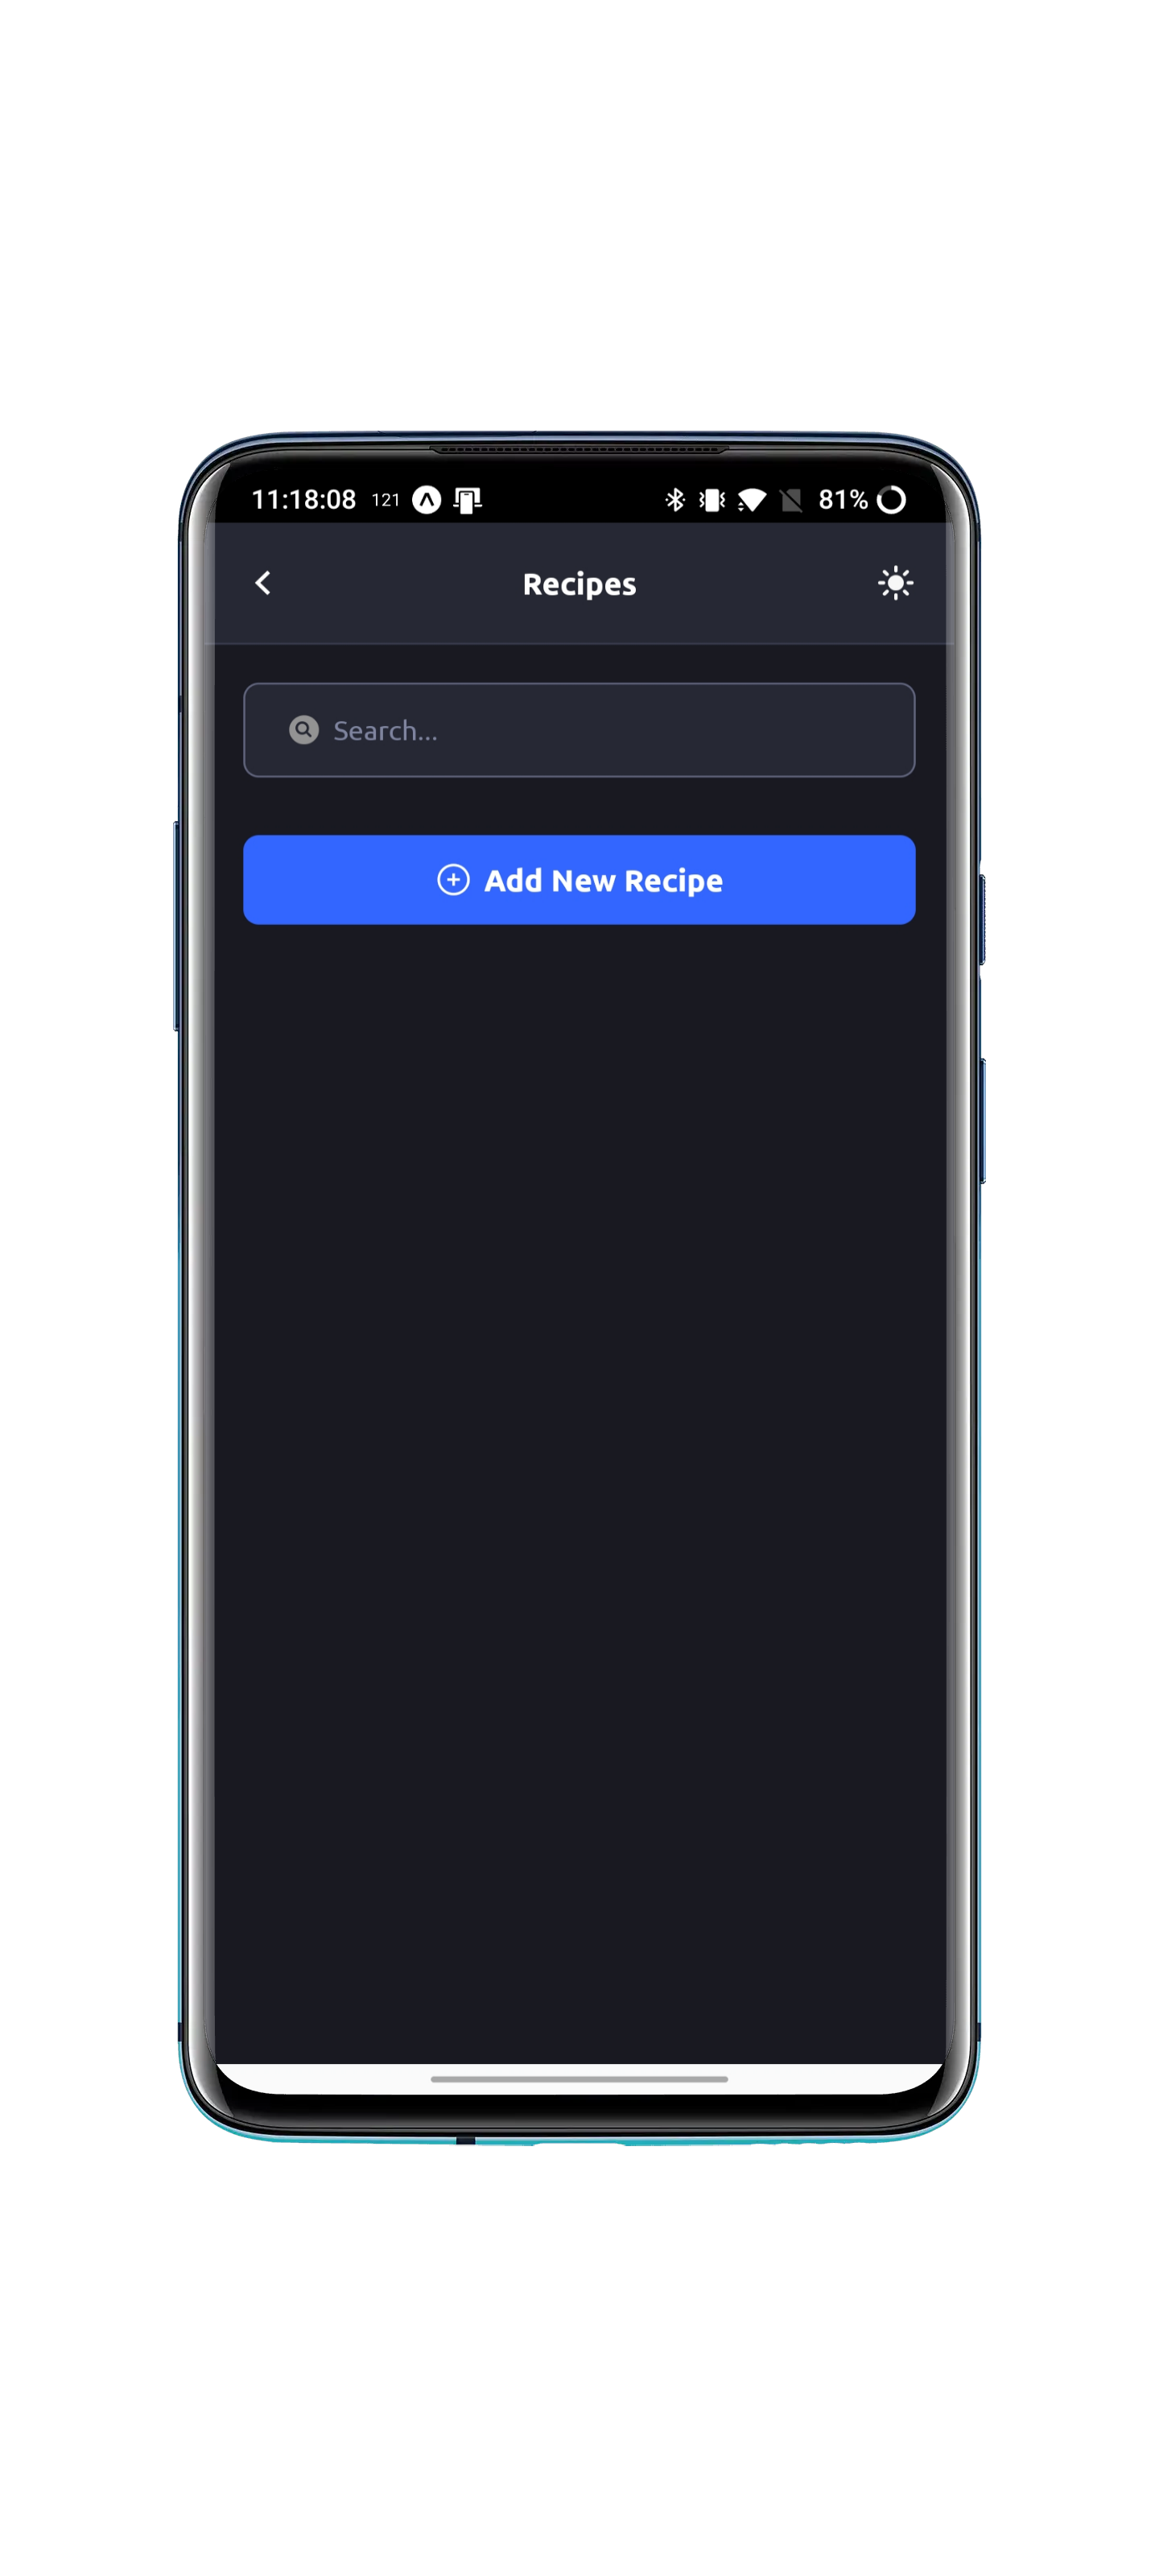
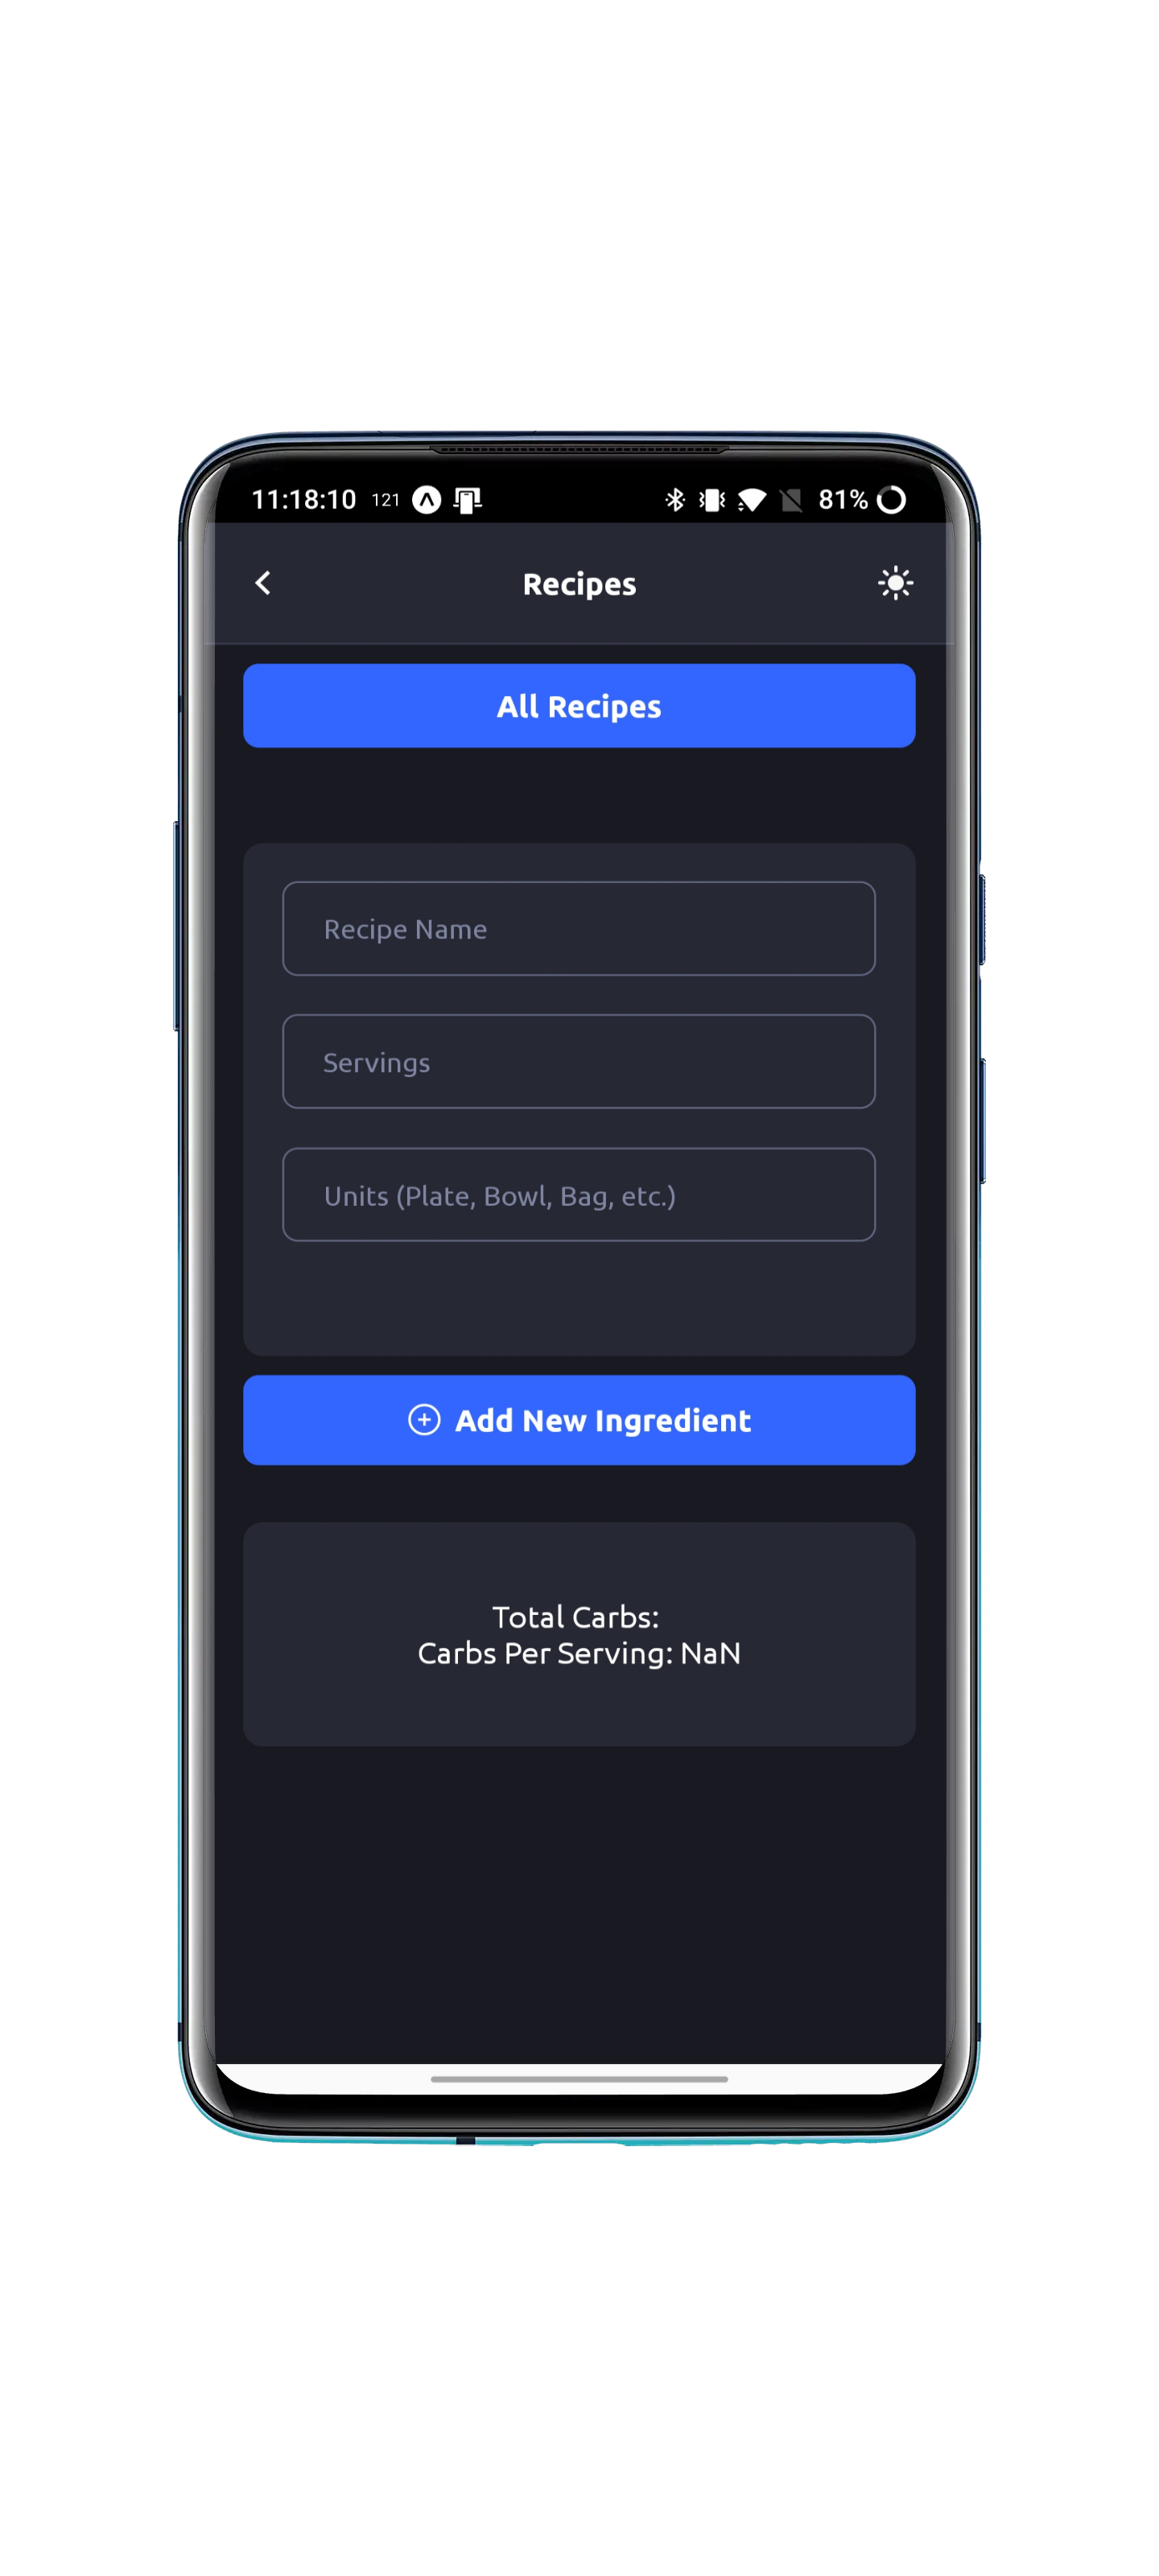
At the main page of the recipes screen, you'll see a list of all recipes stored, buttons to remove a recipe, a button to add a recipe, and buttons to edit each recipe.
You can add a recipe by clicking the Add New button.
Inside, you'll find a setup similar to the insulin manager, but with a few differences. There is a section to set recipe metadata. The serving amount helps calculate the carbs per serving.
All recipes show up in the dropdown in the insulin manager so that you can directly import a recipe as one single object.
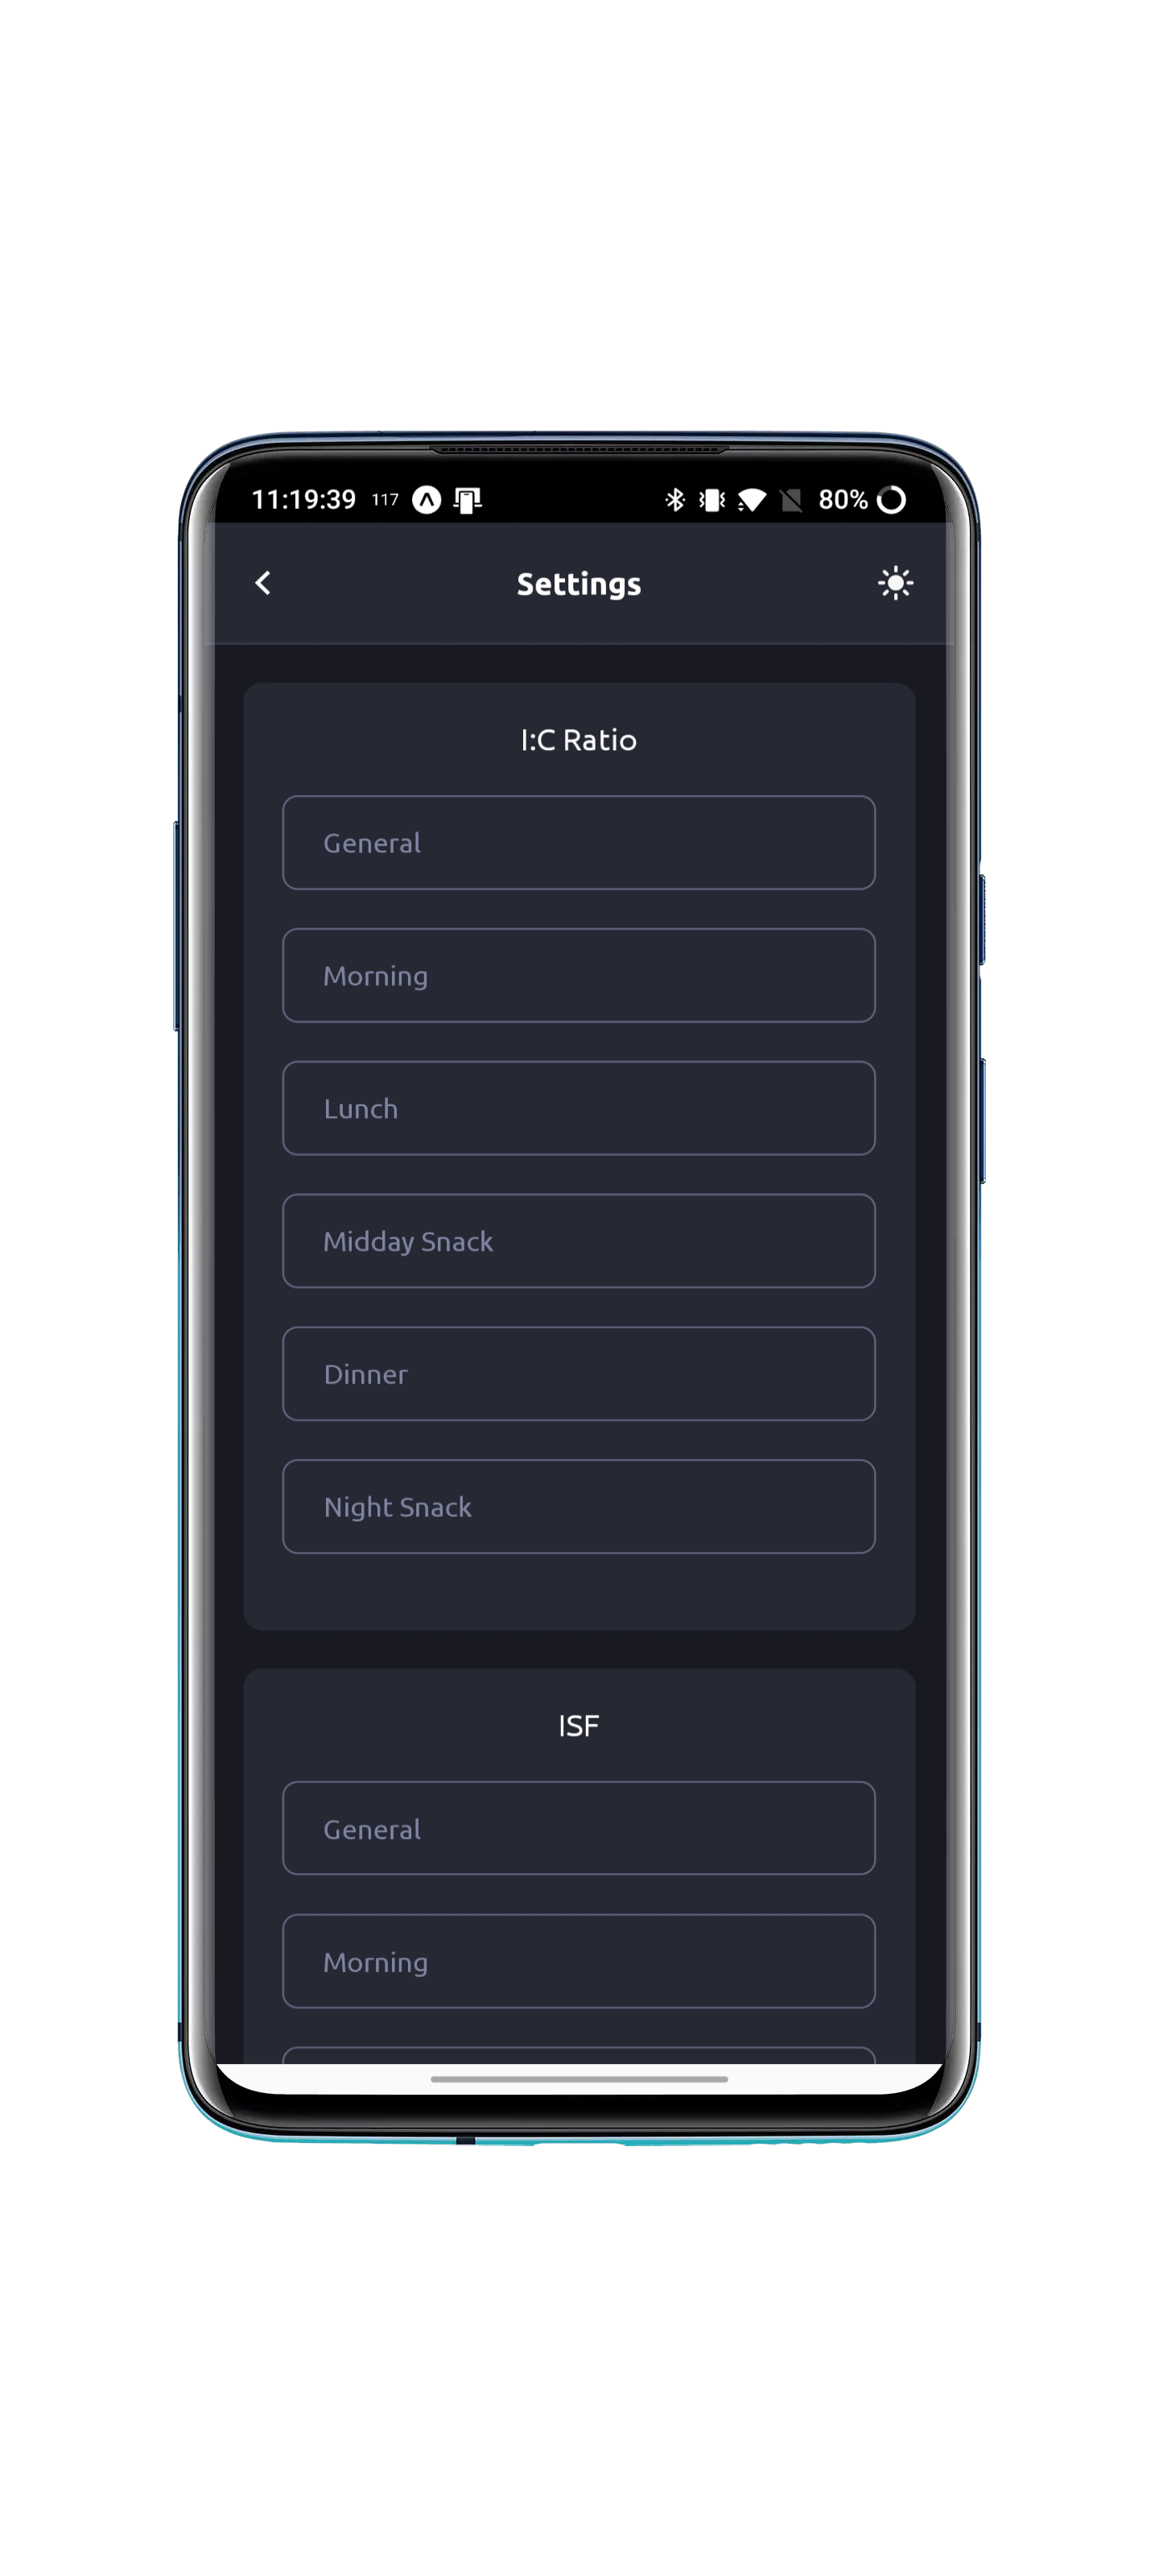
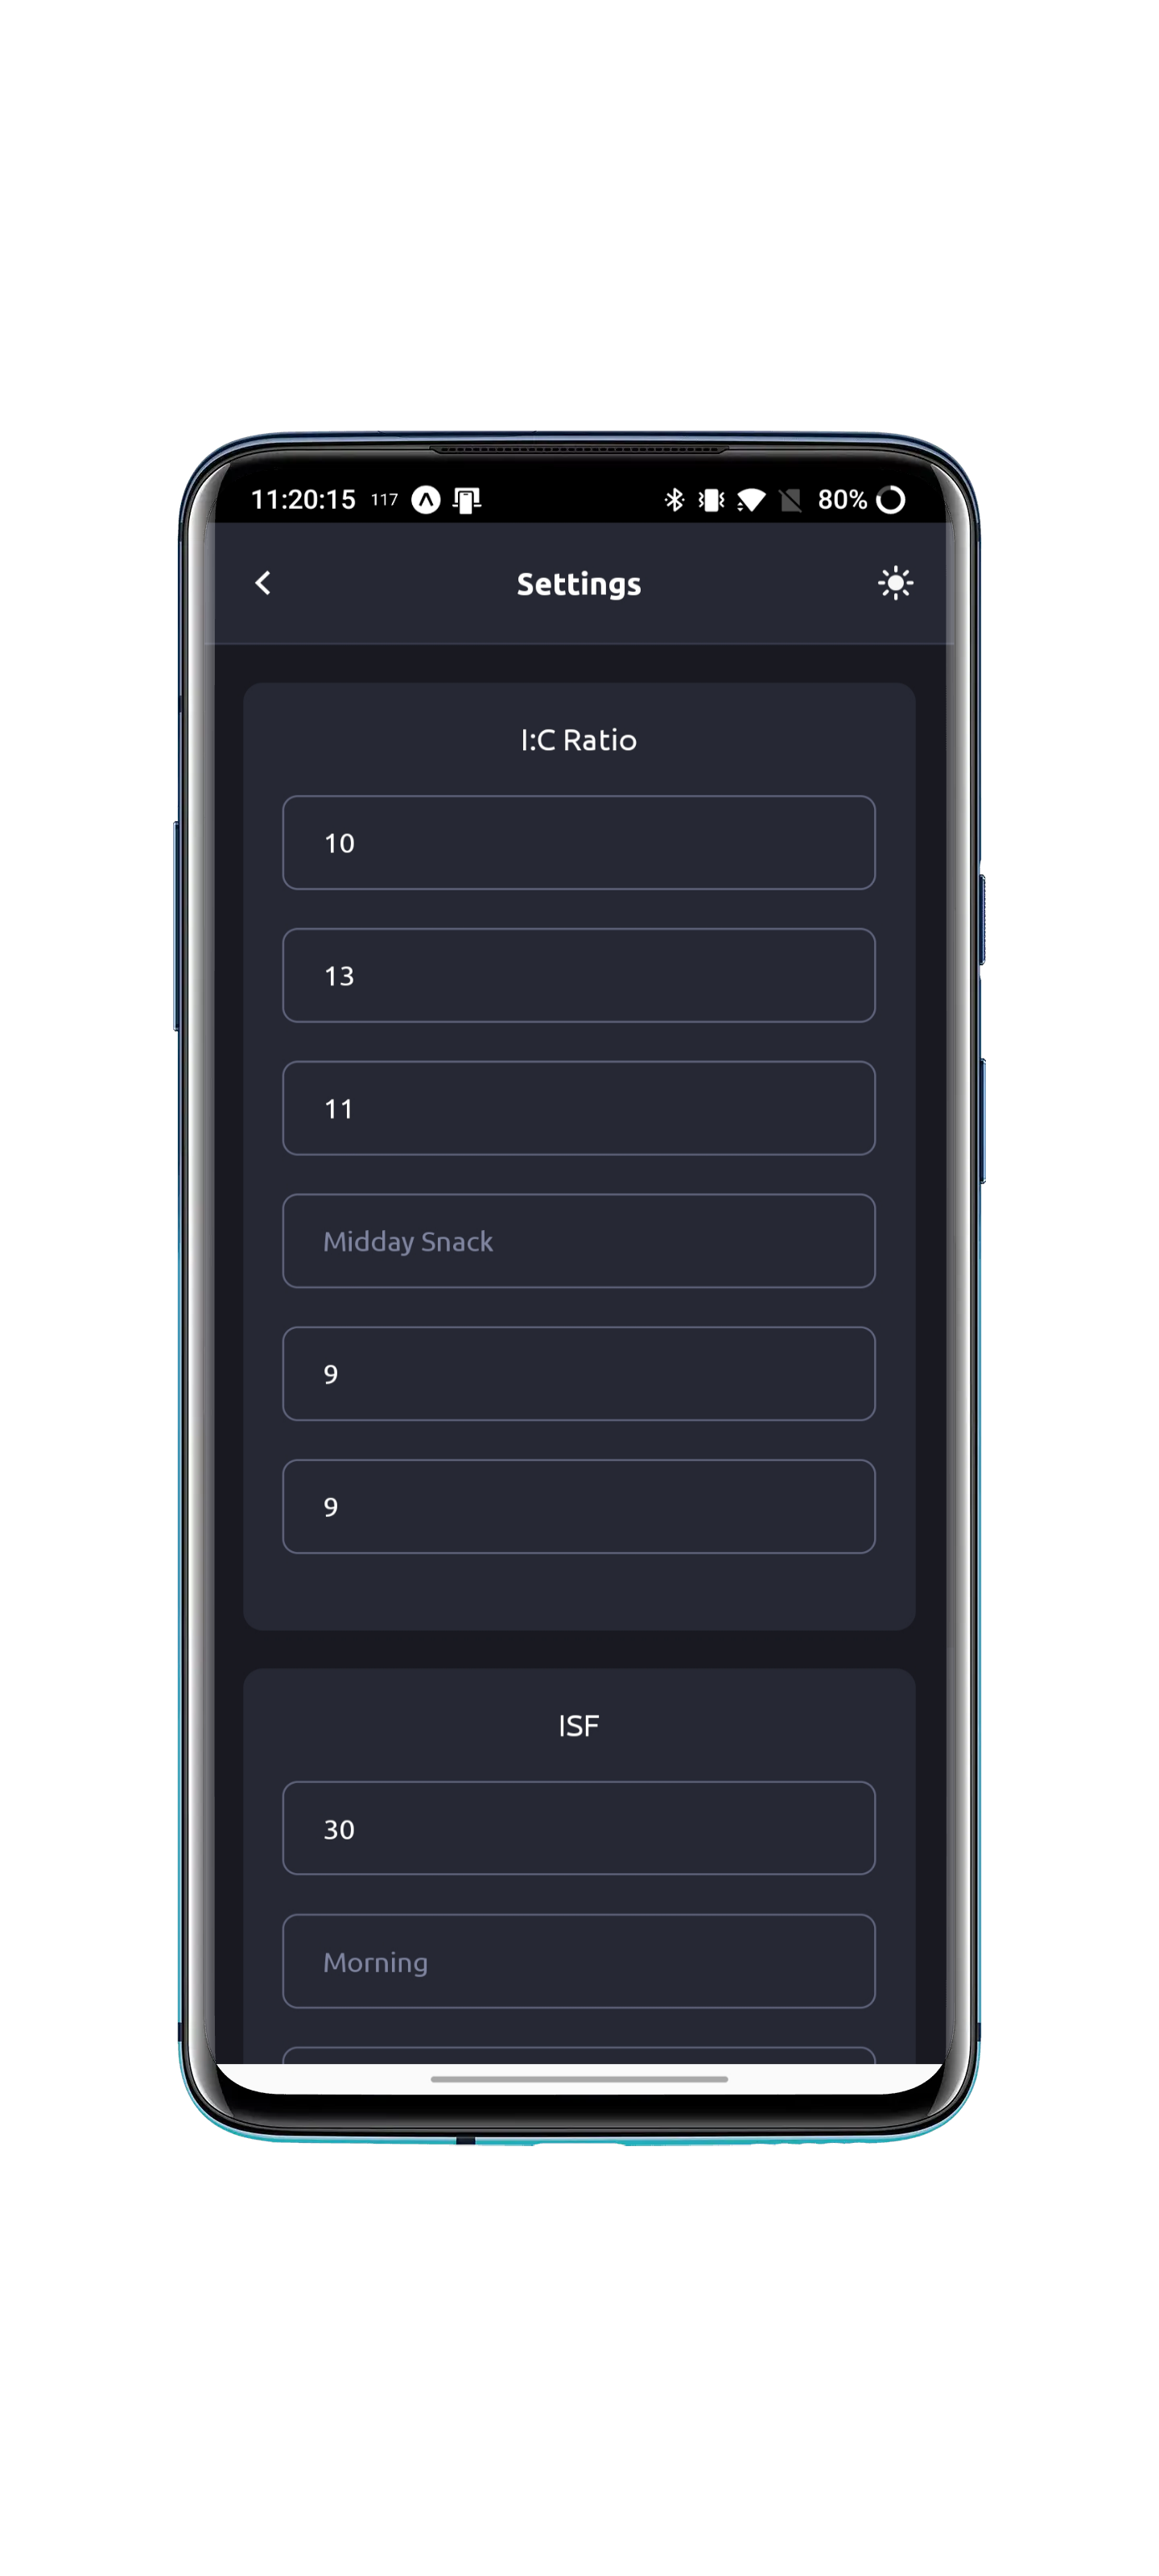
The settings screen lets you set I:C and ISF preferences. A common I:C ratio is anywhere between 10 and 15, and a common ISF factor is somewhere around 30.
- The I:C ratio is the ratio of insulin to carbs.
- This calculates the insulin food dosage for a meal by dividing the total carbohydrates by the ratio.
- The ratio is usually given to a patient by their doctor.
- This calculates the insulin food dosage for a meal by dividing the total carbohydrates by the ratio.
- The ISF Sensitivity factor is how sensitive you are to insulin.
- This calculates the correction dosage. If the current glucose value is under 100, this isn't needed at all. If not, then the dosage is calculated by doing the current glucose value minus 100, divided by the ISF.
- This value is also given by the doctor.
I:C and ISF values can differ for each meal based on how well your body reacts to food at different times of the day. You can click the show individual meal settings button to see/set the settings for each meal.