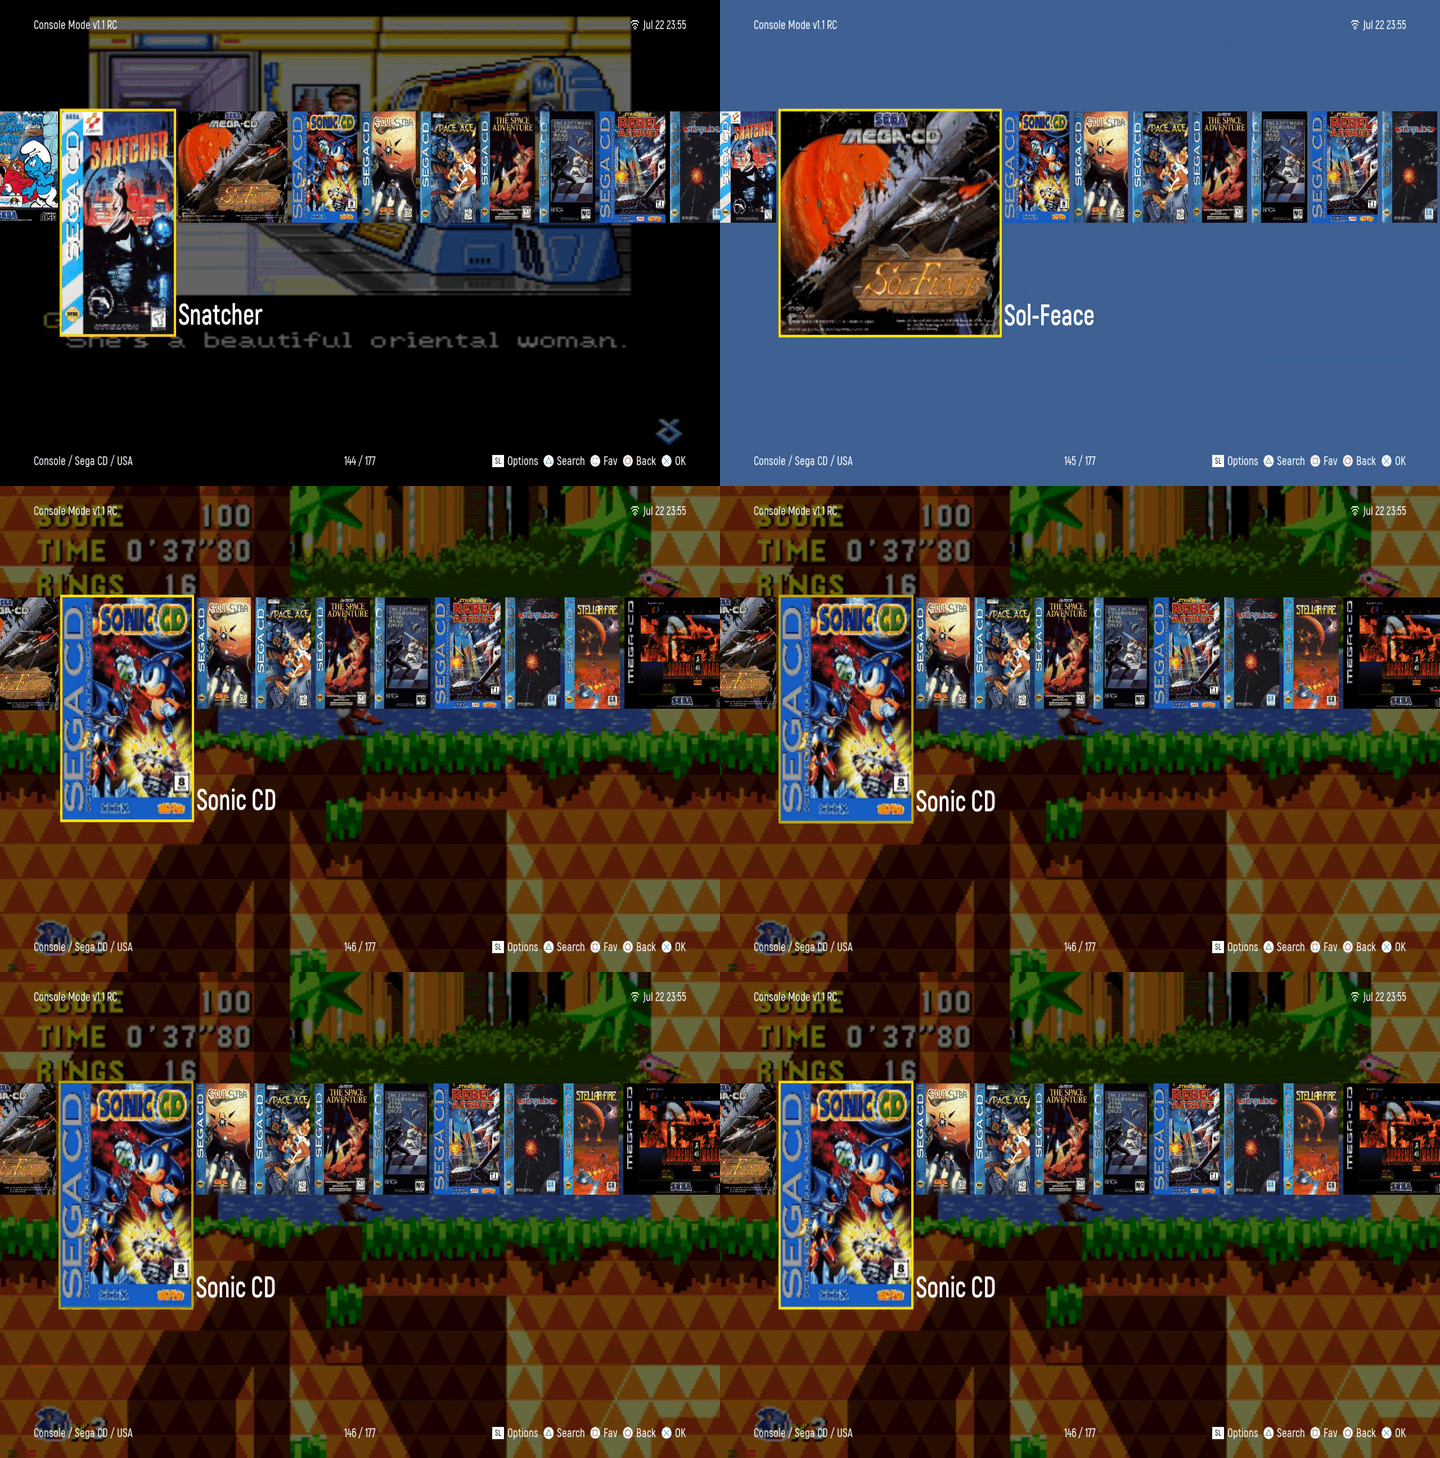
Console Mode
We are currently on Version 1.1 (Release Candidate). Future releases will introduce new features, including Direct Disc Loading, CIFS mounting, SMB file storage and other options. Stay tuned for more updates.
PLEASE DOWNLOAD CONSOLE MODE HERE: https://github.com/Retro-Remake/ConsoleMode_Distribution
This link also hosts the linux.img file and kernel for users performing an upgrade installation, rather than a clean installation using the most recent SS1 SD card installer.
- This is the top level Home Menu that you will see after Console Mode Boots.
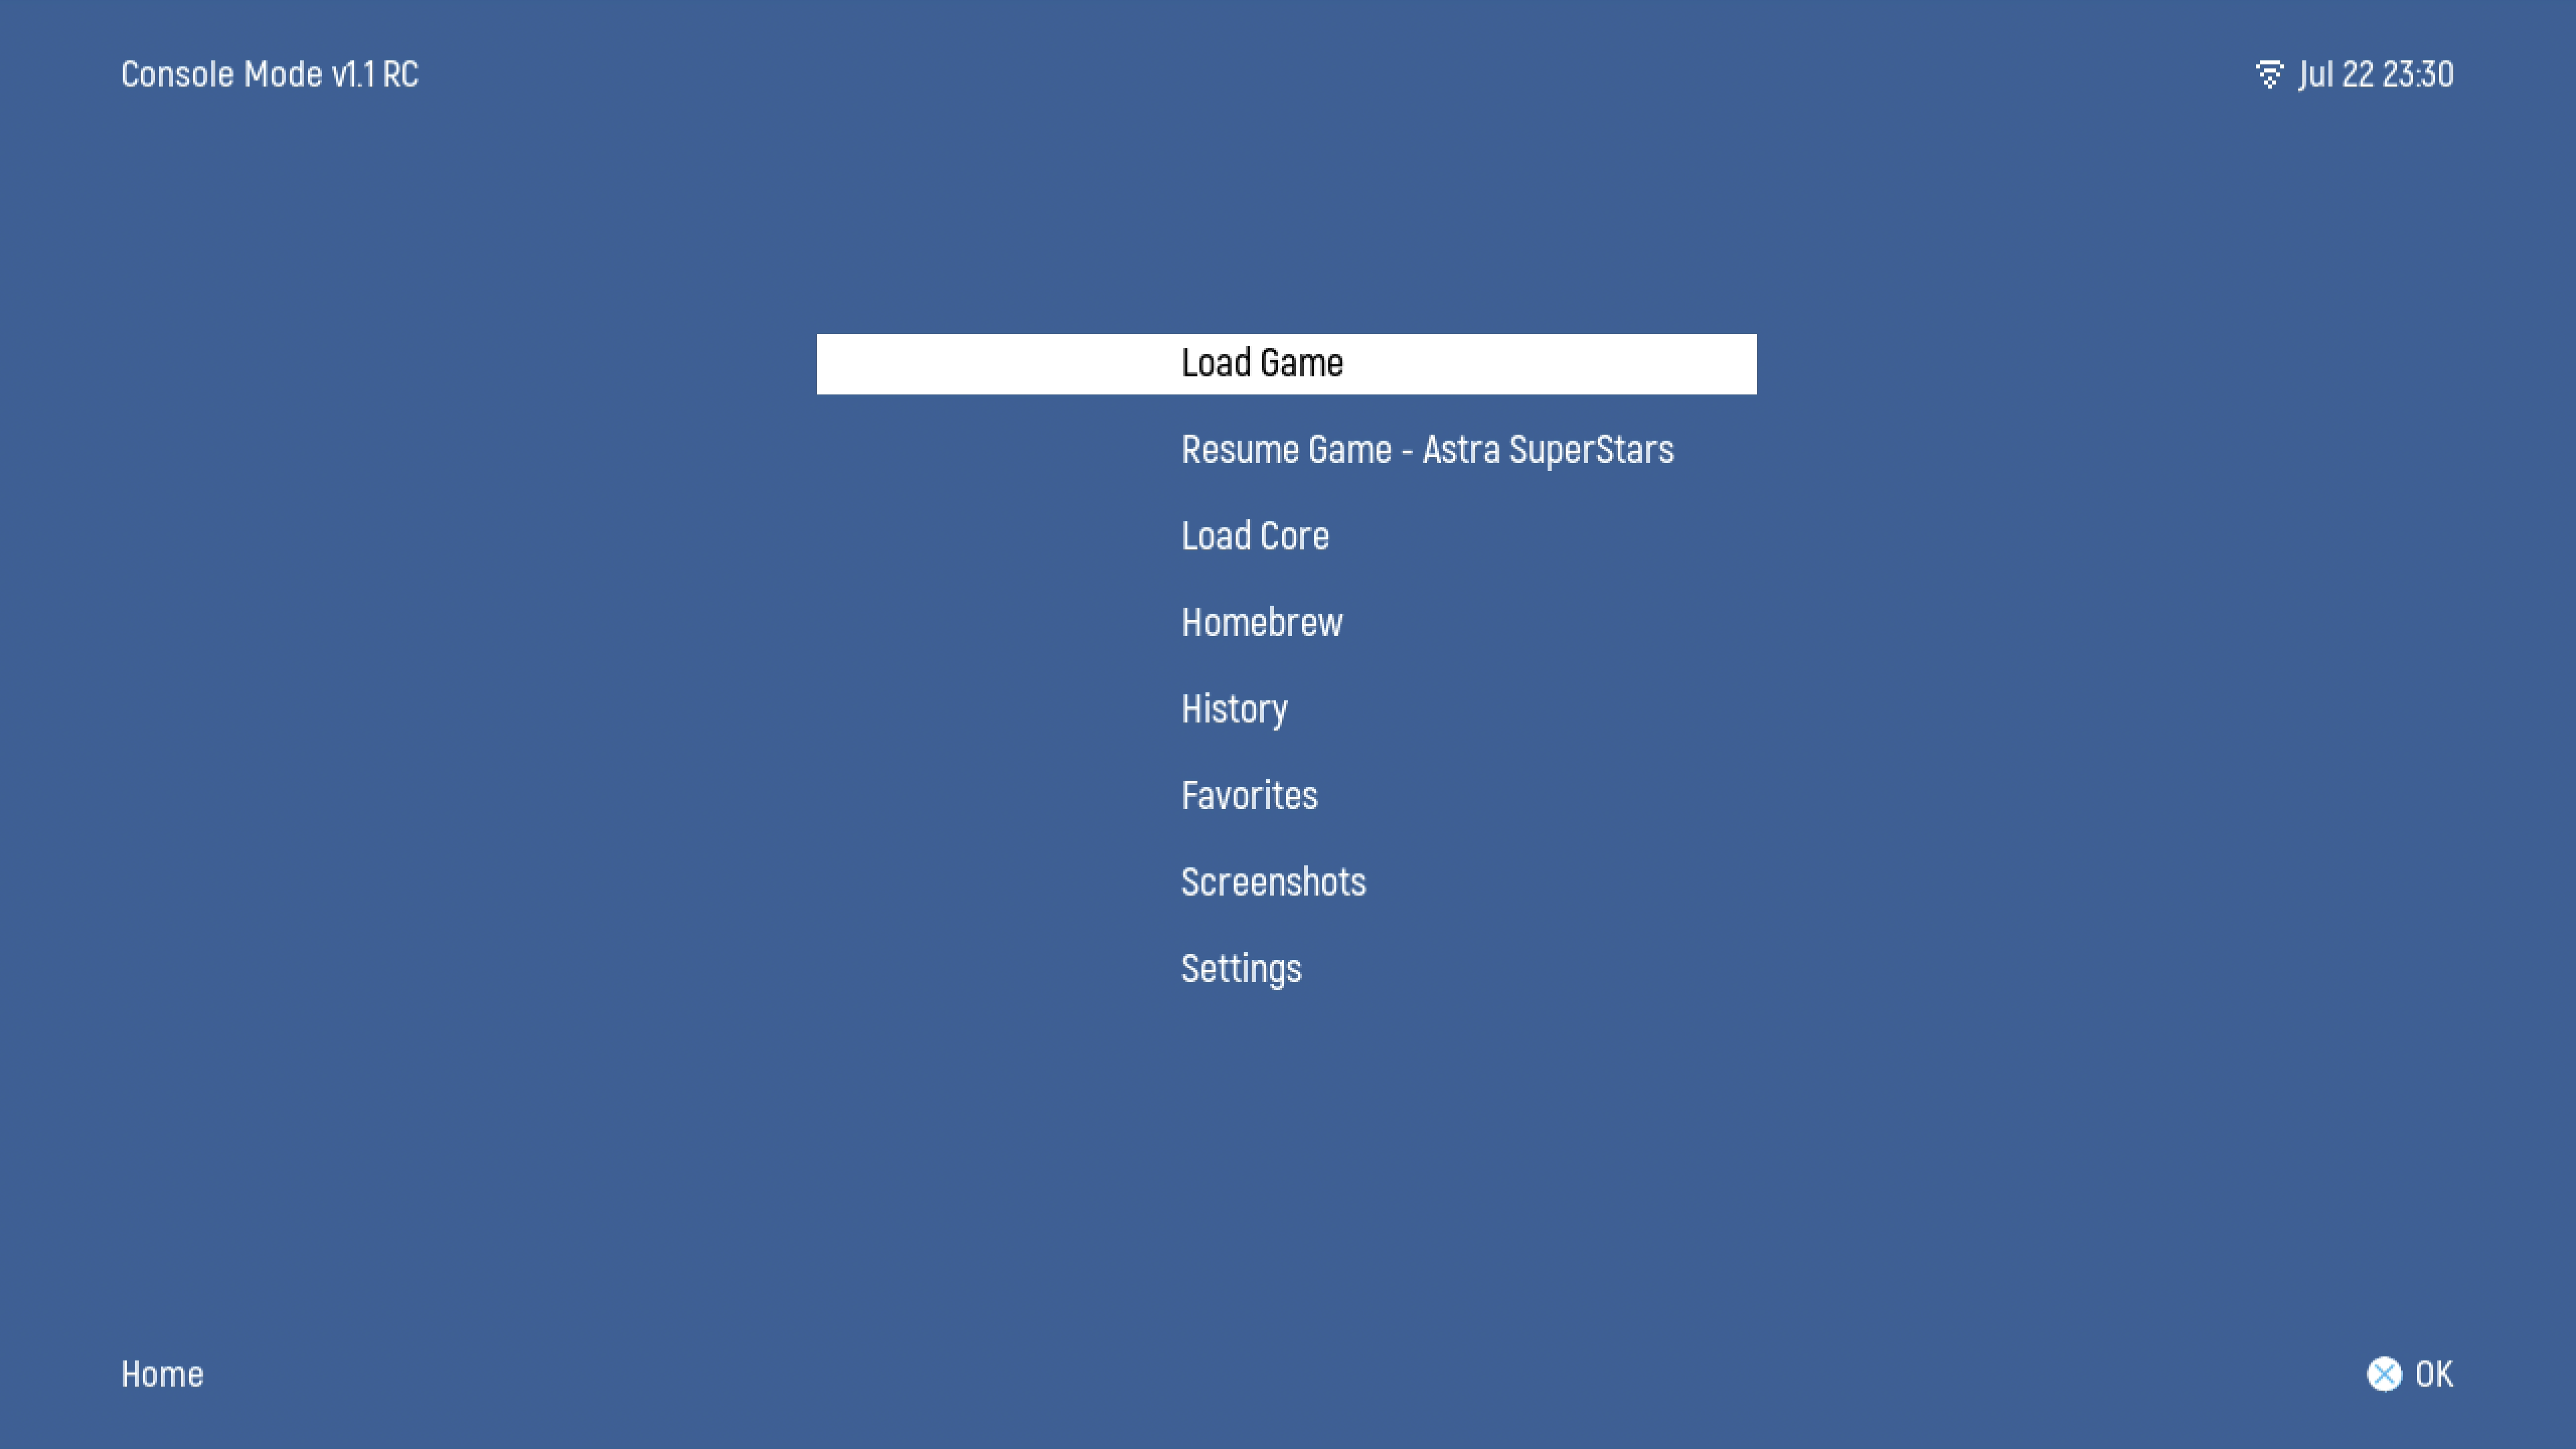
- Select LOAD GAME to pick a Console and Game. Once a game is selected, it will automatically select the assigned core for the game, and then load your selection.
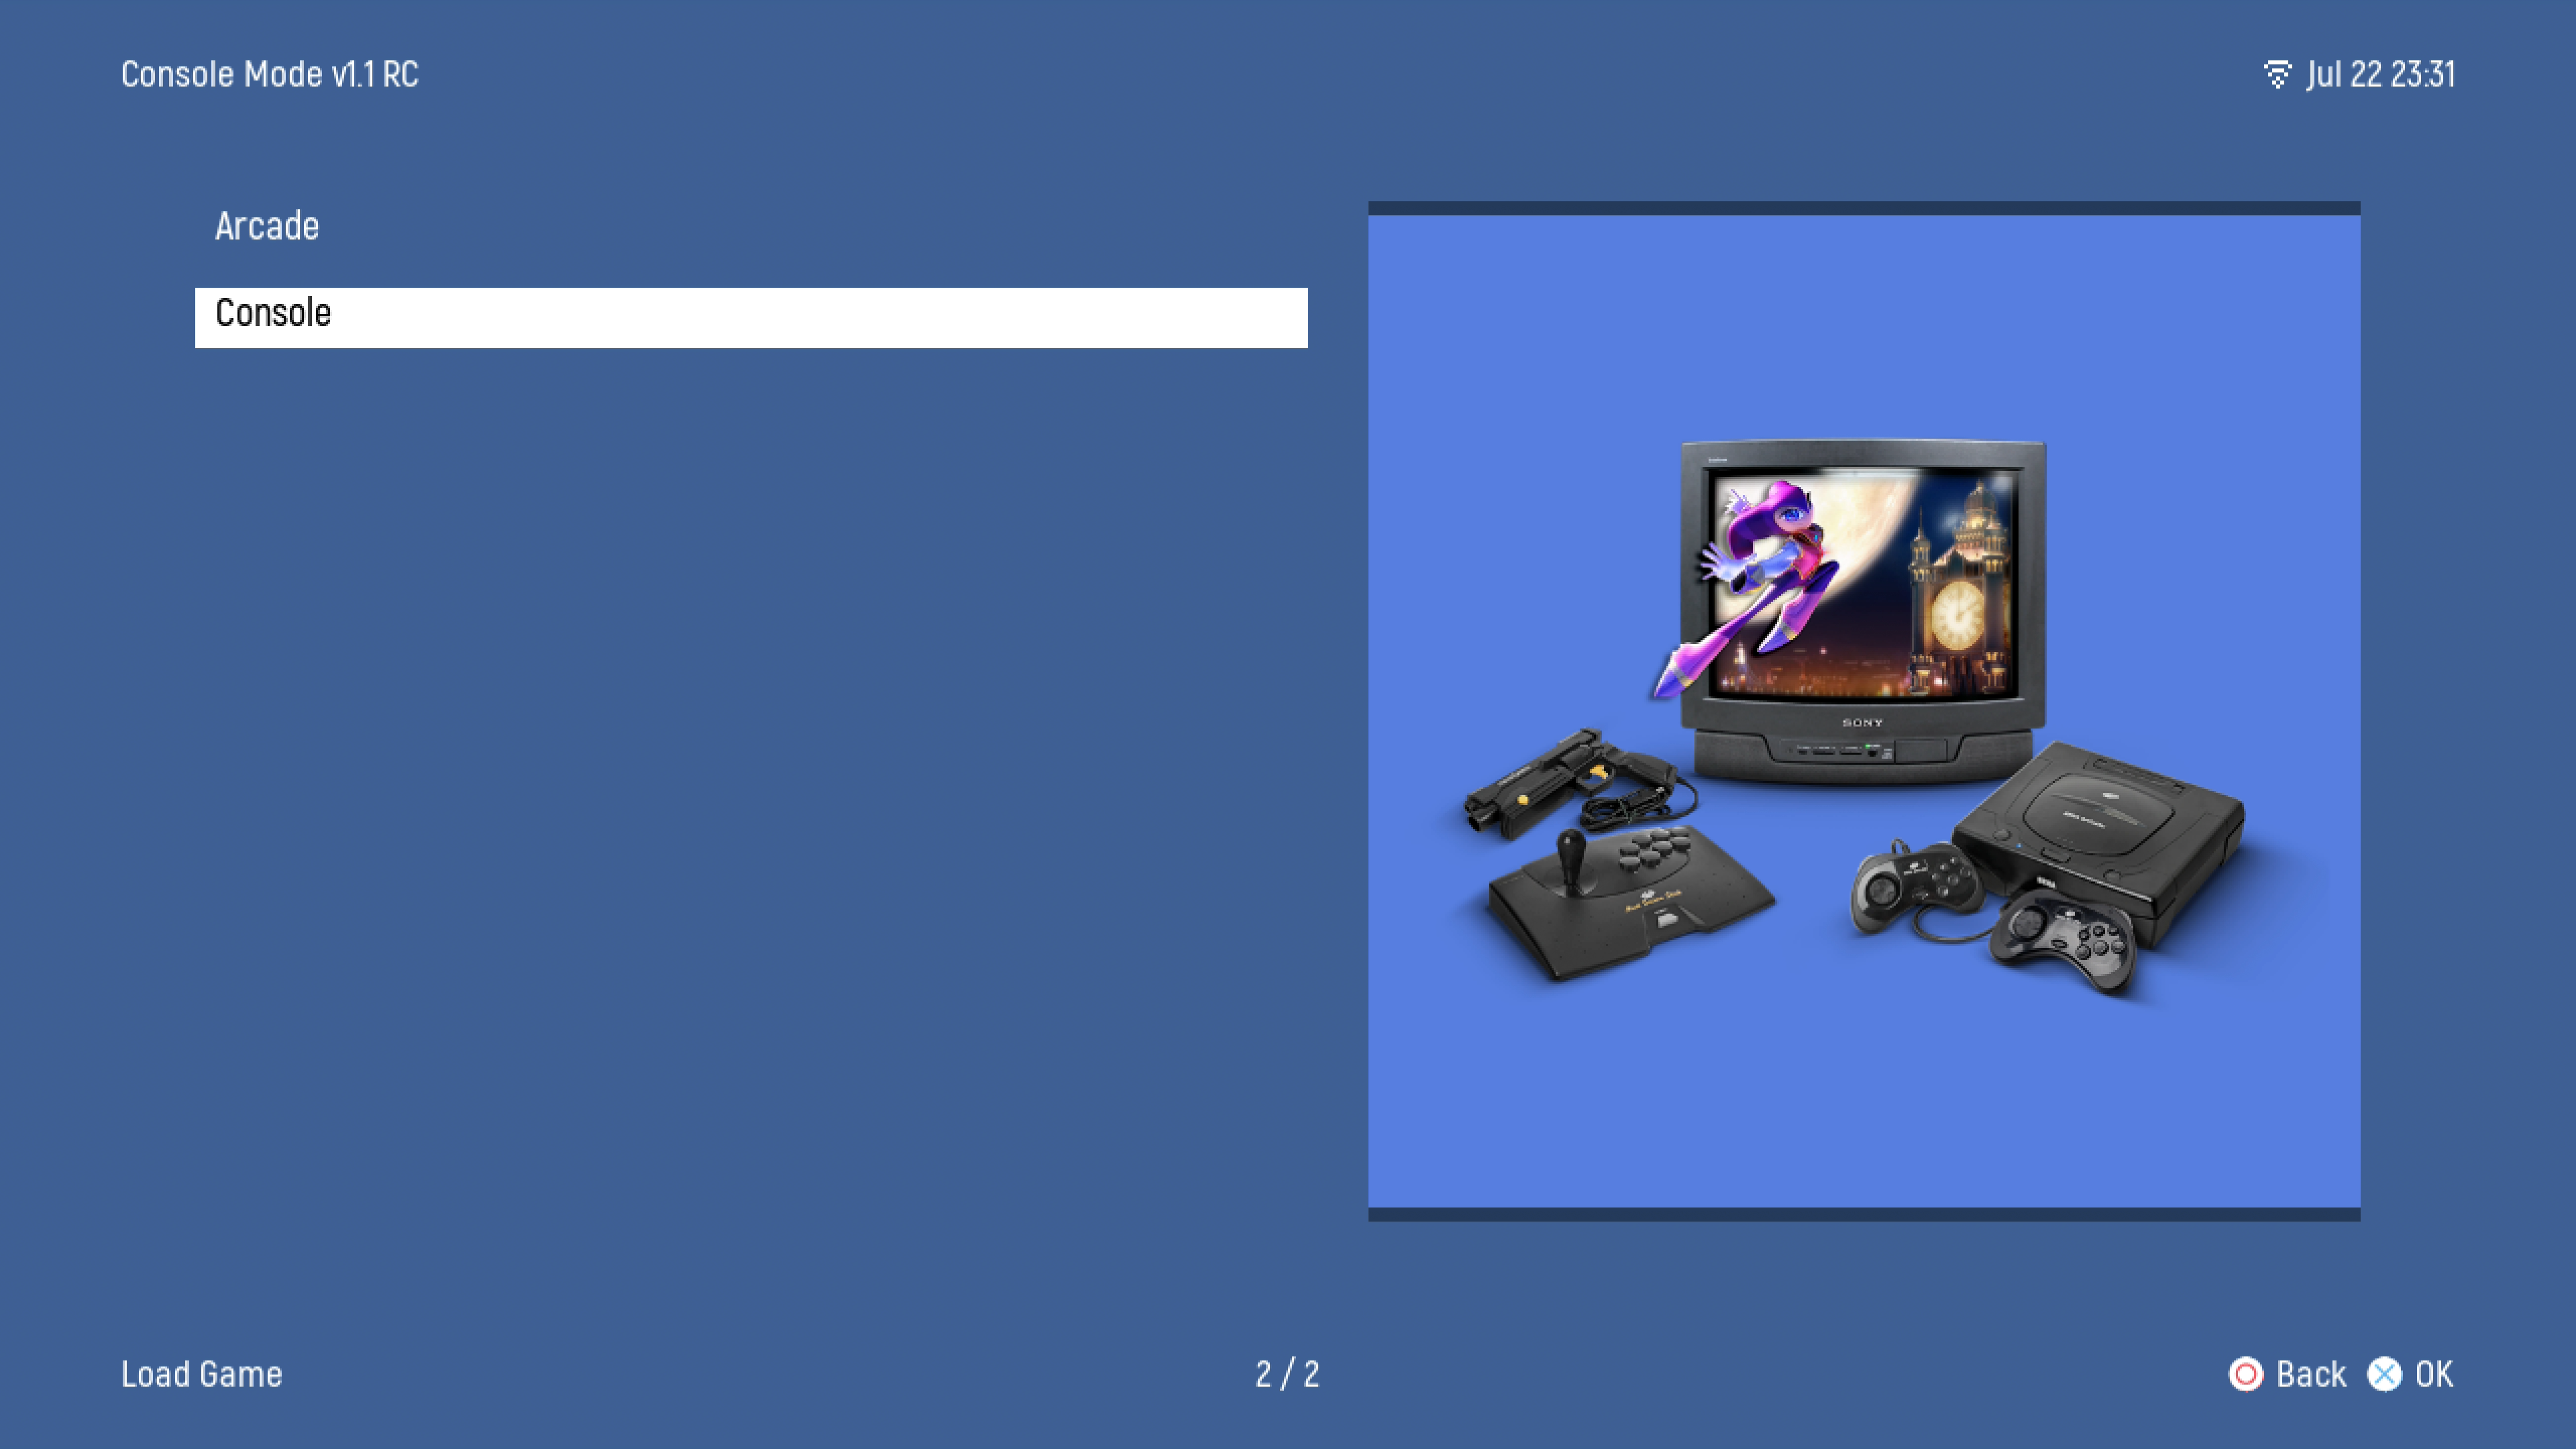
- CM reads any content on your SD card as long as it follows the standard MiSTer file structure under the games folder. CM also supports external storage devices, including USB drives and NVMe drives installed in the SS One Dock. NVMe drives are recognized and accessed as external storage.
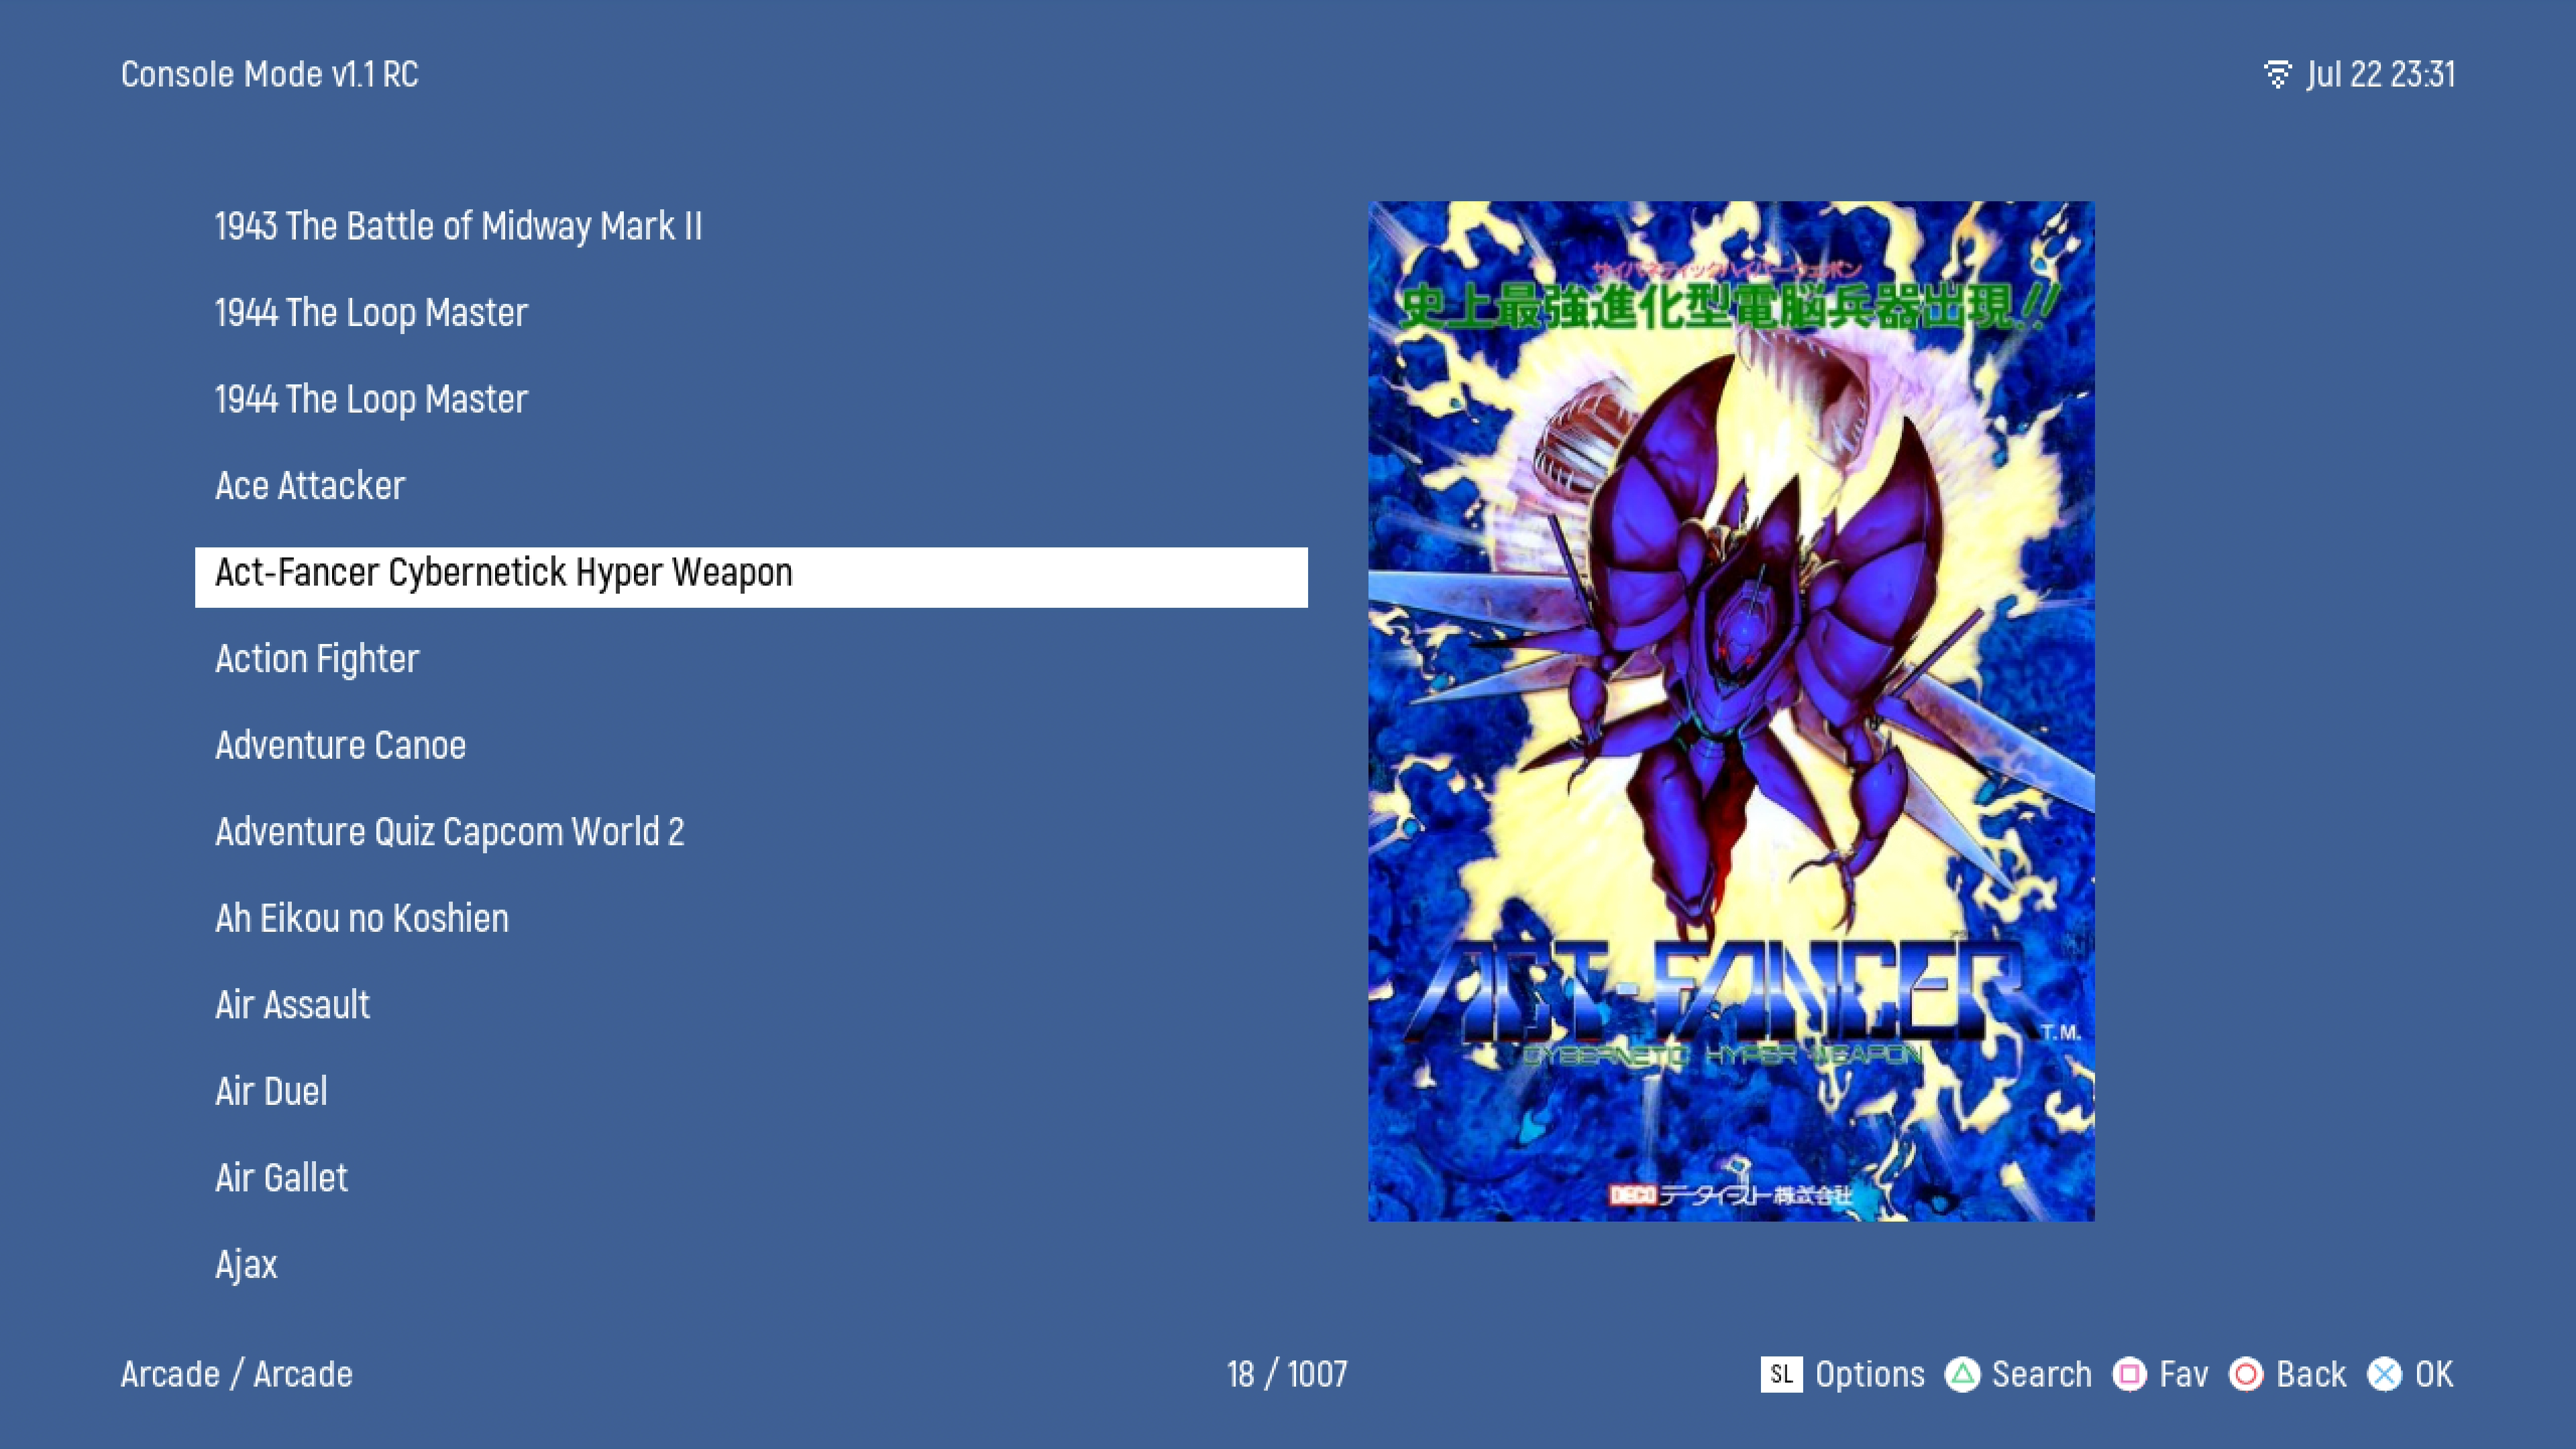
- Select LOAD CORE to first boot into a core, which allows the user to use the standard Mister OSD to select a game.
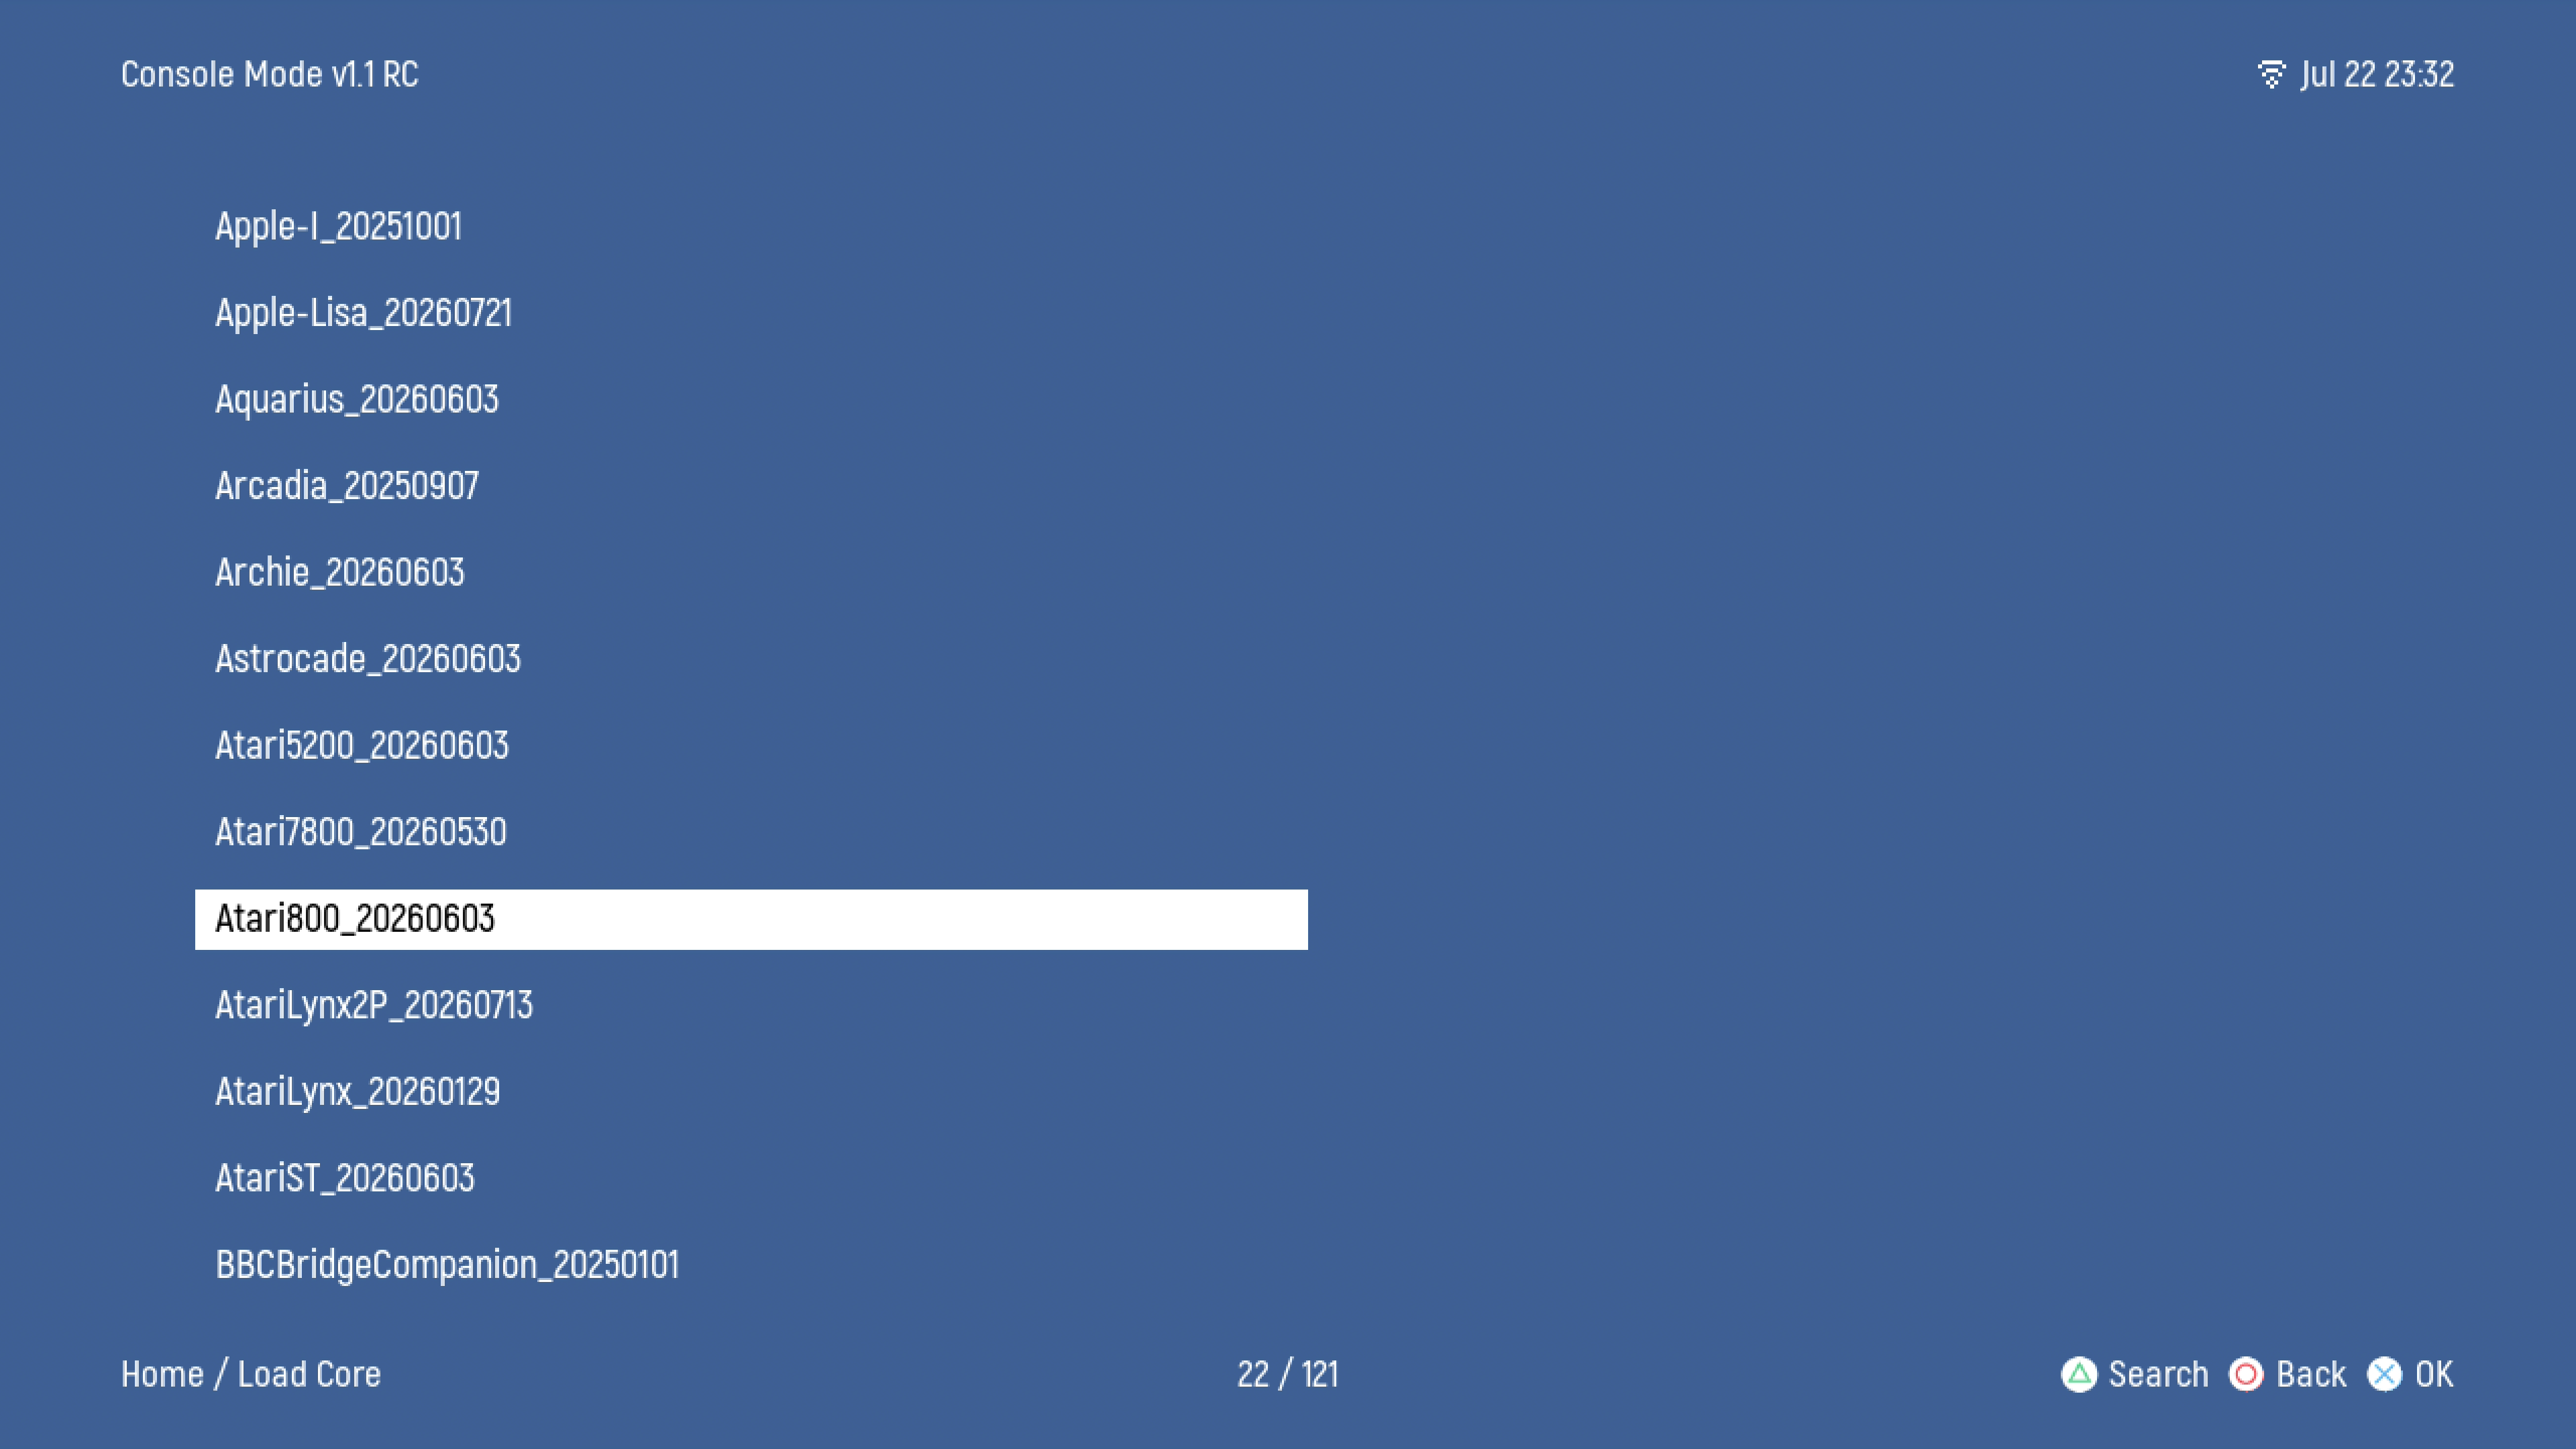
- When searching within a game directory, you can open the on-screen software keyboard to manually enter search terms and find all matching games in the directory. Press the button assigned to SEARCH to bring it up.
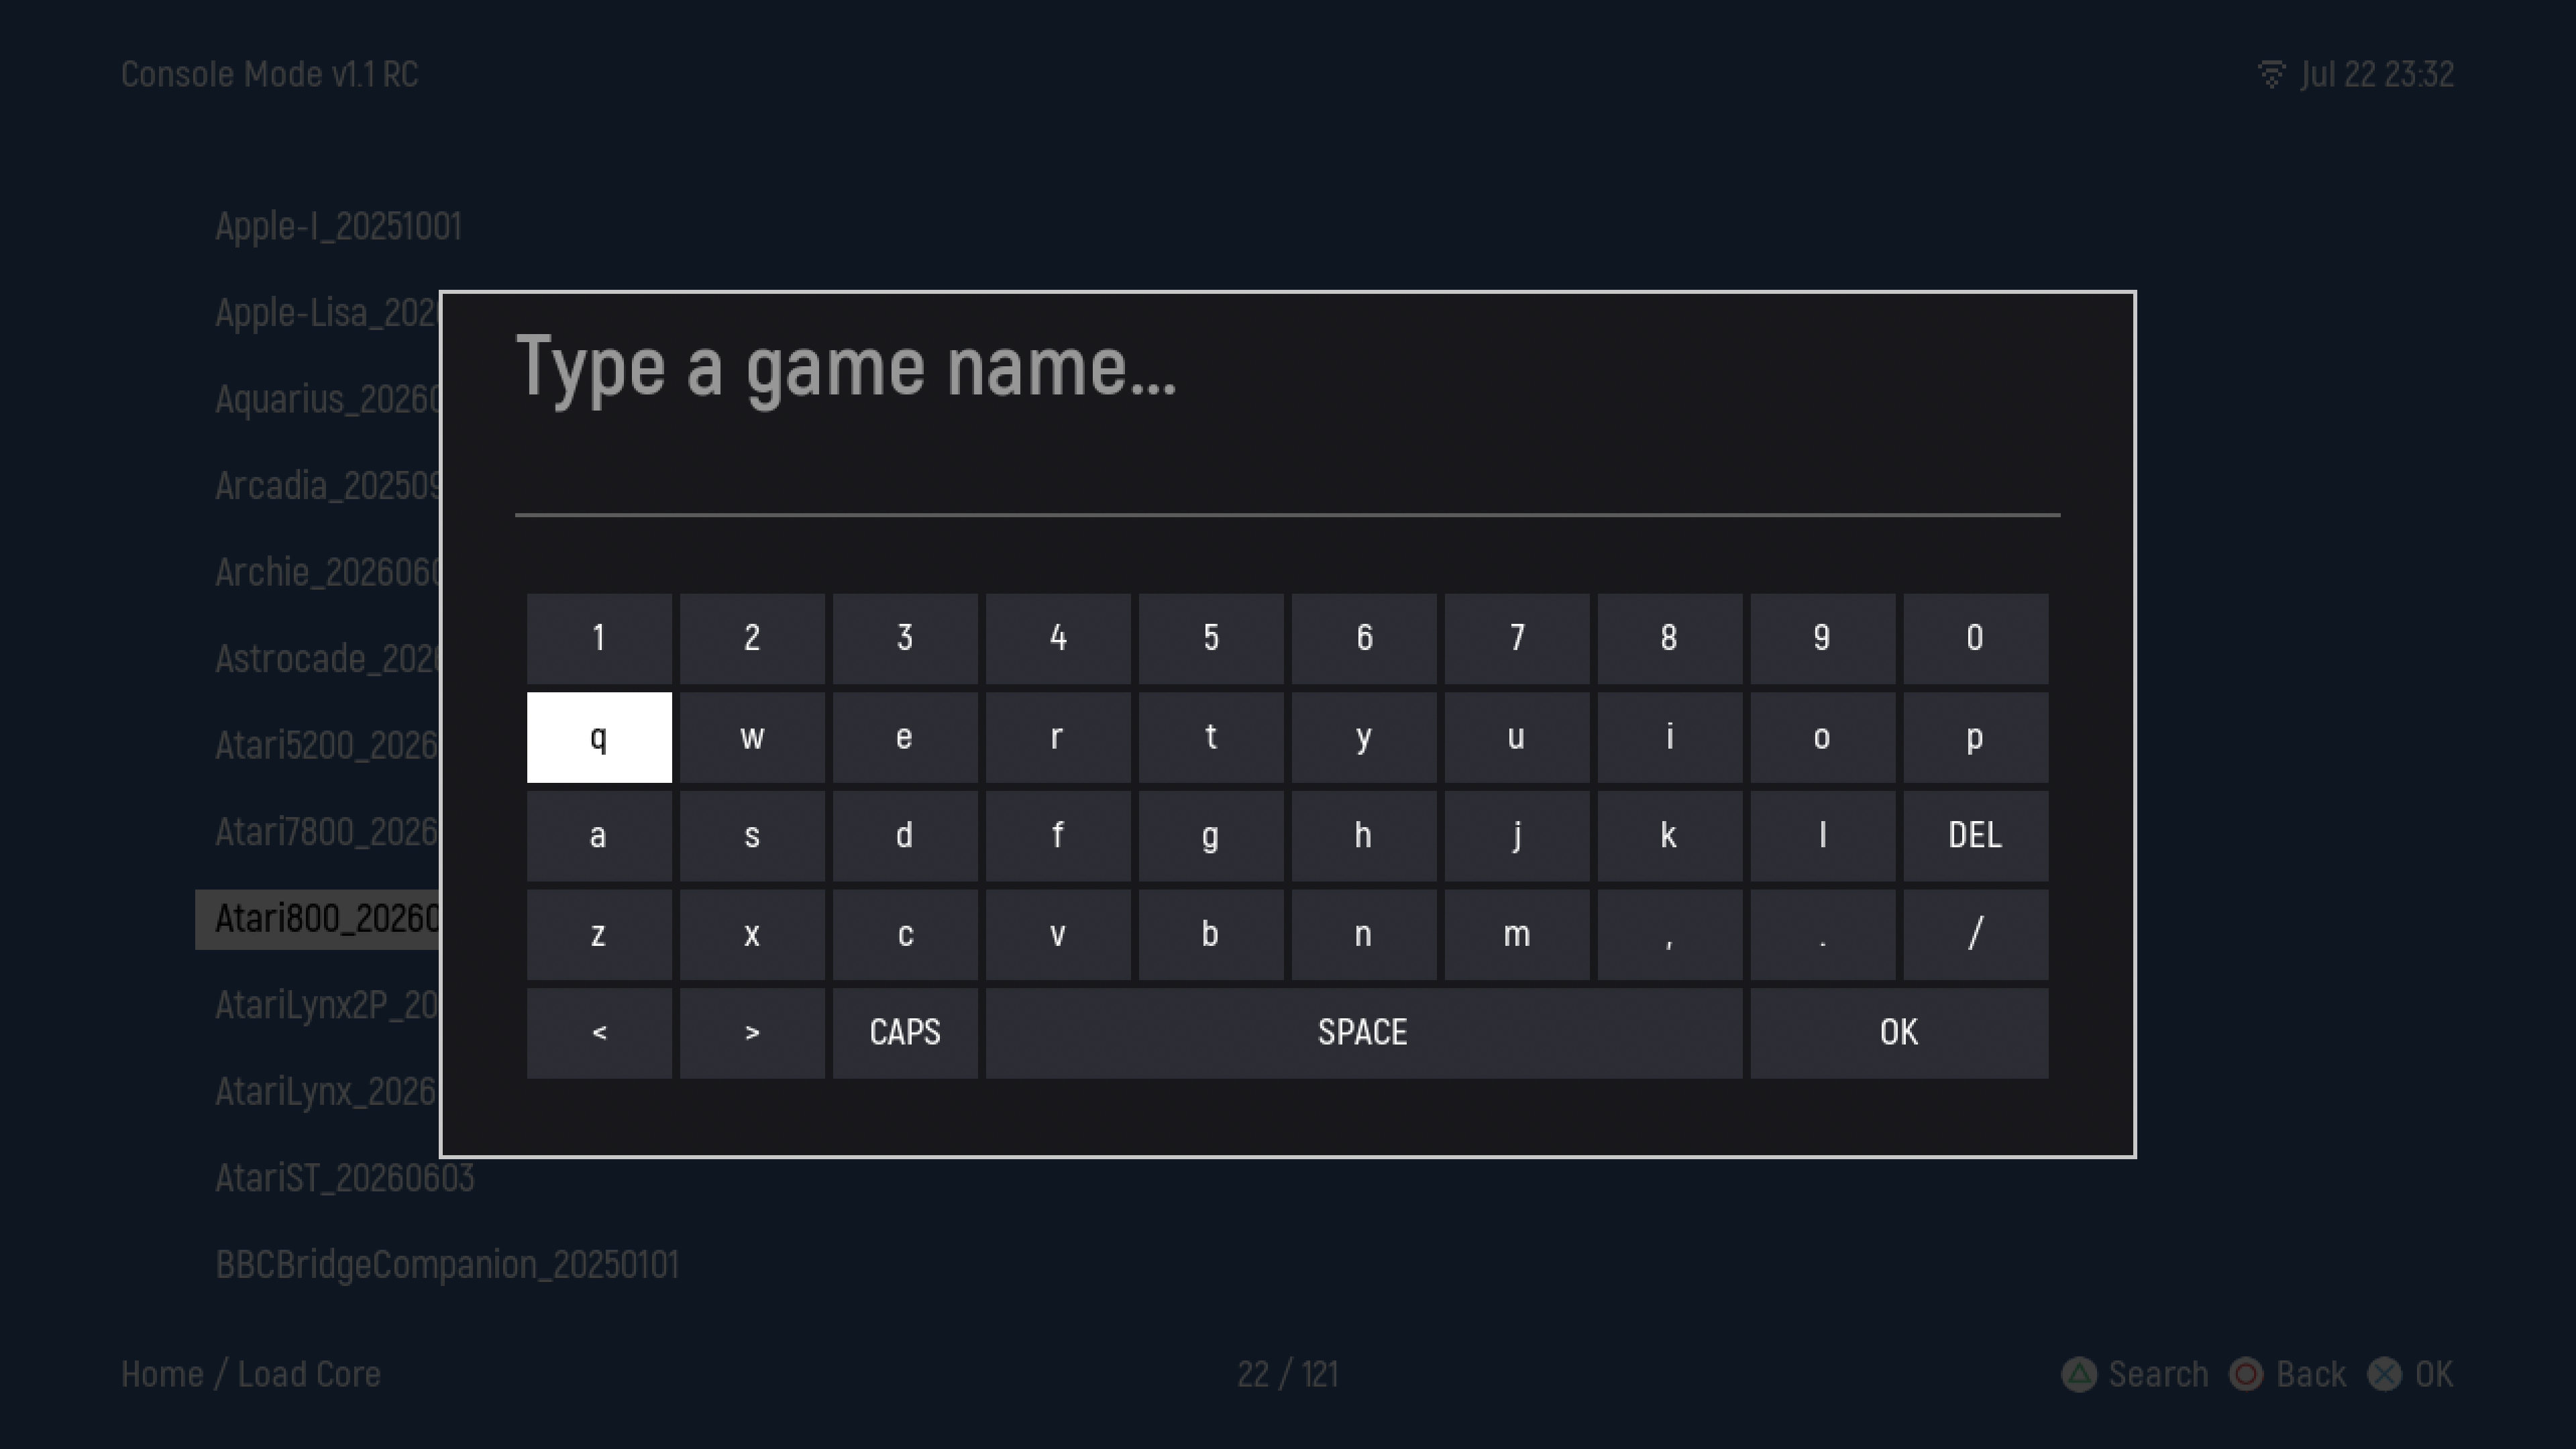
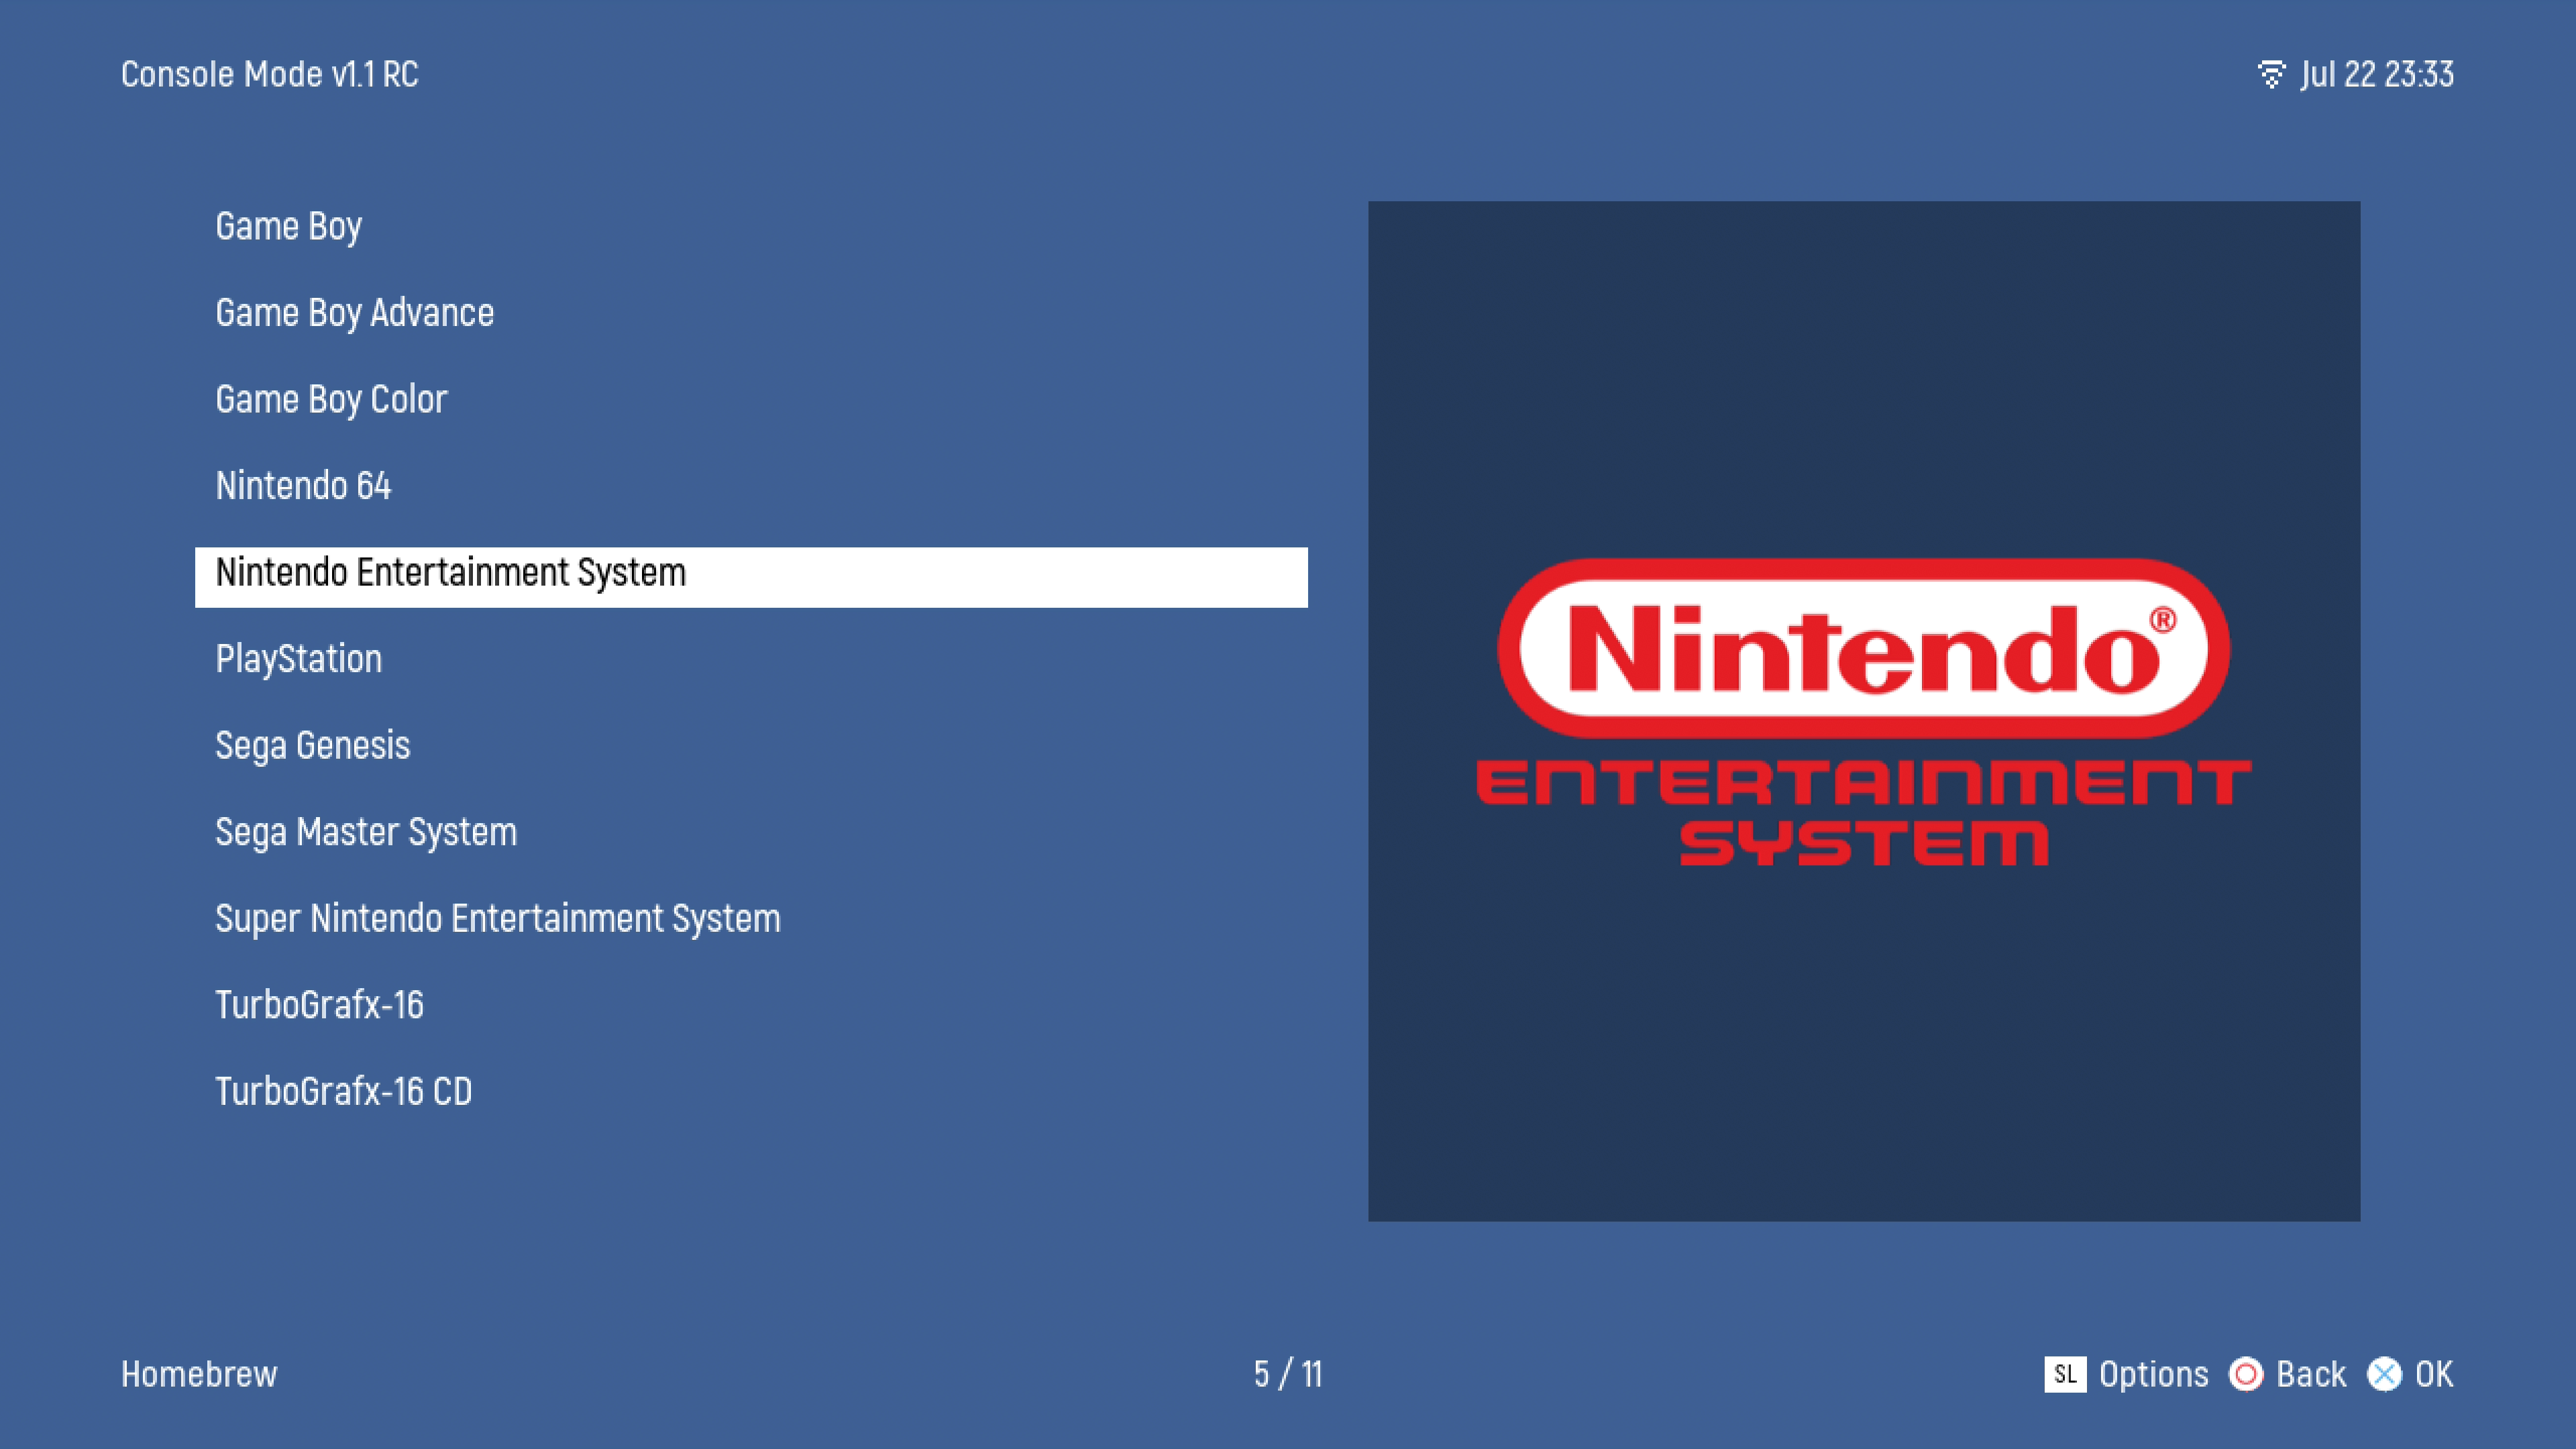
- Hombrew Option presents a list of all PRE-LOADED Homebrew and their Consoles that come default with the SS One.
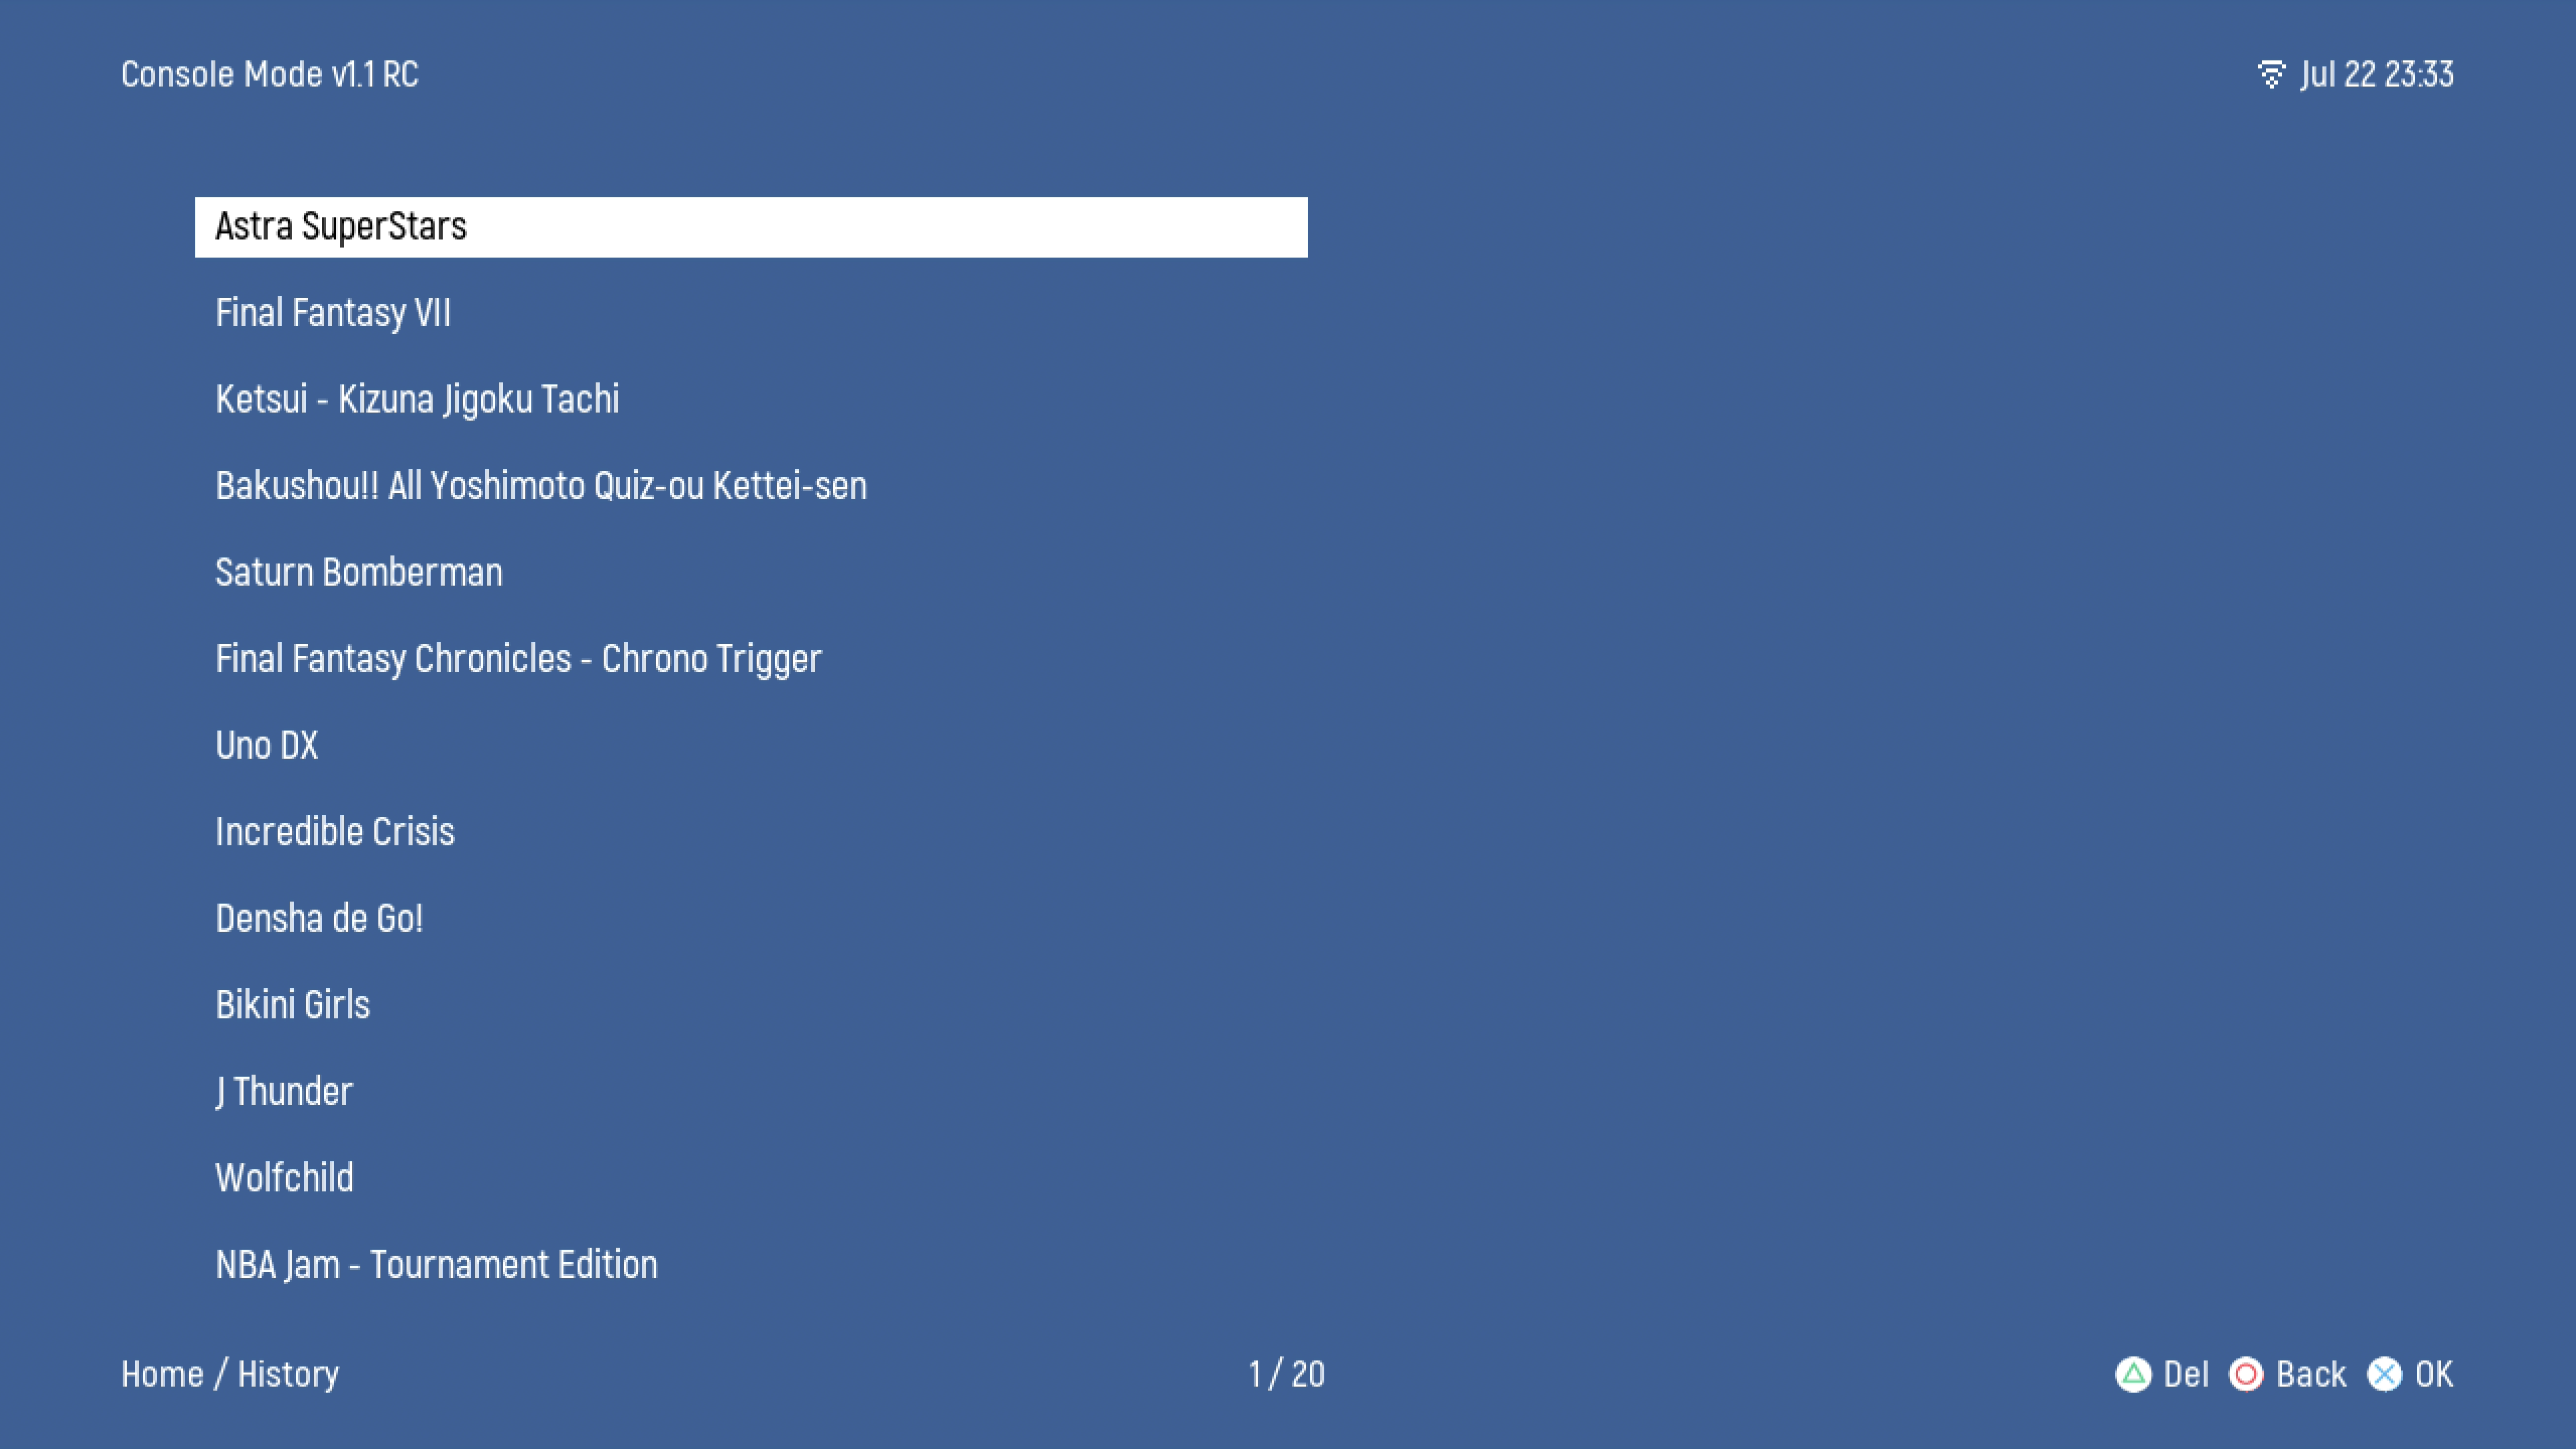
- History loads the last 20 games/cores you have run. You can increase or decrease this list value in the System Options.
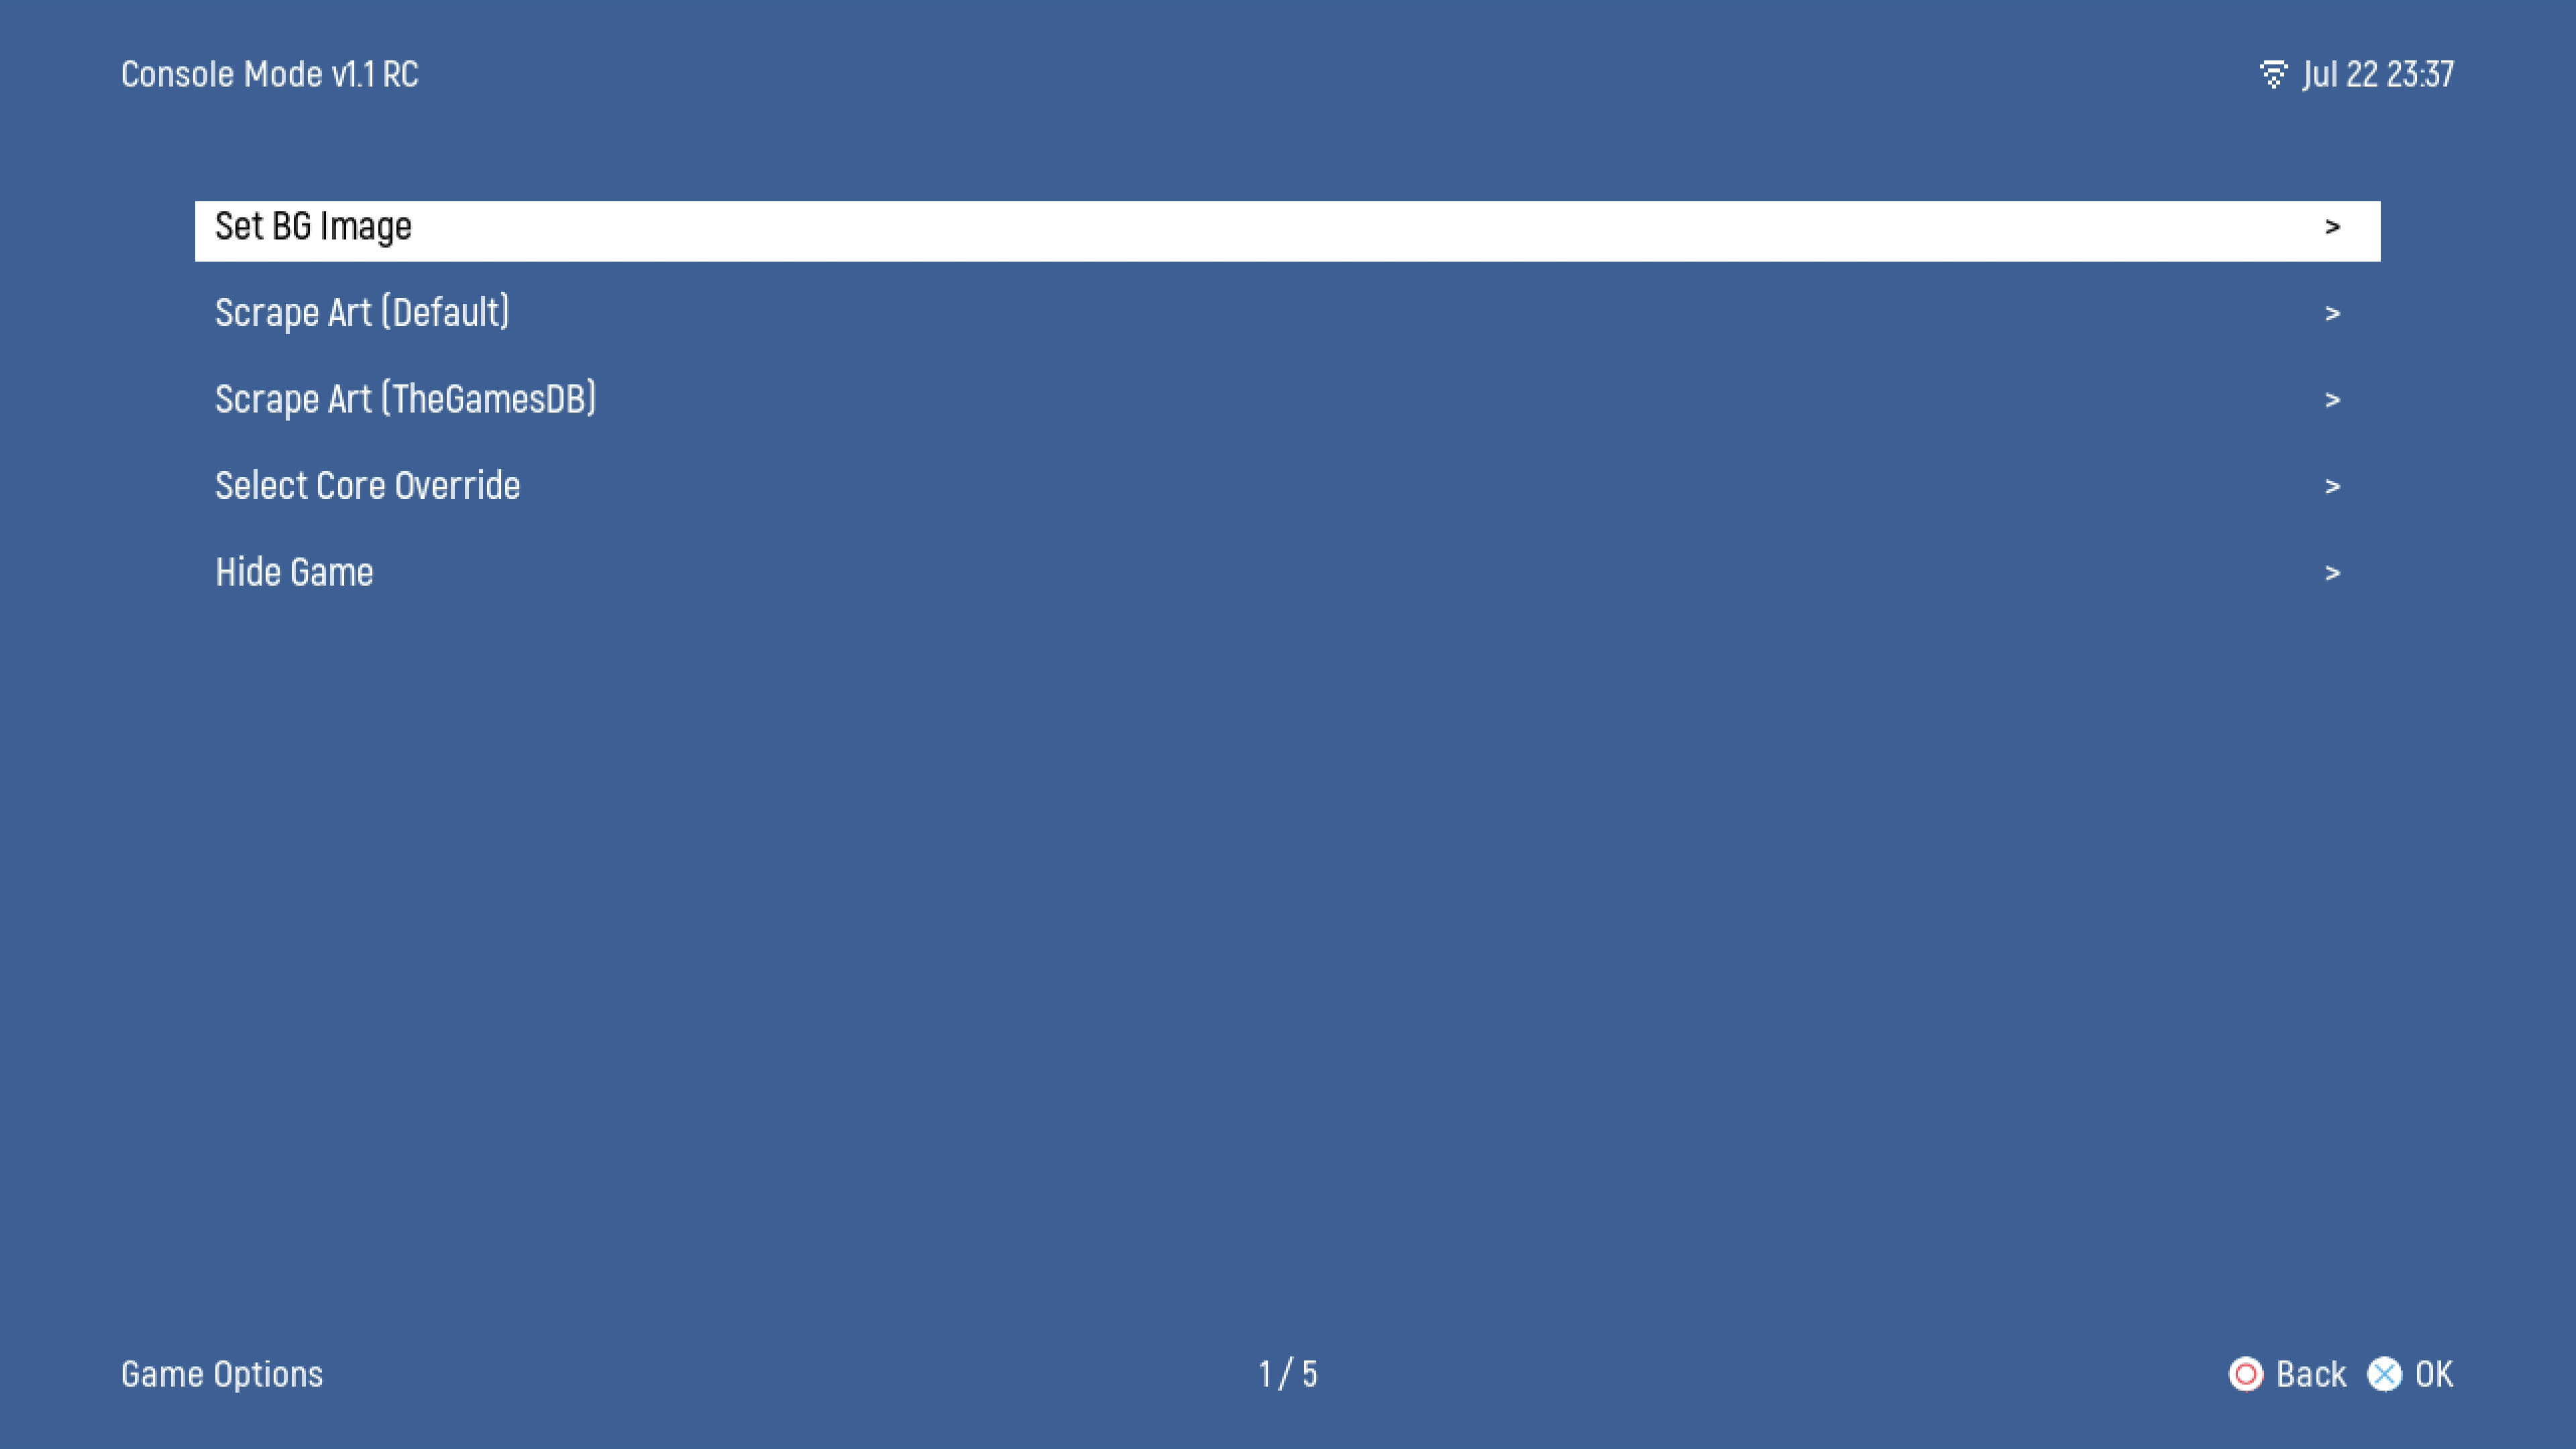
- NOTE: Some games, cores and directories allow you to select context sensitive options when you press the "Options" Key. It will be SELECT button on PS1 controller or Space Bar on a connected Keyboard. The image below is that of the Game Options menu.
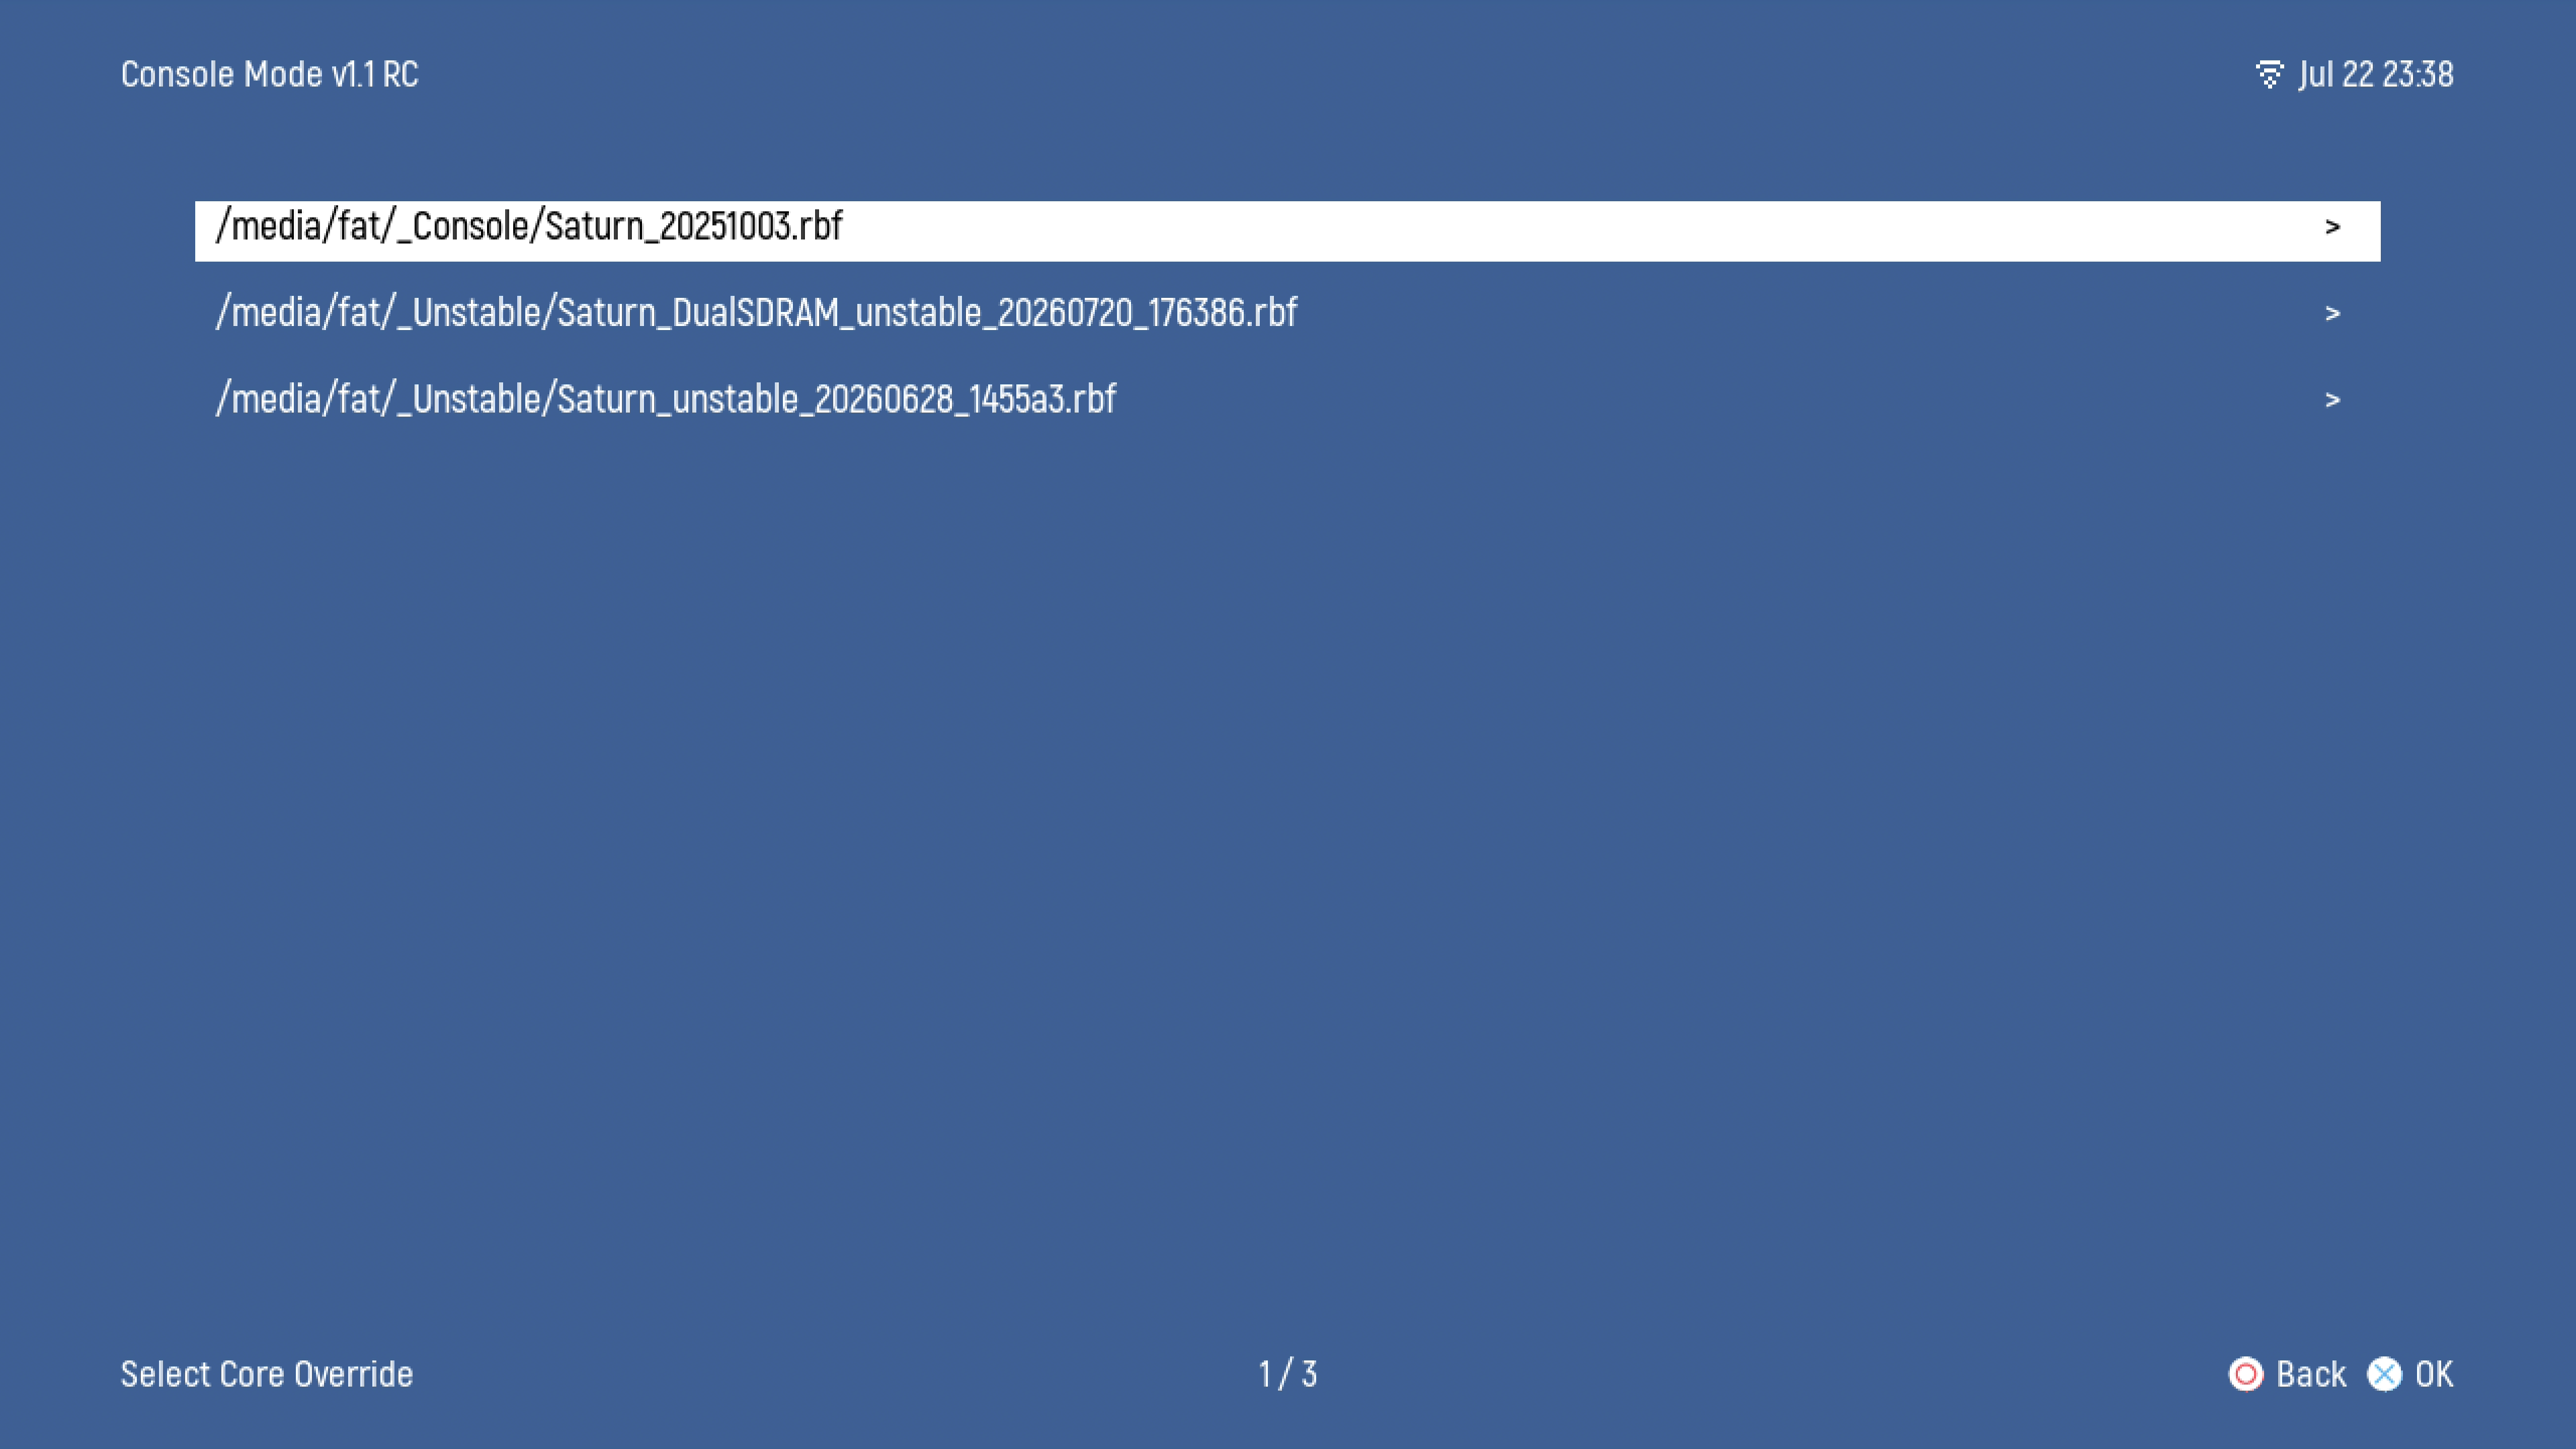
- NOTE: The image below is of the "Core Override" menu on the Console List. You can also activate this menu with the "Options" Key. This menu allows you to swap to another "default" core, such as an UNSTABLE core or a Retro Achievements Core.
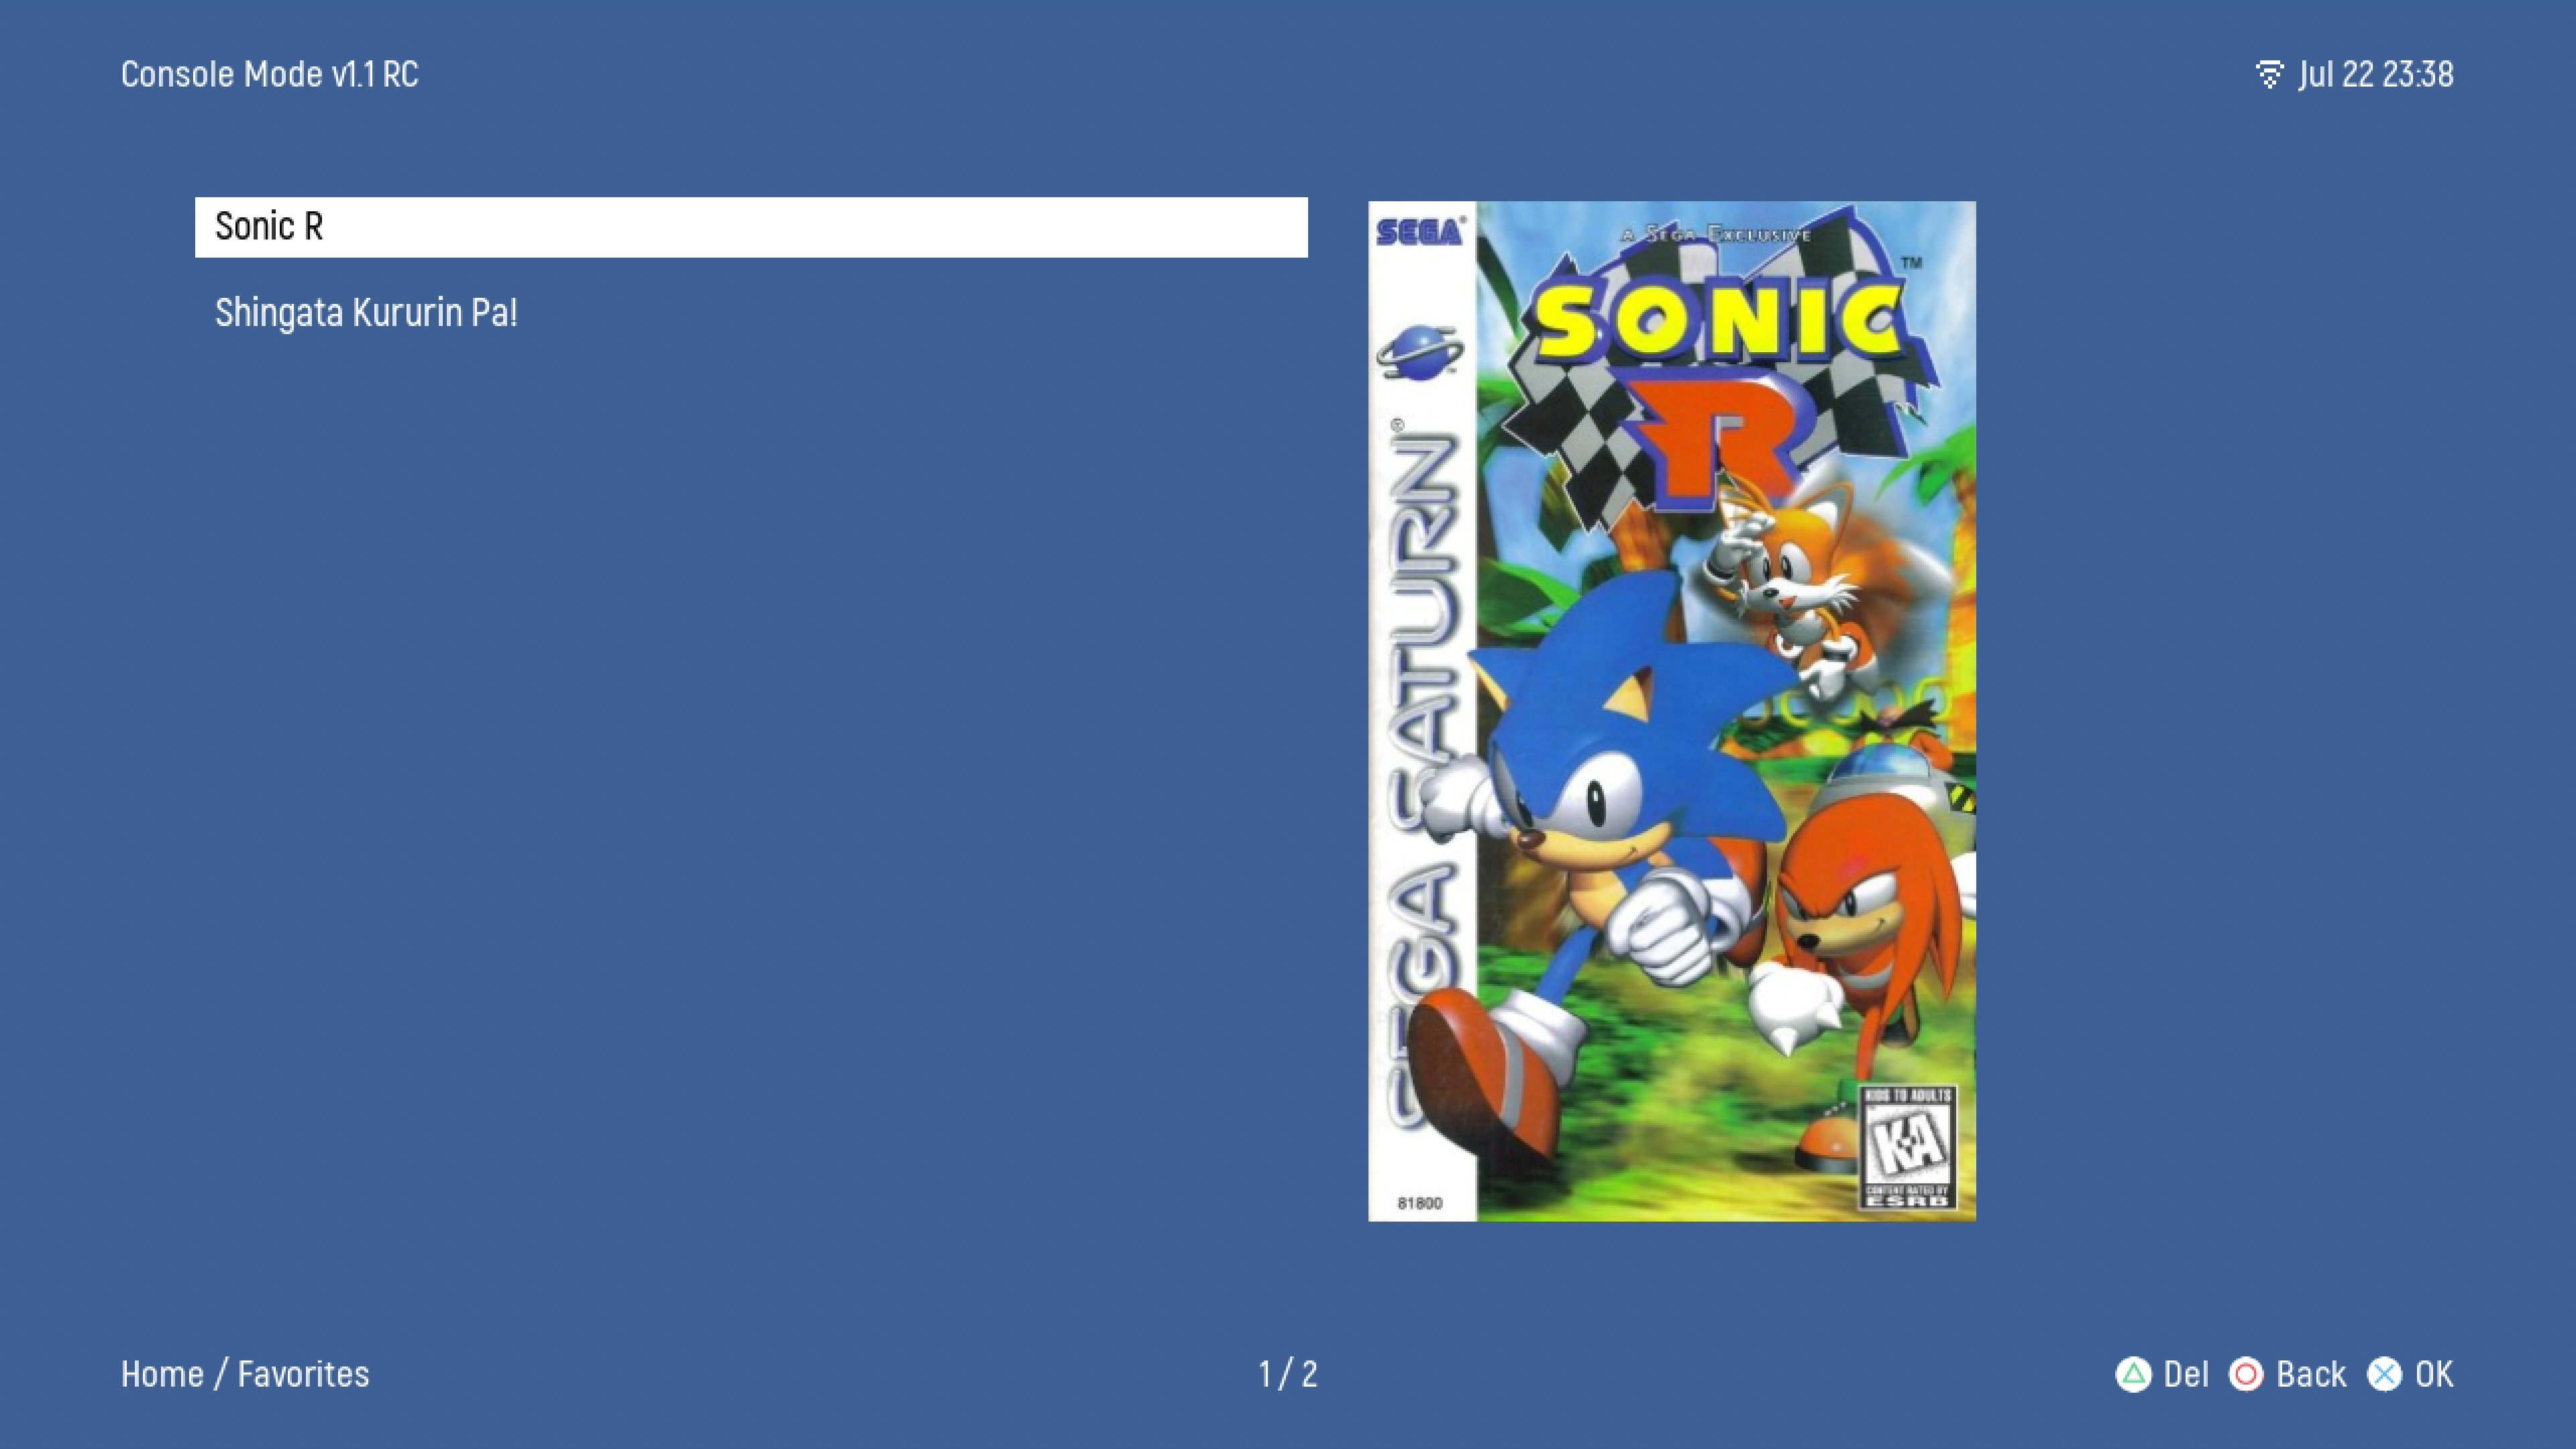
- You can mark games as your FAVORITE in the games lists using the Favorite Key. It will put a star next to the title, and populate the "Favorites" option on the Top Level Menu. In the Favorites menu, you can remove titles you no longer with to be your favorite.
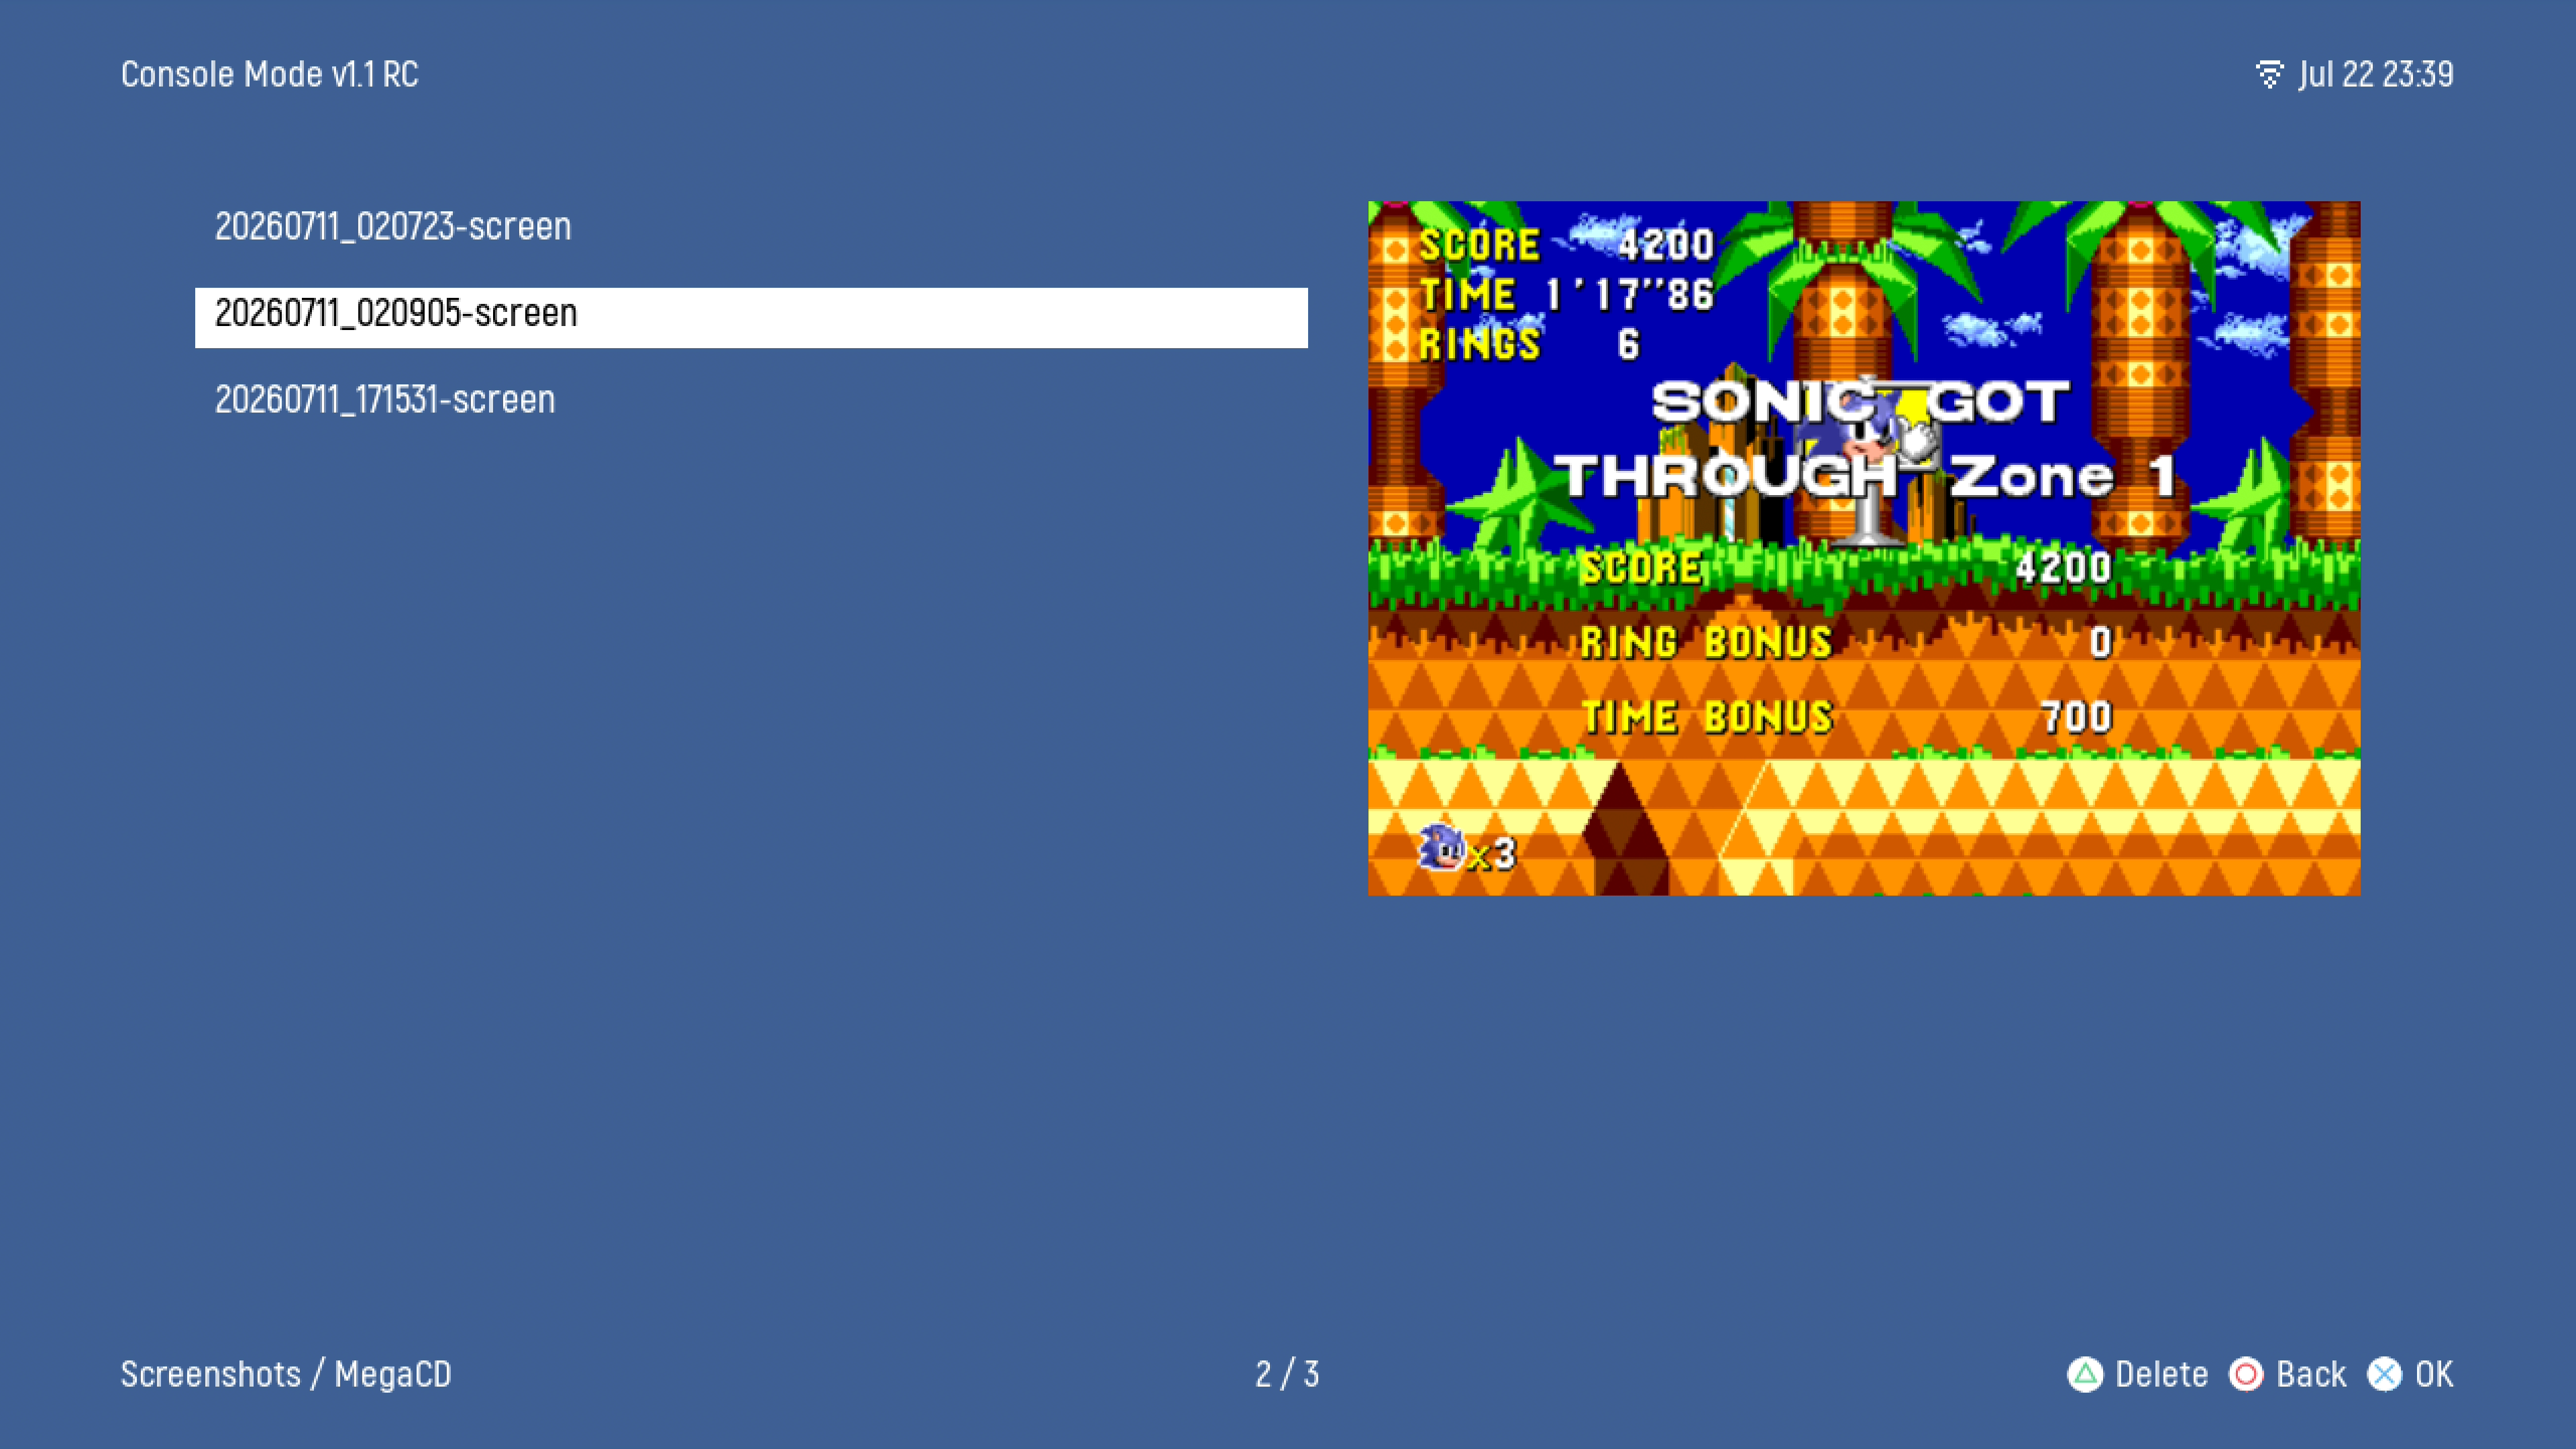
- You can capture Screenshots on CM using the same MiSTer FPGA "Screenshot" shortcuts. You will need to plug in a Keyboard to take them. Images are saved to SD card and can be viewed from the Screenshots menu.
Win+Print Screen = Take a screenshot (upscaled)
Shift+Win+Print Screen = Take a screenshot (raw output)
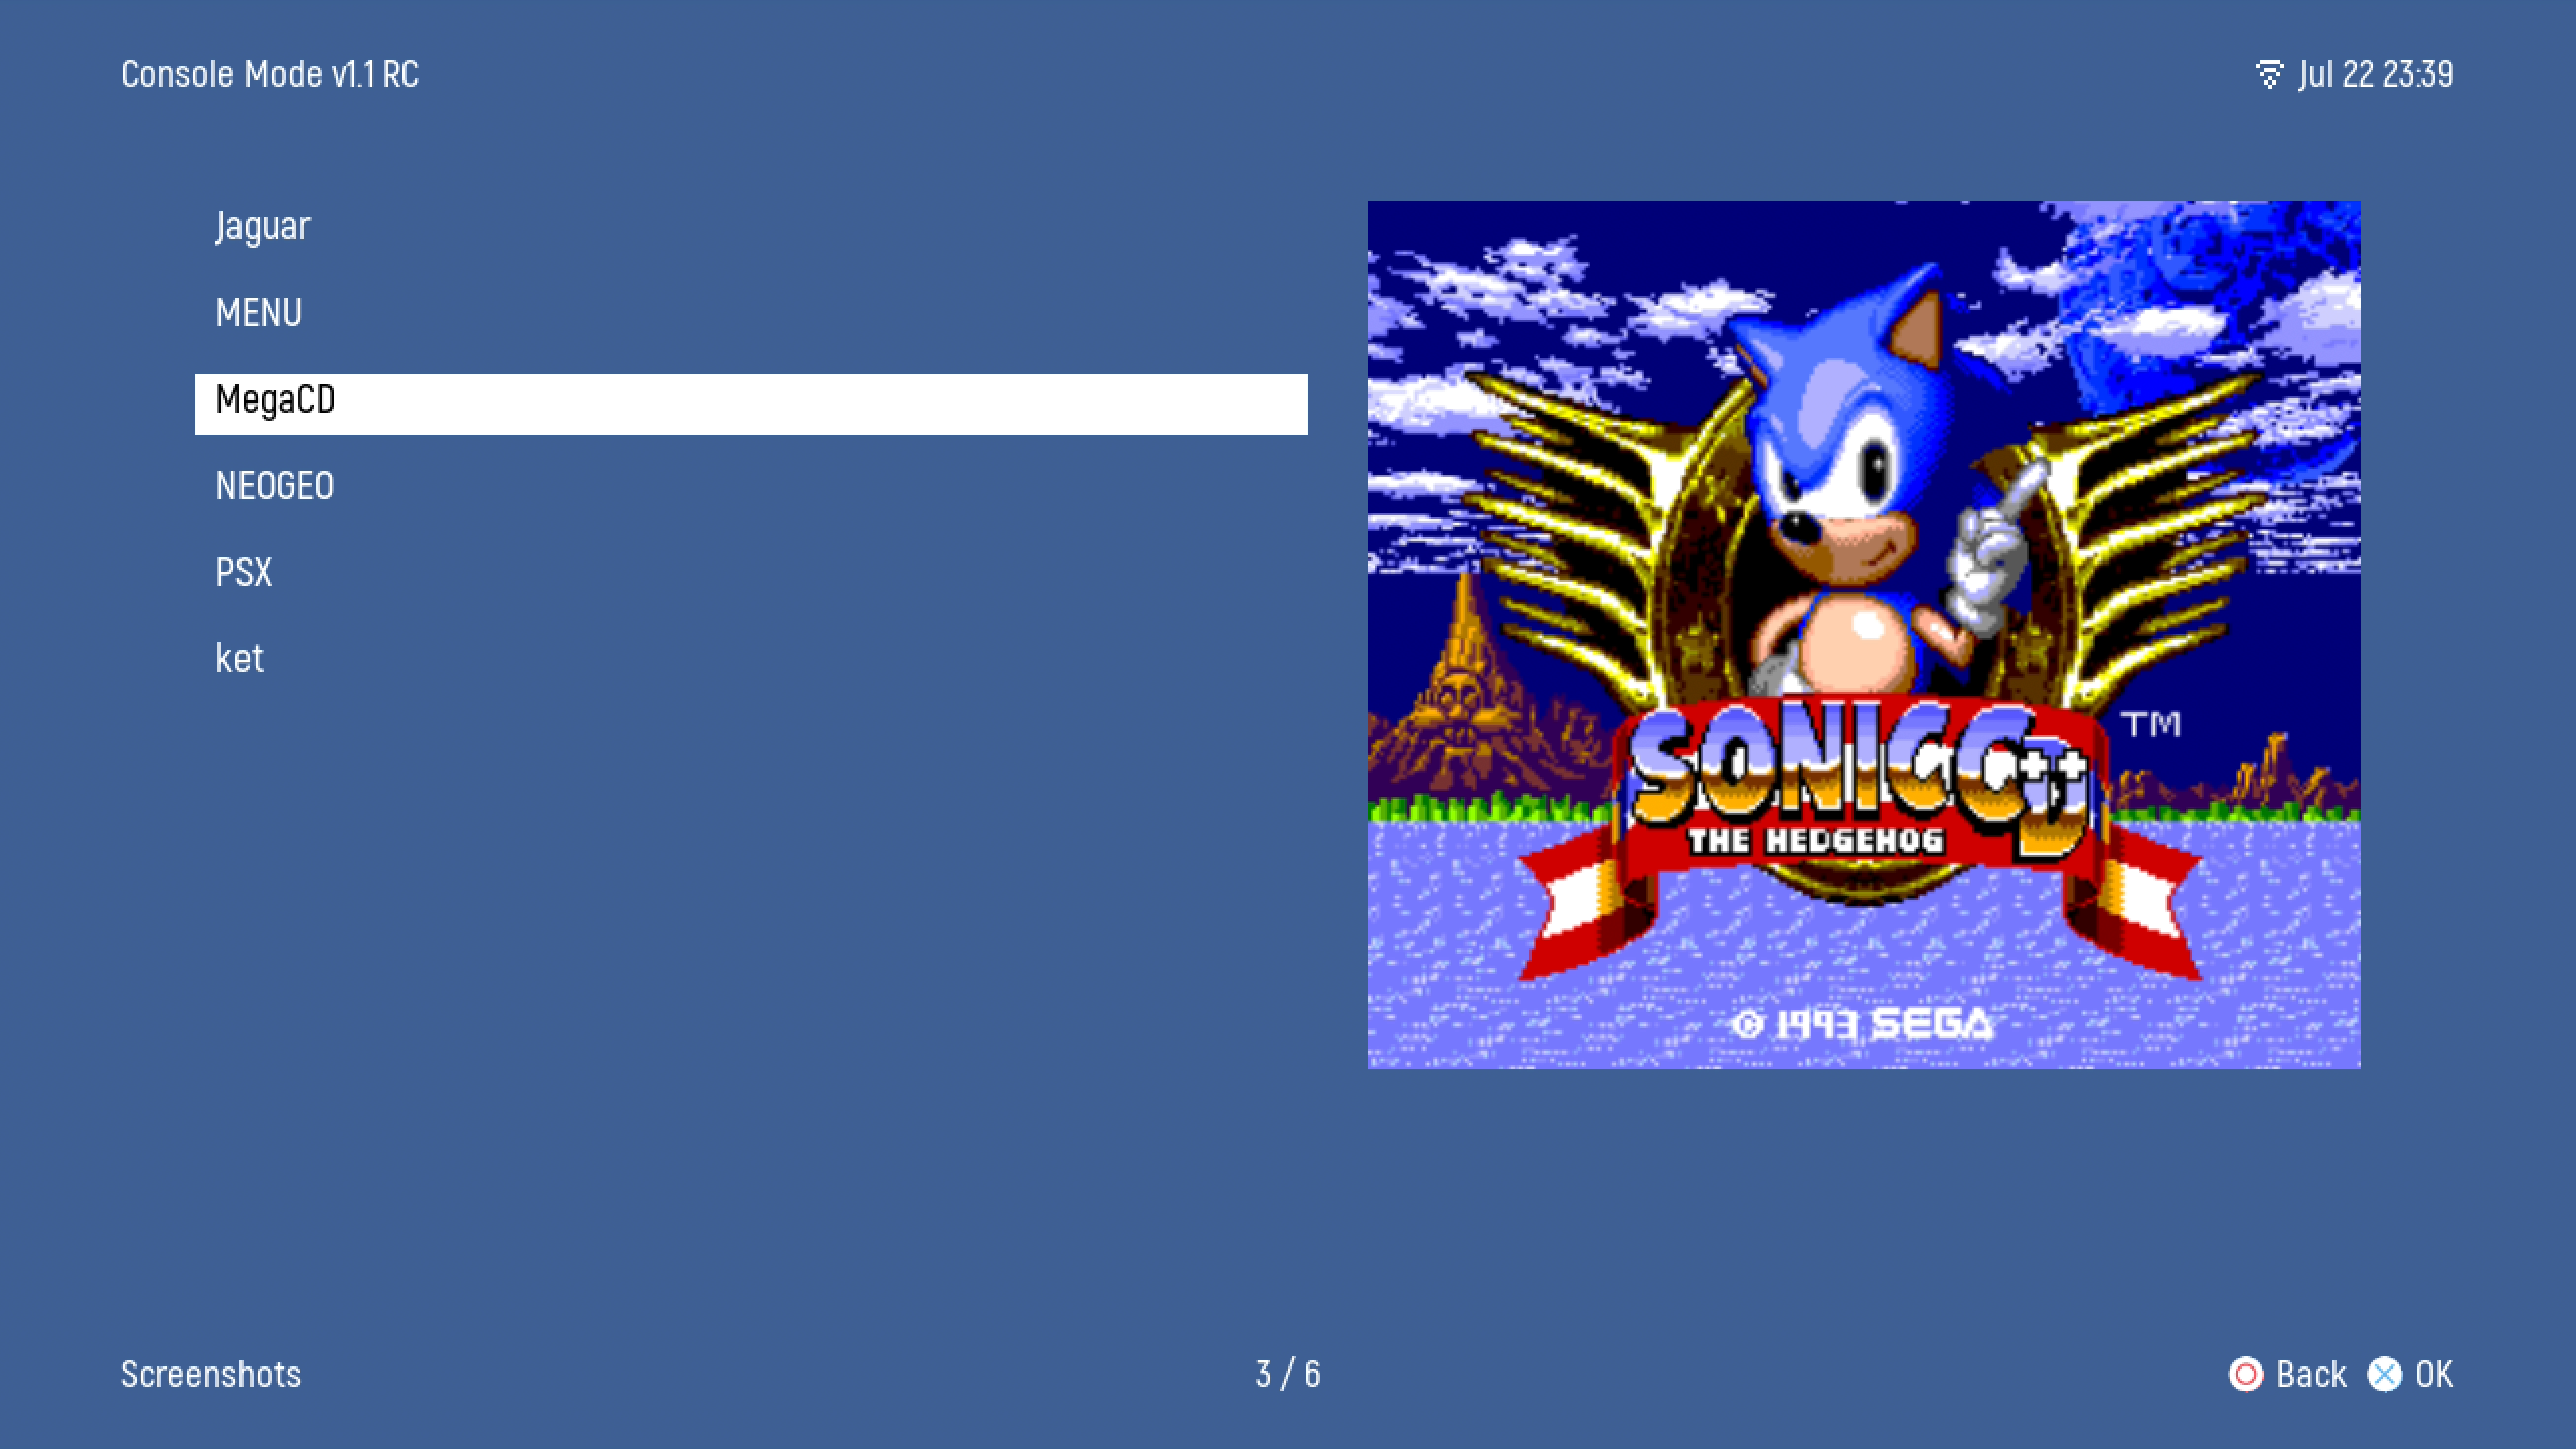
- Entering a folder will show you all captured images for that Console/Core.
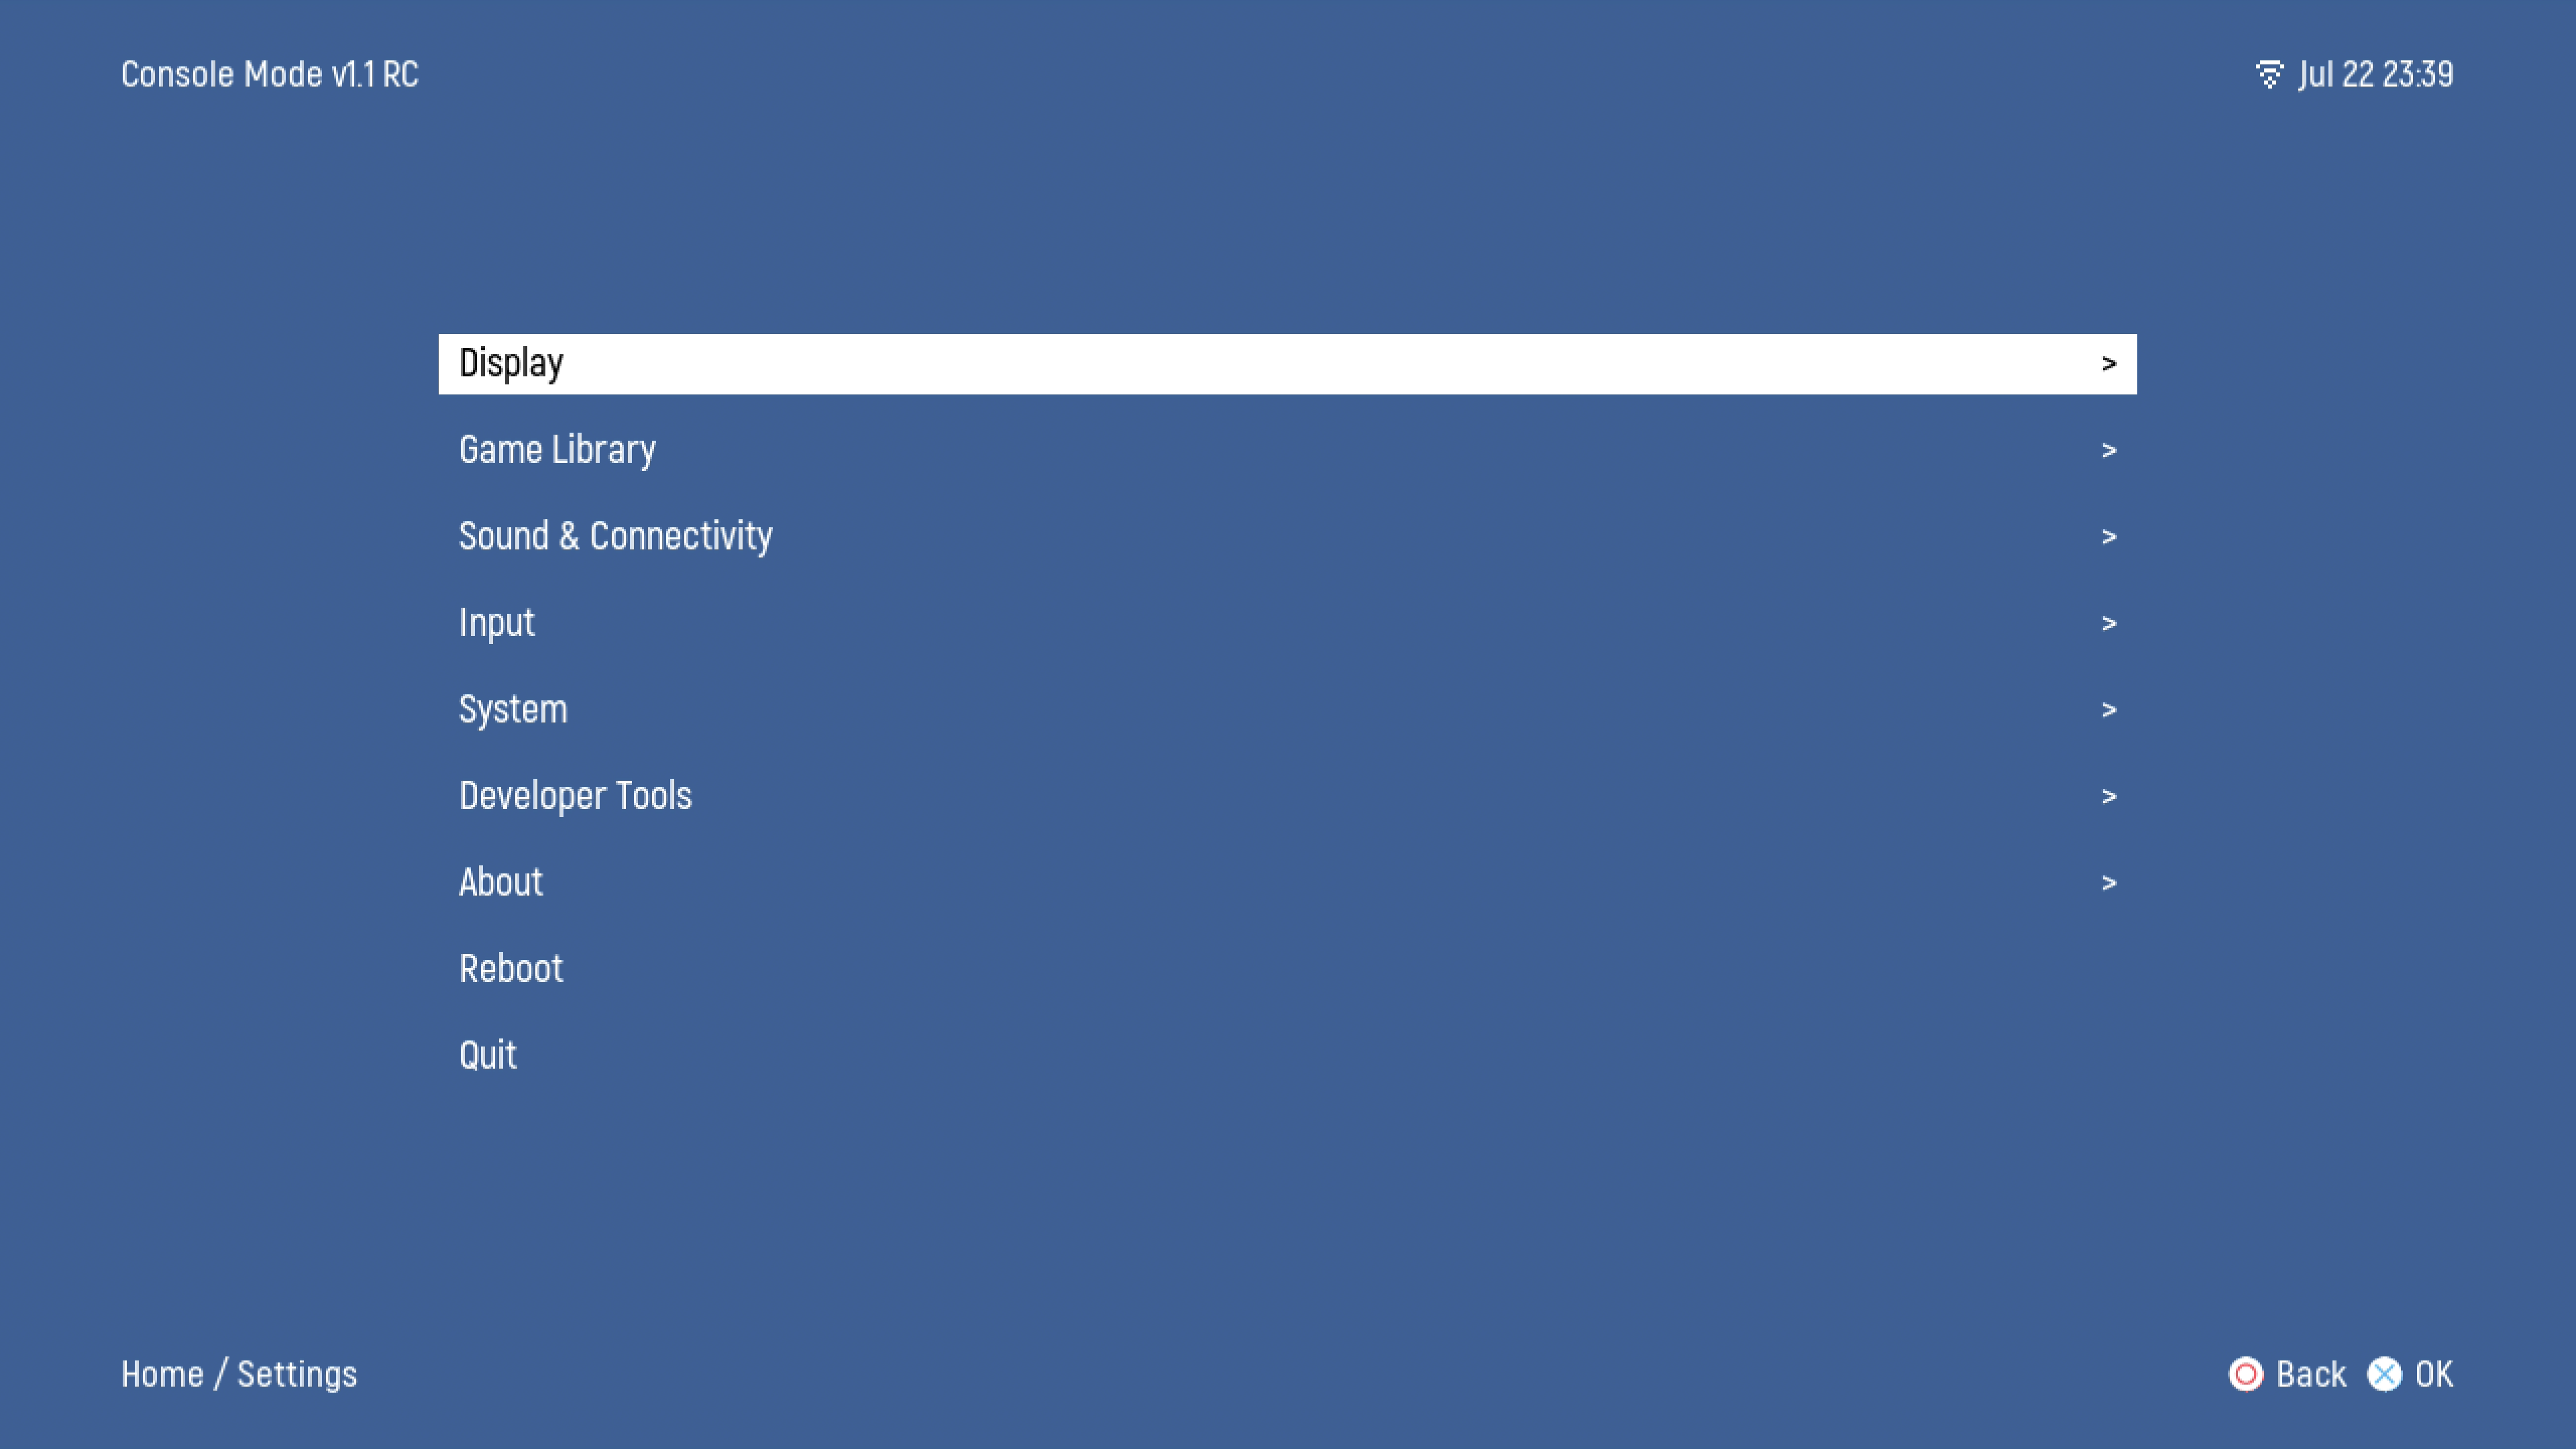
The Settings Menu is where MOST of the options for making changes to Console Mode are. The majority of options are self explanatory, but here are some images for reference.
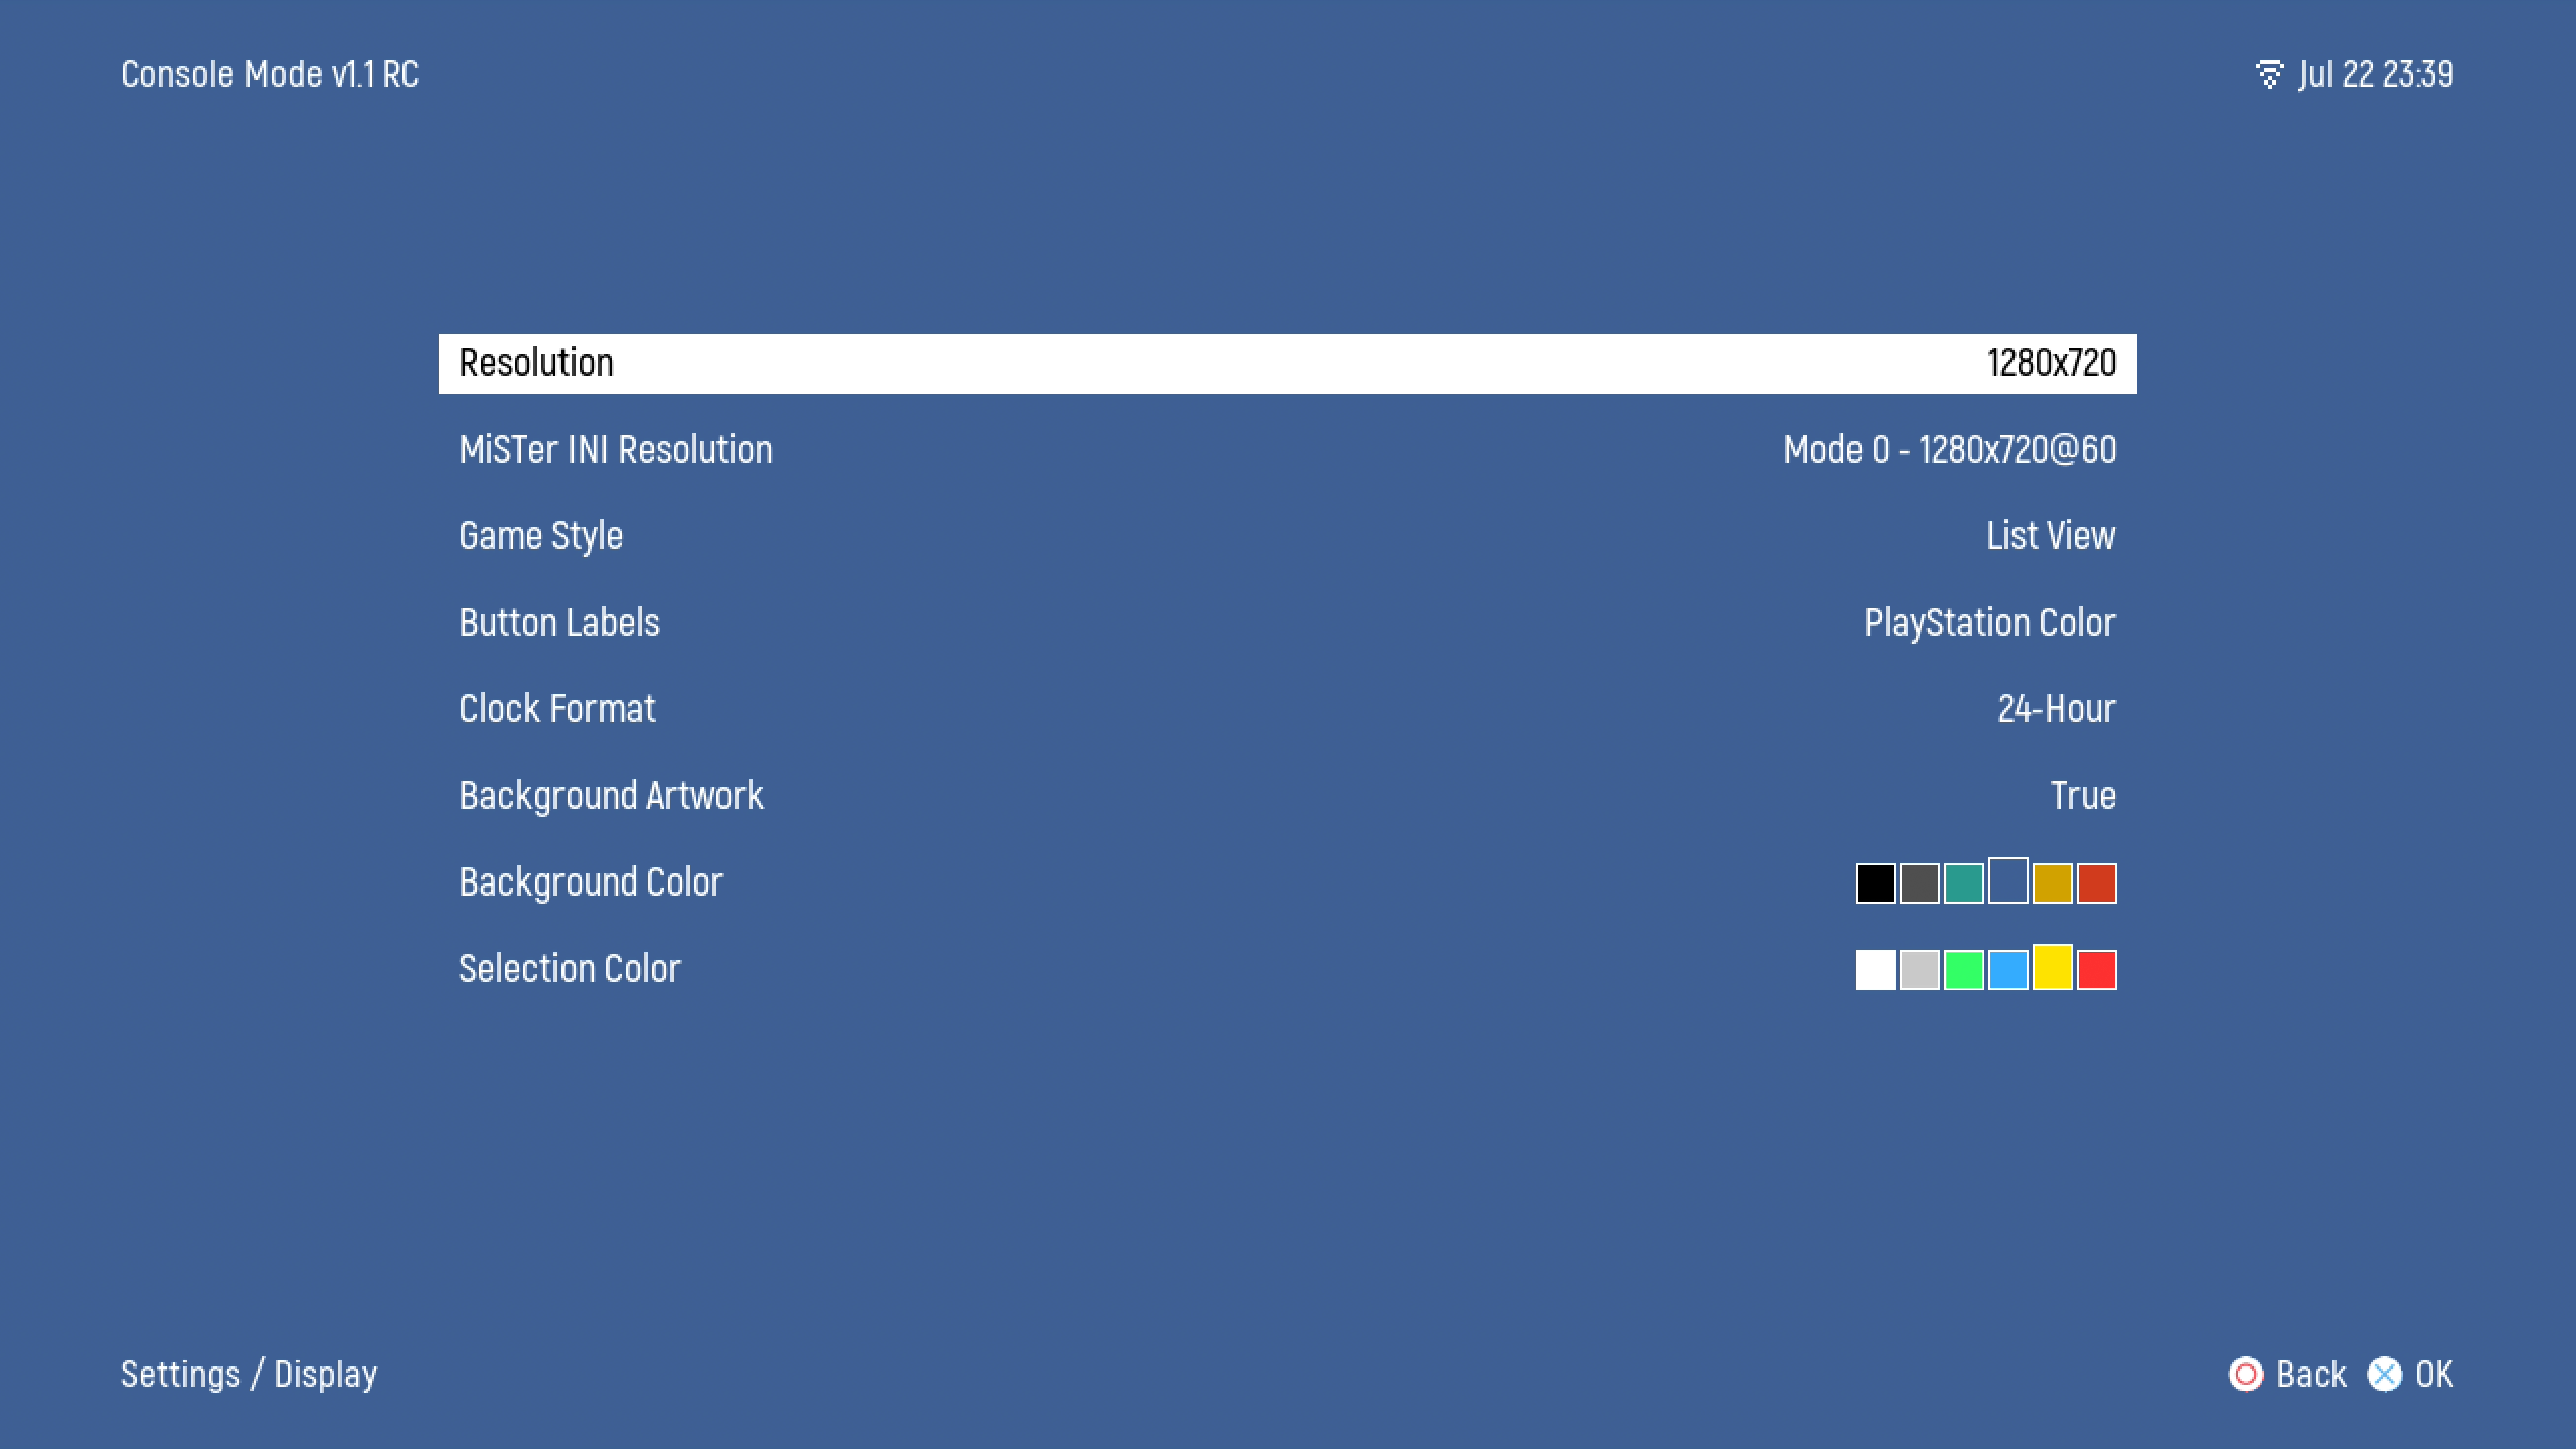
- Resolution - Allows you to change the display resolution of console mode
- Mister INI Resolution - Allows you to change the
video_modefrom the mister configuration INI. Most useful for troubleshooting HDMI issues. - Game Style - Changes the Layout of the Games in the menus, see Display Settings section for screen cap examples.
- Button Labels - You can change your Button Glyphs style that appears on the bottom right corner of most menus.
- Clock Format - Swap between 12 hr and 24 hr clock.
- Background Artwork - Disables or Enables background art in the menus when you have scraped artwork.
- Background Color - Changes Primary color of the Menu backgroundf
- Selection Color - Changes the color of the highlight around Game selections.
- Rebuild Game Database - Scans all connected SD cards and Drives for changes to games and games folders
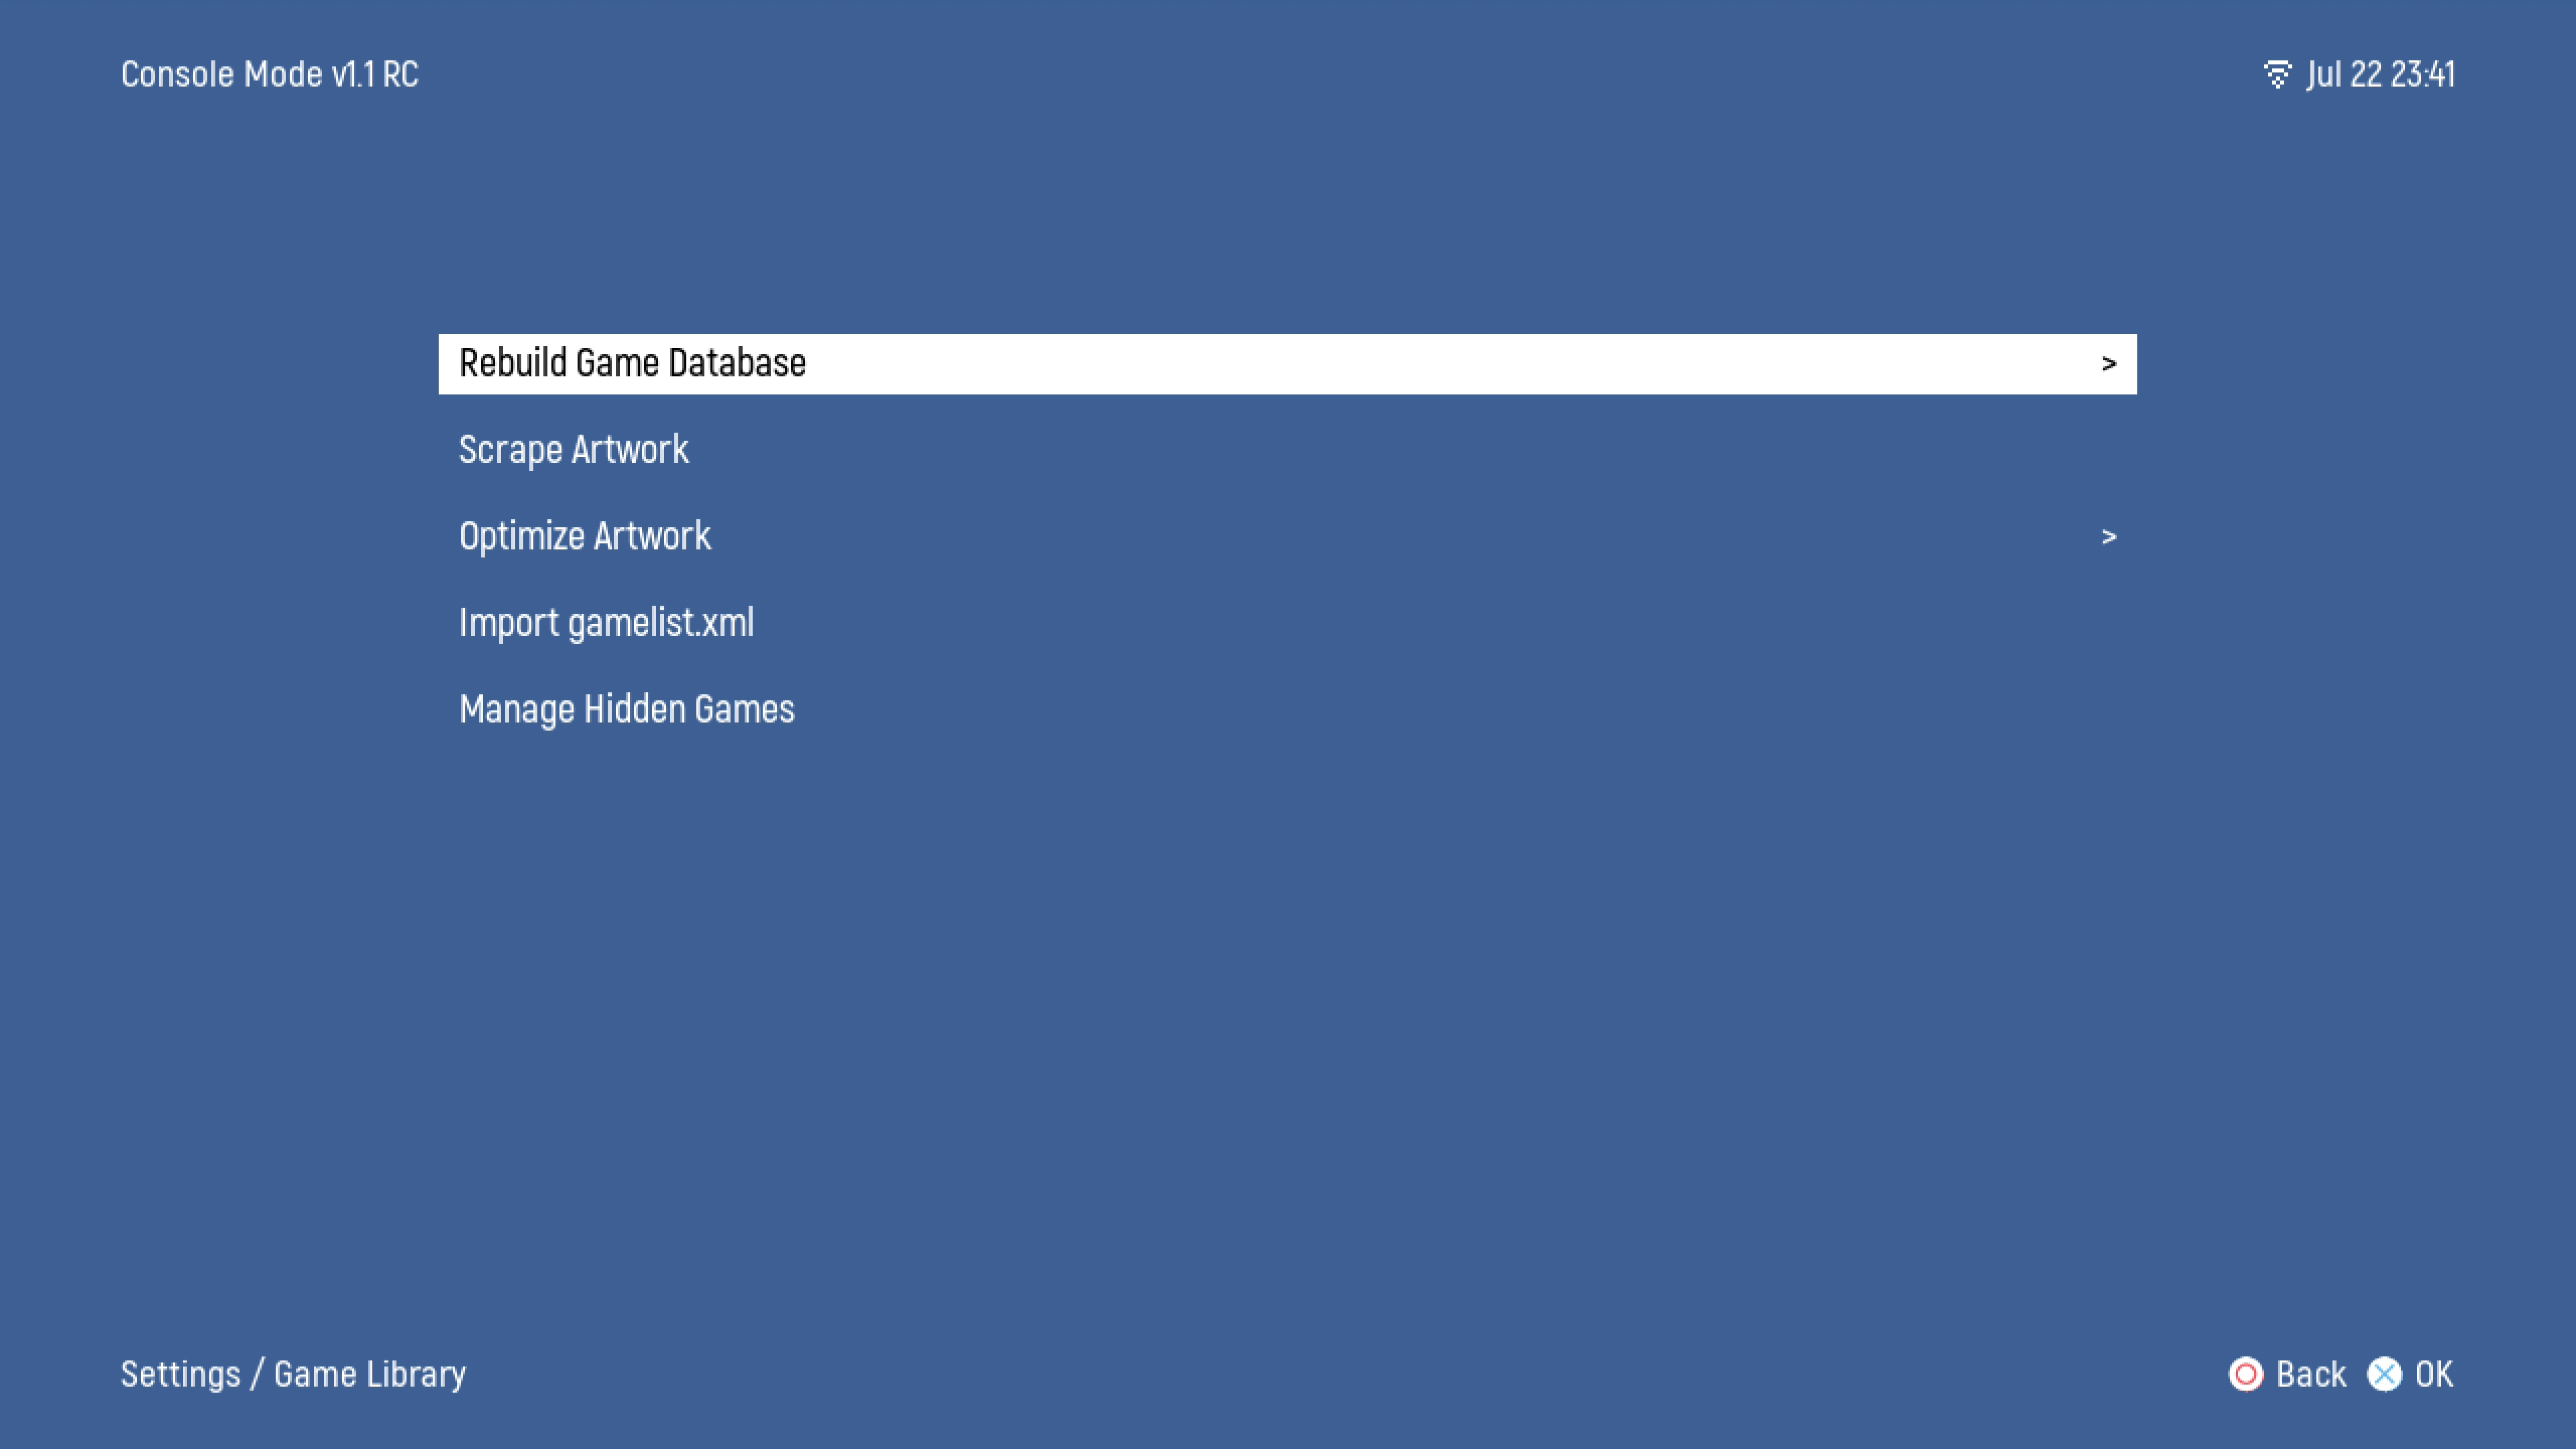
- Scrape Artwork - Scan online databases for Cover Art based on games you have installed. Typically searches against KNOWN titles, so make sure your file names match. Defaults to libretro as a download source, but you can use another games database with a valid API Key.
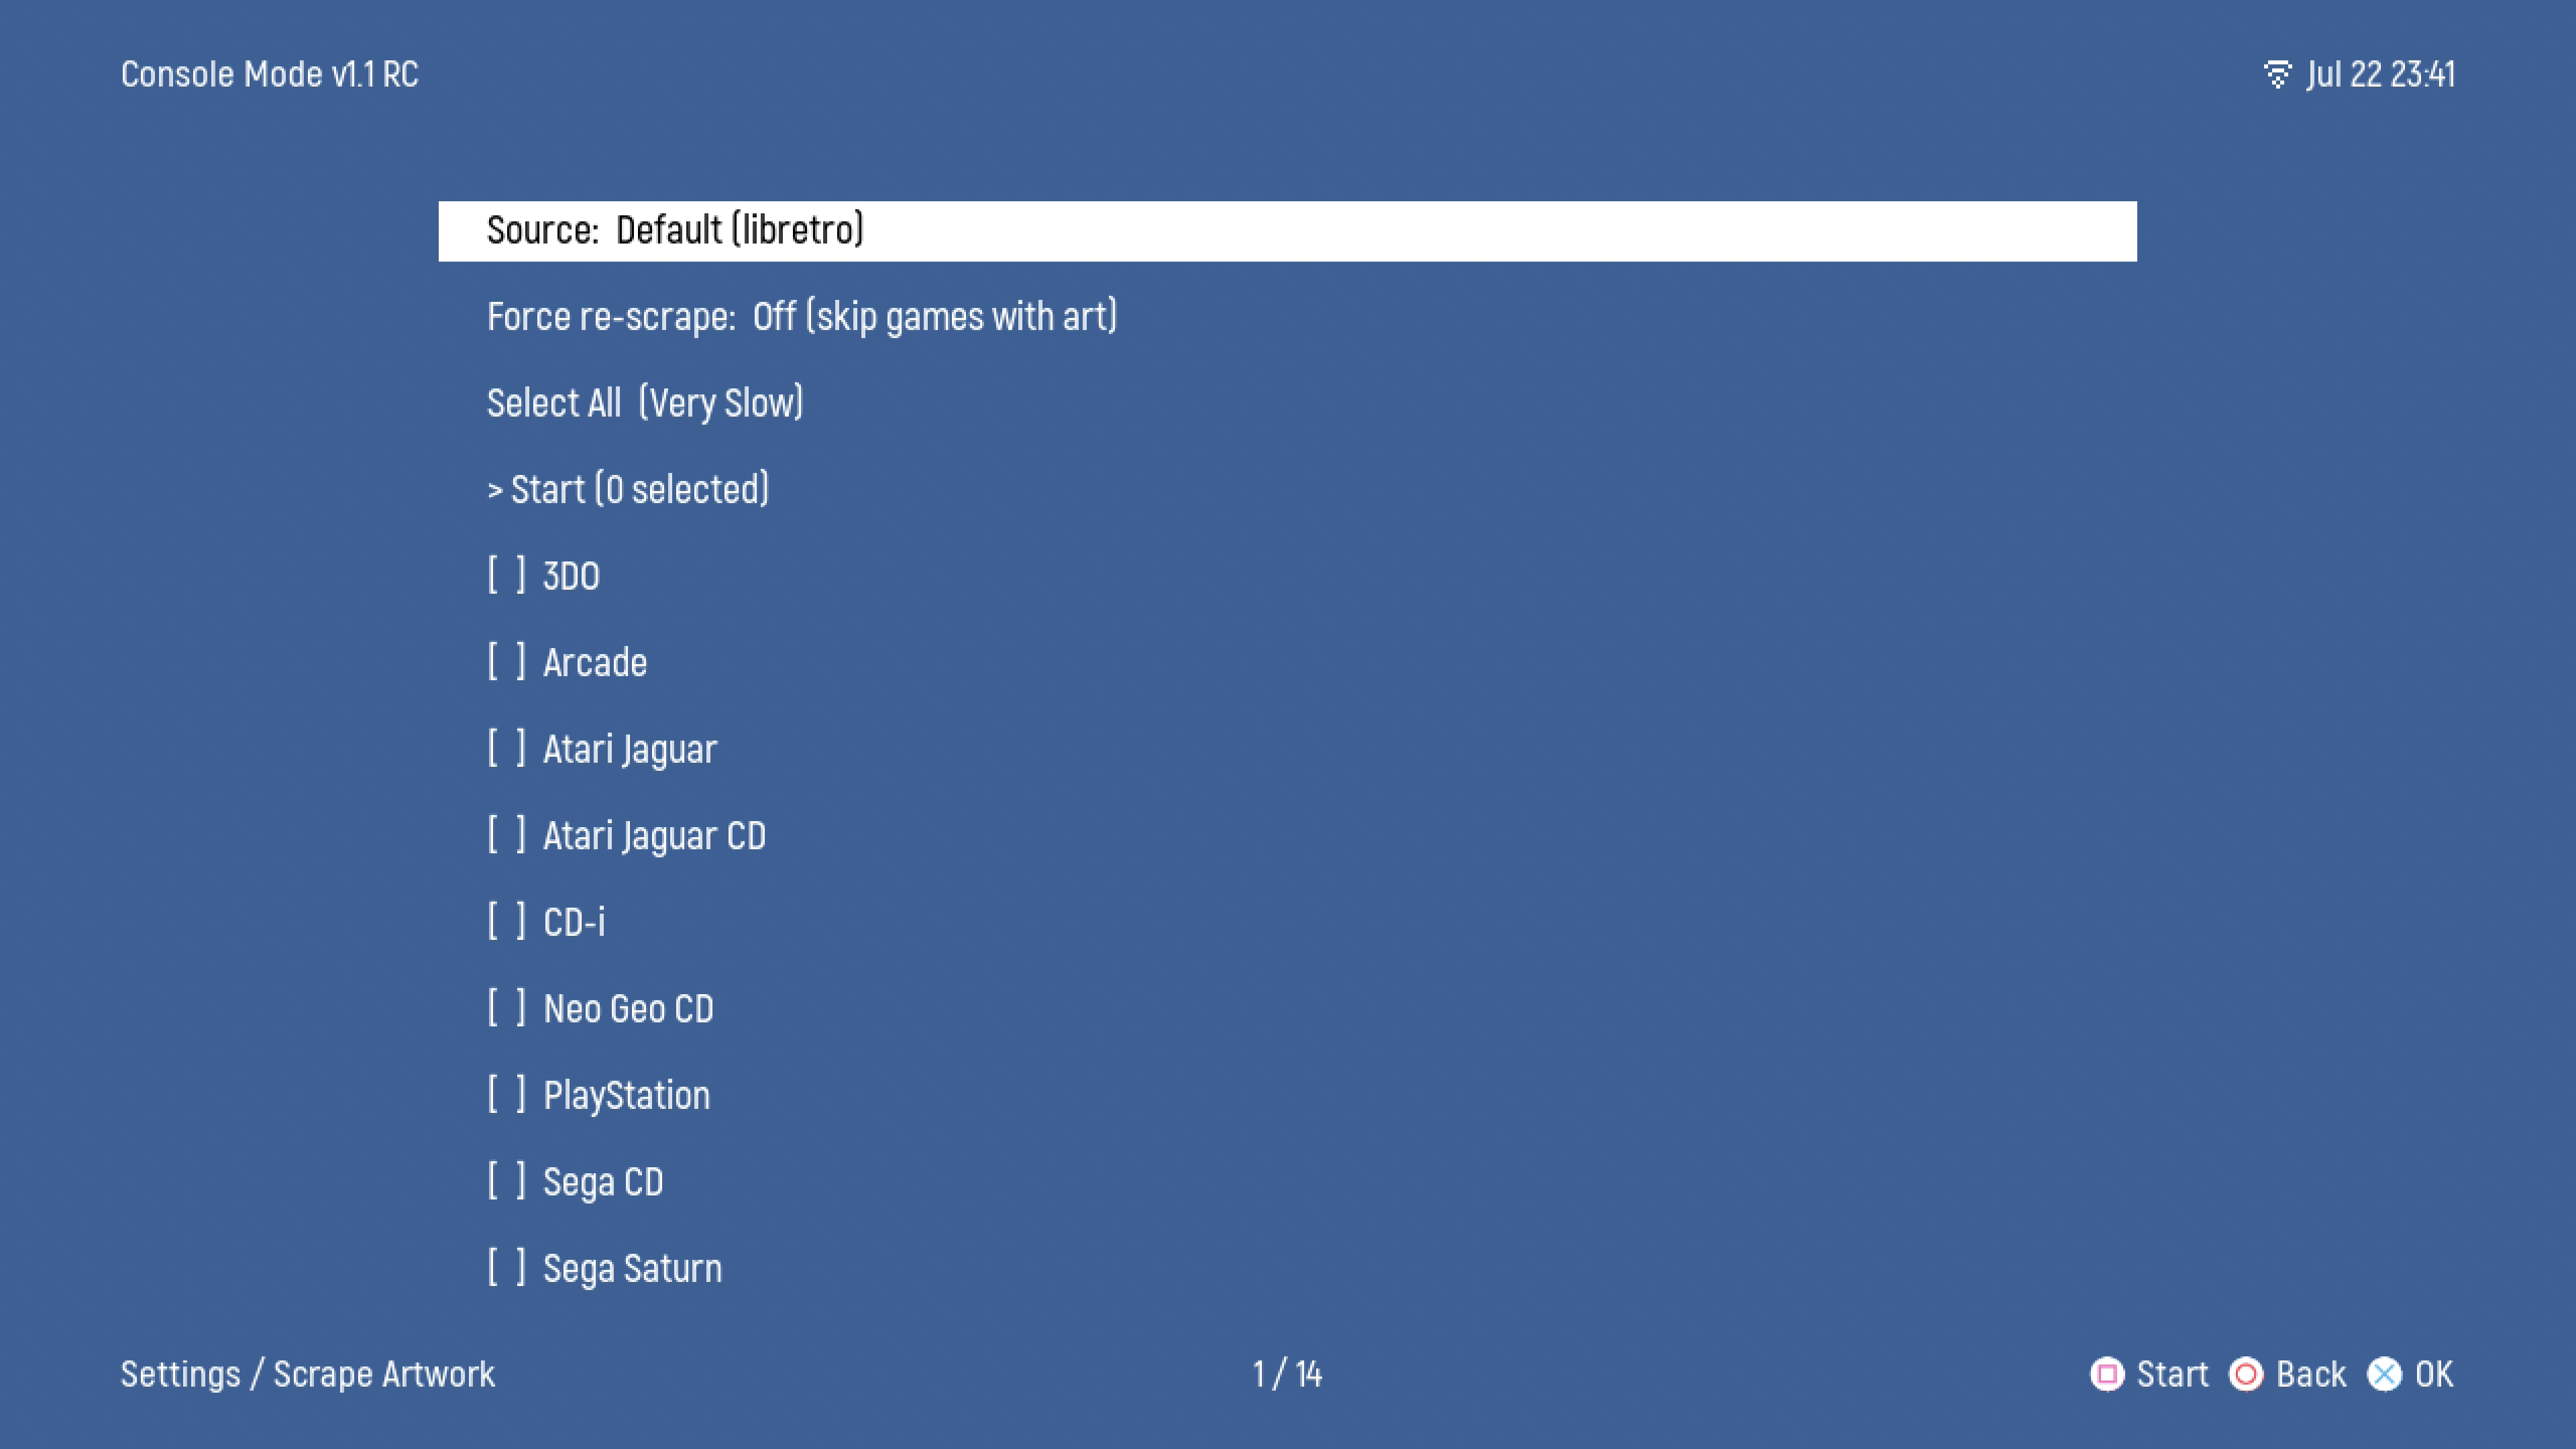
- Optimize Artwork - Will re-size all arts downloaded to the the device to fight better on the currently selected Game Style
- Import gamelist.xml - ????????
- Manage Hidden Games - When you use the "Select" button on Games or Consoles in the menu, you can HIDE them so they don't show up after a DB Rebuild. This menu option lets you see what's been hidden and you can unhide it to return the selected items to visibility.
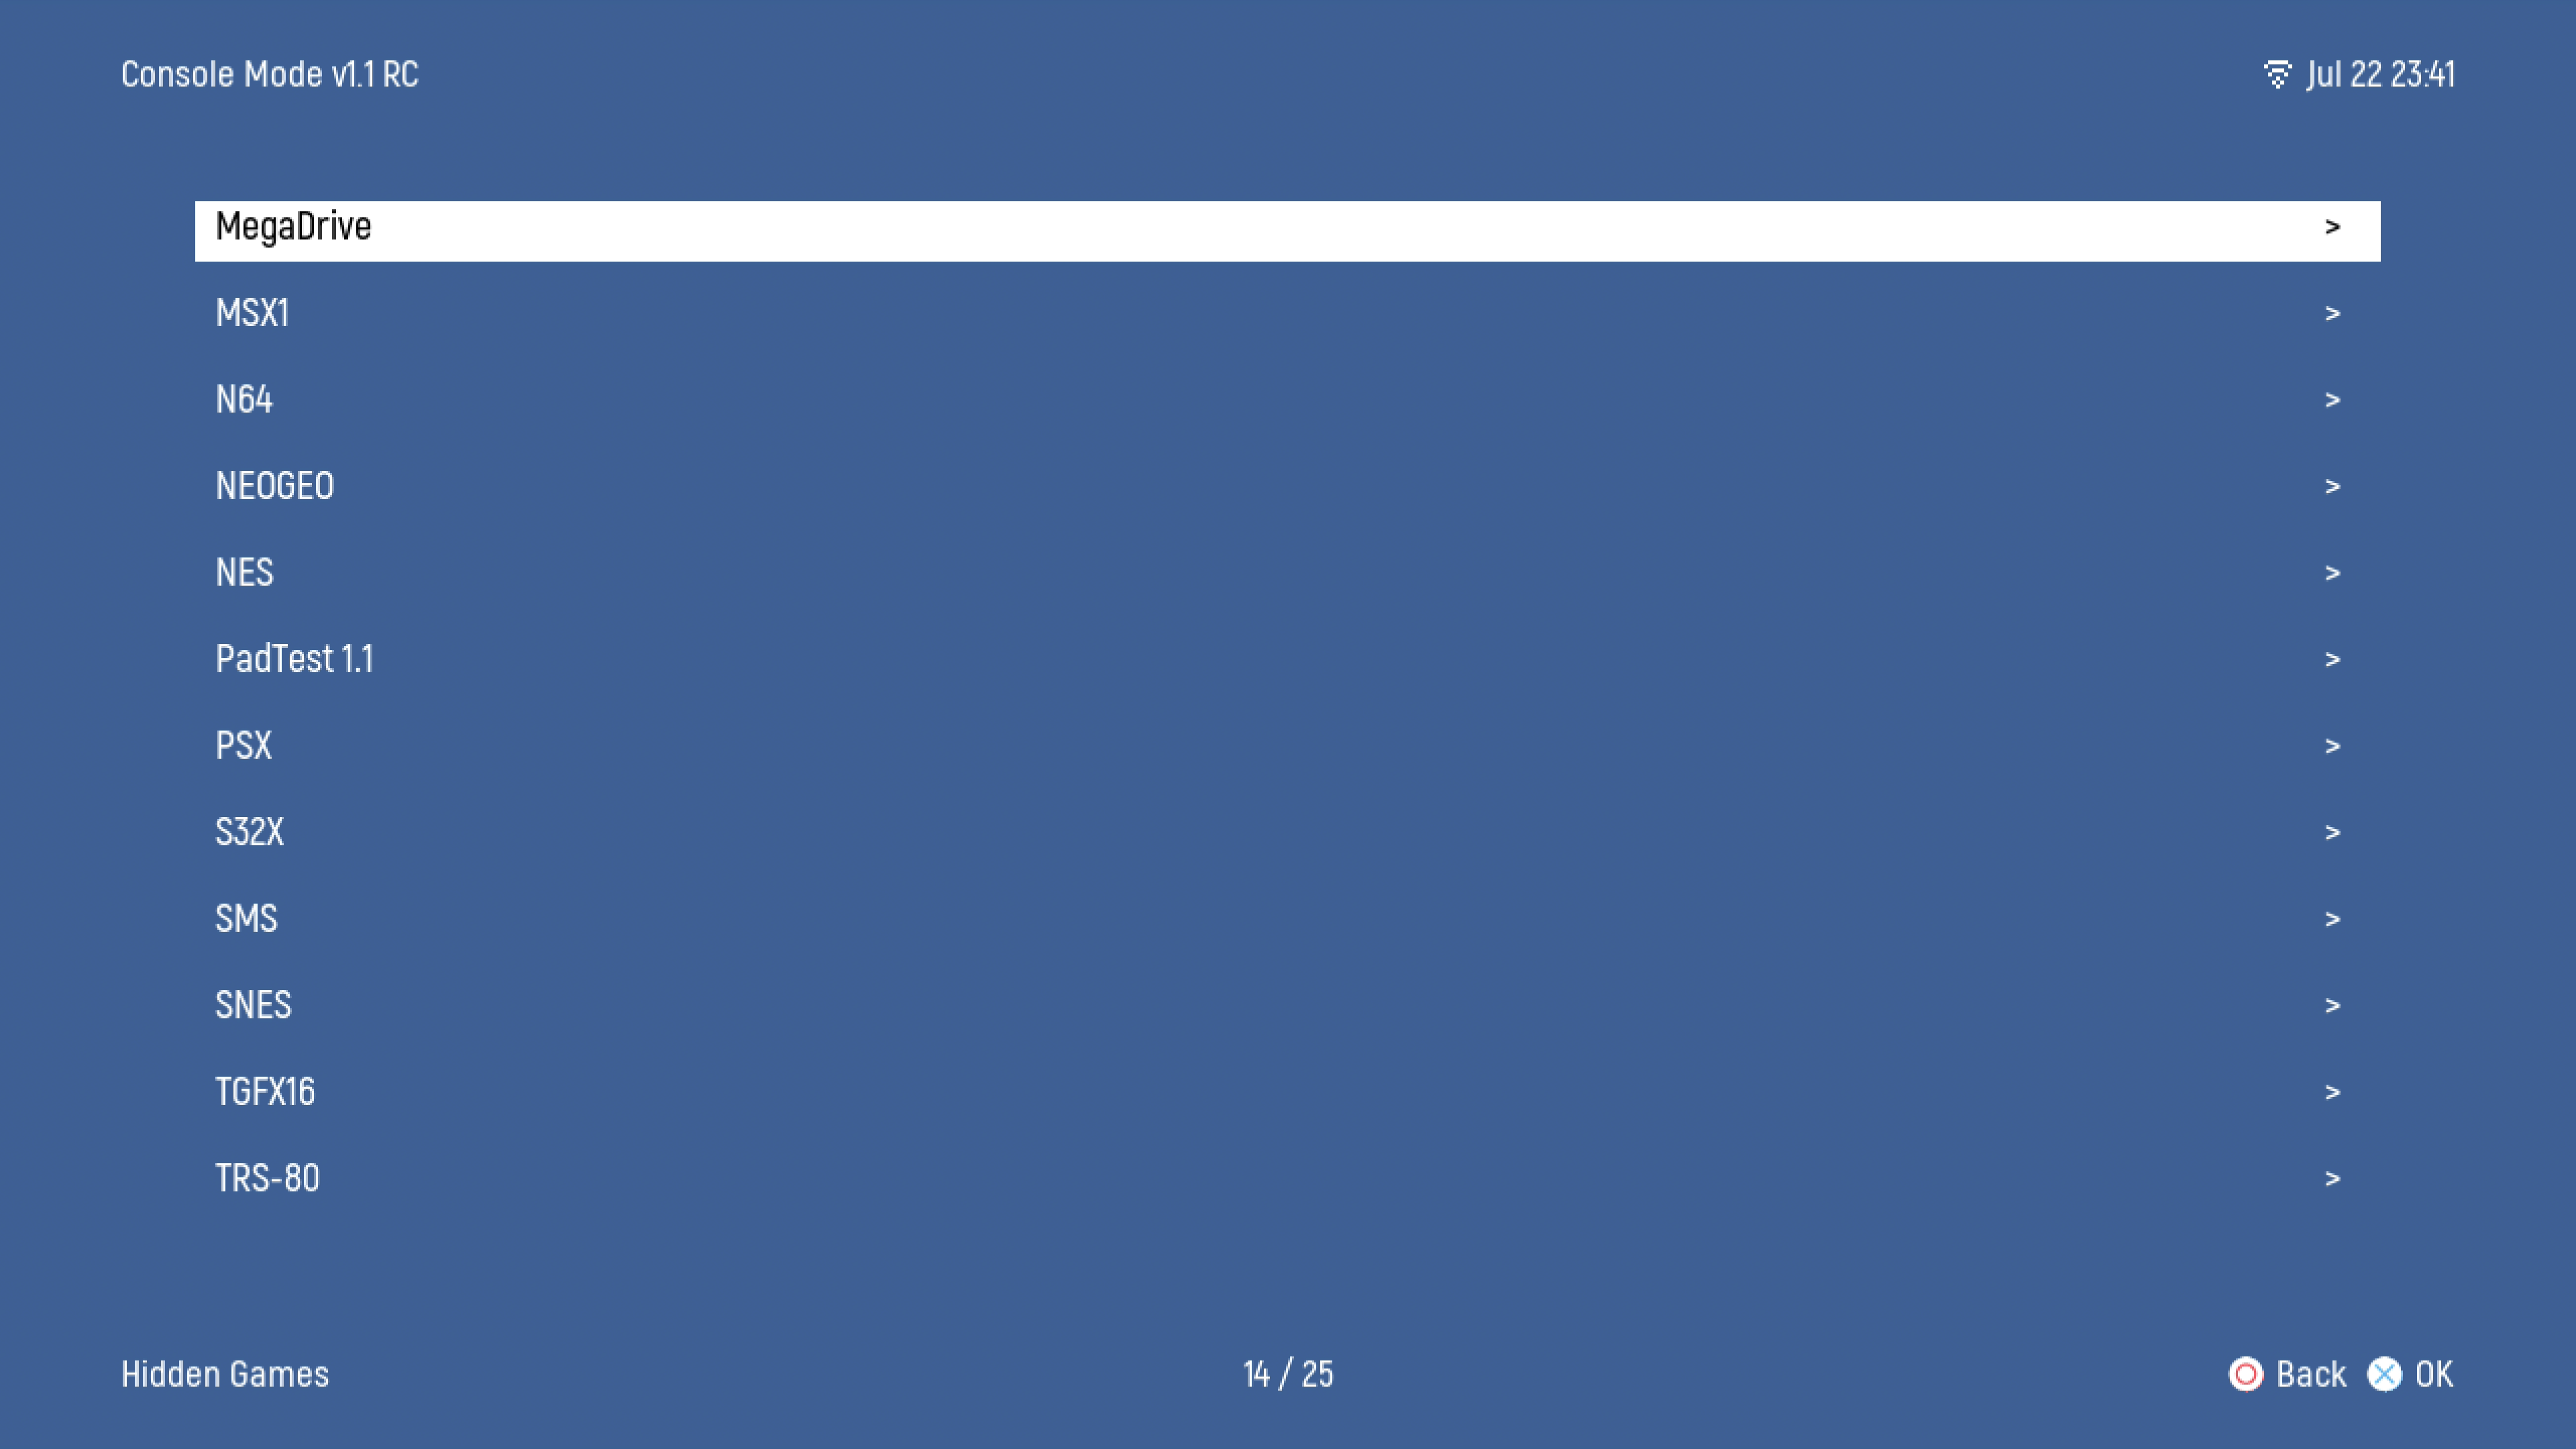
- Volume - Change the Volume in 20% increments
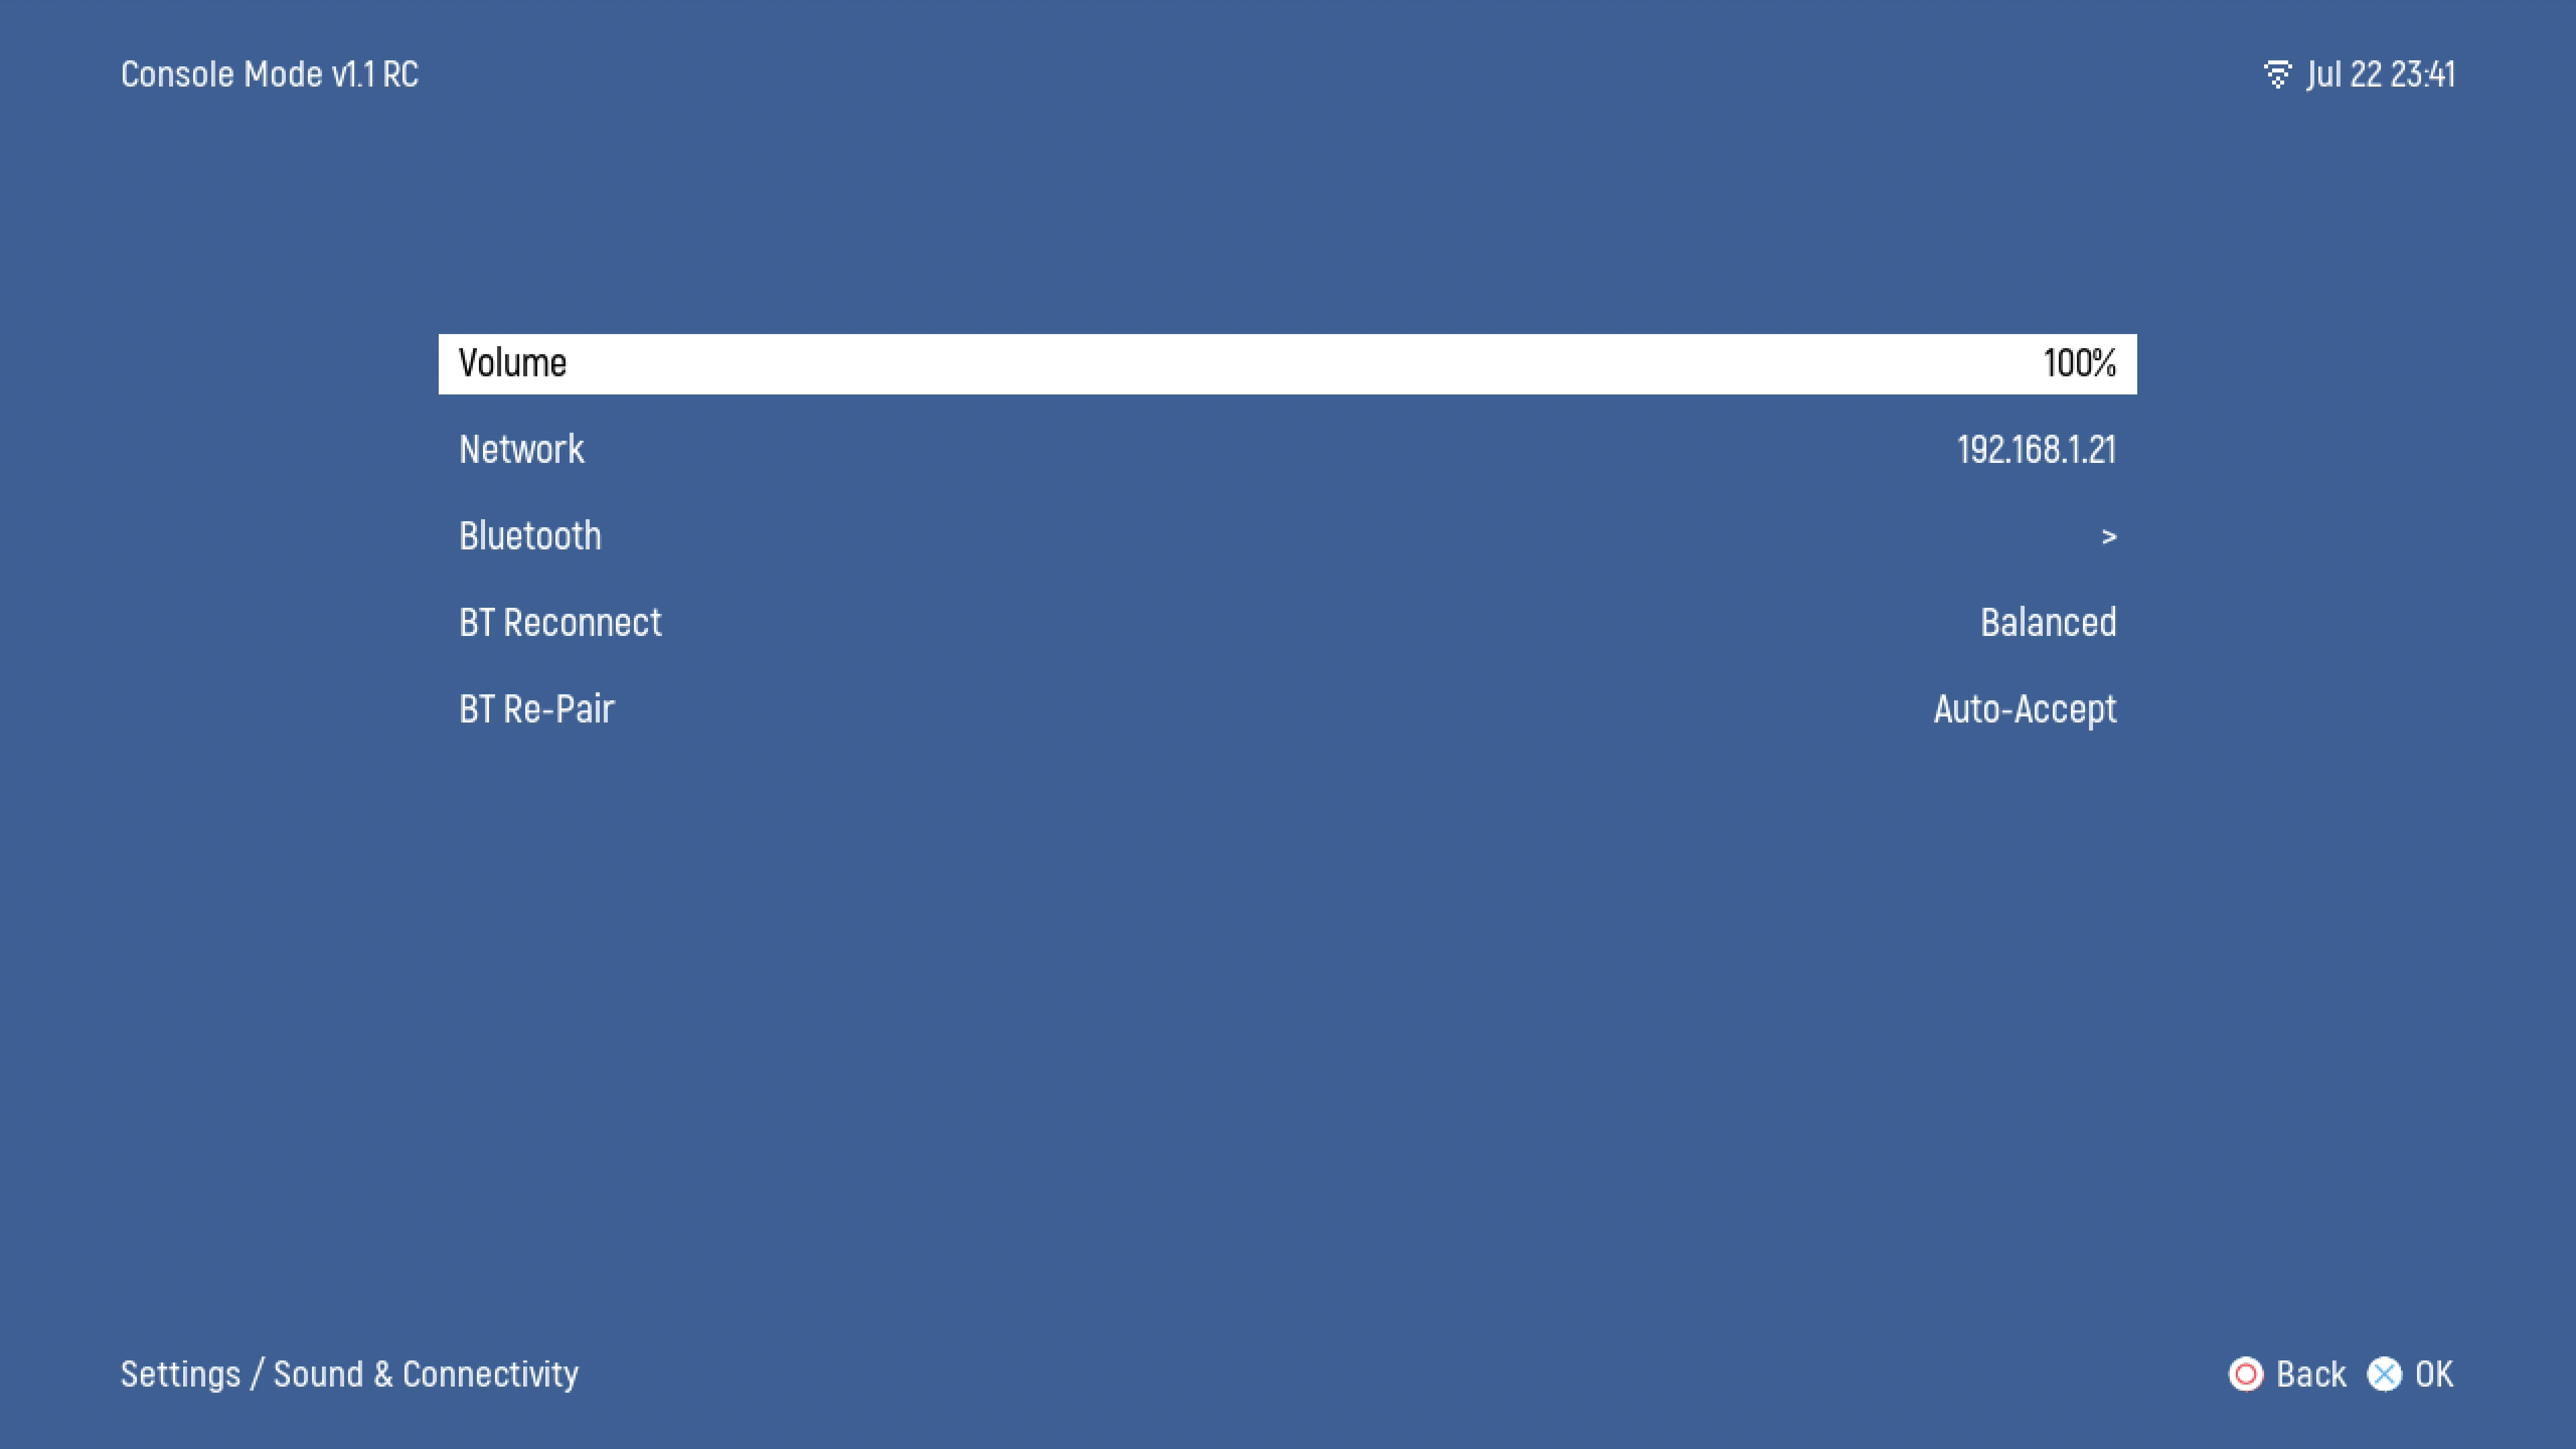
-
Network - Now opens the Wi-Fi Manager. It automatically scans for available networks on entry and displays signal strength, security, and 2.4/5 GHz bands. Press A to connect (with an on-screen keyboard for password entry) or X to re-scan. Saved networks reconnect automatically on boot.
-
Bluetooth - Opens Bluetooth Pairing Menu. You can pair up to FOUR Bluetooth controllers on this menu. Power on your controller, enabled pairing mode, and then click on a controller slot to enabled pairing. When Successful, the paired controller will be saved to memory and will re-pair after power off.
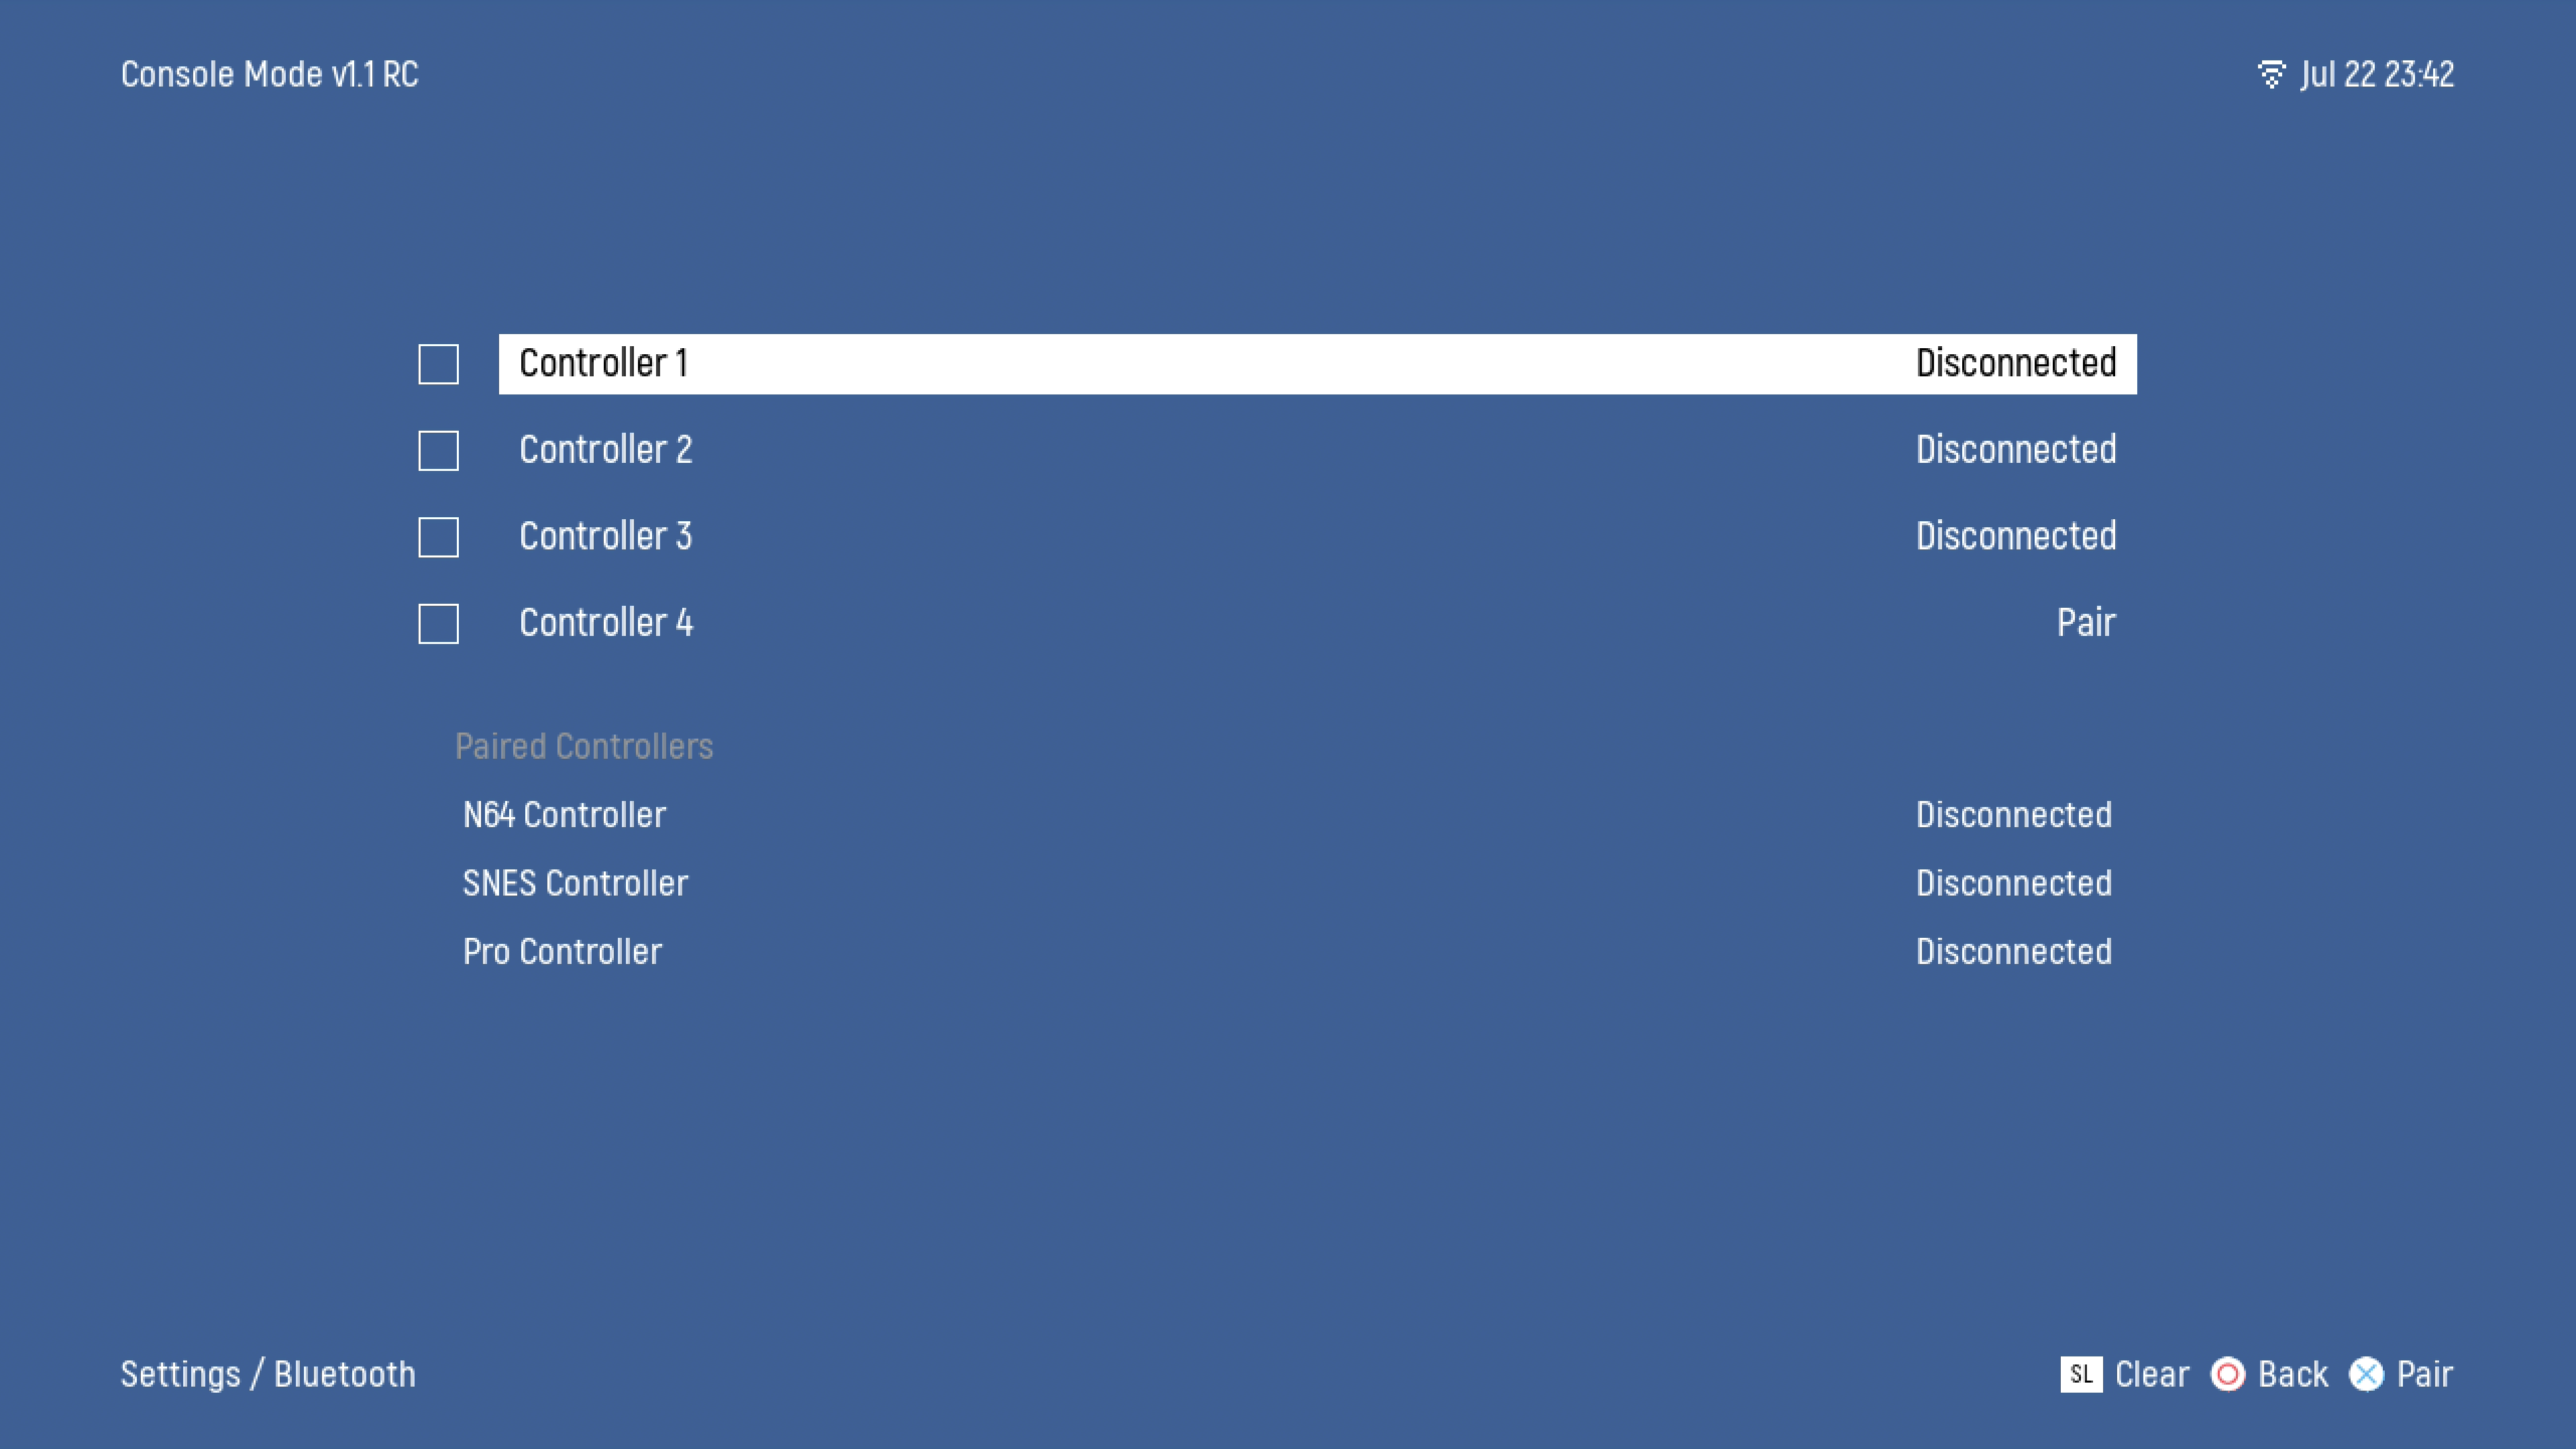
- BT RECONNECT OPTIONS - How hard the box chases dropped controllers (trades reconnect speed vs. WiFi):
- Balanced (default) - Hard for 2 min after boot / 60s after a drop, then slow poll.
- Aggressive - Retries every 10s / Worst for WiFi.
- Passive - Only during boot/drop windows
- Off - Never reconnects.
- BT REPAIR OPTIONS
- Auto-Accept (default) — Controllers can re-pair anytime (fixes NSO reboot drops)
- Menu Only - Pairing works only inside the BT menu
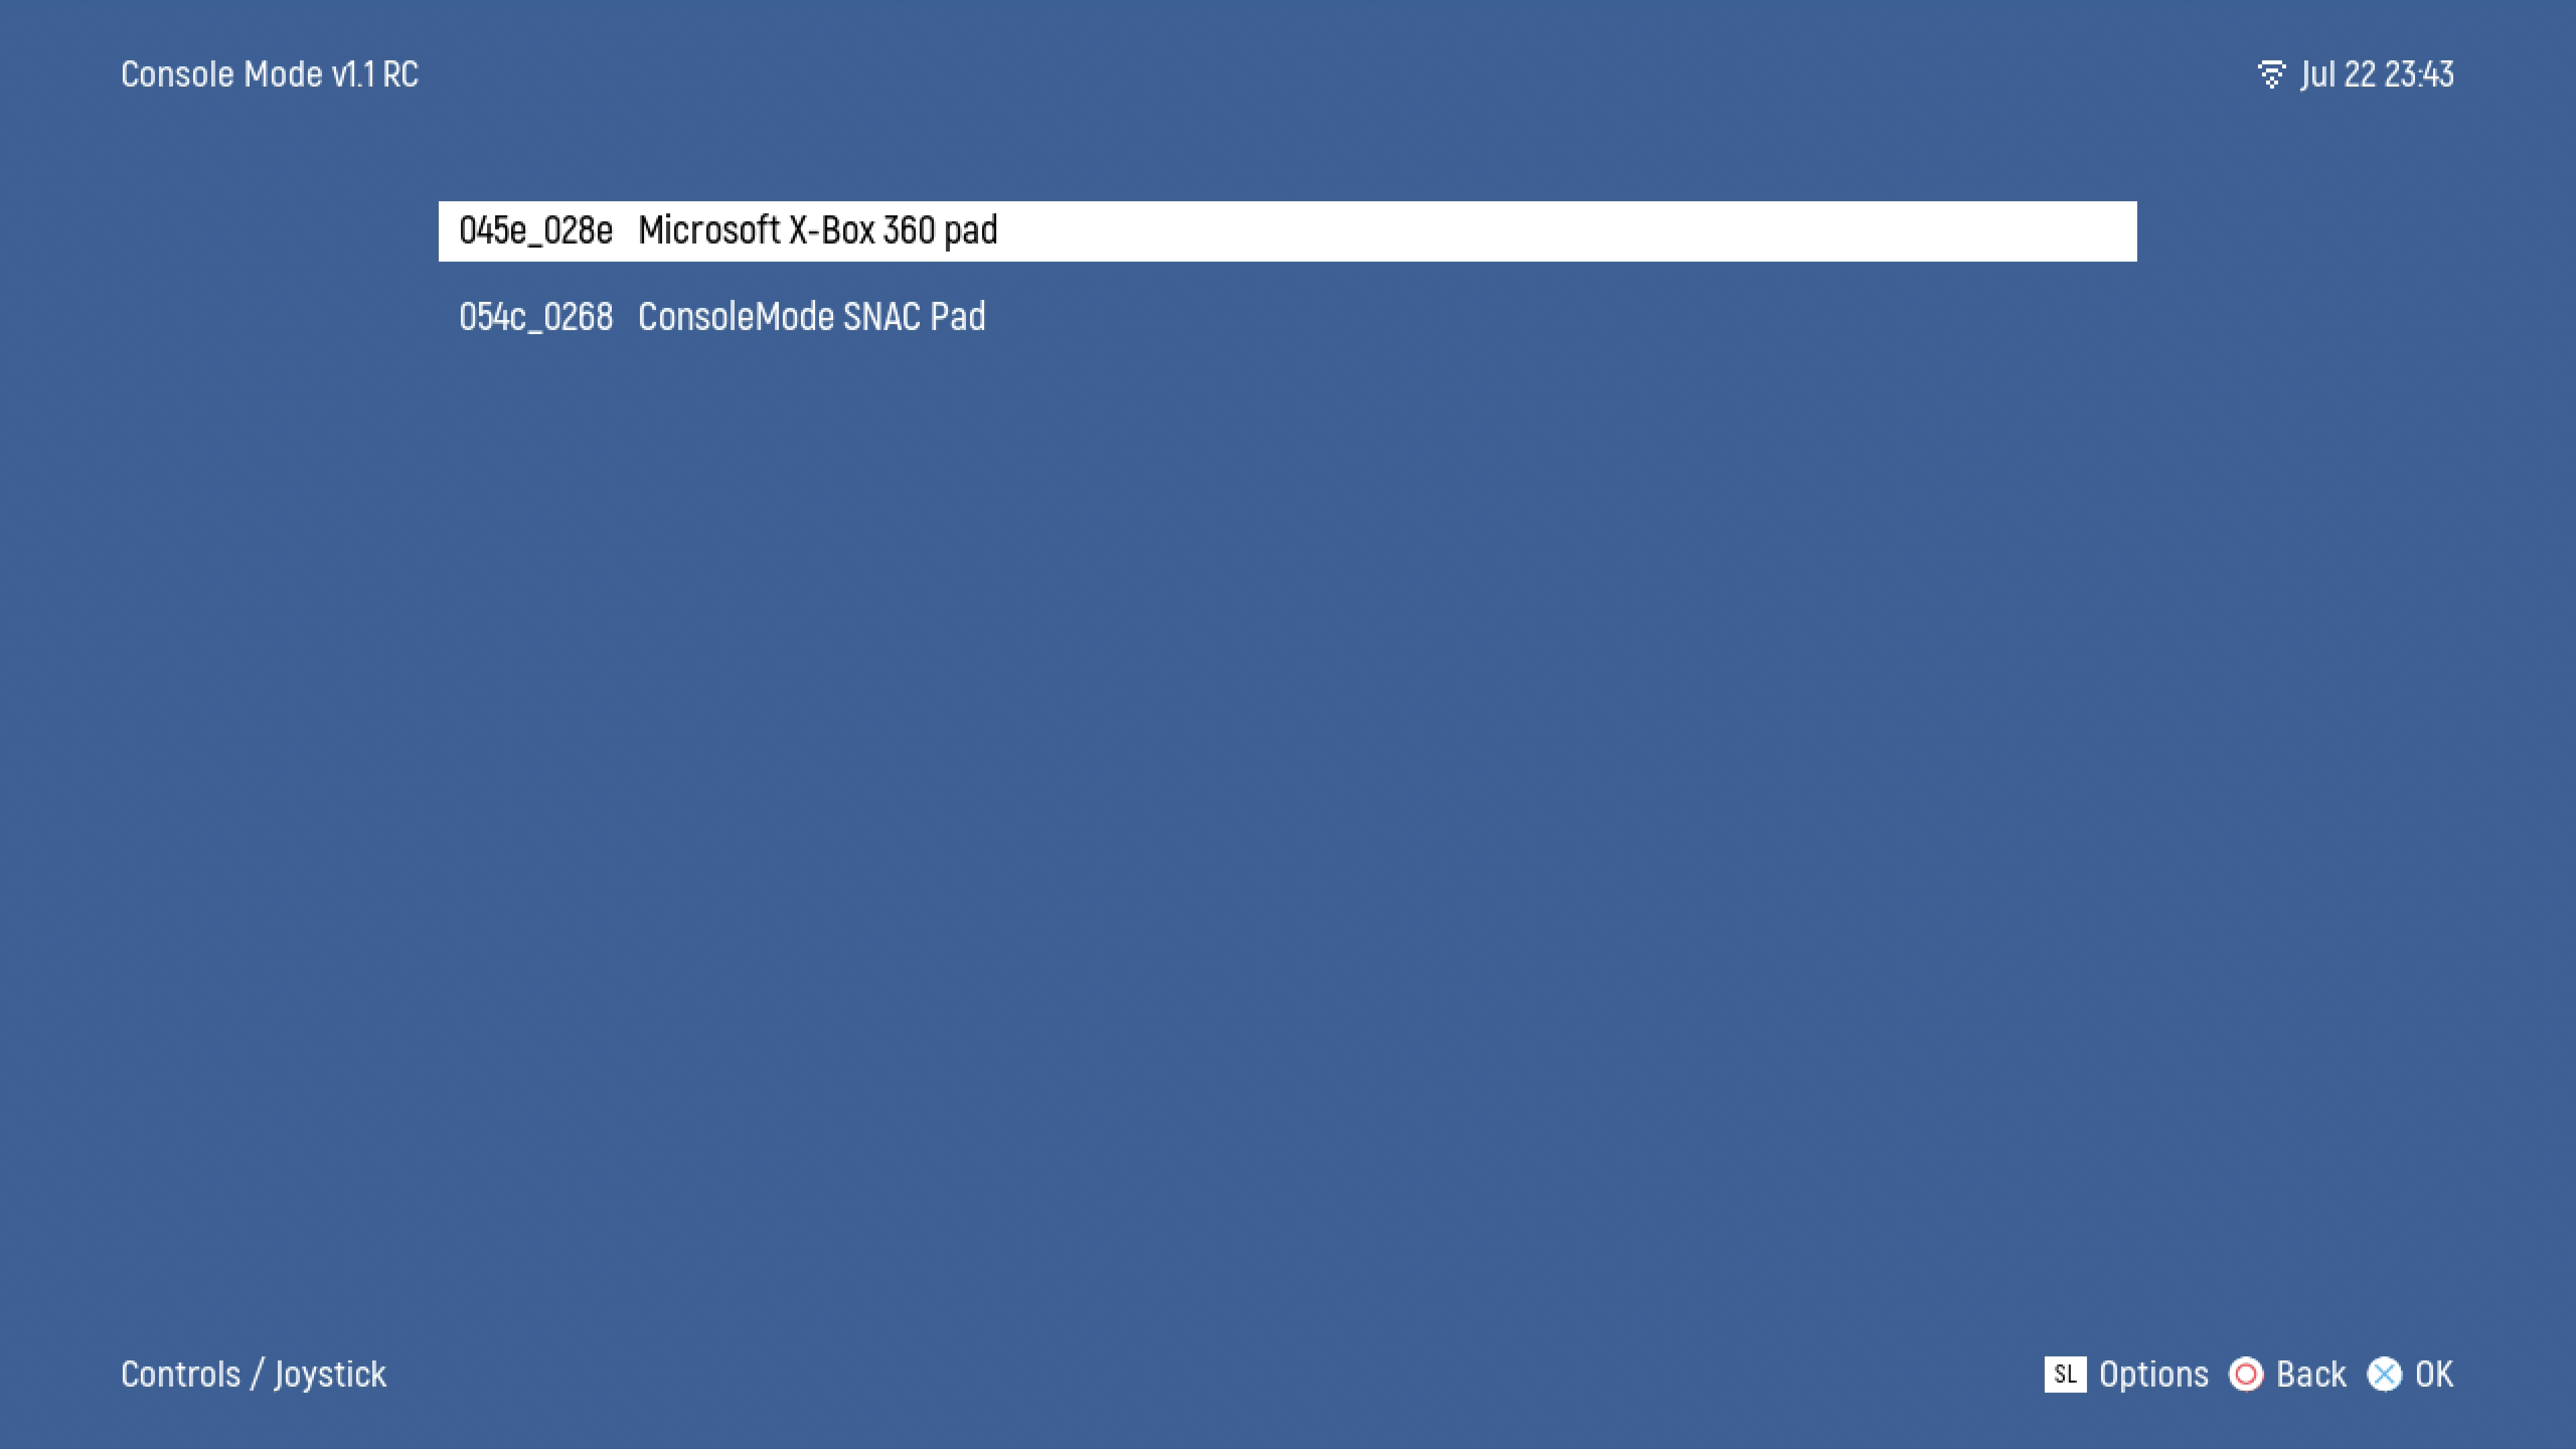
- Controls - Lets you define Joystick Buttons and Remap Keyboard (COMING SOON).
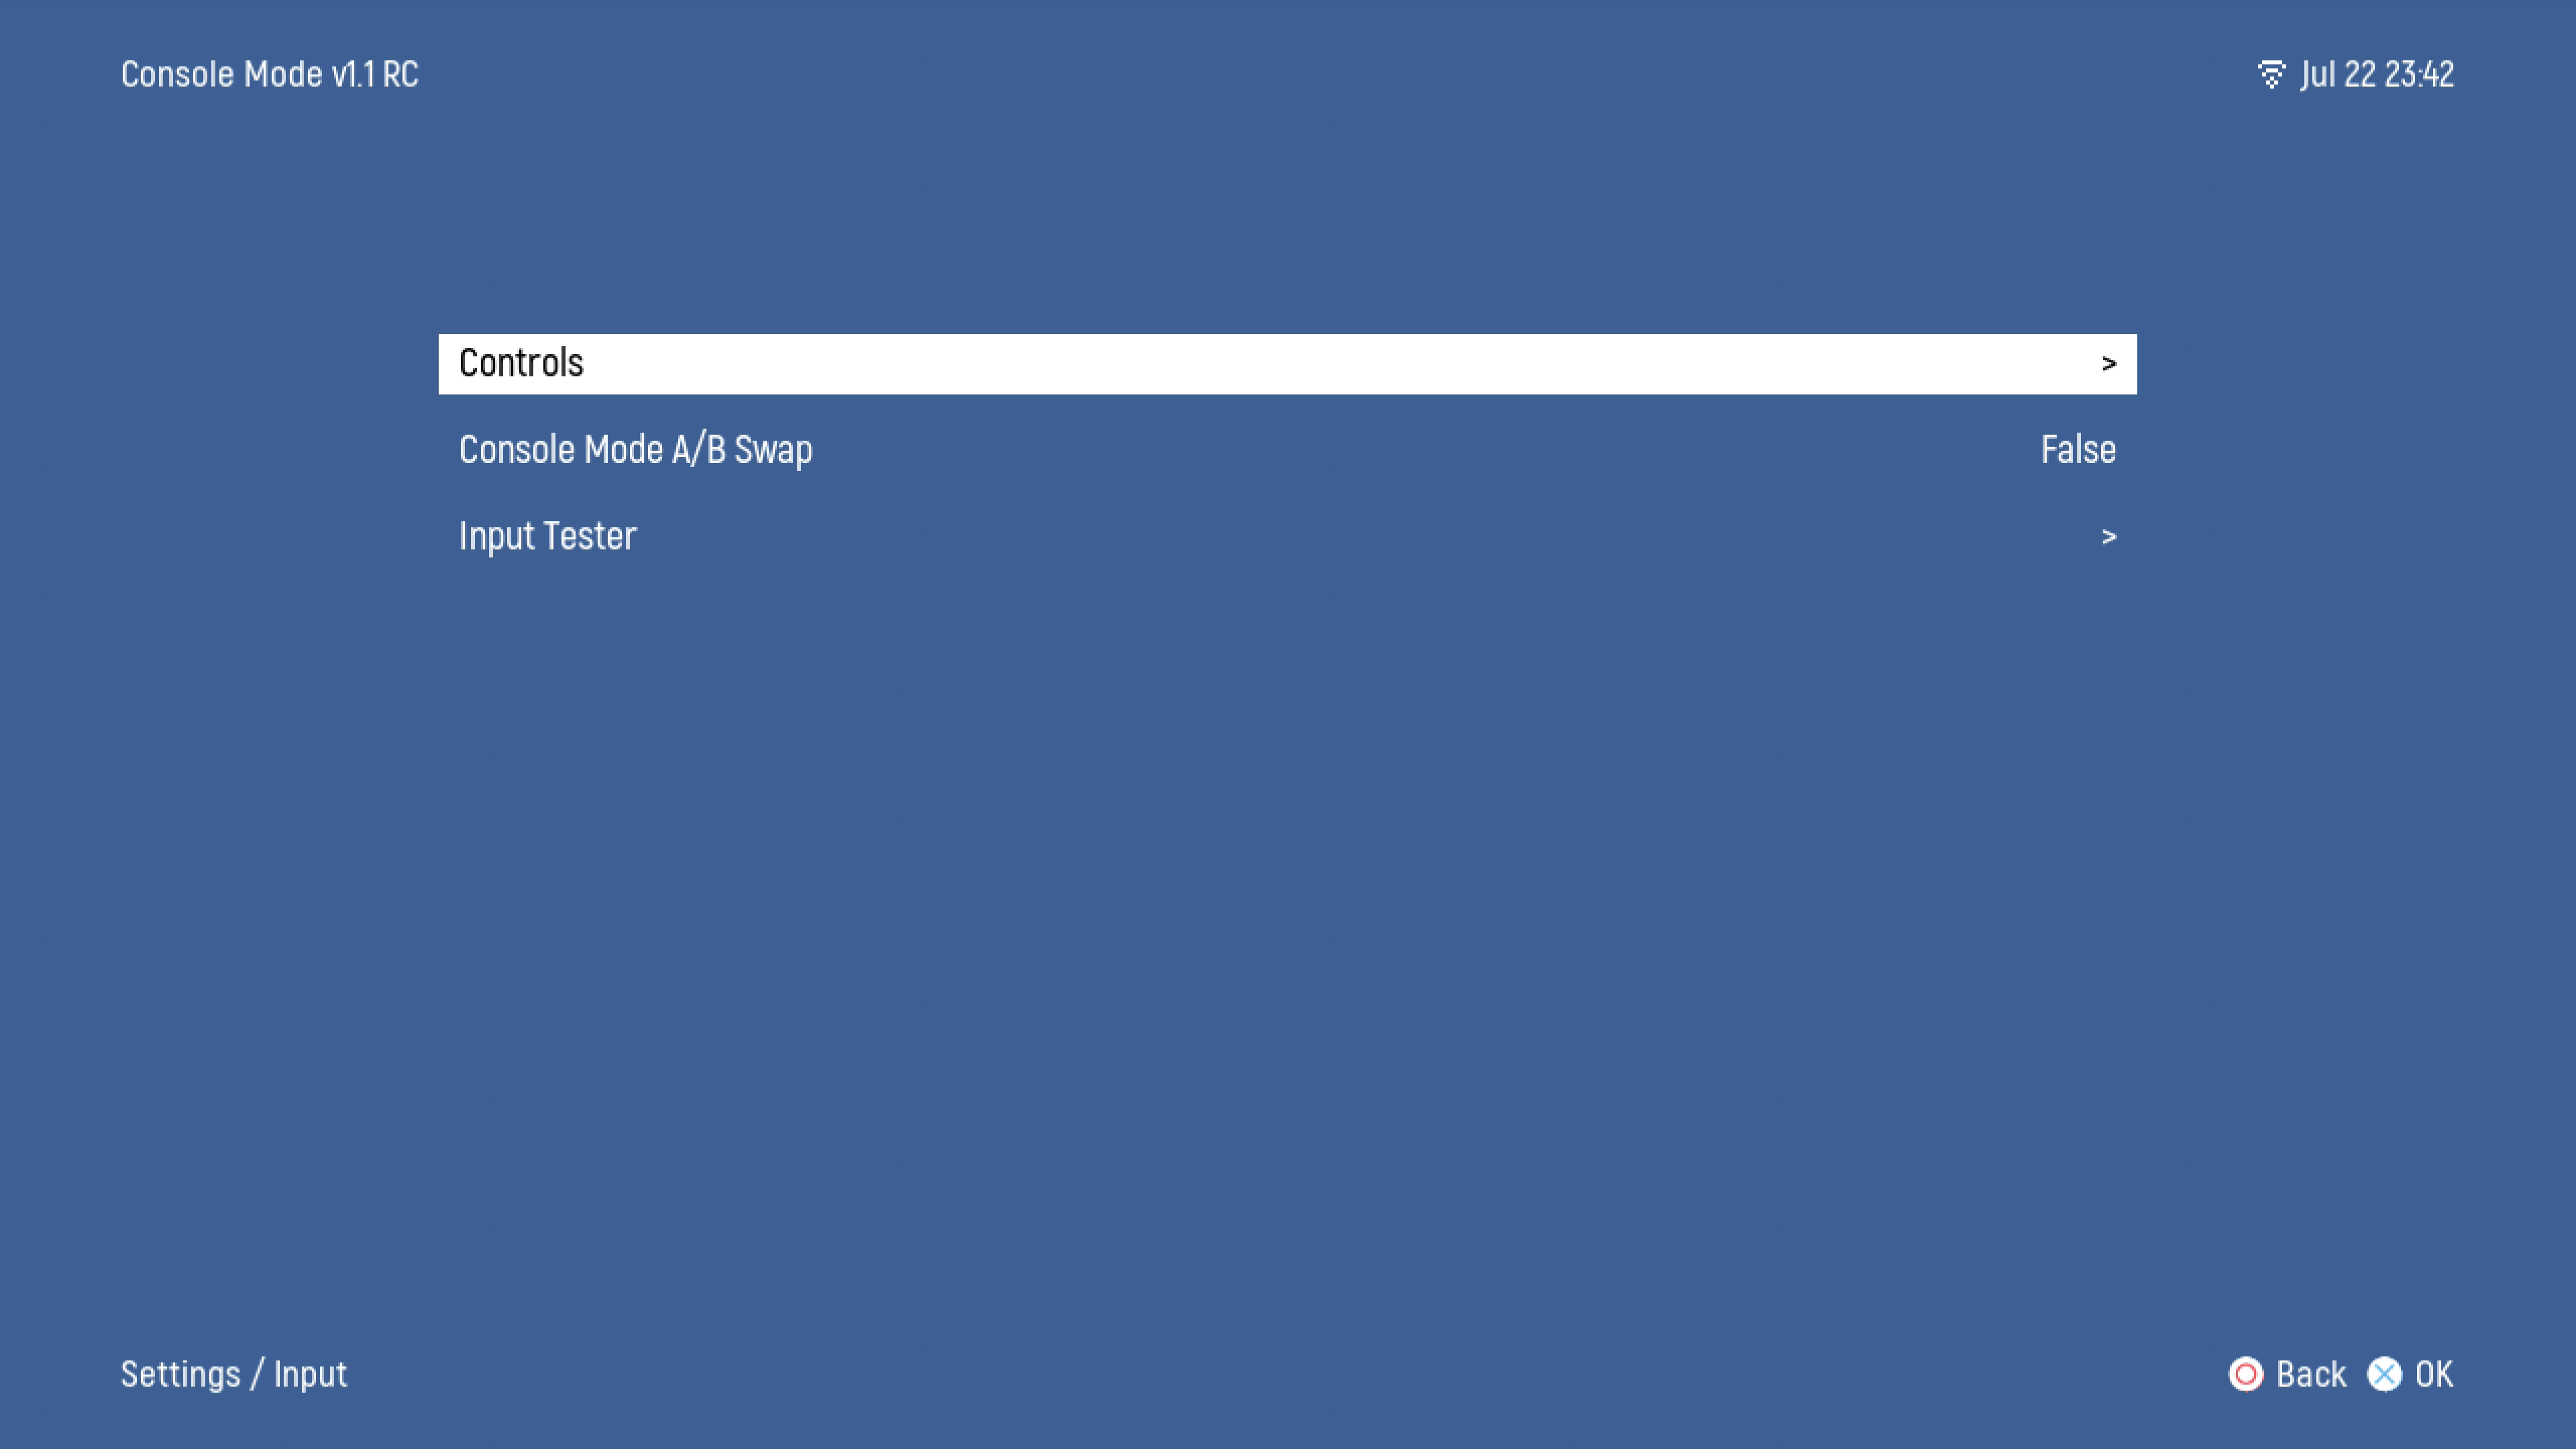
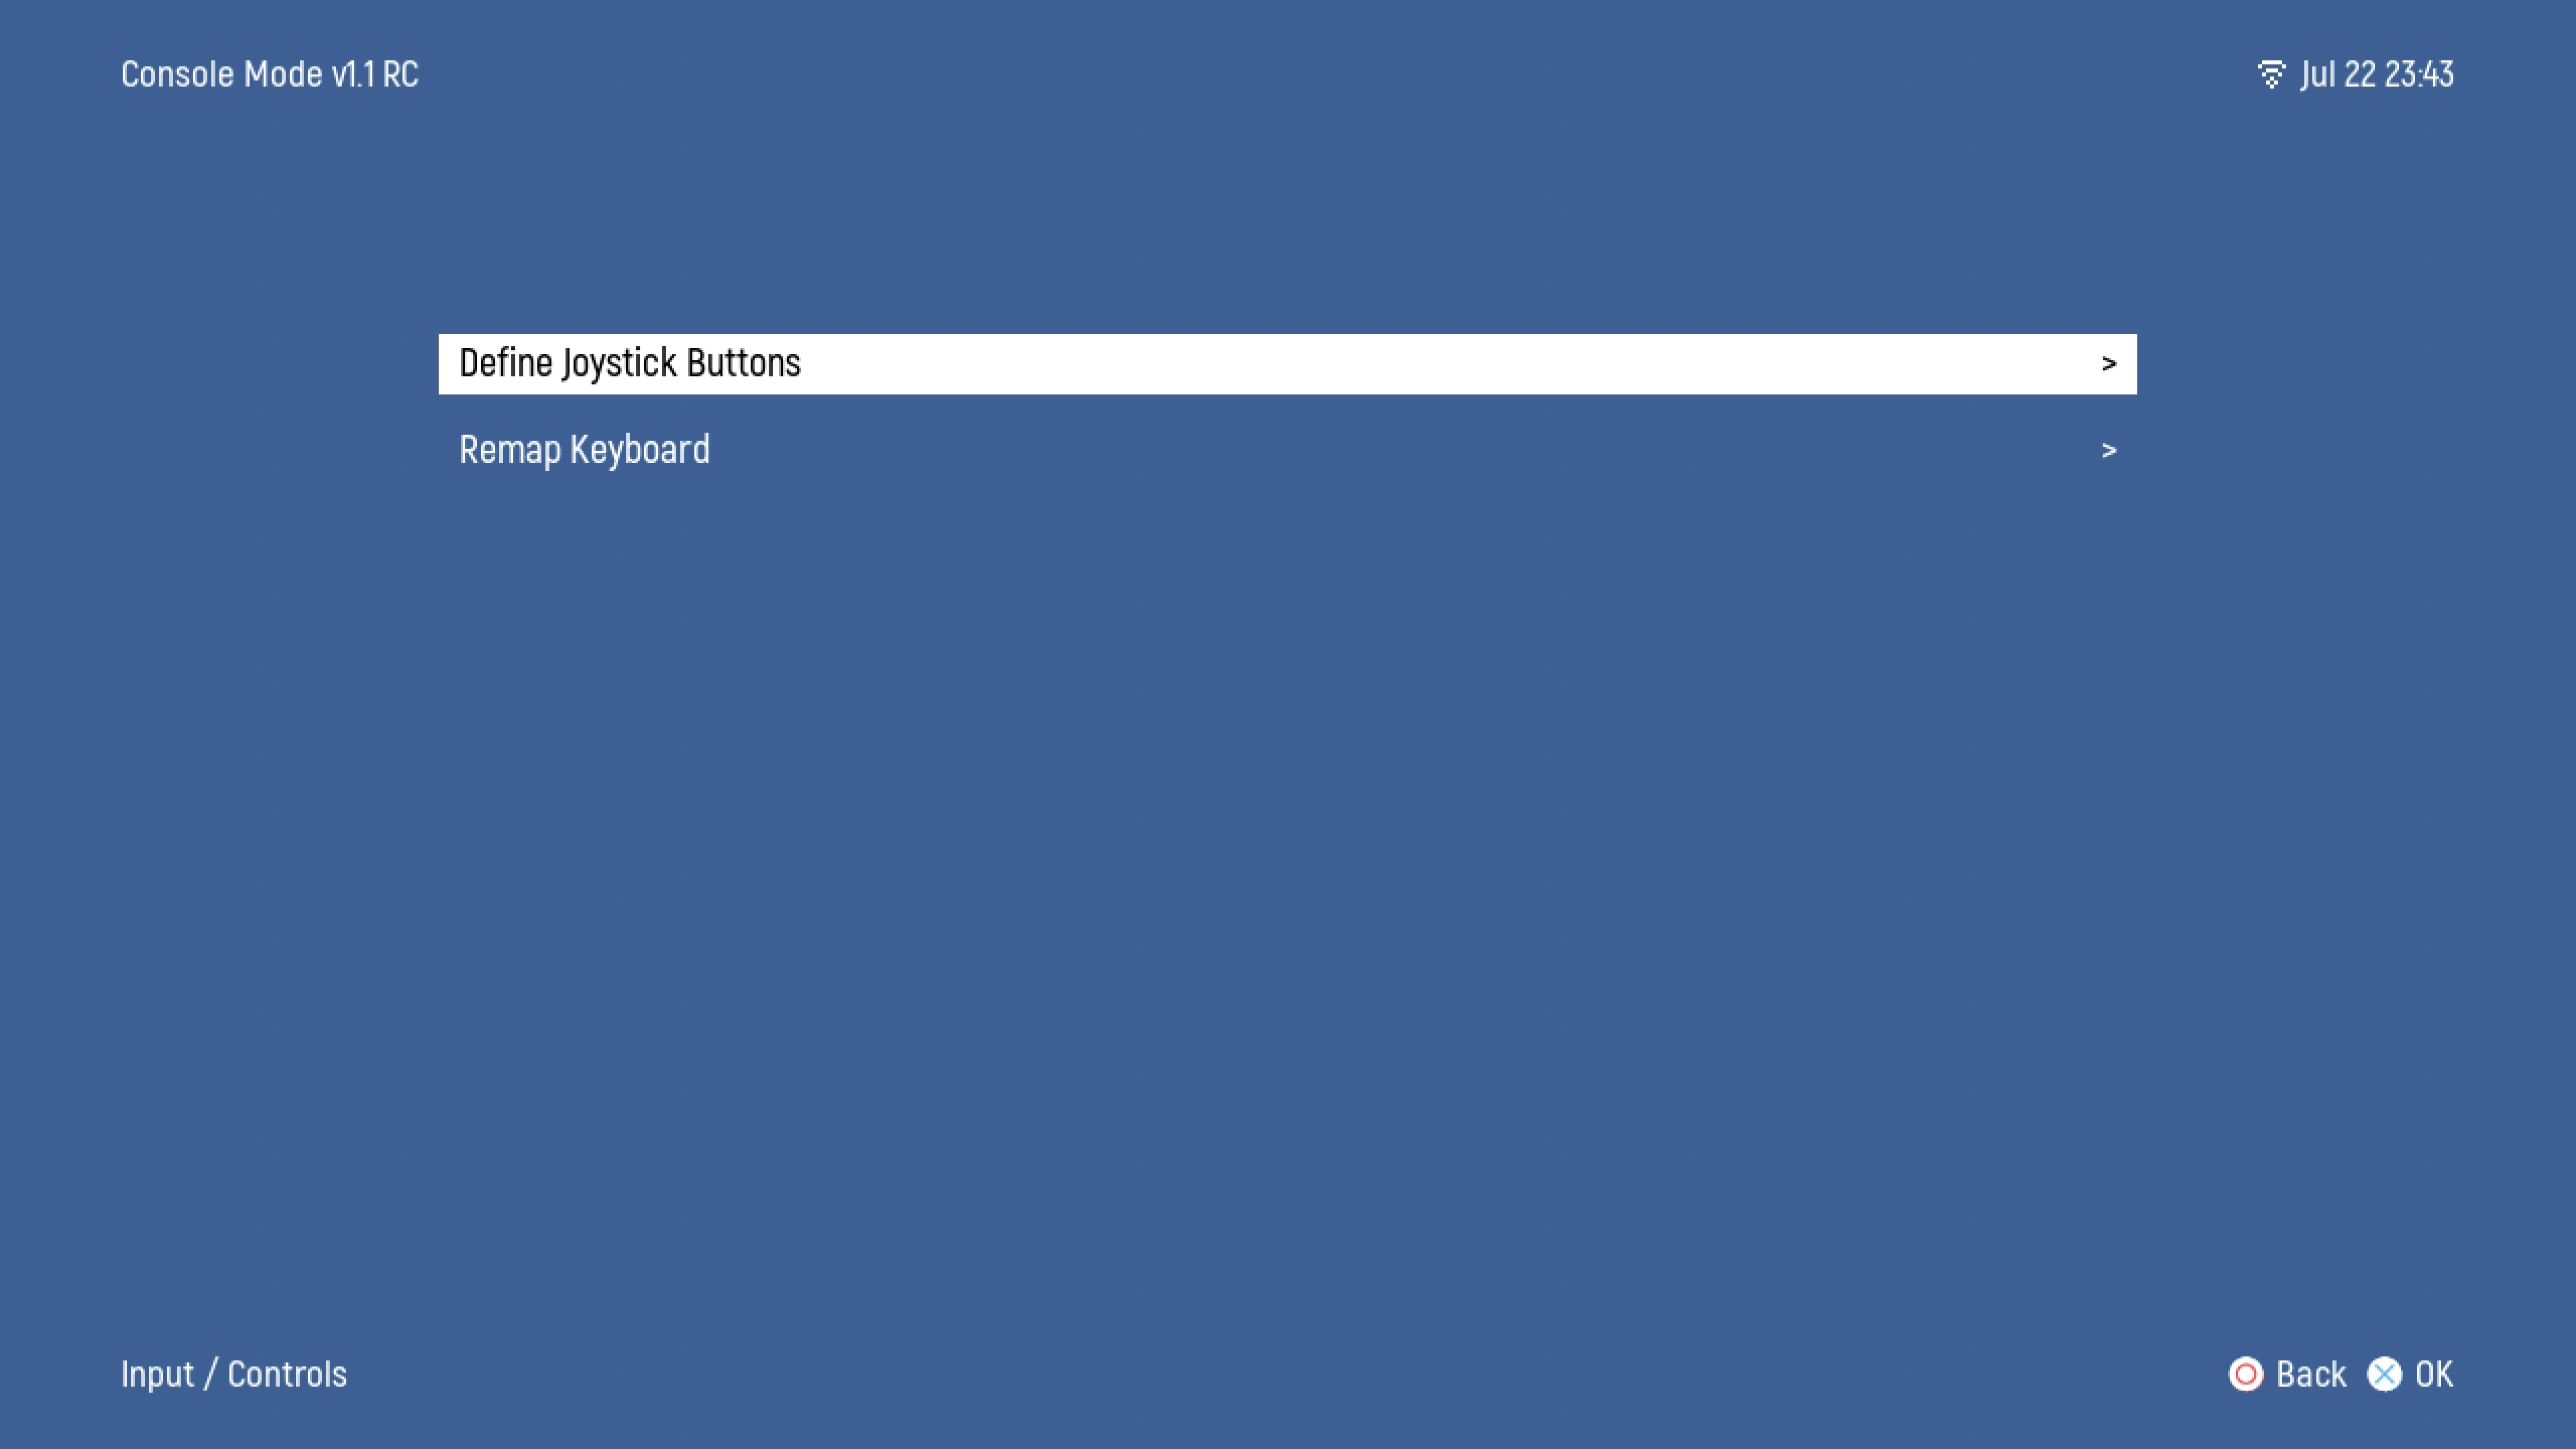
- Console Mode A/B Swap - Changes the active button on your controller which is used for selecting items on the menu
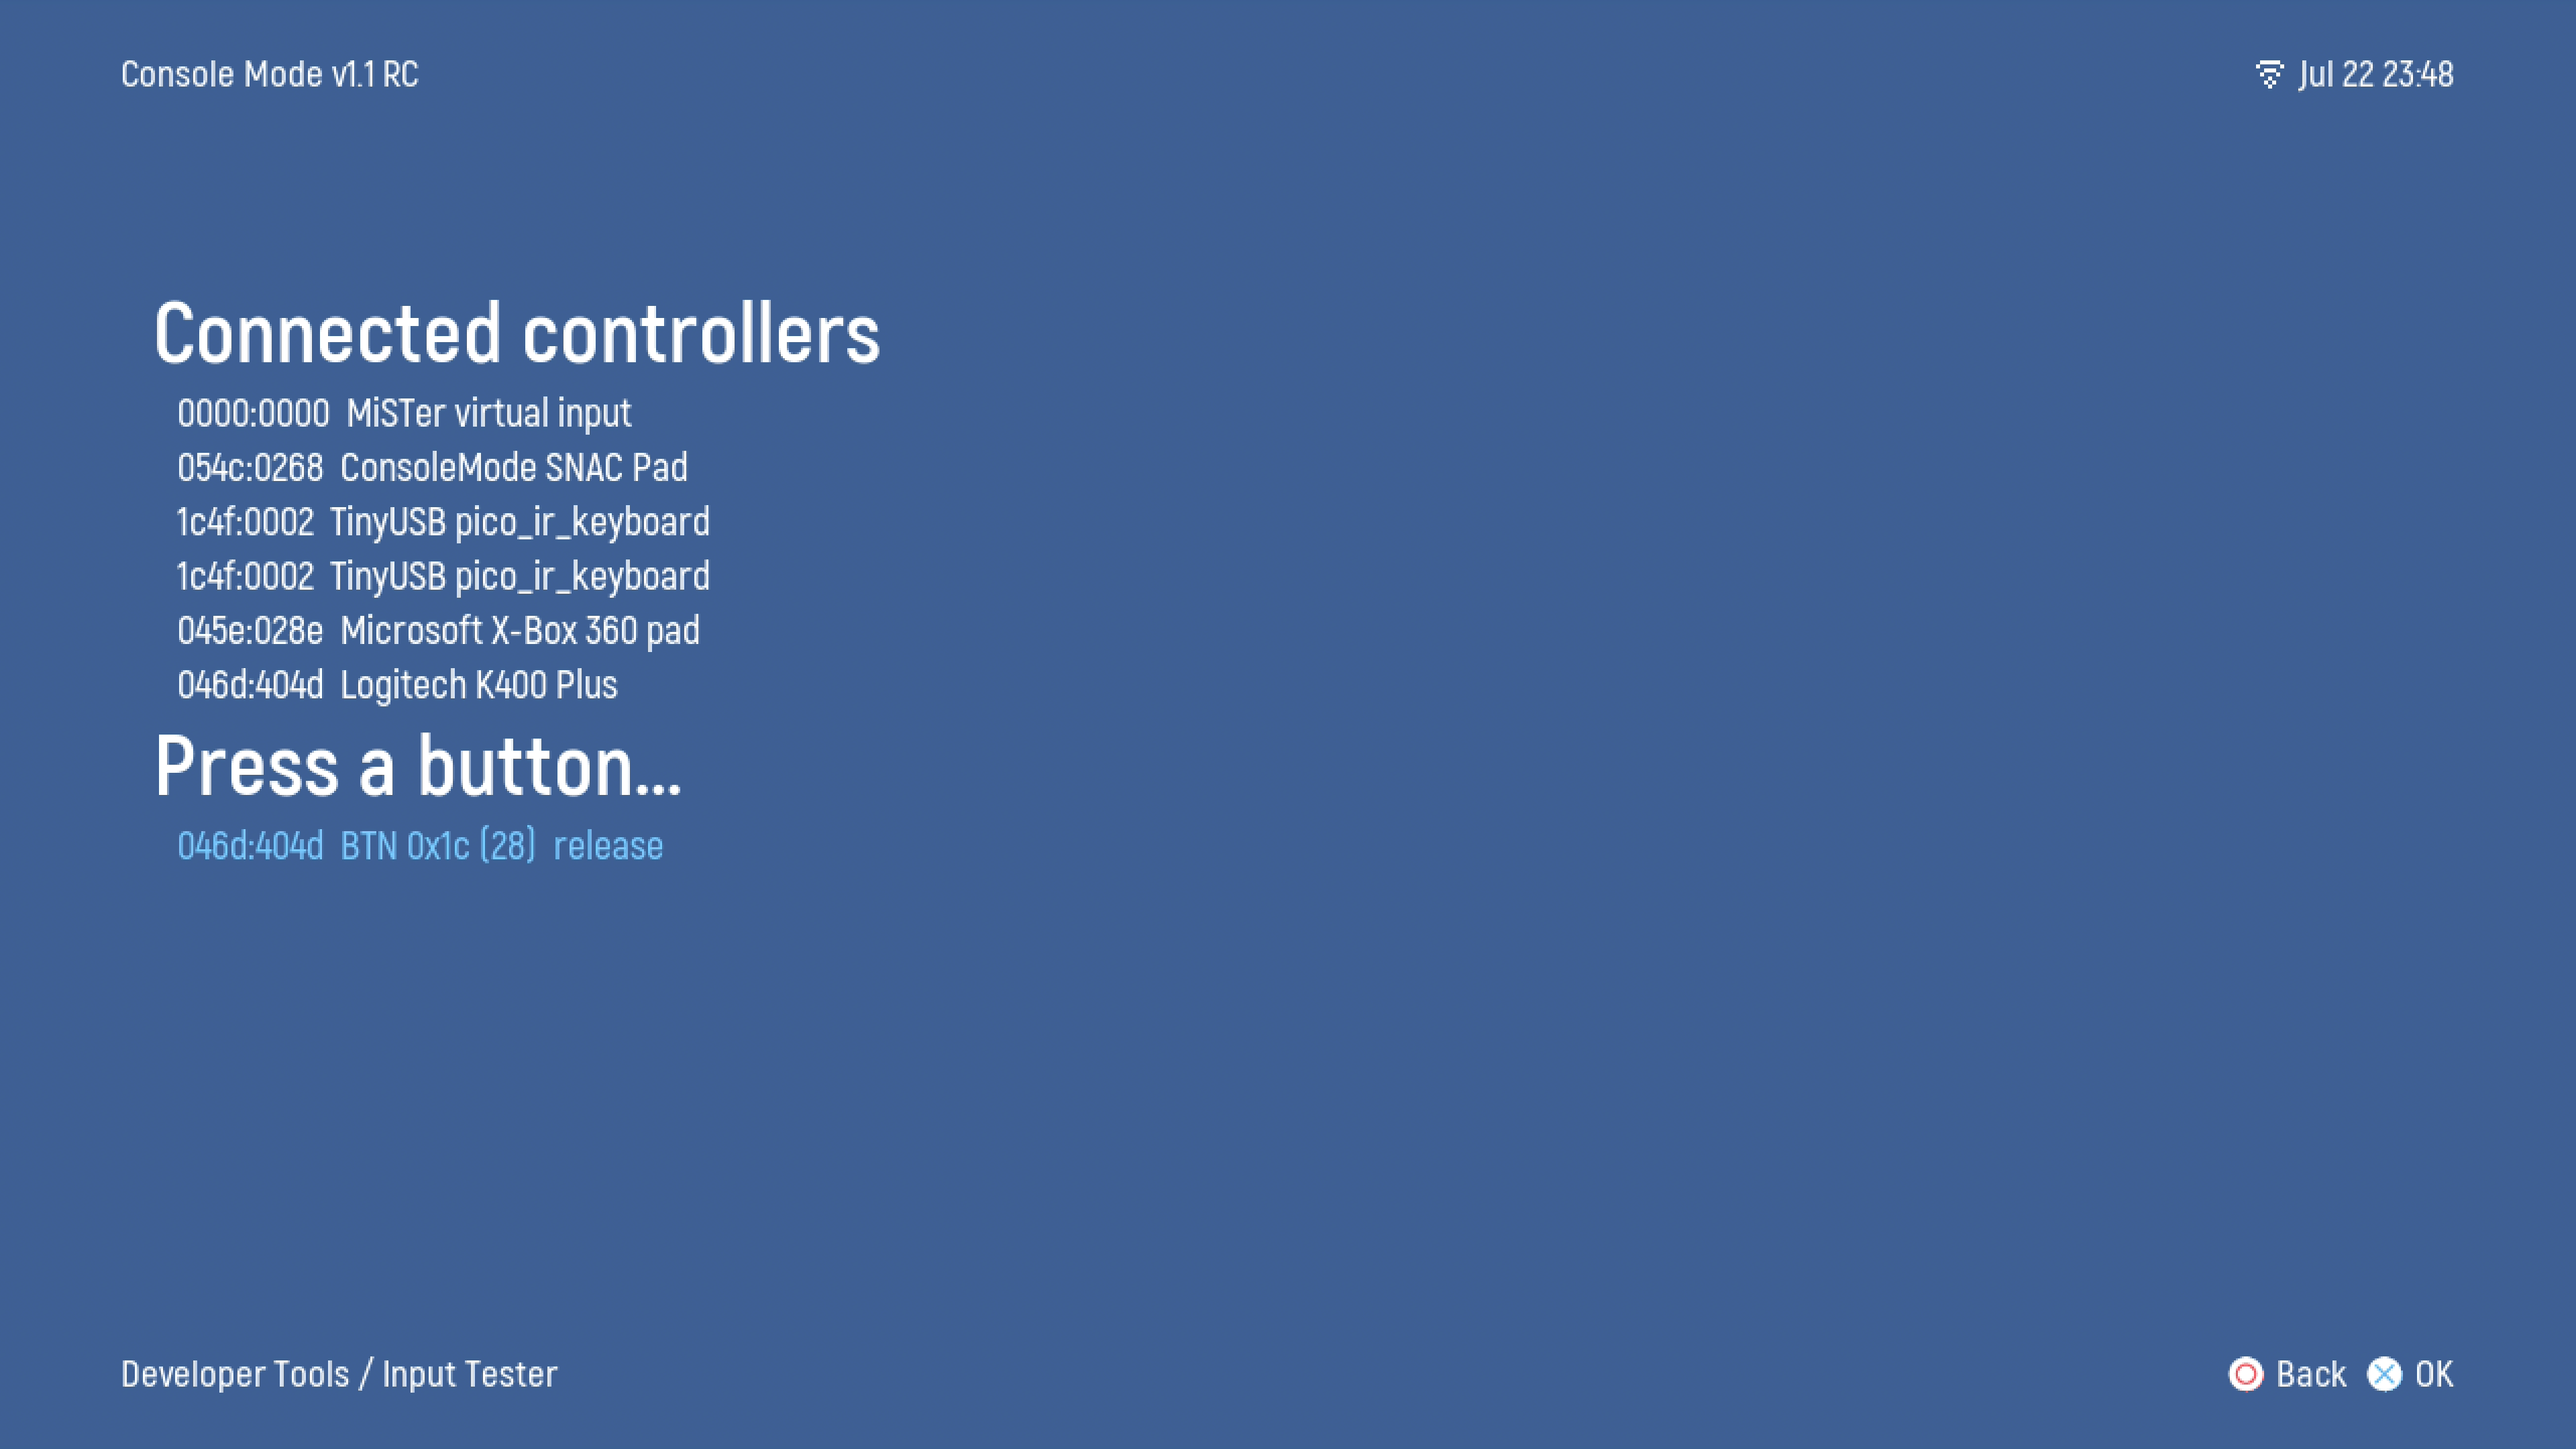
- Input Tester - shows all currently active and connected peripheral devices and allows you to test them to make sure input is being accepted.
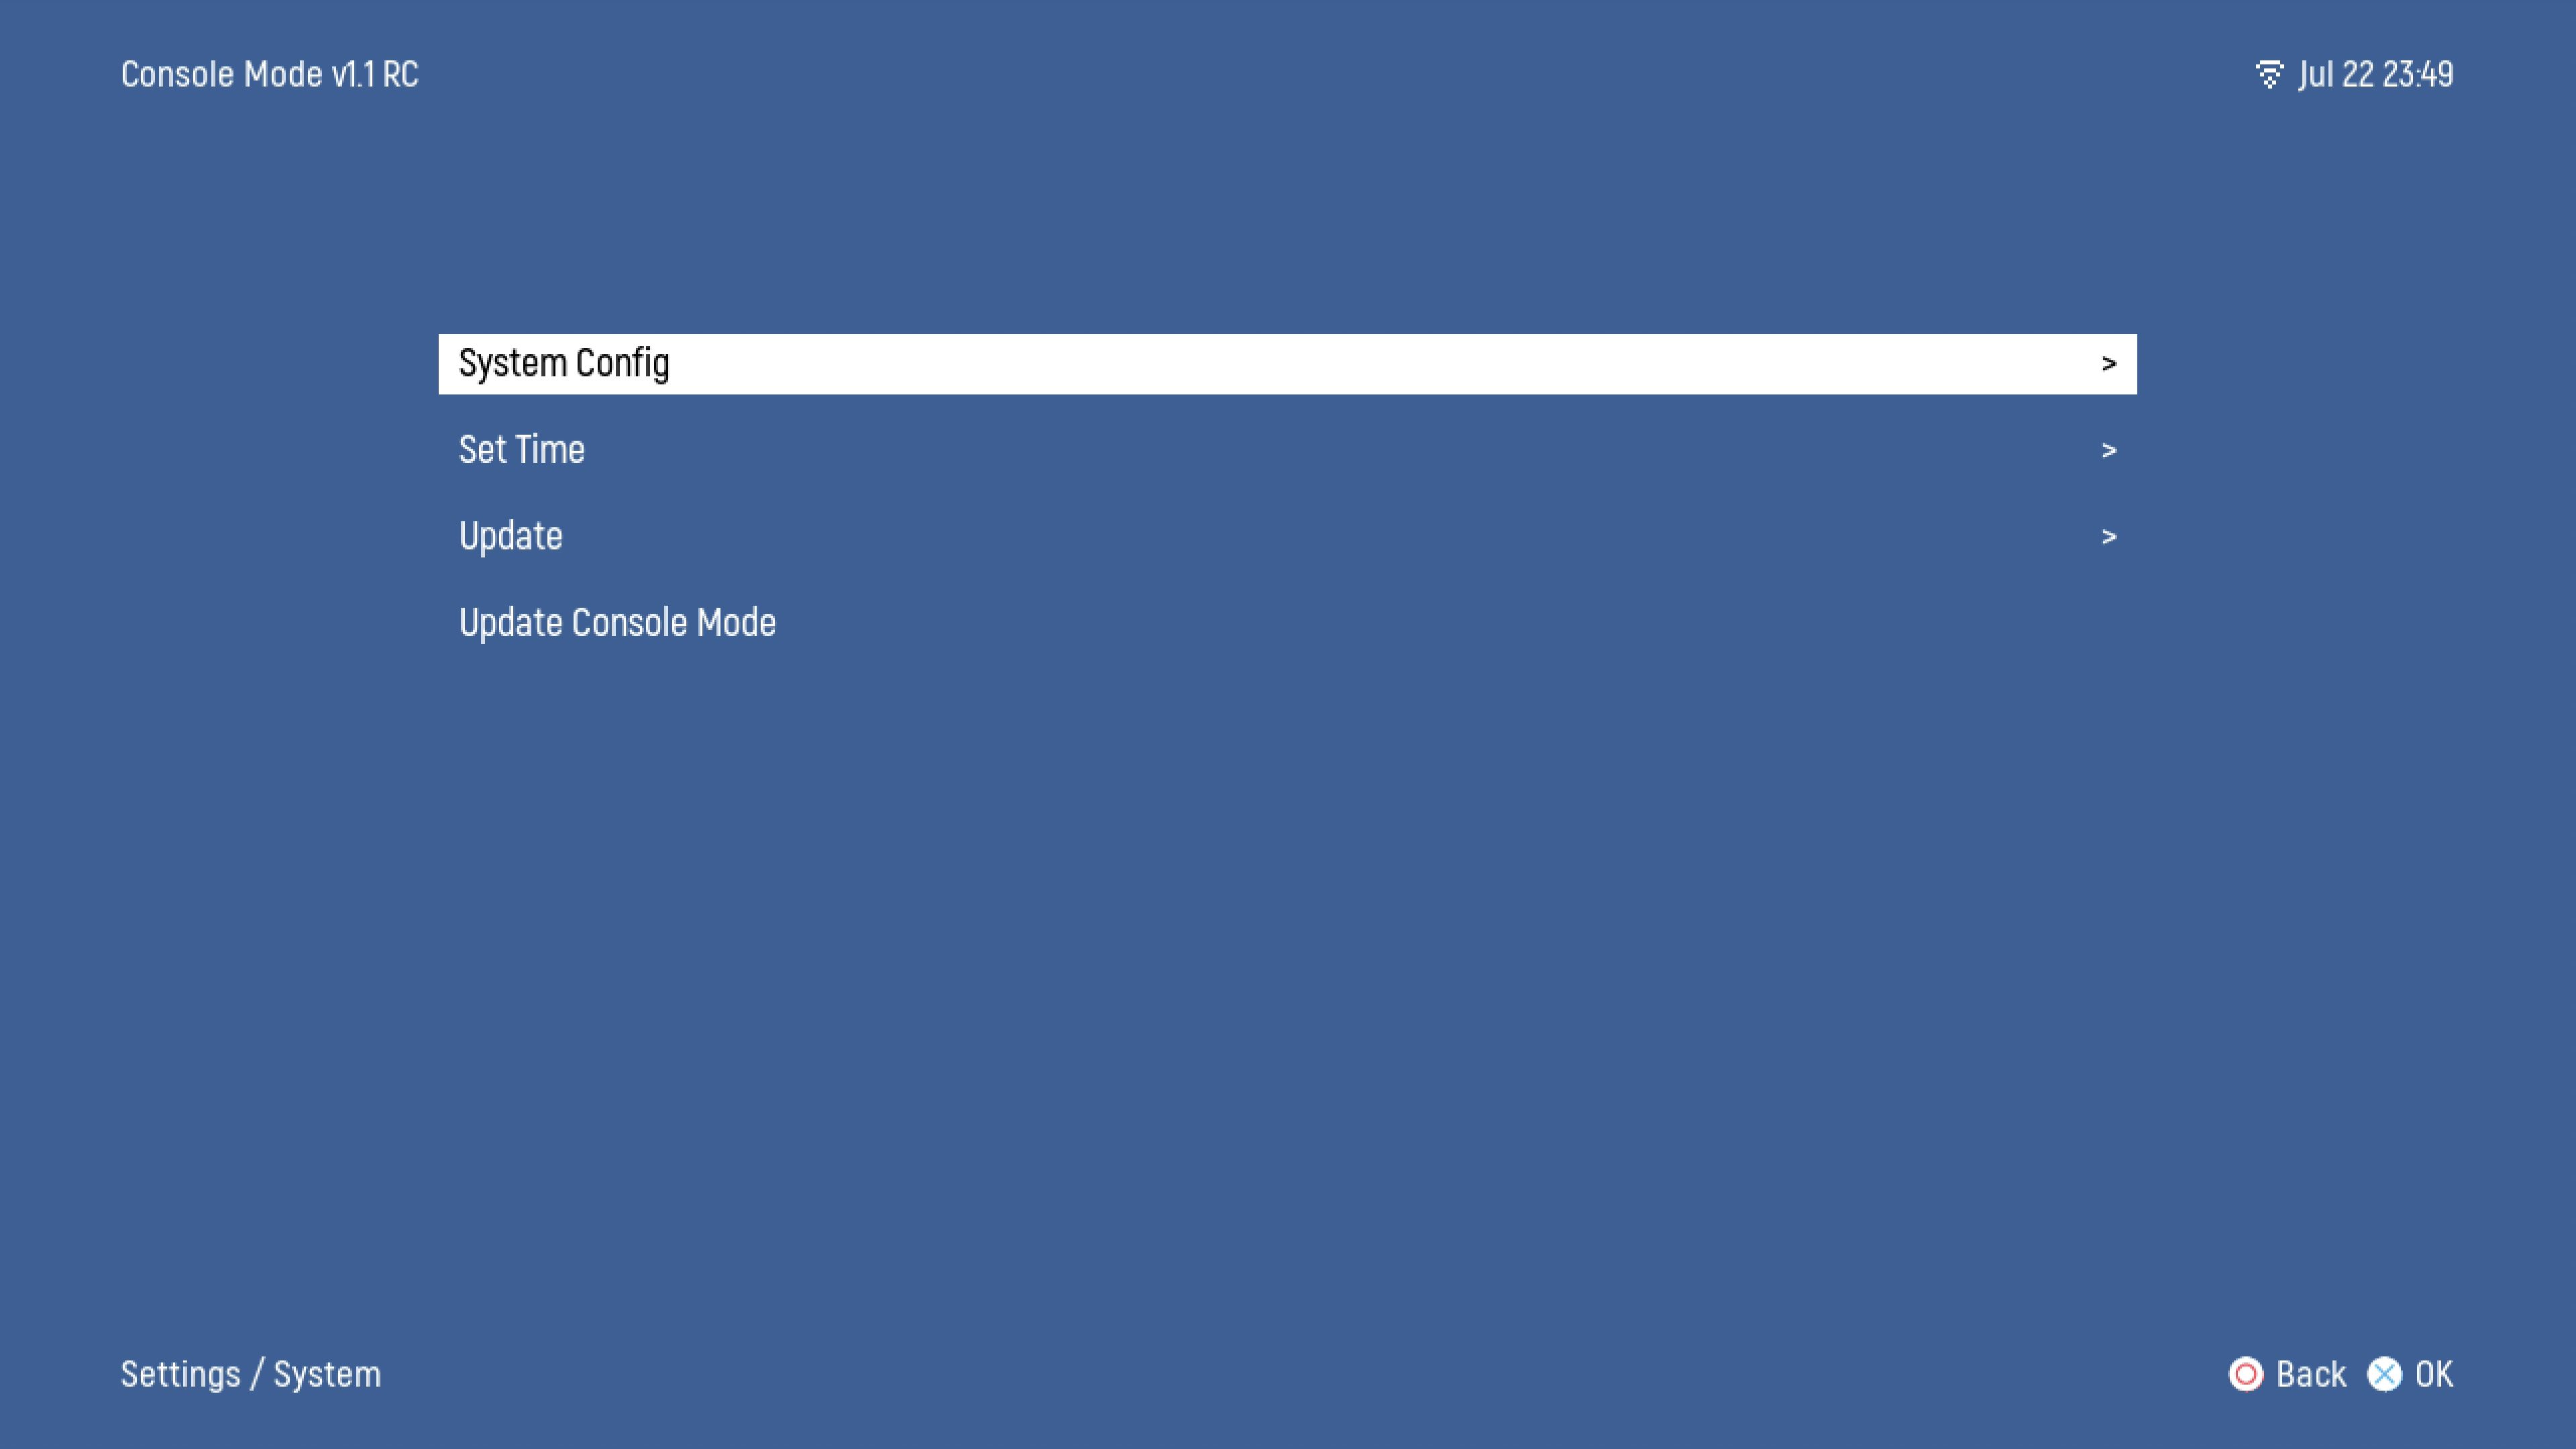
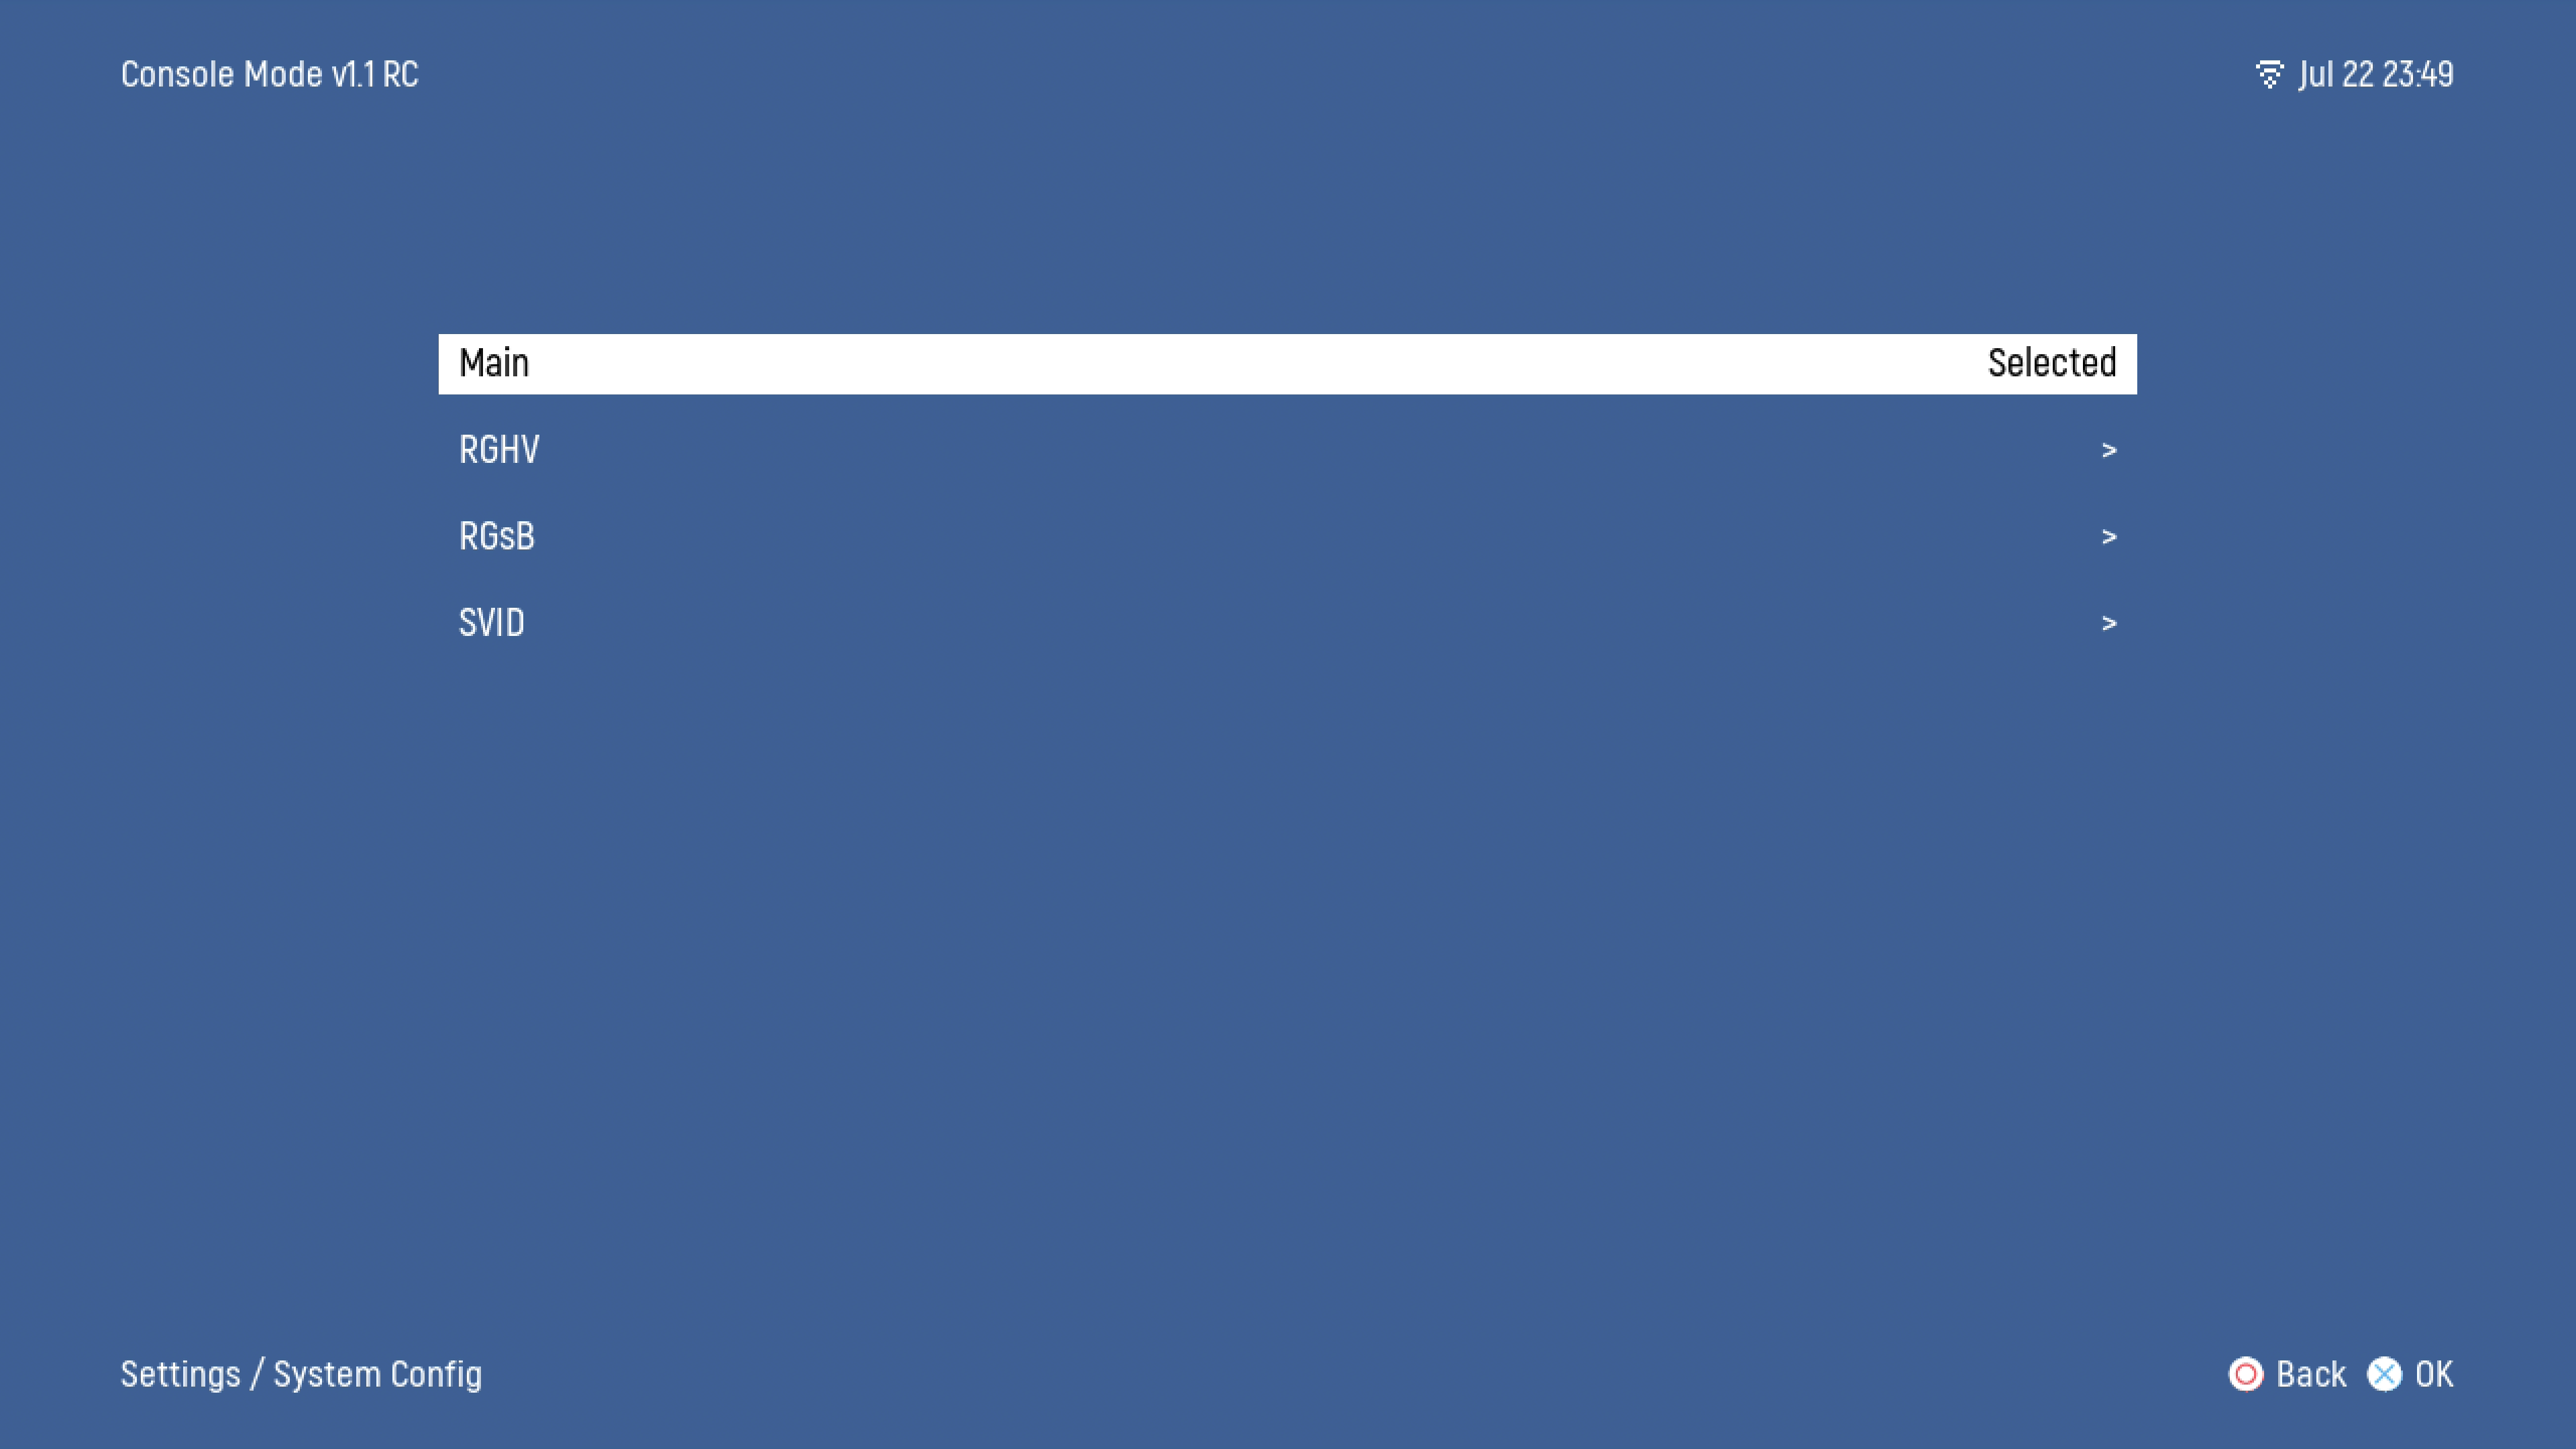
- System Config - Provides another way to change the active Mister Configuration INI that is enabled.
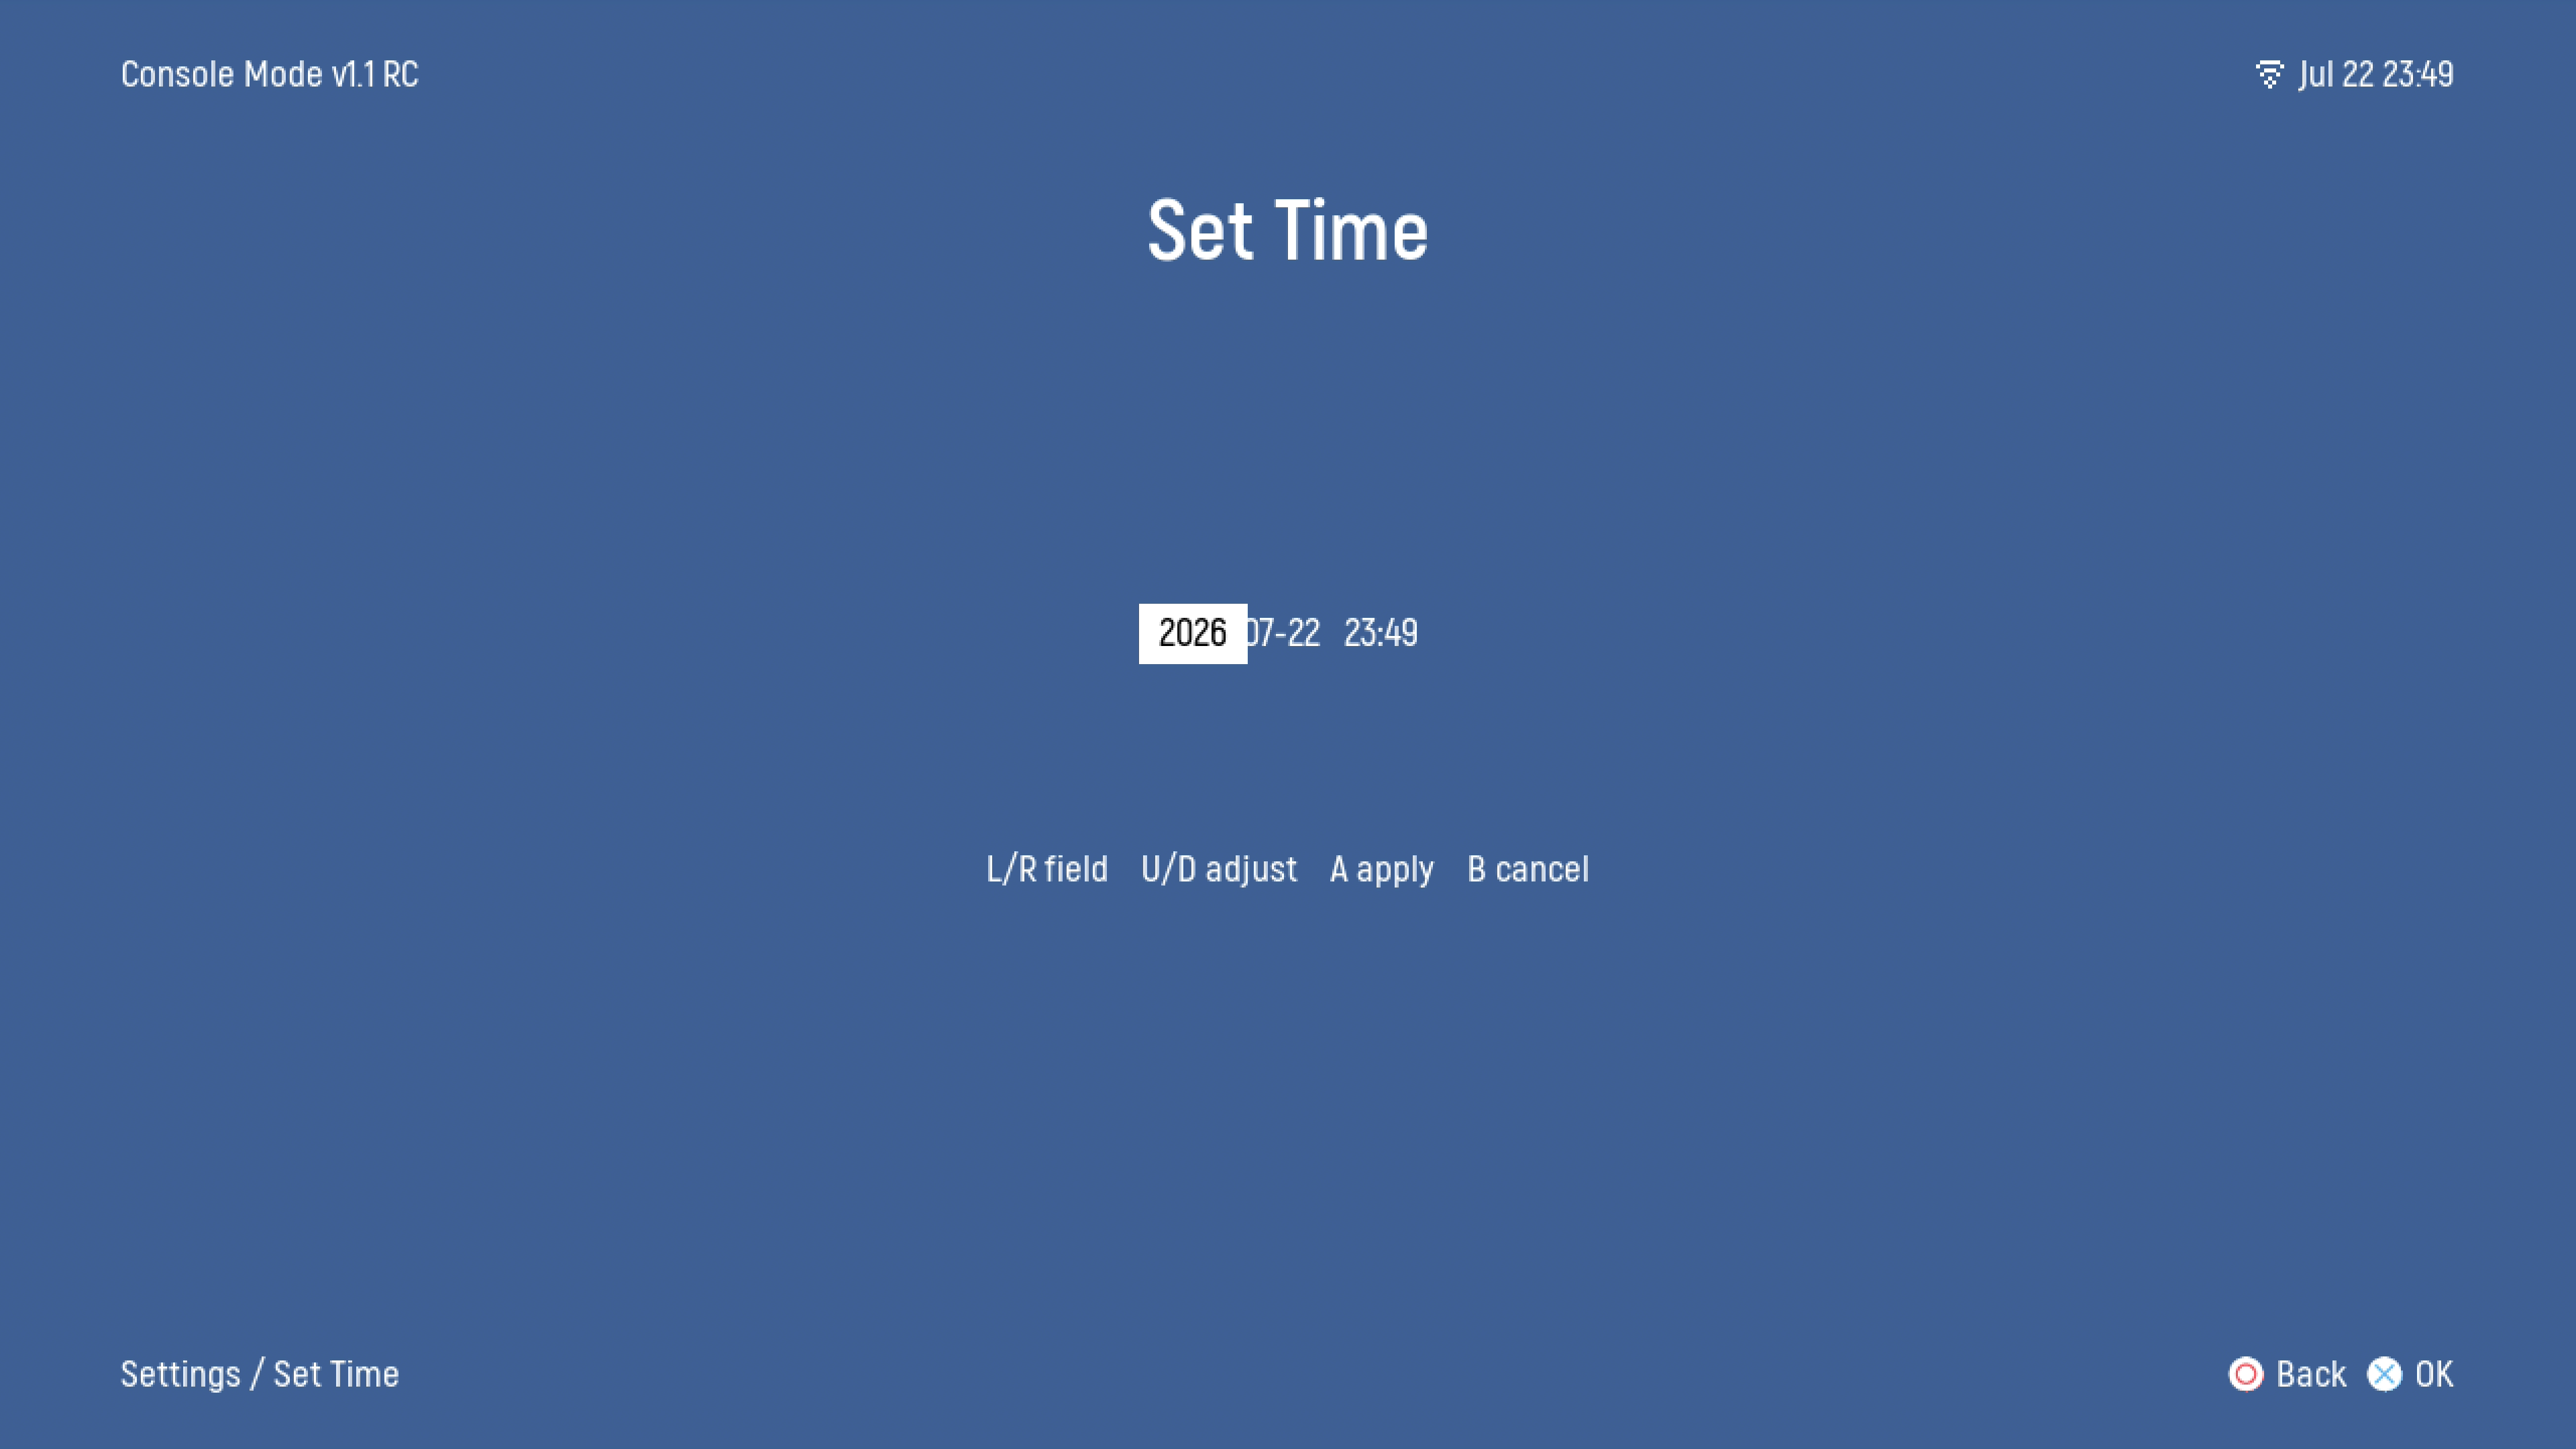
- Set Time - Allows user to manually set the time. Will not save without battery installed in the battery holder of the SS One. Time CAN be set automatically as long as the Locale is set and an Internet Connection is active.
- Update - Runs the Update Script to download standard MiSTer update files
- Update Console Mode - Runs OTA updater to upgrade the Console Mode Software and UI
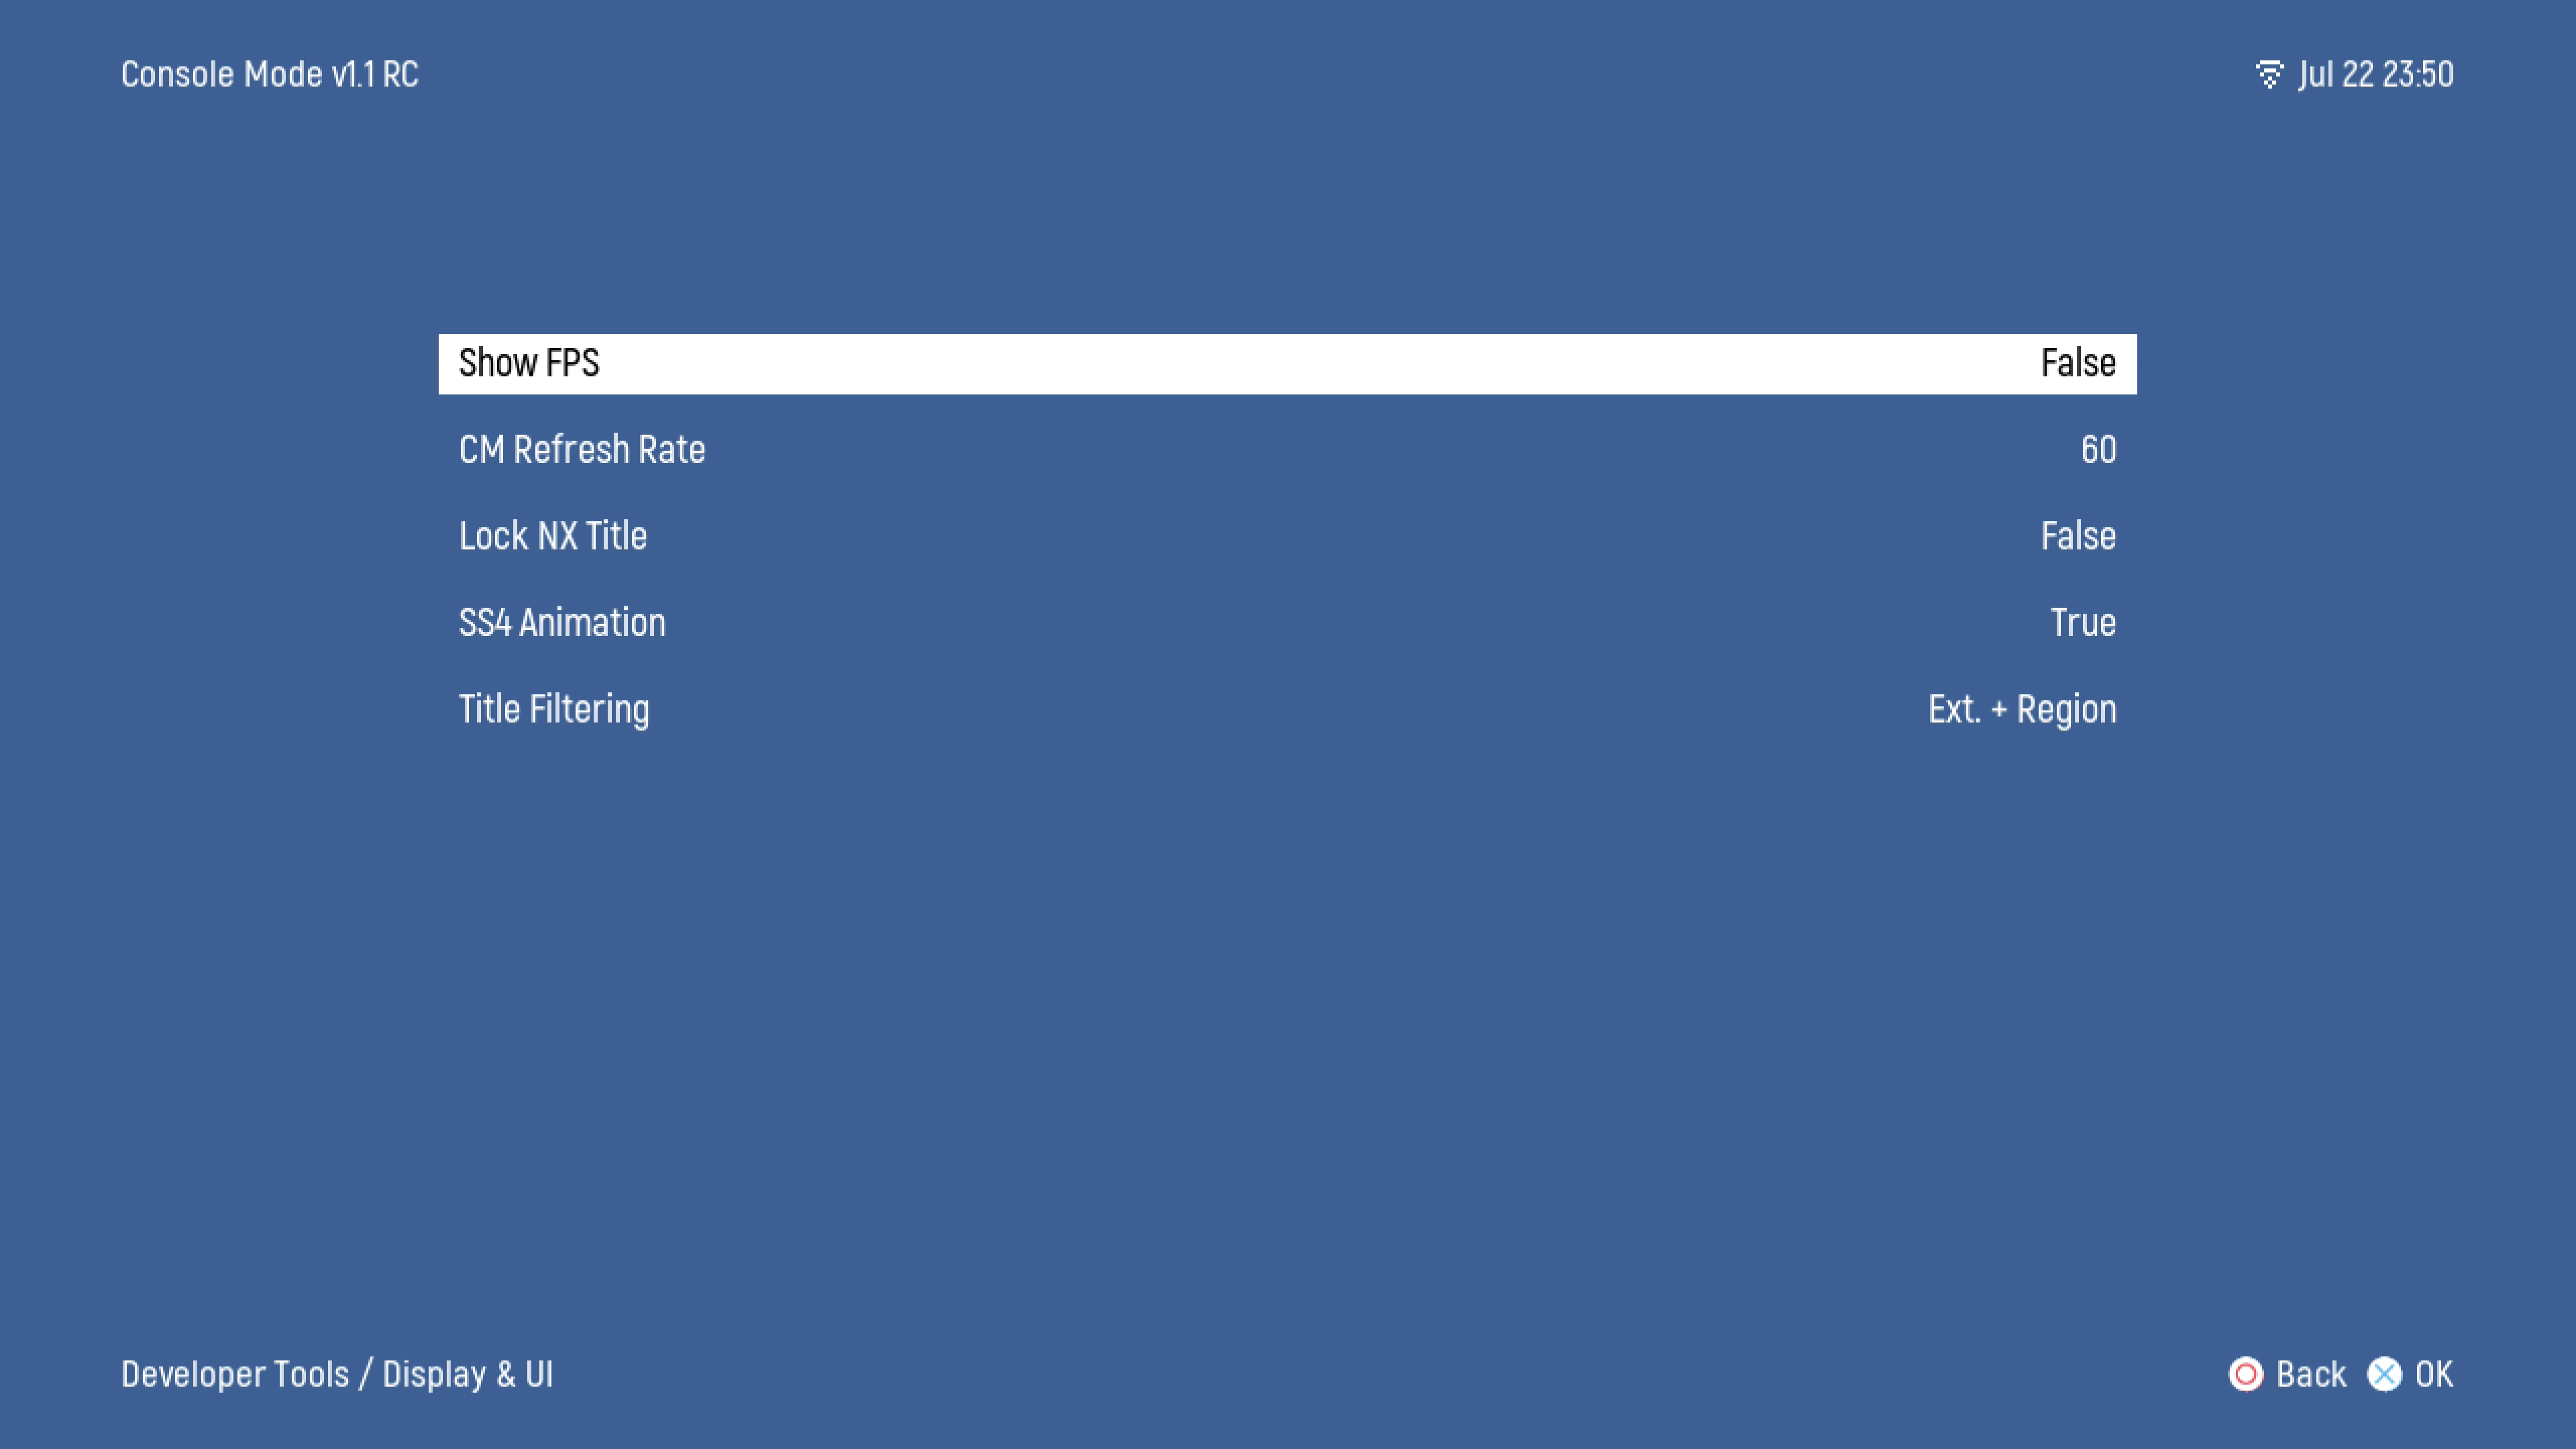
- Display & UI - Provides options for displaying Frame Rates in UI, and tweaks to specific aspects of CM.
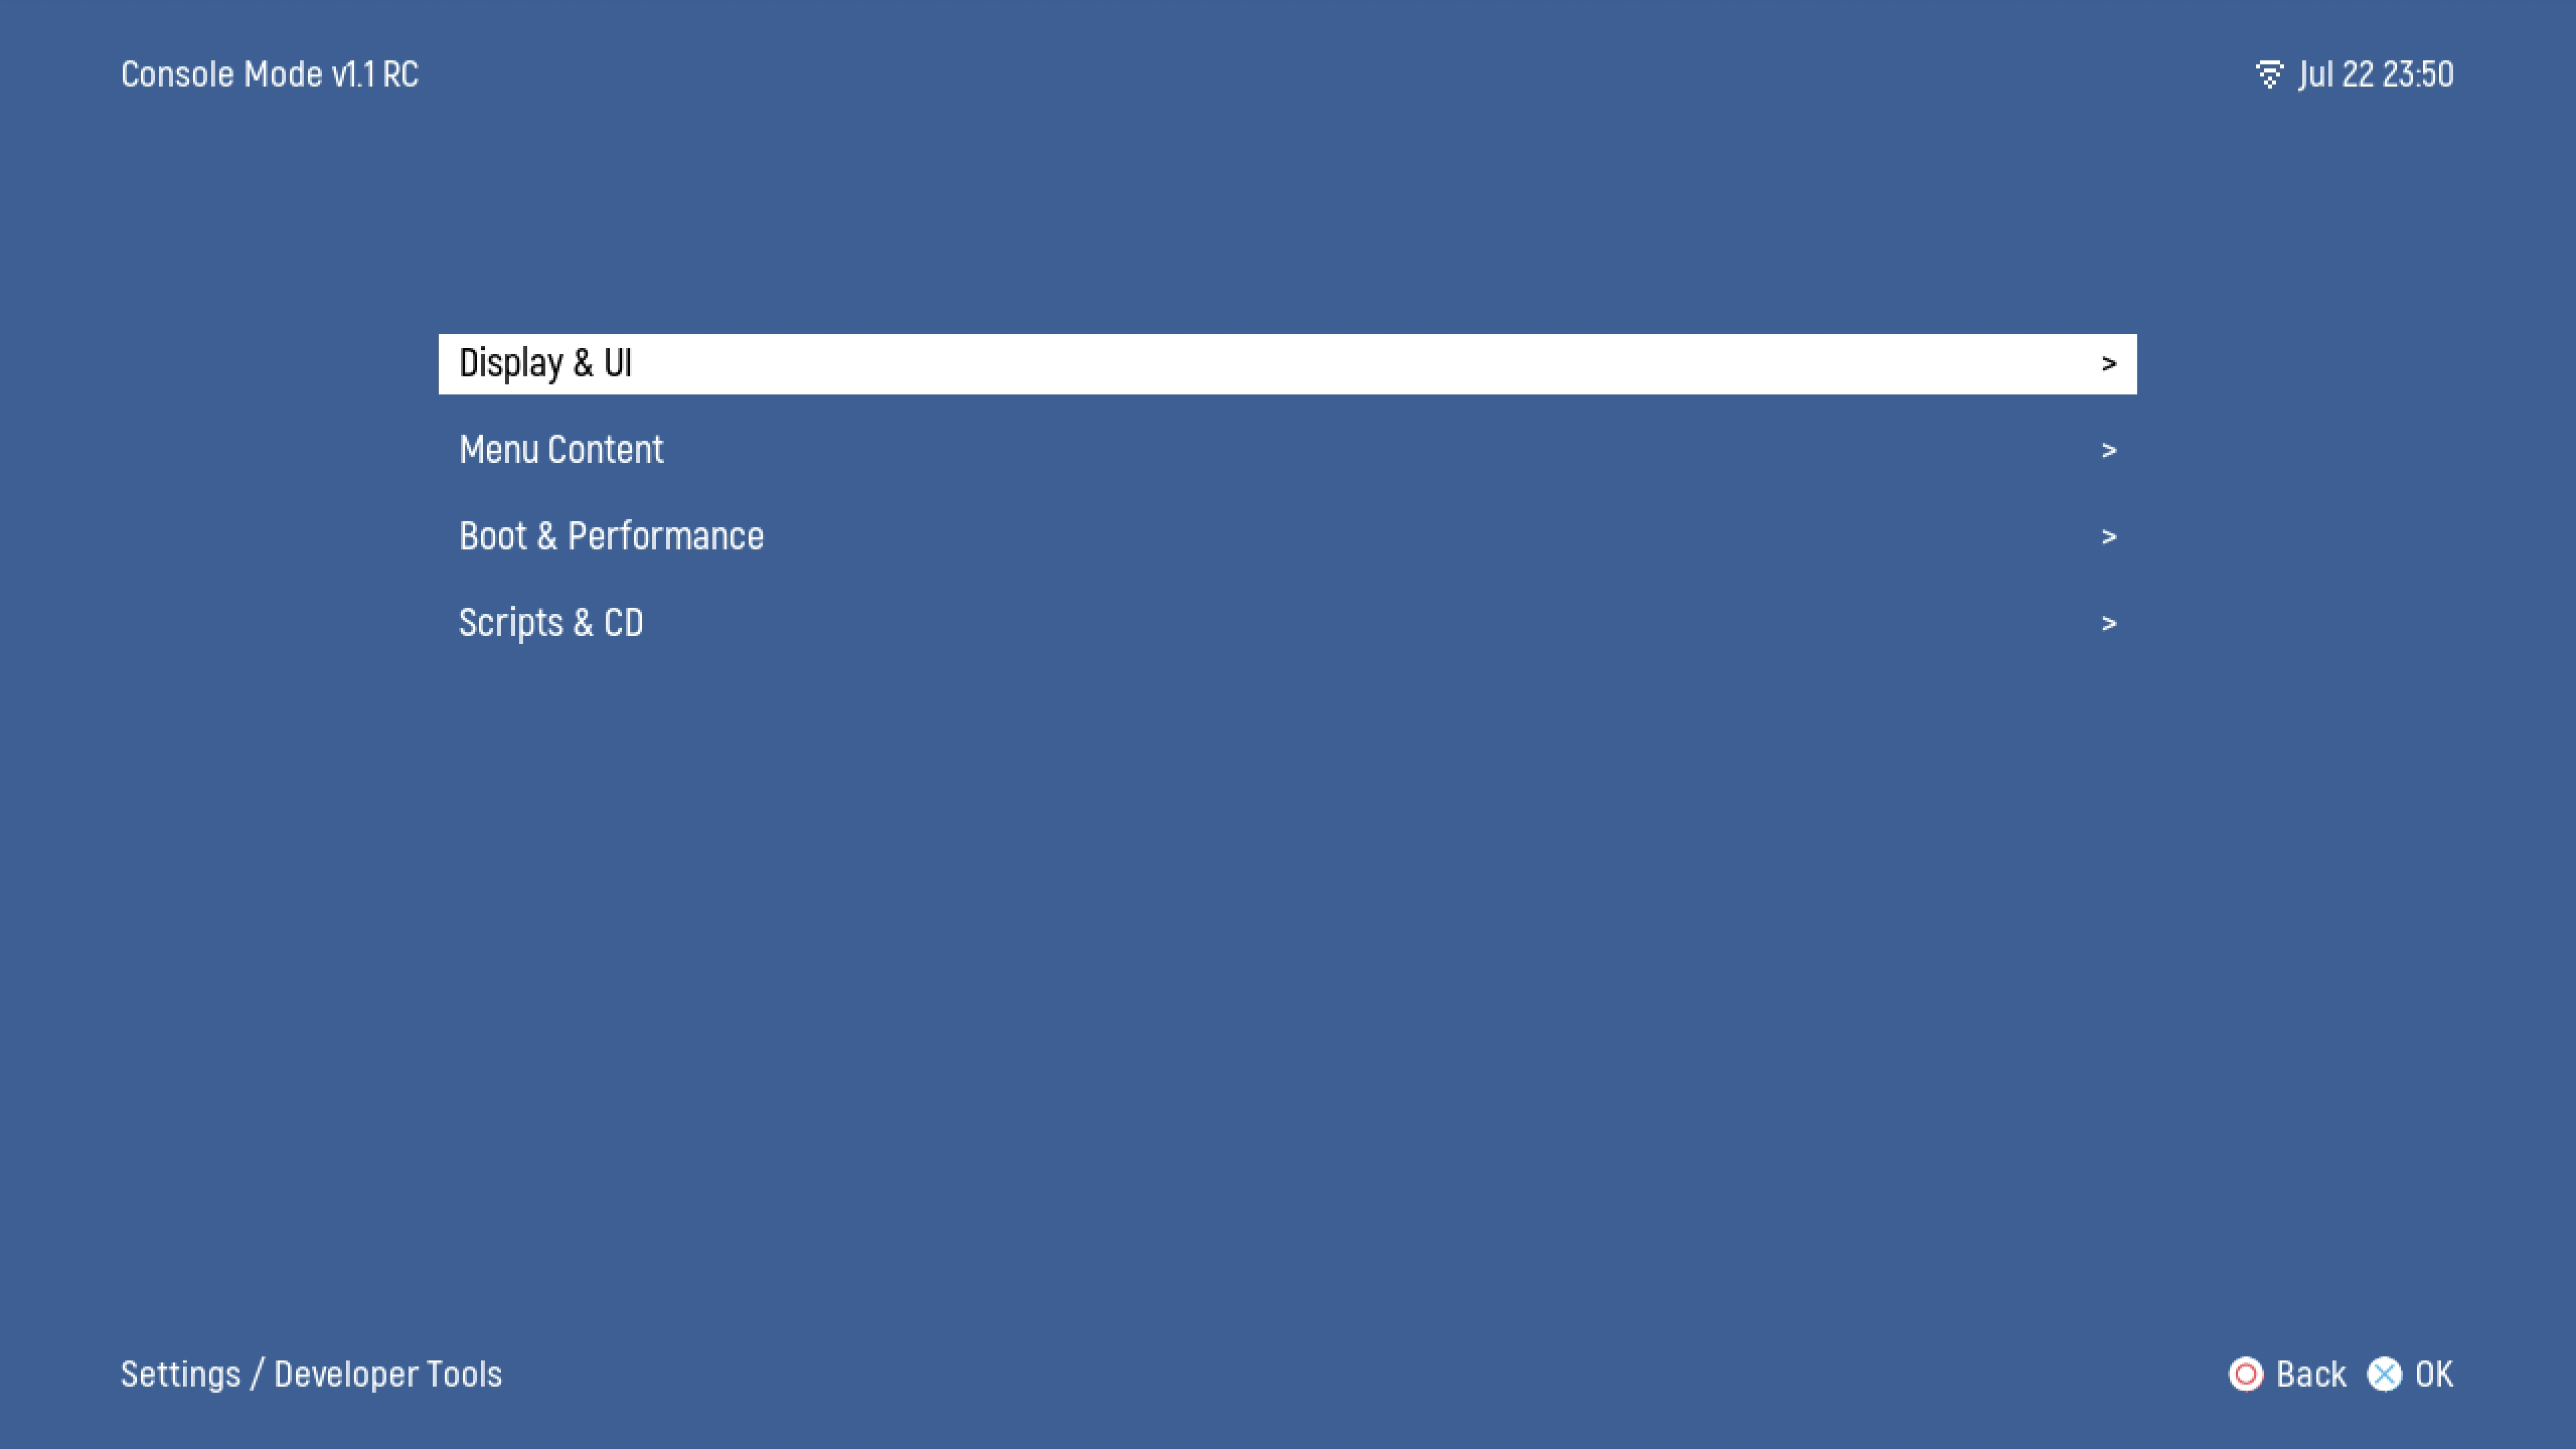
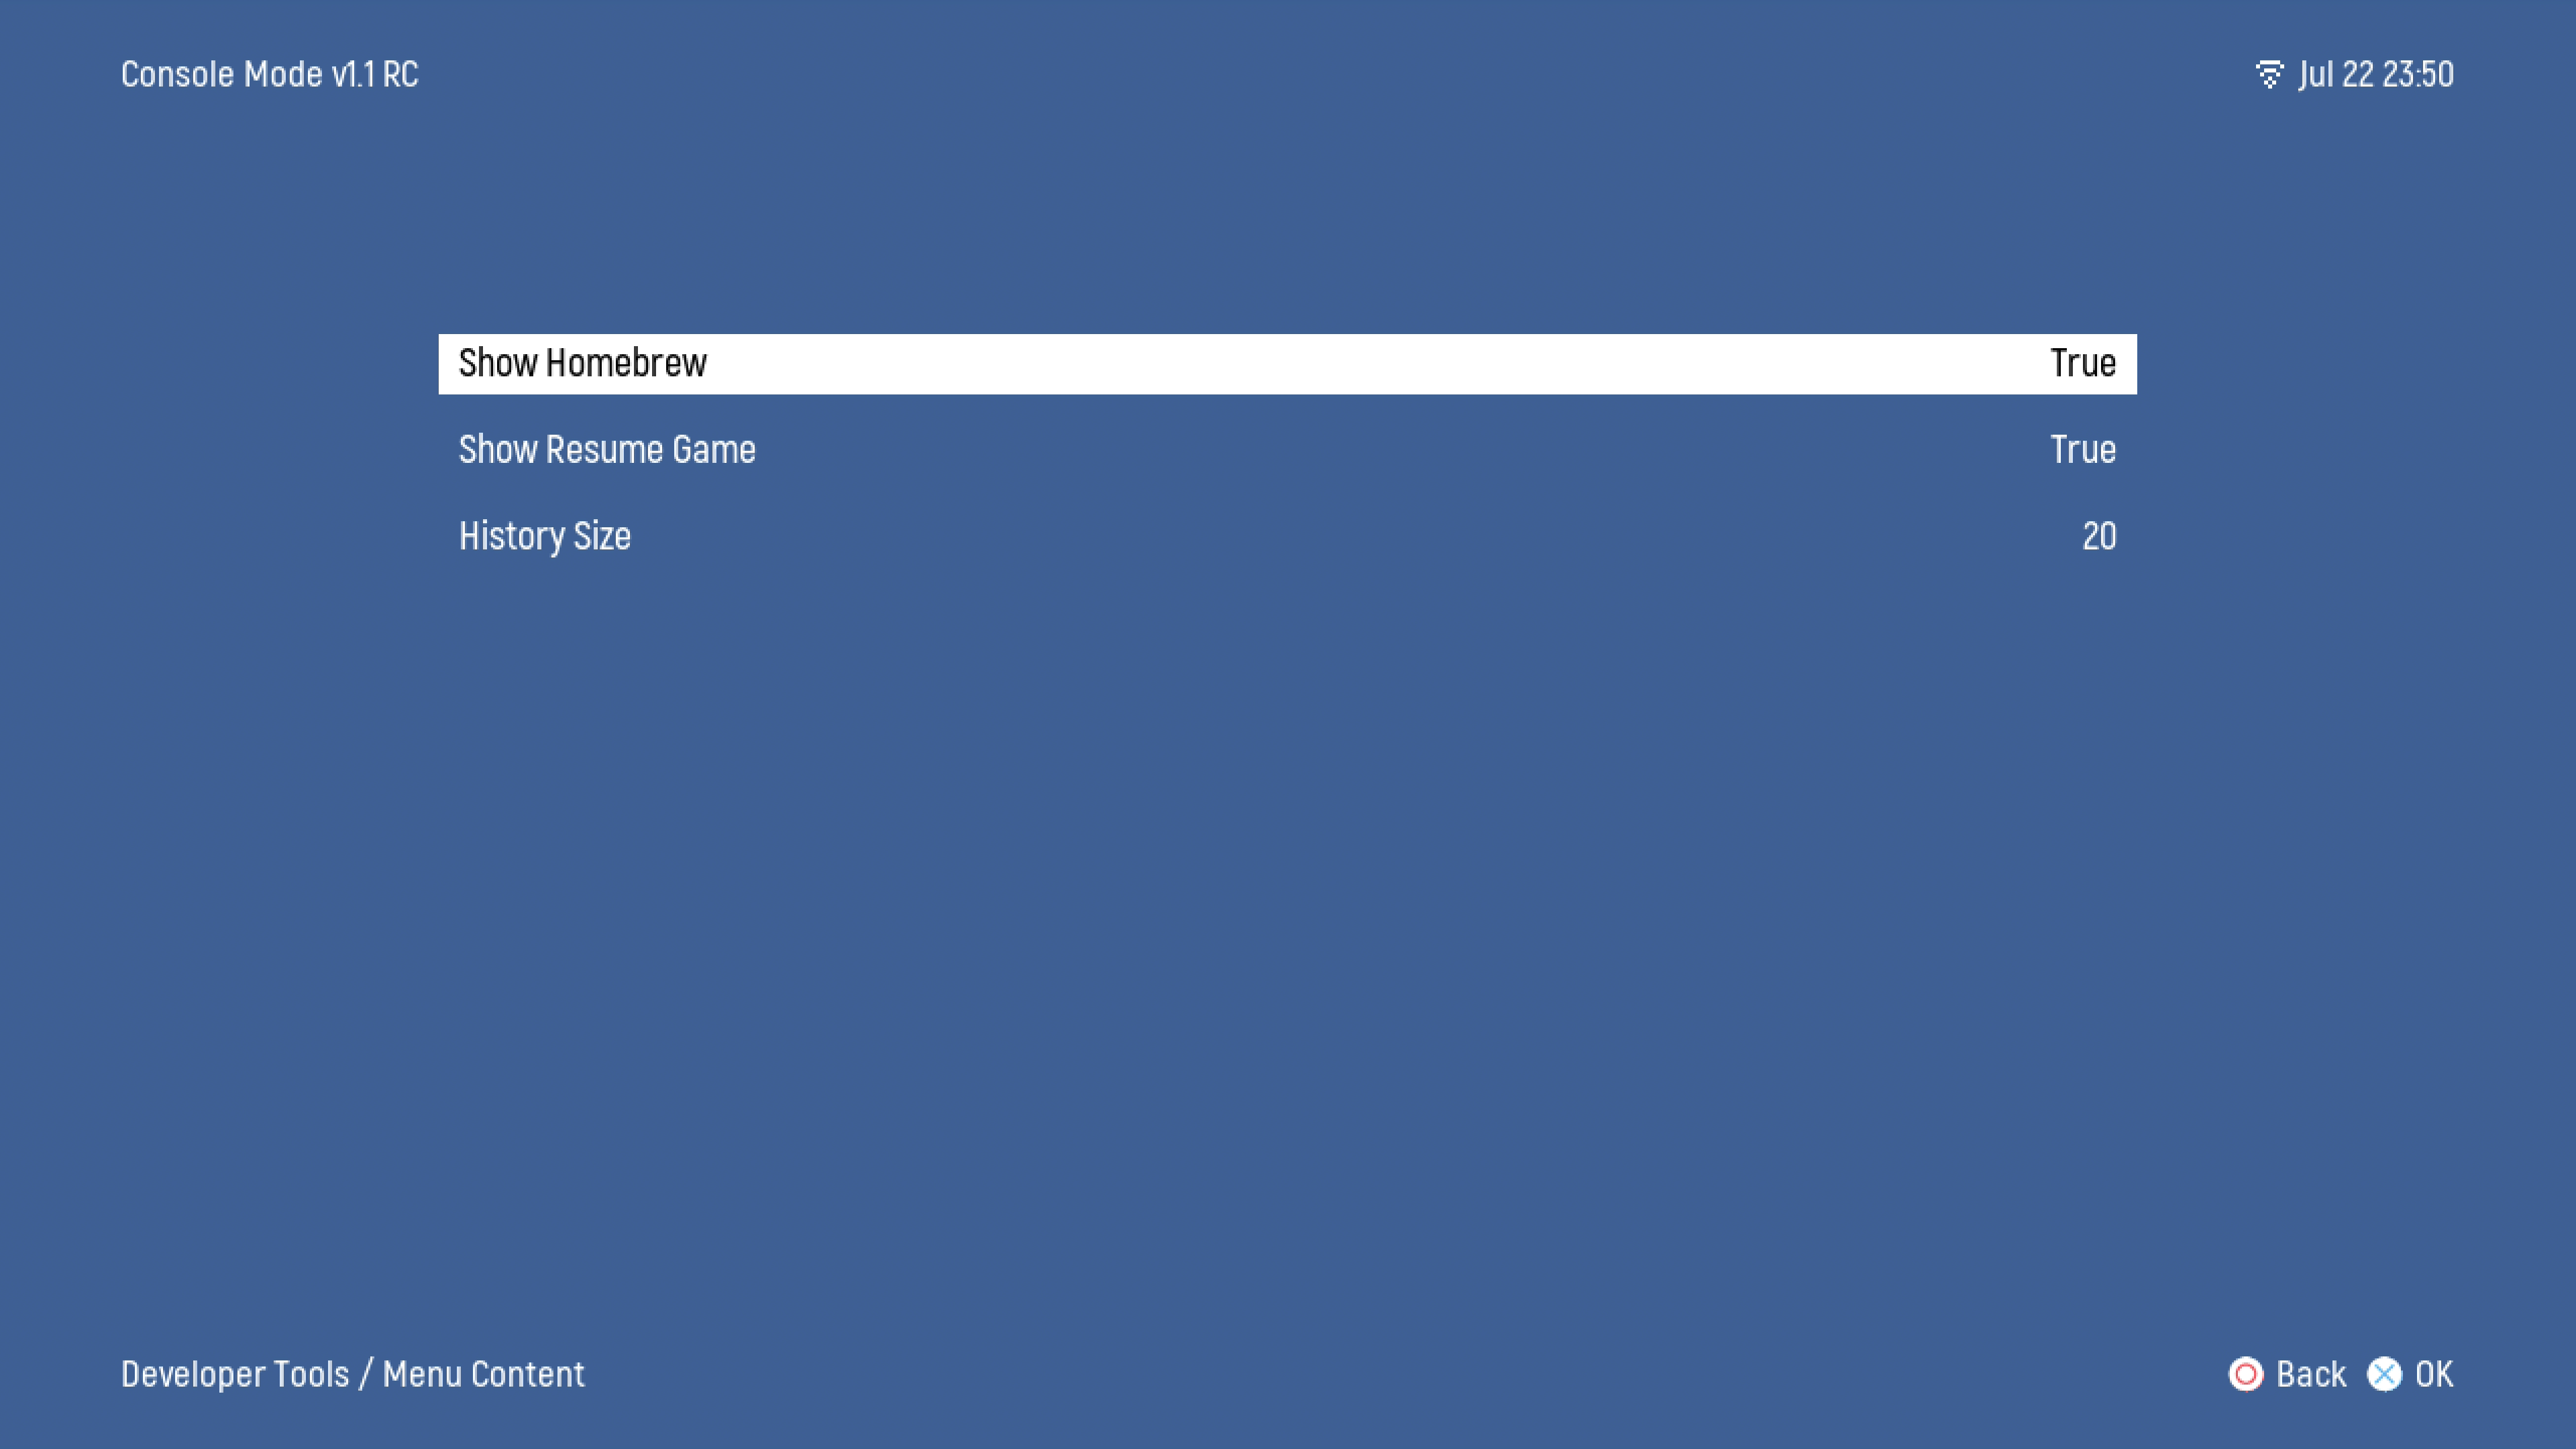
- Menu Content - Disable Homebrew, Resume Game or adjust list of History items
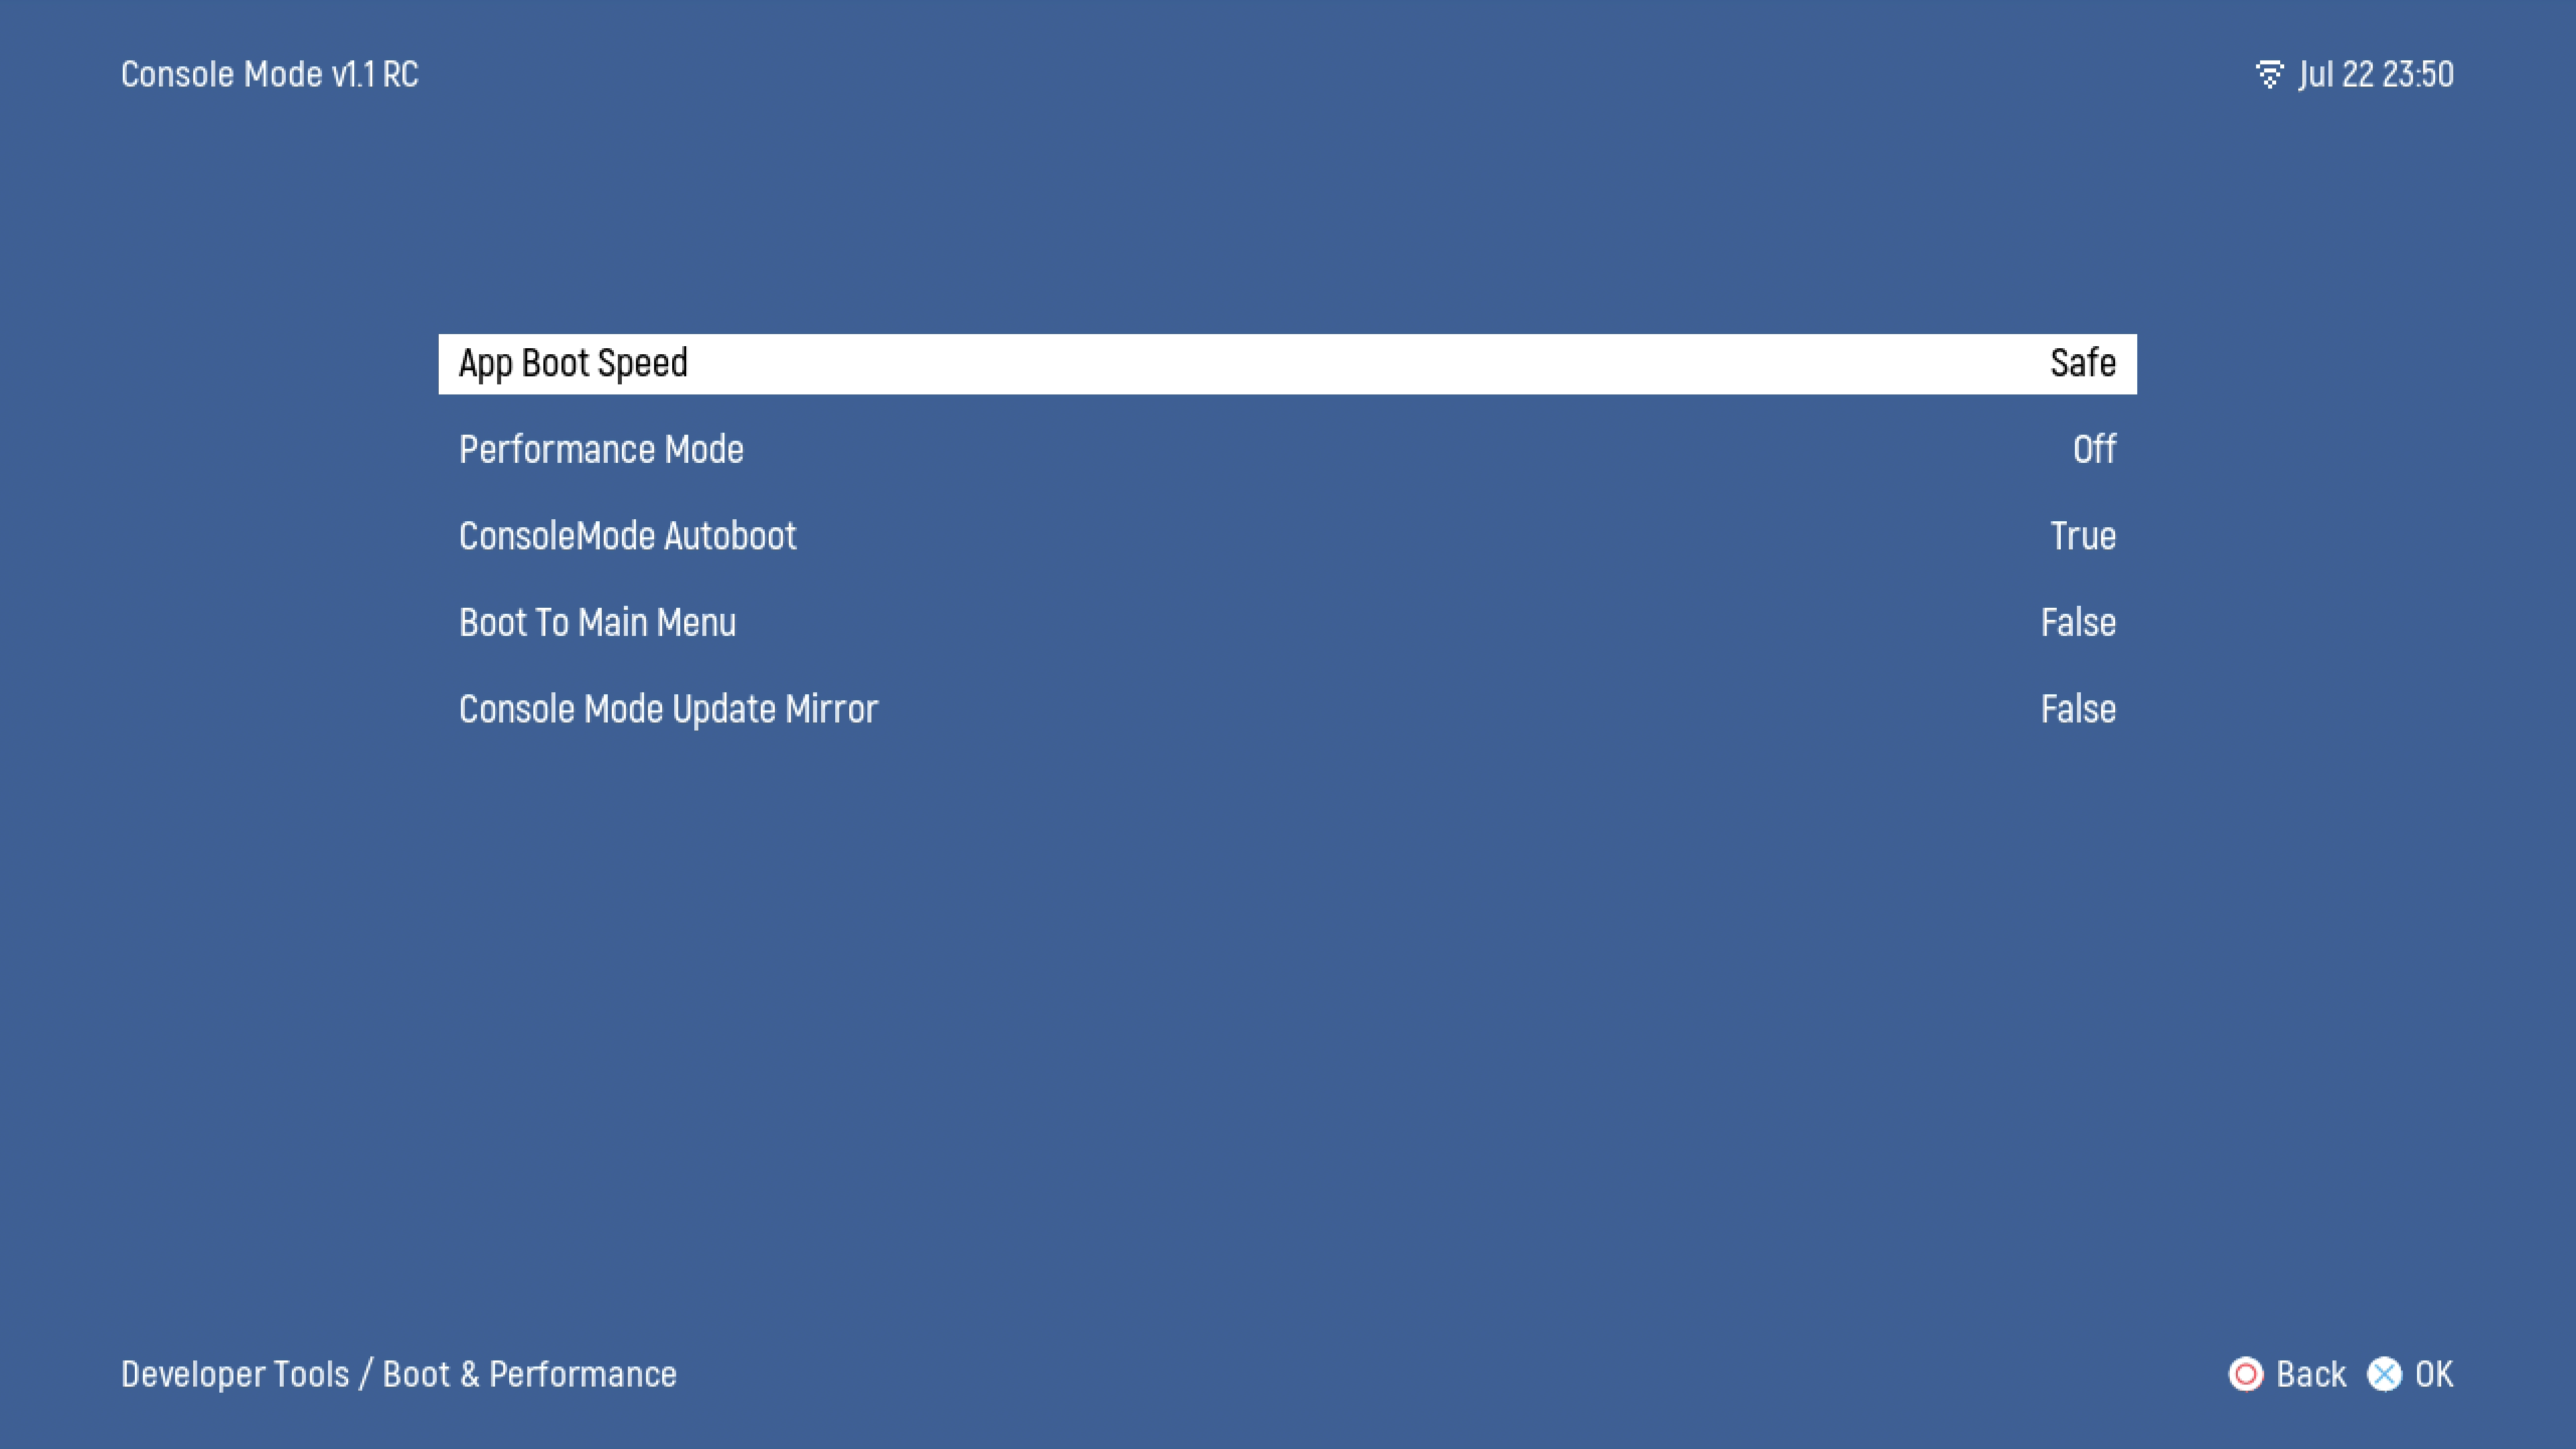
- Boot & Performance - Configure aspects of booting and performance speed, as well as enabling or disable CM autobooting on power on.
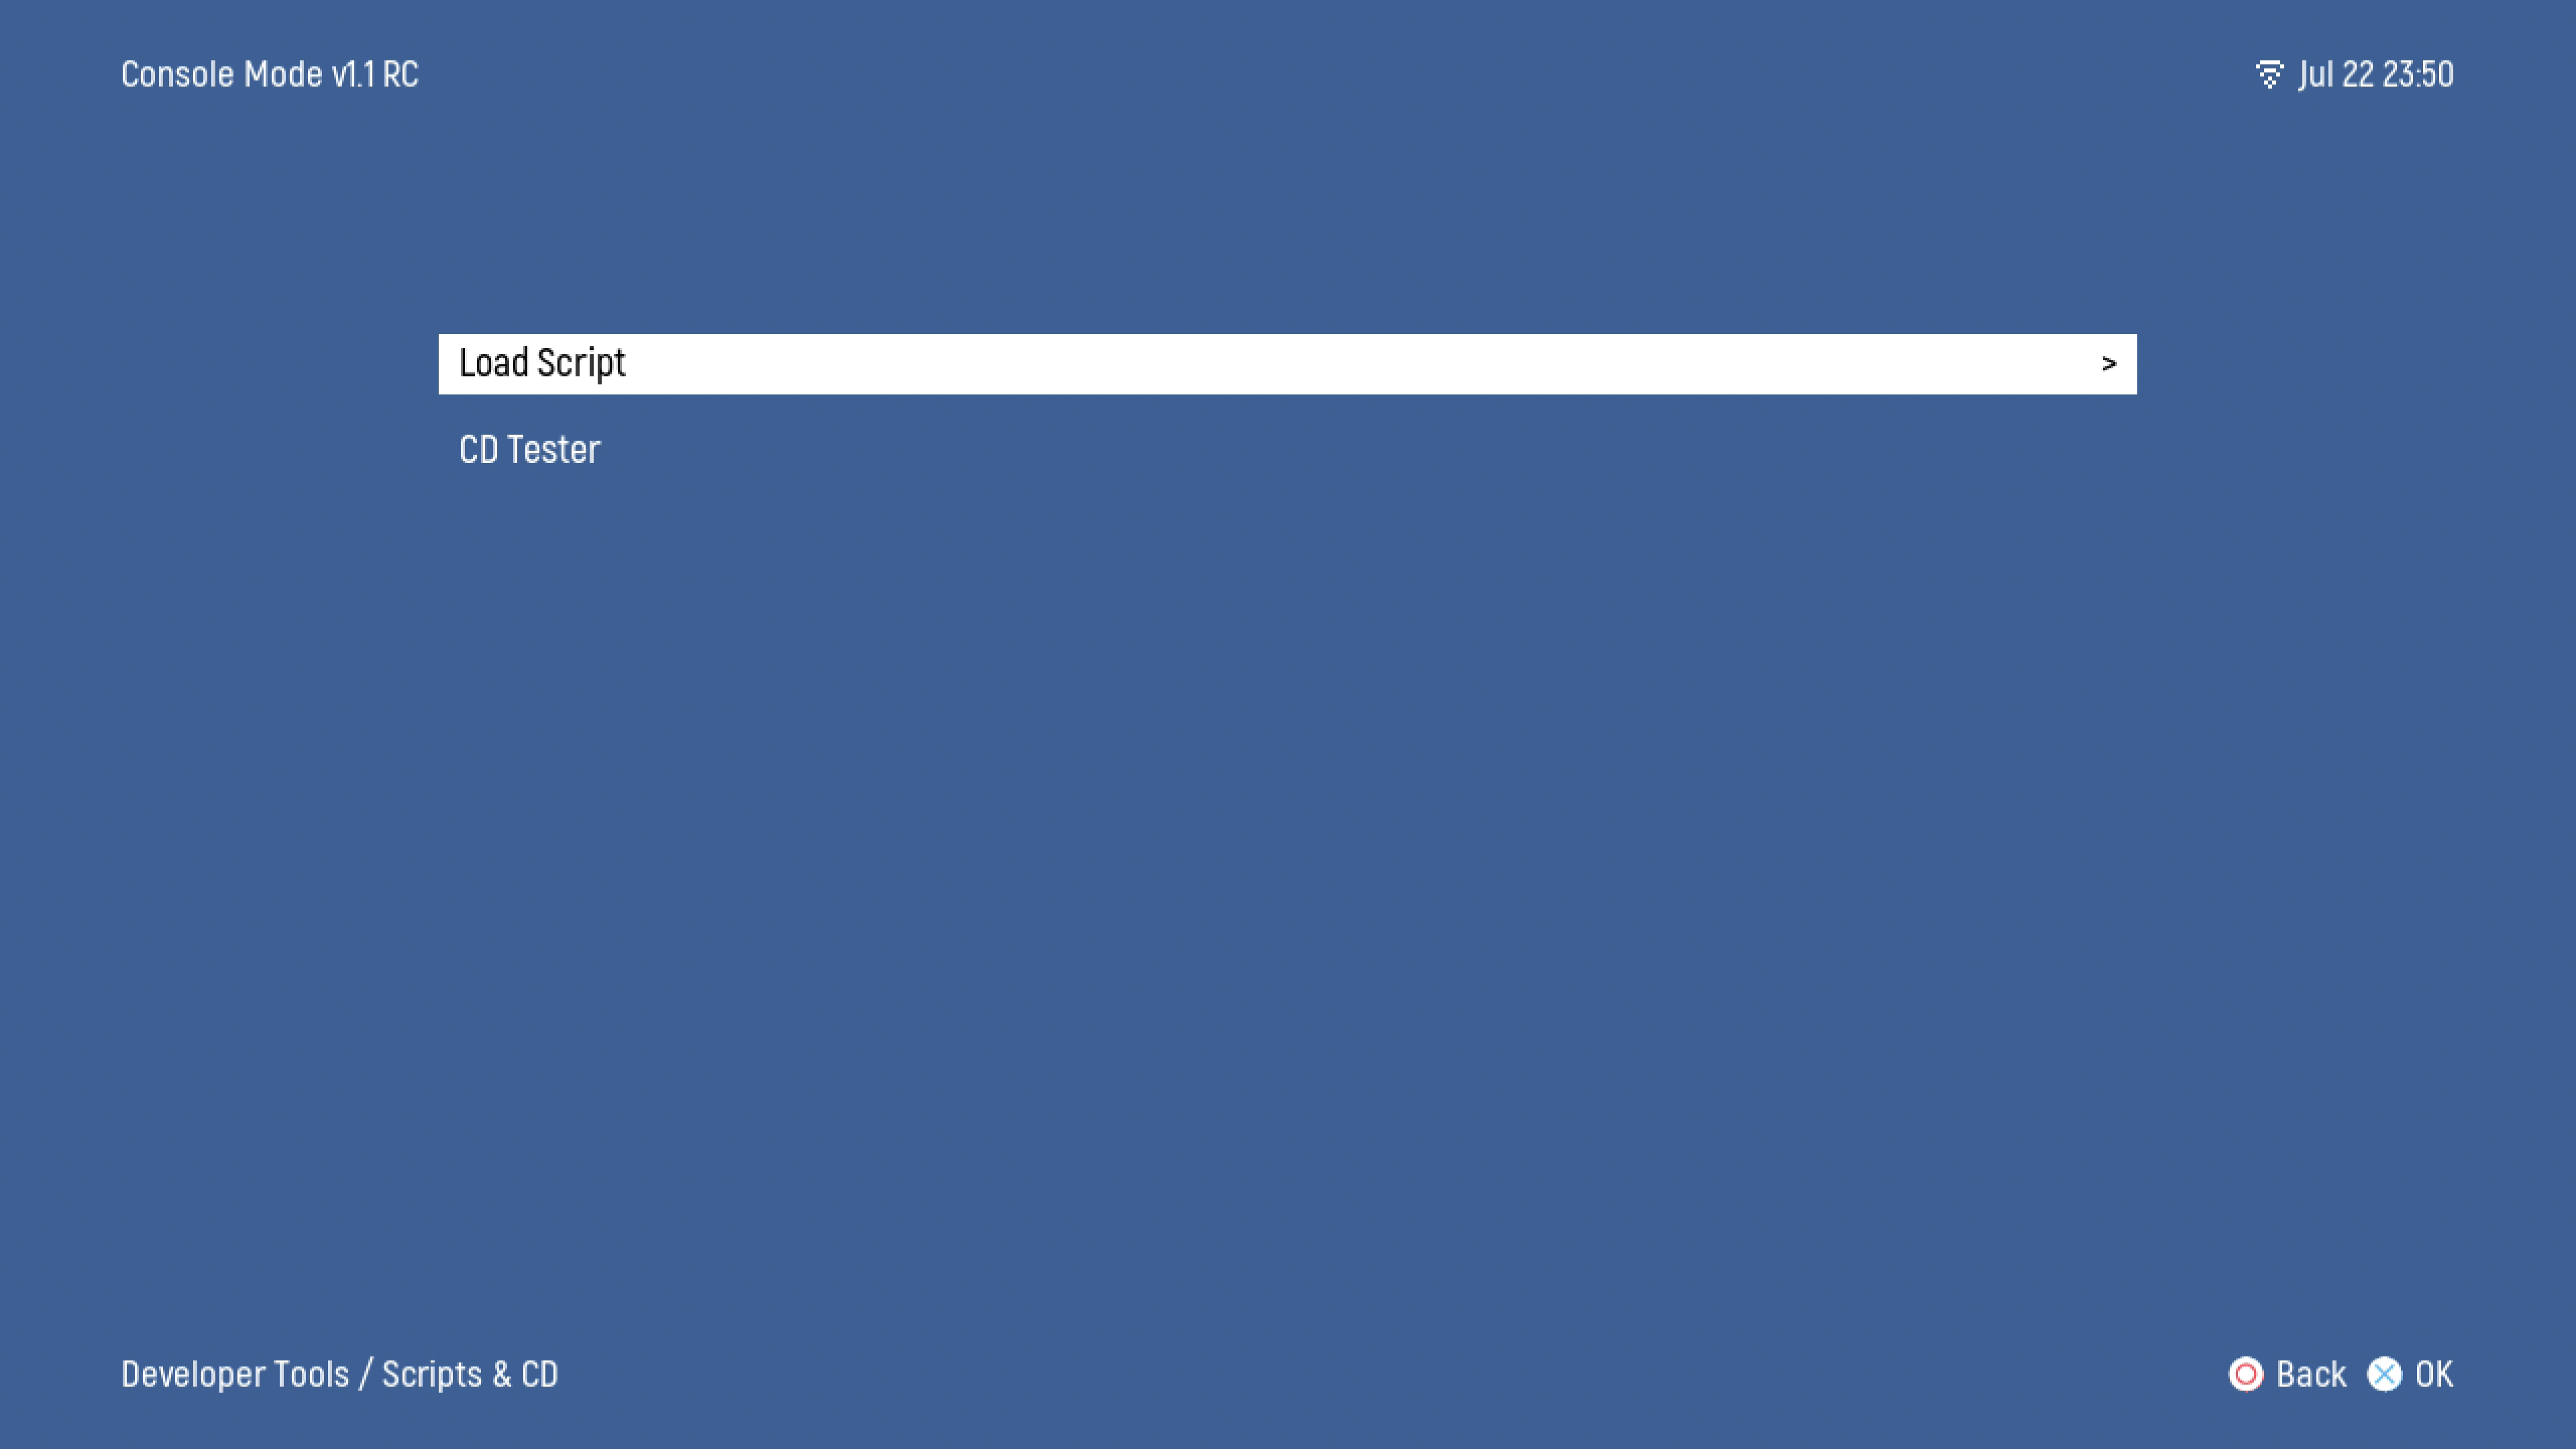
- Scripts & CD - Load scripts from
scriptsfolder on SD card, and test and playback AUDIO CDs.
- About - Credits for the CM Project
- Reboot - Restart CM
- Quit - Exit CM, and load into the standard MiSTer OS Main Menu.
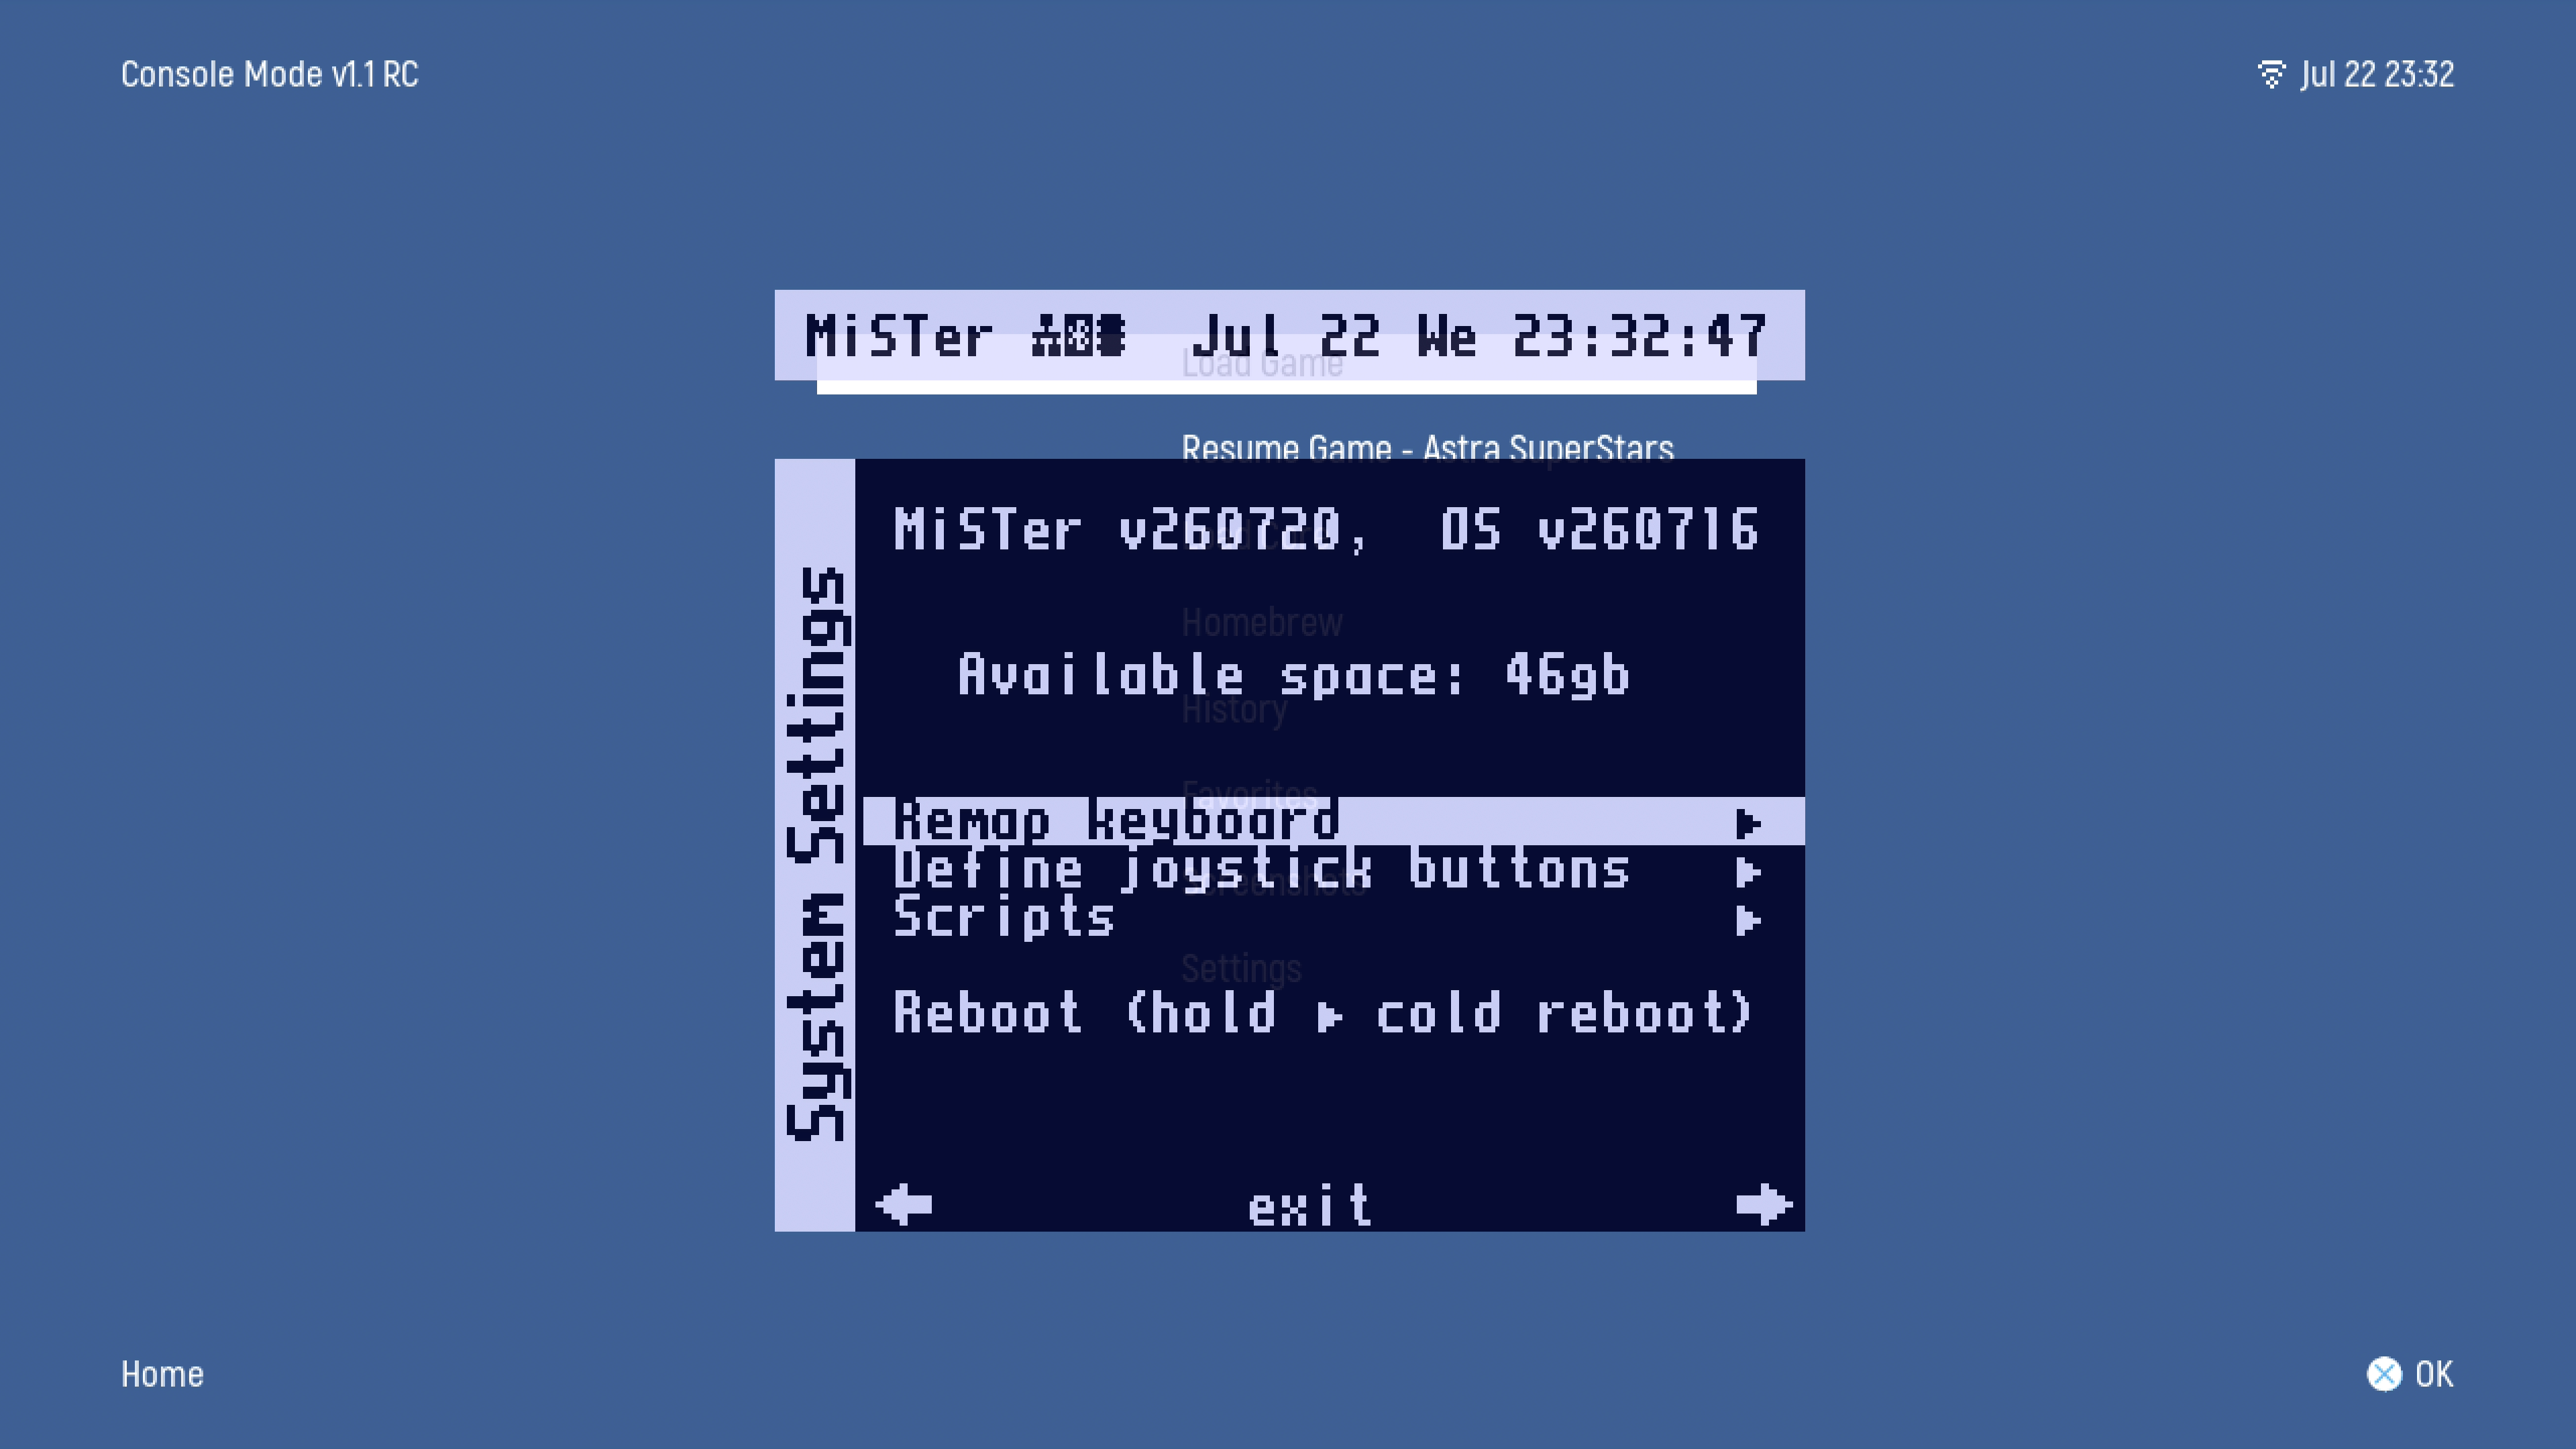
In CM, the OSD is customized for functions of CM. When you're in the CM Menu, here are the options you have when bringing up the Menu:
- System Settings Main page of the OSD
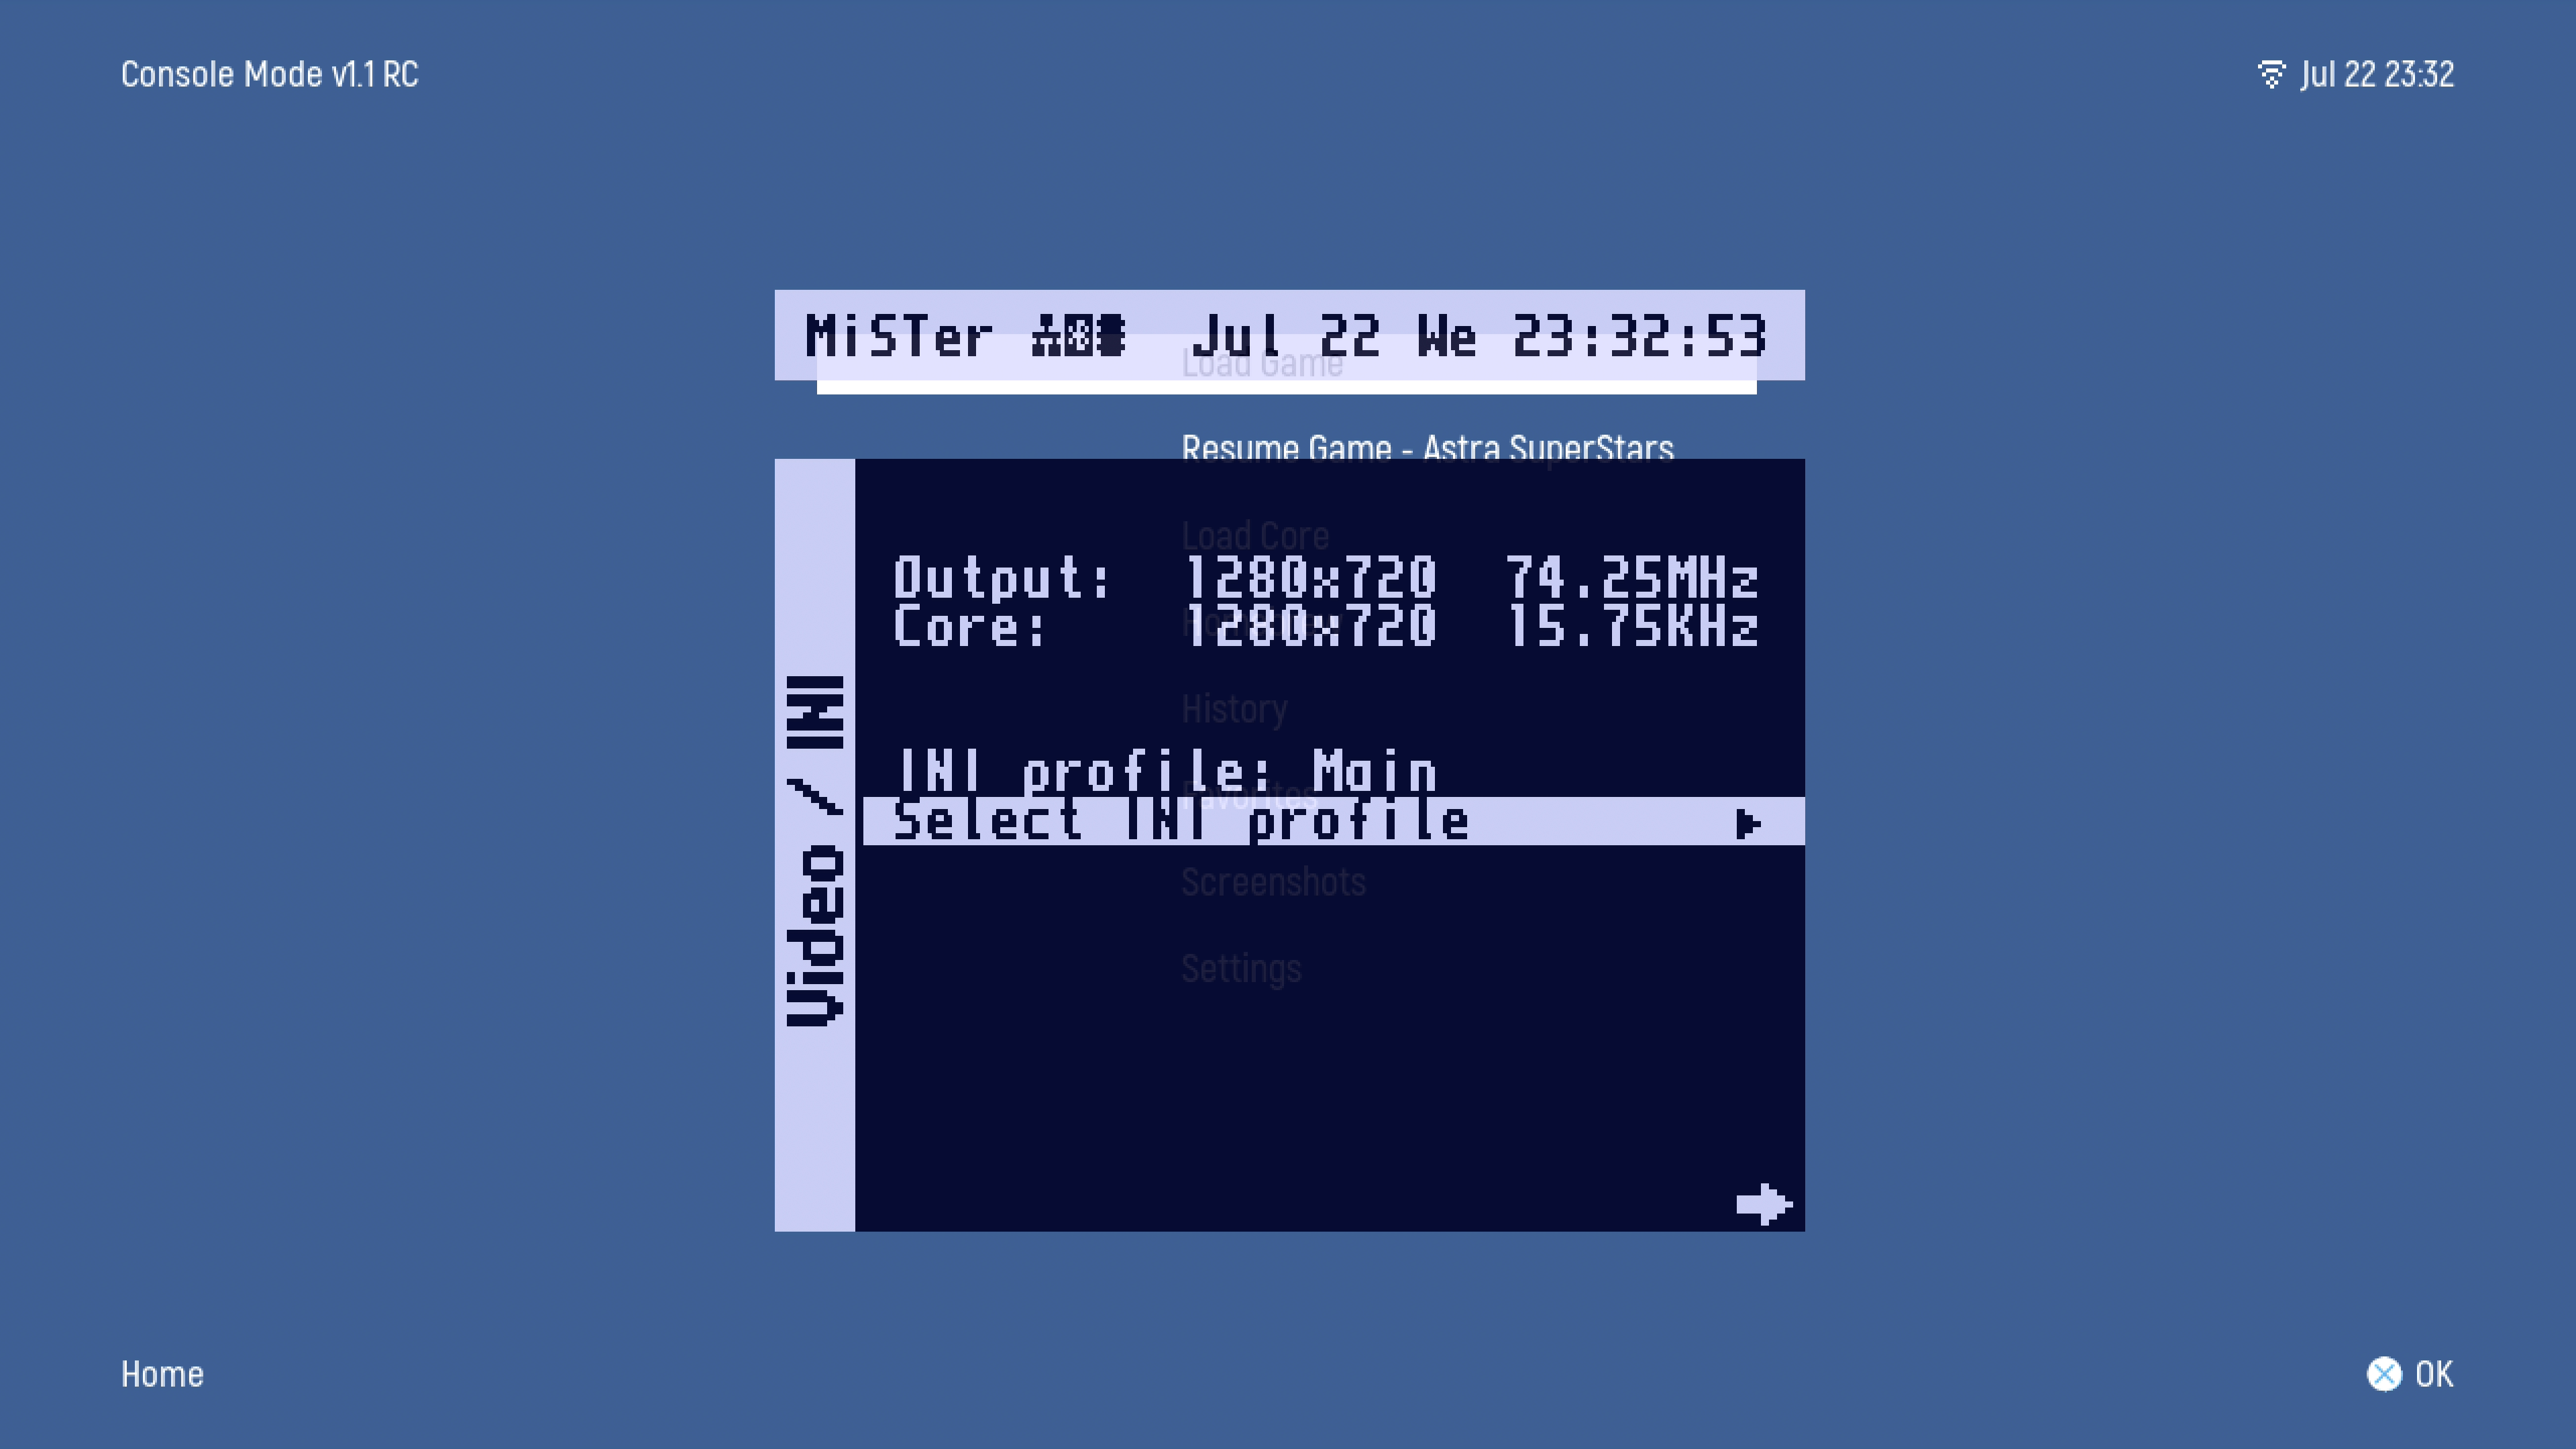
- Video / INI (Press Left From System Settings) - Allows you to select from various Video Configuration files and confirms current resolution being displayed.
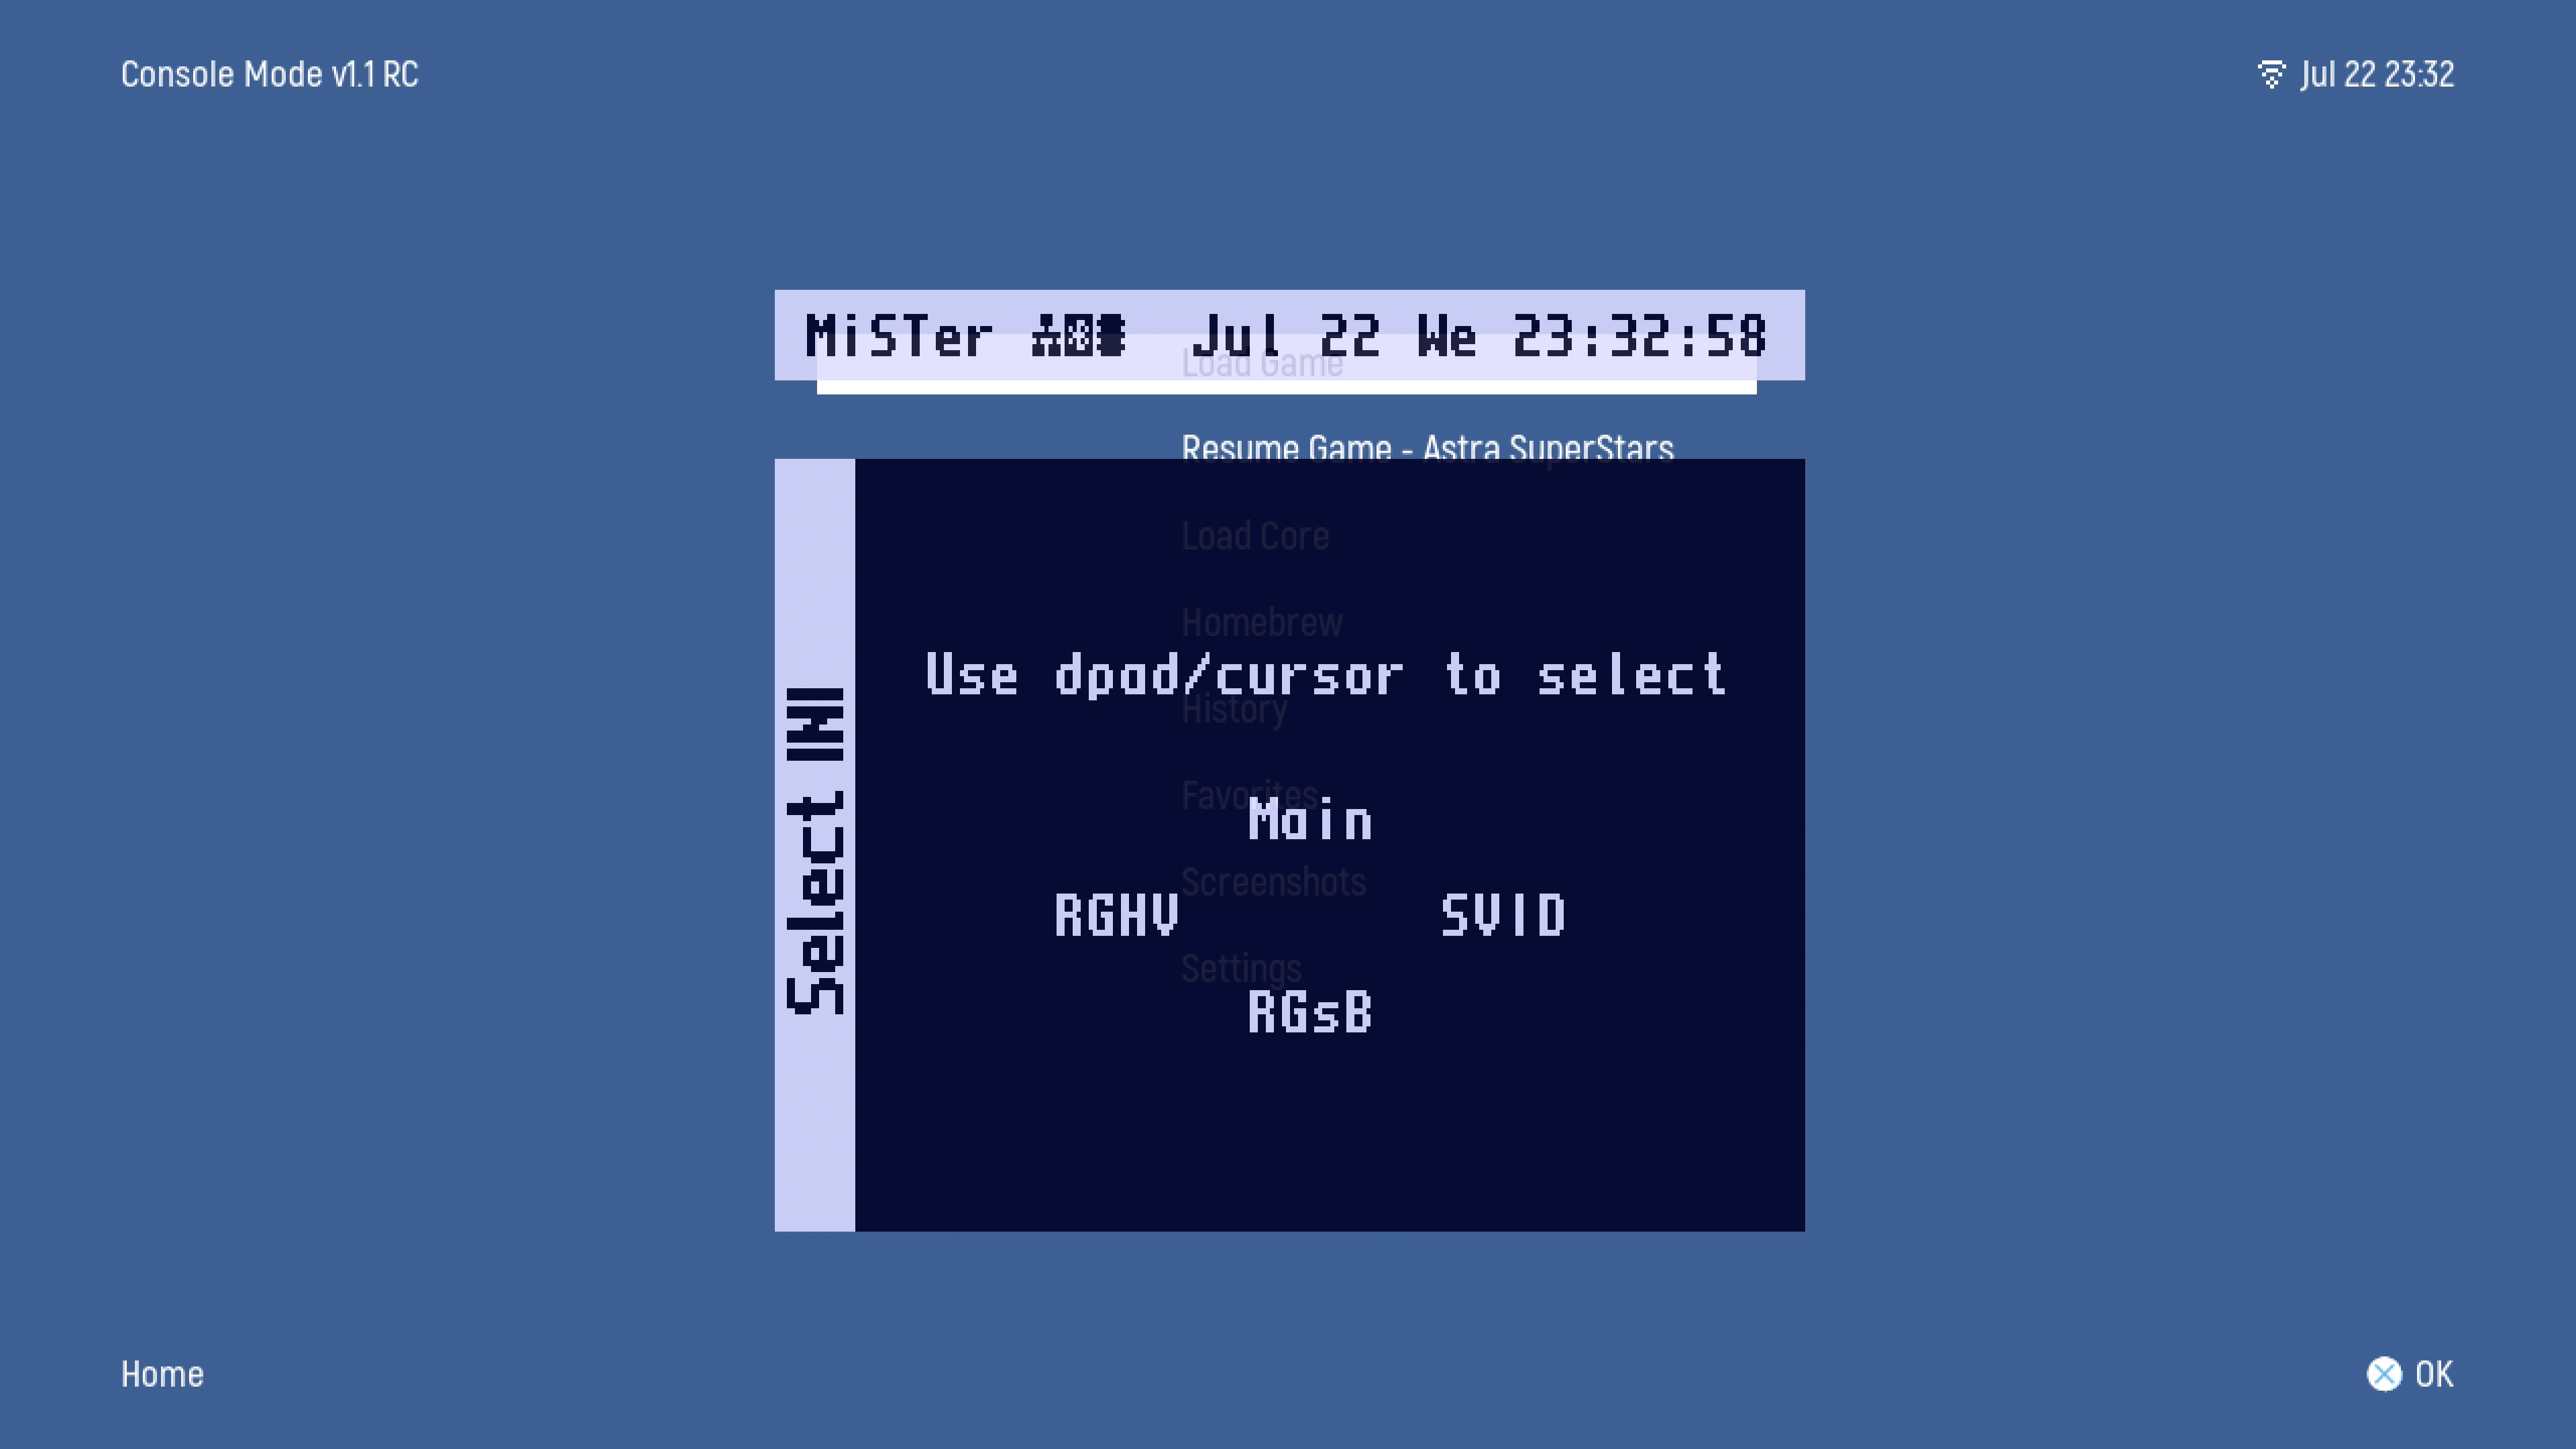
- Select INI (Select INI Profile From Video / INI) - Select Video Config with D-Pad.
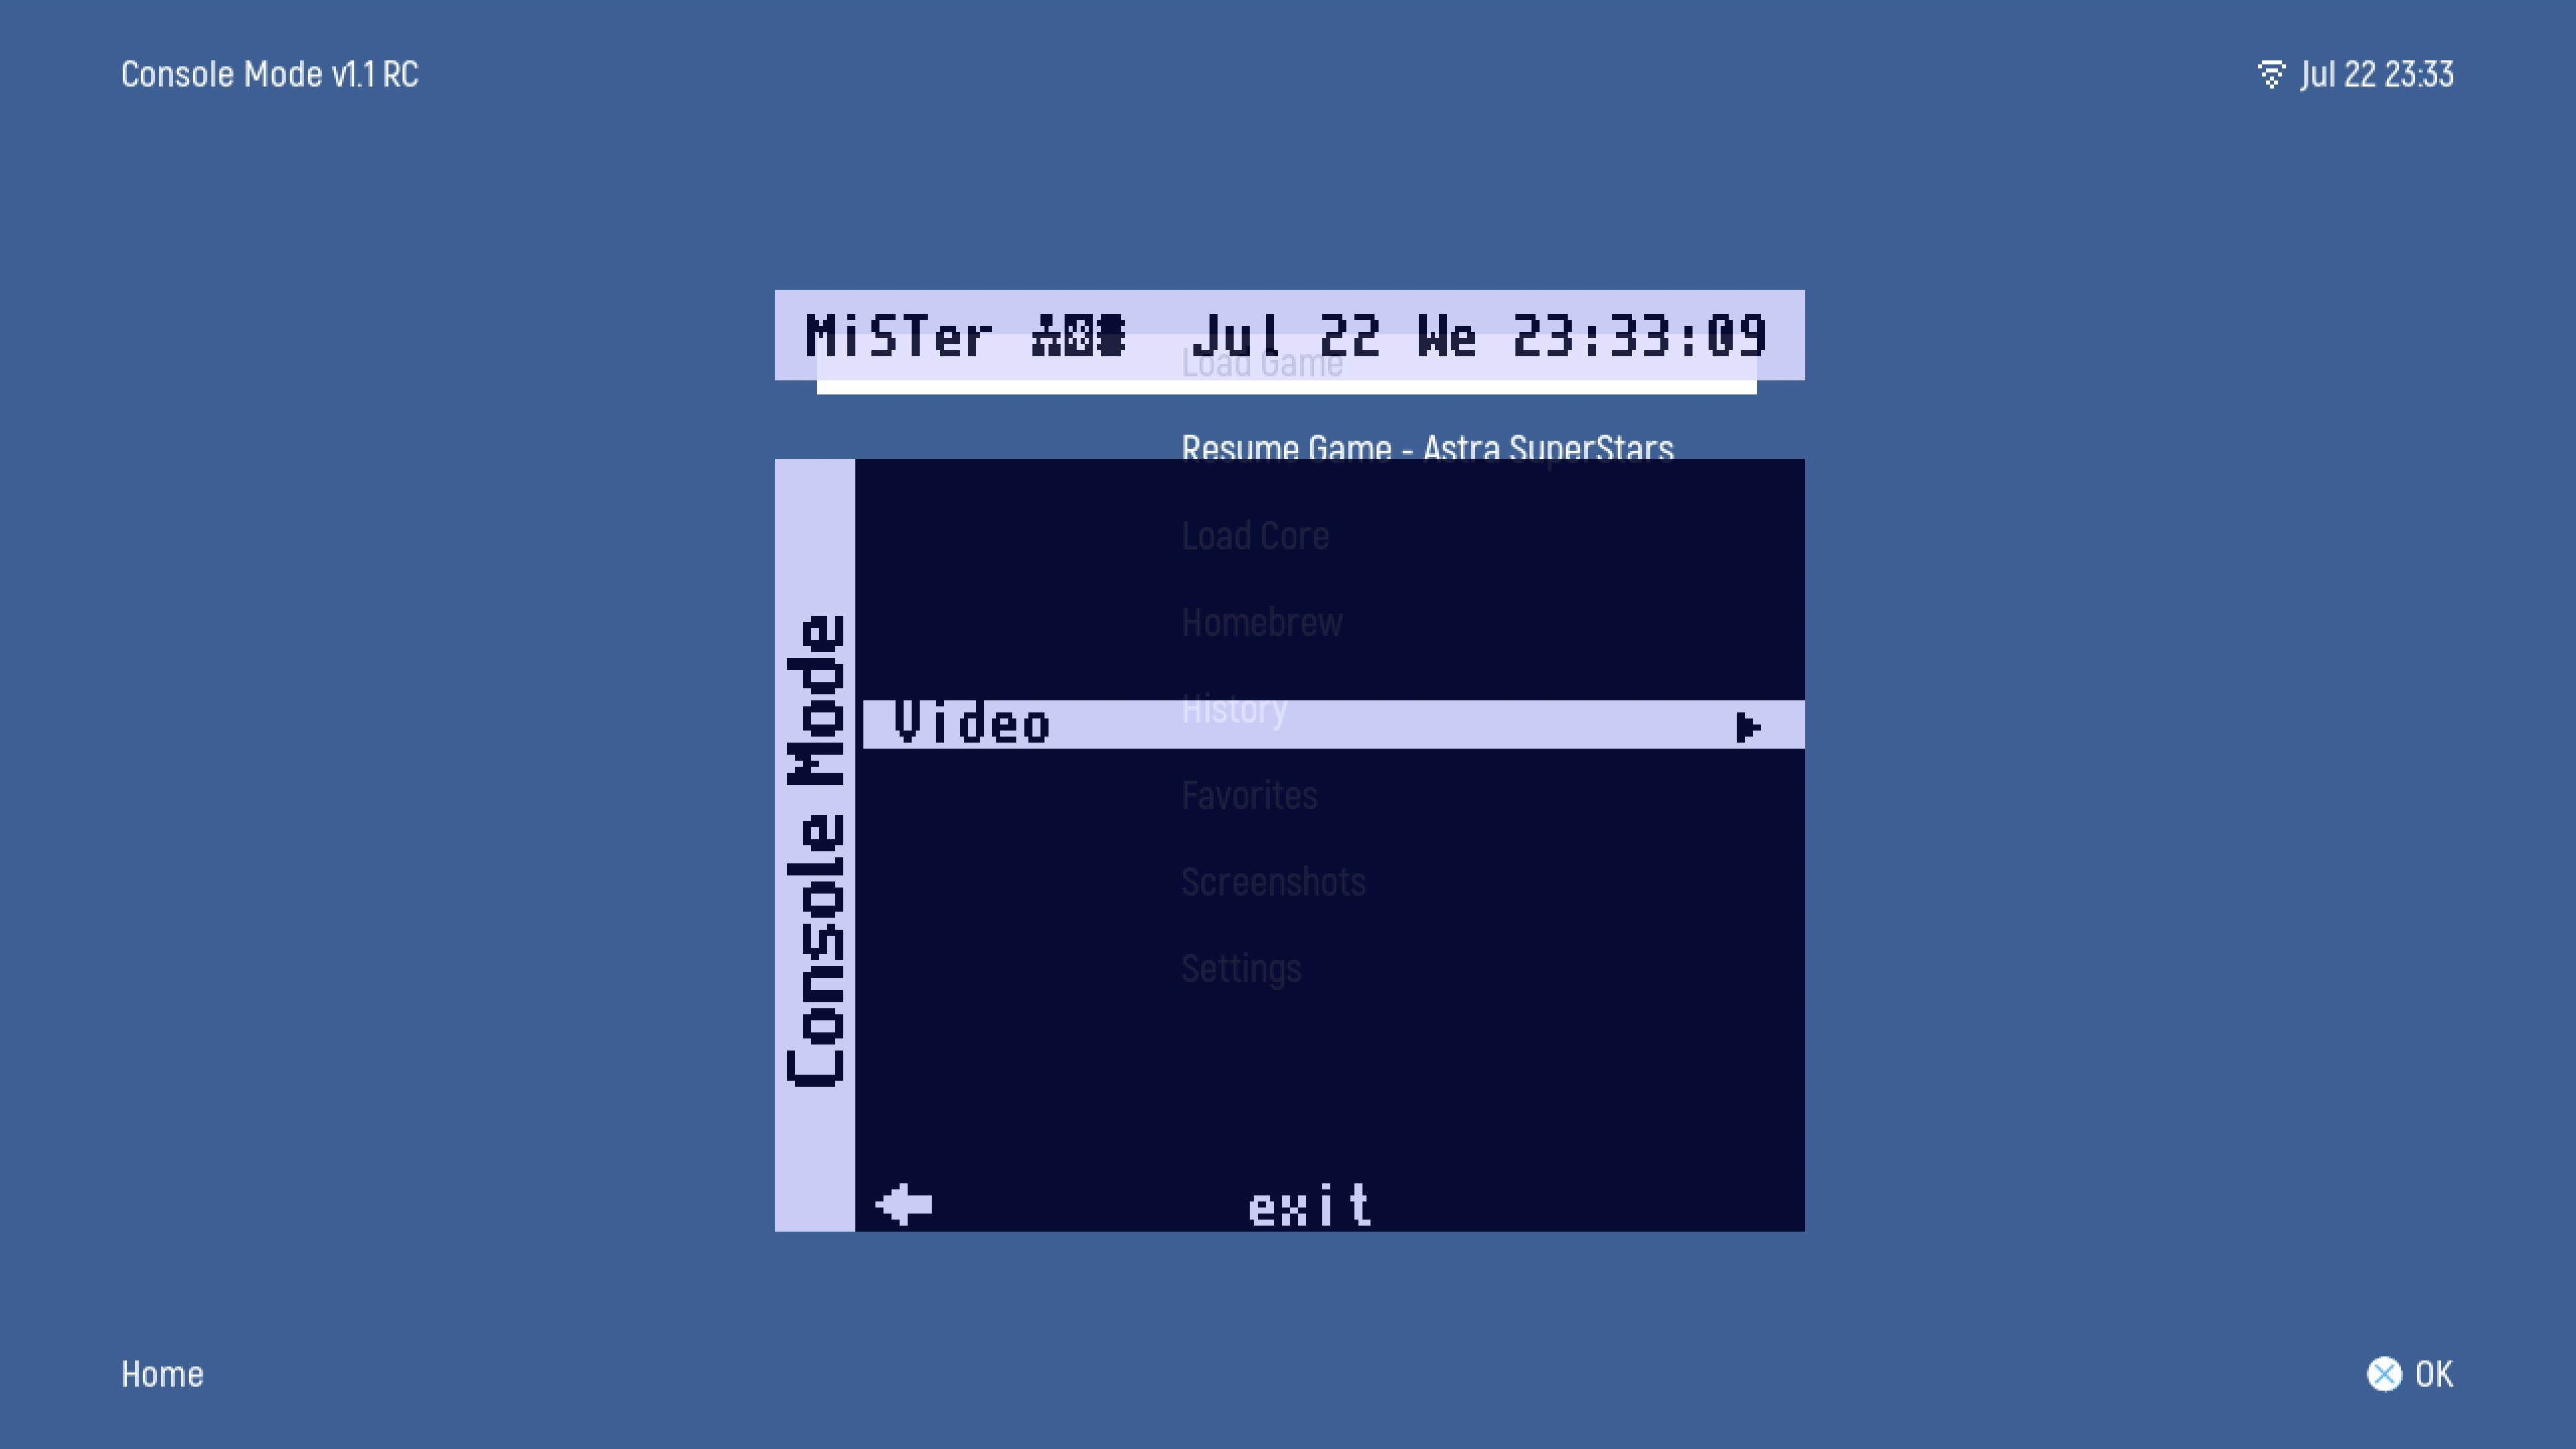
- Console Mode & Video (Press Right From System Settings) - Allows you to Enable CRT Mode and options to TATE and alignment on Analog Television Sets.
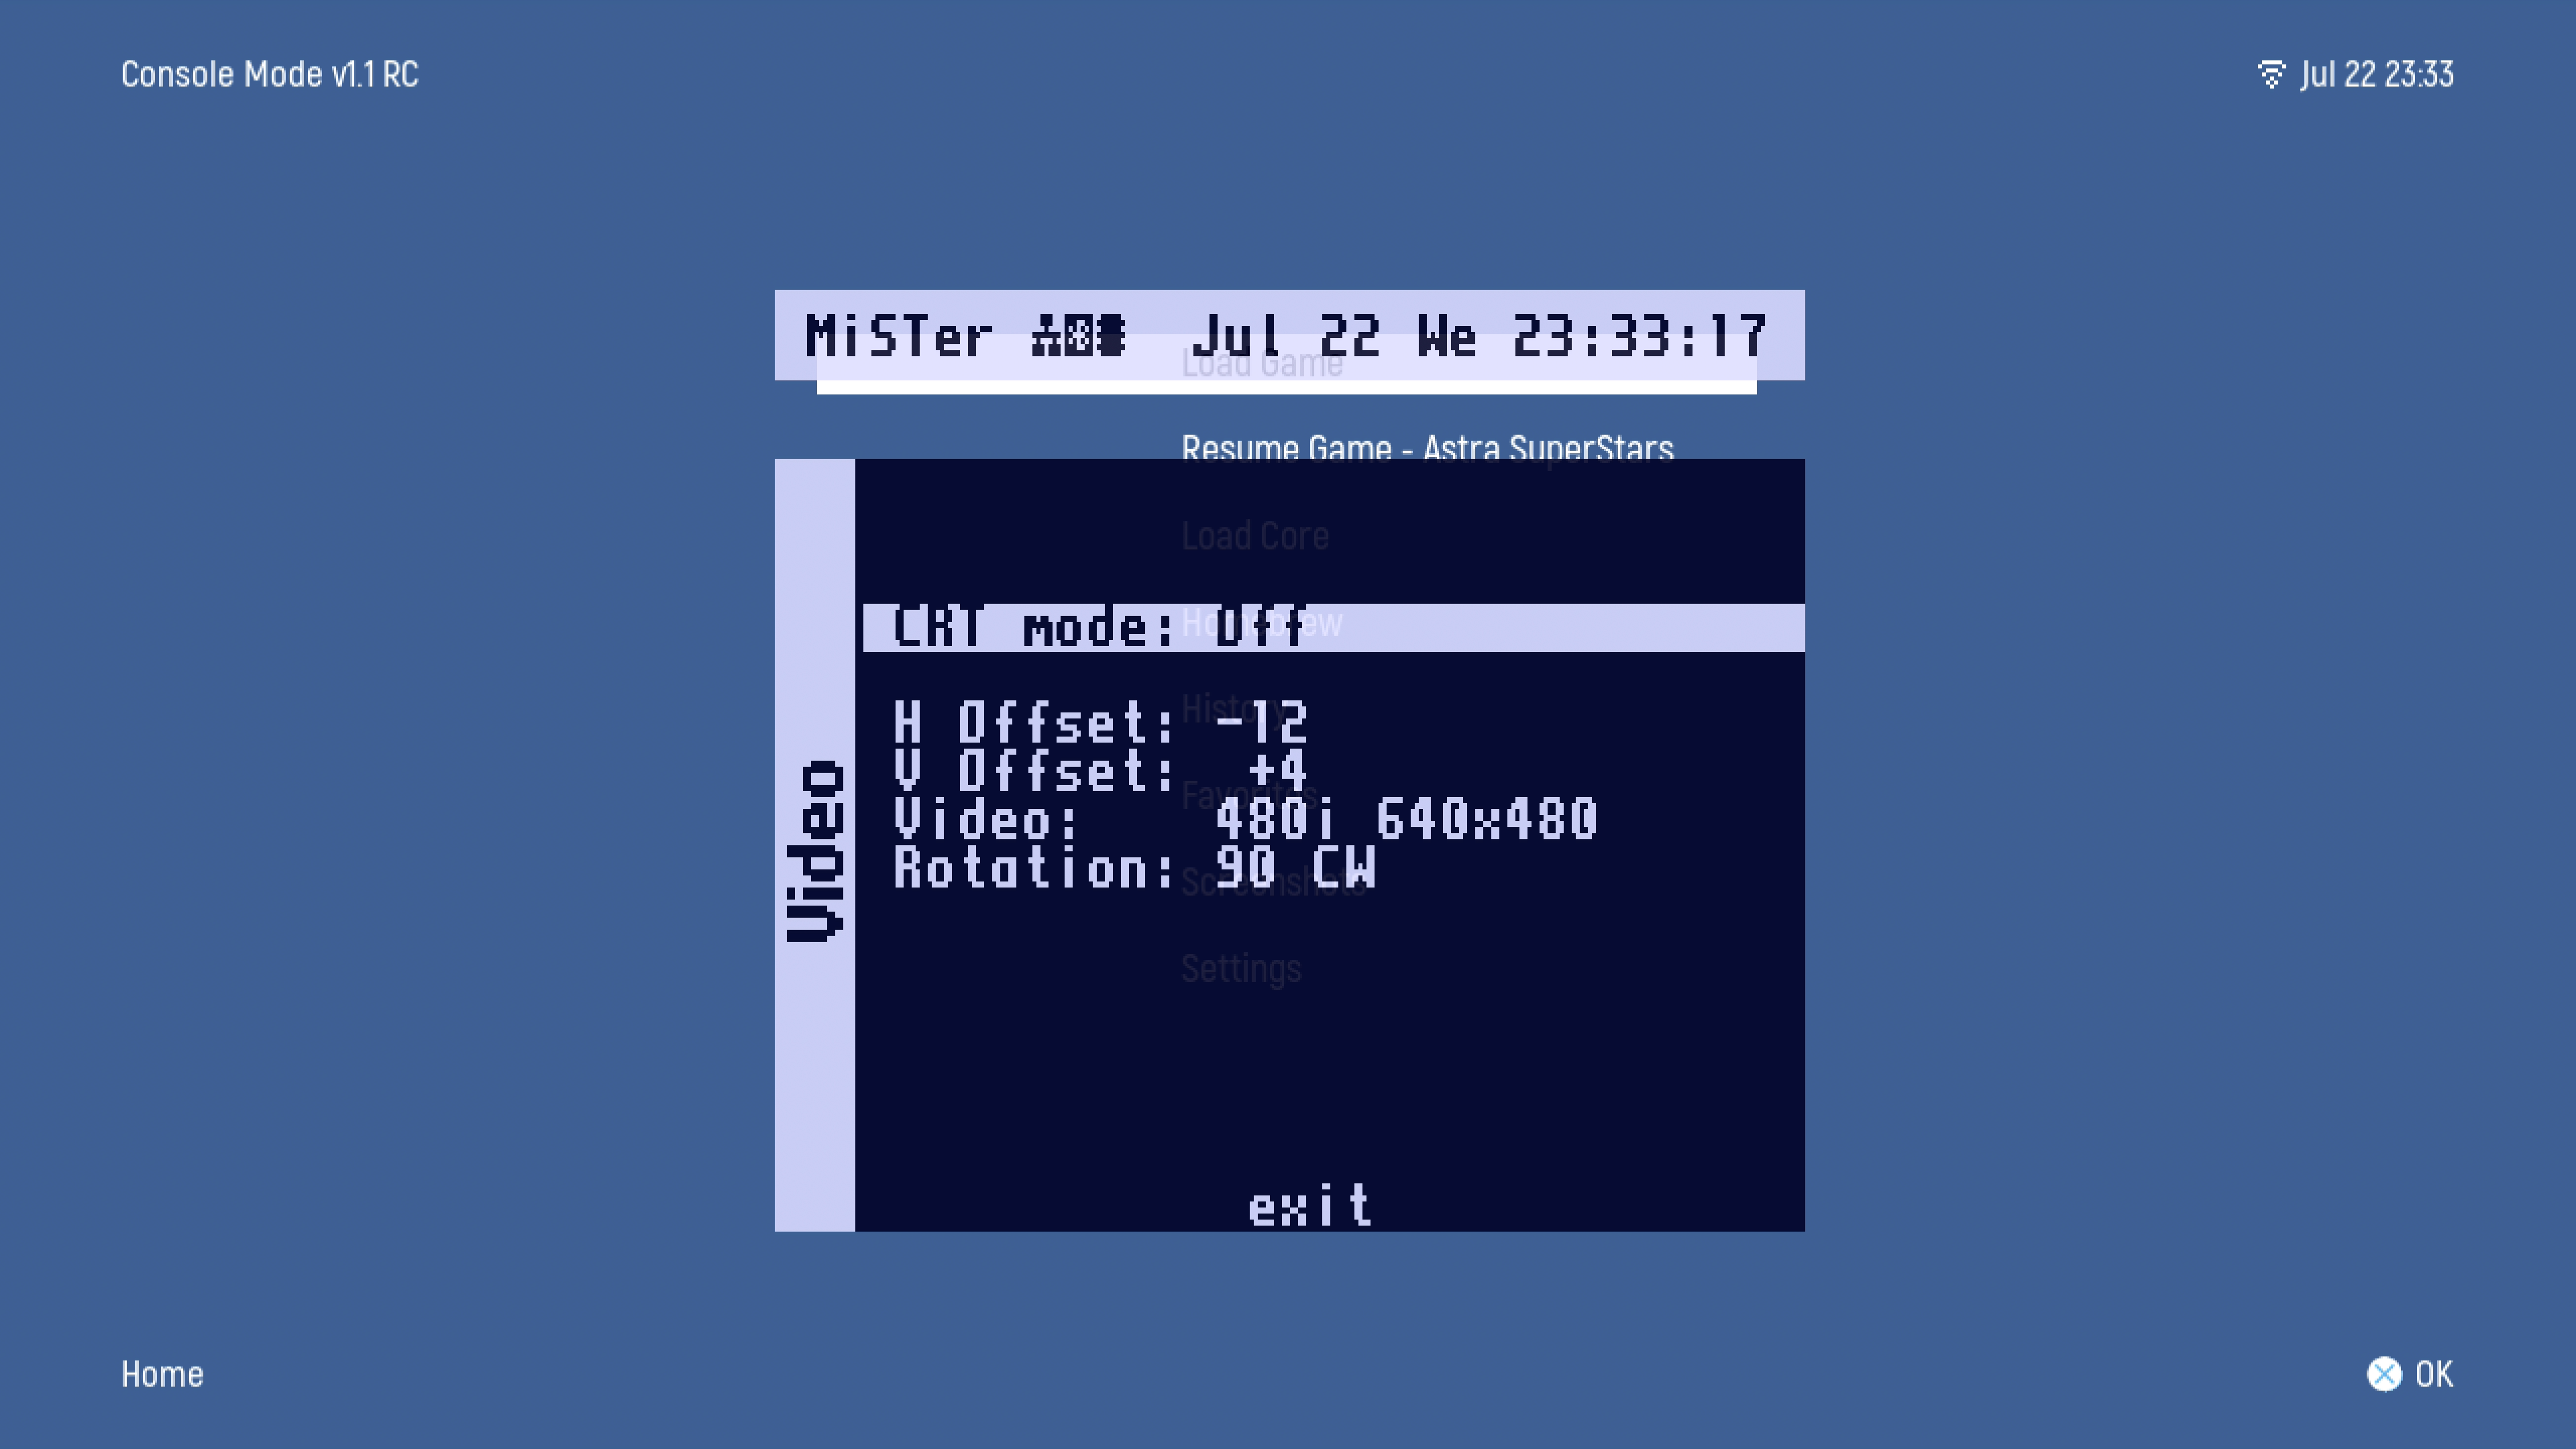
Plug in a supported USB or BT controller and get going! The CM has predefined mappings for most USB or BT controllers and will work as expected for basic menu navigation. You may still need to define buttons on a Core/Game basis. You can use the Settings Options / Input / Control menu to map your buttons.
Console Mode supports PS1 over SNAC inherently!
- Buttons work as expected per the Glyphs on the bottom right.
- To bring up the OSD Mister Menu, Press START + SELECT at the same time.
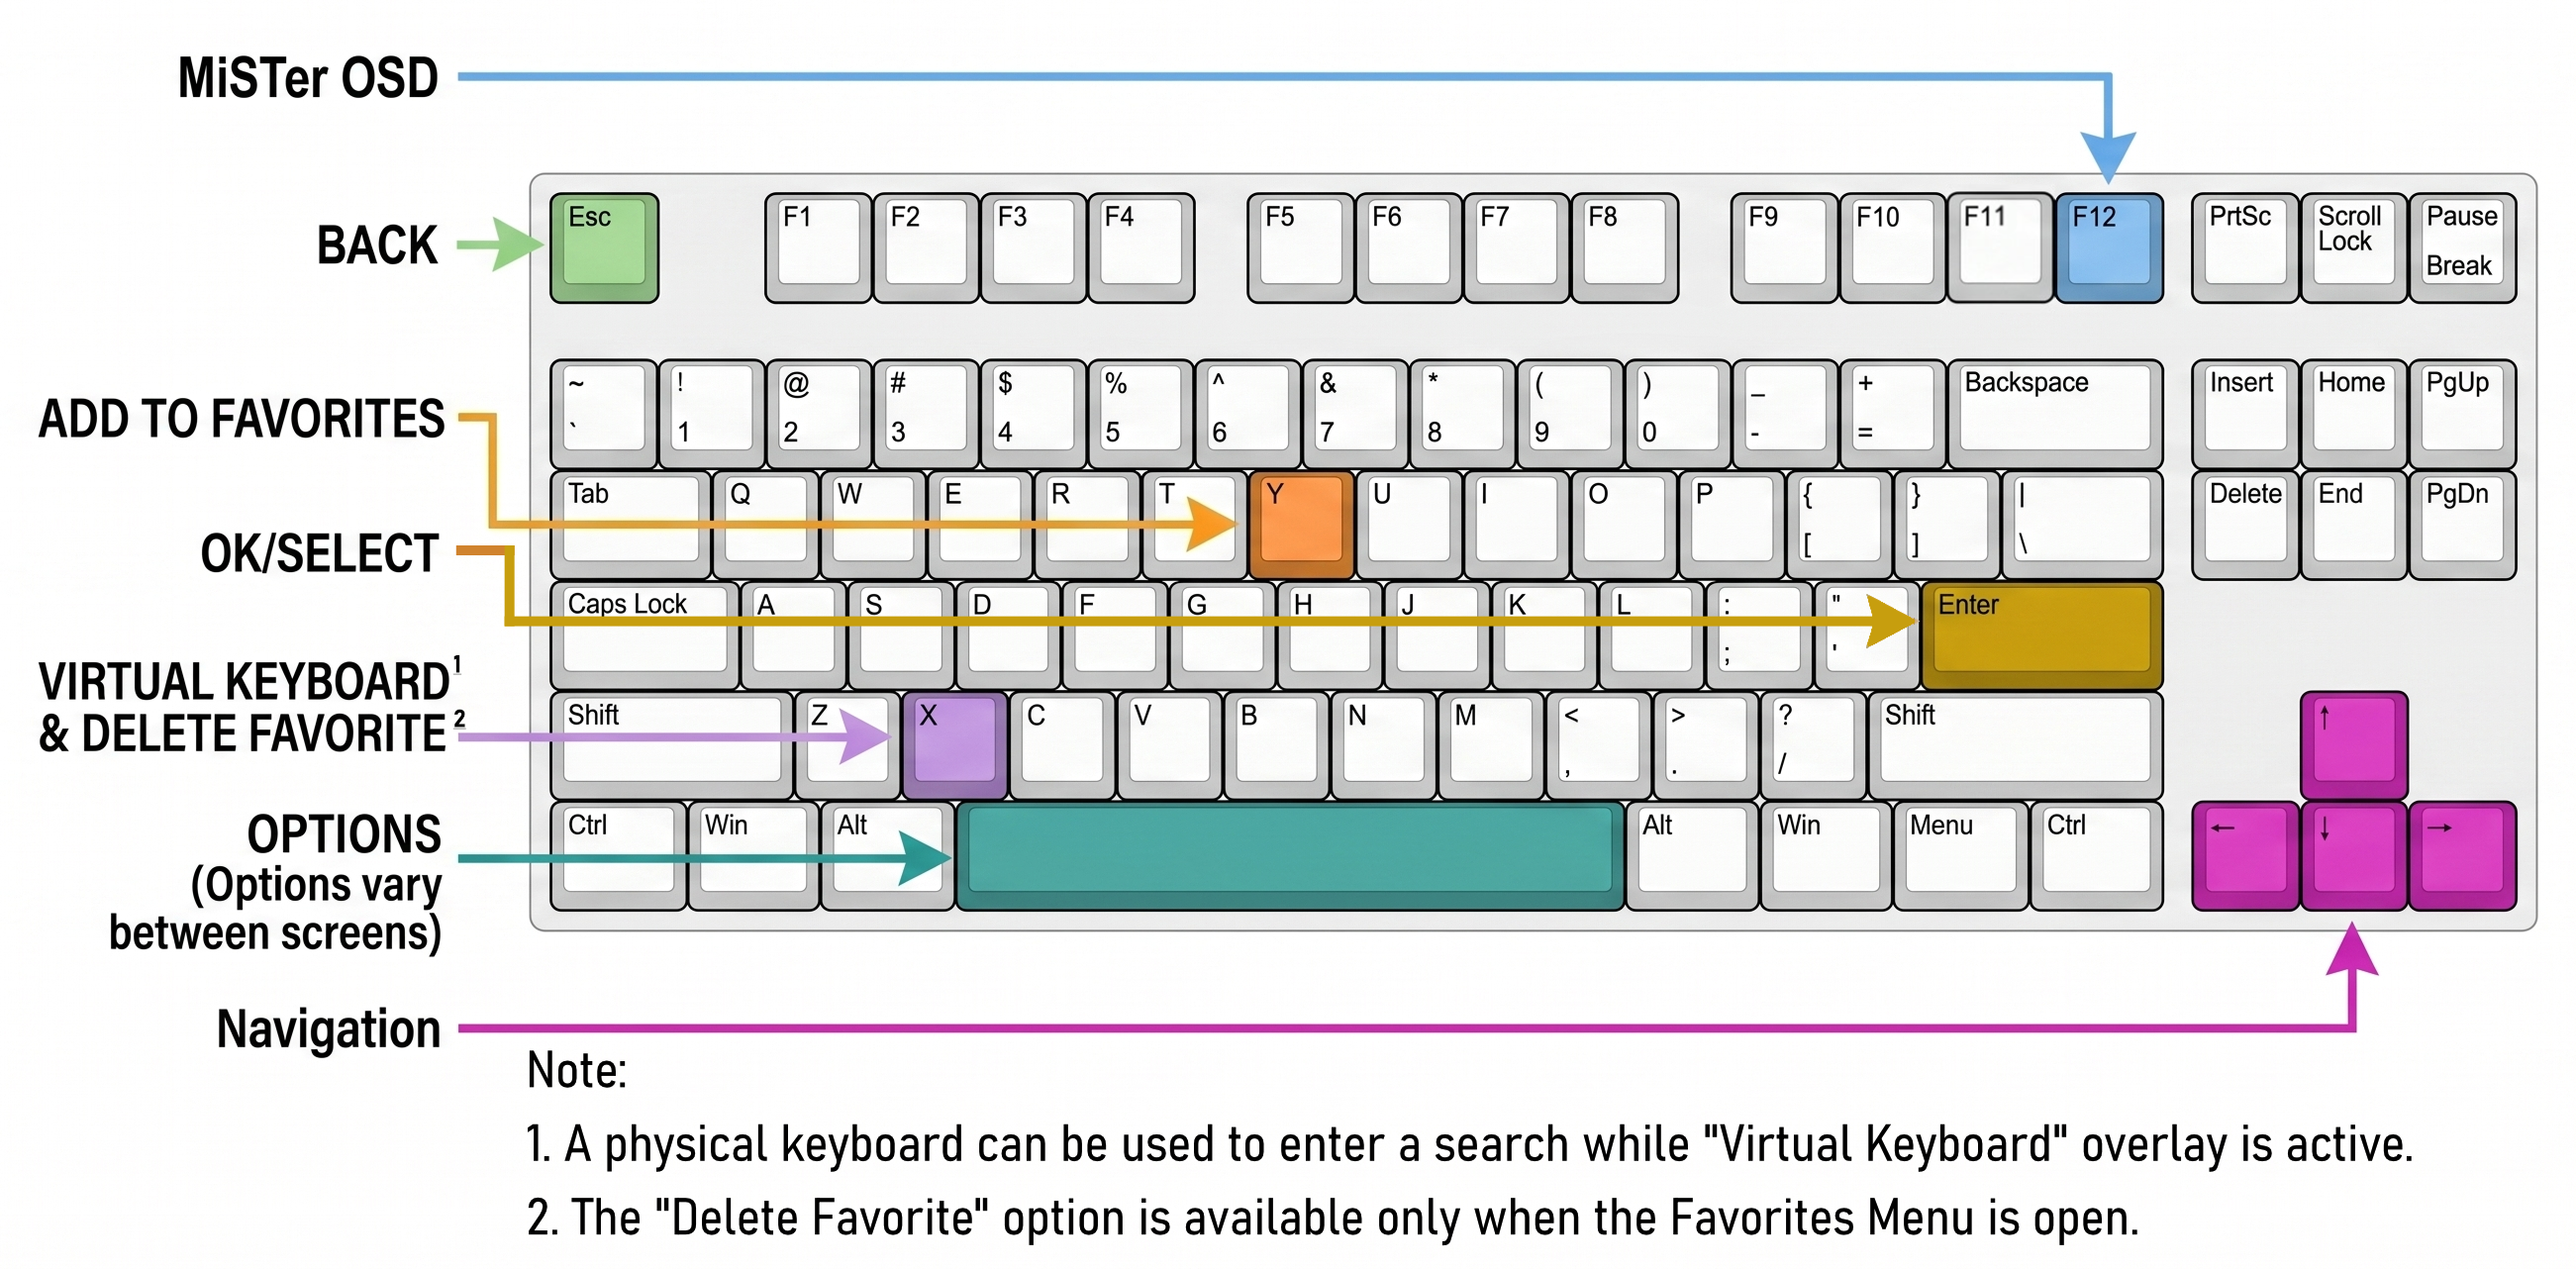
If using a keyboard, here are your keys:
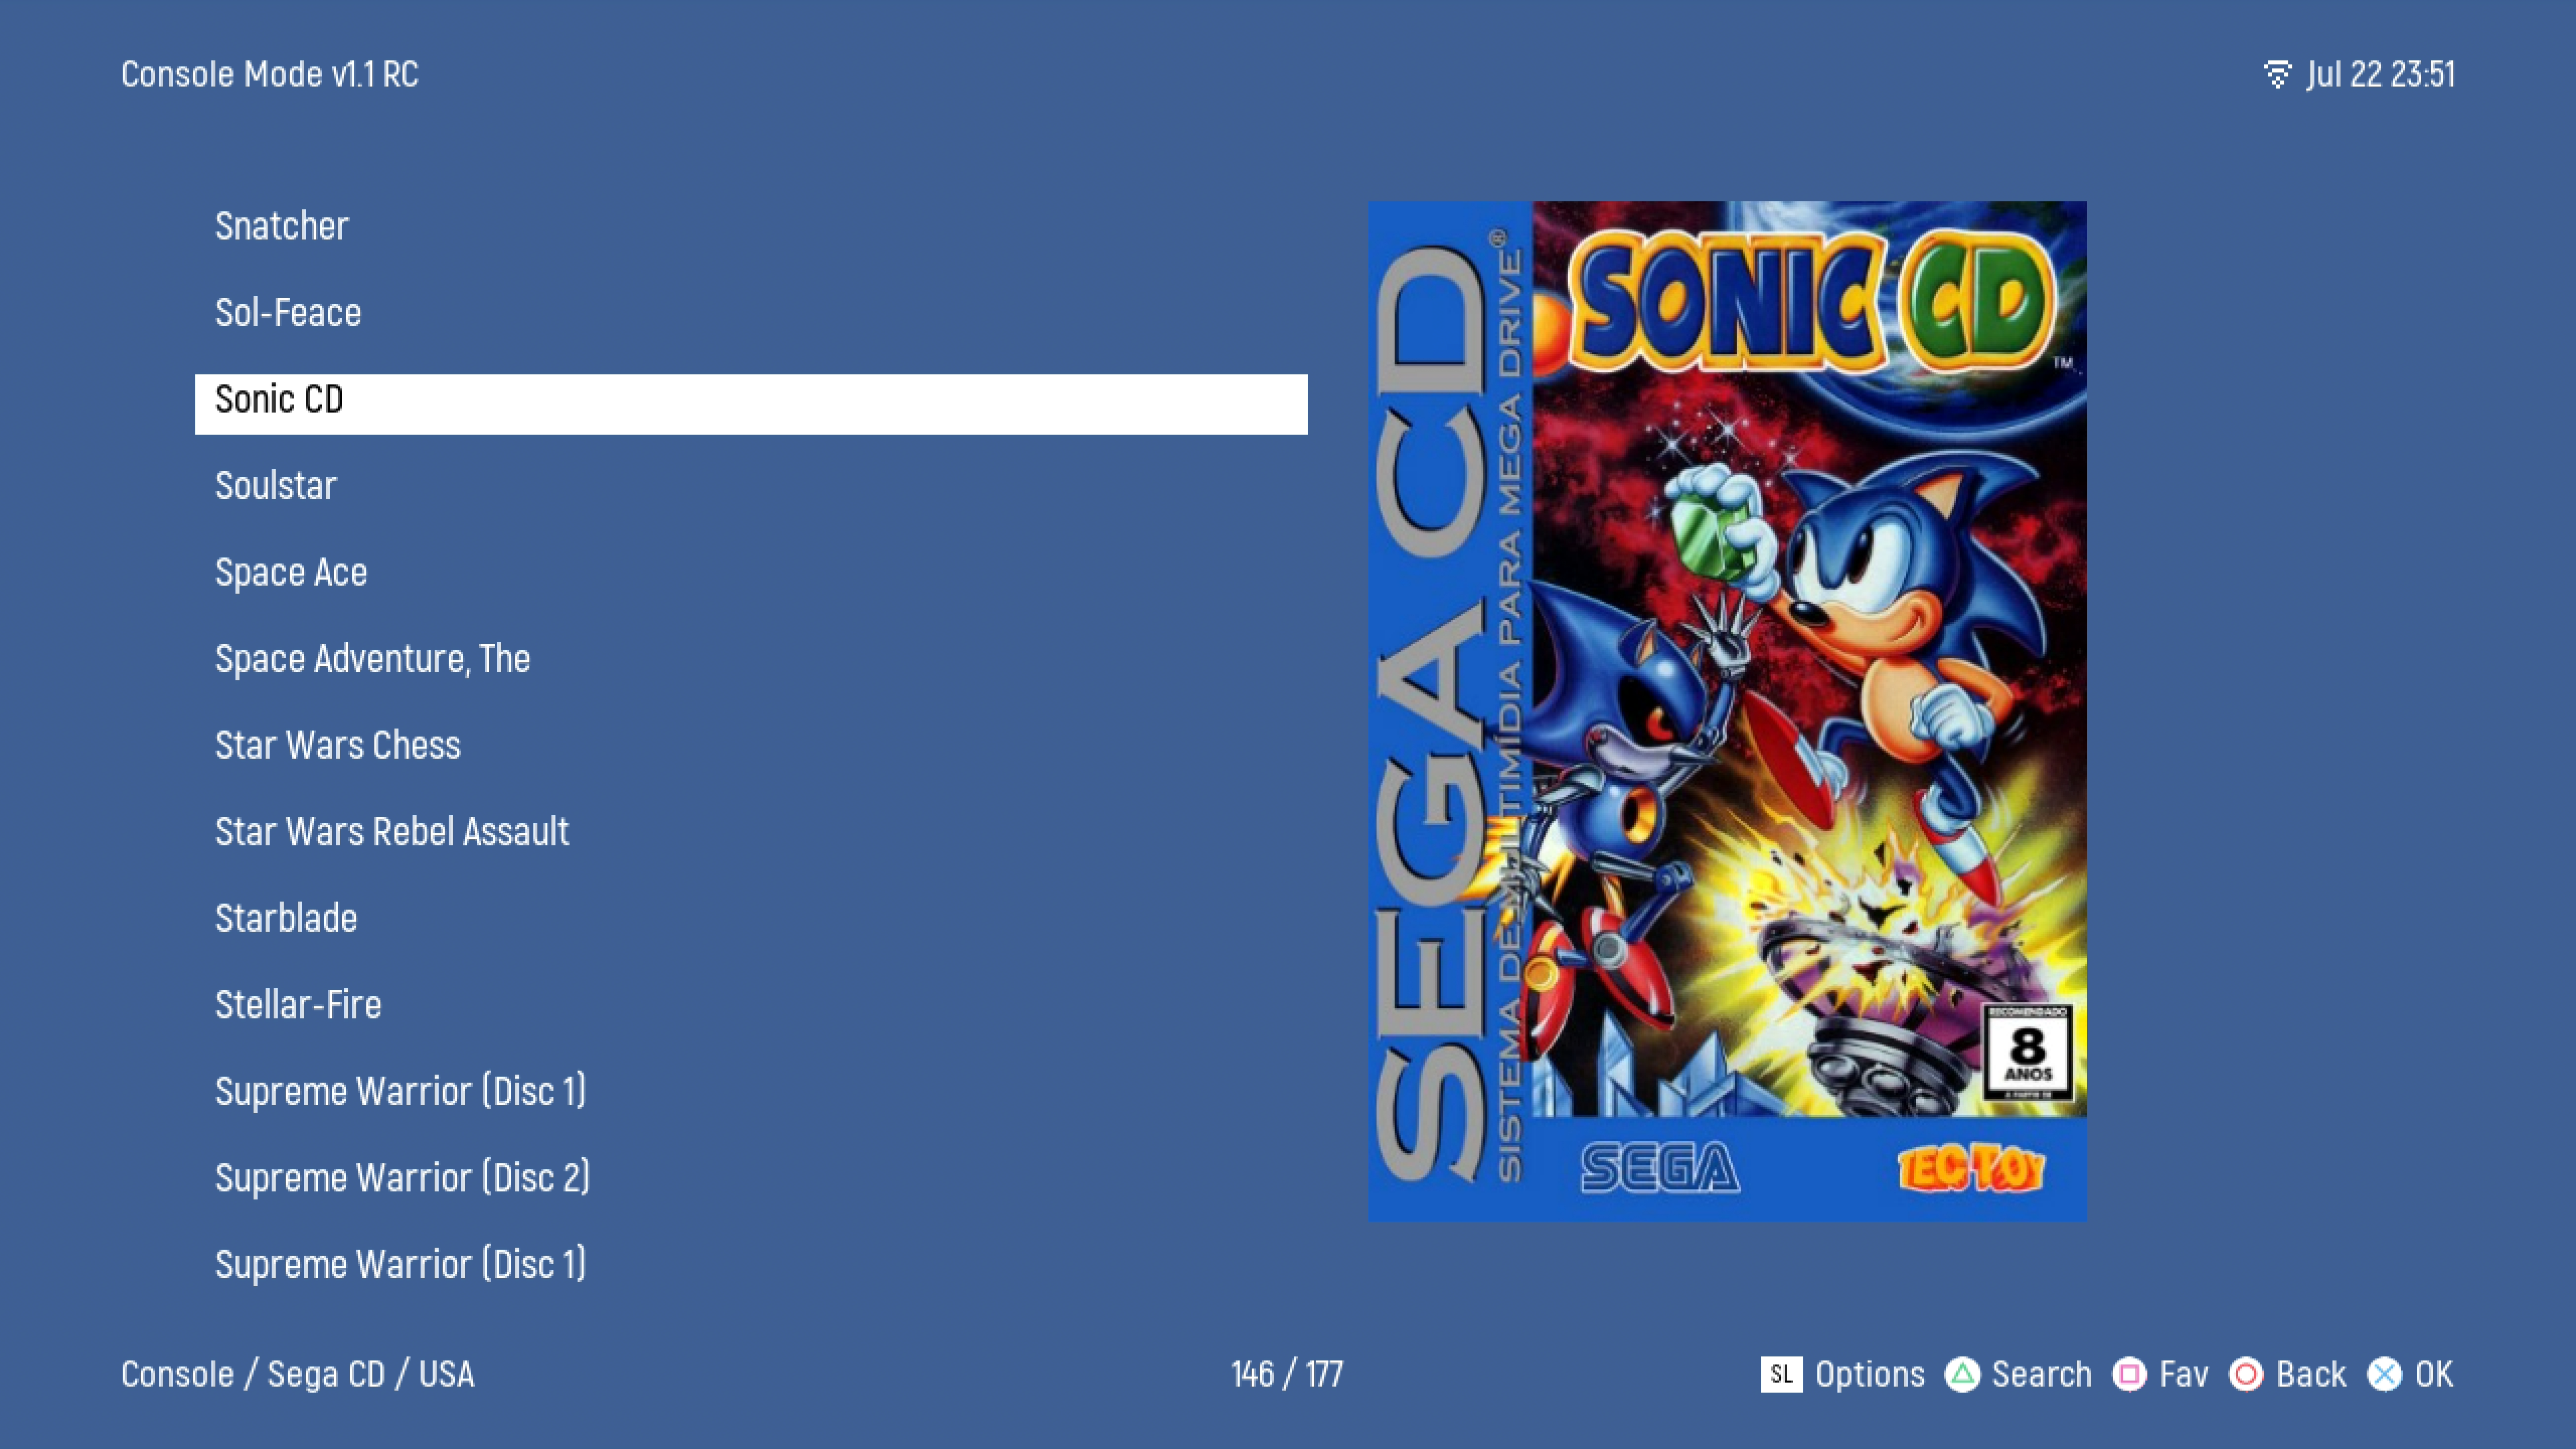
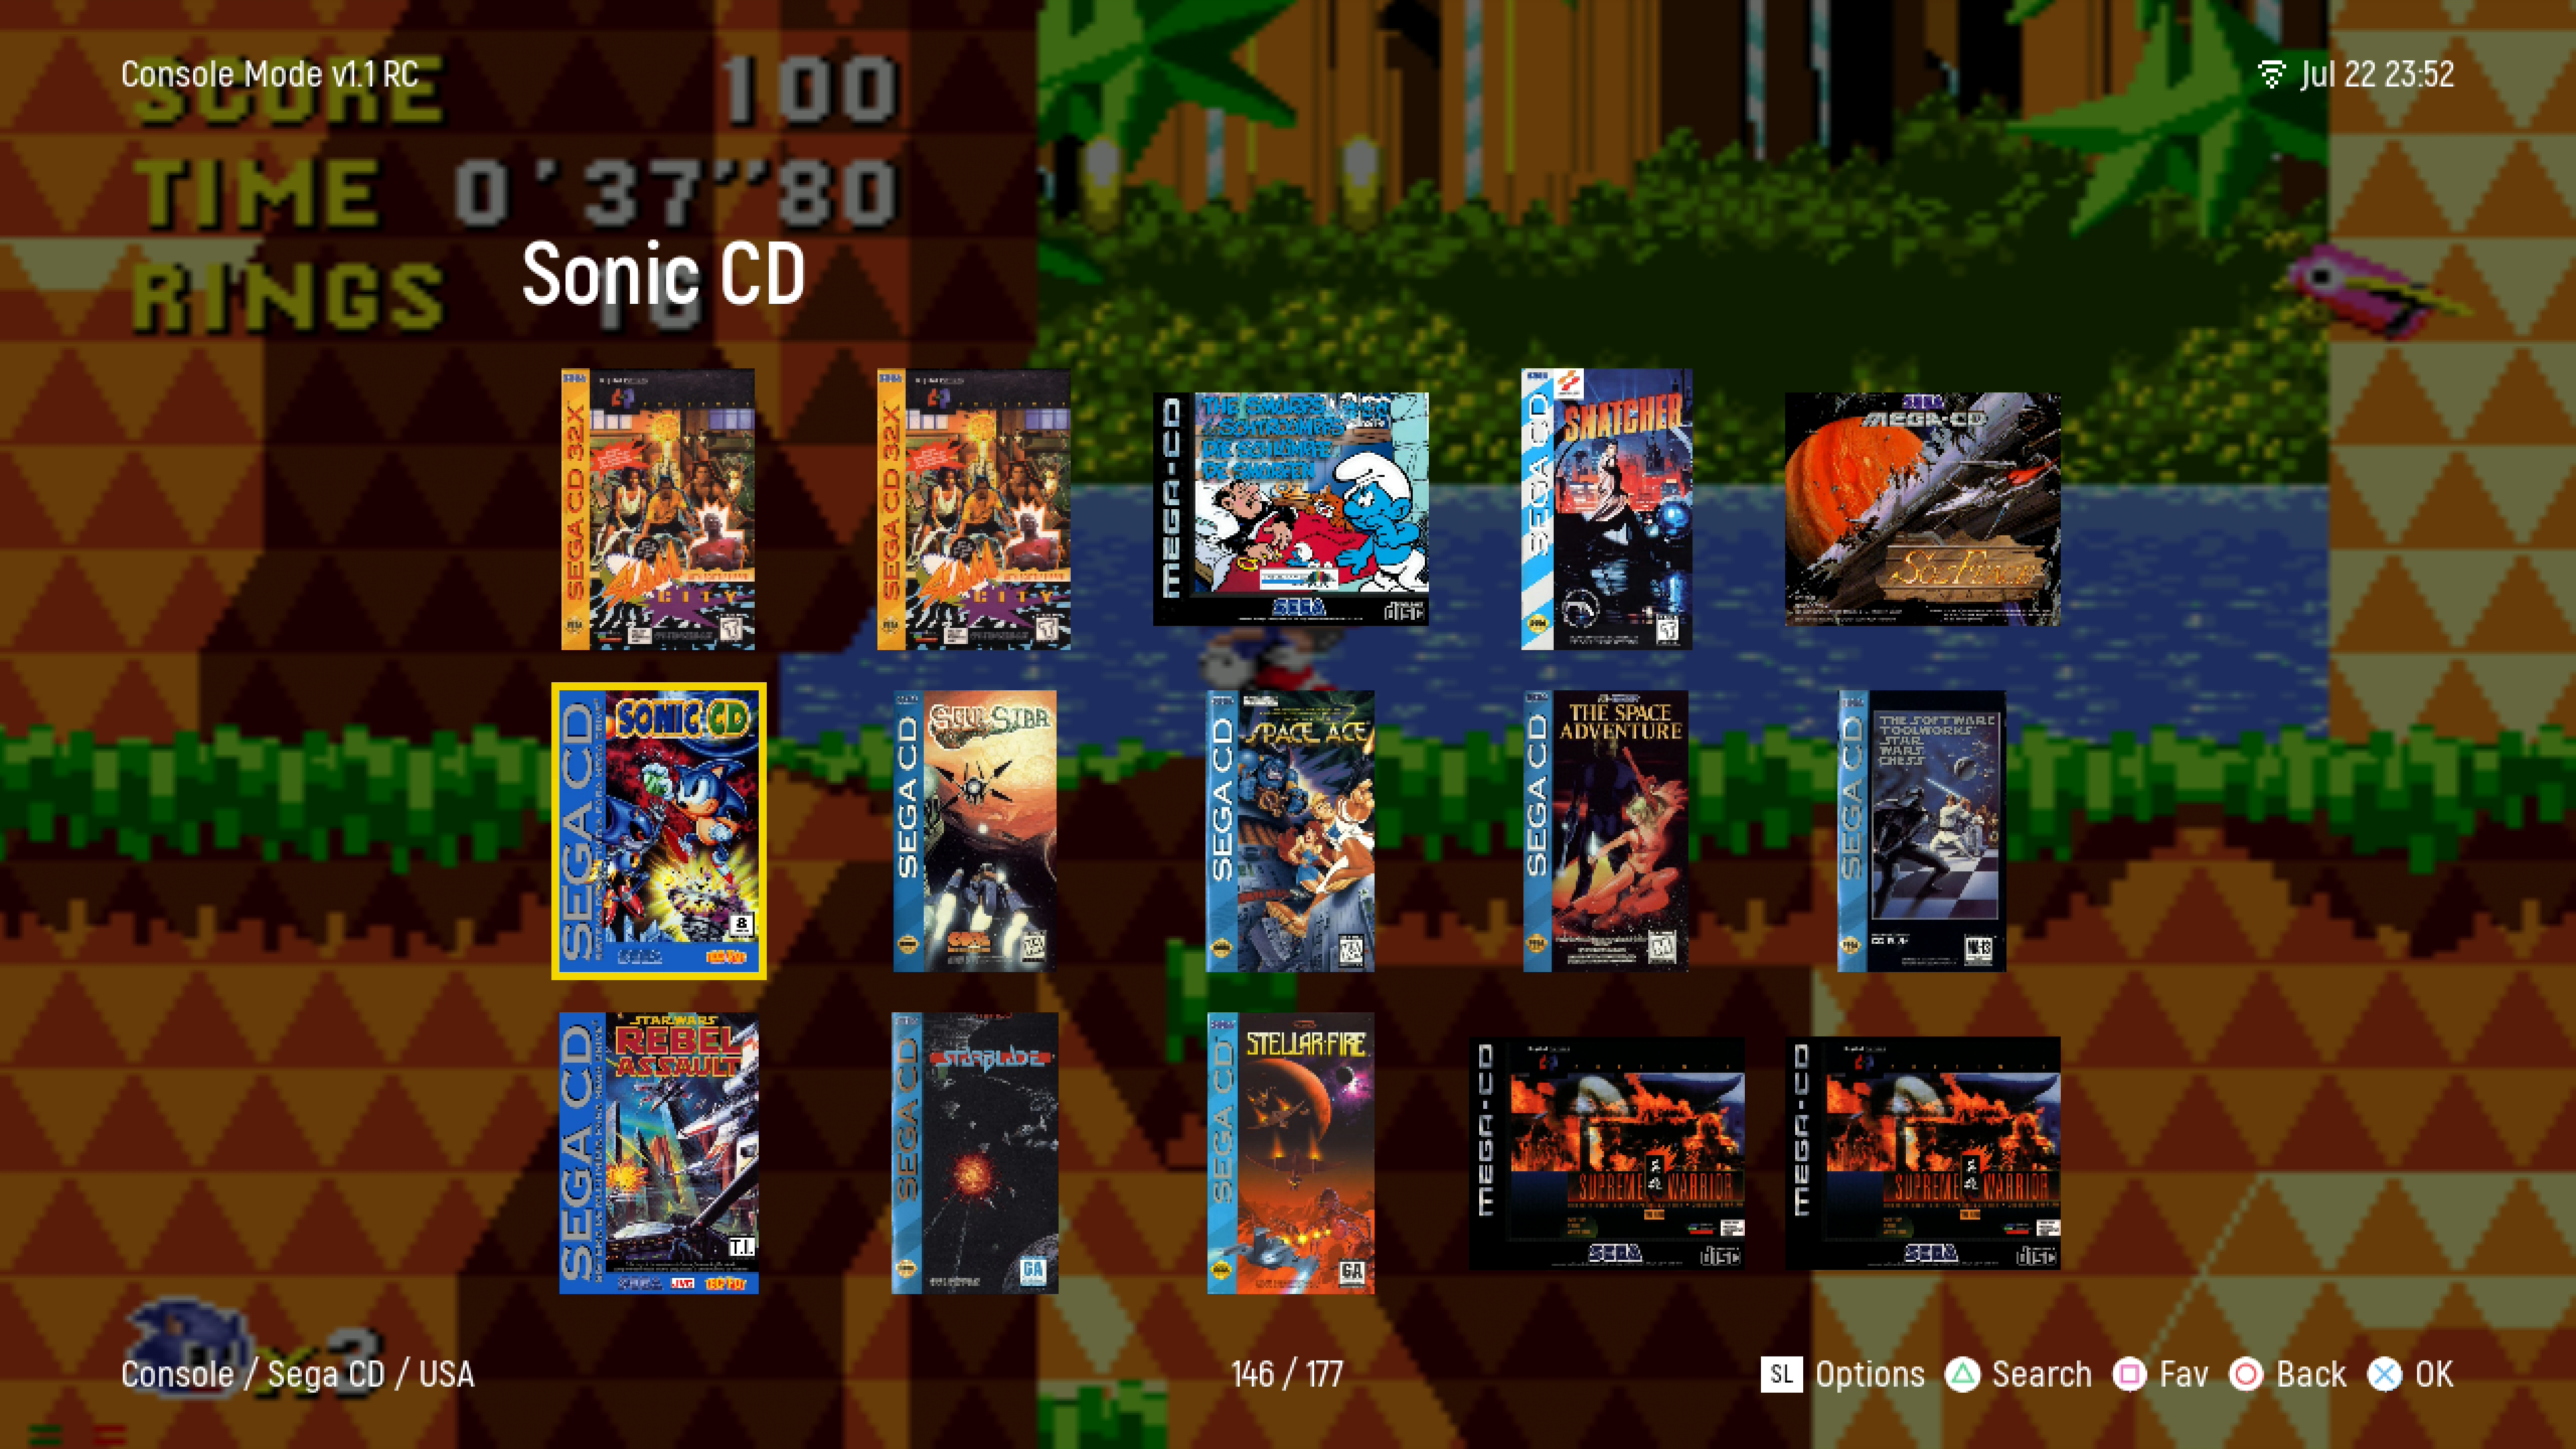
Available Games Style Display
- List view
- Grid view
- Big Grid view
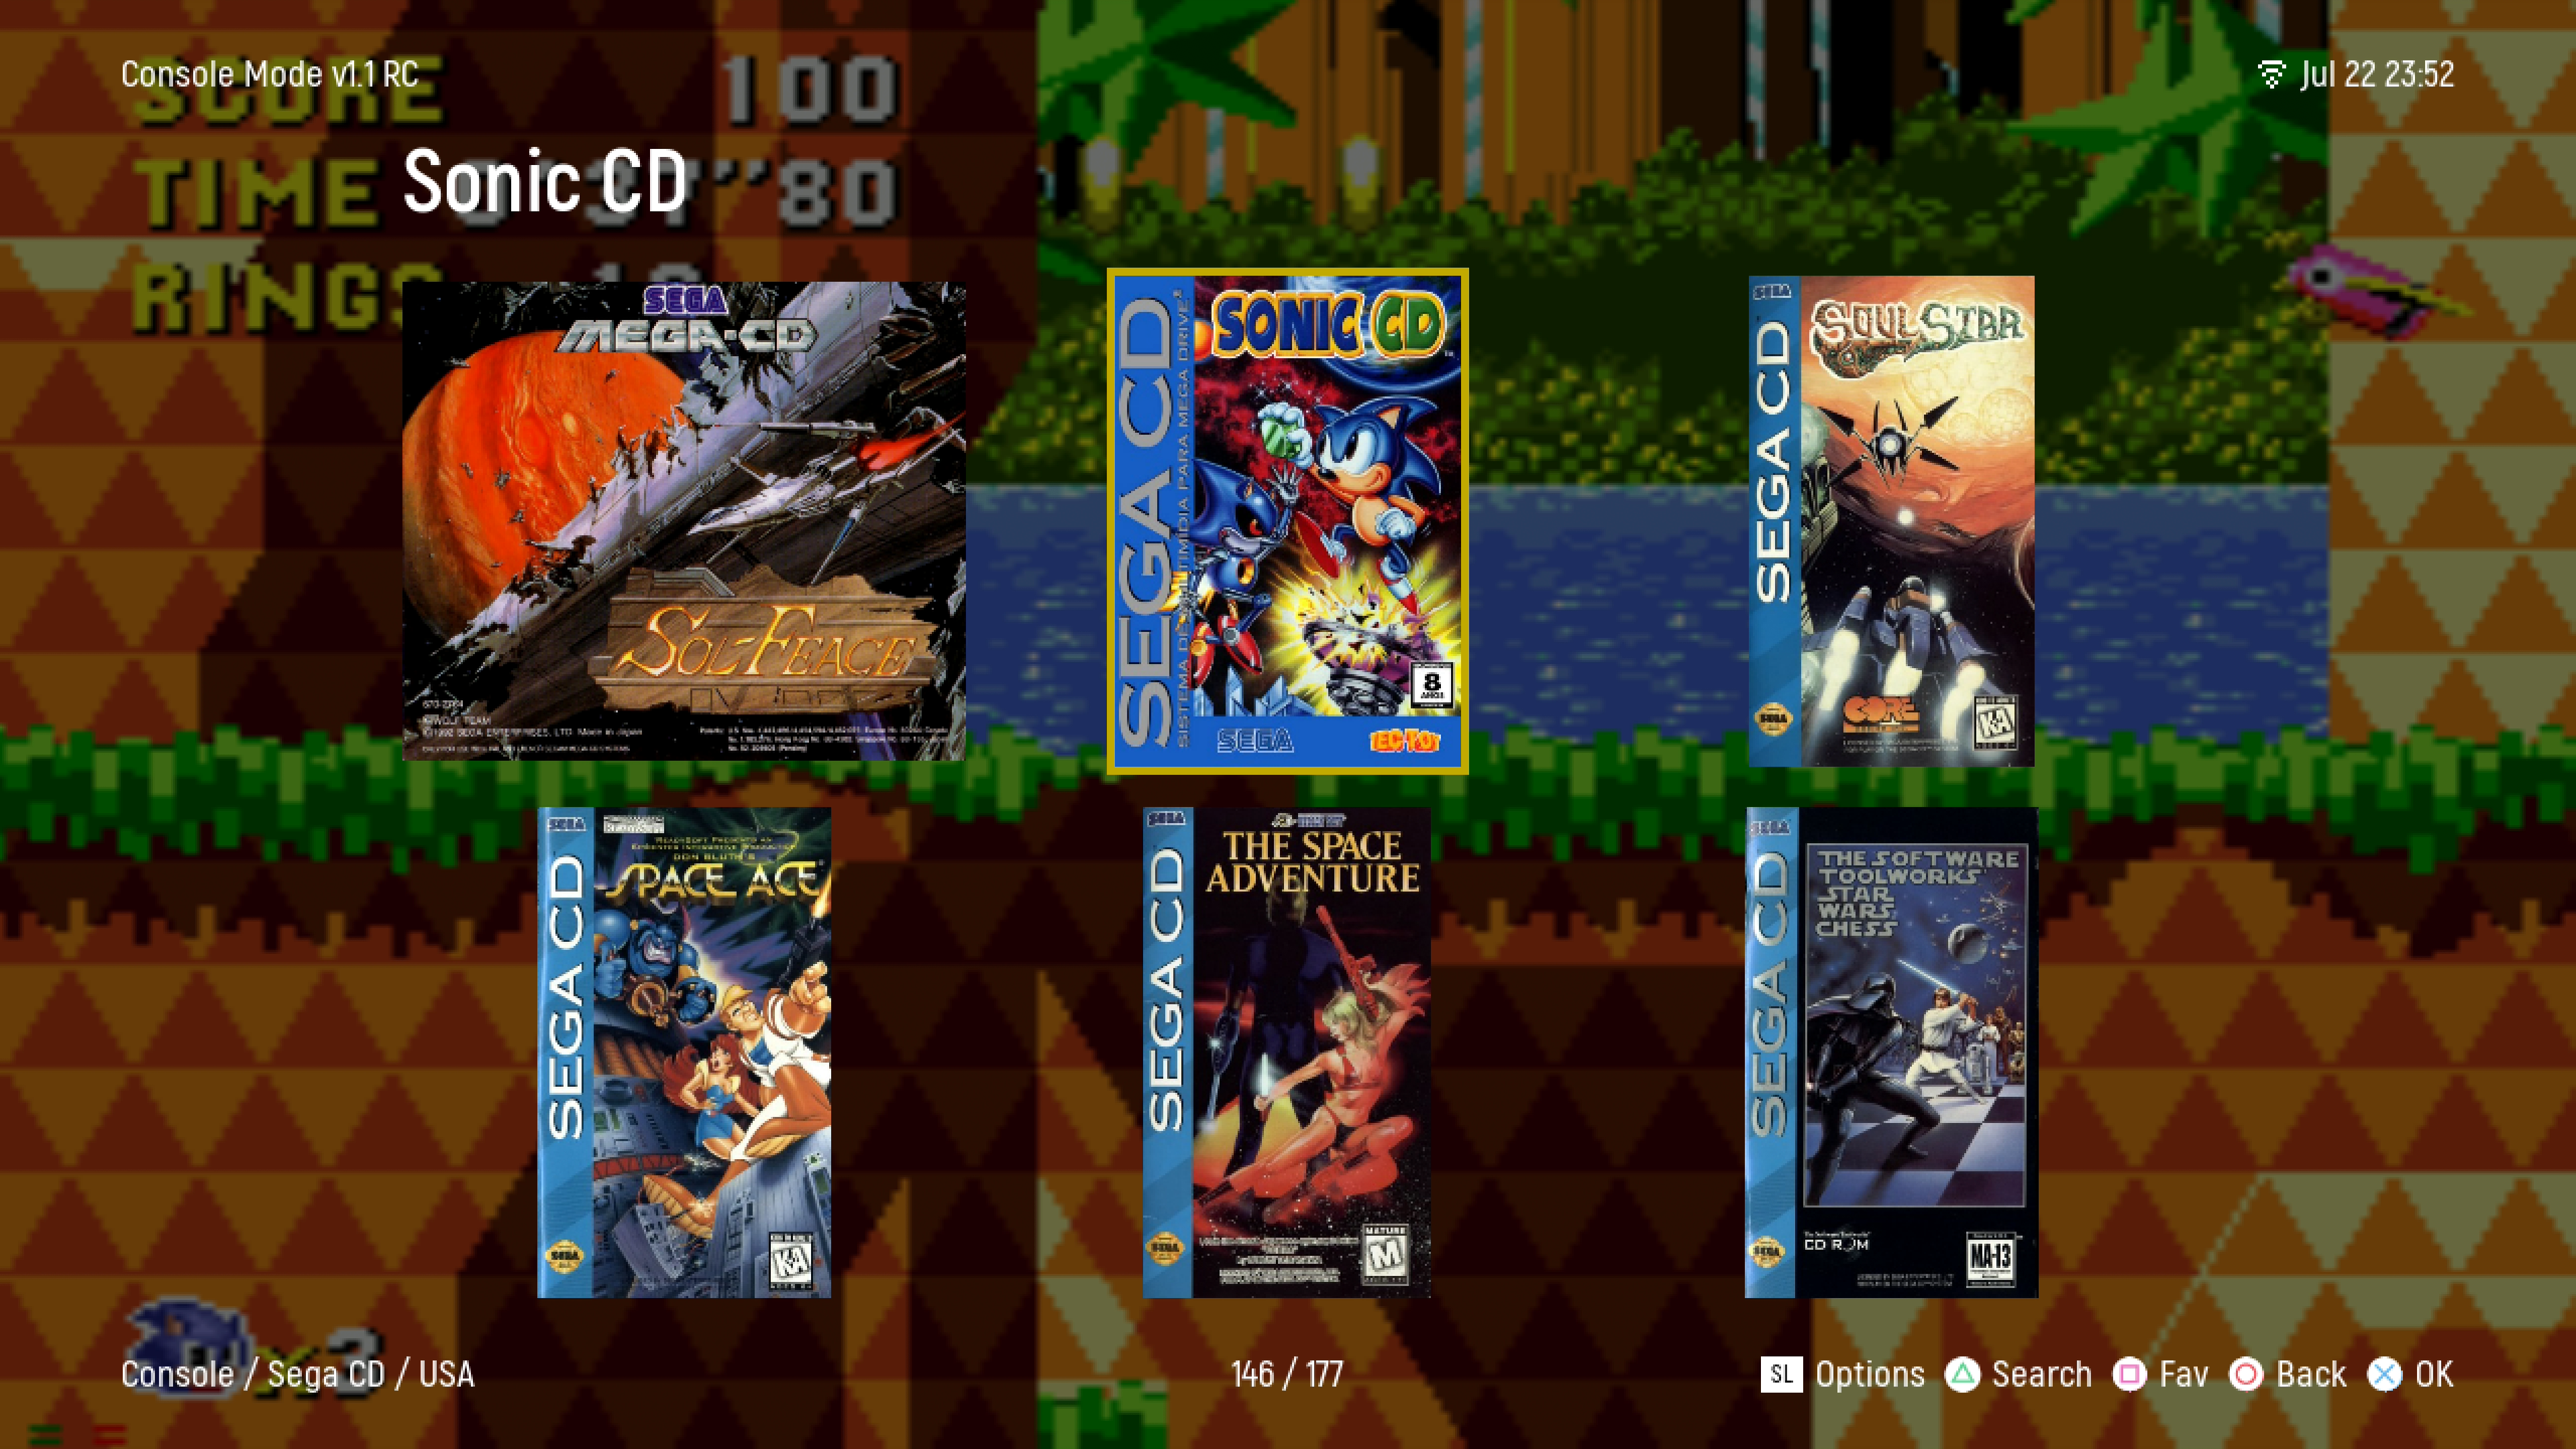
- NX view
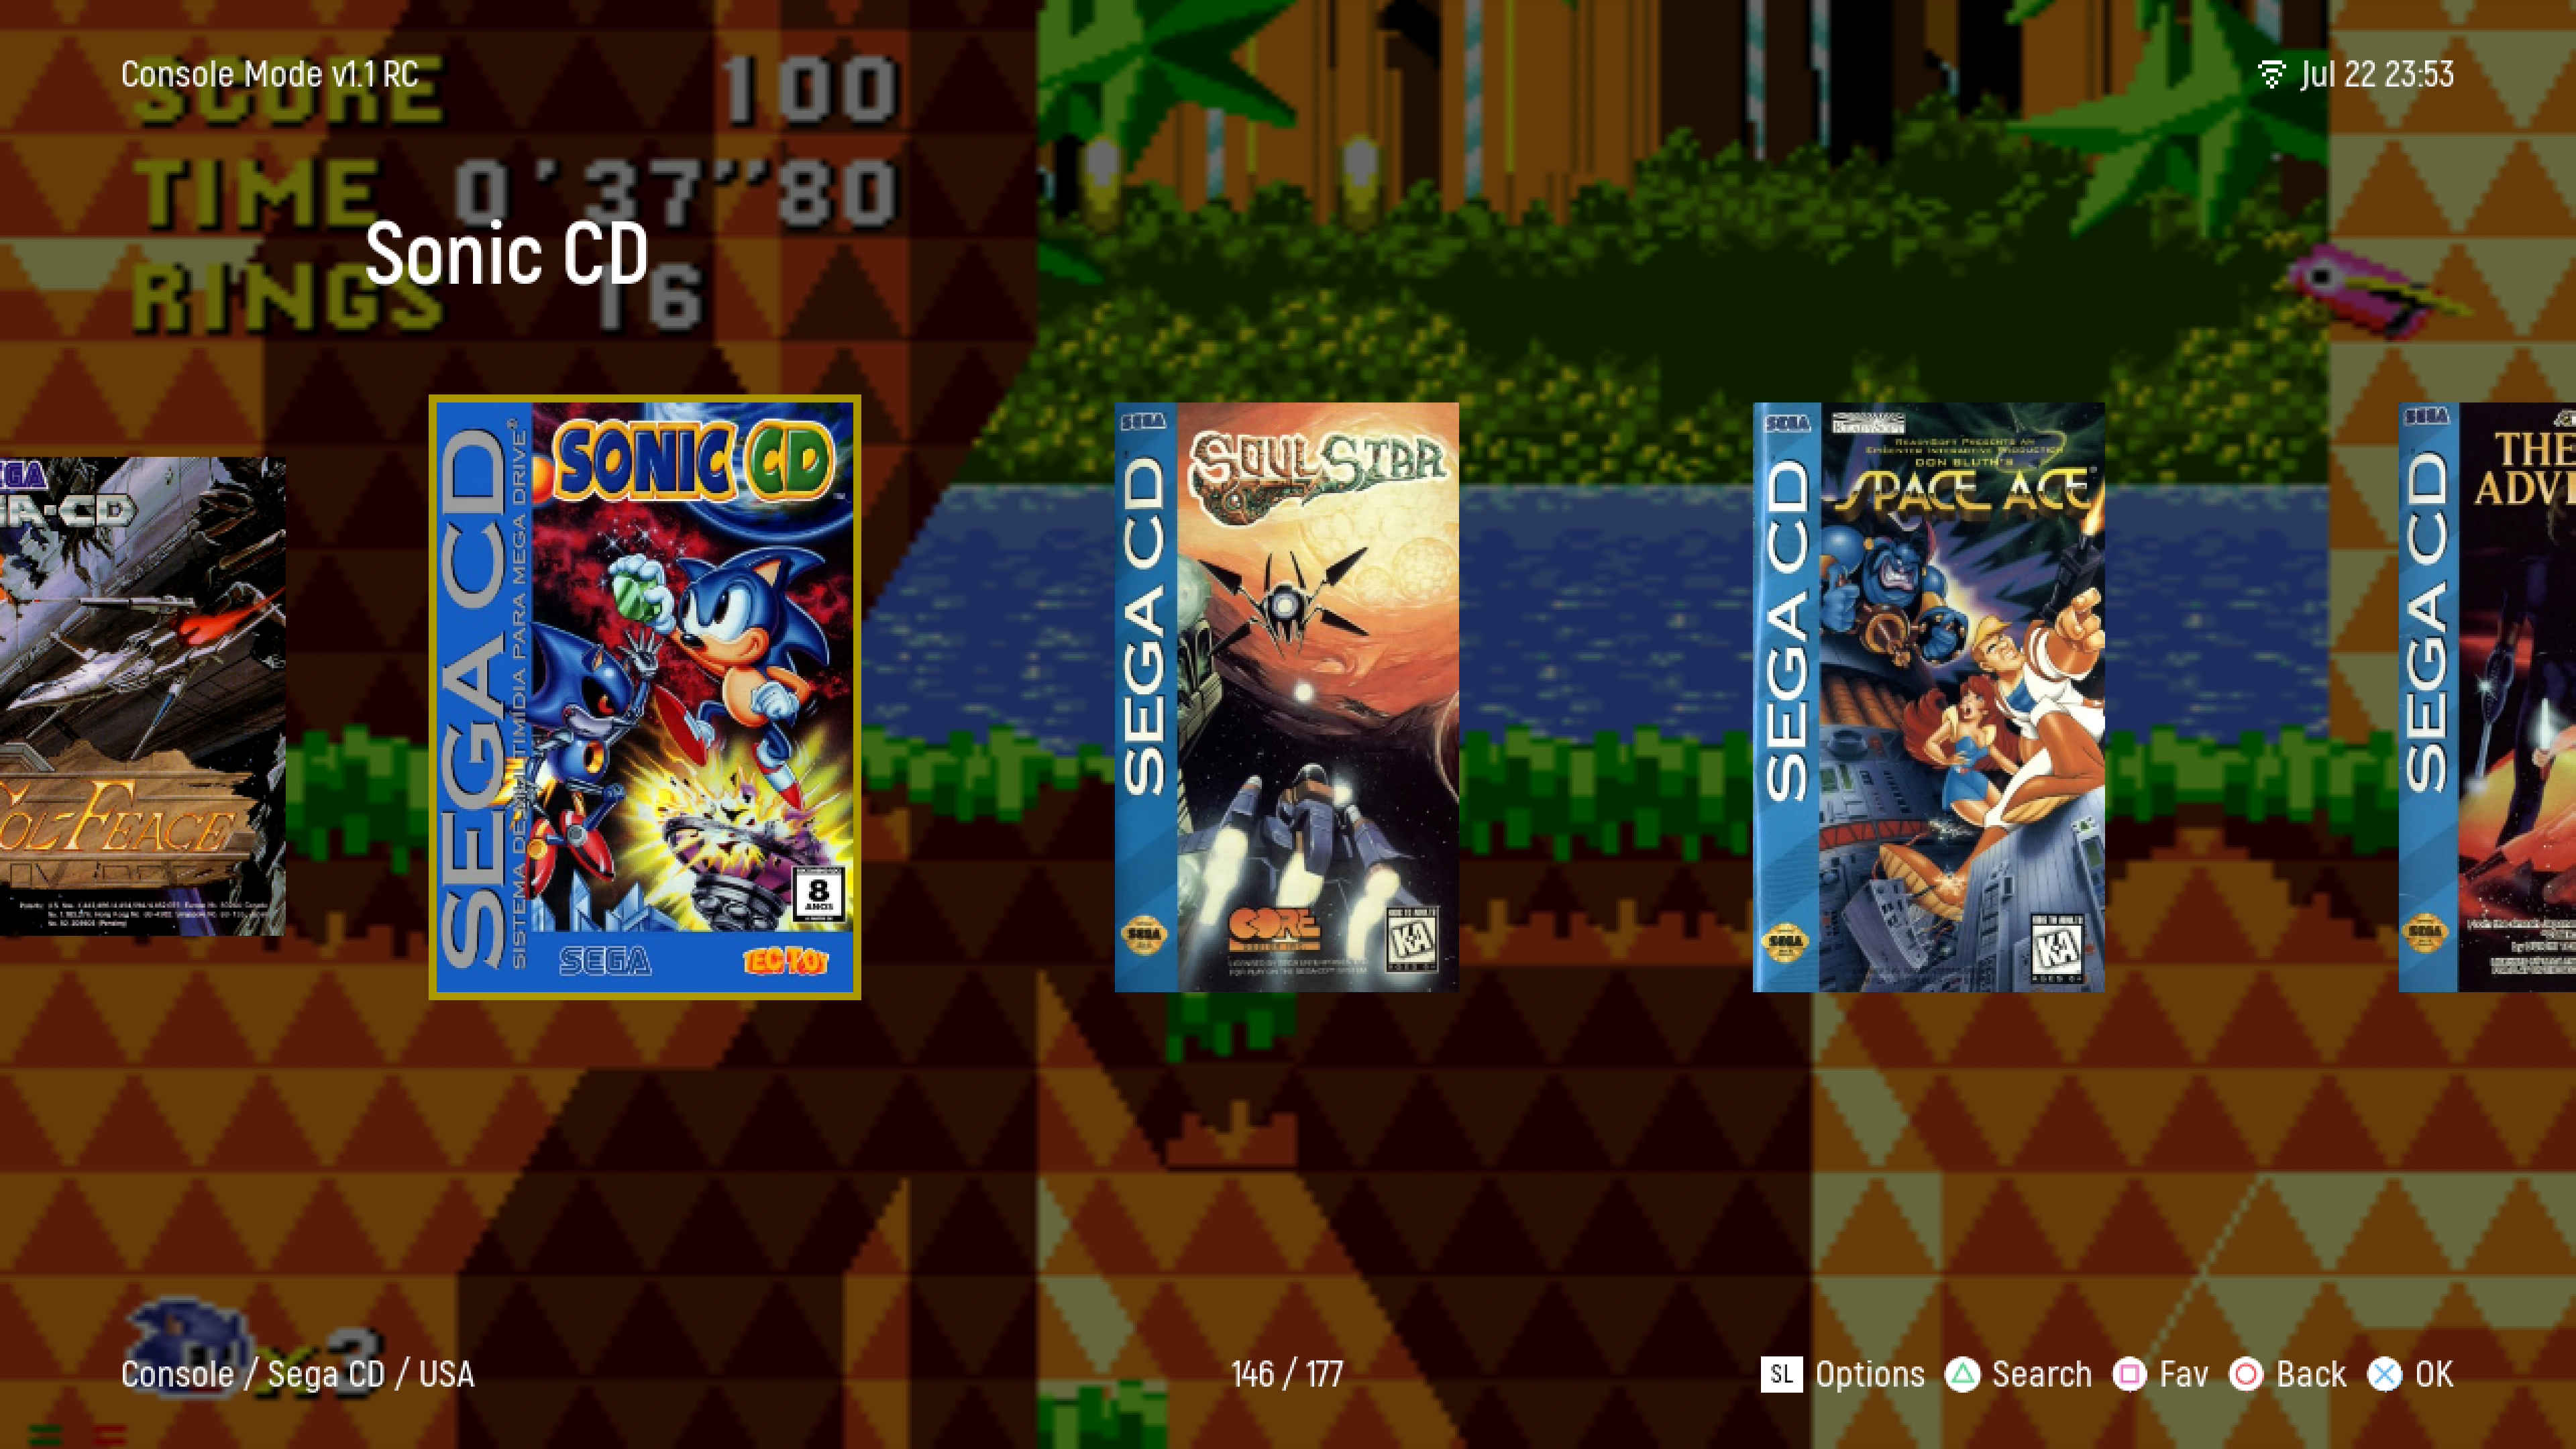
- SS4