Build Kernel For Any Root.en
This guide will walk you through building a kernel with any Root manager for NonGKI devices via GitHub Actions.
- Step 1: Fork the Repository
- Step 2: Choose a Root Manager
- Step 3: Use a Preset Root Manager
- Step 4: Use an Unlisted Root Manager
- Step 5: Commit Changes
- Step 6: Trigger the Build
- Step 7: Download the Kernel
First, fork the NonGKI_Kernel_Build_2nd repository.
⚠️ Note: If GitHub prompts you to wait before forking, refresh the page after about 10 seconds.
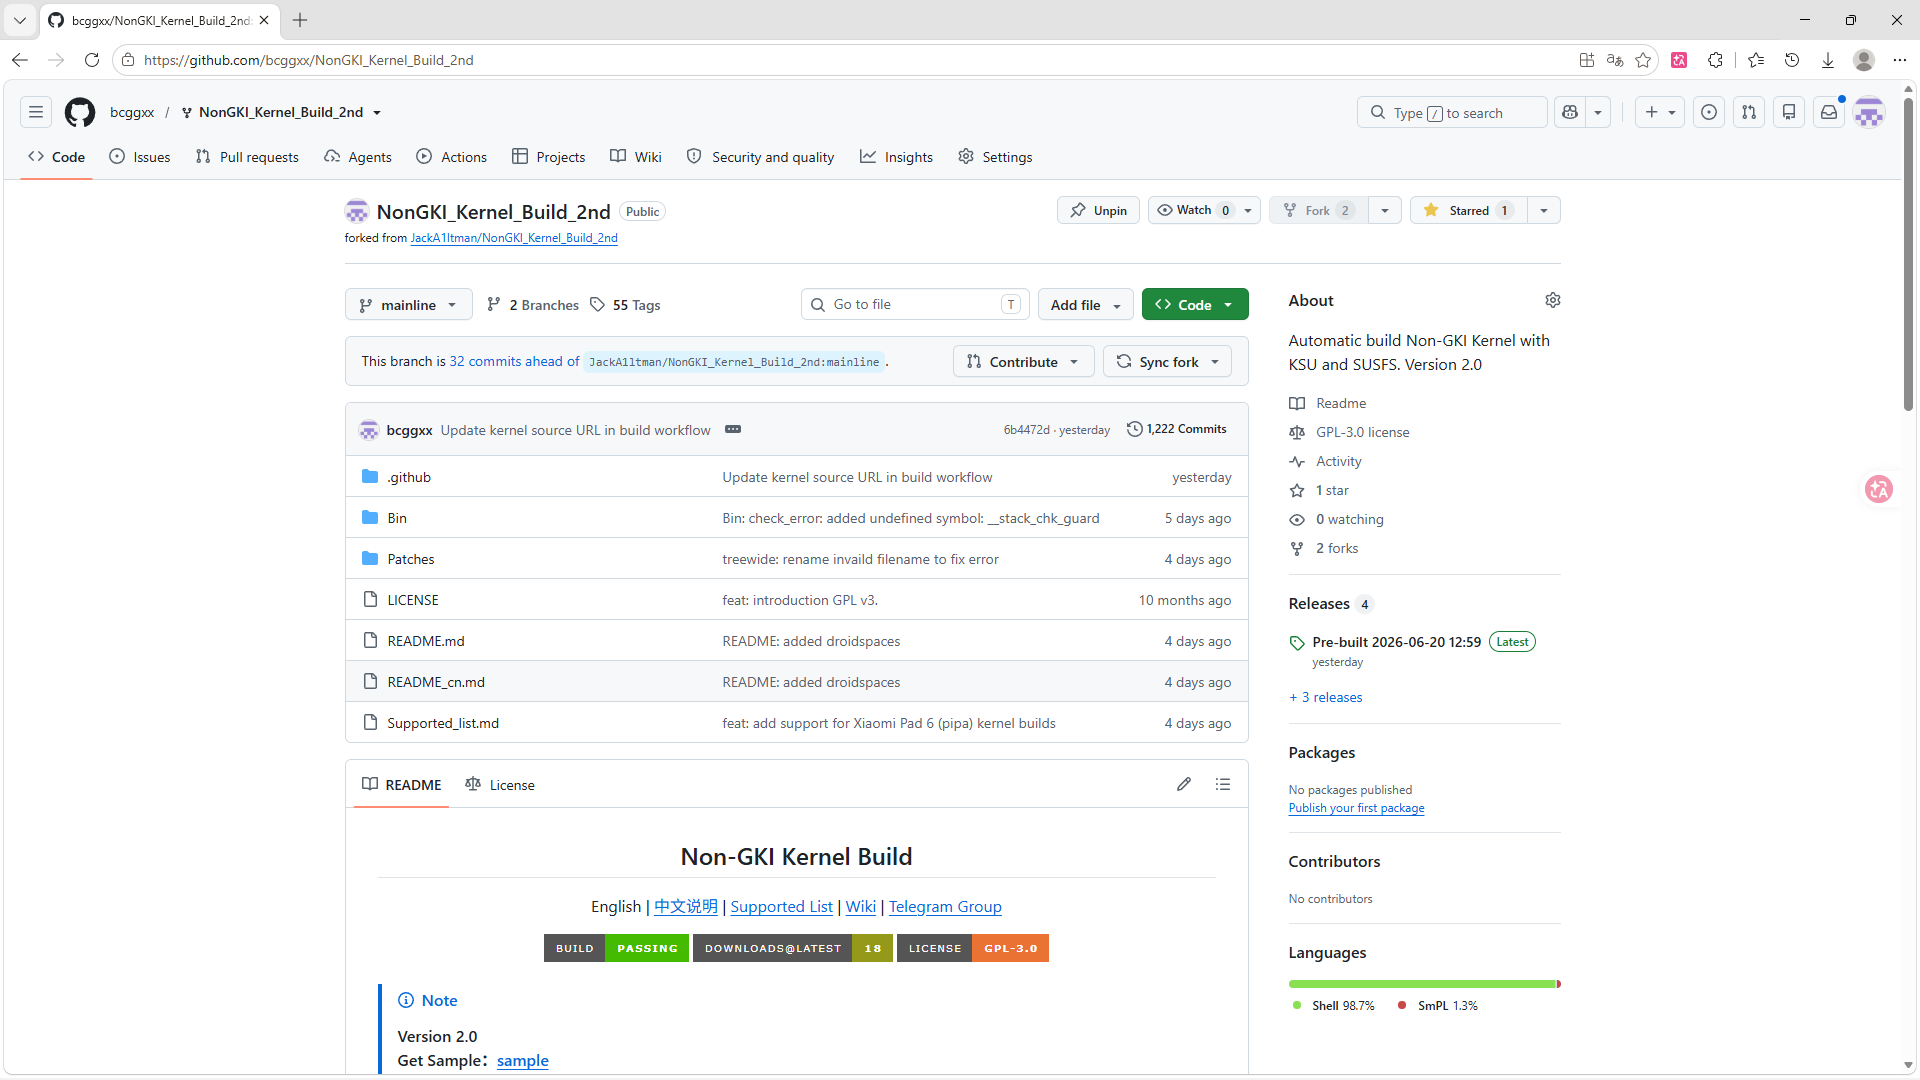
Click on the .github folder in the repository:
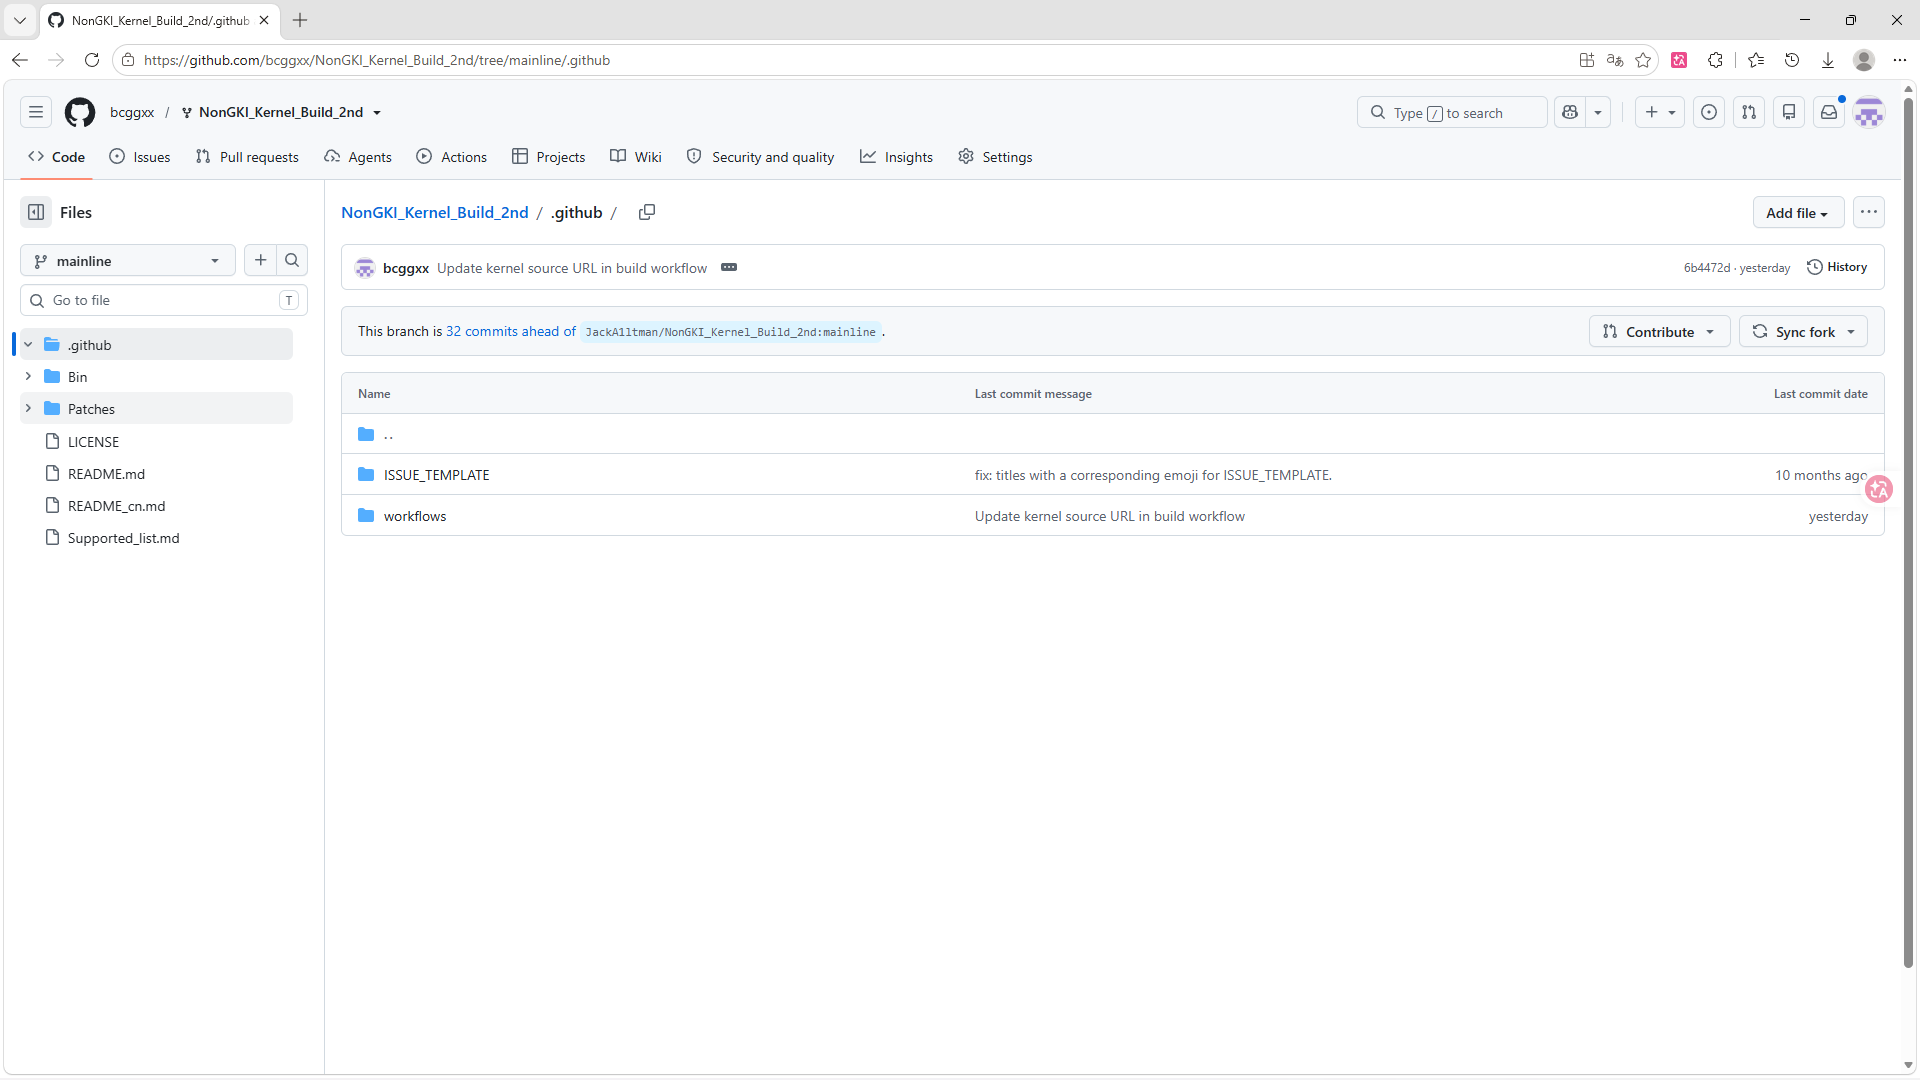
Then enter the workflows directory:
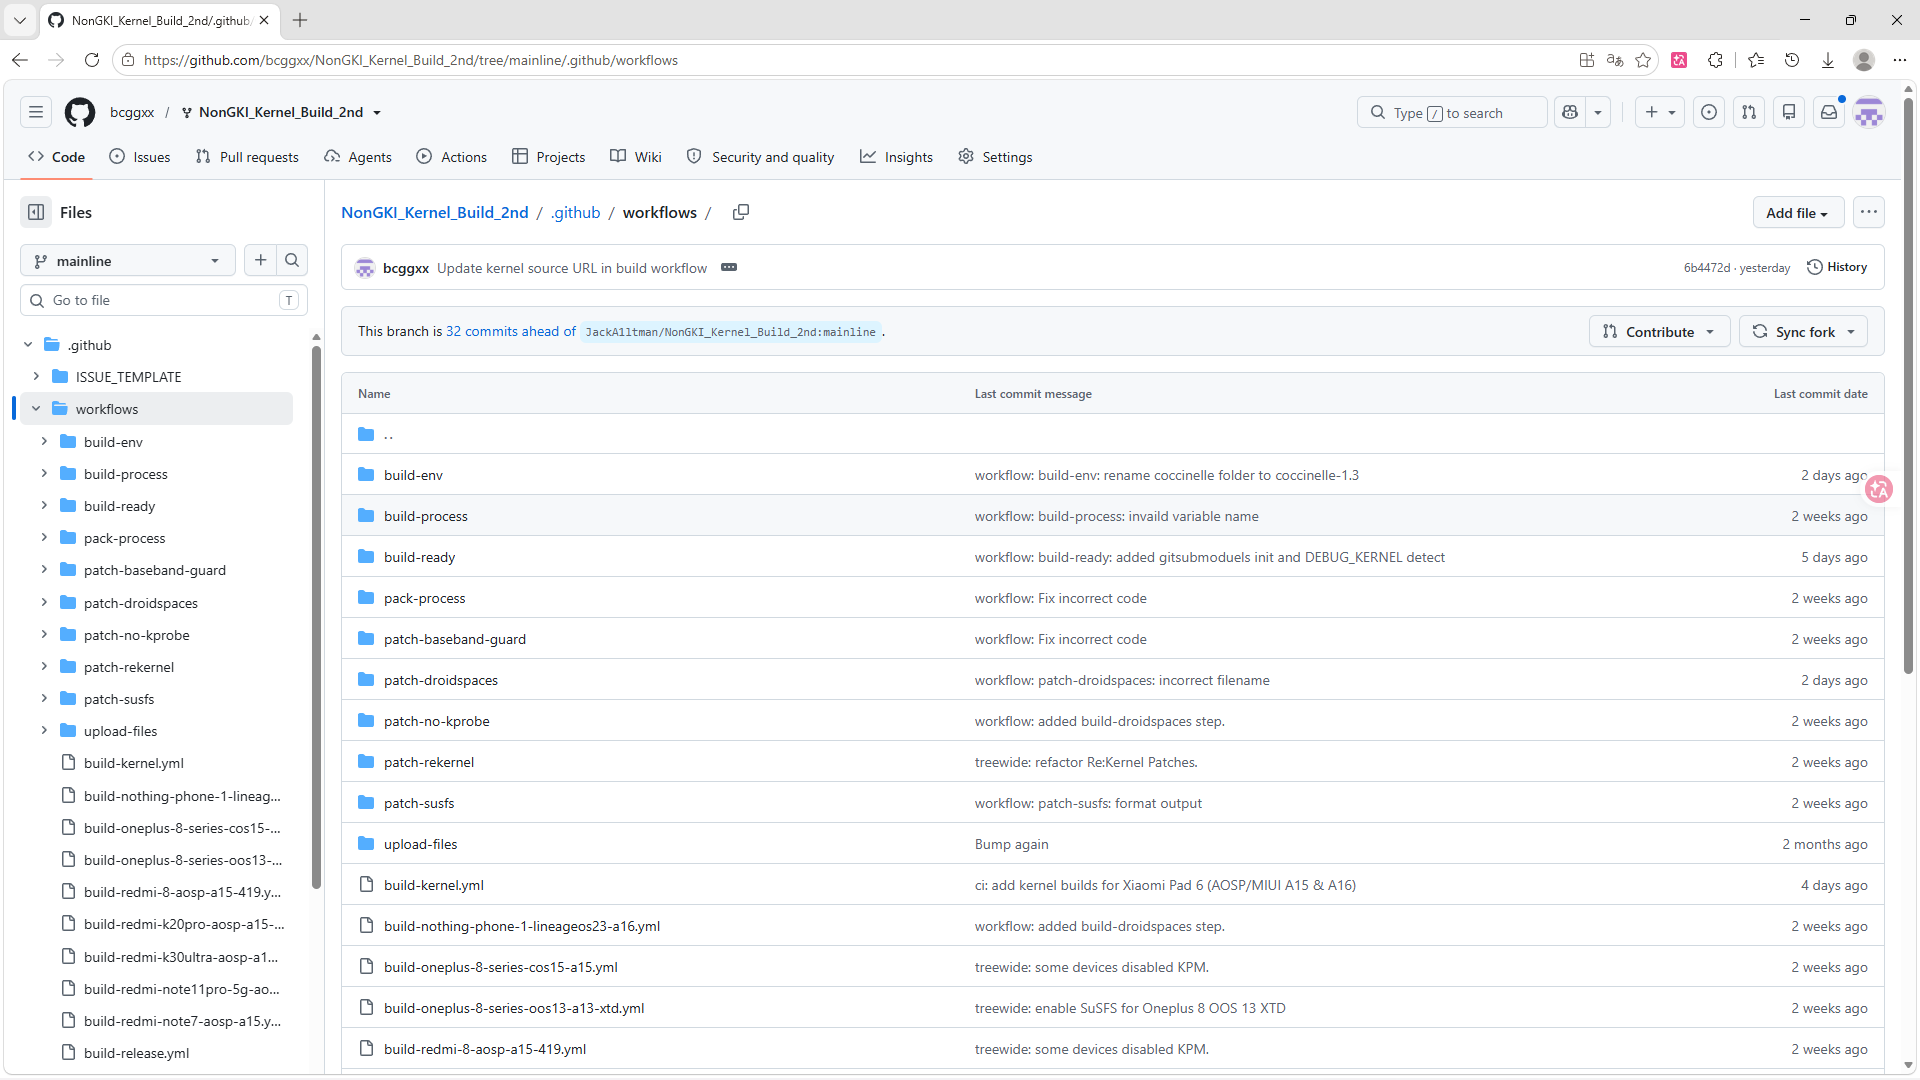
Scroll down and find build-xiaomi-pad6-aosp-HOS-a15.yml or build-xiaomi-pad6-aosp-HOS-a16.yml. This guide uses the A15 version as an example:
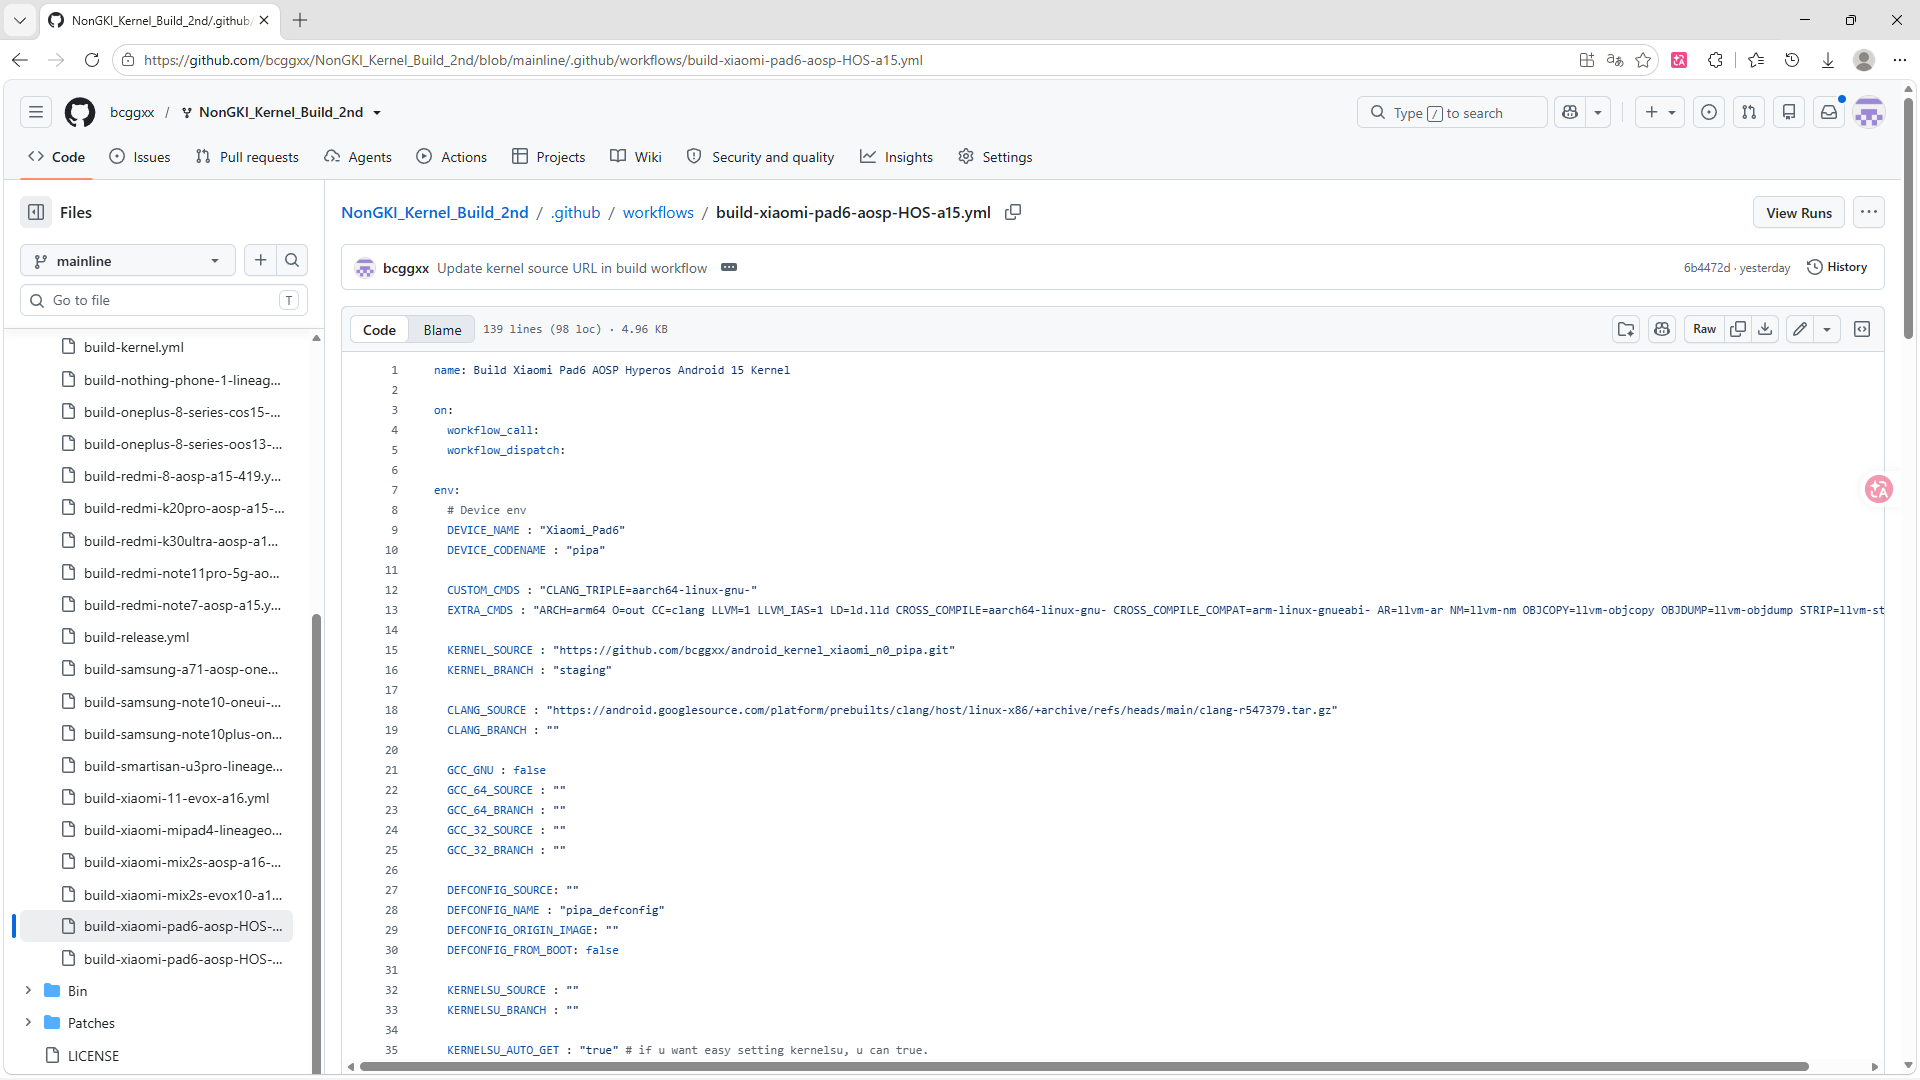
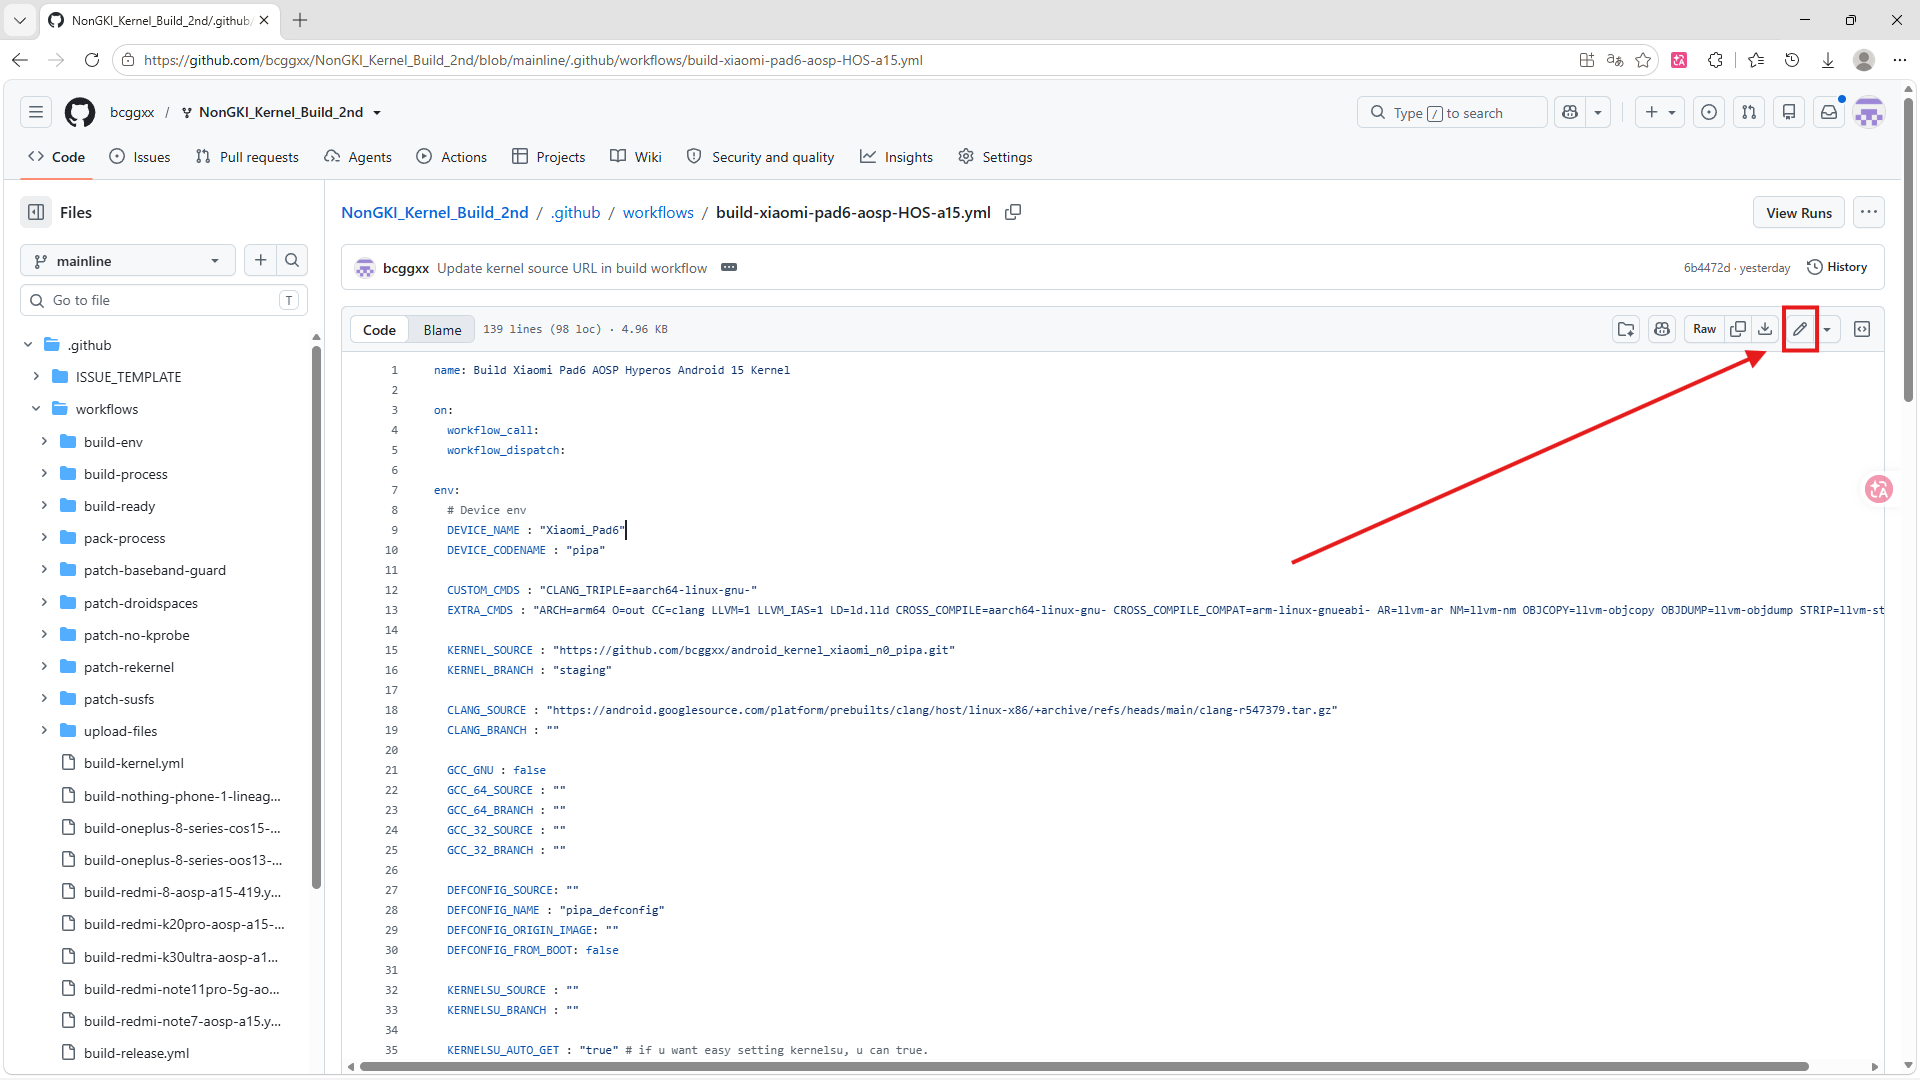
Click the pencil icon (Edit file):
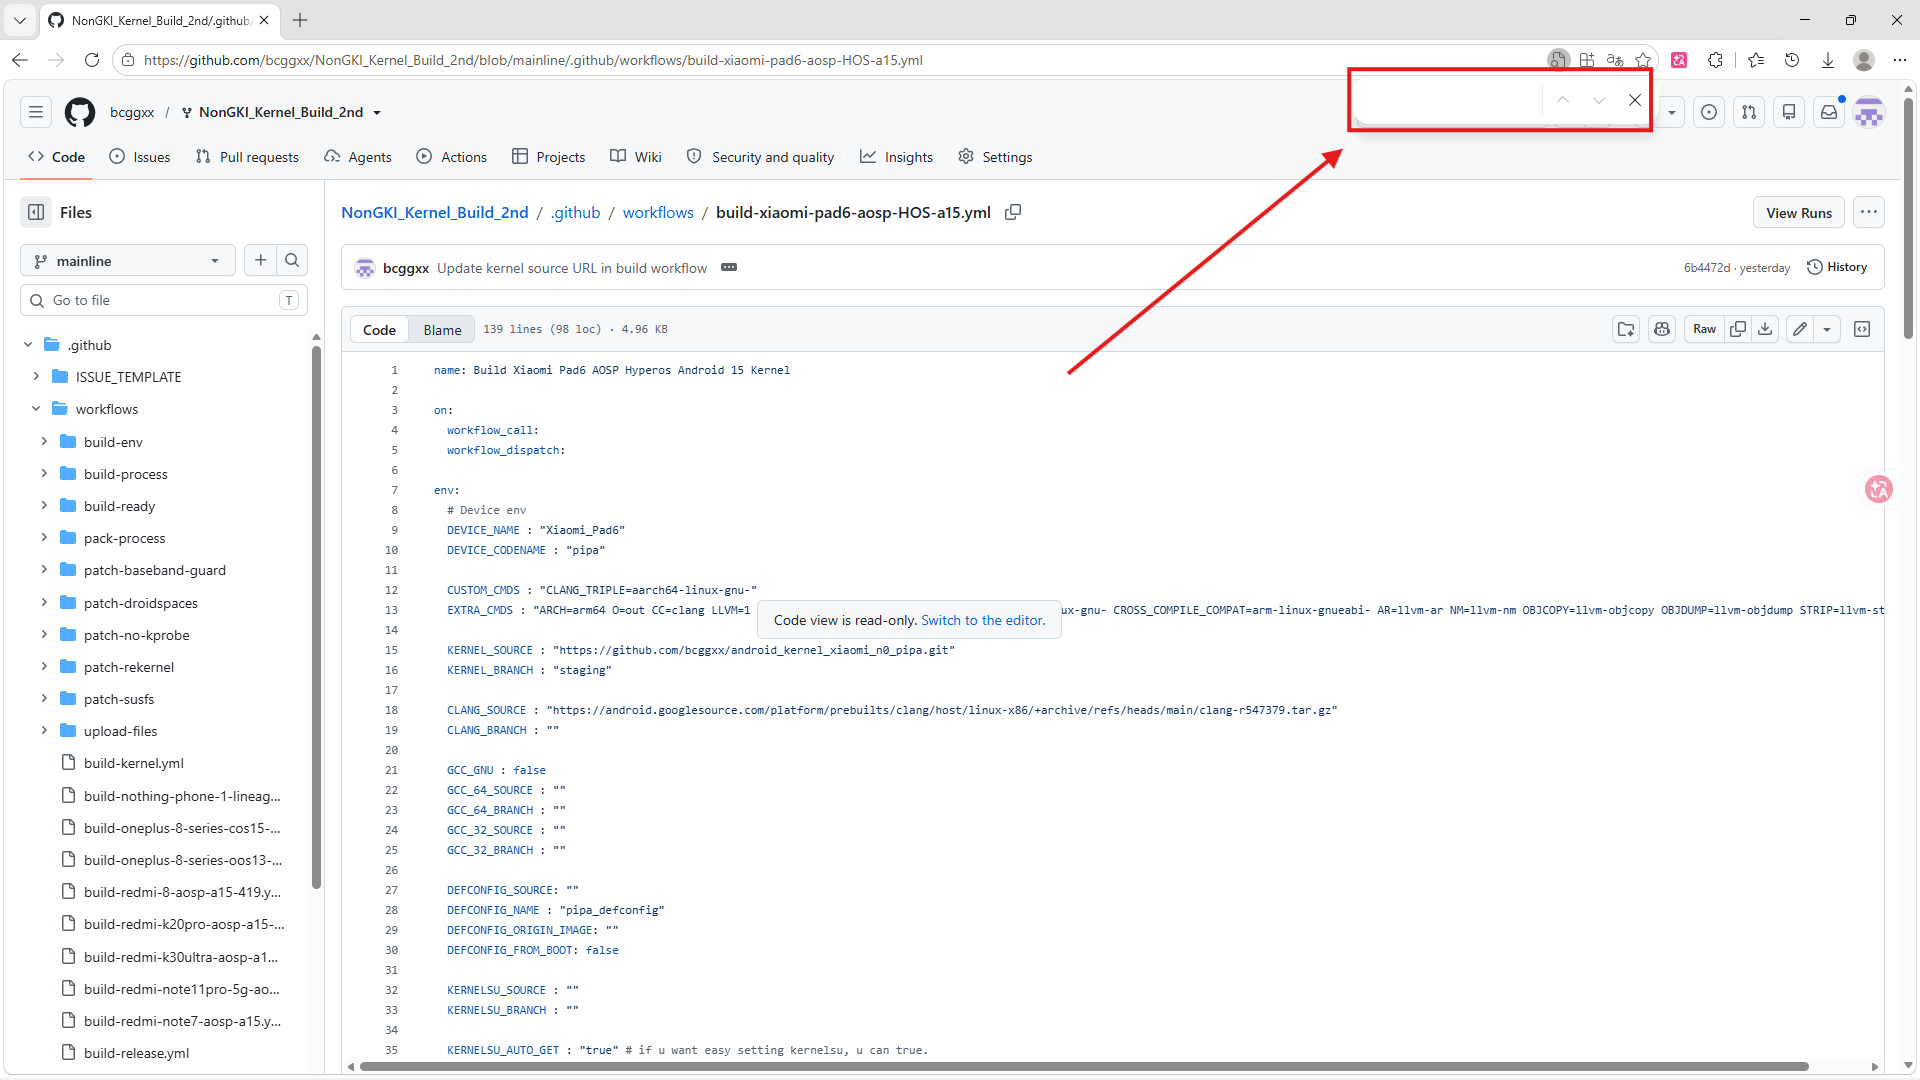
Press Fn + F3 on your keyboard to open search, then look for KERNELSU_AUTO_FORK:
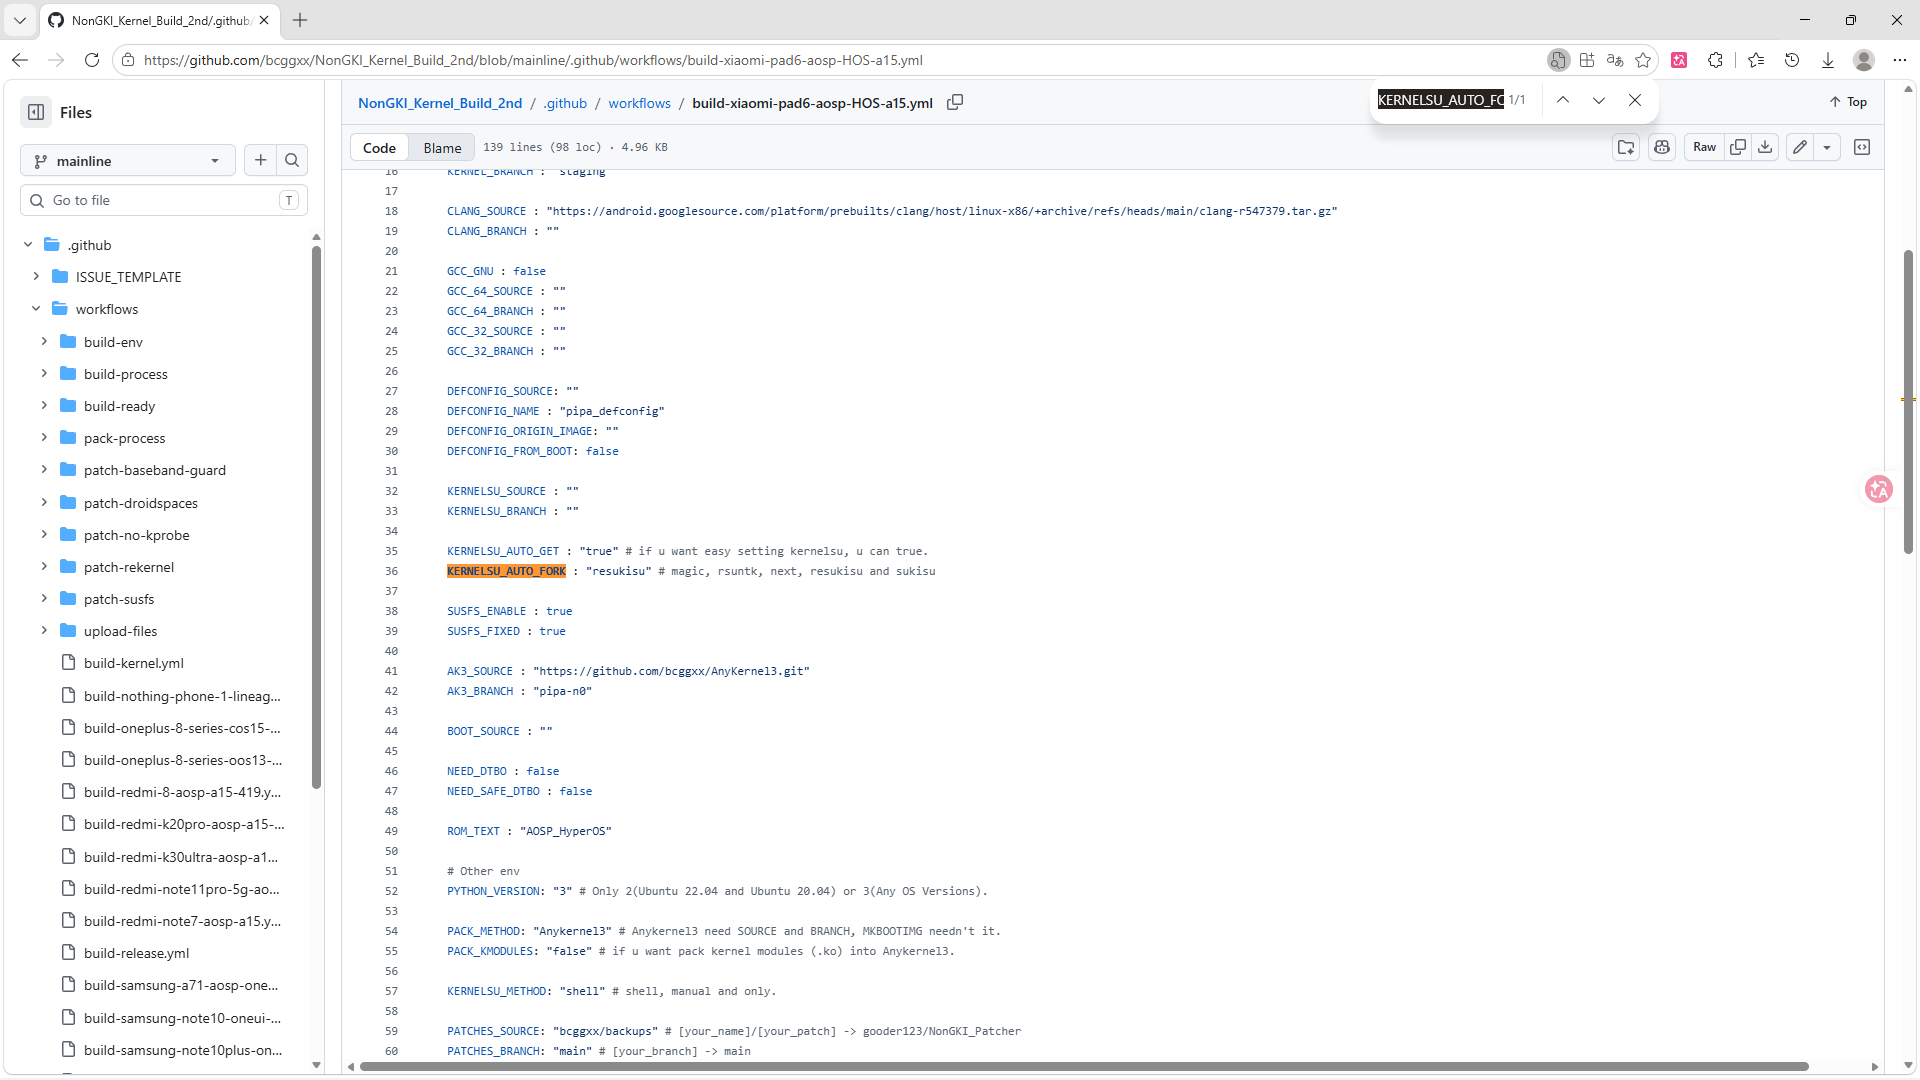
The # comments next to the variable list the available Root managers:
| Value | Description |
|---|---|
Rsuntk |
NonGKI version of KernelSU |
NEXT |
KernelSU-NEXT |
ResukiSU |
Currently used version (recommended) |
⚠️ magichas an unknown purpose,rsuntkis the NonGKI flavor of KernelSU, andsukisurefers to SukiSU Ultra, which no longer supports NonGKI devices. Therefore, onlyRksu,KernelSU-NEXT, andResukiSUare viable options.
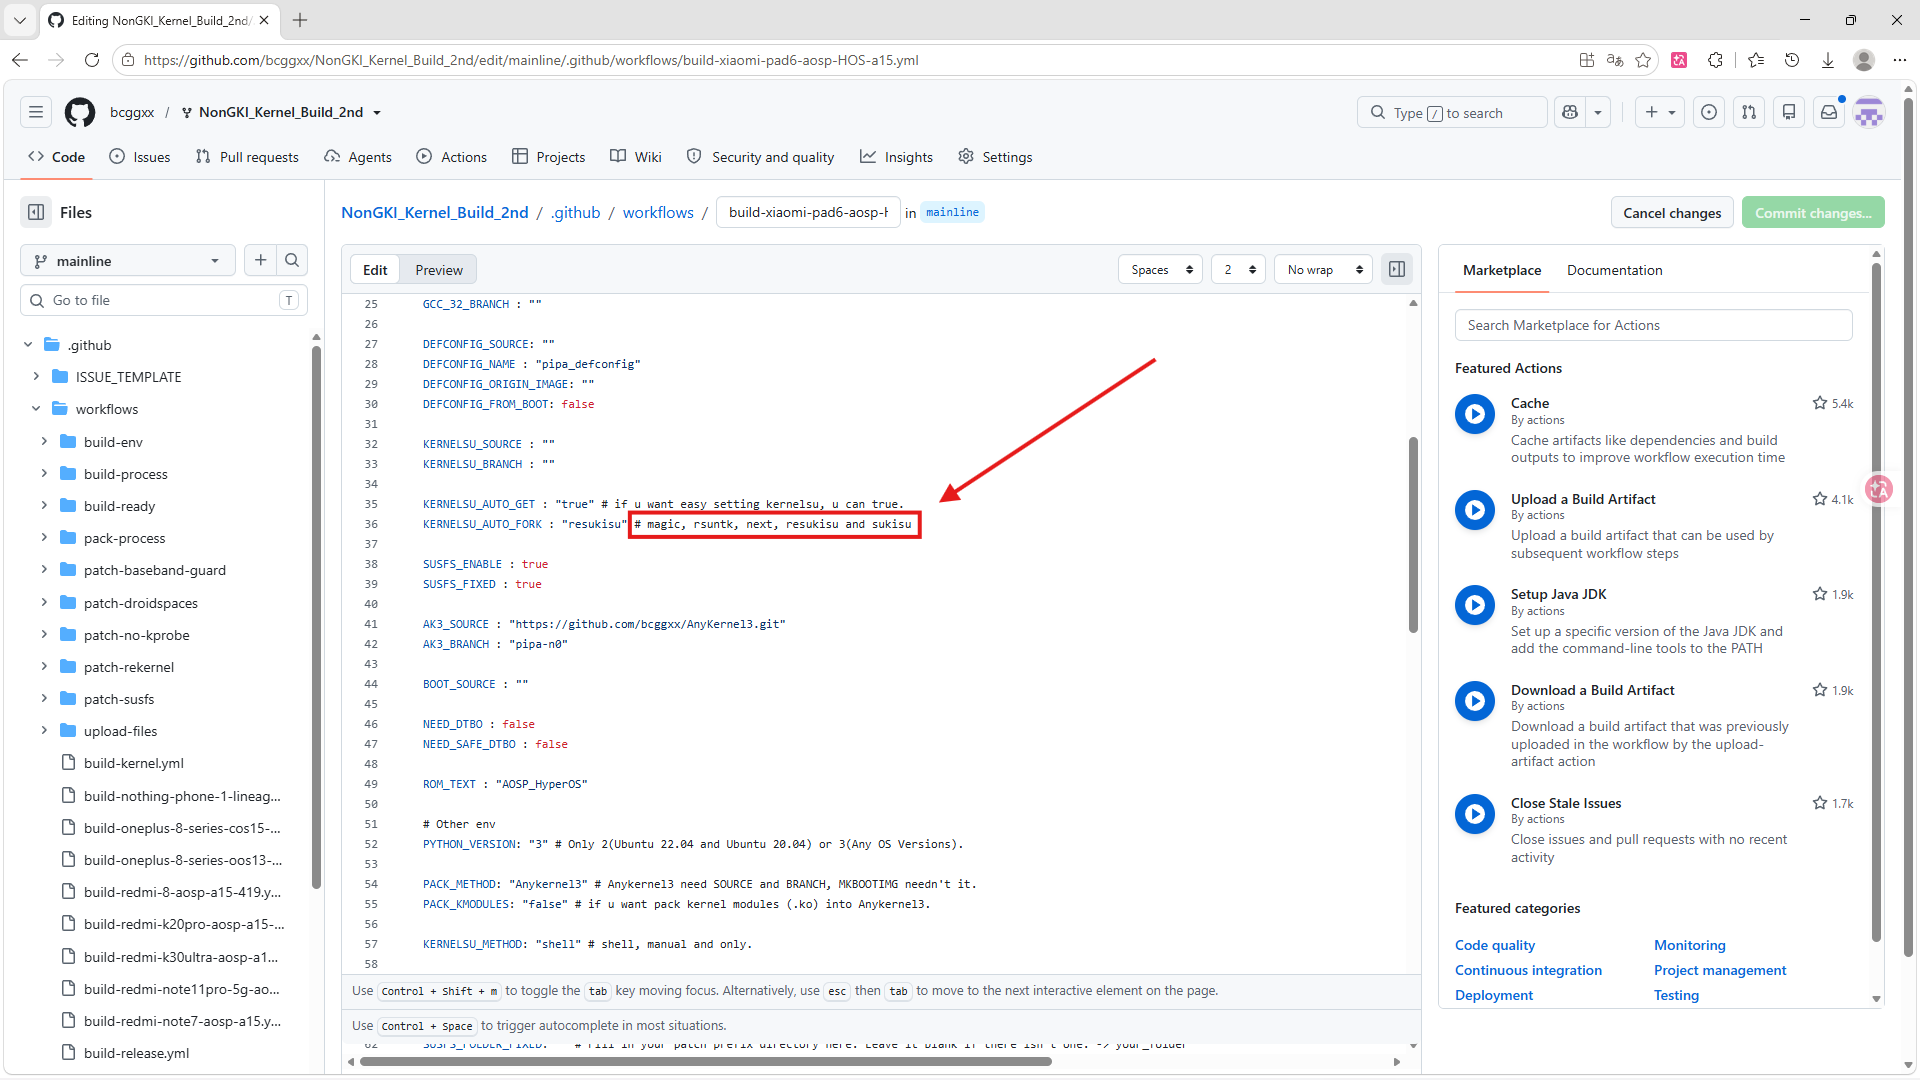
Change the value of KERNELSU_AUTO_FORK to your desired Root manager, then skip ahead to Step 5: Commit Changes.
If you want to use a Root manager not listed above, you need to modify the KERNELSU_SOURCE and KERNELSU_BRANCH variables.
⚠️ Note: When using this method, you must setKERNELSU_AUTO_GETtofalse.
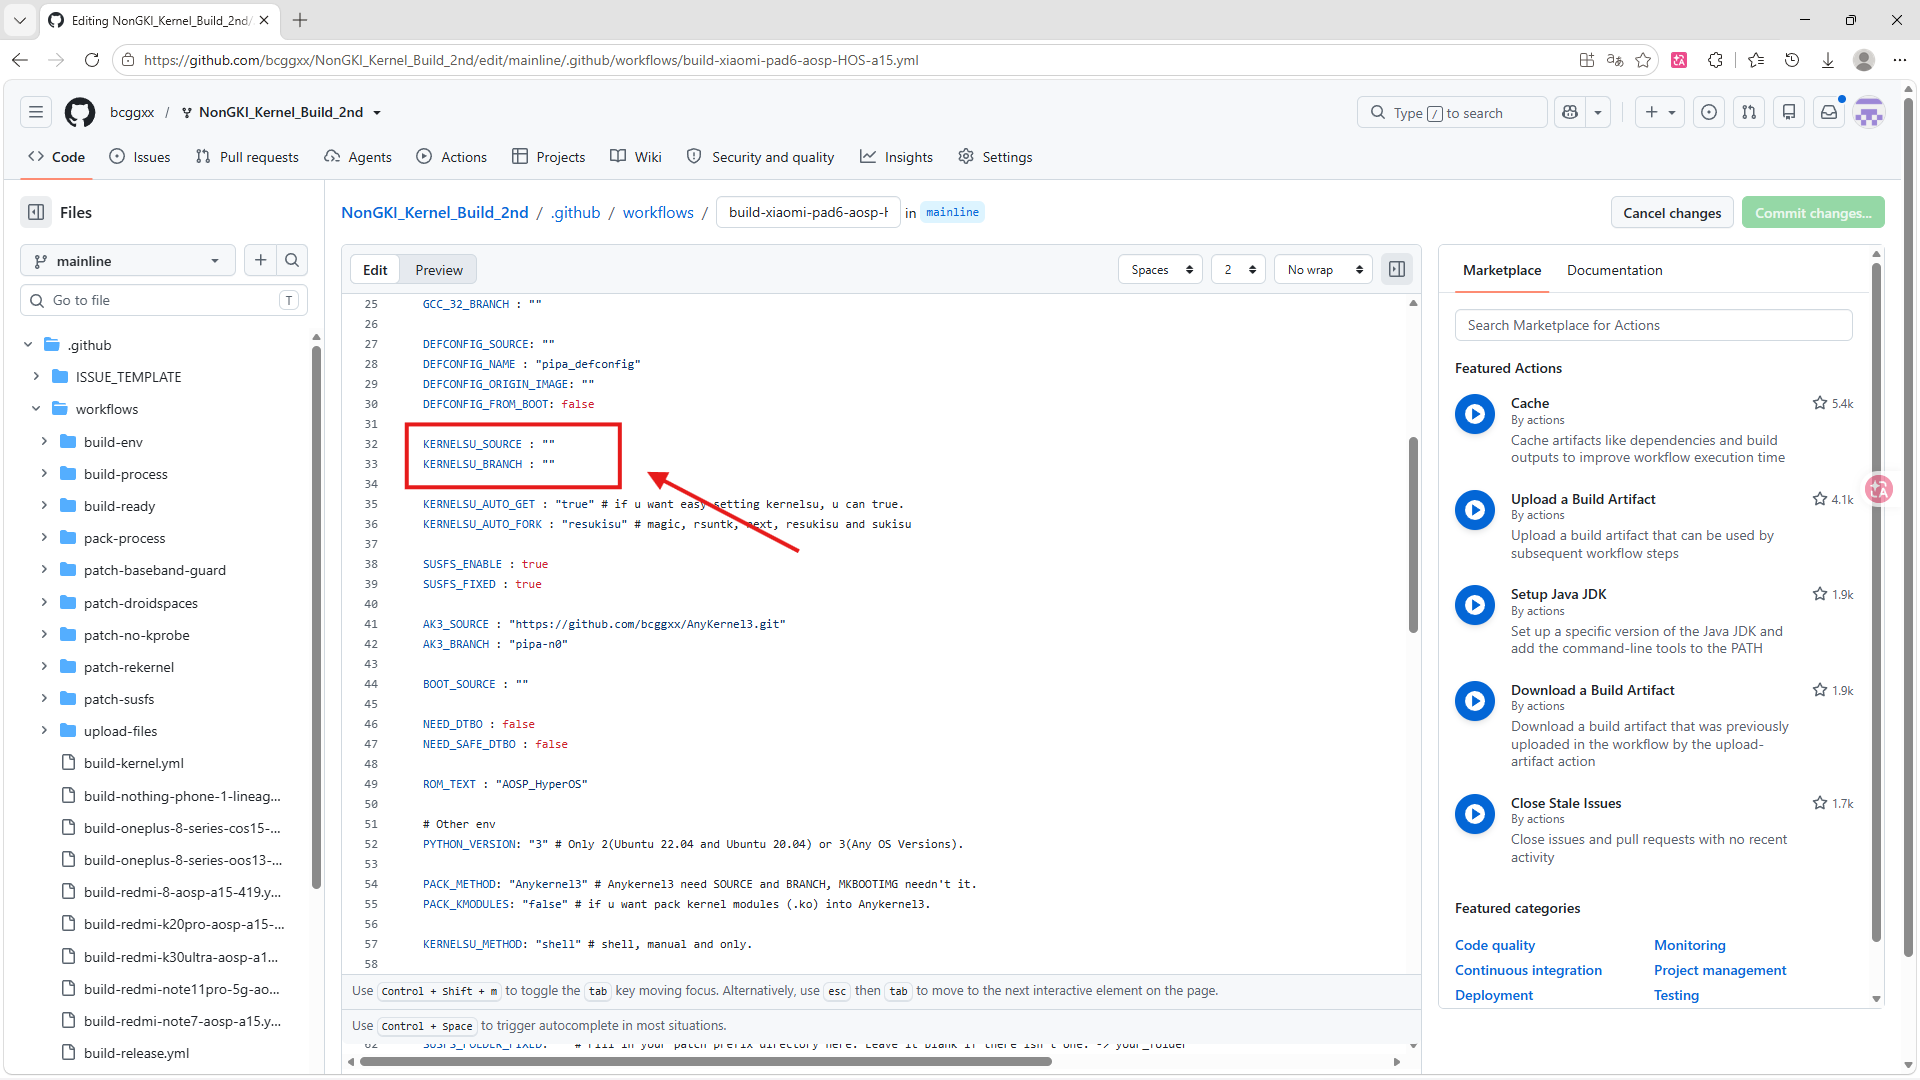
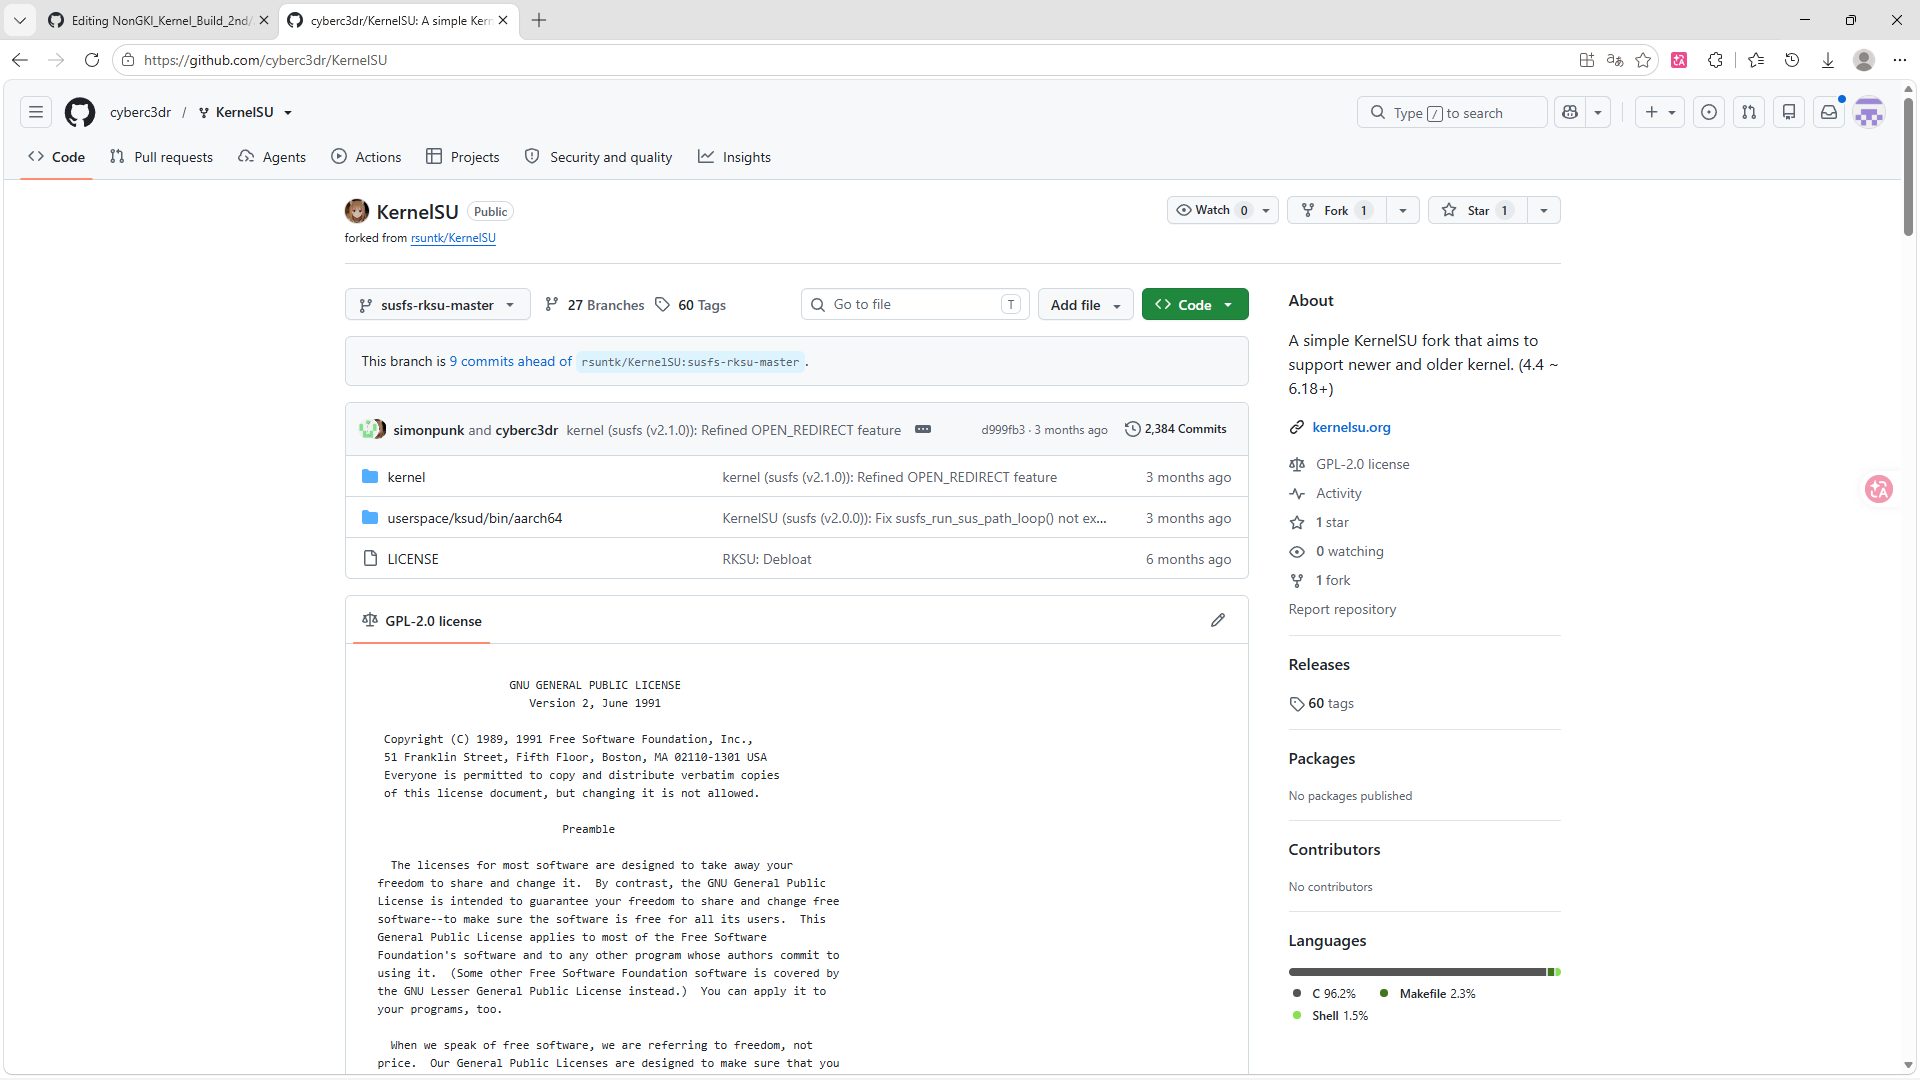
Go to the kernel folder of your chosen manager repository. This example uses the SuSFS-supported branch of Rksu:
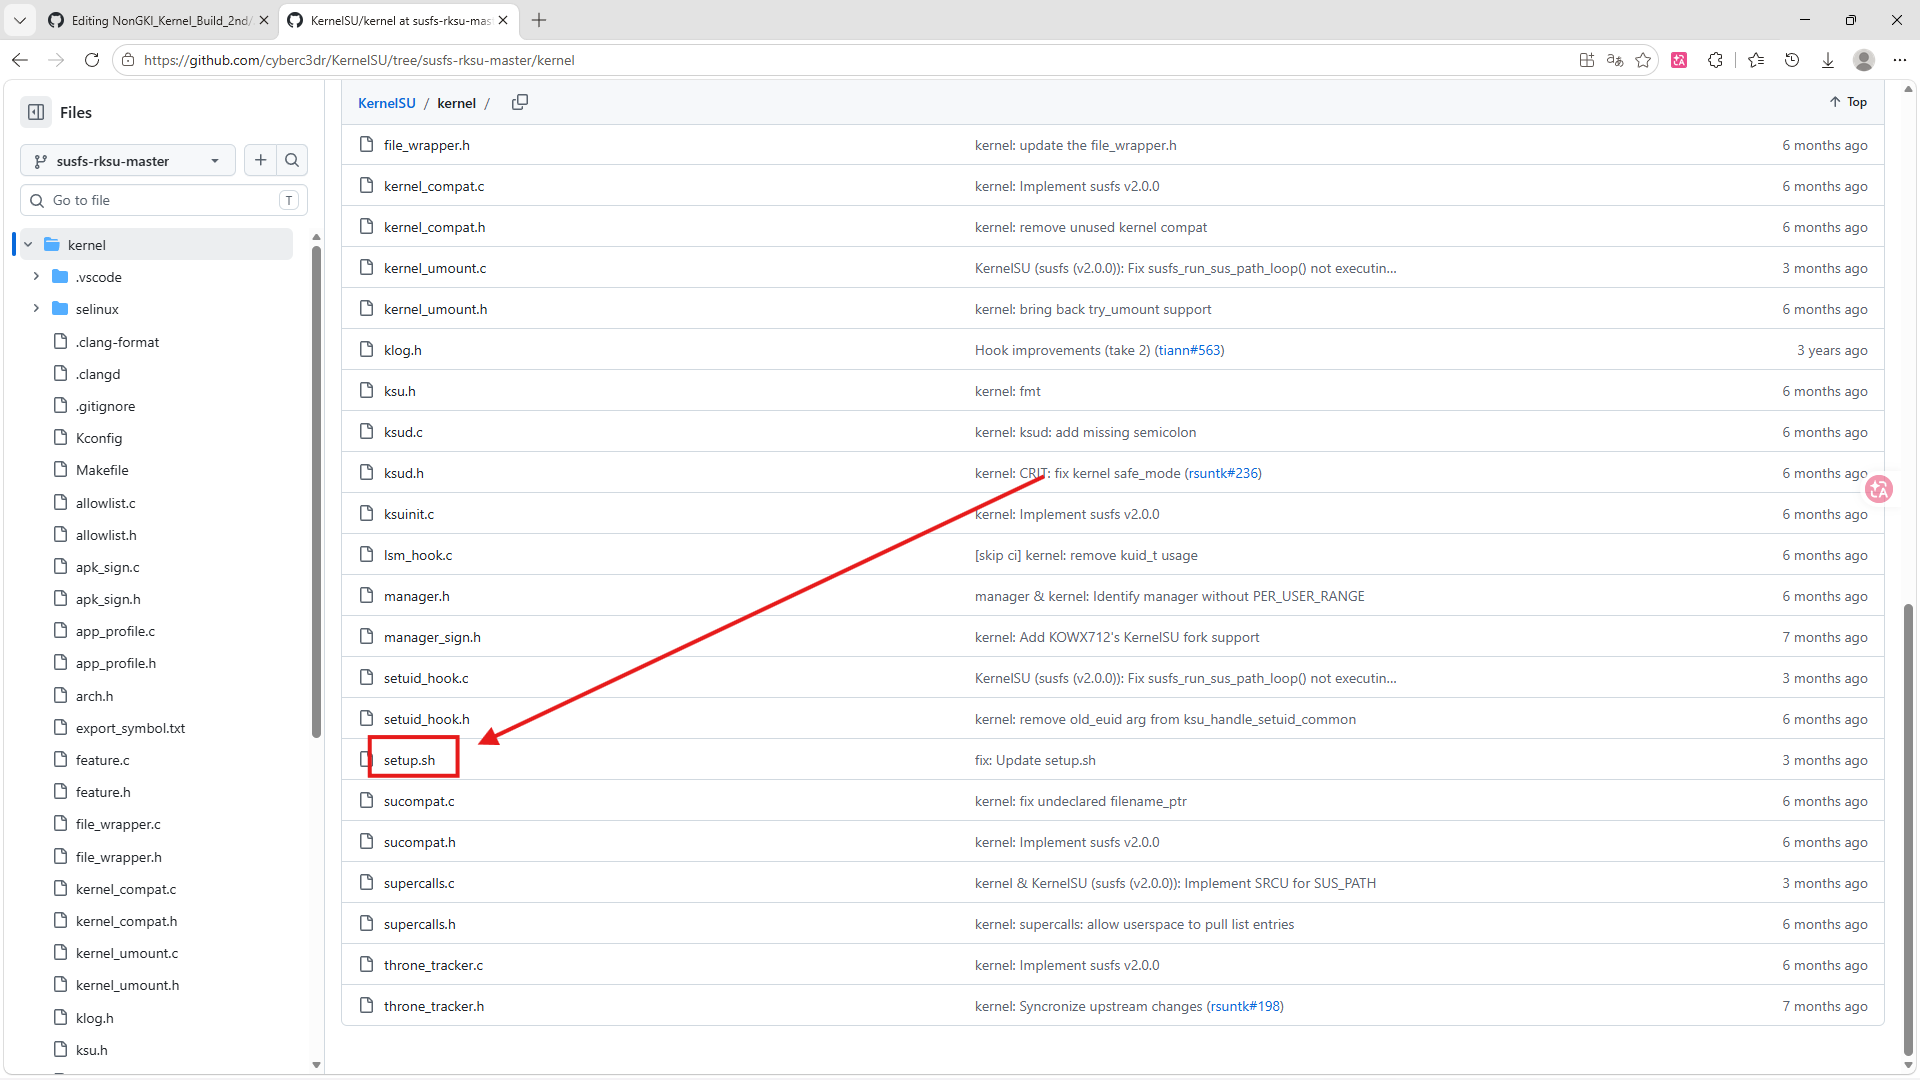
Scroll down and find setup.sh:
Click on the file, then find the Raw button, right-click and copy the link address:
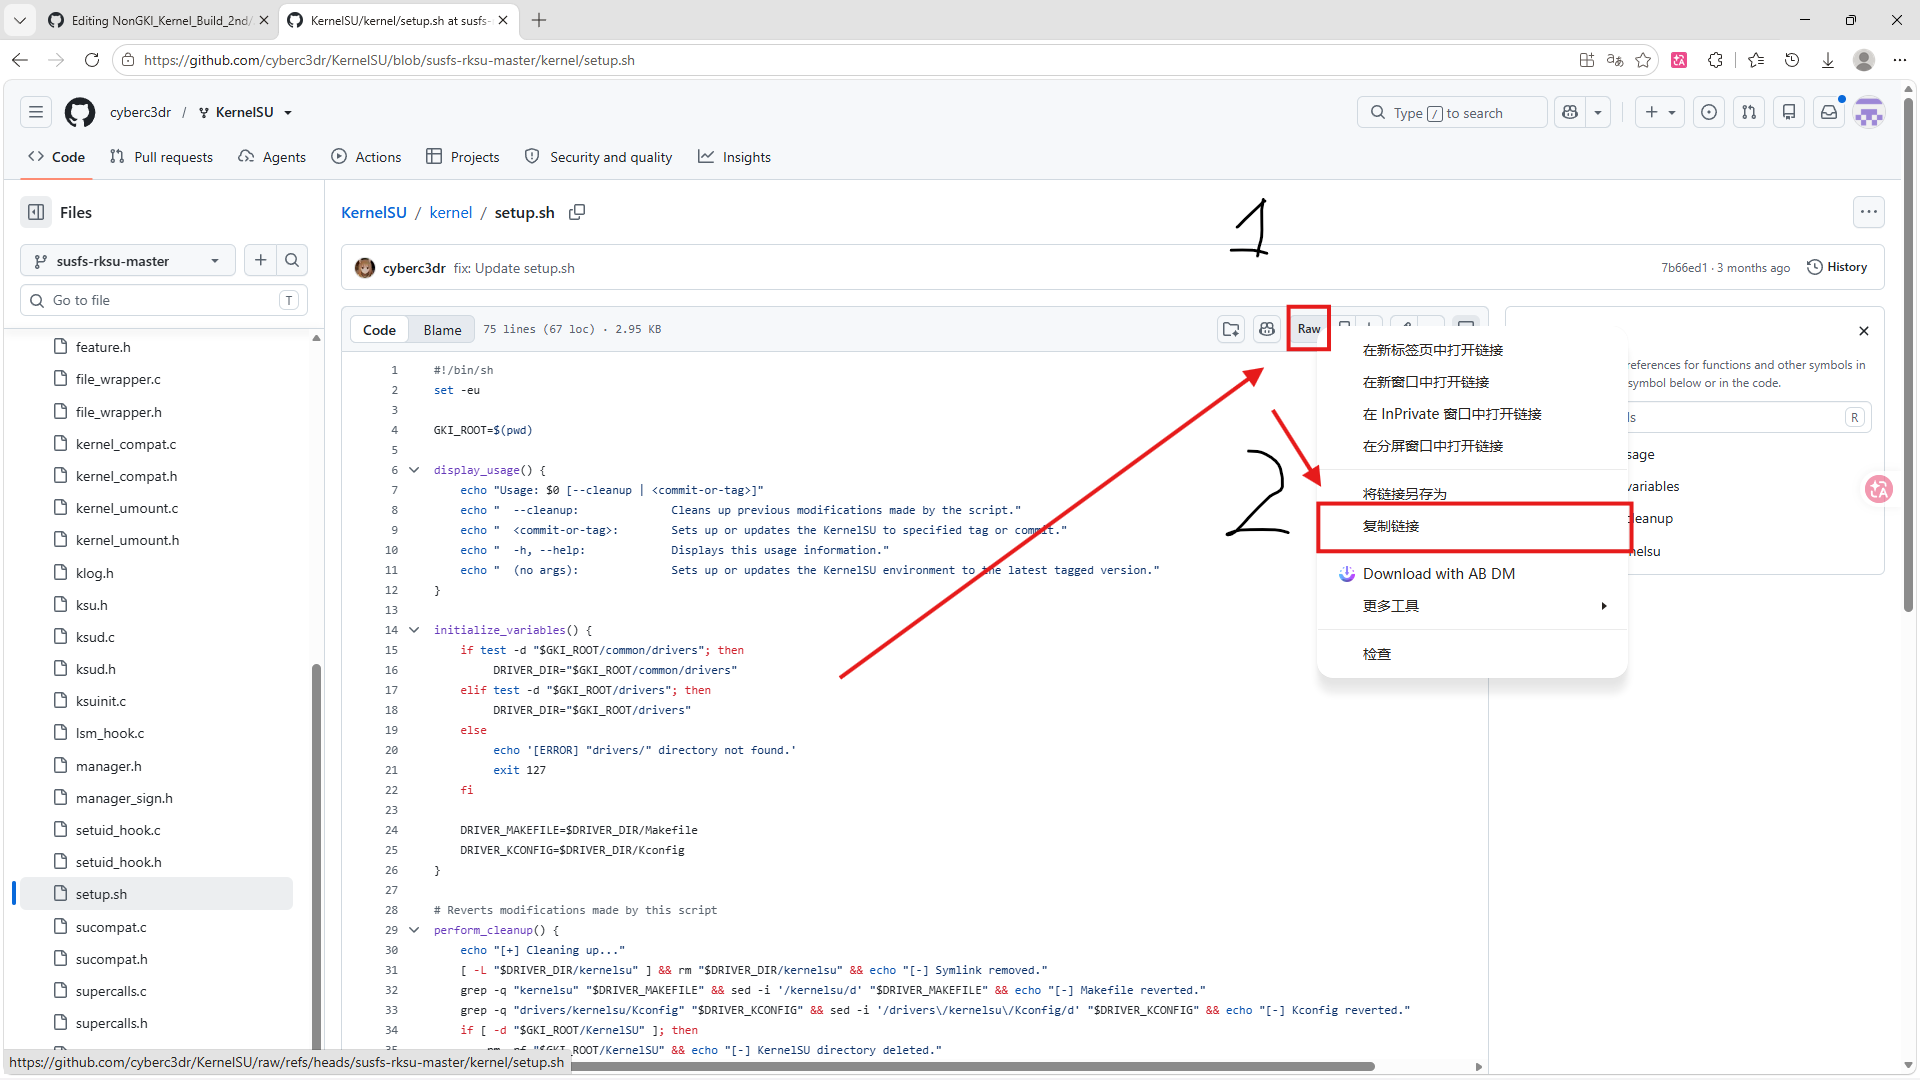
Paste the copied Raw URL inside the quotes for KERNELSU_SOURCE.
Go to the manager repository and check the currently active branch (unless the README.md specifies otherwise, the default branch displayed in the repository is fine):
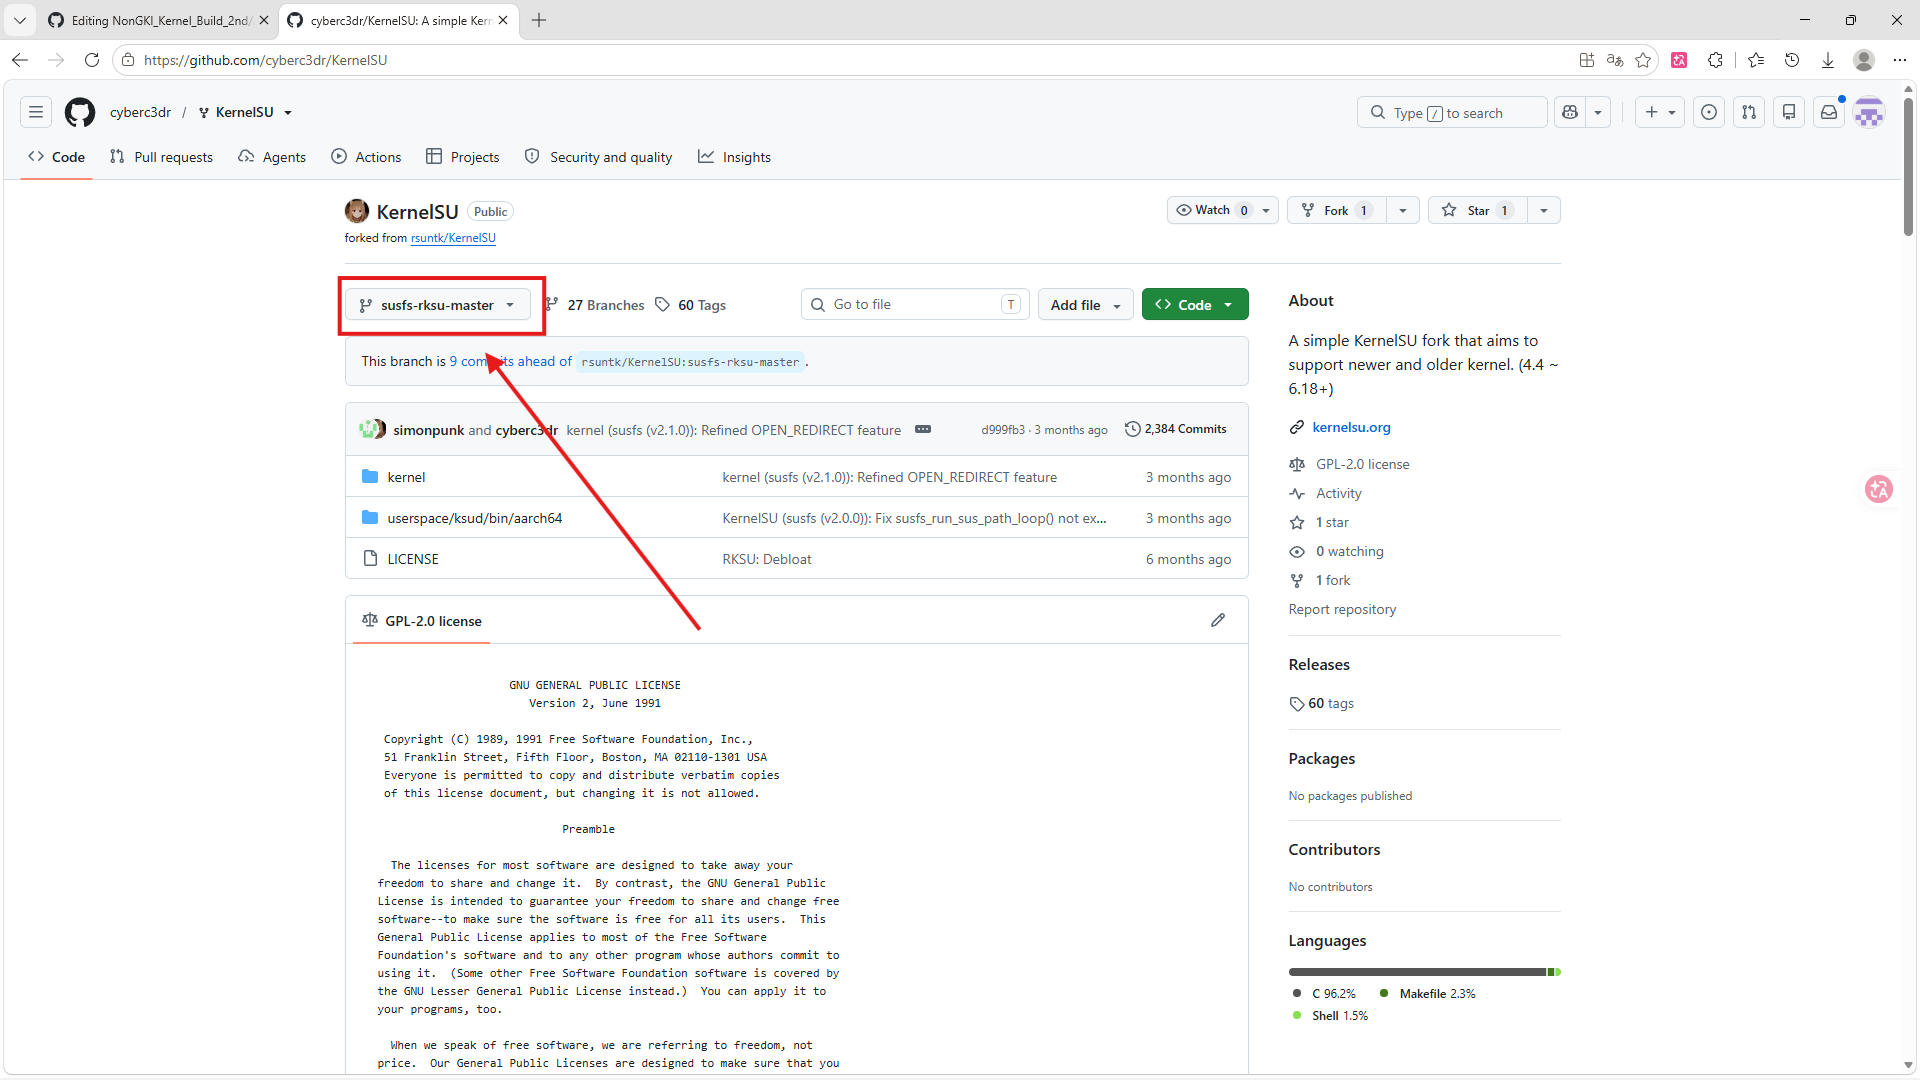
Write the branch name into KERNELSU_BRANCH.
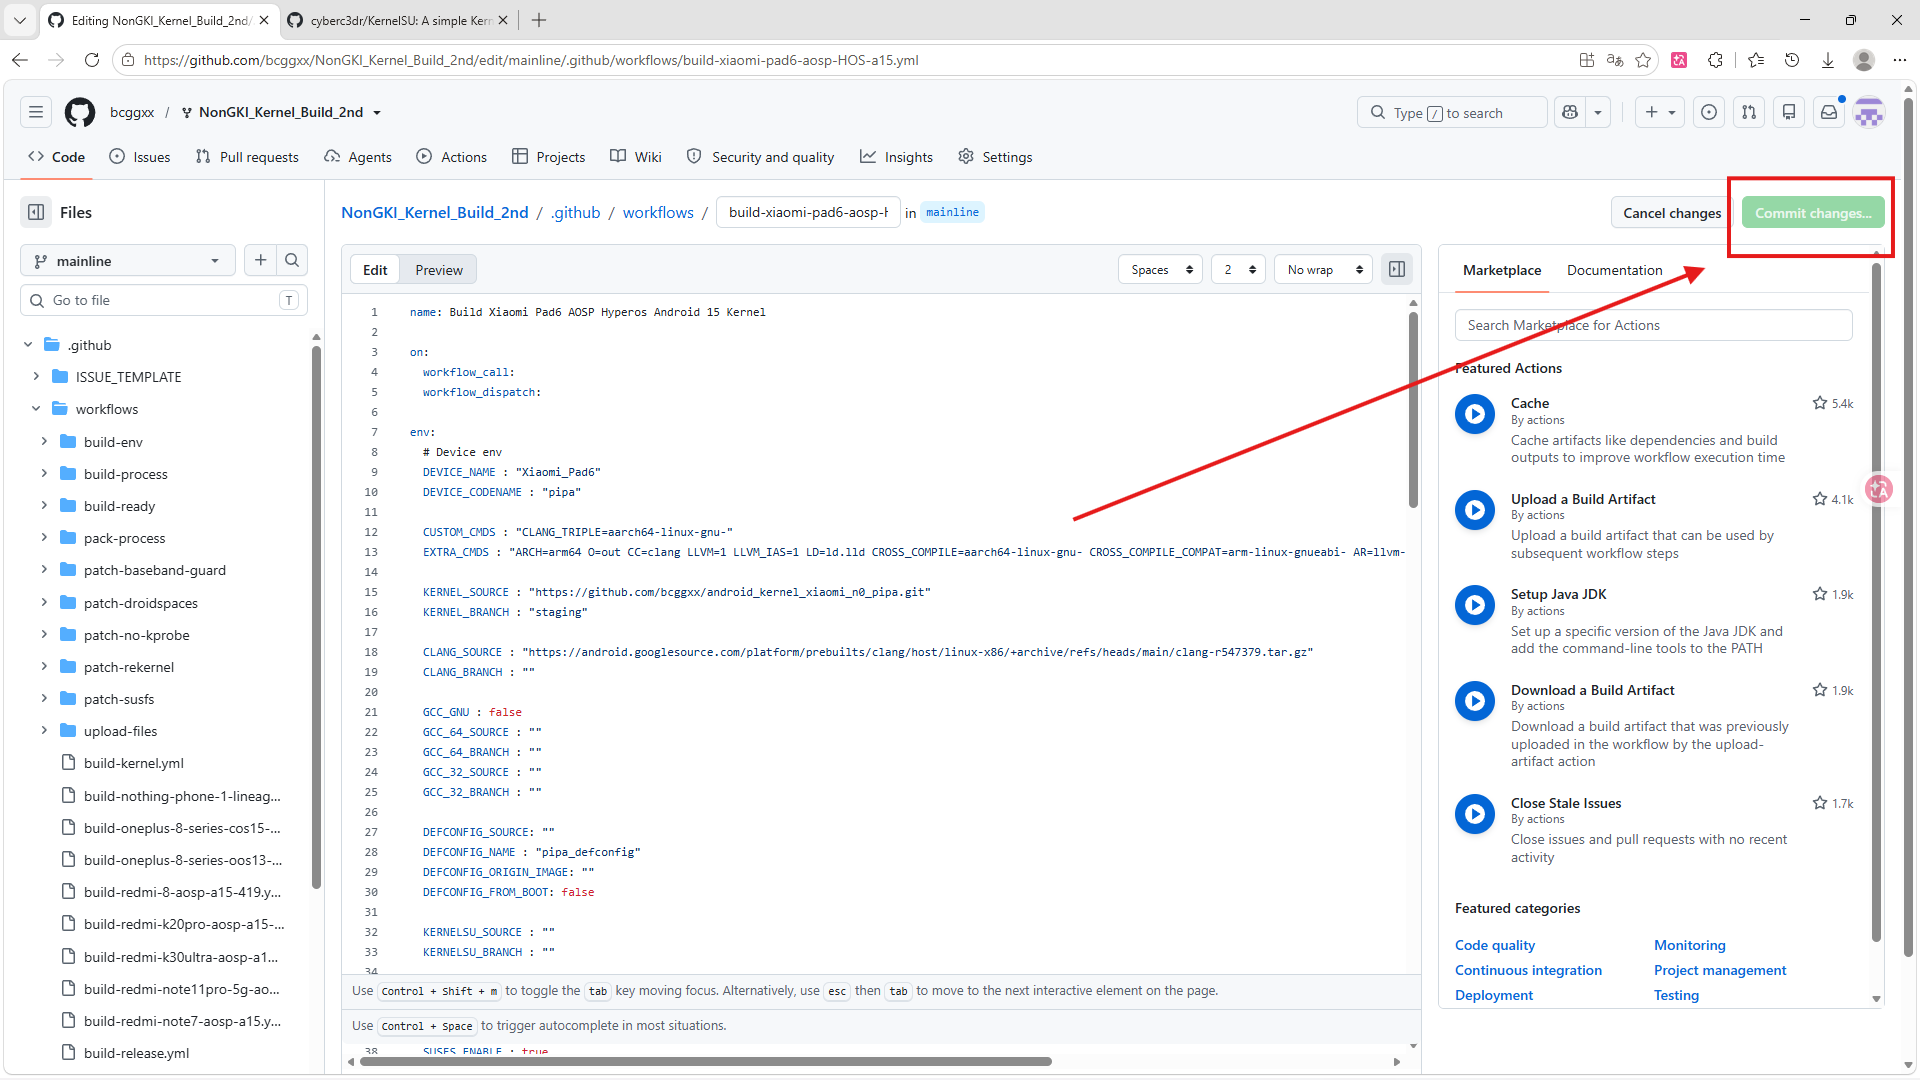
After editing, click Commit changes:
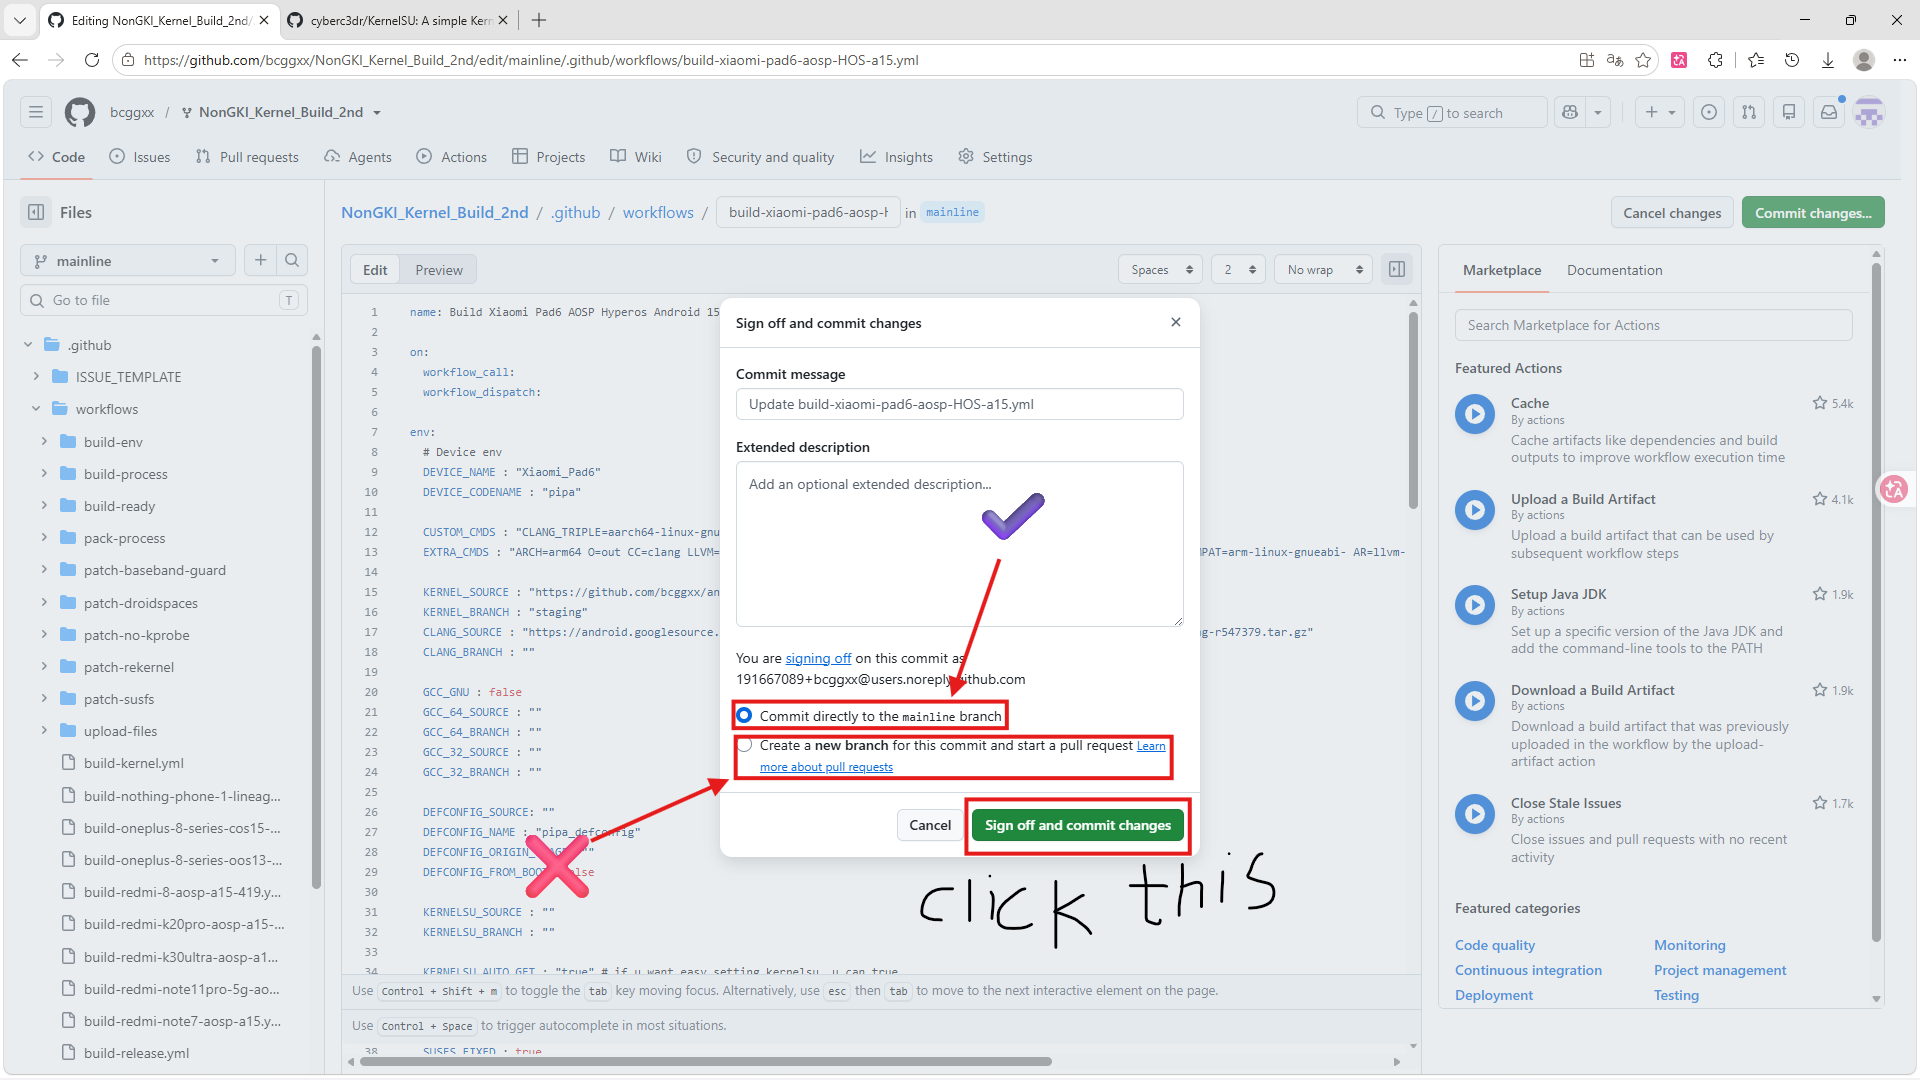
In the popup, choose to commit directly to the current branch — do NOT select "Create Pull Request"!
✅ Done!
After committing, return to the repository homepage and click the Actions tab:
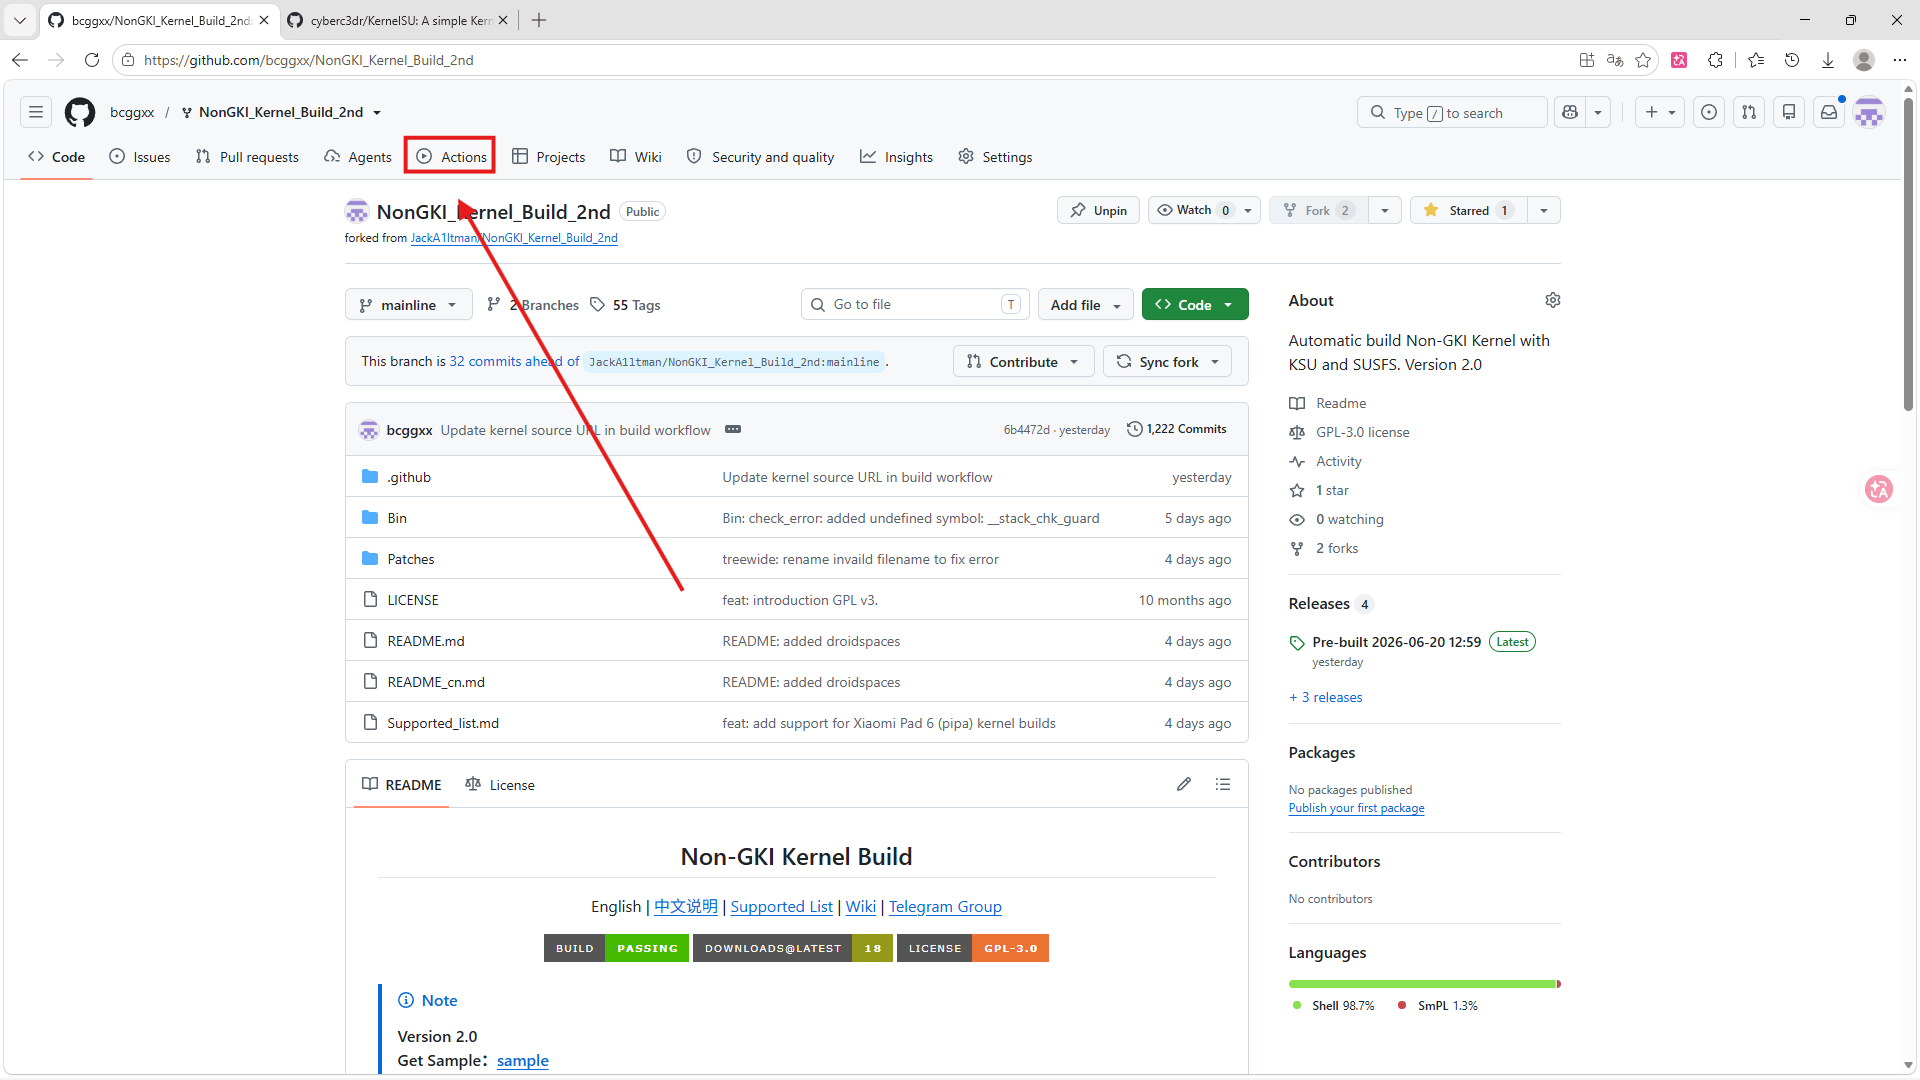
If this is your first time entering Actions, you may see an introduction screen. Click the green button to proceed:
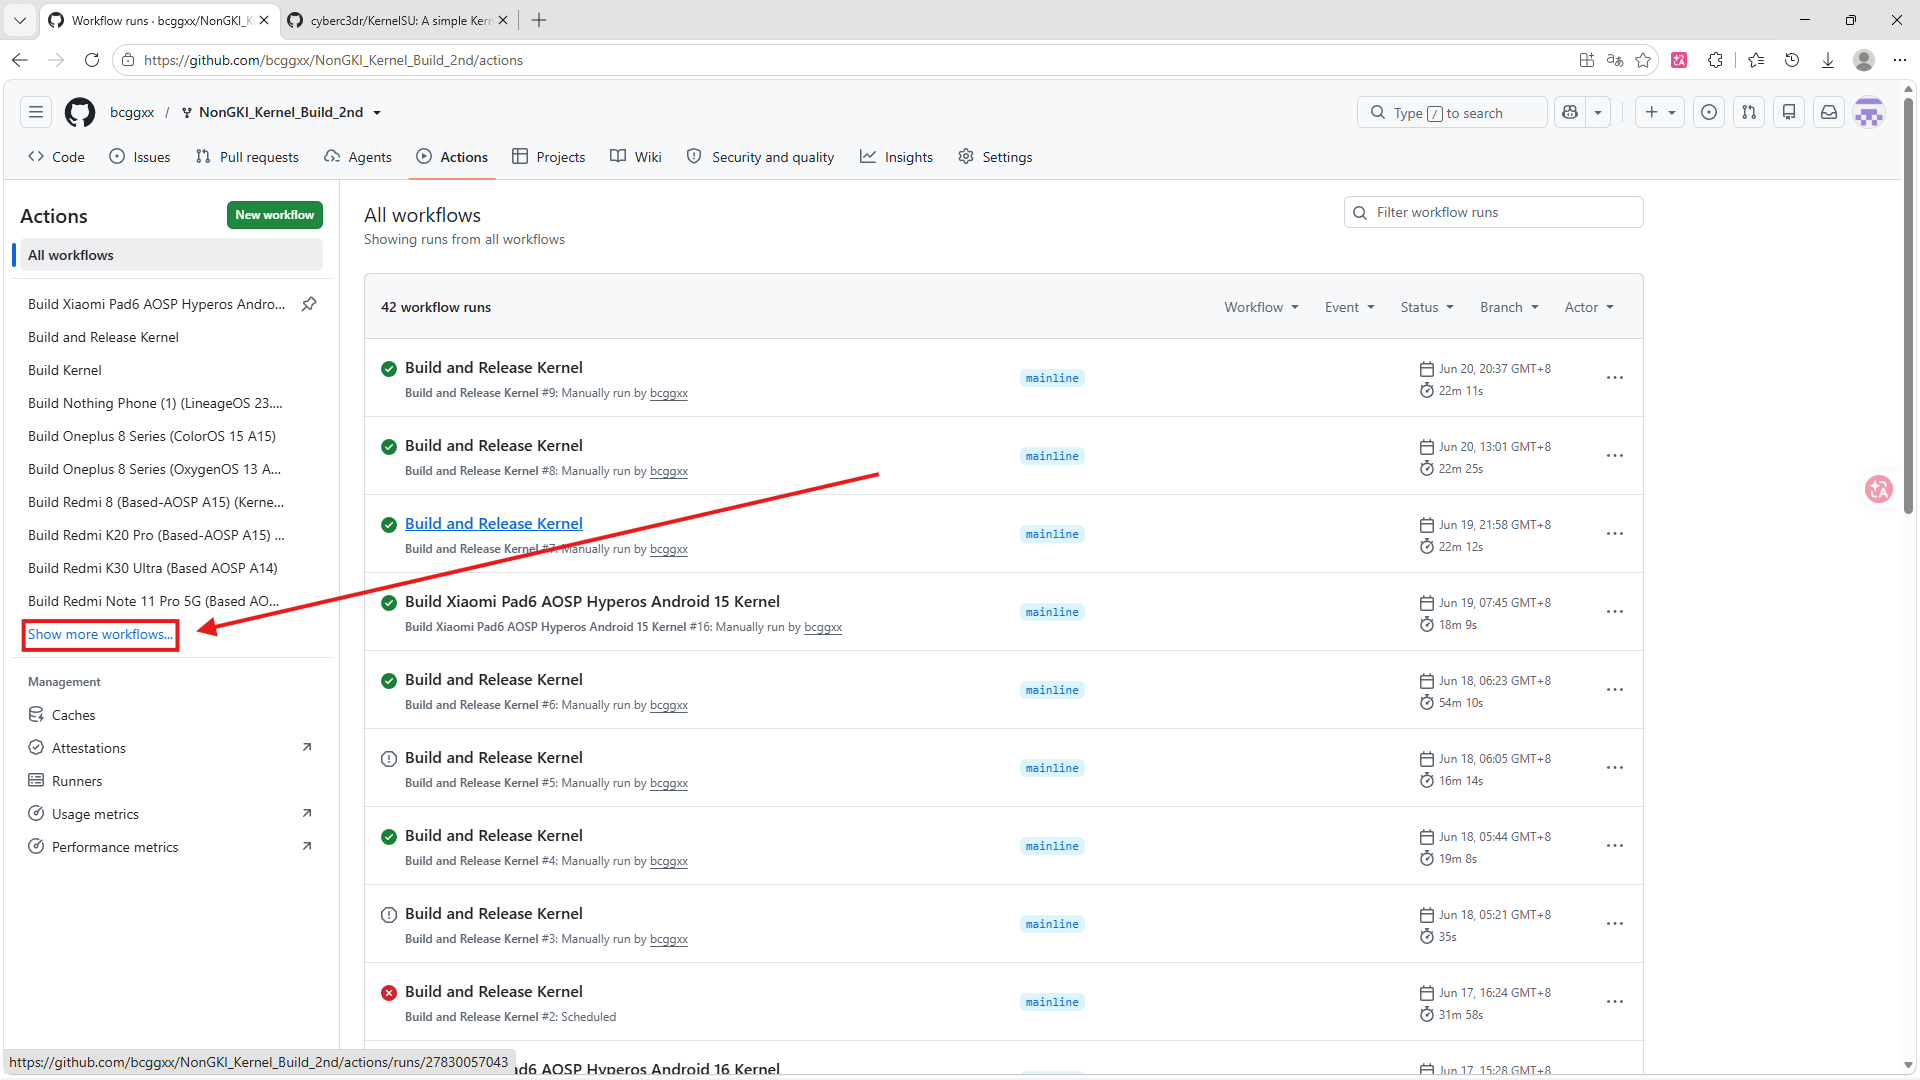
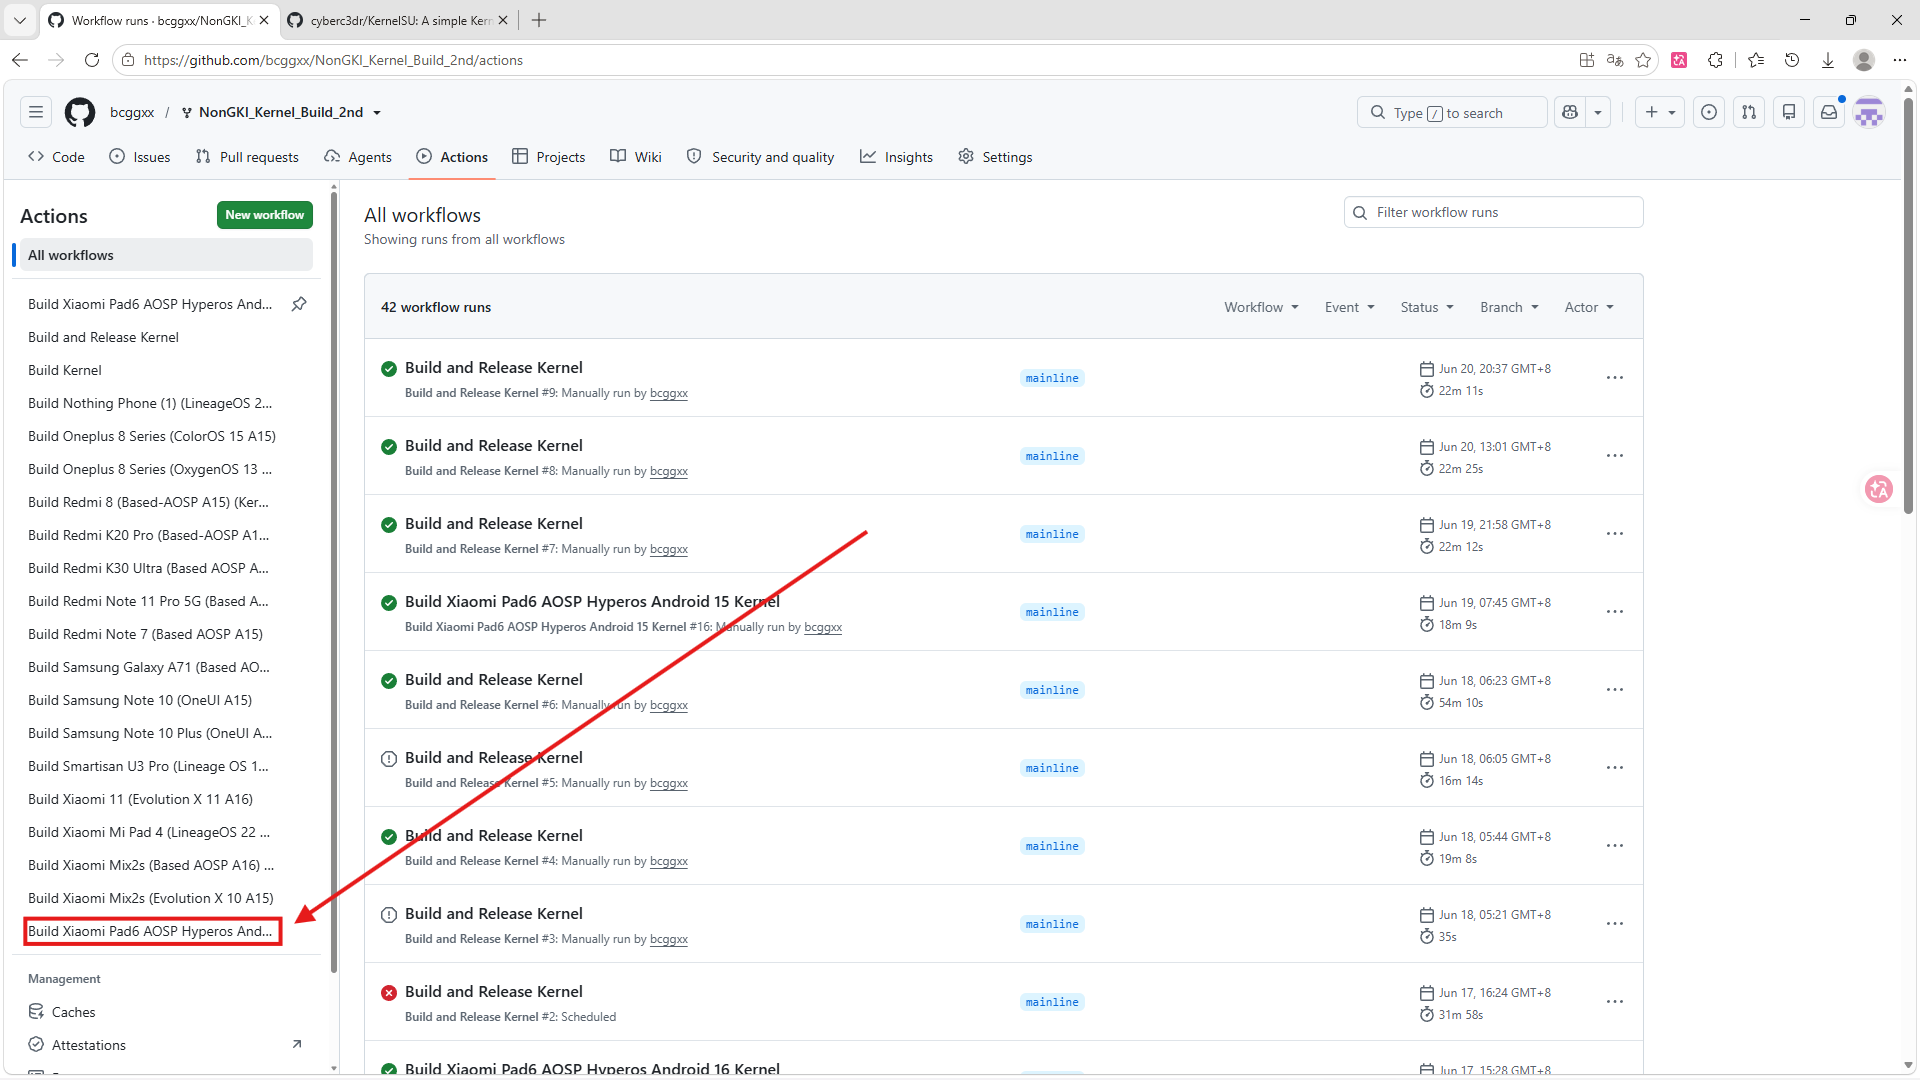
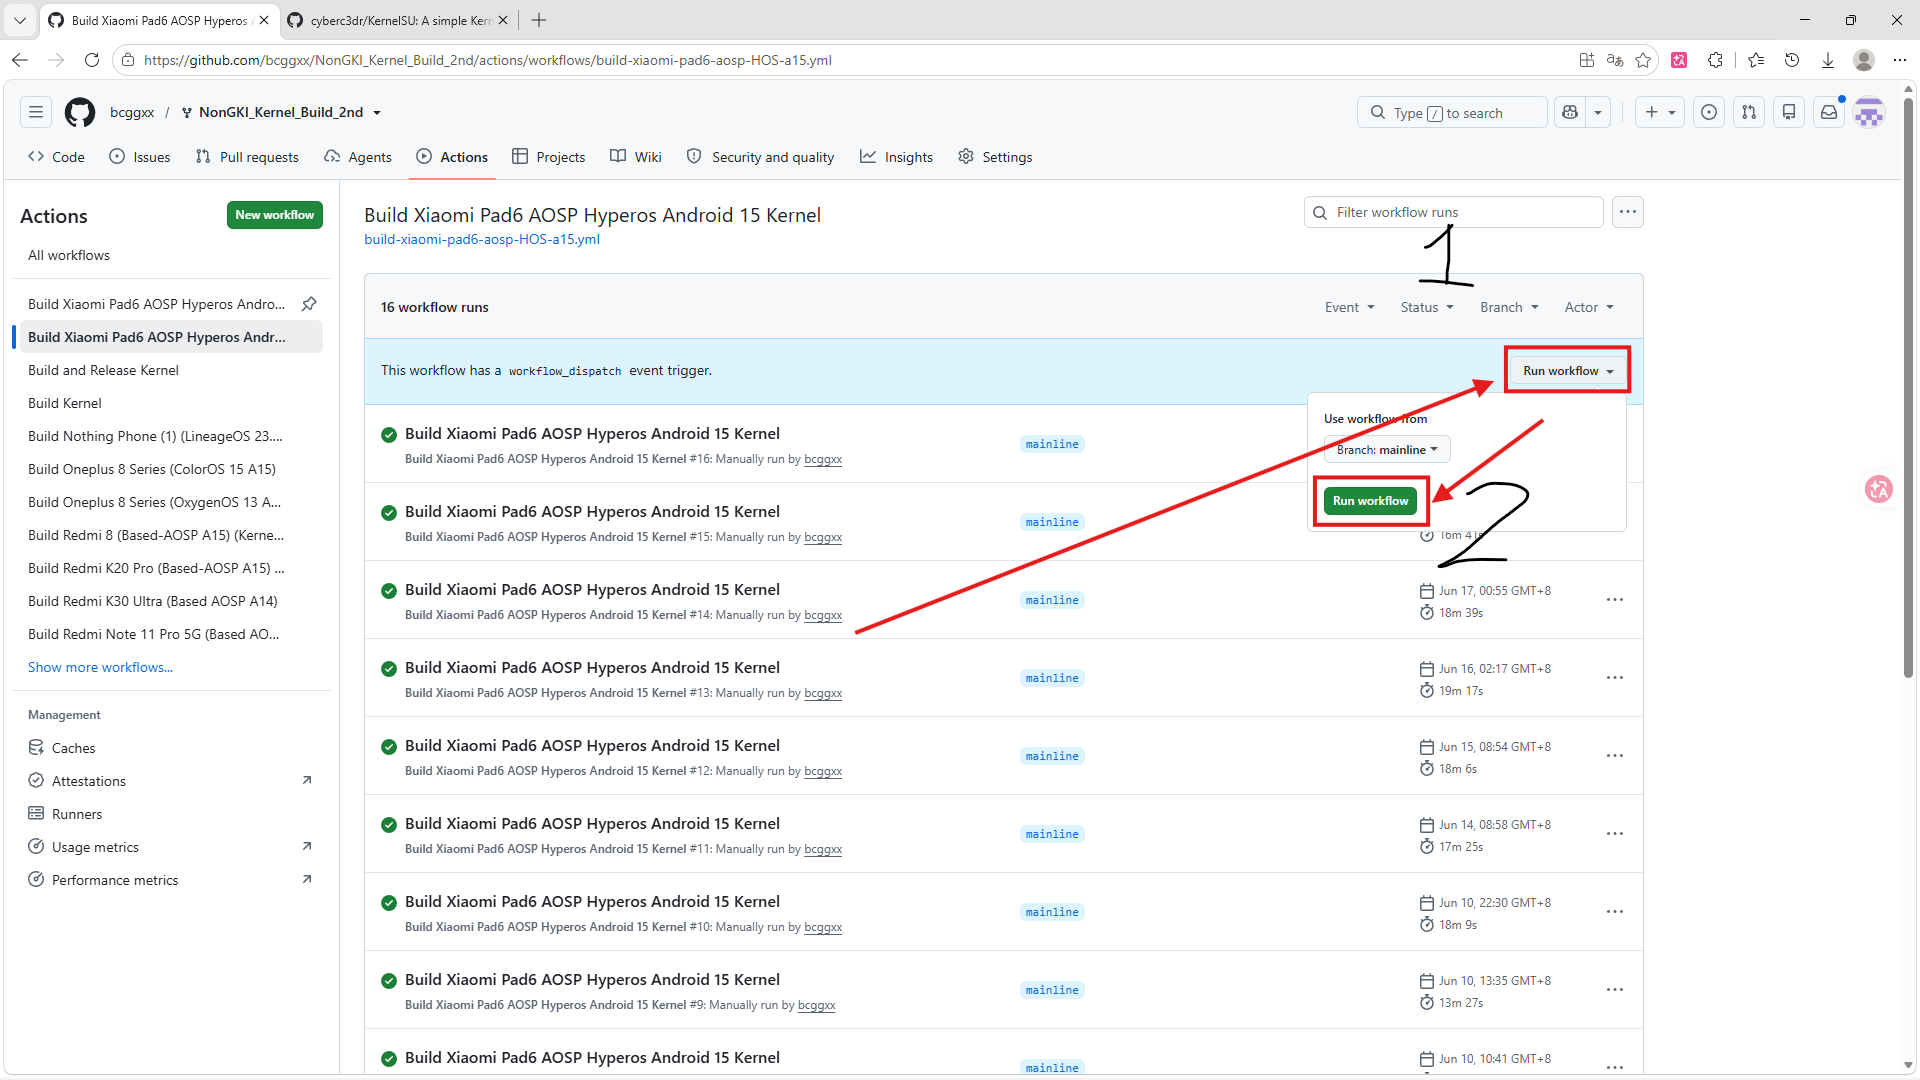
Click on the workflow, then click Run workflow to start the build:
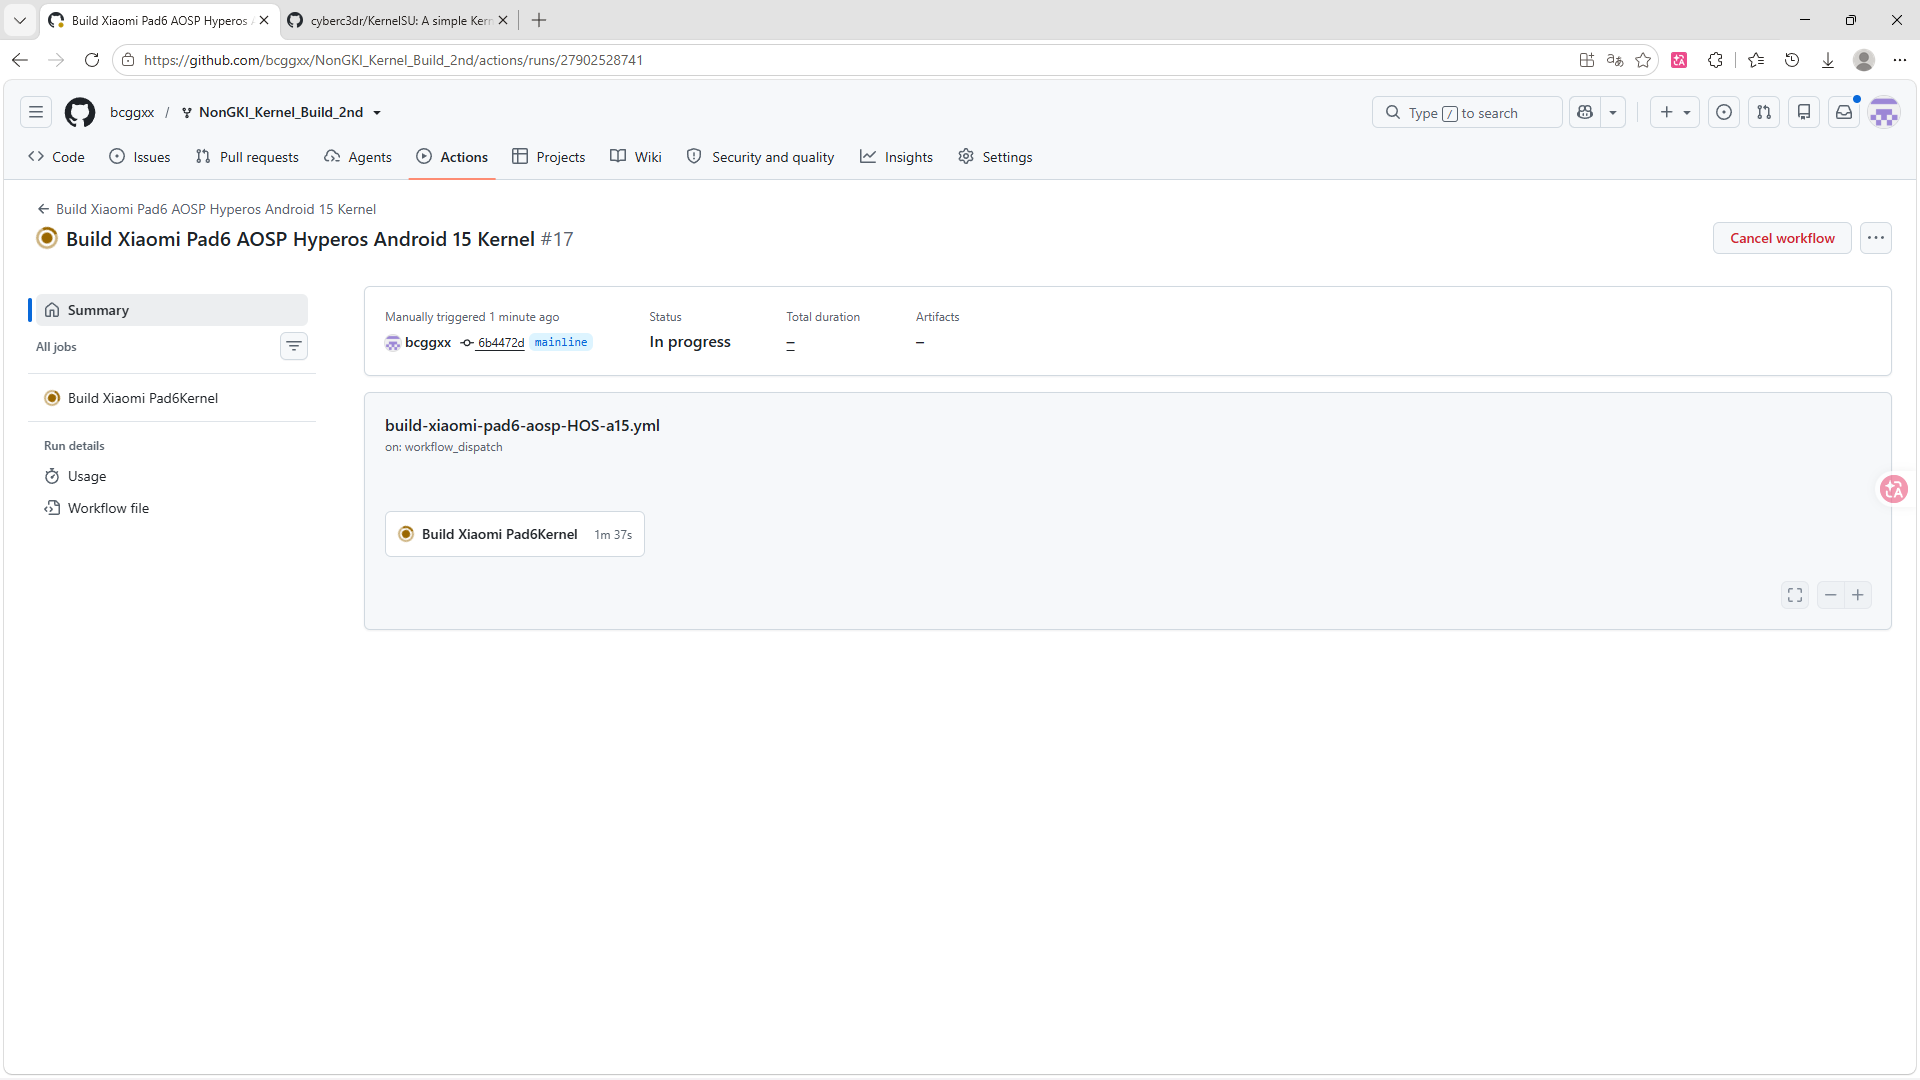
You will be taken to the build interface. Wait approximately 20 minutes, then refresh the page:
Once the build is complete, you will see a green ✅ indicator:
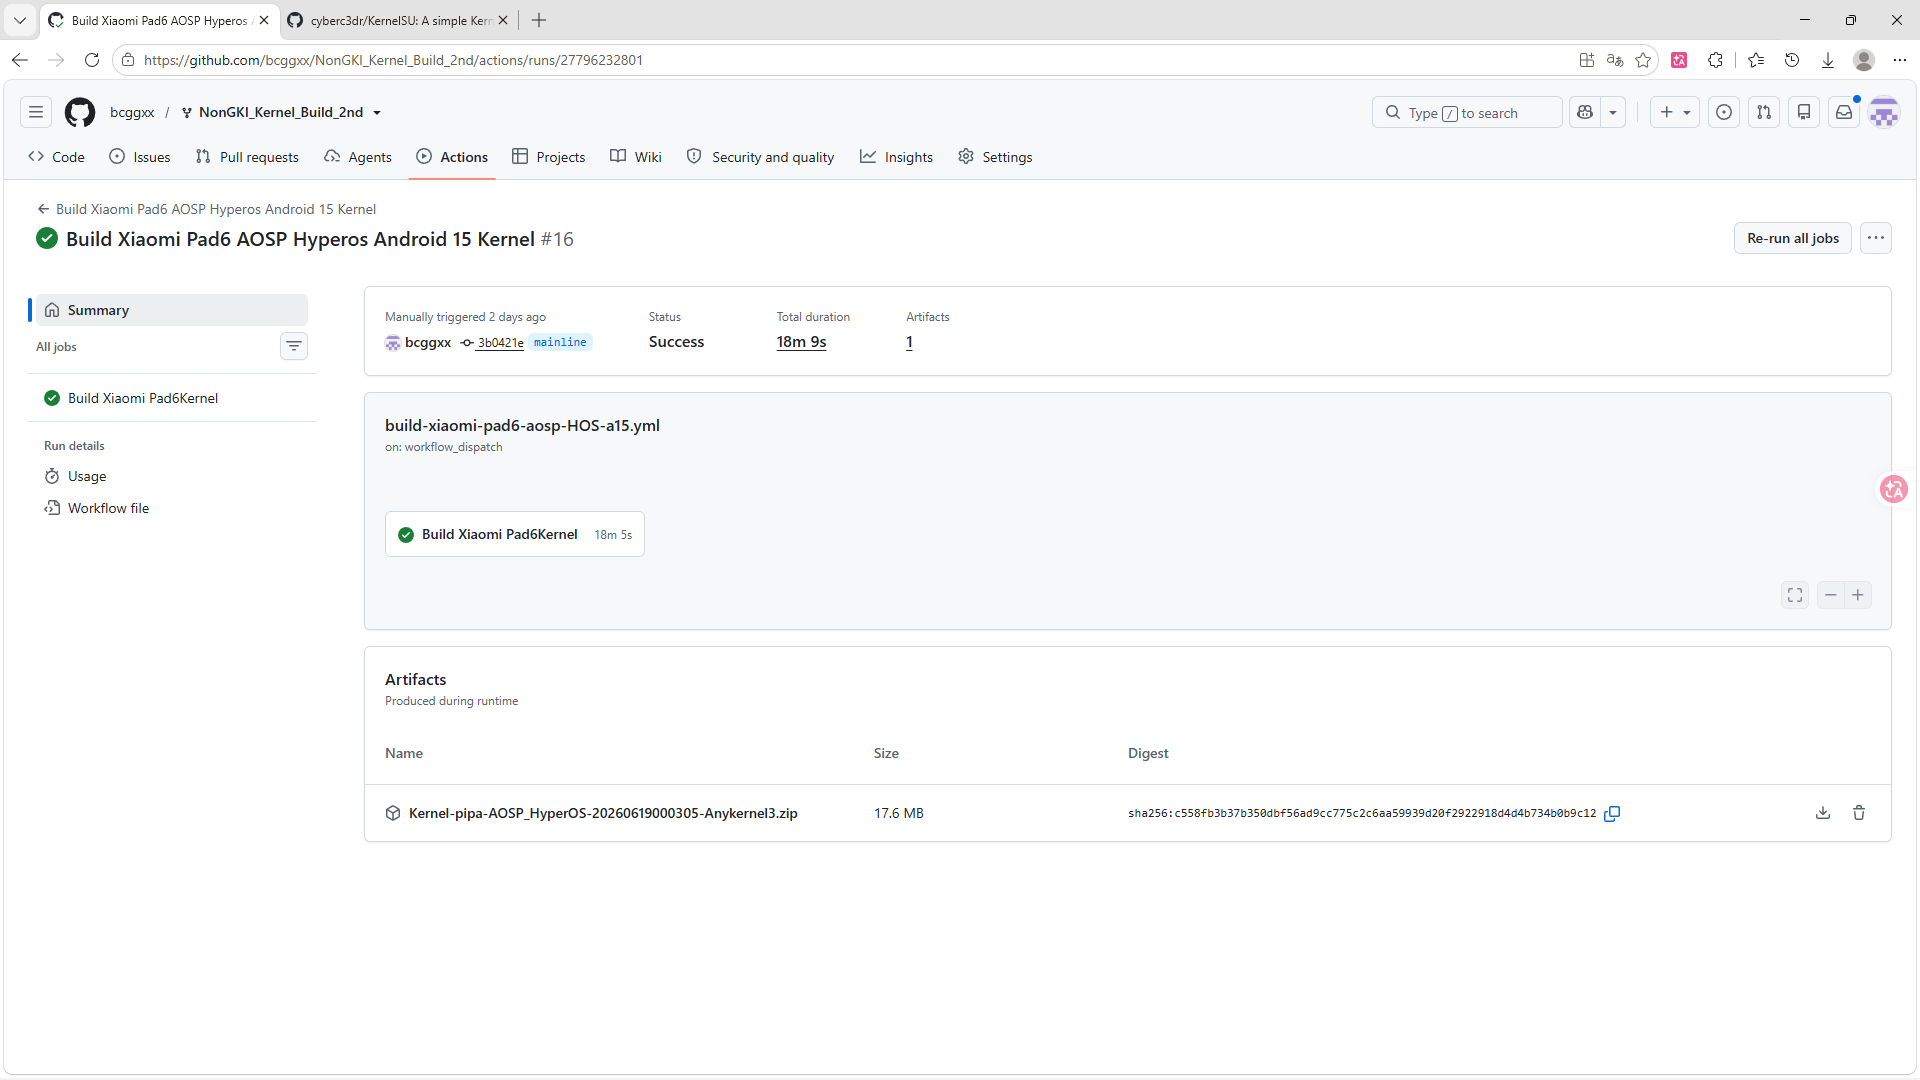
Click on the completed build item, download it to your local machine, and flash it onto your device:
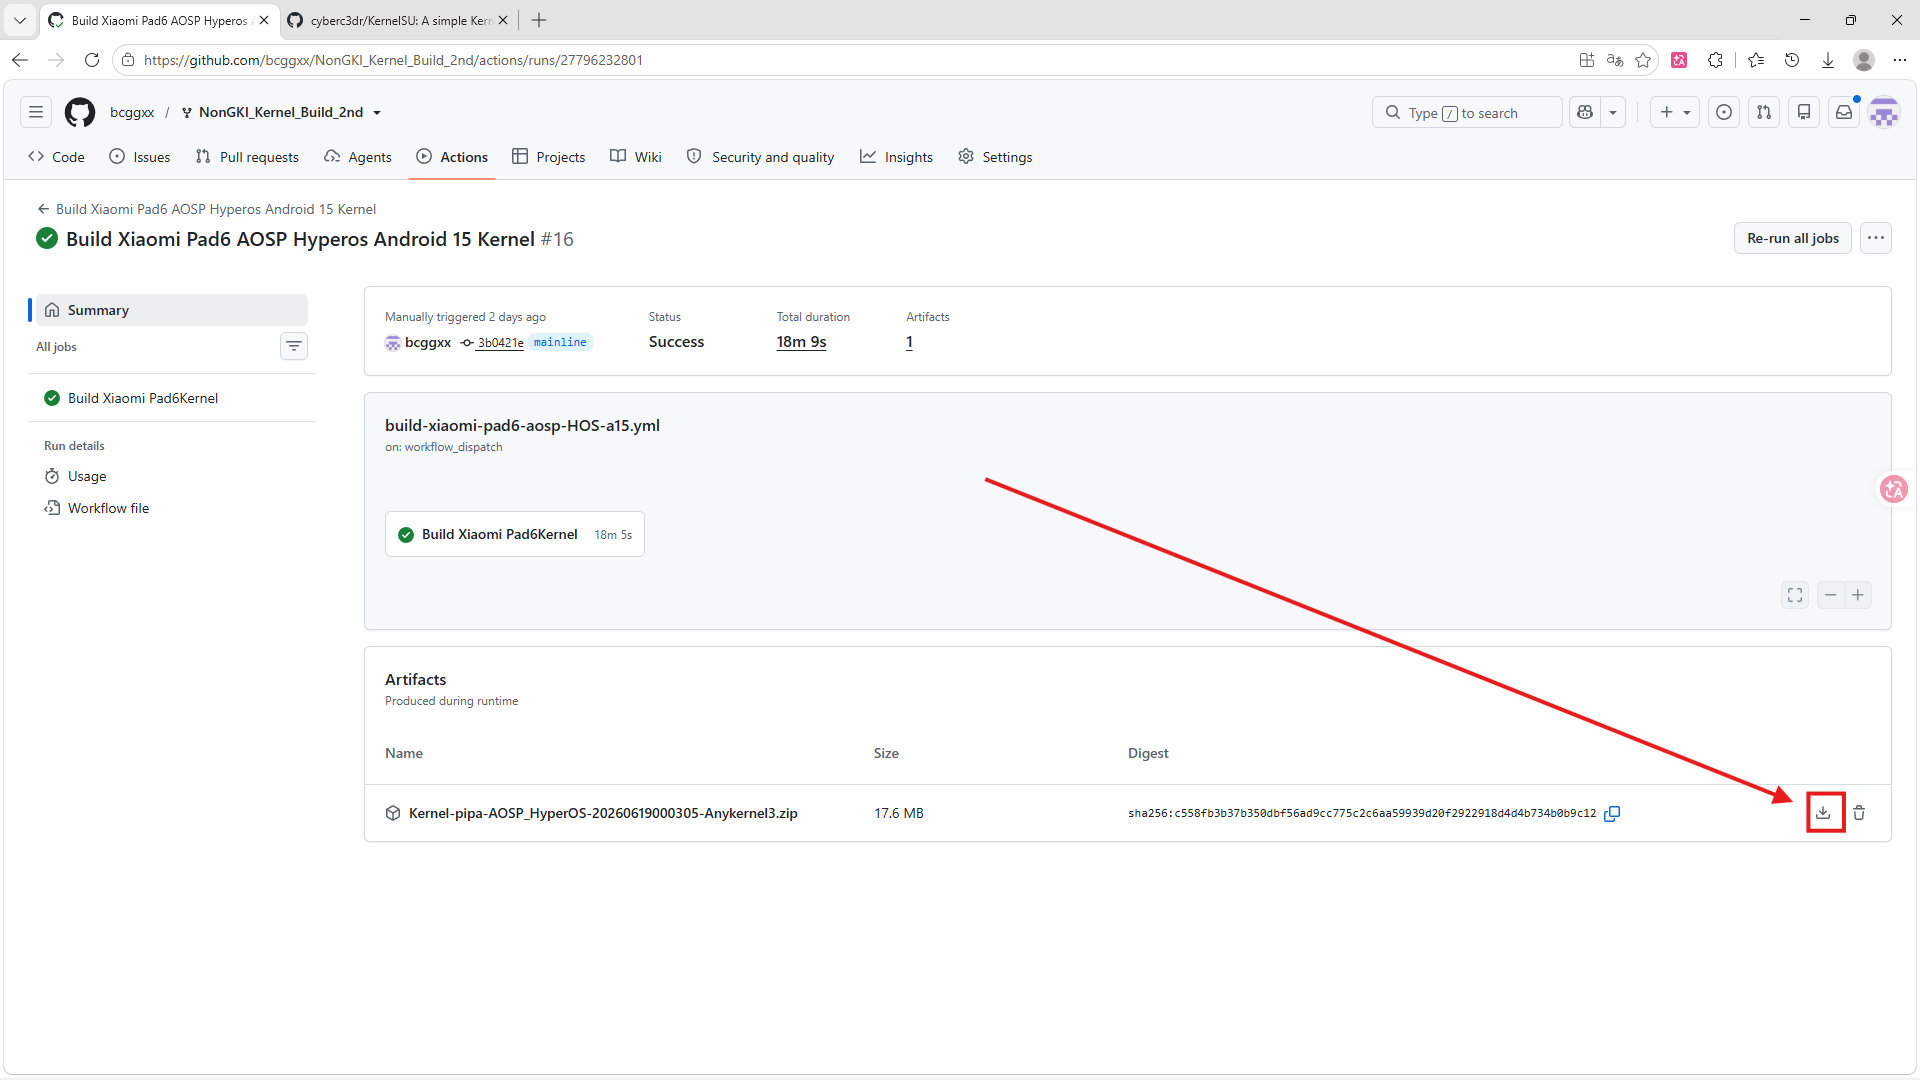
- The build typically takes about 20 minutes — please be patient.
- If the build fails, double-check that all variables are configured correctly.
- For further assistance, check the NonGKI_Kernel_Build_2nd Wiki.
- You can also submit an issue to this project, and I'll likely help you solve the problem.