Getting Started
English · 한국어
Open Settings → CubicJ Brewing and press the Open button next to Open Brewing View. The brewing panel opens in the right sidebar. The Open Brewing View command and the ribbon coffee icon (when the ribbon is visible) open the same view.
- Turn on the Acaia Pearl S. Close the Acaia mobile app and any other app using the scale: the Pearl S accepts only one connection at a time.
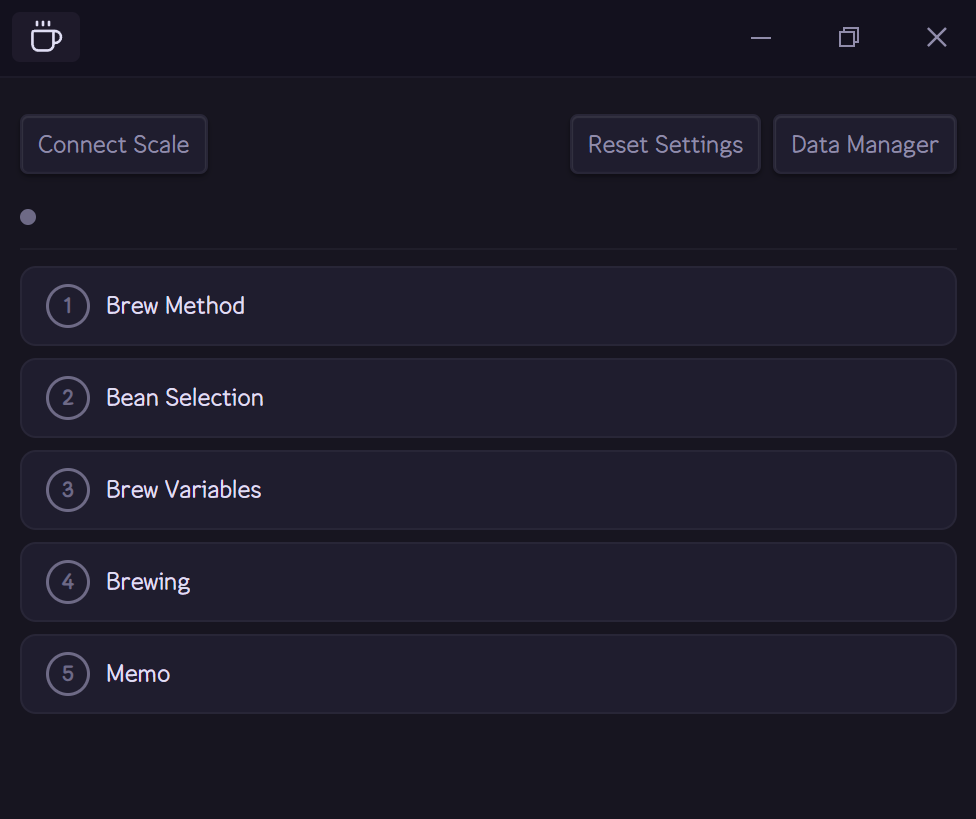
Start from the disconnected brewing view with your Pearl S powered on.
- Select Connect Scale. Wait for the status to change to Connected and check that the live weight responds.
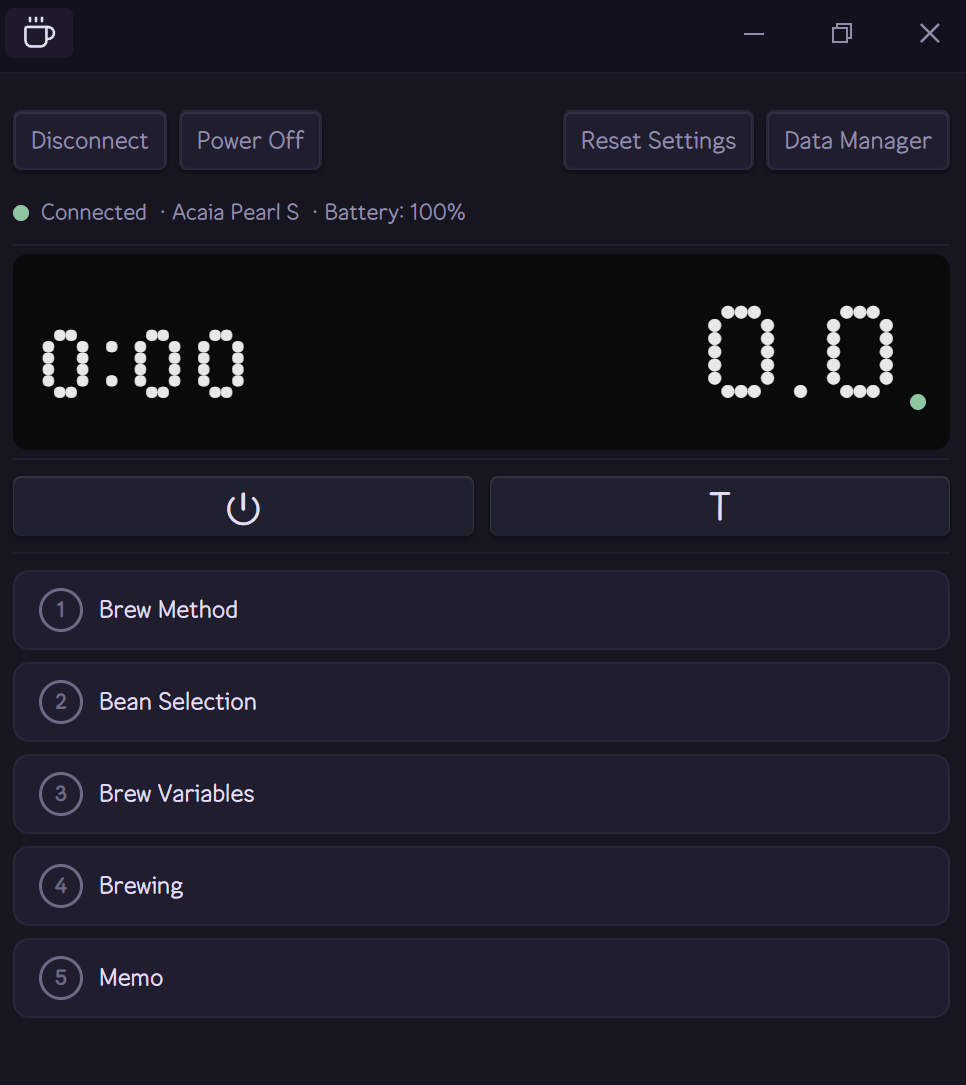
Connected confirms that the plugin is receiving live weight from the scale.
While connected, the buttons under the display tare the scale and start, stop, and reset the timer — no need to touch the scale itself. The same core actions are available as commands, so you can put them on hotkeys.
If the connection drops mid-session, the plugin retries automatically up to three times. You can also run Connect / Disconnect Scale.
Work through the five accordion steps from top to bottom.
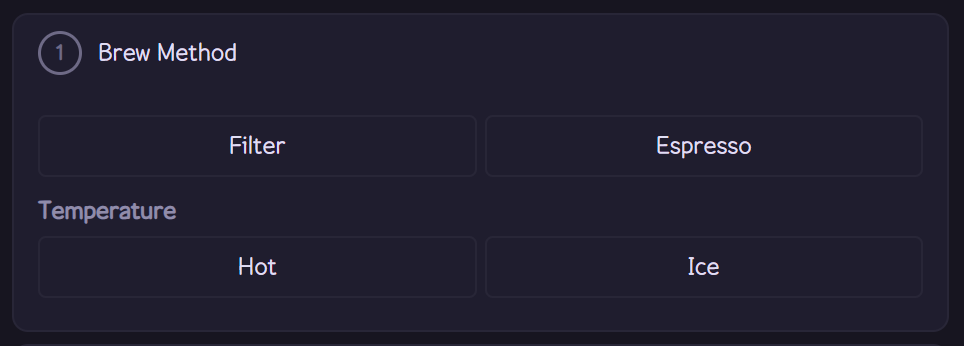
Choose Filter or Espresso to begin the guided brew flow.
Select Filter or Espresso. The later steps show the parameters needed for that method.
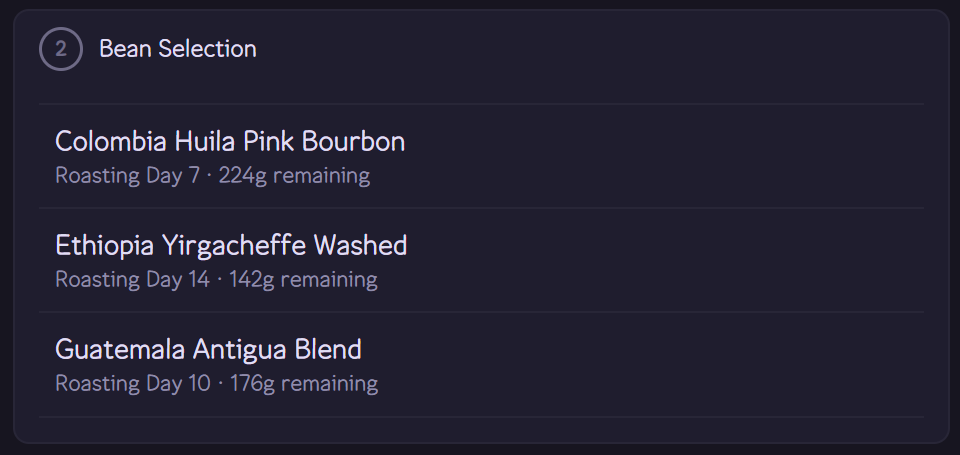
Pick an active bean — roast age and remaining weight are shown for each.
Choose one of your active beans. Each entry shows its roast day and remaining weight.
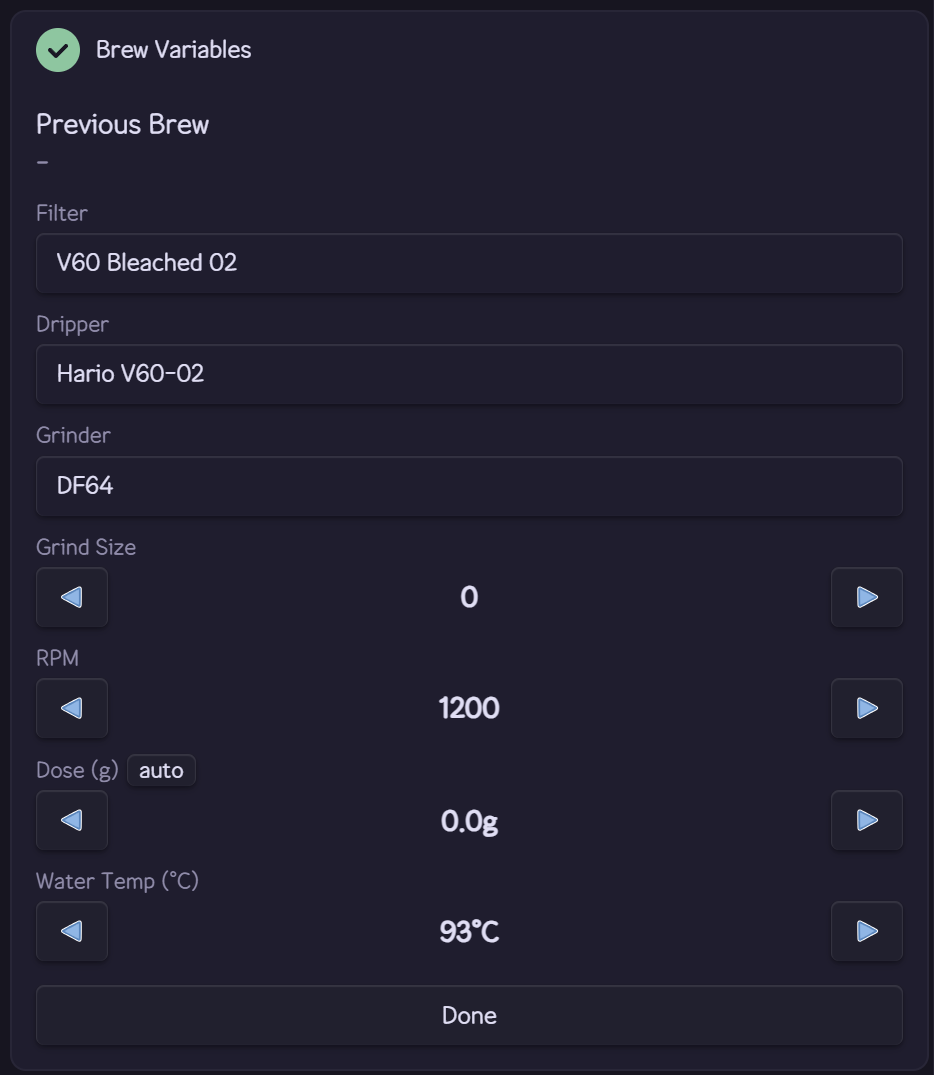
Set the grinder and recipe variables before moving to the scale.
The Previous Brew line at the top shows your last matching brew for reference. Choose your grinder, grind size, dose, water temperature, and equipment. Filter brews use dripper and filter fields; espresso brews use basket and drink fields. Press the auto button next to Dose to fill it from the current scale reading (also available as the Auto-fill Weight command).
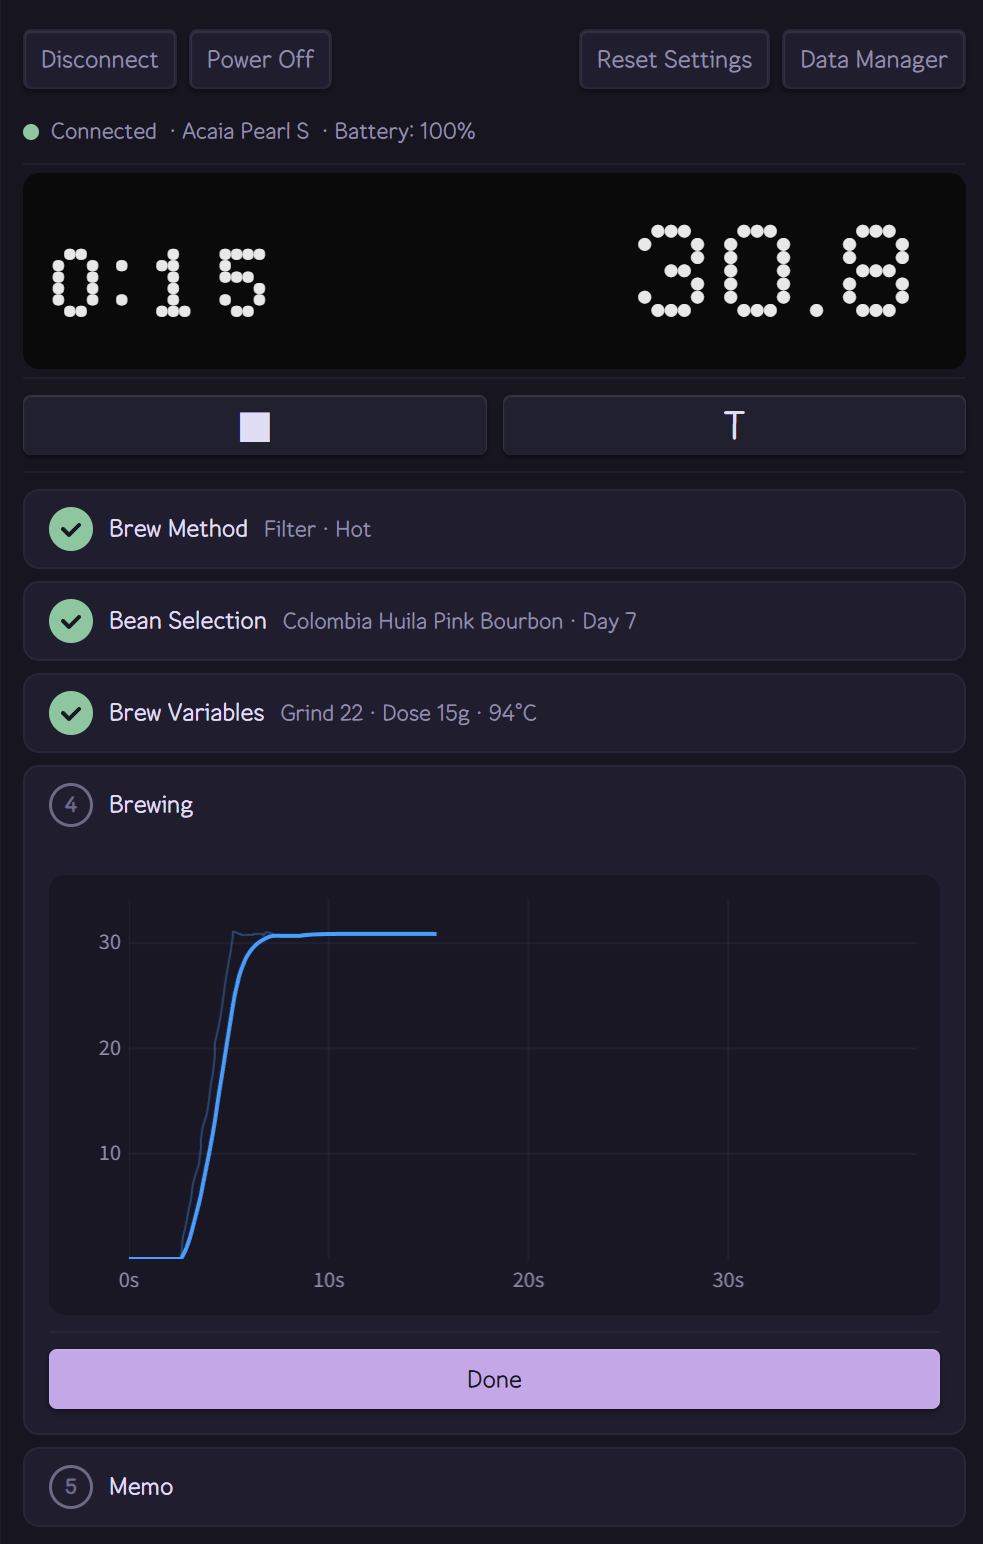
Follow the live timer, weight, and profile chart while you brew.
Select Start Brewing and begin your pour. The live chart records weight over time. For espresso, select Done when the shot finishes.
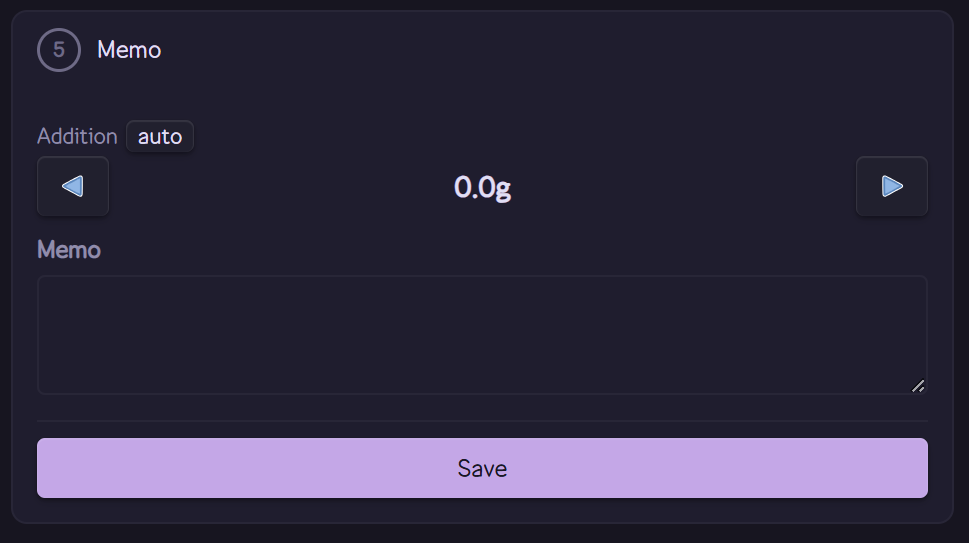
Add any final tasting notes, then save the brew record.
If you added bypass water, record it in the Addition field — its auto button fills the value from the scale. Write a short memo and select Save. The plugin stores the record and reduces the bean's remaining weight by the dose.
| Command | What it does |
|---|---|
| Open Brewing View | Opens the sidebar panel |
| Connect / Disconnect Scale | Toggles the BLE connection |
| Tare Scale | Zeroes the scale |
| Auto-fill Weight | Fills the dose field from the current scale reading |
| Proceed / Start / Stop / Save | Advances the brew flow |
| Start / Stop / Reset Timer | Cycles the scale timer, just like the timer button in the view |
| Power Off Scale | Turns the scale off |
To set hotkeys, open Settings → Hotkeys and search for CubicJ Brewing. Proceed / Start / Stop / Save on a hotkey lets you run the whole brew flow without touching the mouse mid-pour.
Next: Record Keeping